
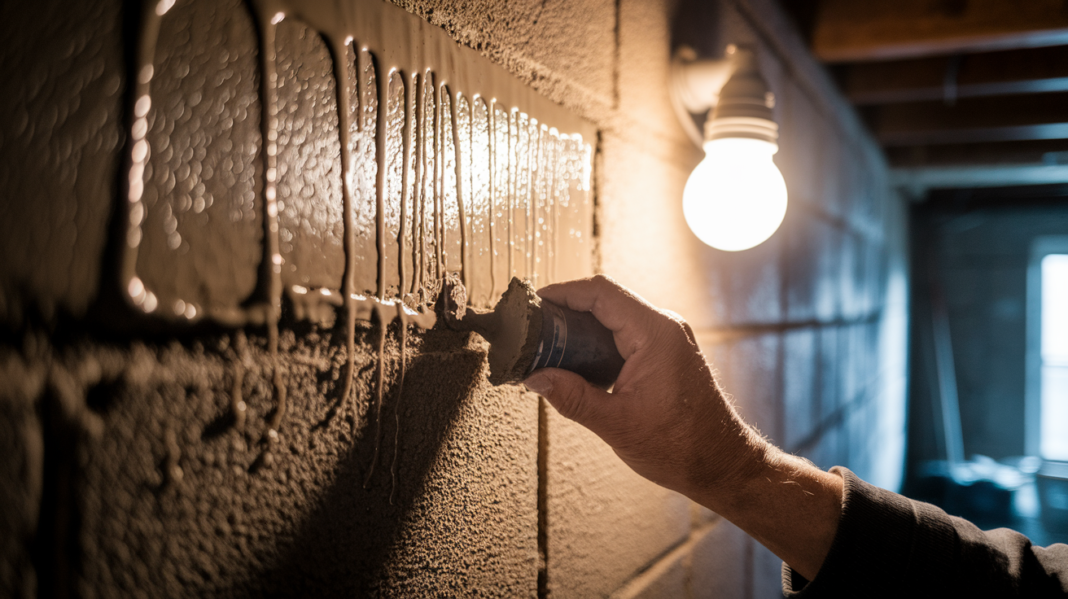

Think a little water on the basement wall is no big deal?
It usually is. Left alone, it quickly leads to mold, ruined finishes, or swollen flooring.
This post shows fast, practical steps you can take right now to slow or stop water coming through basement walls, how to find the entry point, and which fixes buy time versus which ones last.
No guesswork—redirect runoff, plug active leaks, start drying, and document what you do for insurance and repair.
Immediate Actions to Stop Active Basement Wall Seepage
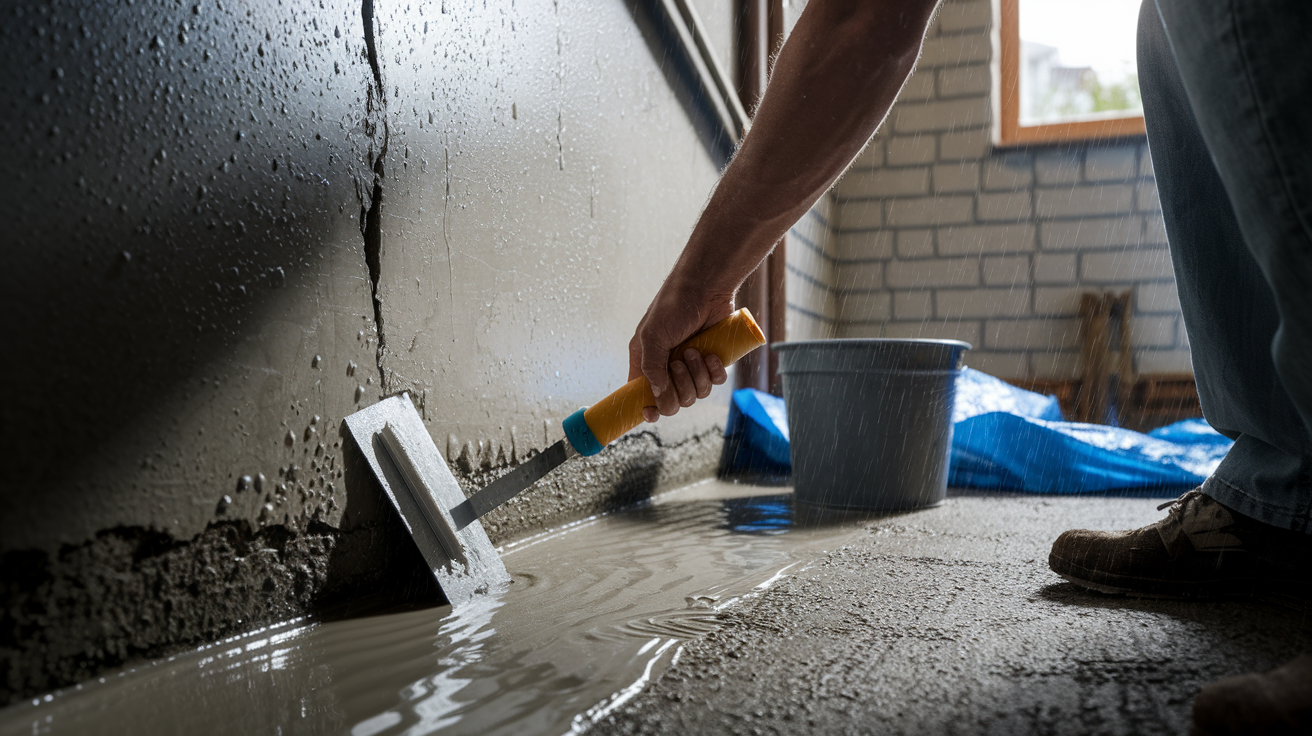
Water gets into a basement wall fast when the soil around your foundation becomes saturated. Heavy rain, quick snowmelt, or a busted downspout can push groundwater right up against the wall, creating hydrostatic pressure that forces moisture through cracks, porous concrete, or seams. The water finds the easiest way in and usually shows up as wet spots, trickles, or even small streams running down the wall.
Stop the water now, even if you’re just buying time. The goal is to slow or halt active seepage, protect your stuff, and give yourself room to plan a real fix. Every minute water sits against your foundation increases the risk of deeper saturation, mold growth, and damage to finishes like drywall or flooring.
These steps are emergency measures. They’ll reduce immediate damage but they don’t replace permanent waterproofing or drainage work. Once the active leak slows, you can assess the source and decide on lasting repairs.
Five immediate steps to stop or slow basement wall seepage:
-
Redirect downspouts and roof runoff. Walk the perimeter and move downspout extensions at least 6 feet away from the foundation. If water’s pooling near the house, use temporary gutters, tarps, or sandbags to divert flow.
-
Clear exterior drains and window wells. Remove leaves, mud, or debris blocking foundation drains or basement window wells. Clogged drains trap water against the wall.
-
Plug active leaks with hydraulic cement. Mix hydraulic cement (it sets in 3 to 5 minutes even under water) and press it firmly into the crack or hole from the inside. Hold it in place while it hardens. We’ve packed hydraulic cement into a basement tie rod hole while water was still dripping through. It stopped the flow in less than five minutes.
-
Run a dehumidifier and fans. Start a dehumidifier to reduce indoor humidity and prevent condensation that can make the moisture look worse. Aim fans at wet walls to speed surface drying.
-
Pump or vacuum standing water. Use a wet/dry vacuum or submersible pump to remove pooled water from the floor. Don’t use electrical equipment while standing in water. Confirm GFCI protection or turn off power first.
Main Causes of Basement Wall Water Intrusion
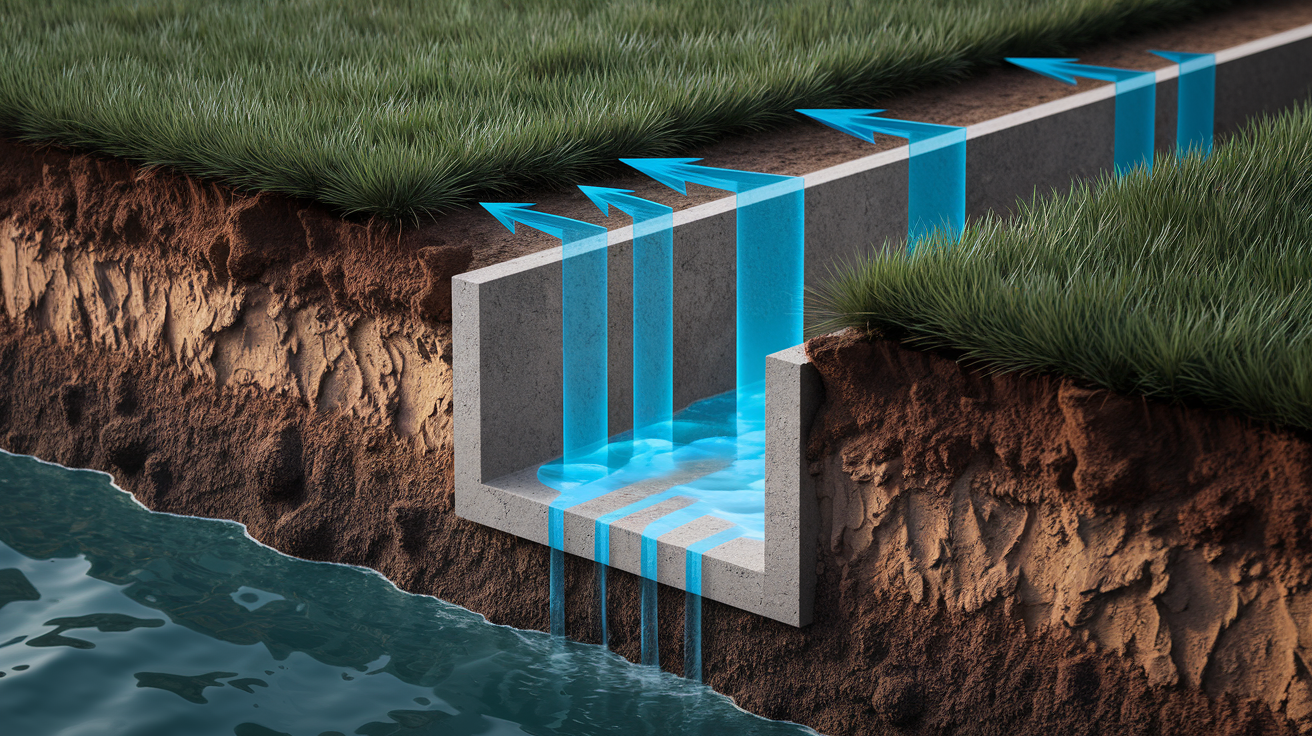
Rain and snowmelt saturate the soil around your foundation. When that soil can’t drain away quickly, pressure builds. That hydrostatic pressure pushes water through any weak point in the wall: cracks, porous concrete, mortar joints, or cold joints where the footing meets the wall. Clogged gutters overflow and dump thousands of gallons of roof runoff right next to the foundation. Poor grading slopes water toward the house instead of away. High groundwater tables rise after heavy storms and press upward against basement floors and walls.
Structural weaknesses make intrusion easier. Hairline settlement cracks widen over time. Porous block or old concrete wicks moisture. Rod holes left from form ties create direct channels. The seam where the basement wall meets the floor is a common entry point because it’s a cold joint, not a solid bond. Older homes may have no exterior waterproofing membrane at all, leaving bare concrete exposed to wet soil.
Water finds the easiest path. Diagnosing which path it’s using (surface runoff, a crack, or rising groundwater) determines which fix will work.
How to Identify the Exact Entry Point of Basement Wall Leaks
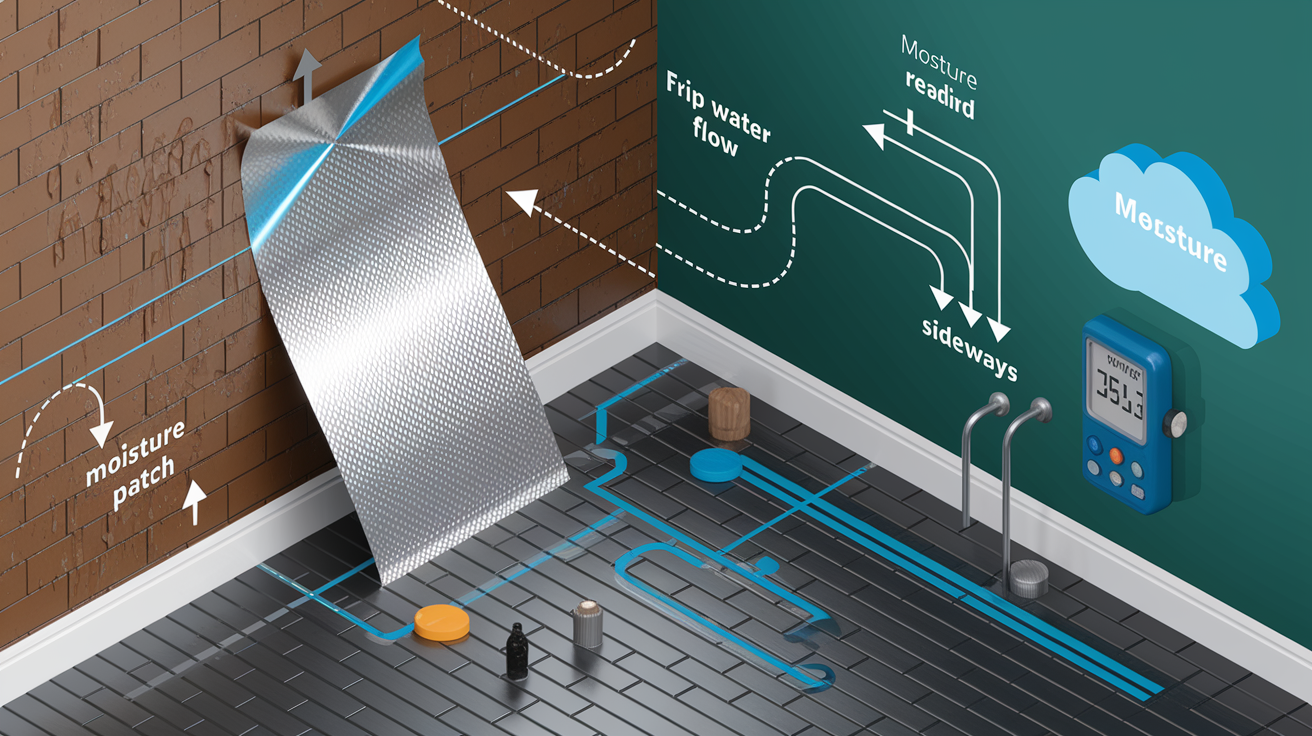
Water often travels along the inside face of the wall or behind finishes before it appears as a wet spot. A damp patch on the wall may be several feet away from the actual crack or seam where water entered. Trace the flow upward and sideways to find the source, and confirm whether the moisture is seepage or condensation.
Six diagnostic checks to locate the entry point:
Inspect mortar joints and horizontal cracks at mid height or near the top of the wall. Water under pressure often enters here first.
Touch the wall in multiple spots and note whether moisture is localized or spread across a broad area. A single wet streak usually points to a crack. Widespread dampness suggests porous concrete or condensation.
Trace flow patterns on the floor. Water running toward a floor drain or pooling at the wall/floor joint shows where gravity is pulling it, which can help locate the entry crack upstream.
Test for condensation by taping a square of aluminum foil to the wall and waiting 24 hours. If moisture forms on the outside of the foil, the source is indoor humidity. Moisture behind the foil means water is coming through the wall.
Check the wall/floor joint (cove joint) closely. This seam is a frequent leak point and often appears damp or stained even when the wall above looks dry.
Review recent weather. If the wall only leaks during heavy rain or snowmelt, the source is likely exterior drainage failure or surface runoff, not rising groundwater.
Interior Repair Methods for Stopping Water Intrusion
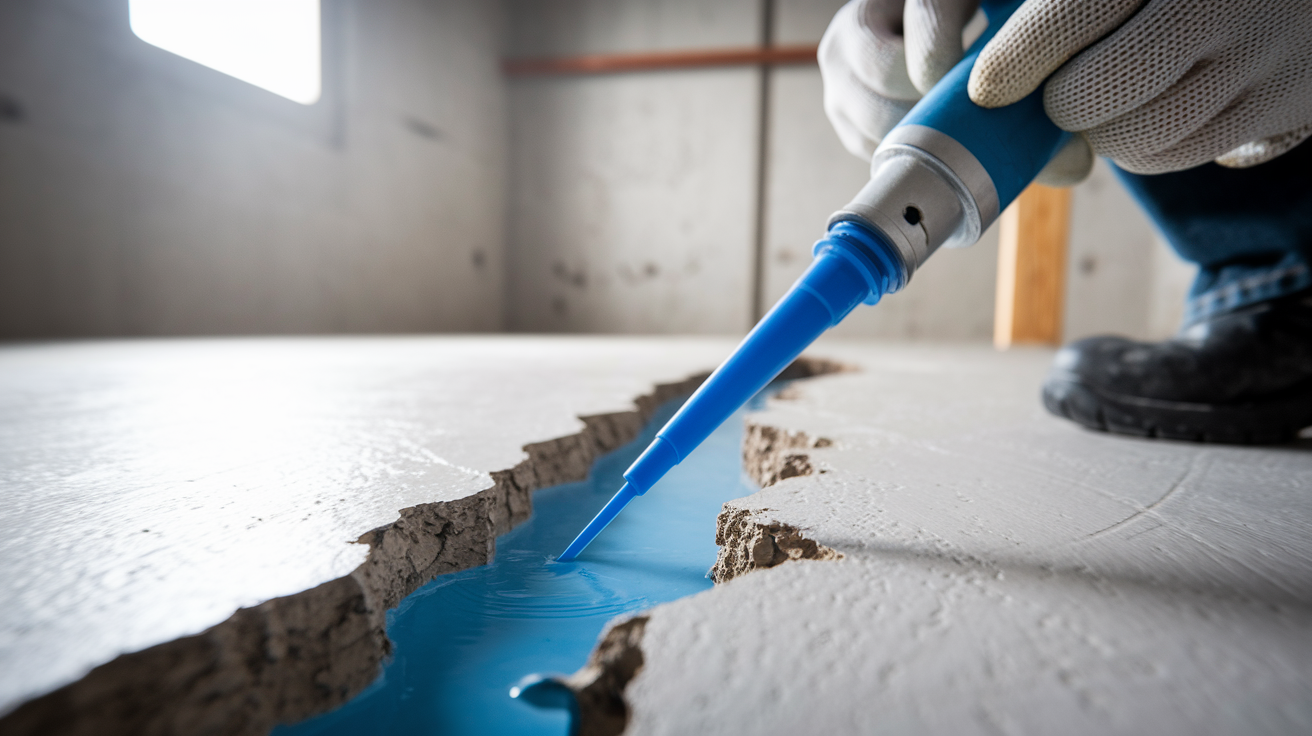
Interior repairs address water after it has entered the wall, either by sealing the crack from the inside or by applying a barrier coating to slow moisture transmission. These methods work well when hydrostatic pressure is moderate and the wall is otherwise stable. They’re faster and less expensive than exterior excavation.
Waterproof sealants and masonry coatings reduce seepage through porous concrete. Cementitious waterproofing paint fills surface pinholes and creates a moisture barrier. Polymer modified coatings add flexibility. Apply two coats after wire brushing the wall and cleaning off any white powder (efflorescence). Let each coat cure 24 to 48 hours. These coatings slow water vapor and minor seepage but won’t stop active leaks under high pressure.
Crack Repair Options
Epoxy injection bonds the crack shut and restores structural strength. Installers drill ports along the crack, inject two part epoxy resin under pressure, and let it cure for 12 to 24 hours. The result is a rigid repair that stops water and reunites the concrete. Epoxy works best on dry or slightly damp cracks and is the choice for structural repairs.
Polyurethane (urethane) injection is designed for active leaks. The foam resin expands on contact with water, filling voids and forming a flexible, waterproof seal. It cures in 1 to 24 hours depending on the product. Polyurethane injection kits cost roughly $50 to $250 and are effective when water is still flowing. The repair stays flexible, so it tolerates minor wall movement without re cracking.
When hydrostatic pressure is high or the wall shows signs of bowing or movement, interior crack repair alone may not hold. In those cases, exterior drainage or structural stabilization is needed before sealing cracks from the inside.
Exterior Drainage and Foundation Solutions
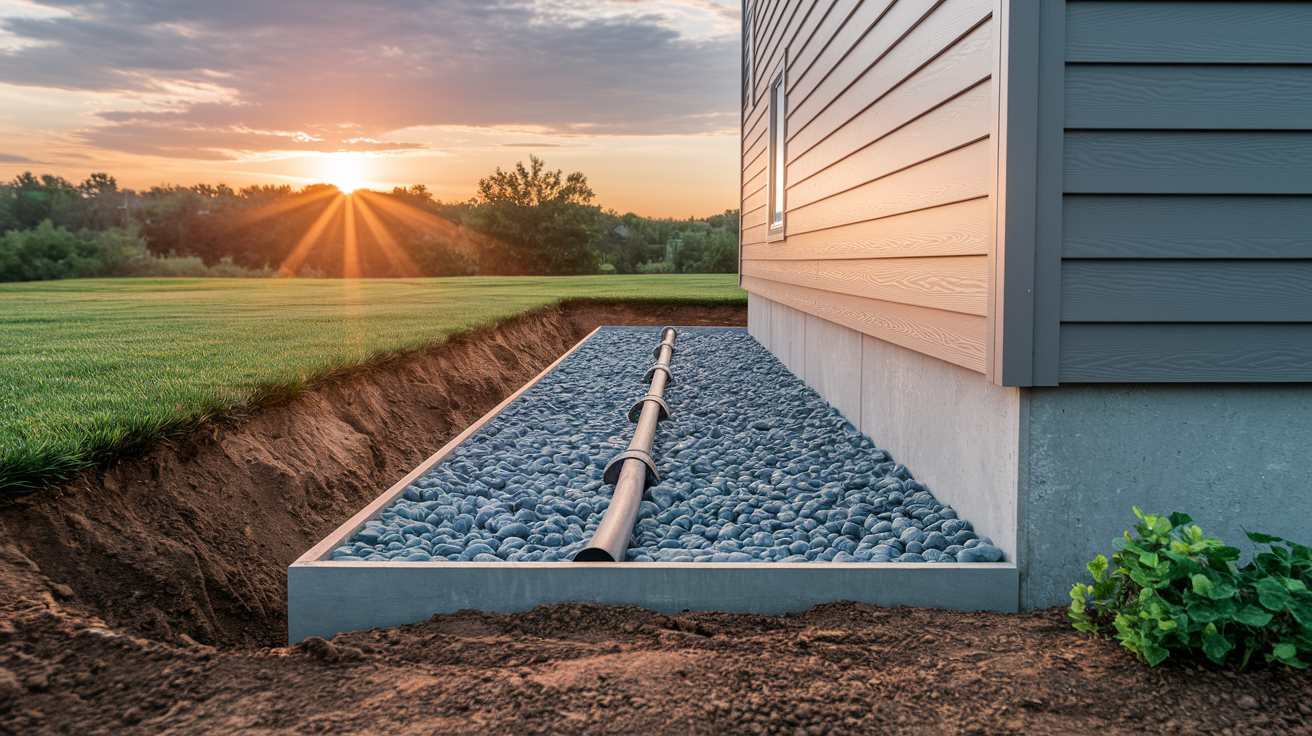
Exterior waterproofing stops water before it touches the wall. A waterproof membrane applied to the outside face of the foundation creates a continuous barrier. Drainage systems (French drains, weeping tiles, or perforated pipe) collect groundwater and carry it away from the foundation, lowering hydrostatic pressure and keeping soil drier.
Excavation is required for most exterior work. Contractors dig down to the footing, clean the wall, apply a rubberized asphalt or bentonite membrane, install perforated drainage pipe in a gravel bed, and backfill with free draining soil. The pipe slopes to daylight or connects to a sump system. This approach is permanent and highly effective for chronic seepage, but it’s labor intensive and disrupts landscaping.
| Solution | Primary Benefit | Typical Lifespan |
|---|---|---|
| Exterior waterproof membrane | Blocks water at the source; protects wall surface | 20–30+ years |
| Exterior excavation and drainage | Reduces hydrostatic pressure; permanent fix for chronic leaks | 25–40 years (pipe and membrane) |
| Weeping tile / drain tile system | Collects and diverts groundwater away from footing | 30–50 years (depending on soil and pipe material) |
| French drain (exterior) | Intercepts surface and subsurface water; lowers water table near foundation | 20–30 years |
| Soil regrading | Directs roof and surface runoff away from foundation; simple and low cost | Indefinite (requires periodic maintenance) |
Regrading the soil is the simplest exterior fix. Slope the ground so it drops at least 6 inches over the first 10 feet away from the foundation. Extend downspouts 6 to 10 feet from the house using buried extensions or splash blocks. Clear mulch and soil away from the foundation wall to prevent water from pooling. These steps reduce the volume of water that ever reaches the wall and often eliminate minor seepage without further work.
Long Term Basement Waterproofing Strategies and Maintenance
Preventing water intrusion is easier than repairing it. Maintain gutters and downspouts by cleaning them at least twice a year, spring and fall. Clogged gutters overflow and dump concentrated runoff next to the foundation, the exact scenario that causes seepage. Check that downspout extensions remain in place and still direct water well away from the house. Extensions can shift, get mowed over, or fill with debris.
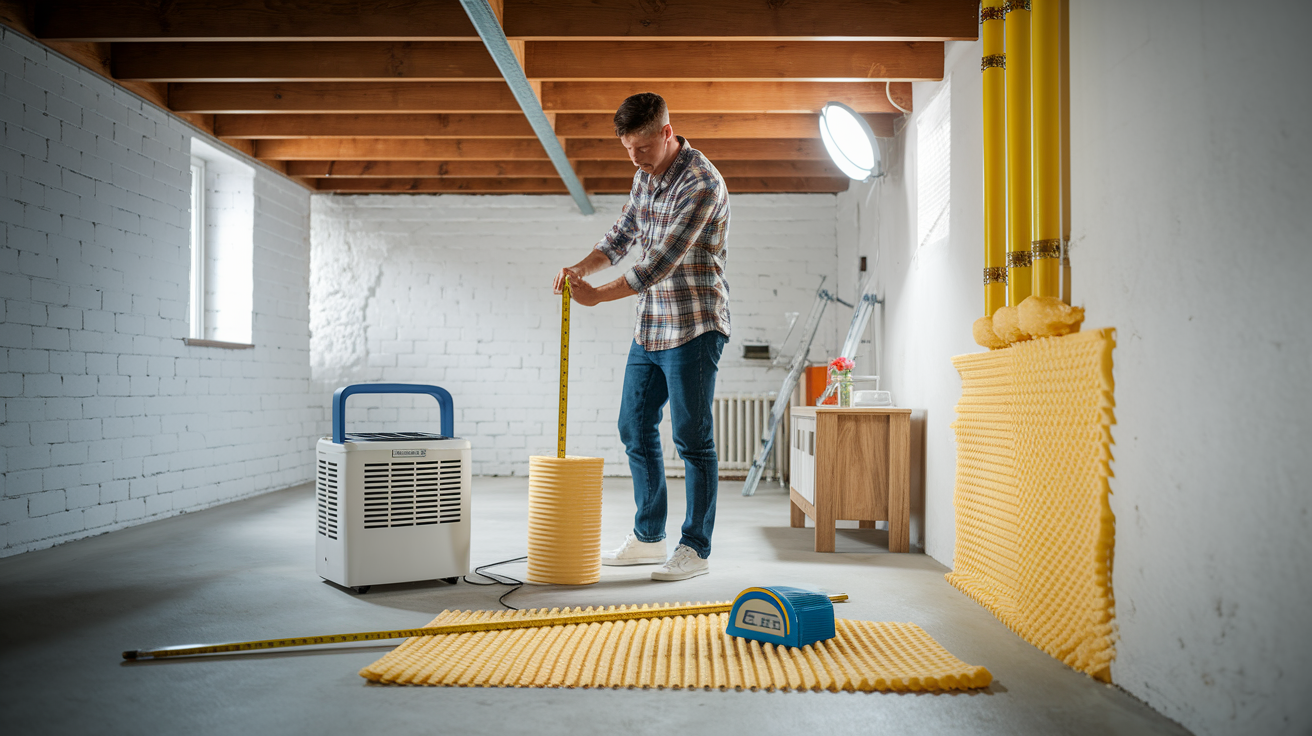
Inside the basement, control humidity to prevent condensation that mimics or worsens seepage. Run a dehumidifier when indoor humidity exceeds 50 to 60%. Seal dryer vents with foil tape (not cloth duct tape). Use exhaust fans in bathrooms. Insulate cold water pipes with foam sleeves to stop condensation drips. Condensation on walls and pipes adds moisture load and can lead to mold even when no water is entering from outside.
Check soil grading and landscaping each spring. Settling soil, new plantings, or erosion can reverse a proper slope. Fill sunken areas near the foundation and restore the 6 inch drop over 10 feet. Keep mulch, decorative stone, and planting beds at least 6 inches away from the foundation wall so they don’t trap moisture or create a dam.
Cost Overview and When to Call a Professional

Interior crack injection using epoxy or polyurethane typically costs $300 to $800 per crack when done by a professional, depending on crack length and accessibility. DIY injection kits range from $50 to $400 and require careful surface prep, port installation, and proper mixing. Hydraulic cement and waterproof coatings are inexpensive ($5 to $60 per application) but only address surface seepage or small leaks. Interior perimeter drain systems (a trench, perforated pipe, sump pump, and backfill) run $1,000 to $5,000 installed, depending on basement size and whether you add battery backup to the pump.
Exterior waterproofing is the most expensive but also the most permanent solution. Full excavation, membrane application, and exterior drainage installation commonly costs $8,000 to $20,000 or more. Costs climb when deep excavation is needed, access is limited, or underpinning and structural work are required. Warranties on professional waterproofing range from 2 to 10 years and should cover both labor and materials. Confirm coverage details before work begins.
Five warning signs that professional help is necessary:
Walls are bowing inward, bulging, or show horizontal cracks longer than a few feet, indicating structural movement or soil pressure.
Water enters rapidly during or after rain, filling the basement faster than you can remove it with a shop vacuum.
Previous DIY repairs have failed repeatedly, or new cracks continue to appear near old repairs.
The foundation shows signs of shifting, such as stair step cracks in block walls, separated corners, or gaps between the wall and floor slab.
Persistent mold, musty odors, or efflorescence return within weeks of cleaning, signaling ongoing moisture intrusion that surface fixes can’t resolve.
Final Words
Water’s seeping through the wall, so first stop the flow, plug active leaks with hydraulic cement, and move water away from the foundation.
We covered common causes like poor grading, clogged gutters, and hydrostatic pressure, how to find the entry point, interior repairs such as epoxy or hydraulic cement, and exterior fixes like French drains and regrading.
If you want clear next steps on how to stop water from coming through basement walls, start with the quick fixes, document the damage, and plan permanent drainage. You’ll stop more damage and get the space rebuilt.
FAQ
Q: How to stop water from coming through a basement wall? Will flex seal stop basement leaks?
A: Stopping water from coming through a basement wall requires quick drainage and pressure relief; redirect downspouts, clear drains, apply hydraulic cement for active leaks, and call a pro—Flex Seal is only a temporary patch, not a permanent fix.
Q: Will insurance cover leaking basement walls?
A: Whether insurance covers leaking basement walls depends on your policy; sudden, accidental damage like a burst pipe is often covered, while gradual seepage or maintenance issues usually aren’t—document damage and contact your adjuster.
Q: Why is water seeping into my basement after heavy rain?
A: Water seeping into your basement after heavy rain is usually from saturated soil and rising hydrostatic pressure, poor grading, clogged gutters, or wall cracks; check exterior drains and downspouts first.