
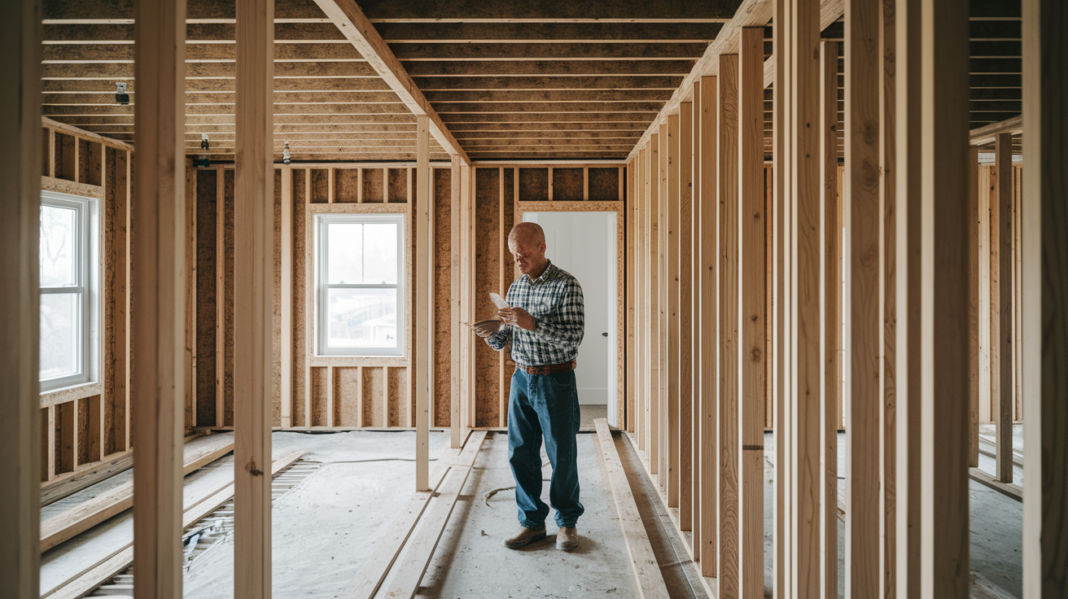

Thinking a quick gut and rebuild will magically fix your layout and systems?
It won’t unless you plan for structure, hazmat (hazardous materials like asbestos or lead), permits, and hidden surprises.
Interior demolition strips a space to the studs while the exterior shell stays standing.
This guide shows what happens at each step, typical per‑square‑foot costs, the inspections and tests you need, and the safety and permitting traps that stall projects.
Read on so you can budget time, avoid surprises behind walls, and rebuild without costly do-overs.
Core Overview of the Interior Demolition and Rebuild Process
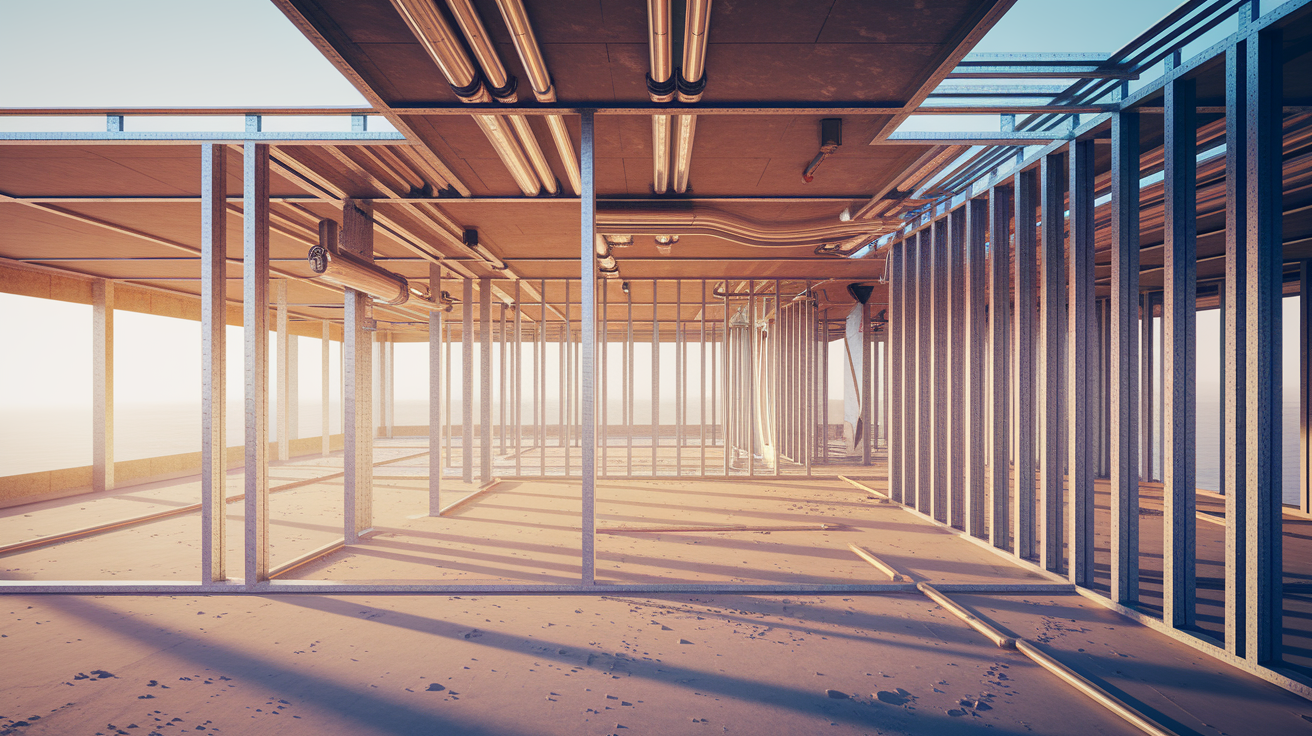
Interior demolition strips part or all of a building’s interior down to the framing while keeping the exterior shell intact. It’s different from surface renovations (paint, fixtures, cosmetic updates) and full demolition (tearing down the entire structure). You’ll see this approach when a building’s structure is solid but the layout, systems, or finishes don’t work anymore.
The process moves through several phases. First comes assessment and hazmat testing. Then you’ve got the actual demolition, where walls, floors, ceilings, and MEP components (mechanical, electrical, plumbing) get stripped out. Debris gets sorted, hauled, and recycled when possible. After the space is cleared, structural repairs or framing changes happen, followed by new MEP installation, insulation, drywall, and finishes. Final inspections make sure everything meets code before anyone can move in.
Cost for basic interior demolition runs about $4 to $8 per square foot. That’s for straightforward work like tearing out finishes and non-structural partitions. Full gutting with structural elements, selective wall removal, or heavy MEP stripping usually lands between $8 and $25 per square foot. Timeline depends on size and complexity. Small interior jobs might wrap demo and cleanup in one to four weeks, while mid-size commercial projects can stretch demolition alone into two to eight weeks. The rebuild phase adds several more months.
Here’s what you’re looking at for major phases:
- Assessment and inspections: structural review, hazmat testing, existing condition documentation
- Permitting and site logistics: demo permits, utility disconnect approvals, dumpster delivery, neighbor notification
- Hazardous material abatement: professional removal of asbestos, lead paint, or mold before demo starts
- Interior demolition and gutting: stripping walls, ceilings, floors, and MEP down to framing or structural shell
- Structural repairs and framing: reinforcing or modifying load bearing elements, adding new partitions, shoring when needed
- MEP installation, insulation, drywall, and finishes: rough-in for electrical, plumbing, HVAC, insulation upgrades, drywall, paint, flooring, trim
Planning an Interior Demolition and Rebuild: Assessments, Inspections, and Structural Decisions

Early inspections set up everything that follows. A structural engineer or qualified building pro should check the existing framing, foundation, and roof to spot load bearing walls, settlement problems, and hidden rot or insect damage. At the same time, testing for asbestos, lead paint, and mold is critical before any demo begins. Walls and ceilings often hide these materials, and disturbing them without proper abatement creates serious health risks and legal trouble.
Load bearing walls need careful planning. Pull one without proper support and you’re looking at sagging floors, cracked ceilings, or worse. Non-load bearing partitions usually come down with less structural worry, but even those often house electrical wiring, plumbing supply lines, vent ducts, and drain stacks. An engineered demo plan confirms which walls can be removed safely, what temporary shoring you need, and how utilities get rerouted. Skip this step and you’re inviting expensive surprises mid project. Hidden HVAC chases, unexpected beam placement, plumbing that isn’t where the plans said it would be.
Critical early assessments before demolition:
- Structural review by a licensed engineer to identify load bearing elements and confirm framing integrity
- Hazmat testing for asbestos, lead based paint, and any mold or contamination requiring abatement
- Utility mapping to locate gas, water, electrical, and sewer lines running inside walls, floors, and ceilings
Permits, Regulations, and Code Compliance in an Interior Demolition and Rebuild

Most jurisdictions require a demolition permit before you strip interior walls or remove structural elements. You’ll also need building permits for the rebuild phase, plus separate permits or approvals for electrical, plumbing, and HVAC work. If hazmat like asbestos or lead paint shows up, notification or clearance from environmental health authorities may be mandatory. Skip permits and you’re risking stop work orders, fines, trouble selling the property later, and insurance headaches if something goes wrong.
Code compliance goes beyond the demo itself. When you rebuild, the space has to meet current building codes. That often means upgraded fire protection, accessible routes (ADA compliance for commercial projects), smoke and carbon monoxide detectors, energy codes, and proper egress. Even if the original building was grandfathered under older standards, triggering a major renovation can force you to bring everything up to current requirements. Plan for this in your budget and timeline. Permit reviews and code driven upgrades can delay schedules by two to eight weeks or more, depending on project complexity and how efficient your local building department runs.
| Permit Type | Typical Purpose | Potential Delay Range | Notes |
|---|---|---|---|
| Demolition permit | Authorization to remove interior walls, finishes, or structural components | 1–4 weeks | Required in most jurisdictions; may need engineered drawings for structural work |
| Building permit (rebuild) | Covers framing, MEP rough-in, drywall, and finishing | 2–8 weeks | Triggers plan review; inspections at framing, rough-in, and final stages |
| Utility disconnect approvals | Permission from gas, electric, water, or sewer utility to shut off or cap service lines | 1–3 weeks | Coordination required; delays if utility crews are backlogged |
| Asbestos/lead notification | Environmental or health department clearance before disturbing hazardous materials | 1–4 weeks | State and local rules vary; abatement must be completed by certified contractors |
Interior Demolition Methods and Safety Requirements

Selective demolition strips specific elements (walls, ceilings, flooring) while preserving the rest of the structure. It’s common in tenant fit-outs, office reconfigurations, and historic restorations where the goal is opening space or changing circulation without losing the building shell. Full interior gutting takes everything down to the studs or structural frame, clearing the way for a complete rebuild. The method you choose depends on how much you’re keeping versus replacing, and whether structural modifications are planned.
Safety on an interior demolition site follows OSHA level standards, even if the project is residential. Workers need personal protective equipment: hard hats, safety glasses, gloves, respirators when dust or hazmat are present, and hearing protection around loud equipment. The site should have engineered shoring plans if load bearing walls are being removed or floors are compromised. Dust control is critical, both for worker health and to prevent particulates from spreading into occupied areas or neighboring units. Negative air machines equipped with HEPA filtration create controlled airflow, pulling dust into filters instead of letting it escape.
Major hazards in interior demo include confined working spaces with limited escape routes, the risk of striking hidden utilities (electrical lines, gas pipes, water supply), and the potential for floor or ceiling collapse if structural support is removed improperly. Hand strip methods using pry bars, reciprocating saws, and sledgehammers allow precise control and reduce the chance of damaging utilities or framing you want to keep. Heavy equipment like skid steers or small excavators can speed up larger gutting jobs, but they require adequate floor load capacity and access.
Protective measures that should be in place during interior demo:
- Engineered demolition plan and site specific safety plan reviewed by a qualified professional
- Personal protective equipment (PPE) for all workers: hard hats, eye protection, respirators, gloves, steel toed boots
- Dust containment using plastic barriers, sealed doorways, negative air machines, and HEPA filtration
- Temporary shoring and bracing to support floors, ceilings, or walls during selective removal
Debris Removal, Recycling, Salvage, and Waste Management During Interior Demolition
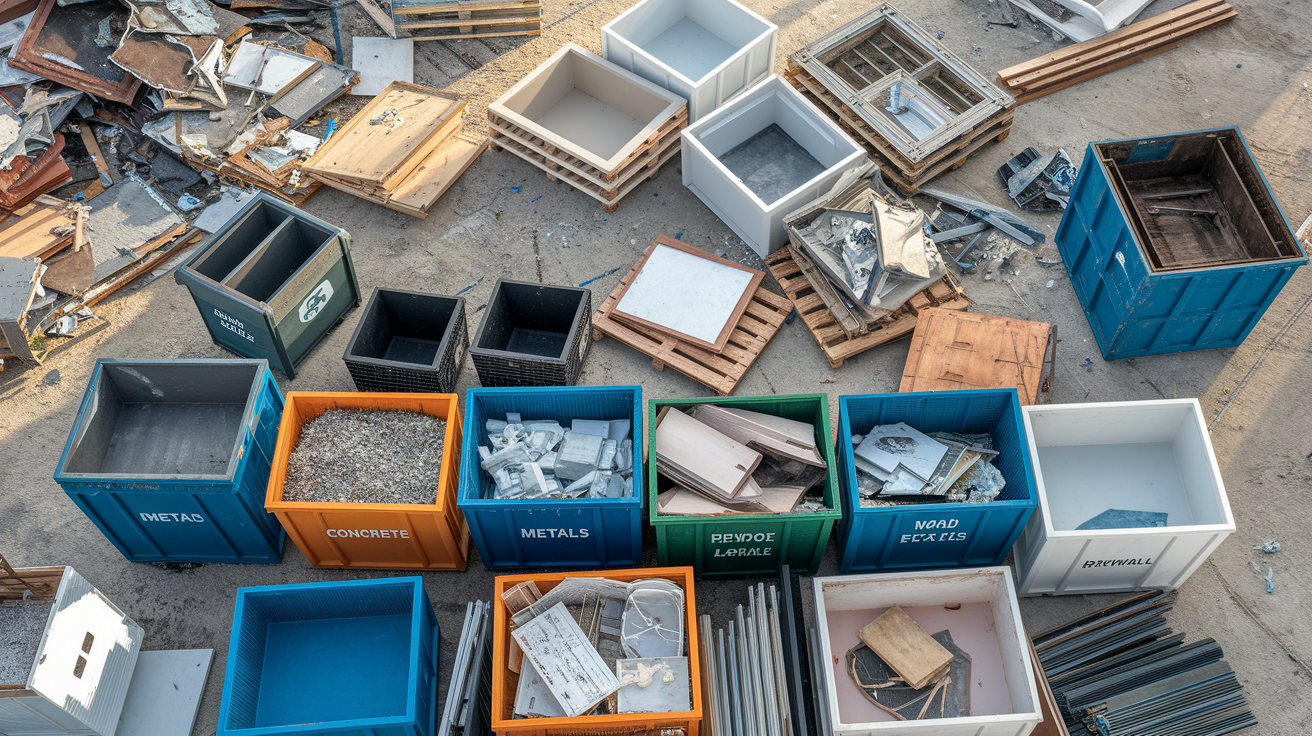
Debris from an interior gut piles up fast. A thousand square feet of interior can generate multiple cubic yards of drywall, flooring, framing lumber, old fixtures, and scrap metal. Most contractors use roll-off dumpsters ranging from 10 to 40 cubic yards, with larger projects requiring multiple hauls or on-site sorting. Waste management isn’t just about hauling everything to the landfill. It’s about sorting materials for recycling, salvage, and disposal to reduce cost and environmental impact.
Recyclable streams include concrete and masonry (crushed for aggregate or road base), metal (steel framing, copper pipe, aluminum ductwork sold to scrap yards), and clean wood (dimensional lumber, joists, trim that can be reused or chipped for landscaping). Drywall can sometimes be recycled into new gypsum products if it’s free of paint and contaminants. Fixtures like cabinets, doors, and architectural details often have salvage value. Historic restorations may preserve original molding, hardware, or decorative elements for reinstallation, and even standard fixtures can be donated or sold to reclaim yards. Sorting on-site speeds recycling and can reduce disposal fees. Mixed loads sent to landfills cost more per ton than clean, separated materials delivered to recyclers.
- Concrete and masonry: crushed on-site or hauled to recycling facilities for aggregate
- Metals: steel, copper, aluminum separated and sold to scrap yards, often generating salvage credit
- Clean wood: dimensional lumber, joists, and trim reused, donated, or processed into mulch
- Drywall: recyclable into new gypsum board if unpainted and uncontaminated
- Fixtures and architectural elements: cabinets, doors, molding, hardware salvaged for reuse or donation
Rebuilding After Interior Demolition: Framing, MEP, Insulation, and Finishing Stages
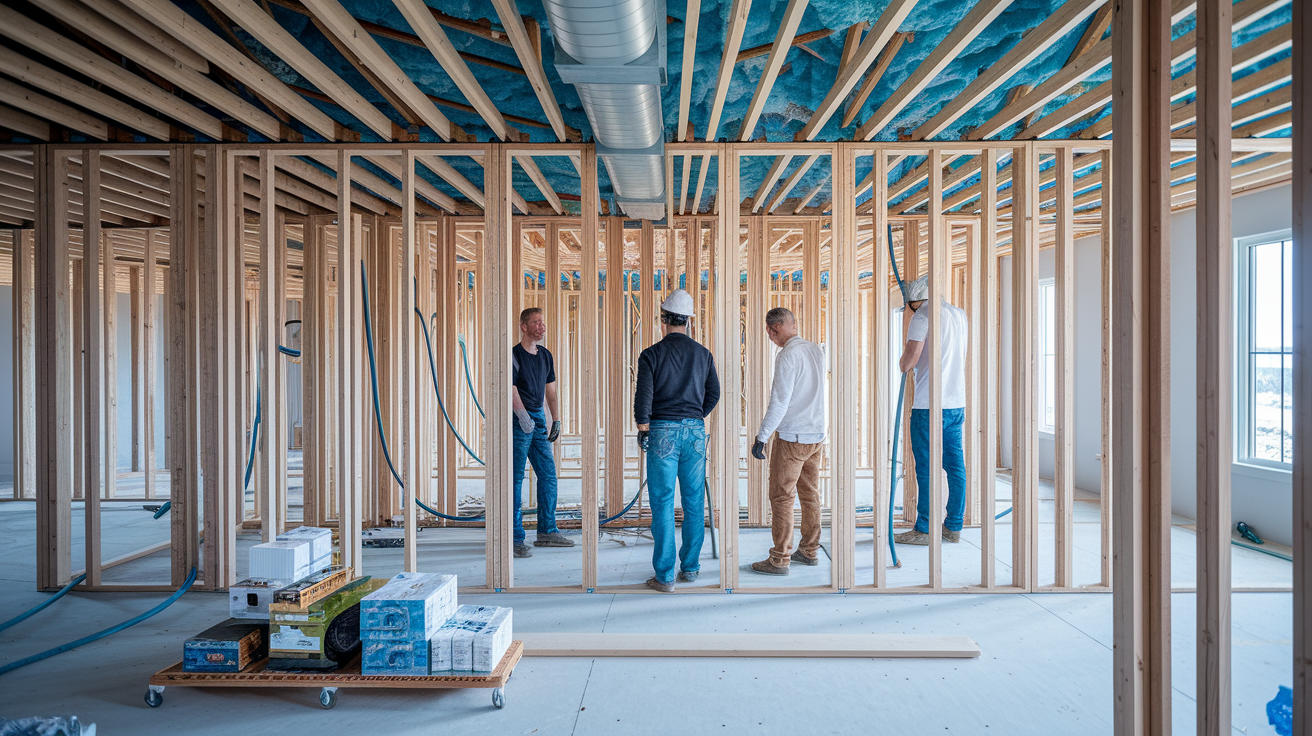
Once the space is cleared and any structural repairs are done, the rebuild begins with framing. New partition walls go up, openings are framed for doors and windows, and any load bearing modifications are reinforced per the engineer’s drawings. Framing sets the layout for the rest of the project, so getting walls square, plumb, and at the right dimensions matters. Mistakes here ripple forward. Cabinets won’t fit, doors bind, finish trim gaps.
Next come the rough-ins for mechanical, electrical, and plumbing. Electricians run new circuits, install junction boxes, and pull wire for outlets, switches, and lighting. Plumbers route supply lines and drain stacks for sinks, toilets, and fixtures. HVAC contractors replace ductwork, install new equipment, and balance airflow. MEP rough-in is where complexity and cost can climb. Older buildings often need service upgrades, panel replacements, or entirely new distribution systems to meet current codes and loads. Coordination between trades is critical. A plumber cutting through a joist the electrician needed, or ductwork blocking a beam pocket, can cause rework and delays.
After rough-ins pass inspection, insulation goes in. This is the time to upgrade energy performance by adding spray foam, dense-pack cellulose, or high R batt insulation in walls and ceilings. Then drywall is hung, taped, mudded, and sanded smooth. Finishing stages follow: paint, flooring (tile, hardwood, carpet, LVP), trim and baseboards, cabinet and fixture installation, final electrical and plumbing connections, and any specialty finishes like backsplashes or custom millwork. The rebuild phase often costs hundreds of dollars per square foot, depending on finishes, MEP complexity, and code driven upgrades.
| Rebuild Stage | Main Tasks | Typical Trade Required |
|---|---|---|
| Structural repairs and framing | Reinforce foundations, install beams, frame new partitions, openings | Carpenters, structural engineer oversight |
| MEP rough-in (electrical) | Run wire, install boxes, panel upgrades, circuit distribution | Licensed electrician |
| MEP rough-in (plumbing) | Route supply and drain lines, vent stacks, fixture placement | Licensed plumber |
| MEP rough-in (HVAC) | Install ductwork, equipment, registers, balance airflow | HVAC contractor |
| Insulation and drywall | Insulate walls/ceilings, hang and finish drywall, prime surfaces | Insulation installer, drywall contractor |
| Finishes and trim | Paint, flooring, cabinets, trim, fixtures, final connections | Painters, flooring installers, finish carpenters, electricians, plumbers |
Cost Structure and Budgeting for an Interior Demolition and Rebuild

Understanding where the money goes helps you plan a realistic budget. Demolition itself (stripping walls, pulling out fixtures, hauling debris) typically runs $4 to $15 per square foot for straightforward interior work. If the project involves selective removal of structural elements, heavier debris like tile or concrete, or extensive MEP stripping, expect $8 to $25 per square foot. Hazmat abatement adds significant cost. Asbestos removal commonly ranges from $5 to $20 or more per square foot, depending on the type of material, containment requirements, and disposal regulations. Lead paint abatement and mold remediation carry similar pricing dynamics.
Permits and professional fees vary by location and project complexity. Permit fees can range from $100 for minor work up to several thousand dollars for large commercial projects, often calculated as a percentage of the project’s declared value. Structural engineering reports typically cost $500 to $2,500 or more, depending on the scope and whether you need stamped drawings for load bearing modifications. Plan review, special inspections, and impact fees in some jurisdictions add further line items.
A smart budget includes contingency for hidden conditions. Mold behind drywall, outdated wiring that needs replacement, or framing rot that wasn’t visible until walls came down. Most experienced contractors and project managers recommend holding 10 to 25 percent of the total project cost in contingency. The lower end works for well documented buildings with recent inspections. The higher end is smart for older structures or projects with incomplete records.
Primary budget categories for an interior demolition and rebuild:
- Demolition labor and equipment (hand tools, skid steer, dumpsters, hauling)
- Hazmat testing and abatement (asbestos, lead, mold if present)
- Permits, engineering reports, plan review, and inspection fees
- Structural repairs, framing materials, and temporary shoring
- New MEP systems (electrical panel, wiring, plumbing, HVAC equipment and ductwork)
- Insulation, drywall, finishes, flooring, paint, trim, and fixtures
- Debris disposal and recycling fees, less any salvage credits for scrap metal or reusable materials
Timeline Expectations for Interior Demolition and Rebuild Projects

Small projects (single unit apartments, small offices up to around 1,000 square feet) often complete demolition and debris removal in one to four weeks. The rebuild phase, including MEP rough-in, drywall, and finishes, typically adds one to three months, depending on finish complexity and inspection scheduling. Mid-size projects spanning 1,000 to 10,000 square feet generally take two to eight weeks for demolition and abatement, followed by three to nine months for the rebuild and fit-out. Large commercial interiors, adaptive reuse projects, or buildings with extensive structural modifications can stretch timelines to twelve months or more from start to final certificate of occupancy.
Coordination is the biggest driver of schedule reliability. Sequencing trades so electricians aren’t waiting on plumbers, or drywall crews aren’t delayed by late HVAC duct installation, requires active project management. Material lead times also matter. Custom millwork, specialty fixtures, or long-lead mechanical equipment can add weeks if not ordered early. Inspections create natural pauses. Framing must pass before insulation goes in, rough-ins must pass before drywall closes walls, and final inspections gate occupancy.
Phased scheduling can keep parts of a building operational while others are under construction, but it adds complexity. You’ll need temporary barriers, dust control between occupied and construction zones, and careful coordination of utilities to avoid shutting down active spaces. Seasonal factors can influence interior work less than outdoor construction, but in places like Arizona, summer heat can stress HVAC systems during rebuild, and monsoon season can complicate debris hauling or exterior access if tarps and openings aren’t managed. Planning buffers into your timeline (especially around permitting, inspections, and material delivery) prevents minor hiccups from becoming major delays.
Residential vs Commercial Interior Demolition and Rebuild Considerations
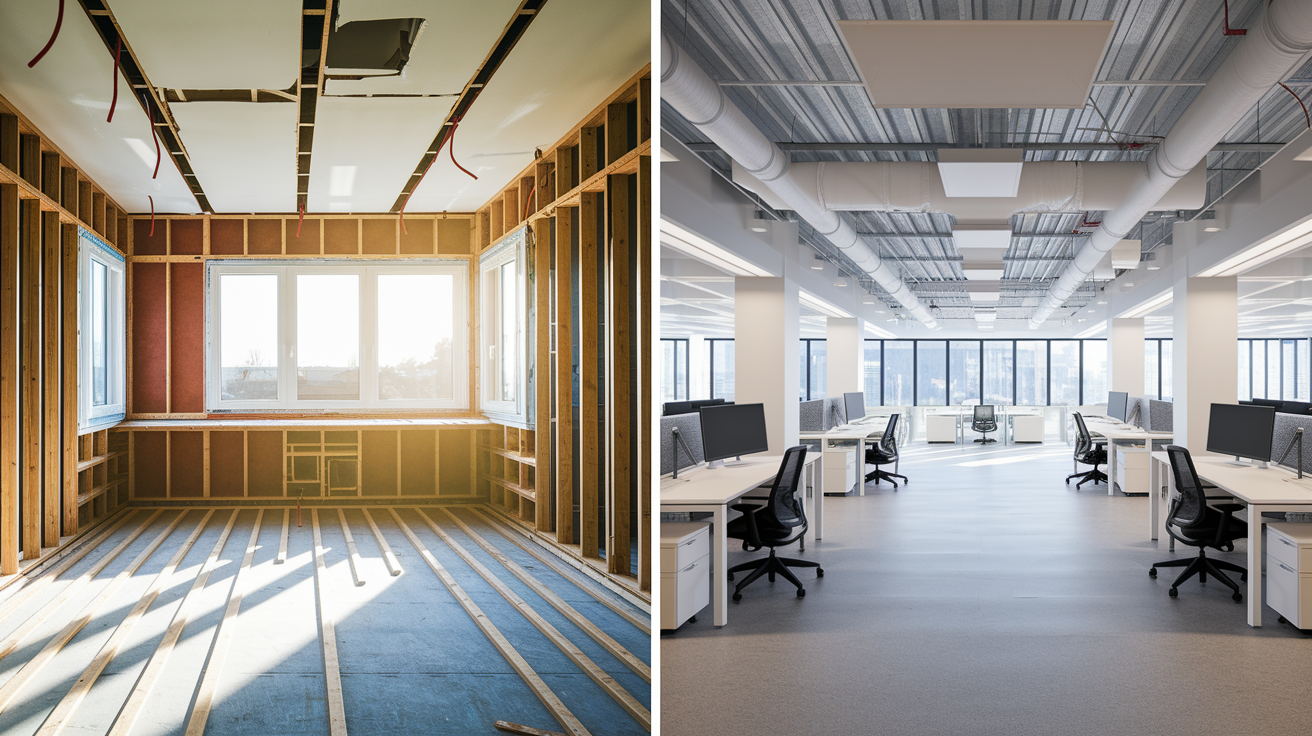
Residential projects often focus on selective gutting. Kitchens down to studs for new layout and appliances, bathrooms stripped to replace old tile and fixtures, or basements finished by framing new walls and adding egress windows. The goal is usually reconfiguring space, updating systems, and improving finishes while keeping the rest of the home intact. Dust and noise matter because people are living nearby or in adjacent units, so contractors use containment barriers, quieter hand tools during certain hours, and careful debris routing to minimize disruption.
Commercial interior demolition and rebuild scales up in scope and regulatory complexity. Office tenant improvements might strip an entire floor to create open workspace, private offices, and upgraded conference rooms. MEP systems are often entirely replaced to meet higher loads and modern efficiency standards. Retail fit-outs must move fast to minimize lost revenue, which means tight schedules, after hours work, and aggressive dust control to protect merchandise and neighboring tenants. Warehouse and industrial interiors involve heavier structural considerations: removing old mezzanines, dock equipment, or refrigeration systems, and reinforcing floors for new racking or machinery loads. Accessibility (ADA), fire egress, and life safety codes are stricter in commercial work, often requiring sprinkler upgrades, accessible restrooms, compliant doorways, and illuminated exit signs even if the original building predated those rules.
Key differences between residential and commercial interior demolition and rebuild:
- Residential: selective room by room gutting, focus on layout optimization and finish upgrades, noise/dust sensitivity for occupied homes, smaller crew sizes, shorter project durations
- Commercial: larger scale strip-outs, strict ADA and fire code compliance, phased work to keep business operating, coordination with property management and neighboring tenants, heavier MEP and structural modifications
- Permitting and inspections: commercial projects face more rigorous code enforcement, including accessibility reviews, fire marshal sign-offs, and special inspections for structural changes
- Timeline and coordination: residential projects can often pause for homeowner decisions; commercial deadlines are driven by lease terms, tenant move-in dates, and revenue loss, demanding tighter schedules and formal project management
Choosing a Contractor for an Interior Demolition and Rebuild

Hiring the right contractor starts with verifying credentials. Confirm the contractor holds a valid general contractor or demolition contractor license in your jurisdiction. Ask for proof of general liability insurance (commonly a minimum of $1 million coverage) and workers’ compensation insurance to protect you if someone is injured on-site. If hazmat is present, the contractor must either hold abatement certification or subcontract to a certified abatement firm. Doing asbestos or lead work without proper credentials is illegal and dangerous.
Experience with projects similar in type and scale matters. A contractor who’s completed office fit-outs will understand coordination with building management, after hours access, and dust control protocols for occupied spaces. One with adaptive reuse or historic restoration work will know how to salvage architectural elements and work around unpredictable conditions. Ask for references and photos of comparable projects, and follow up with past clients to confirm the contractor met schedule, stayed on budget, communicated clearly, and handled surprises professionally.
-
Verify contractor license, general liability insurance (minimum $1M), and workers’ compensation coverage.
-
Confirm certifications for hazmat abatement if asbestos, lead, or mold is present.
-
Request a portfolio of similar interior demolition and rebuild projects, with references you can contact.
-
Review a detailed written scope of work, timeline, and pricing (fixed price or clearly phased cost breakdowns).
-
Evaluate communication style and responsiveness. Projects always hit surprises, and you need a contractor who explains options clearly and keeps you informed.
-
Check that the contractor has relationships with qualified subcontractors (electricians, plumbers, HVAC) and a plan for coordinating trades and inspections.
Common Challenges in Interior Demolition and Rebuild Projects
Hidden conditions are the most frequent source of budget overruns and schedule delays. Walls that look solid can conceal mold from old roof leaks, framing weakened by termites, or asbestos containing drywall joint compound that wasn’t visible until demo started. Once hazmat is discovered, work must stop until certified abatement is complete, adding cost and time. Structural issues (settlement cracks, undersized beams, or rotted sill plates) can require engineering, shoring, and repairs that weren’t in the original scope.
Supply chain delays have become more common in recent years. Long-lead items like custom cabinetry, specialty HVAC equipment, or even standard electrical panels can push schedules out by weeks if not ordered early. Neighbor and utility impacts also create friction. Dust drifting into adjacent units, noise during early mornings, or accidental utility shutoffs can generate complaints, stop work orders, or damage claims. Coordination breakdowns between trades (electricians and plumbers both needing the same wall cavity at the same time, or drywall crews showing up before rough-in inspections pass) stall progress and cost money.
Mitigation strategies for common interior demolition and rebuild challenges:
- Early testing and inspections: invest in hazmat testing and structural review before signing contracts; budget 10–25% contingency for hidden conditions
- Permitting buffer: add two to eight weeks of schedule float for permit reviews, plan corrections, and inspection scheduling
- Proactive communication: notify neighbors, coordinate utility shutoffs in advance, and establish site rules for dust, noise, and access
- Lead time planning: order long-lead materials and equipment early; track deliveries and have backup suppliers identified for critical items
Final Words
Start by stopping active damage, documenting what you see, and getting the right inspections and estimates. Early checks catch hidden problems so you can plan repairs without surprises.
Then move through controlled demolition, debris sorting and salvage, structural fixes, MEP rough-ins, insulation and drywall, and finishes. Keep contingency and timing in your budget and track permits and timelines.
With clear planning, trusted contractors, and solid documentation, your interior demolition and rebuild becomes a steady path back to a comfortable, finished home. You’ll get the space repaired right and ready to use.
FAQ
Q: What is the average cost for interior demolition?
A: The average cost for interior demolition is about $4–$15 per sq ft; selective demo often falls near $4–$8, while full gutting ranges $8–$25 per sq ft depending on scope and hazards.
Q: Is it cheaper to renovate or demolish and rebuild?
A: Renovating is usually cheaper than demolishing and rebuilding, unless the structure needs major repairs, you want a completely new layout, or long‑term value and code upgrades justify a full rebuild.
Q: What is typically included in interior demolition?
A: Interior demolition typically includes removing finishes, cabinetry, fixtures, non‑load partitions, disconnecting utilities, debris hauling, dust containment, and preserving the building’s structural framing for the rebuild.
Q: How much does it cost to demolish and build a home?
A: The cost to demolish and build a home varies widely: demolition $4–$25 per sq ft; rebuilding commonly runs $150–$400+ per sq ft, driven by size, finishes, site work, and MEP complexity.