
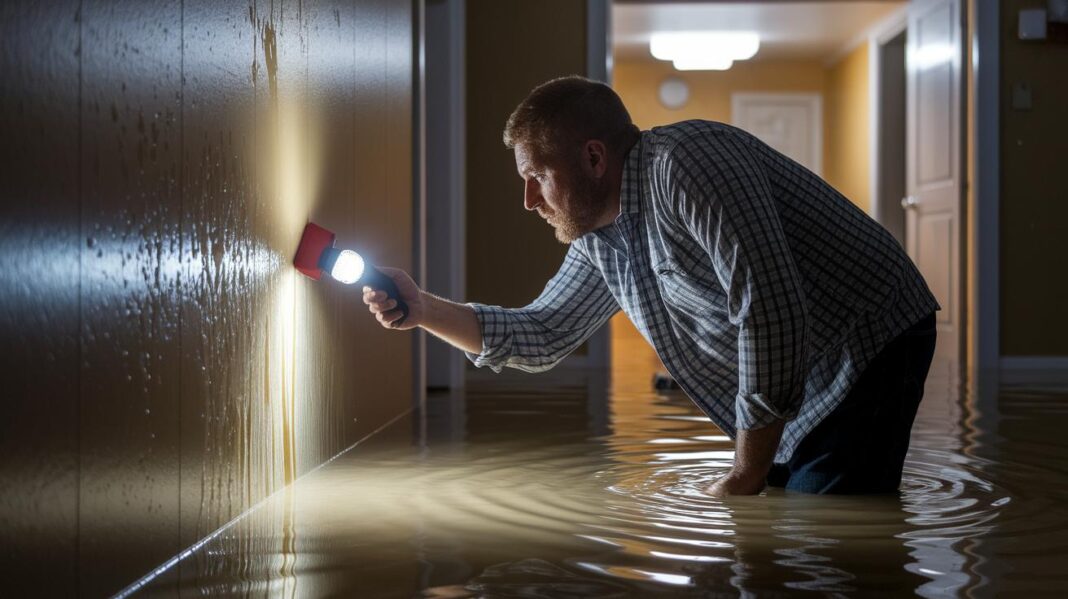

Ever notice how a small delay can turn water damage into a much bigger headache? We know this stress is real. That’s why we’ve put together a simple guide to help you act fast.
Here’s what to do:
- Make sure it’s safe.
- Call your homeowners association.
- File your claim.
- Remove any damaged items.
We walk you through each step in clear, everyday language so you can quickly protect your home. Let’s work together to get your home safe again.
Rebuilding after Water Damage: Step-by-Step to Swift Fix
Right after the incident, we check with your homeowners' association to make sure it’s safe to enter the home. We also confirm if any community rules might change how we repair the damage. Next, you call your insurance company. Most standard policies don’t cover flood damage, so starting your claim early and filing a proof of loss statement is essential. If your insurer confirms flood coverage, you’re already on the right path to recovery.
Once safety and documentation are set, our team moves in to remove the water. We extract water-soaked materials to stop problems like swelling and mold. We then remove damaged flooring, subfloor, and any affected wall parts to prevent hidden moisture from causing more damage. Costs can range between $1,500 and $6,500, depending on how bad the damage is.
After we take out the damaged areas, we start drying the structure. We leave wall cavities open for several weeks and use moisture meters (tools that measure water in materials) to check for dryness. We follow up with air quality tests using portable monitors to ensure no harmful particles remain in the air.
When we confirm that moisture and harmful particles are under control, rebuilding begins. We replace damaged structural parts, flooring, and walls with moisture-resistant materials. We use licensed contractors to make sure the work meets local building standards.
Every step must be done quickly. Delays can let mold grow because water can seep along hidden surfaces. We work fast and carefully to get your home safe and livable again.
Rapid Water Damage Assessment and Safety Measures
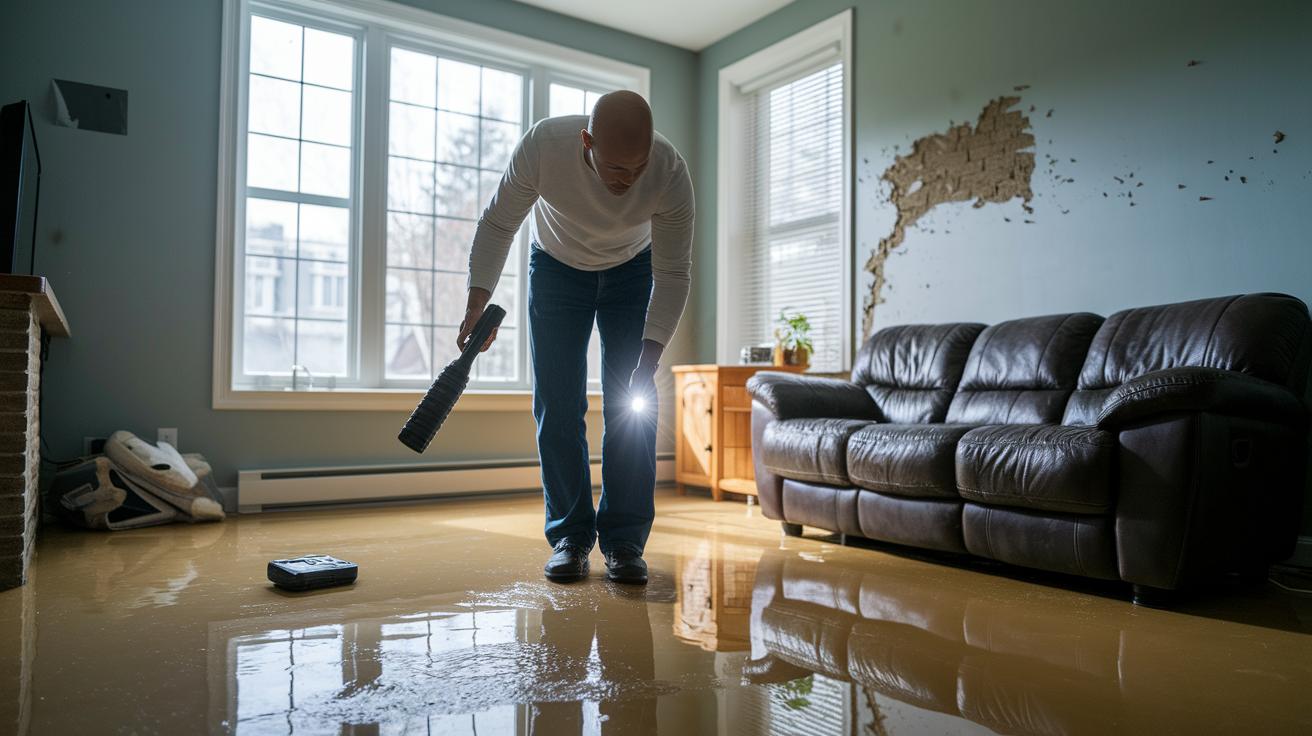
Before you step back into your home, call your homeowners association to make sure the area is safe. Then, turn off the electricity and gas to cut the risk of shock or fire. We do this to secure the scene before any repair work begins.
Once you get the all-clear, walk through your home and check for signs of trouble. Look for drooping ceilings, warped walls, or water near electrical outlets. Use a moisture meter (a tool that shows moisture in materials) to find hidden wet spots behind floors or inside walls. You might notice dark, damp patches that you can’t see with your eyes, signals that water has seeped into the structure.
Take clear photos and videos of every affected area. This documentation helps with your insurance claim and lets you track the progress of repairs.
Follow these steps:
- Check with your homeowners association to confirm safety.
- Turn off the electricity and gas.
- Inspect for structural issues like drooping ceilings and warped walls.
- Use a moisture meter to find hidden water.
- Photograph and video all damage.
These steps help ensure that cleanup starts only after you fully understand where water has intruded and have removed any immediate risks.
Navigating Insurance and Documentation for Water Damage Rebuilding
I'm sorry you're dealing with water damage. First, call your insurance company to check if flood damage is covered (flood damage means damage caused by water). Let them know what happened and any safety steps you took.
Before meeting your adjuster, gather your policy documents. Take clear photos and videos of every area that was affected. This evidence shows the full damage and helps support your claim. Write a detailed proof of loss statement (a list of damaged items and structures) and put together a complete list of repair costs.
Here’s a simple checklist to follow:
- Call your insurer to confirm flood coverage.
- Organize your policy documents so they’re easy to find.
- Take clear photos and videos of all damaged areas.
- File your proof of loss statement quickly.
- Compile a detailed list of damages and repair costs.
Following these steps helps you communicate effectively with your adjuster and secures the funds needed for safe rebuilding.
Water Extraction and Structural Drying Techniques for Rebuilding
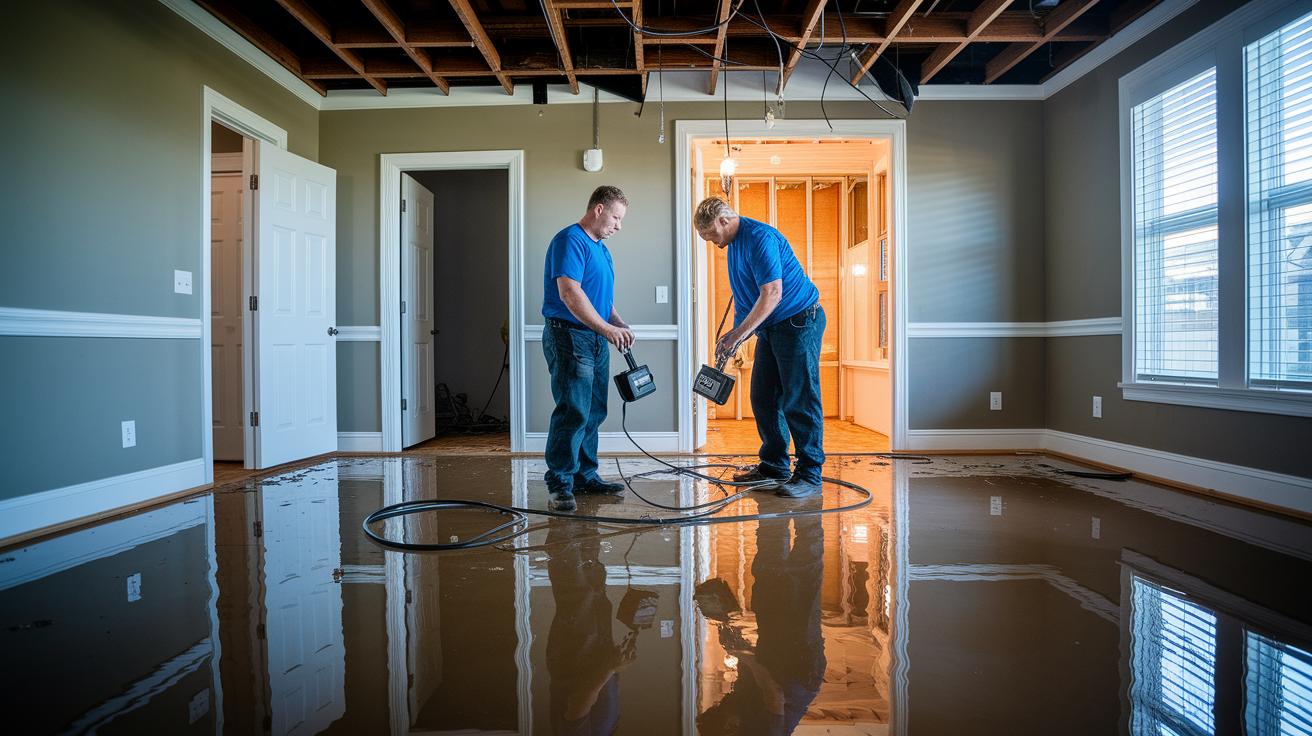
When water damage strikes, safe rebuilding begins by taking out all wet flooring and subflooring. Wet materials like hardwood, laminate, carpet, or tile can swell, warp, or break down. Removing these items stops hidden moisture from weakening your structure later.
Advanced Drying Techniques
We cut open wall spaces about 12 inches above the waterline. This extra room lets air flow inside the wall. We leave these openings for 2 to 3 weeks so any trapped water can evaporate from the wood framing and insulation. During this time, we check moisture levels with handheld meters (devices that measure water content).
We also use special equipment to speed up drying. Air movers push air over damp surfaces, helping water evaporate faster. Low-grain refrigerant dehumidifiers (machines that pull moisture directly from the air) remove extra humidity. Structural drying mats are placed over wet areas to soak up water immediately. These steps work together to lower moisture and stop mold growth.
Steps to follow:
- Remove all wet flooring and subfloor materials.
- Open wall cavities by cutting 12 inches above the waterline.
- Use air movers, low-grain refrigerant dehumidifiers, and drying mats.
- Keep wall openings and equipment running for 2 to 3 weeks.
- Regularly check moisture levels with a moisture meter.
Mold Prevention Steps in Rebuilding After Water Damage
When water damage strikes, preventing mold is our first priority. We start by taking out wet batt insulation because it can quickly become a home for mold. Removing it stops mold from getting started.
Next, we treat the exposed framing with antimicrobial treatment (chemicals that stop fungi). Think of it like putting a raincoat on your walls to block unwanted invaders.
Then, we check the air using a portable monitor that detects mold spores and VOCs (volatile organic compounds, which are chemicals that can harm indoor air). This helps us spot any lingering problems.
Finally, we keep indoor humidity below 50% by using air conditioners, dehumidifiers (machines that remove moisture from the air), and good ventilation. This step cuts off the moisture mold needs to grow.
Follow these steps:
- Remove wet batt insulation.
- Apply antimicrobial treatment on exposed framing.
- Use an air monitor to check for mold spores.
- Control humidity and improve ventilation.
Structural Repairs and Material Replacement in Water Damage Rebuilding
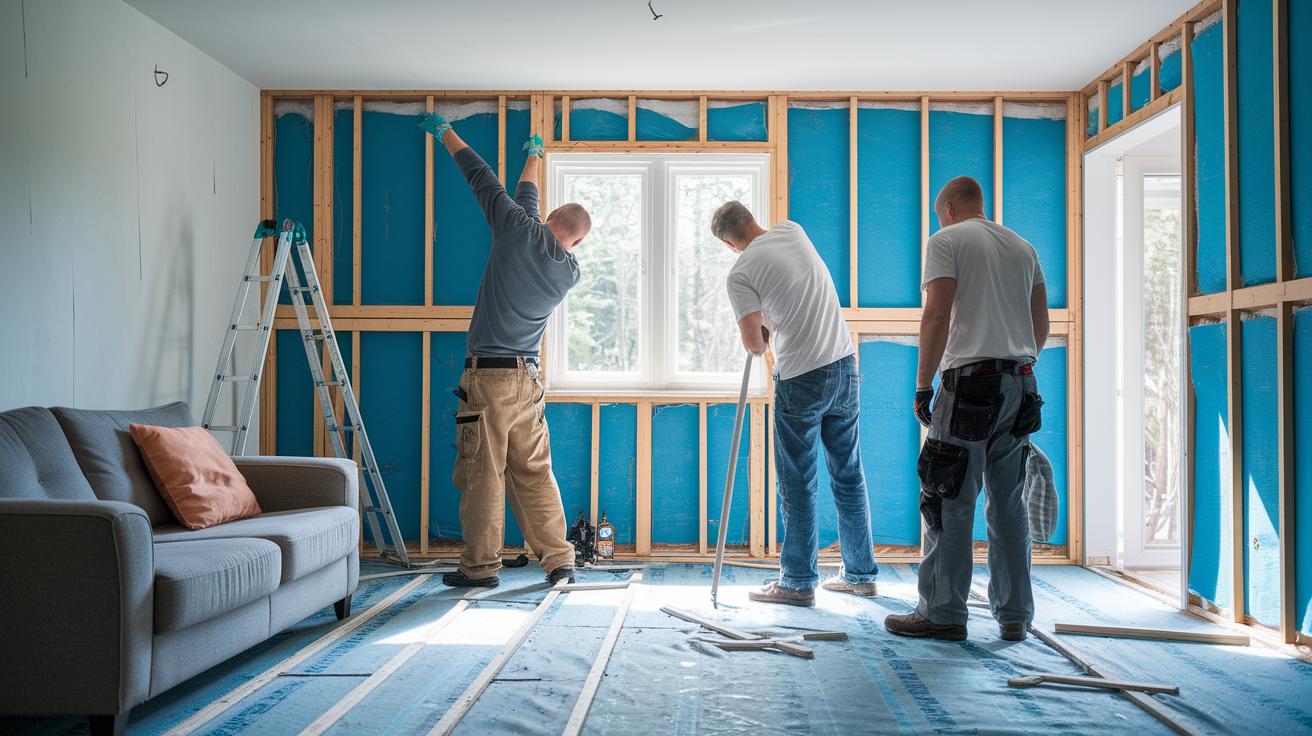
After water damage, rebuilding your home means swapping out ruined parts with strong, long-lasting materials. First, we remove damaged drywall and install new, mold-resistant gypsum panels (a type of wallboard that resists mold). This helps keep your home safe from future mold problems.
Next, we replace wet or crumbled insulation (material used to keep your home warm and energy-efficient) with fresh insulation. We then rebuild the subfloor using pressure-treated lumber (wood treated to fight water damage) to ensure a sturdy and dry base.
For the flooring, we choose water-resistant options like vinyl plank or tile. After the flooring goes in, we seal all edges and seams using advanced sealants (liquids that block water seepage) for added protection against water.
Our work is done by licensed contractors who follow building codes and high quality standards. This assures you that every step, from framing to finishing, is done right for a safe and lasting repair.
Steps to follow:
- Remove damaged drywall and install mold-resistant gypsum panels.
- Replace wet insulation with new insulation.
- Rebuild the subfloor using pressure-treated lumber.
- Choose water-resistant flooring, like vinyl or tile.
- Seal all edges and seams with advanced sealants.
Restoring Utilities and Final Inspection for Rebuilding After Water Damage
When most of the rebuilding is finished, getting your utilities back on is very important. We bring in a licensed electrician to check your home's wiring, fix any problems, examine the electrical panels, and install GFCI outlets (special outlets that help prevent electric shocks).
Next, we call an HVAC specialist to clean and service your air ducts. They make sure any dust or contaminants are removed. We also replace any water-damaged pipes and fixtures so everything is safe and up to code. Think of it like taking your car to a mechanic before a long drive.
We then run indoor air quality tests to check for dust, carbon monoxide, or other harmful particles in the air. Our team uses a checklist to make sure every electrical outlet works properly and all wiring is secure. Lastly, we walk through the property with building inspectors who review the repairs and give the final sign-off for you to move back in.
- Check wiring and install GFCI outlets
- Replace damaged pipes and fixtures
- Clean HVAC ducts and test indoor air quality
Final Words
In the action, we walked through the key phases of restoration after water damage, from initial safety checks and detailed insurance documentation to professional water extraction and precise structural drying.
We covered mold prevention, effective repairs, and final system inspections to bring your property back to life.
This rebuilding after water damage: step-by-step guide is meant to make a challenging situation more manageable.
Each step builds toward a safe, livable home.
Keep moving forward with confidence and hope.
FAQ
FAQ
What are the steps of water damage restoration?
The steps of water damage restoration involve assessing safety by turning off utilities, extracting water, drying structures with air movers and dehumidifiers, preventing mold by removing wet materials, and finishing with repairs and utility restoration.
What should I do immediately after water damage occurs?
The action to take immediately after water damage is to turn off the electricity and gas, make sure everyone is safe, check for hazards, document the damage with photos, and call professional help for water extraction.
How can I use a water damage restoration checklist?
The water damage restoration checklist is used to guide you through each phase, from filing insurance claims and water removal to drying, mold prevention, and final repairs, helping ensure no step is missed.
What are typical water damage house repair costs?
The typical water damage house repair costs range between $1,500 and $6,500, depending on the extent of damage, materials affected, and the specific repairs required for safe living conditions.
How can I find water damage cleanup near me?
The way to find water damage cleanup near you is to search local directories or online listings, which connect you with professionals ready to provide rapid response and effective water extraction services.
What is the average insurance payout for water damage?
The average insurance payout for water damage depends on the policy limits and damage extent, often covering repair costs but varying widely; contacting your insurer early helps clarify potential compensation.
How long can drywall be wet before mold develops?
The time drywall can remain wet before mold sets in is typically 24 to 48 hours, so prompt drying is essential to prevent mold growth and ensure structural integrity.