
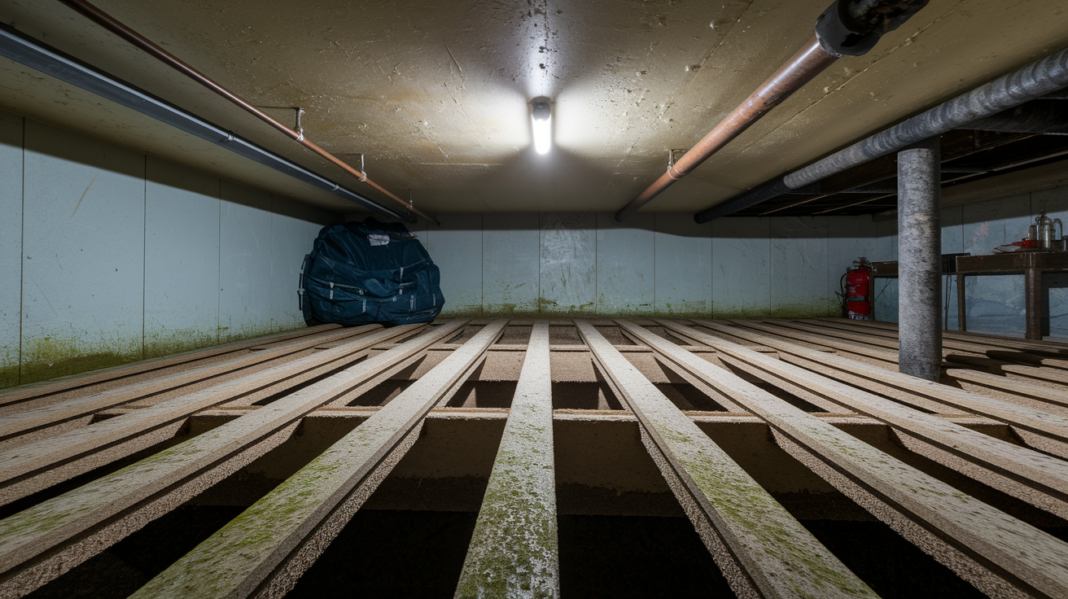

What if the musty smell in your house is actually coming from the dark space under your floors?
A damp crawl space feeds mold and odors into your home, and up to half your indoor air can come from that space.
Left alone, moisture leads to rot, allergy triggers, and a house that never smells right.
This post shows quick safety steps you can take now, how to find and stop the moisture source, and the fast fixes that dry, clean, and repair so the smell doesn’t come back.
Understanding Why a Musty Smell Forms in a Crawl Space
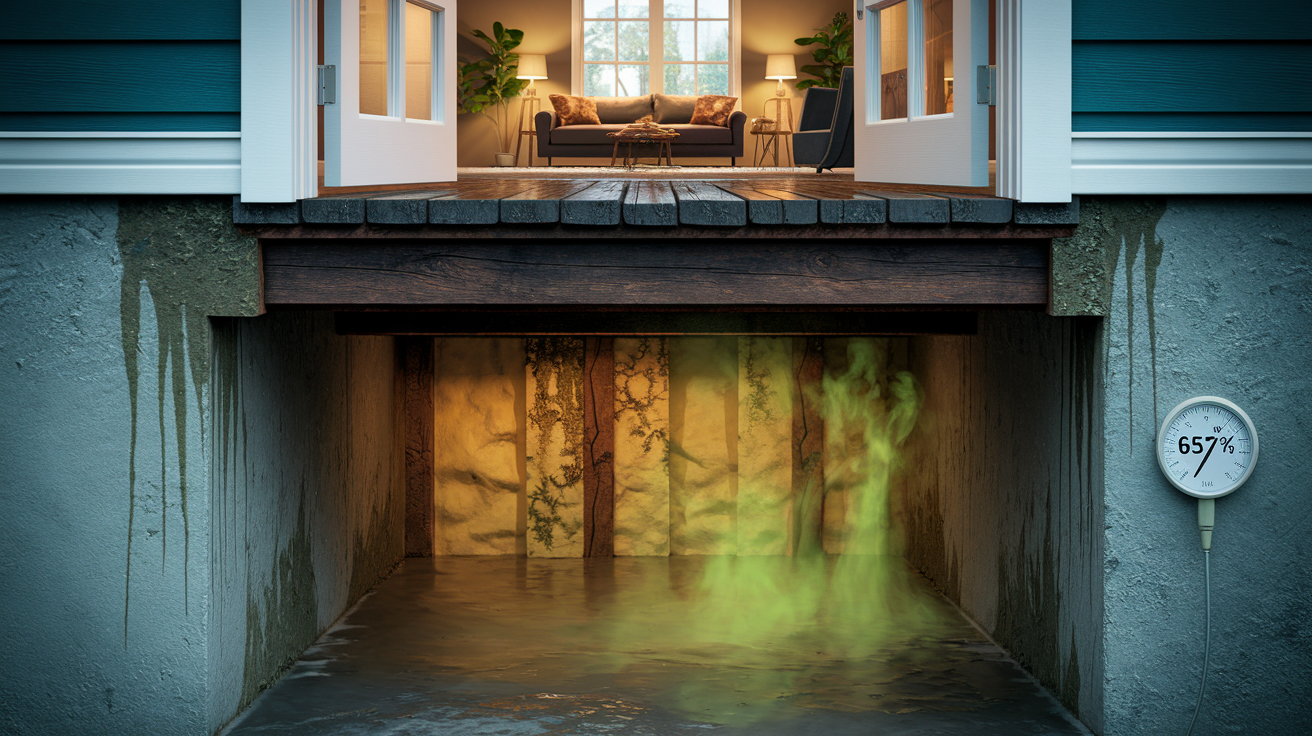
A musty smell from a crawl space almost always points to moisture. When water vapor or liquid water gets into the space under your home, it creates exactly what mold and mildew need to grow. Those organisms produce volatile organic compounds (VOCs) as they break down damp wood, insulation, and whatever else is down there. That chemical release is what you’re smelling.
Moisture finds its way in through several paths. Groundwater can seep through dirt floors or cracks in concrete. Poor grading around the foundation sends rainwater toward your house instead of away from it. Leaking plumbing or condensation from cold pipes adds humidity. Roof runoff that lands too close to the foundation soaks into the ground and works its way into the crawl space. Once relative humidity climbs above 60 percent, mold growth speeds up. Standing water makes it even worse.
That musty air doesn’t stay trapped below. Up to 50 percent of your home’s indoor air can come from the crawl space, rising through gaps around plumbing penetrations, ductwork openings, and floor seams. When the crawl space smells, the whole house can start to smell. Wood rot, sagging insulation, and odors from decaying materials or pest activity make everything worse. Fixing the smell means stopping moisture at the source and getting rid of what’s already growing.
Identifying Crawl Space Mold, Moisture, and Odor Sources
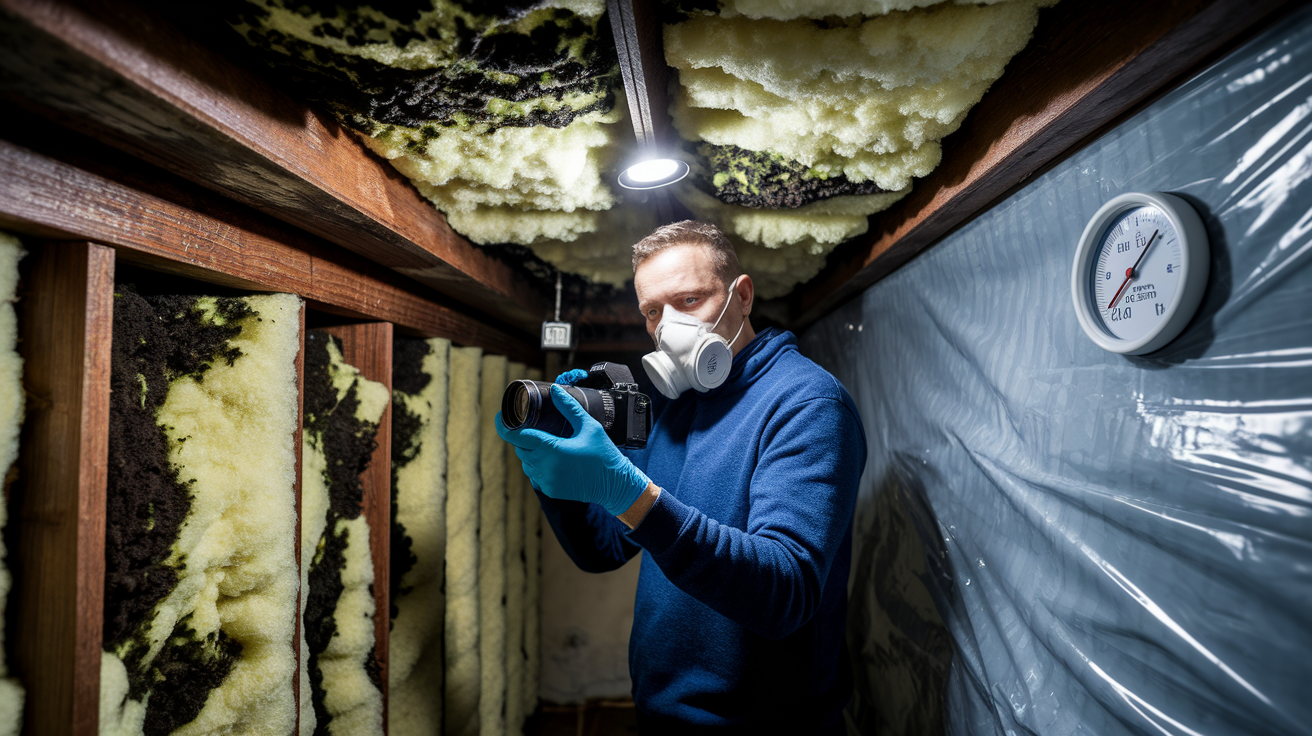
Before you fix anything, confirm what’s causing the smell. Grab a flashlight, an N95 mask, gloves, and a camera. Crawl spaces are tight, dark, and often unpleasant to enter, but you need to see what’s actually happening.
Start by mapping the smell. Stand near floor vents, closets, and low rooms. The strongest odor usually points toward the nearest crawl space entry. Once you’re inside, look for visible problems and measure conditions with tools.
Key areas to check:
- Mold growth on floor joists, subfloor, or insulation. Black, green, or white patches. Small spots under 10 square feet may be cleanable. Larger areas need professional help.
- Standing water. Any pooling is a problem. An inch or more is serious and needs immediate removal.
- Damp soil or puddling means groundwater intrusion or poor drainage.
- Torn or missing vapor barrier. Gaps in thin 6 mil polyethylene let soil moisture evaporate directly into the space.
- Soggy insulation. Fiberglass that’s wet, sagging, or discolored should be removed. It holds moisture and grows mold.
- Pest evidence. Droppings, nests, or carcasses add their own odors and attract moisture.
Use a hygrometer to measure relative humidity. Readings above 60 percent mean elevated mold risk. Use a moisture meter on wood surfaces. Dry wood reads below 16 percent. 16 to 20 percent is borderline. Anything over 20 percent means high moisture content and active rot or mold risk.
Health Risks Linked to a Musty Crawl Space

Mold spores become airborne and travel through your home’s ventilation system. When you breathe them in, they can irritate your respiratory system, trigger allergy symptoms, and make asthma worse. People with existing respiratory conditions, children, and older adults are especially vulnerable.
Beyond mold, a damp crawl space produces volatile organic compounds. These chemicals create that musty, earthy smell and contribute to poor indoor air quality. High humidity also encourages dust mites, another common allergen. If your crawl space has standing water or sewage contamination, bacteria and pathogens add another health risk.
Because up to half of the air in your home can come from the crawl space, problems below don’t stay below. Fixing the odor improves the air you breathe every day, reduces allergy flare ups, and helps protect long term respiratory health.
DIY Methods to Reduce a Musty Smell From the Crawl Space
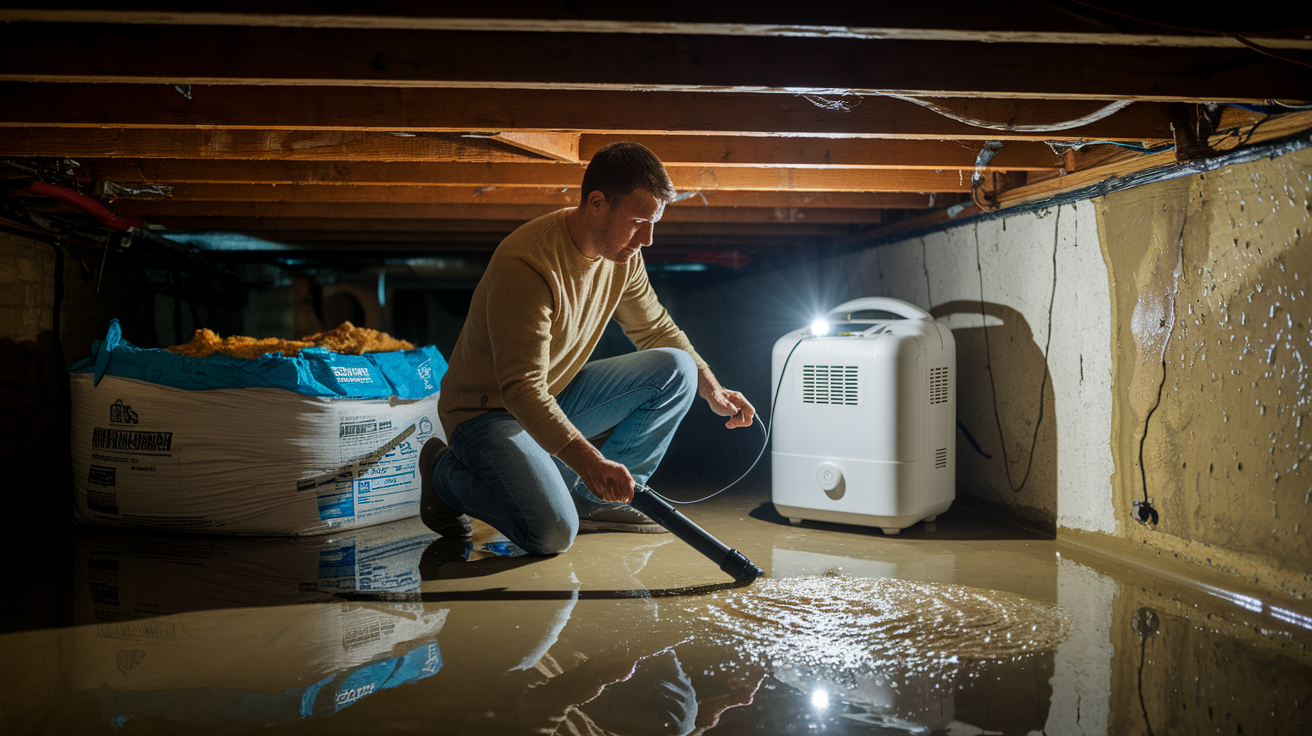
If the crawl space is accessible and the problem isn’t too severe, you can take immediate steps to reduce the odor and slow moisture damage. These fixes won’t solve everything permanently, but they buy time and prevent further harm while you plan longer term repairs.
Wear an N95 mask, gloves, and eye protection anytime you enter the crawl space. Mold spores and dust become airborne easily. Work in daylight or bring a portable work light. Crawl spaces are dim and hazardous.
Step by step short term fixes:
- Remove standing water. Use a wet vacuum, sump pump, or buckets. Any pooling needs to go immediately.
- Dry wet surfaces. Set up box fans or portable air movers aimed at damp areas. Open crawl space access doors to improve airflow if outdoor humidity is low.
- Clean small mold patches. For areas under 10 square feet, scrub with detergent and water or a commercial mold cleaner. Avoid bleach on porous materials like wood. It doesn’t penetrate and can make things worse.
- Remove wet insulation. Fiberglass that’s soaked or discolored should come out. Bag it and dispose of it properly.
- Check plumbing and HVAC ducts. Look for leaking pipes, condensation drips, or disconnected ducts. Repair what you can reach.
- Run a dehumidifier. Place a portable crawl space rated unit and aim to keep relative humidity below 50 percent. Units rated for 30 to 50 pints per day work in smaller, moderately damp spaces. Larger or wetter crawl spaces need 70 to 140 pints per day.
- Improve temporary ventilation. If your crawl space has vents, open them during dry weather. If it’s humid outside, keep them closed and rely on mechanical dehumidification instead.
Monitor humidity daily with a hygrometer. If readings stay above 60 percent after these steps, you’ll need more permanent fixes.
Long Term Fixes for Eliminating Crawl Space Odors
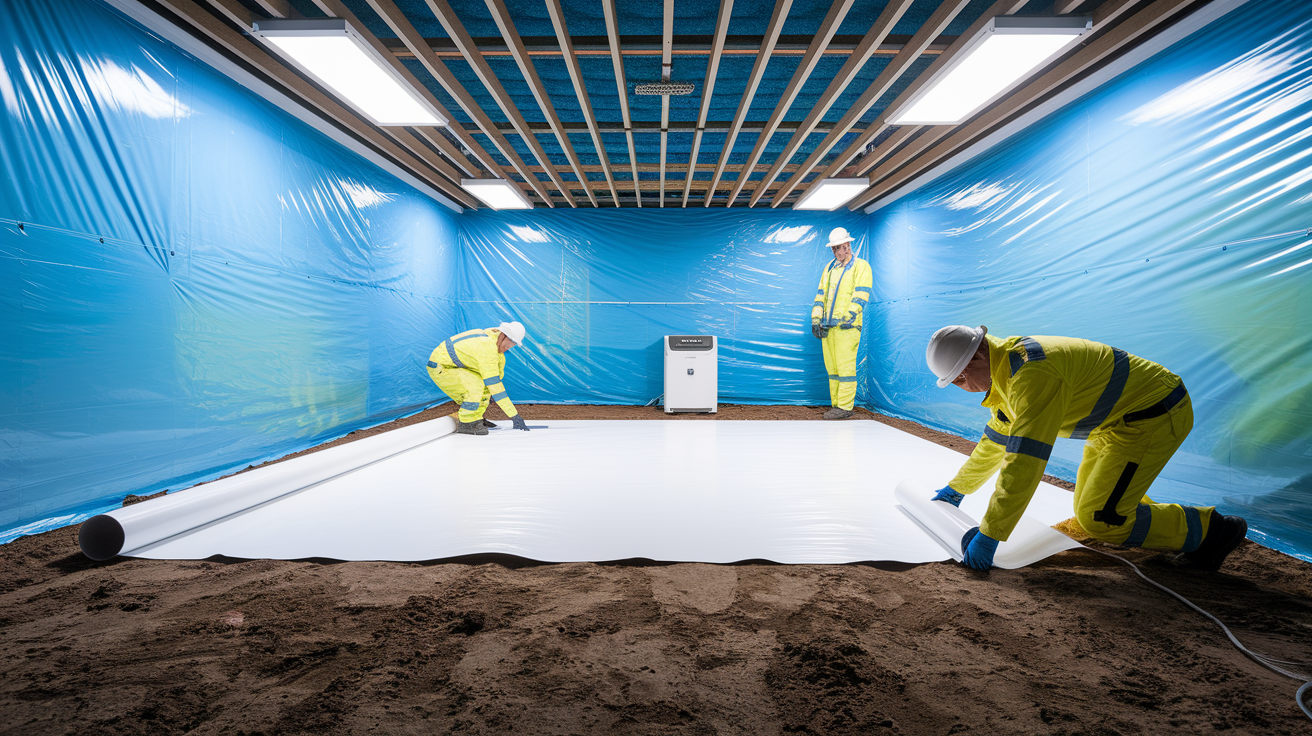
Short term fixes reduce symptoms. Permanent solutions stop moisture from entering in the first place and control the environment long term. The most effective approach combines vapor barriers, encapsulation, dehumidification, and proper insulation.
Crawl space encapsulation seals the space from the ground and outside air. A thick vapor barrier (12 to 20 mil polyethylene is recommended) covers the dirt floor and is sealed to the foundation walls. Vents are sealed or closed to prevent humid outdoor air from entering. Rim joists are insulated with spray foam to prevent condensation. A crawl space dehumidifier maintains stable humidity year round.
| Solution | Description | Typical Benefit |
|---|---|---|
| Encapsulation | Full sealing of crawl space with vapor barrier, vent closure, and insulation | Eliminates moisture intrusion, prevents mold, stabilizes indoor air quality |
| Vapor Barrier (12–20 mil) | Thick polyethylene sheet sealed over dirt floor and foundation walls | Blocks soil moisture evaporation, protects wood framing |
| Vent Sealing | Closing or sealing foundation vents to prevent outdoor humid air from entering | Reduces humidity fluctuations, prevents condensation |
| Dehumidifier System | Crawl space rated unit (30–140+ pints/day) maintaining RH below 50% | Controls humidity after encapsulation, prevents mold recurrence |
Encapsulation typically costs $5 to $15 per square foot. A 1,000 square foot crawl space might run $5,000 to $15,000 depending on access, moisture severity, and included features. Dehumidifier units range from $400 to $2,500, plus installation labor if needed. Installed systems with drainage lines and automatic controls add to the total but reduce maintenance.
Drainage, Leak Repair, and Moisture Control Strategies
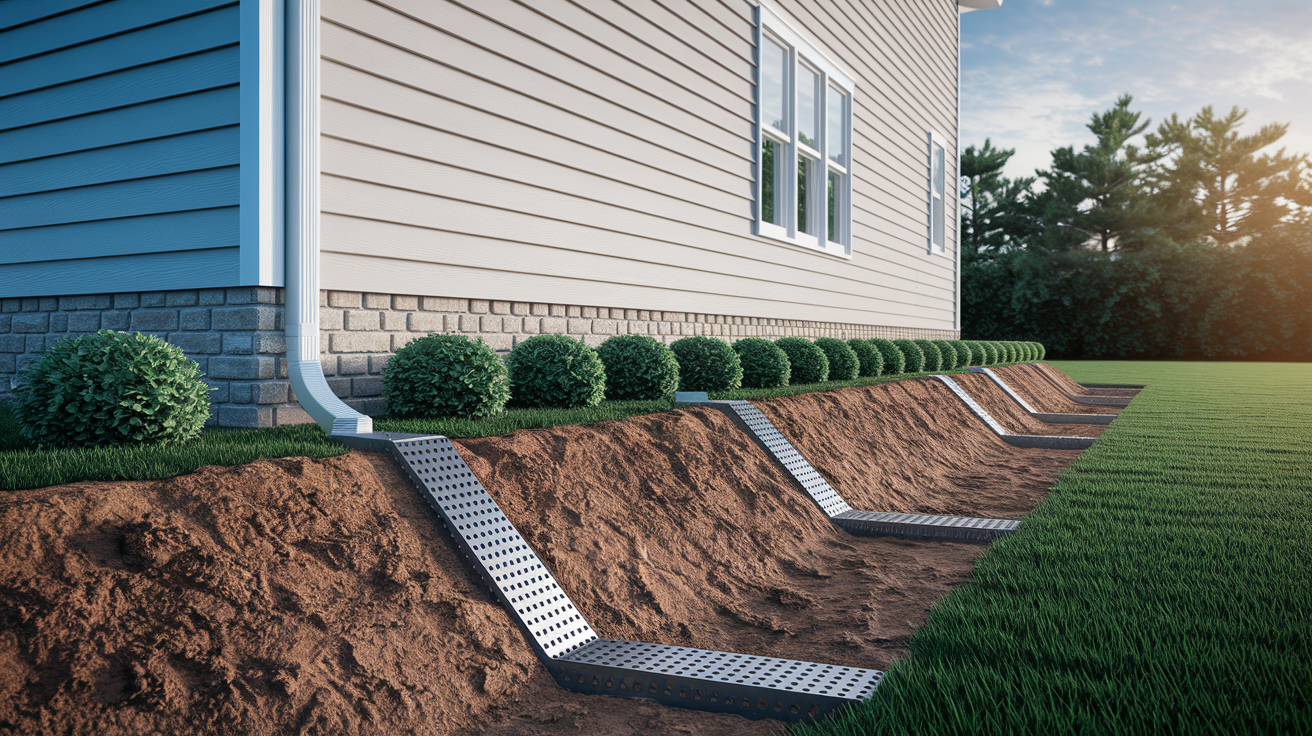
Even with a sealed crawl space, water can still enter if drainage around your home is poor. Gutters, downspouts, grading, and subsurface drainage all play a role in keeping water away from the foundation.
Start with gutters and downspouts. Clean gutters twice a year and extend downspouts 5 to 10 feet away from the foundation. If water lands within a few feet of the house, it soaks into the soil and migrates toward the crawl space. Check exterior grading next. The ground should slope away from the foundation at least 6 inches over the first 10 feet. If grading is flat or slopes toward the house, regrade with clean fill dirt.
If groundwater is the issue, a sump pump removes water that collects in a basin. Sump pumps typically cost $800 to $2,500 installed, depending on pump capacity and labor. French drains (perforated pipes buried in gravel) intercept groundwater and route it away from the foundation. French drain installation ranges from $1,000 to $6,000 or more depending on system length and excavation difficulty. Both systems require maintenance. Check sump pumps annually and clean discharge lines. Inspect French drains after heavy rain to confirm they’re flowing properly.
Mold Remediation Steps for Severe Musty Odors
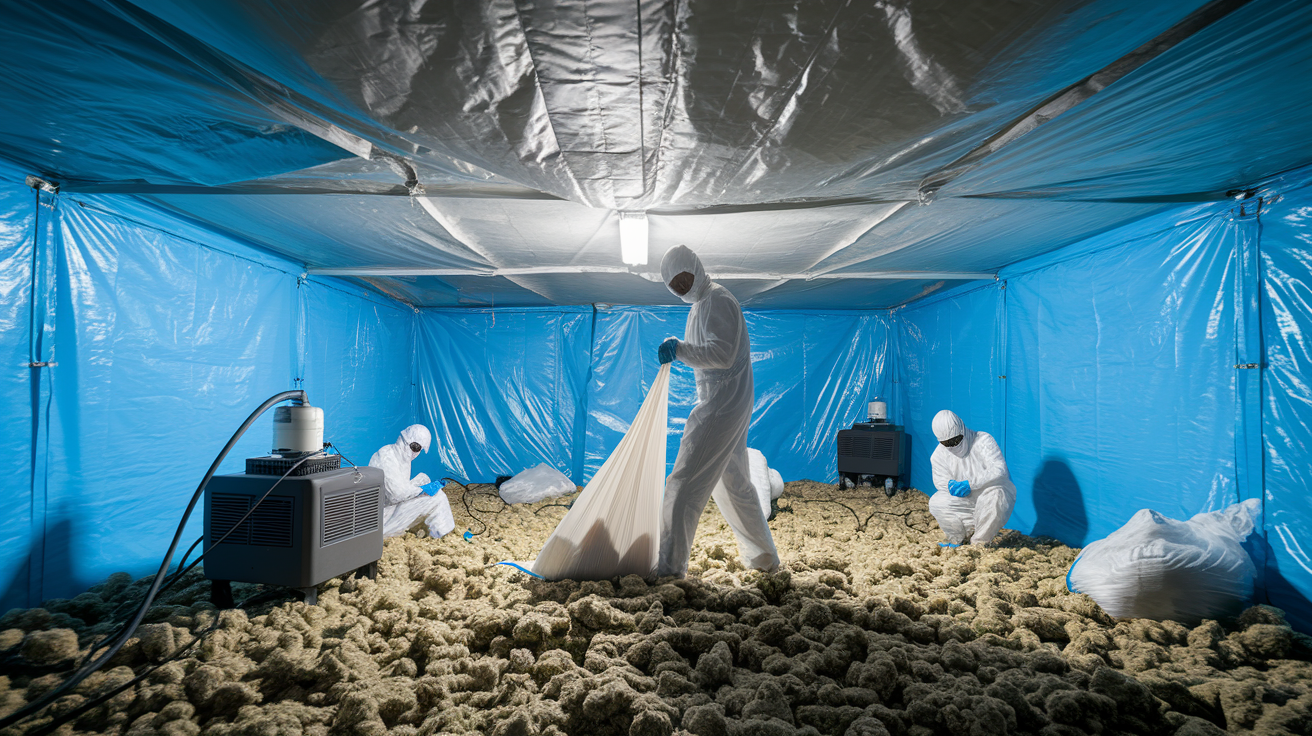
When mold covers more than 10 square feet, or when it’s growing on structural framing, professional remediation is the safer choice. Large infestations release more spores, and disturbing them without containment spreads contamination through the house.
Professional remediation starts with containment. Crews seal off the crawl space with plastic sheeting and create negative air pressure using HEPA filtered air scrubbers. This prevents spores from migrating into living areas. They remove contaminated materials (insulation, vapor barriers, and sometimes sections of damaged wood). Surfaces are treated with anti microbial solutions and HEPA vacuumed. After removal, moisture sources are addressed to prevent recurrence.
Professional remediation process includes:
- Containment setup. Plastic barriers and negative air pressure to isolate the work area.
- HEPA air filtration. Machines continuously filter airborne spores during the job.
- Material removal. Contaminated insulation, vapor barriers, and deteriorated wood are bagged and disposed of.
- Surface cleaning and treatment. Remaining wood and concrete surfaces are cleaned, treated, and verified dry.
- Post remediation verification. Moisture readings and visual inspections confirm the space is safe to seal and encapsulate.
Costs range from $500 to $3,000 for moderate contamination (10 to 100 square feet) and $3,000 to $10,000 or more for severe cases involving structural damage, large areas, or hazardous conditions. Timelines vary from one day for small jobs to a week or more for extensive remediation and repairs.
Costs and Timelines for Fixing Musty Crawl Spaces

Understanding what fixes cost and how long they take helps you prioritize and plan. Some repairs happen in hours. Others take days or weeks depending on scope and access.
Immediate fixes like removing standing water, running fans, and placing a portable dehumidifier can happen the same day. Small mold cleaning takes one day if you’re doing it yourself. Installing a crawl space dehumidifier usually requires one to two days including electrical work if a dedicated circuit is needed. Full encapsulation and drainage work typically takes two to five days depending on crawl space size, condition, and access difficulty.
| Repair Type | Cost Range | Typical Timeline |
|---|---|---|
| DIY mold cleaning (under 10 sq ft) | $20–$200 (materials and PPE) | Same day to 1 day |
| Crawl space encapsulation (1,000 sq ft) | $5,000–$15,000 | 2–5 days |
| Professional mold remediation (10–100 sq ft) | $500–$3,000 | 1–3 days |
| Sump pump installation | $800–$2,500 | 1 day |
Major structural repairs, extensive mold remediation, or foundation drainage overhauls can take weeks and run $10,000 or more. Get written estimates from licensed contractors and confirm scope, timeline, and warranty before work starts.
When a Musty Crawl Space Requires Professional Help
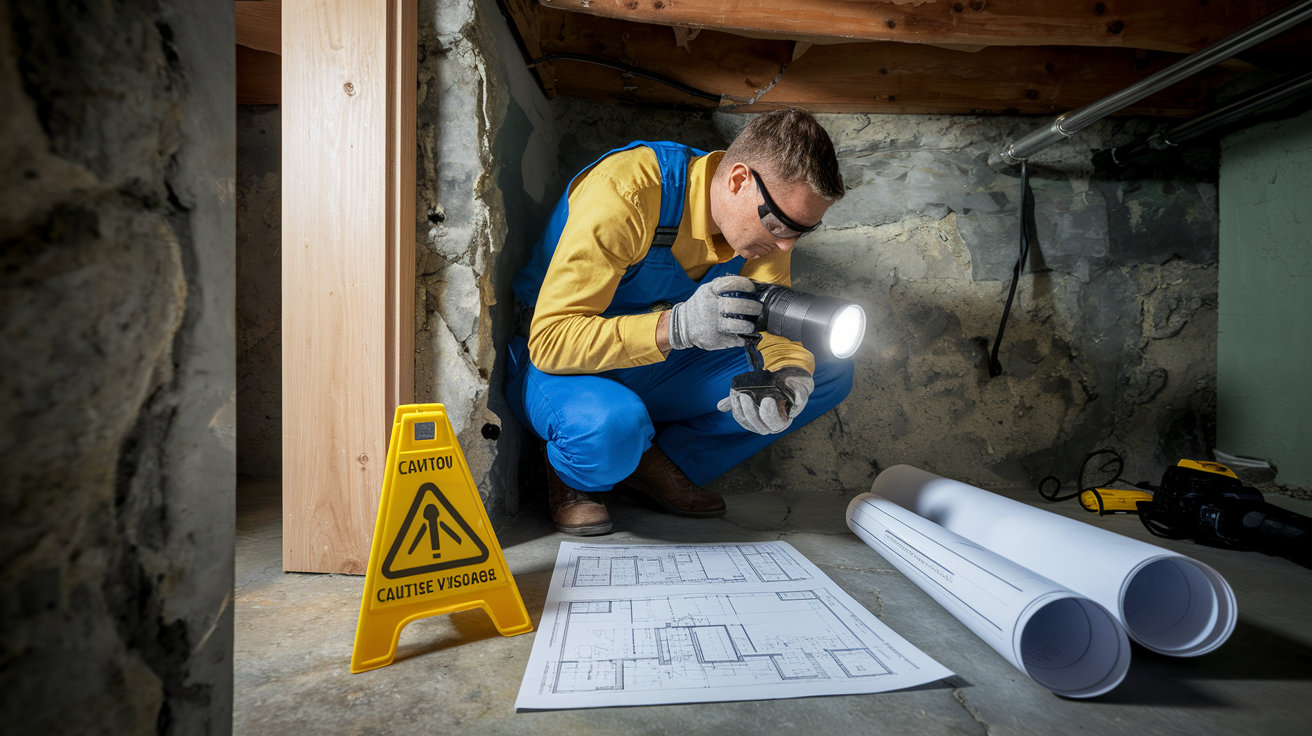
Some crawl space problems are too big, too dangerous, or too technical for DIY fixes. Knowing when to call a professional protects your health, your home’s structure, and your time.
If mold covers more than 10 square feet, professional remediation is recommended. Large infestations require containment, HEPA filtration, and safe material removal that most homeowners can’t do safely. Structural damage (sagging floors, wood rot, or cracked foundation walls) needs a licensed contractor to assess and repair. Sewage contamination or black water from backups introduces bacteria and pathogens that require specialized cleanup.
Clear signs you need professional help:
- Widespread mold. Visible growth over 10 square feet or recurring mold after DIY cleaning.
- Persistent high humidity. Relative humidity stays above 60 percent even after running dehumidifiers and improving ventilation.
- Structural rot or sagging floors. Wood framing that’s soft, crumbling, or visibly damaged.
- Standing water that won’t drain. Pooling that returns after removal or flooding during storms.
- Sewage or hazardous contamination. Black water, chemical odors, or suspected asbestos/lead materials.
- Inaccessible or unsafe entry. Tight clearances, unstable ground, or spaces where you can’t safely move or breathe.
Professionals have the tools, training, and safety equipment to handle these conditions. They can also document findings for insurance claims and ensure repairs meet local building codes.
Preventing Future Musty Smells in the Crawl Space
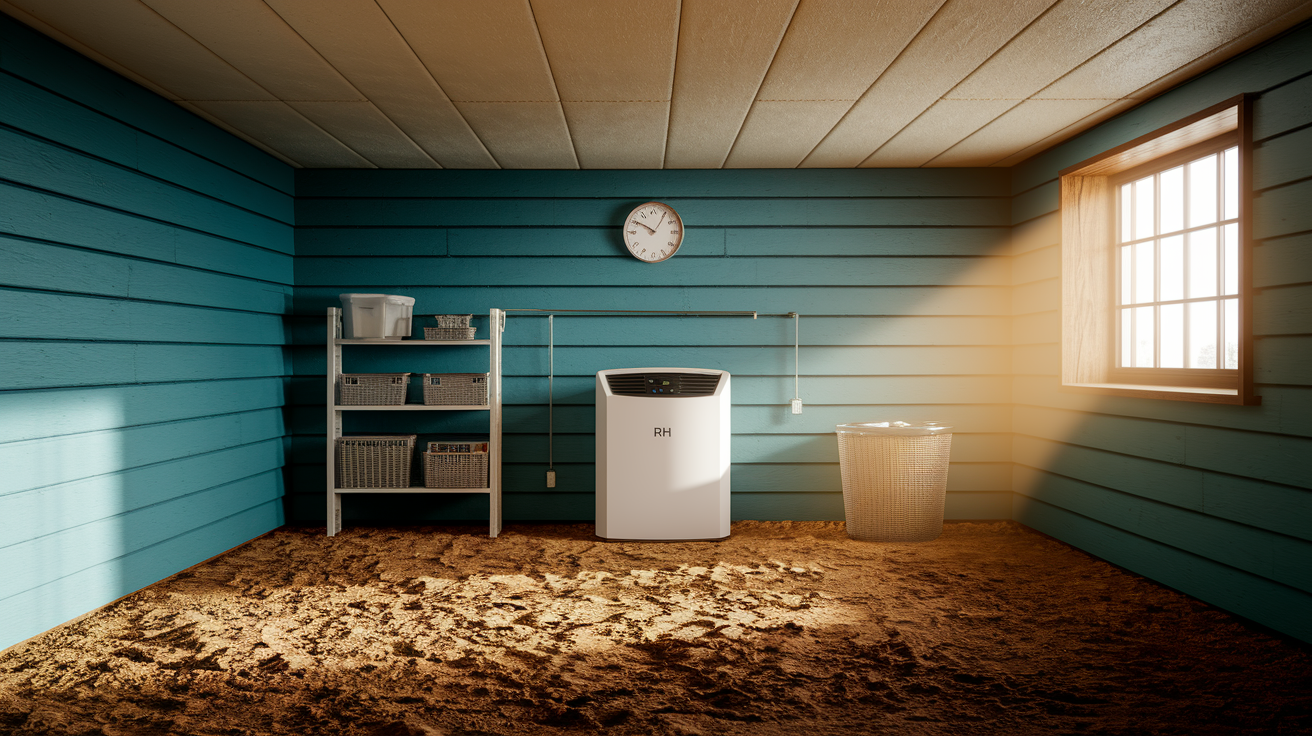
Once the smell is gone and the crawl space is dry, ongoing maintenance keeps it that way. Prevention is simpler and cheaper than repeated remediation.
Keep crawl space relative humidity below 50 percent year round. Check readings monthly during humid months and weekly if you’ve had problems before. Inspect the vapor barrier twice a year (spring and fall) for tears, gaps, or pooling water. Service your crawl space dehumidifier annually. Change filters every 3 to 12 months depending on the manufacturer’s recommendation. Clean the coils and check the condensate drain line to confirm it’s flowing.
Maintain exterior drainage. Extend downspouts 5 to 10 feet from the foundation and keep gutters clean. Check grading annually and add fill dirt if low spots form near the foundation. Keep vegetation and mulch at least 12 to 24 inches away from foundation vents and walls. Plants hold moisture and block airflow.
Long term prevention checklist:
- Monitor humidity monthly. Keep RH below 50 percent with hygrometer checks.
- Inspect vapor barrier twice yearly. Look for tears, water pooling, and seam failures.
- Service dehumidifier annually. Change filters, clean coils, check drain lines.
- Clean gutters and extend downspouts. Maintain 5 to 10 feet of clearance from foundation.
- Check exterior grading. Ensure 6 inch drop over first 10 feet away from house.
- Test sump pump before rainy season. Pour water into basin and confirm pump activates and discharges properly.
If you notice new odors, rising humidity, or visible moisture, address it immediately. Small problems caught early stay small. Ignored moisture turns into mold, rot, and expensive repairs.
Final Words
The moment you smell damp, musty air under the house, act. This post showed what causes that odor, how to pinpoint it with simple checks, and safe DIY steps to remove water and start drying.
We covered long-term fixes like vapor barriers, encapsulation, and better drainage, when to call a pro, cost ranges, and timelines so you know what to expect.
Addressing a musty smell from crawl space quickly prevents mold, protects your home, and gets you back to normal with a clear plan.
FAQ
Q: How do you get rid of musty smell in crawl space?
A: Getting rid of a musty smell in a crawl space means stopping water entry, extracting standing water, removing wet materials, cleaning mold, installing a vapor barrier and dehumidifier, and sealing vents or calling a pro.
Q: At what age does nonenal smell start?
A: The nonenal smell typically starts in middle age, often appearing in your 40s as skin oils change and produce more 2-nonenal.
Q: Is it normal for a crawl space to have a smell?
A: A crawl space having a faint damp or earthy smell is common, but a strong musty, moldy, or rotten odor is not normal and signals moisture, mold, pests, or drainage problems.
Q: Is it safe to live in a house with mold in the crawl space?
A: Living in a house with mold in the crawl space may be unsafe for people with allergies, asthma, or weakened immune systems; fix moisture sources, remediate mold professionally if widespread, and test indoor air.