
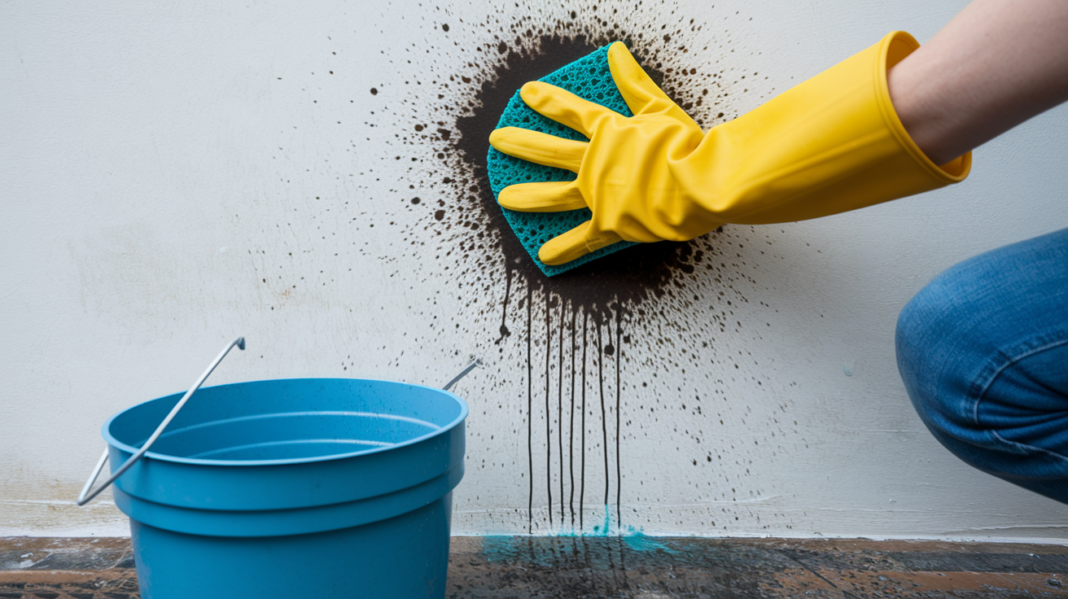

You scrub harder and wonder why the black smear just gets bigger. That’s soot fighting back. Unlike regular dirt, soot contains oily carbon particles that spread when you attack them wrong, pushing stains deeper into porous paint and drywall instead of lifting them off. The right sequence matters more than elbow grease. Vacuum first, use a dry sponge next, then finish with gentle liquid cleaners applied in a blotting motion. Skip a step or scrub too hard, and you’ll turn a small soot mark into a wide gray stain that needs repainting.
Step-by-Step Instructions for Cleaning Soot Off Walls
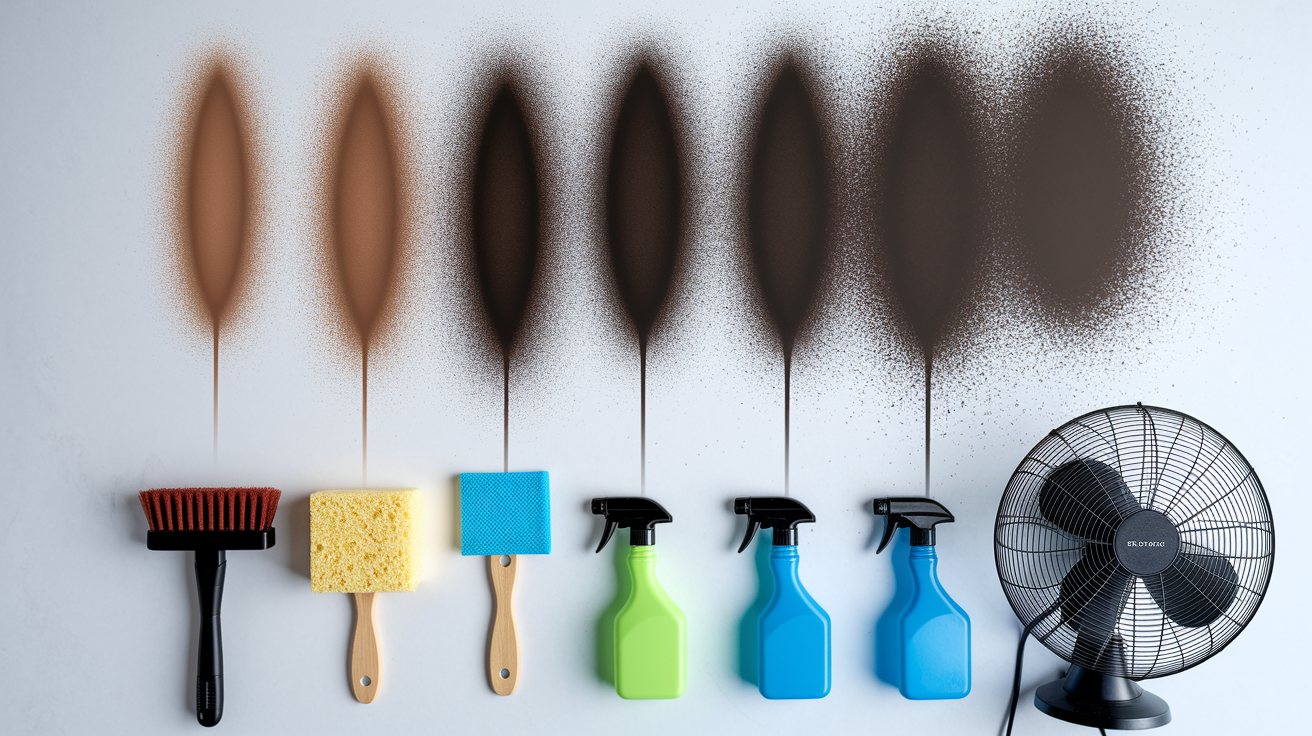
The order you clean soot matters just as much as the cleaning itself. Jump straight to wet cleaners or start scrubbing hard, and you’ll push acidic carbon particles deeper into the wall surface and spread the stain wider. The sequence below stops that from happening.
-
Vacuum loose particles with upholstery brush attachment. Use light, gentle strokes across the affected area without pressing the brush into the wall. This removes surface soot before it gets disturbed.
-
Use dry chemical sponge with wiping motion. Work the sponge across the wall in straight, overlapping strokes. Don’t scrub. When one side gets loaded with soot, flip to a clean side or slice off the contaminated layer.
-
Prepare cleaning solution (6 tablespoons per gallon warm water). Mix your degreaser, dish soap, or commercial soot remover in a bucket of warm water. Have a second bucket of clean rinse water ready.
-
Apply solution with microfiber cloth using blotting technique. Dip your cloth, wring it damp (not dripping), and blot the soot stain. Work from the top of the wall down to prevent dirty drips on cleaned areas.
-
Rinse with clean water bucket. Use a fresh cloth dipped in clean water to wipe away cleaning solution residue. Change rinse water when it turns gray.
-
Dry thoroughly with clean towels and fan. Pat the wall dry with clean rags, then set up a fan pointing at the cleaned area to speed drying and prevent water spots.
The wiping motion works because it lifts soot off the surface instead of grinding it in. Picture wiping dust off a shelf versus scrubbing a countertop. Soot particles sit on top of paint or drywall until pressure or moisture forces them into the porous surface. Blotting and wiping keeps them mobile so your sponge or cloth can pick them up. Scrubbing creates friction that embeds particles and spreads the oily residue sideways, making the stain larger and harder to remove.
After you finish, bag up all contaminated rags, sponges, and drop cloths in sealed trash bags. Don’t shake them out or reuse them. Soot loaded materials will spread particles if handled carelessly.
Understanding Different Wall Surfaces and Soot Cleaning Approaches
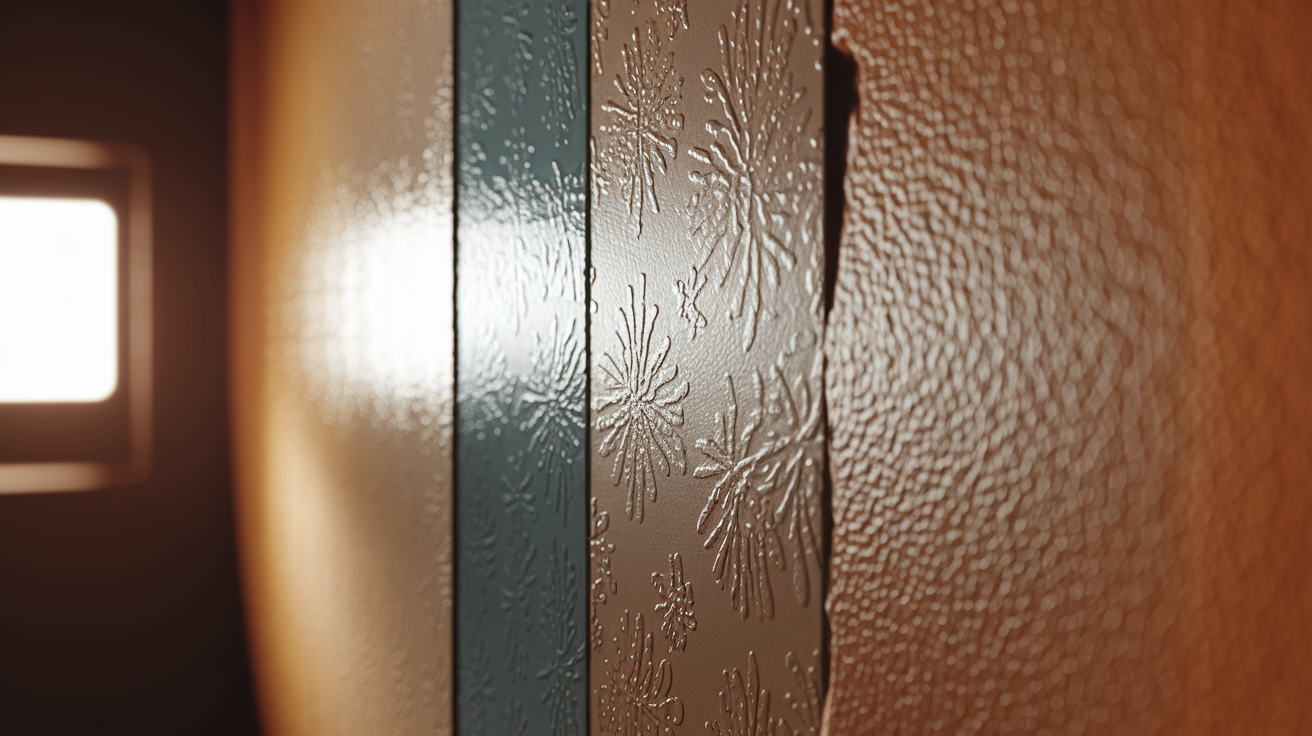
Different wall materials react differently to moisture, pressure, and cleaning chemicals. A method that works perfectly on semi-gloss painted drywall might ruin flat painted plaster or tear delicate wallpaper. You need to match your cleaning intensity and product choice to what’s actually on your wall.
Before you clean an entire wall, test your chosen method on a hidden spot. Pick an area behind furniture, inside a closet, or in a lower corner that won’t show if something goes wrong. Apply your cleaning solution, let it sit the recommended time, wipe it off, and check for paint damage, discoloration, or texture changes. Wait until the test spot dries completely to see the real result.
Painted Drywall Surfaces
Flat paint is porous and grabs onto soot particles like a sponge. It cleans harder than shinier finishes and may need multiple passes with your dry sponge before you even touch liquid cleaners. Semi-gloss and glossy paints have a sealed surface that resists absorption, which makes soot removal faster and easier. You can usually clean these finishes with light degreaser and minimal effort.
Painted drywall handles moisture reasonably well as long as you don’t oversaturate it. Keep cloths damp, not wet. If water soaks into drywall seams or unsealed edges, you risk bubbling paint or weakening the paper surface.
Wallpapered Walls
Wallpaper requires the gentlest approach. Most wallpapers can’t handle moisture without lifting, bubbling, or staining. Stick to dry cleaning methods only (vacuum and dry sponge). If the soot won’t come off with dry techniques, you’re likely looking at wallpaper replacement or professional cleaning.
Never scrub wallpaper. Even light pressure can tear the surface or push soot into the texture permanently. When DIY methods fail on wallpaper, call a restoration team before you make it worse.
Plaster and Textured Surfaces
Plaster is more porous than modern drywall and pulls water based cleaners deep into its structure, which spreads soot stains instead of removing them. Avoid water on plaster walls. Use dry sponges almost exclusively, and if you must use liquid, choose a minimal amount of degreaser on a barely damp cloth.
Textured walls (knockdown, orange peel, popcorn) trap soot in their crevices. You can’t wipe texture clean the way you would a smooth surface. Vacuum first with low suction and a soft brush. Use your dry sponge carefully to avoid breaking texture peaks. Expect that heavily textured walls may need repainting even after thorough cleaning.
Essential Safety Equipment and Required Tools for Soot Removal

Soot contains carbon particles small enough to enter your lungs, and the acidic residue irritates skin on contact. If you skip protective gear or proper ventilation, you’ll end up coughing, itching, or worse. Gather everything before you start so you don’t have to stop mid project to hunt for supplies.
| Category | Item | Purpose |
|---|---|---|
| Protective Equipment | Rubber gloves | Prevents acidic soot from irritating skin |
| Protective Equipment | Safety goggles | Keeps soot particles out of eyes |
| Protective Equipment | Dust mask or respirator | Filters airborne carbon particles during cleaning |
| Protective Equipment | Long sleeve clothing | Covers skin to reduce direct soot contact |
| Cleaning Tools | Dry chemical sponge | Lifts soot without water or spreading stains |
| Cleaning Tools | Vacuum with brush attachment | Removes loose soot particles before wet cleaning |
| Cleaning Tools | Two or more buckets | One for cleaning solution, one for rinse water |
| Cleaning Tools | Microfiber cloths and rags | Applies cleaners and wipes surfaces without scratching |
| Cleaning Tools | Fans | Speeds drying and maintains air circulation |
| Preparation Supplies | Drop cloths or plastic sheeting | Protects floors and furniture from soot transfer |
| Preparation Supplies | Cleaning solutions | Breaks down greasy soot residue after dry cleaning |
| Preparation Supplies | Extra towels | For final drying and frequent rag changes |
Ventilation setup matters just as much as your cleaning supplies. Open all windows in the room before you start, even if it’s cold outside. Position one fan facing out of a window to push contaminated air outside, and place another fan across the room pulling fresh air in from a different window or doorway. This creates cross ventilation that keeps soot particles moving out instead of settling on clean surfaces or into your lungs.
Keep fans running throughout the entire cleaning process and for at least two hours afterward. Don’t turn them off just because you’ve finished wiping. The air stays contaminated with fine particles long after you stop seeing visible soot.
Recommended Cleaning Solutions and Chemical Options for Soot

You’ve got multiple cleaning solution options depending on what you already have at home and how heavy your soot problem is. Start with gentler options for light staining and move to stronger degreasers only when needed.
| Cleaning Solution | Dilution Ratio | Best For |
|---|---|---|
| TSP (trisodium phosphate) | 1/2 cup per gallon of warm water | Heavy soot buildup and stubborn fire residue |
| White vinegar solution | Equal parts vinegar and water | Light to moderate candle soot on painted surfaces |
| Baking soda paste | 1 tablespoon baking soda mixed with small amount of water | Spot treatment on small stained areas |
| Dish soap mixture | 6 tablespoons per gallon of warm water | General soot cleaning on most wall surfaces |
| Commercial soot remover | Follow product label instructions | Severe fire damage or professional grade cleaning needs |
Use TSP for the toughest jobs where regular dish soap won’t cut it. It’s a powerful degreaser that breaks down the oily carbon residue fast. Vinegar works well for lighter soot from candles or small fireplace deposits. Baking soda paste gives you precision on specific spots without covering entire walls. Dish soap hits the middle ground for most homeowner soot situations.
Always test your chosen solution on that hidden spot first. Let it dry completely and check for paint damage, color change, or texture problems before you commit to cleaning the entire wall.
Tackling Stubborn Soot Stains and Heavy Fire Damage Buildup

Some soot won’t come off in one pass. Old stains, heavy fire damage, or soot that’s been sitting for weeks embeds deeper into wall surfaces and needs more aggressive treatment. The acidic nature of soot means time works against you, so set in stains require patience and repeated effort.
Fresh soot from yesterday’s candle wipes off easier than soot from last month’s fireplace incident. If you’re dealing with black streaks that have been there a while, expect to work harder and possibly accept that repainting might be your final step.
Multiple dry sponge passes with fresh sides. Don’t give up after one pass. Flip or slice your dry sponge to expose clean material and go over the area three or four times before moving to wet cleaners.
Extended dwell time for cleaning solutions. Let your degreaser or TSP solution sit on stubborn stains for five to ten minutes instead of wiping immediately. This gives the cleaner time to break down the greasy residue.
Stronger degreaser concentrations. If standard dilution ratios aren’t working, increase the cleaner to water ratio slightly. Don’t go overboard, but a bit more TSP per gallon helps with severe buildup.
Gentle circular motions for set in stains. When wiping won’t lift the stain, try very light circular motions with a microfiber cloth. Keep pressure minimal to avoid spreading or embedding soot deeper.
Layered approach: dry, clean, rinse, repeat. After your first cleaning attempt, let the wall dry completely, then assess what’s left. Go through the entire process again if needed (dry sponge, cleaner, rinse, dry).
If you’ve done three full cleaning cycles and the stain still won’t budge, you’re looking at permanent discoloration that penetrated the paint or drywall. At that point, you need to seal and repaint, or call a restoration service. Watch for wall damage beyond staining, like bubbling paint, soft drywall, or warped sections. Those indicate structural problems that cleaning won’t fix.
Addressing Smoke Odor and Deodorizing After Soot Cleaning

Removing visible soot doesn’t automatically remove the smell. Smoke odor molecules penetrate porous materials like drywall, insulation, and wood framing. You can have perfectly clean looking walls that still smell like smoke because the odor sits deeper than your cleaning cloth reached.
Extended ventilation (24 to 48 hours minimum). Keep windows open and fans running for at least a full day after cleaning. Two days is better for moderate smoke situations.
HEPA air purifiers. Run a quality air purifier with a HEPA filter in the affected room to capture airborne smoke particles that contribute to lingering smell.
Baking soda left in room overnight. Place open containers or shallow dishes of baking soda around the room to absorb odors naturally. Replace daily until the smell fades.
White vinegar bowls as natural absorbers. Set bowls of white vinegar in corners of the room. The vinegar neutralizes smoke odor molecules without adding chemical smells.
Commercial smoke odor neutralizers. Use enzyme based odor eliminators designed specifically for smoke (not just general air fresheners). These break down odor molecules instead of masking them.
Odor blocking primer before repainting. If you’re repainting after cleaning, use a shellac based or oil based primer that seals odors into the wall before applying finish paint.
If strong smoke smell persists after a week of ventilation and deodorizing, the odor has likely penetrated into insulation, ductwork, or structural materials beyond the wall surface. That level of penetration requires professional ozone treatment, thermal fogging, or partial demolition to reach contaminated materials. Don’t keep repainting over persistent odors. Seal them properly or they’ll keep coming back.
Repainting and Sealing Walls After Soot Damage Cleanup
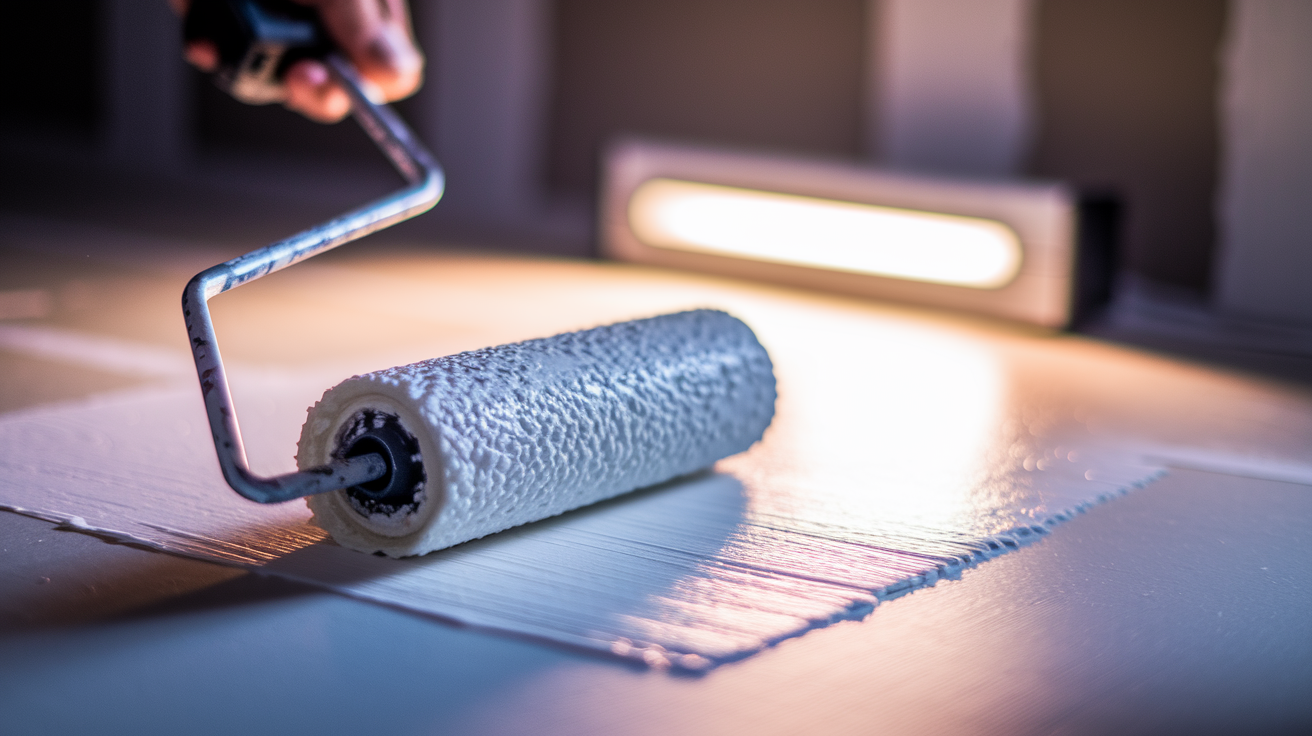
Even thorough cleaning sometimes leaves shadow stains or discoloration that won’t fully disappear. When that happens, sealing and repainting gives you a fresh start and locks remaining odors or residue behind a protective barrier.
| Step | Product Type | Purpose |
|---|---|---|
| Complete drying | Fan assisted air drying | Ensures no moisture remains before sealing or painting |
| Stain blocking primer | Shellac based or oil based primer | Seals residual stains and odors to prevent bleed through |
| Matching paint selection | Latex or acrylic paint in matching sheen | Restores original wall appearance and color |
| Protective sealer | Clear topcoat (optional for high risk areas) | Adds extra protection in areas prone to future soot exposure |
Wait at least 24 hours after final cleaning before applying primer. The wall needs to be completely dry, not just surface dry. Run a fan on the area and check for any dampness by touching the wall in the morning. If it feels cool or slightly tacky, give it more time.
Stain blocking primer is non negotiable for soot damage. Regular latex primer won’t stop smoke stains from bleeding through your new paint in a few weeks. Use a shellac based or oil based primer designed to block stains and odors. Apply one solid coat, let it dry per label instructions (usually 1 to 2 hours), then assess coverage. Heavy staining might need a second primer coat.
Color matching takes attention if you’re only repainting one wall or section. Bring a paint chip from an undamaged area to the paint store, or if the house is recent, check your garage or basement for leftover paint cans with the original color code. Even with a perfect match, new paint next to old paint can look slightly different due to fading, so consider repainting the entire wall from corner to corner for smooth blending.
After your finish coat dries (typically 4 hours for latex paint), do a final inspection with good lighting. Look for missed spots, thin coverage, or areas where the stain is still visible through the paint. Touch those up with a small brush rather than leaving them.
Time Requirements and Drying Considerations for Soot Cleanup

Soot removal isn’t a one hour weekend task. If you rush the process or skip drying steps, you end up with streaks, spreading stains, and moisture damage that creates more problems than you started with. Set realistic expectations based on your damage level.
| Project Scope | Estimated Time | Drying Time |
|---|---|---|
| Light candle soot on one wall | 2 to 3 hours | 4 to 6 hours before repainting |
| Moderate fireplace soot on room | 4 to 6 hours | 12 to 24 hours before repainting |
| Heavy smoke damage on multiple rooms | 2 to 3 days | 24 to 48 hours between cleaning and priming |
| Severe fire damage | Professional assessment required | Varies based on structural drying needs |
The severity of soot buildup, your wall surface type, and room size all affect how long the job takes. Textured walls take longer than smooth surfaces. Plaster needs more careful handling than painted drywall. A 10×12 bedroom with light soot goes faster than a two story living room with heavy fireplace residue.
Don’t start your next step until the previous one is completely dry. If you apply cleaning solution over a damp wall from vacuuming, you dilute your cleaner and spread moisture. If you prime over a wall that’s still drying from cleaning, you trap moisture behind the primer and risk bubbling or peeling paint later.
Run fans continuously during drying periods. Point them at the wall, not just into the room. Check dryness by touch before moving forward.
When to Call Professional Restoration Services for Soot Damage

DIY soot removal works for small, manageable areas like a single wall with candle soot or light fireplace residue around a mantel. It stops working when the damage spreads beyond what you can safely and effectively handle with household tools and weekend time.
Fire damage beyond one room. Smoke and soot from actual fires spread through ductwork, into insulation, and across multiple rooms. That requires industrial equipment and coordinated restoration.
Ceiling soot or high walls requiring scaffolding. Cleaning overhead is dangerous and physically difficult. Professionals have the equipment and training to work at height safely.
Structural damage or water damage from firefighting. If water related home repairs are needed alongside soot cleanup, you need coordinated services that handle both. Fire damage often involves water damage from firefighting efforts, requiring coordinated restoration.
Persistent smoke odors after thorough cleaning. If you’ve cleaned, deodorized, and aired out the space for a week and still smell smoke, the contamination is deeper than surface level.
Insurance claims requiring documentation. Restoration companies document damage, provide detailed estimates, and work directly with insurance adjusters. DIY cleaning doesn’t create the paper trail insurance companies need.
Presence of hazardous materials. Older homes may have asbestos insulation or lead paint. If fire or smoke disturbed these materials, professionals with proper certifications must handle cleanup.
Multiple failed DIY cleaning attempts. If you’ve tried everything and the soot won’t budge or keeps reappearing, you’re dealing with penetration or contamination beyond what household methods can fix.
Professional restoration services bring commercial grade equipment like HEPA air scrubbers, thermal foggers for odor treatment, and industrial degreasers that aren’t available at hardware stores. They understand material science and know which cleaning methods work on which surfaces without causing damage. If you’re filing an insurance claim, they create the documentation and scope of work your insurance company needs to process the claim properly.
For extensive fire and smoke related home repairs, FireFloodRescue.com handles the complete sequence from initial damage assessment through final finish work. We coordinate soot removal, structural drying, odor treatment, drywall replacement, painting, and trim work as one connected project so you’re not juggling multiple contractors or trying to figure out what comes next.
Prevention Strategies to Minimize Future Soot Buildup on Walls

Stopping soot before it lands on your walls is easier than scrubbing it off later. Most soot situations come from predictable sources that you can control or maintain properly.
Use beeswax or soy candles instead of paraffin. Beeswax and soy candles burn cleaner with much less soot production than cheap paraffin candles.
Trim candle wicks to 1/4 inch before burning. Long wicks create larger flames that produce more incomplete combustion and soot. Keep them short.
Ensure proper room ventilation when burning anything. Crack a window when burning candles or running a fireplace. Fresh air helps combustion and reduces soot buildup.
Schedule annual chimney and flue inspections. Have a chimney sweep clean your fireplace flue at least once a year, more often if you burn wood regularly.
Maintain furnaces per manufacturer recommendations. Oil and gas furnaces need annual professional maintenance to prevent backdrafts and soot production from incomplete combustion.
Never burn materials indoors without proper ventilation. Don’t burn trash, cardboard, or anything besides seasoned firewood in your fireplace. Improper materials create excess smoke and soot.
Perform light wall cleaning monthly in high risk areas. Wipe down walls near fireplaces, above stoves, and around candle areas with a dry cloth monthly to remove light deposits before they build up.
Address small soot spots immediately before spreading. Clean fresh soot the day you notice it. Waiting lets it set into the paint and become harder to remove.
Fireplace and chimney maintenance schedules matter more than most homeowners realize. Creosote and soot buildup in chimneys creates fire hazards and backdraft problems that push smoke into your home instead of up the flue. A clean chimney drafts properly and keeps combustion products moving outside.
Furnaces running inefficiently produce soot from incomplete fuel burning. Annual maintenance catches problems before they turn into black streaks on your walls or worse. If you notice soot appearing around furnace vents or registers, shut the system down and call an HVAC technician. That’s a sign of serious combustion problems.
Recognizing early soot accumulation saves you major cleanup projects later. Check walls monthly in rooms with candles, fireplaces, or heating vents. Look for light gray or black smudging, especially near ceilings where warm air rises. A quick wipe with a dry cloth when you first spot it prevents the buildup that requires full scale cleaning projects.
Understanding What Causes Soot on Walls and Common Sources
Black soot is a fine powdery substance made mostly of carbon particles smaller than one micrometer. It forms when carbon containing materials burn without enough oxygen, creating incomplete combustion. Instead of burning cleanly into carbon dioxide and water vapor, the fuel releases carbon monoxide and carbon particles that float in the air and settle on surfaces as soot.
Paraffin and vegetable oil candles (worst offenders). These unsaturated hydrocarbons produce heavy soot compared to beeswax or soy alternatives. Cheap candles are the main cause of “ghosting” or “dirty house syndrome” in homes without fire damage.
Wood burning fireplaces and stoves. Burning unseasoned wood, softwoods, or materials other than dry hardwood creates excess smoke and soot that doesn’t fully exit through the chimney.
Oil or gas furnace backdrafts. When furnaces malfunction or chimneys don’t draft properly, combustion products back up into living spaces instead of venting outside.
Kitchen grease fires. Grease burns hot and smoky, coating nearby walls and ceilings with sticky, oily soot that’s harder to clean than dry soot from candles.
Tobacco smoke accumulation. Long term cigarette or cigar smoking indoors leaves yellowish brown residue that combines tar with carbon particles.
Electrical fires. Burning insulation, plastic, and wiring creates black soot with a distinct chemical smell and often indicates serious electrical problems needing immediate professional attention.
House fires of any size. Even small contained fires produce widespread smoke and soot contamination that affects rooms far from the fire source through air circulation systems.
Soot isn’t just dirty. It’s acidic and greasy. The oily coating comes from partially burned hydrocarbons that give soot its sticky, smear prone texture. This acidic, greasy nature is exactly why soot cleaning requires specific techniques. Water alone won’t cut through the oily residue, and scrubbing spreads it instead of lifting it.
The type of soot tells you something about its source and affects how you clean it. Dry, powdery soot from candles or wood smoke wipes off more easily than wet, sticky soot from grease fires or synthetic material fires. For extensive damage from actual fire and smoke related home repairs, the contamination typically requires professional equipment and methods beyond household cleaning supplies.
Final Words
Knowing how to remove soot from walls means following the right sequence and using proper techniques.
Start with dry methods first, test your cleaning solution on a hidden spot, and work from top to bottom with gentle blotting motions.
For light candle soot or small fireplace residue, these DIY steps can restore your walls to clean condition. But if you’re dealing with stubborn stains that won’t lift, persistent smoke odors, or damage that covers multiple rooms, that’s when professional help makes sense.
We handle soot cleanup and fire damage restoration from assessment through final finish work.
FAQ
How do you get soot off painted walls?
You get soot off painted walls by first vacuuming loose particles with a brush attachment, then using a dry chemical sponge with a wiping motion, followed by washing with a cleaning solution mixed at six tablespoons per gallon of warm water, rinsing with clean water, and drying thoroughly with towels and a fan.
Does vinegar remove soot?
Vinegar removes light to moderate soot when mixed in equal parts with water in a spray bottle, sprayed on stains, and gently wiped with a cloth. The acidic properties help break down soot residue, but stubborn or heavy buildup may require stronger commercial cleaners or multiple applications.
Does Dawn remove soot?
Dawn dish soap removes soot when mixed with warm water and applied with a microfiber cloth using gentle blotting motions. Mix a few drops of Dawn per gallon of warm water, apply to the soot-stained area, rinse with clean water, and dry thoroughly to prevent water damage.
Does magic eraser remove soot from walls?
Magic erasers can remove light soot from walls but should be used carefully after dry cleaning methods. Always test on an inconspicuous area first, as magic erasers are abrasive and may damage flat paint finishes or remove paint sheen if used with heavy pressure or scrubbing motions.
What type of sponge works best for cleaning soot?
A dry chemical sponge works best for cleaning soot because it lifts carbon particles without spreading them or pushing them deeper into wall surfaces. Use the sponge with wiping motions rather than scrubbing, and rotate to clean sides or slice off contaminated portions as they become saturated.
How long does it take to clean soot off walls?
Cleaning soot off walls takes one to three hours for light candle soot on one wall, three to six hours for moderate fireplace soot on a room, and eight to sixteen hours for heavy smoke damage across multiple rooms. Drying time adds another four to twelve hours depending on ventilation and humidity.
When should I call professionals for soot damage?
You should call professionals for soot damage when fire damage extends beyond one room, ceiling areas need cleaning, structural or water damage exists, smoke odors persist after thorough cleaning, insurance claims require documentation, or multiple DIY cleaning attempts have failed.
Can I use TSP to clean soot from walls?
You can use TSP (trisodium phosphate) to clean soot from walls by mixing it at recommended dilution ratios and applying it after dry cleaning methods. TSP works well for heavy soot buildup and greasy residue, but always wear protective equipment and test on inconspicuous areas first.
How do I prevent soot buildup on walls?
You prevent soot buildup on walls by using beeswax or soy candles instead of paraffin, trimming candle wicks to one-quarter inch, ensuring proper ventilation when burning anything indoors, scheduling annual chimney cleanings, and maintaining furnaces according to manufacturer recommendations.
Why does soot spread when I try to clean it?
Soot spreads when you try to clean it because it has acidic, greasy properties and consists of fine carbon particles that smear easily with scrubbing motions. Always vacuum loose particles first, use dry chemical sponges before wet cleaning, and apply blotting techniques rather than scrubbing to prevent spreading.
What protective equipment do I need for soot removal?
You need protective equipment for soot removal including rubber gloves, safety goggles, a dust mask or respirator, and long-sleeve clothing to prevent skin contact and inhalation of airborne particles. Open windows and use fans for ventilation before starting any cleaning work.
Can baking soda remove soot stains?
Baking soda removes soot stains when mixed with water to form a paste, applied to stained areas, left to sit for a few minutes, and wiped with a damp cloth. This method works well for light to moderate soot but may require multiple applications for stubborn stains.