
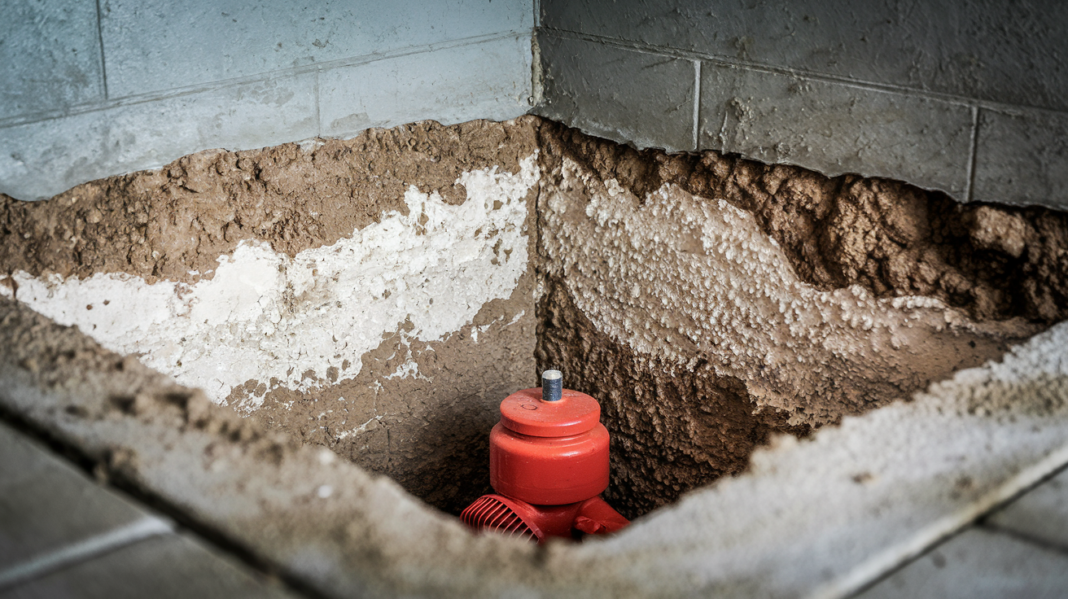

Most basement waterproofing fails because homeowners pick solutions based on price instead of what’s actually causing water to show up. Surface sealants won’t stop hydrostatic pressure. A sump pump can’t fix foundation cracks. And if you’re layering fixes on top of the wrong diagnosis, you’re just spending money while your basement stays wet. The methods that actually work start outside, intercept water early, and match the specific way moisture is reaching your space.
Core Waterproofing Methods: Comparison and Selection Guide
Choosing the right basement waterproofing method starts with understanding what you’re actually dealing with. Minor dampness that shows up as musty smells. Moderate seepage leaving water marks on walls. Or active flooding that pools on your floor during rainstorms. Your budget matters too, and you’ll need to figure out whether water pressure builds from groundwater outside pushing in or condensation forming inside from temperature swings and poor ventilation.
Waterproofing solutions range from $50 surface sealants you can brush on yourself to $15,000 professional excavation jobs that expose your entire foundation. The most effective methods stop water early in its path toward your basement, before hydrostatic pressure builds and forces moisture through concrete pores, cracks, and joints.
| Method | Best For | Effectiveness Rating | Cost Range | DIY Feasible | Installation Time | Lifespan |
|---|---|---|---|---|---|---|
| Exterior membrane + excavation | Severe flooding, high water table, permanent solution | 9/10 | $8,000-$15,000 | No | 5-7 days | 25-30 years |
| Interior drainage + sump pump | Regular water intrusion, finished basements, limited exterior access | 8/10 | $2,000-$6,000 | No | 2-3 days | 7-10 years pump, 25+ drain |
| Exterior French drain | Surface water management, soggy yard, foundation perimeter drainage | 7/10 | $2,000-$10,000 | Difficult | 2-4 days | 20-30 years |
| Surface coatings/sealants | Minor dampness, humidity control, porous walls | 4/10 | $50-$200 DIY, $1-3/sq ft pro | Yes | 1-2 days | 5-10 years |
| Crack injection | Active leaks through foundation cracks, localized seepage | 7/10 | $300-$800 per crack | Limited | 2-4 hours | 10-15 years |
| Grading improvements | Surface water pooling near foundation, negative slope | 6/10 | $500-$3,000 | Yes | 1-3 days | 5-10 years |
| Vapor barriers | Humidity control, condensation issues, finished wall protection | 5/10 | $0.50-$2/sq ft | Yes | 1 day | 20+ years |
| Dehumidifiers | Ambient moisture, musty odors, preventing mold in dry basements | 4/10 | $200-$1,500 | Yes | 1 hour | 5-10 years |
| Downspout extensions | Roof drainage directing water toward foundation | 6/10 | $50-$200 | Yes | 1-2 hours | 3-5 years |
| Emergency hydraulic cement | Active leaks requiring immediate temporary repair | 3/10 | $10-$30 | Yes | 15-30 minutes | 1-3 years temporary |
The most reliable protection combines multiple approaches working together. Exterior French drains that reduce groundwater pressure around your foundation paired with interior backup drainage and a sump pump that catches breakthrough water. Or surface coatings combined with a dehumidifier when you’re managing minor moisture rather than actual flooding. Single method solutions work for specific problems, but layered systems handle the unpredictable nature of water finding its way into basements.
Emergency Response: Stopping Active Leaks and Flooding
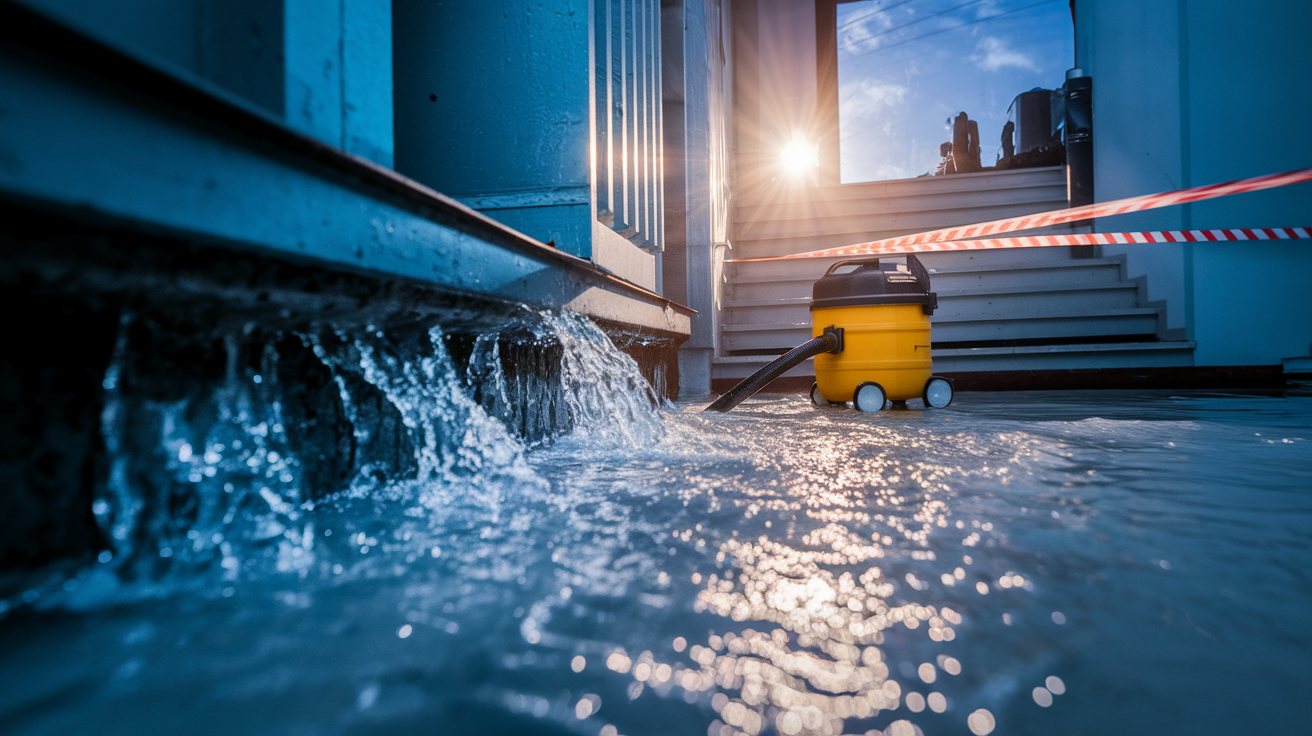
If water’s actively coming in right now, safety comes first. Standing water near electrical outlets, appliances, or your breaker panel creates shock hazards serious enough to require shutting off power to affected areas and staying out until conditions are safe.
Immediate Response Steps:
-
Shut off electricity to basement circuits at the main panel if water reaches outlets, appliances, or wiring, and avoid walking through standing water until power is confirmed off
-
Identify the water source. Foundation crack, window well overflow, sewer backup, sump pump failure, or surface water coming through doorways. Response tactics differ for each.
-
Stop inflow if possible by clearing blocked window wells, redirecting downspouts away from foundation, or covering exposed cracks with plastic sheeting secured with duct tape
-
Begin water removal immediately using wet dry vacuums for minor flooding (under 1 inch), submersible pumps for deeper water, starting from the lowest point and working outward
-
Document damage with photos and video showing water levels, affected materials, and visible damage for insurance claims before cleanup removes evidence
For active leaks through cracks or joints, hydraulic cement provides quick patches that set in 3 to 5 minutes even while water’s flowing. Mix it to a thick putty consistency, undercut the crack edges slightly to create a key, pack the cement in firmly, and hold it in place for several minutes until it hardens. This buys you time to plan proper crack injection repairs. Plastic sheeting secured over seeping walls with construction adhesive or furring strips creates temporary barriers while you arrange professional repairs. Window wells filling with water during storms need immediate clearing of debris from drain grates plus sandbags stacked around the well perimeter to redirect surface flow.
Water removal speed matters because mold colonization starts within 24 to 48 hours on wet organic materials like drywall, wood framing, insulation, and stored items. Wet dry vacuums handle minor seepage and small puddles. Submersible pumps rented from equipment suppliers ($40 to $80 per day) move hundreds of gallons per hour for significant flooding, with discharge hoses running to storm drains or street drainage at least 20 feet from your foundation. Severe flooding with contaminated water or more than 6 inches depth across large areas warrants professional water extraction services that bring truck mounted equipment and industrial drying systems.
Emergency Supplies to Keep Ready:
- Hydraulic cement (fast setting waterplug type)
- Heavy 6 mil plastic sheeting in 10×25 foot rolls
- Wet dry vacuum with 6+ gallon capacity
- Portable submersible pump with 50 feet discharge hose
- Sandbags (or heavy duty garbage bags filled with soil as substitute)
- Battery powered or backup outlet dehumidifier for immediate drying
Exterior Waterproofing: Excavation and Membrane Systems
Exterior waterproofing tackles water at the foundation perimeter before hydrostatic pressure builds enough to force moisture through concrete. It’s the most complete long term approach that fixes root causes instead of just managing symptoms after water’s already reached your basement walls.
Excavation and Foundation Preparation
The process starts with excavating a trench around your foundation perimeter, typically 6 to 8 feet deep down to the footer level where the foundation widens at its base. Heavy equipment, mini excavators for tight residential access or full size machines for open properties, removes soil in sections while protecting landscaping, utilities, and hardscaping where possible. The exposed foundation wall gets thoroughly cleaned with pressure washers or wire brushes, removing all soil, old tar coatings, efflorescence, and loose concrete. Any visible cracks, honeycomb areas (porous sections), or damage get repaired with hydraulic cement or epoxy injection before waterproofing application begins. The working trench needs enough width (3 to 4 feet) for installers to apply membranes properly and install drainage systems alongside the footer.
Waterproof Membrane Application
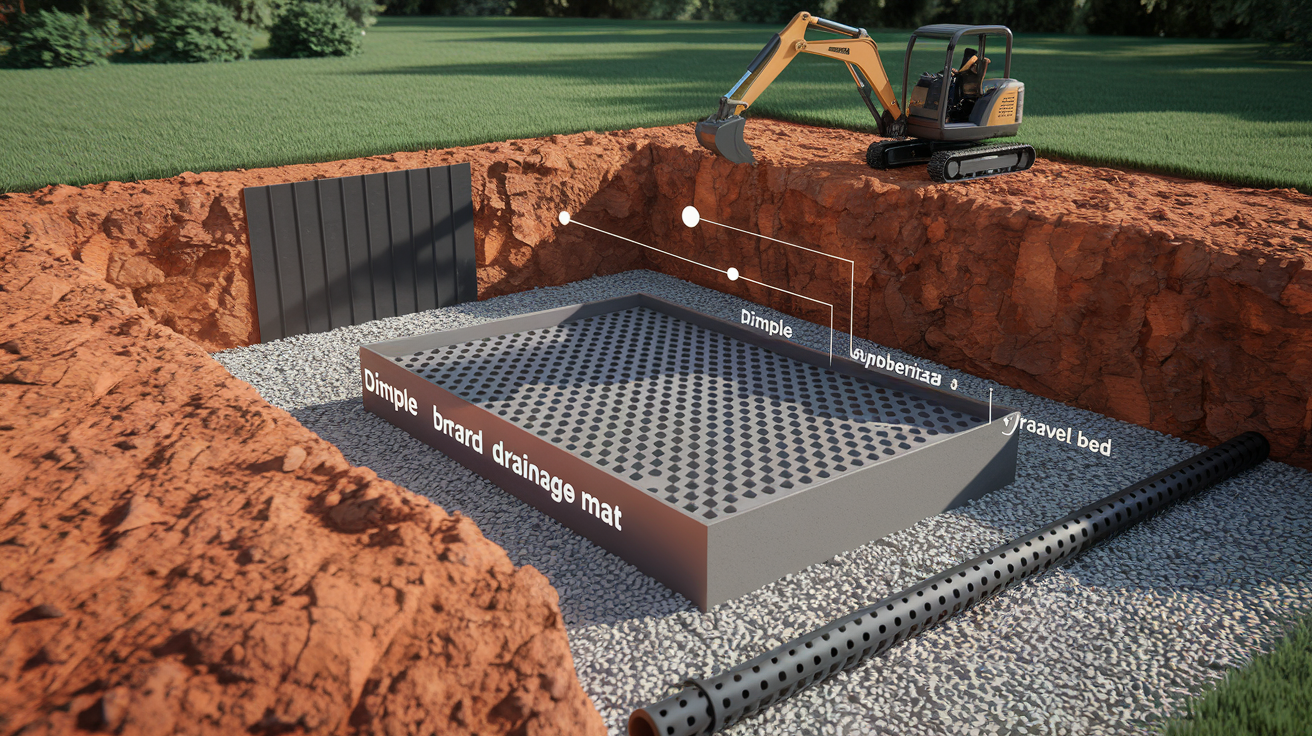
The most common membrane is rubberized asphalt applied in two coats from footer to grade level, creating a thick barrier that remains flexible as foundations shift slightly over time. Liquid applied membranes get rolled or sprayed onto prepared surfaces, while peel and stick sheet membranes come in rolls that overlap at seams by 4 to 6 inches. All membrane types create impermeable barriers blocking liquid water penetration. Over the waterproof membrane, installers attach dimple boards (plastic sheets with raised bumps) or drainage mats that create an air gap between membrane and backfill soil. This relieves hydrostatic pressure by giving water a path to flow downward toward footer drains rather than pressing directly against the waterproof coating.
Exterior French Drain and Footer Drainage
Alongside the footer, installers lay perforated drain pipe (typically 4 inch diameter) in a gravel bed that extends 6 to 8 inches below and around the pipe. The perforations face downward, allowing water that collects at the footer level to enter the pipe. Filter fabric wraps the gravel and pipe assembly to prevent soil particles from clogging perforations over time. The pipe slopes at minimum 1 inch per 8 feet, directing collected water away from the foundation to a daylight outlet (where pipe emerges at ground surface downhill from the house) or to a dry well 10 to 20 feet away. This drainage system intercepts groundwater before it reaches foundation walls, working with the membrane to stop water at multiple intervention points.
Backfilling and Grading Establishment
After membrane and drainage installation, backfilling uses proper drainage soil (sandy loam or engineered fill) rather than heavy clay that holds water. Installers compact fill in 6 inch layers using plate compactors to prevent future settling that creates low spots near the foundation. The final grade establishes positive drainage. Ground slopes away from the foundation with minimum 6 inches drop over the first 10 feet. This surface slope directs rain and snowmelt away before it soaks down to footer level. Landscape restoration includes replacing topsoil, reseeding grass, and rebuilding garden beds, though expect disruption to plantings, walkways, and anything within the excavation zone.
Exterior waterproofing delivers permanent protection with 25 to 30 year lifespan and stops water before pressure builds. But the investment runs $8,000 to $15,000 for typical homes, tears up landscaping temporarily, requires property access for excavators and dump trucks, and works best scheduled during dry weather when soil conditions allow clean excavation and membrane curing.
Interior Drainage Systems: Sump Pumps and Perimeter Drains
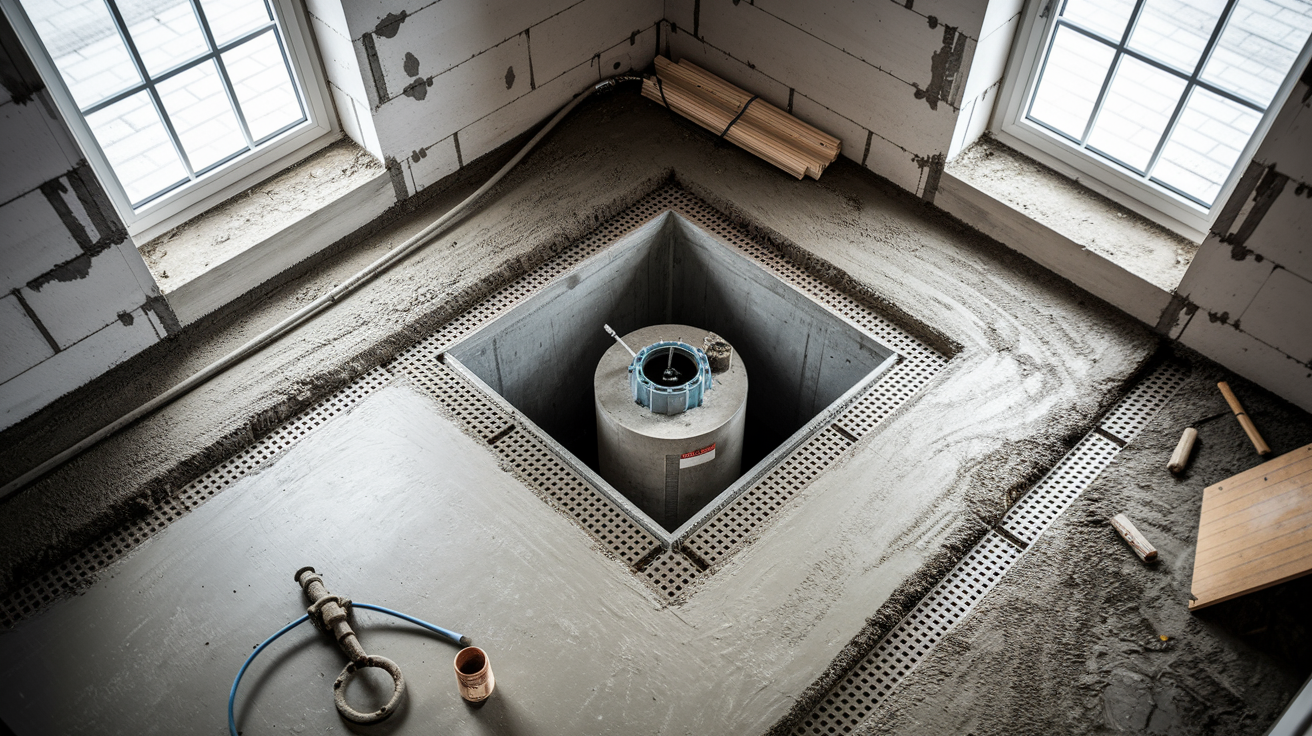
Interior waterproofing systems don’t stop water from entering your basement envelope but manage it effectively once inside. This makes them less disruptive than excavation, more affordable for finished basements where interior access is easier, and reliable for controlling water that’s already found its way to your foundation.
Interior Perimeter Drain Installation
Installers start by cutting a channel through your concrete floor along the basement perimeter, typically 12 to 18 inches from the wall. Concrete saws with dust control attachments cut through the slab, then crews remove concrete sections and excavate a trench down to footer level, usually 12 to 18 inches below floor surface. Perforated drain pipe sits in this trench on a gravel bed, positioned to capture water at the cove joint where floor meets wall, the most common leak location since this construction joint often allows water seepage. Gravity directs captured water through the pipe system to the lowest basement point where the sump pit waits. After pipe installation, crews pour new concrete over the trench, leaving a narrow gap at the wall edge or installing drain grates flush with the floor to allow water entry. Typical installation takes 2 to 3 days including concrete cutting, excavation, pipe placement, and patching.
Sump Pump System Components
The system centers on three connected parts working together. The basin, an 18 to 24 inch diameter pit dug 24 to 30 inches below floor level at the lowest basement point, collects water from the perimeter drain system and provides surge capacity during heavy water events. The pump unit sits in the basin on bricks or a pump stand that keeps the inlet screen above sediment. Residential sump pumps typically run 1/3 to 1/2 horsepower, with cast iron pumps lasting longer than plastic but costing more ($150 to $400 for cast iron versus $80 to $200 plastic). A float switch activates the pump automatically when water reaches a set level, usually 8 to 12 inches deep in the pit. The discharge line runs from pump outlet through basement wall to exterior, routing water 10 to 20 feet from the foundation with a check valve installed near the pump preventing backflow when the pump shuts off.
Backup Systems and Redundancy
Battery backup systems ($300 to $800) matter because power outages often coincide with severe storms that cause flooding, exactly when your primary pump needs to work. These systems use deep cycle marine batteries charged by a small trickle charger, automatically engaging when they detect primary pump failure or power loss. Water powered backup pumps offer another option, using municipal water pressure to create suction that moves basin water without electricity, though they discharge slower than electric pumps and add to water bills. Alarm systems ($50 to $150) alert you to pump failure, high water, or power loss through loud sirens or smartphone notifications. High risk areas prone to extended power outages or severe water intrusion sometimes warrant dual primary pump installations with pumps on separate circuits.
Installation Costs and Maintenance Requirements
Professional installation of a complete system, interior perimeter drain, pump basin, primary pump, and exterior discharge line, typically runs $2,000 to $6,000 depending on basement size, soil conditions, and access difficulty. Experienced homeowners with concrete cutting saws, sledgehammers, and excavation equipment can tackle DIY installation, cutting materials cost to $600 to $1,200 but requiring serious physical work and 3 to 5 full days. Ongoing maintenance includes quarterly pump testing by pouring buckets of water into the basin to verify activation and discharge, annual pit cleaning to remove accumulated sediment, checking discharge lines for clogs or freeze damage in cold climates, and testing battery backup systems monthly. Primary pumps last 7 to 10 years with proper maintenance, drain tile systems function 25+ years, and discharge lines need occasional clearing but rarely fail.
| System Component | Function | Typical Cost | Maintenance Frequency | Expected Lifespan |
|---|---|---|---|---|
| Interior drain tile | Collects water at cove joint and directs to sump basin | $1,200-$3,500 | Check grates monthly | 25+ years |
| Sump pump | Removes collected water from basin and discharges outside | $150-$400 | Test quarterly, clean annually | 7-10 years |
| Discharge line | Routes pumped water away from foundation | $200-$600 | Check seasonally for clogs | 15-20 years |
| Battery backup | Operates pump during power outages | $300-$800 | Test monthly, replace battery 3-5 years | Battery 3-5 years, system 10+ years |
| Check valve | Prevents discharge water from flowing back into basin | $15-$40 | Inspect annually | 5-7 years |
Surface Treatments: Coatings, Sealants, and Penetrating Products
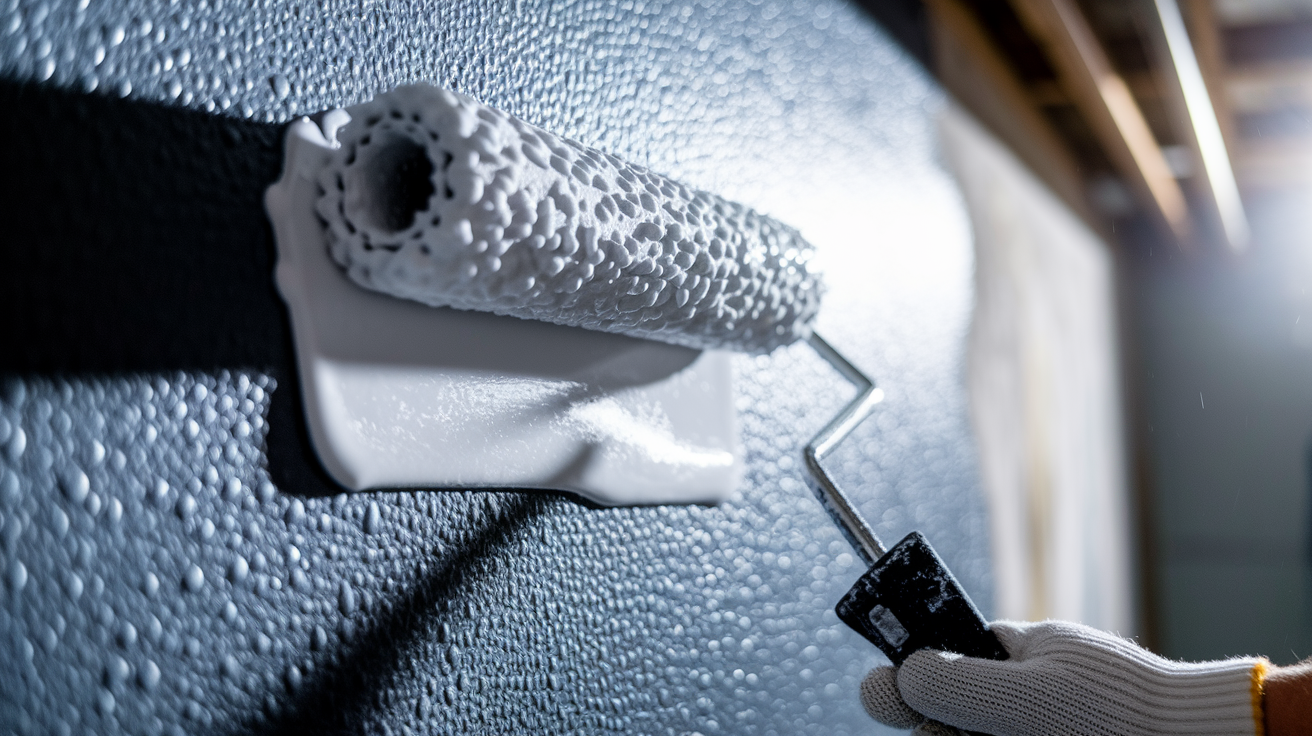
Surface coatings work for minor dampness issues, humidity control, and minimal water seepage through porous concrete. Not for active leaks, visible water running down walls, or situations where hydrostatic pressure forces water through cracks and joints with enough volume to puddle on floors.
Waterproof paints like Drylok provide the most common DIY surface treatment, using latex based formulations that create a barrier blocking liquid water while allowing vapor transmission so trapped moisture can escape rather than building up behind the coating. One gallon covers 75 to 100 square feet depending on concrete porosity, with manufacturer specifications calling for two coats applied 4 to 6 hours apart. The breathable characteristic matters because if you seal moisture inside concrete with a completely impermeable coating, it can cause paint failure, efflorescence behind the coating, and continued dampness issues. These masonry paints work best on walls experiencing condensation, minor seepage, or dampness during humid weather rather than steady water intrusion. You’ll typically spend $30 to $45 per gallon, covering an average basement with $120 to $180 in materials.
Crystalline waterproofing products and silicate based penetrating sealers offer more permanent protection by working inside the concrete rather than just coating the surface. Crystalline treatments penetrate concrete pores up to 1/8 inch deep and react with moisture and minerals in the concrete to form crystals that fill tiny capillaries and micro fractures. This becomes part of the concrete structure, providing permanent waterproofing that self seals future hairline cracks up to 0.4mm as moisture reactivates the crystalline reaction. Silicate sealers chemically bond with calcium compounds in concrete, creating a denser surface layer that repels water while remaining breathable. These penetrating products cost more ($60 to $120 per gallon) but last longer, typically 10 to 15 years compared to 5 to 10 years for topical paints.
Surface Treatment Application Process:
-
Clean walls thoroughly by removing all efflorescence (white mineral deposits), loose concrete, old paint, and dirt using wire brushes or pressure washers, allowing walls to dry completely before coating
-
Repair cracks larger than hairline width with hydraulic cement, undercutting crack edges slightly to create a mechanical key, and filling completely before applying surface treatments that can’t bridge gaps
-
Etch very smooth concrete surfaces with diluted muriatic acid (10:1 water to acid ratio) to create surface texture for better coating adhesion, rinsing thoroughly and allowing complete drying
-
Apply masonry primer if required by your chosen product, particularly on surfaces with old coatings or very porous concrete that would absorb too much topcoat
-
Apply first coat using masonry brush or thick nap roller in horizontal strokes, working product into surface pores, maintaining wet edges to avoid lap marks, and allowing manufacturer specified cure time (typically 4 to 8 hours)
-
Apply second coat perpendicular to the first using vertical strokes for complete coverage and maximum thickness, ensuring no pinholes or thin spots remain
Surface treatments handle symptoms rather than causes, meaning they work best when groundwater pressure stays minimal and water problems stem from condensation or minor concrete porosity rather than structural issues. They’re appropriate for situations where you can’t access the exterior foundation and water intrusion rates stay low. Expect to invest $50 to $200 for DIY materials covering typical 400 to 500 square foot basement sections. Professional application adds $1 to $3 per square foot labor but ensures proper surface preparation and even coating thickness. Plan on recoating every 5 to 10 years as the waterproof barrier degrades from moisture exposure, temperature cycles, and concrete movement.
Foundation Crack Repair and Structural Sealing
Hairline settling cracks under 1/8 inch wide commonly appear during a home’s first 6 years as the foundation settles into surrounding soil. These typically don’t indicate structural problems and mainly need waterproofing to prevent moisture intrusion. Wider cracks exceeding 1/4 inch, horizontal cracks running along mortar joints or through concrete, stair step patterns in block walls, or cracks with one side offset from the other require structural engineering assessment before any waterproofing work begins, since improper repairs might hide serious foundation movement.
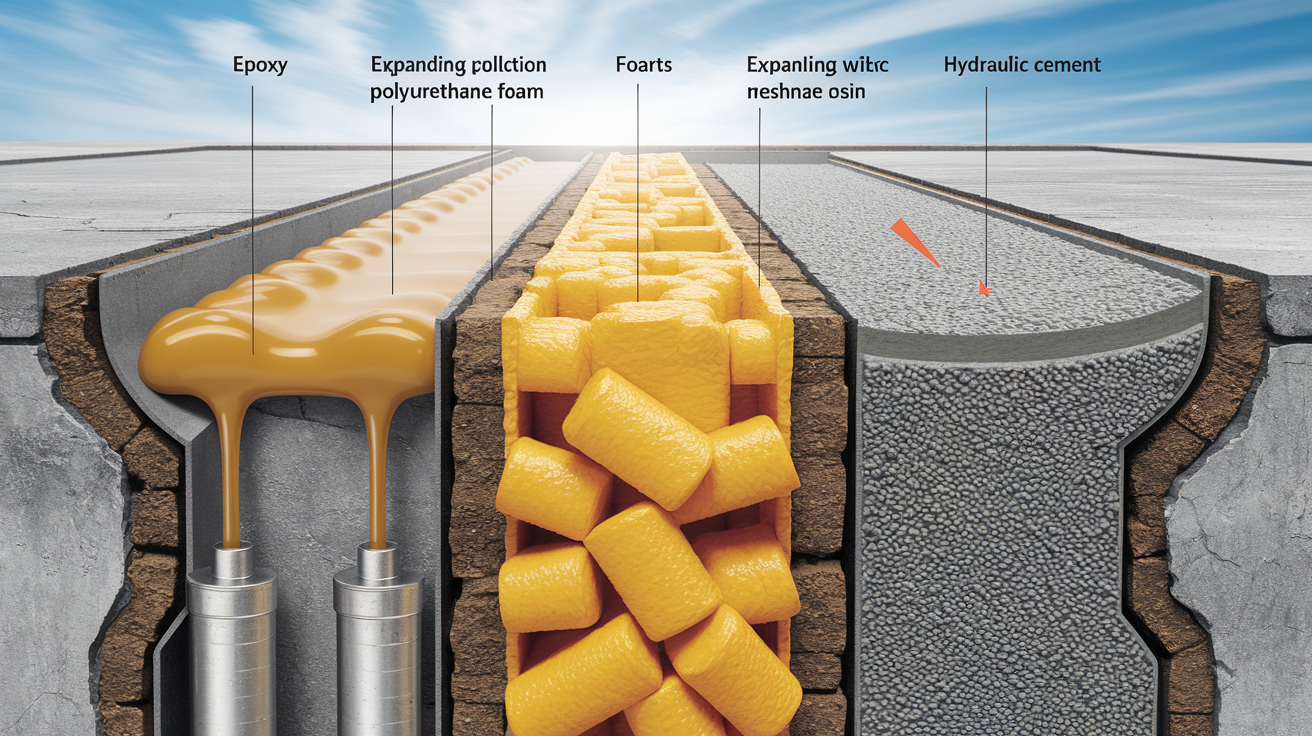
Epoxy injection provides structural repairs by bonding crack faces back together with adhesive strength exceeding the surrounding concrete. The process involves drilling injection ports along the crack path every 6 to 12 inches, then using specialized pumps to inject two part epoxy resin under pressure starting from the lowest port and working upward. The epoxy fills the crack completely, cures hard, and restores structural integrity to the wall. This method works best for dry, inactive cracks where wall movement has stopped and structural stability needs restoration along with waterproofing. The downside is that epoxy’s rigidity can’t accommodate future foundation movement. If settling continues, new cracks form adjacent to the repair. Cost runs $300 to $800 per crack for professional work covering typical 8 to 20 foot crack lengths.
Polyurethane foam injection handles active leaking cracks better than epoxy because it expands 20 to 30 times original volume on contact with water, filling the entire crack depth and remaining flexible enough to accommodate minor wall movement without cracking. Installers drill angled injection ports that penetrate through the wall thickness, then pump expanding polyurethane that chases water through the crack path, pushing into voids and filling irregularities that straight liquid sealants might miss. The foam cures flexible, maintains waterproofing effectiveness even when walls shift slightly with seasonal temperature changes or soil movement, and works while cracks actively leak under hydrostatic pressure. This method is ideal for basement walls showing seepage during rainstorms or spring snowmelt.
Hydraulic cement offers quick surface patching for small leaks and weeping areas, mixing to putty consistency and setting in 3 to 5 minutes even underwater. You undercut the leak area into a shallow cone shape, pack cement firmly into the depression, and hold it in place until initial set begins. This provides temporary repairs that stop immediate water intrusion but isn’t a permanent solution. Hydraulic cement can crack out or allow water to route around the patch over time. Use it for emergency situations, then follow up with proper crack injection within a few months.
Block foundation walls built from cinderblock or concrete masonry units often leak through deteriorated mortar joints rather than through the blocks themselves. Repair involves tuckpointing, removing damaged mortar to 1/2 inch depth, cleaning joints thoroughly, and repacking with fresh mortar matched to original strength and color. Tie rod holes left from concrete form construction create potential water entry points through the full wall thickness. These get sealed by drilling the hole slightly larger, cleaning thoroughly, and filling with hydraulic cement or installing injection ports for polyurethane foam that penetrates the entire hole depth.
Professional crack injection runs $300 to $800 per crack, with most basements having 2 to 4 significant cracks requiring repair. DIY injection kits cost $50 to $150 and include epoxy or polyurethane, injection ports, and mixing equipment, but proper installation requires understanding crack behavior, selecting appropriate materials, and using correct injection pressures. Mistakes can waste materials without achieving waterproofing or, worse, cause additional cracking from excessive pressure. Structural crack assessment by licensed engineers costs $300 to $500 and provides critical information before committing to repairs, since waterproofing a crack that’s still actively widening from foundation failure just means you’ll be repairing it again in 6 to 12 months as movement continues.
Moisture Control: Vapor Barriers and Dehumidification
Water intrusion from groundwater or rain requires drainage systems, excavation, and membranes to stop the physical flow of liquid into your basement. Vapor and humidity problems caused by temperature differentials, poor ventilation, and condensation need different solutions focused on controlling ambient moisture in the air. Finished basements often face both, liquid water managed by perimeter drains and backup from groundwater, plus humid air from laundry, bathrooms, or natural concrete moisture transmission that requires active dehumidification.
Vapor barrier materials create a semi permeable or impermeable layer that blocks moisture transmission while installed on basement walls or floors. The most common option is 6 mil polyethylene sheeting attached directly over exposed foundation walls before finishing, overlapped at seams by 12 inches and sealed with construction tape. More specialized crawl space membranes (10 to 20 mil thickness) offer higher tear resistance and longer lifespan when you’re encapsulating unfinished spaces. Installation on walls involves attaching sheeting with construction adhesive or mechanical fasteners, running from floor to ceiling, carefully sealing around all penetrations for pipes, wires, and ducts. Floor vapor barriers go under new concrete slabs during construction or over existing slabs before installing floating floors, preventing moisture from wicking up through concrete and damaging flooring materials. Sealing seams and penetrations matters as much as the barrier itself. Any gaps allow moisture transmission that defeats the system’s purpose.
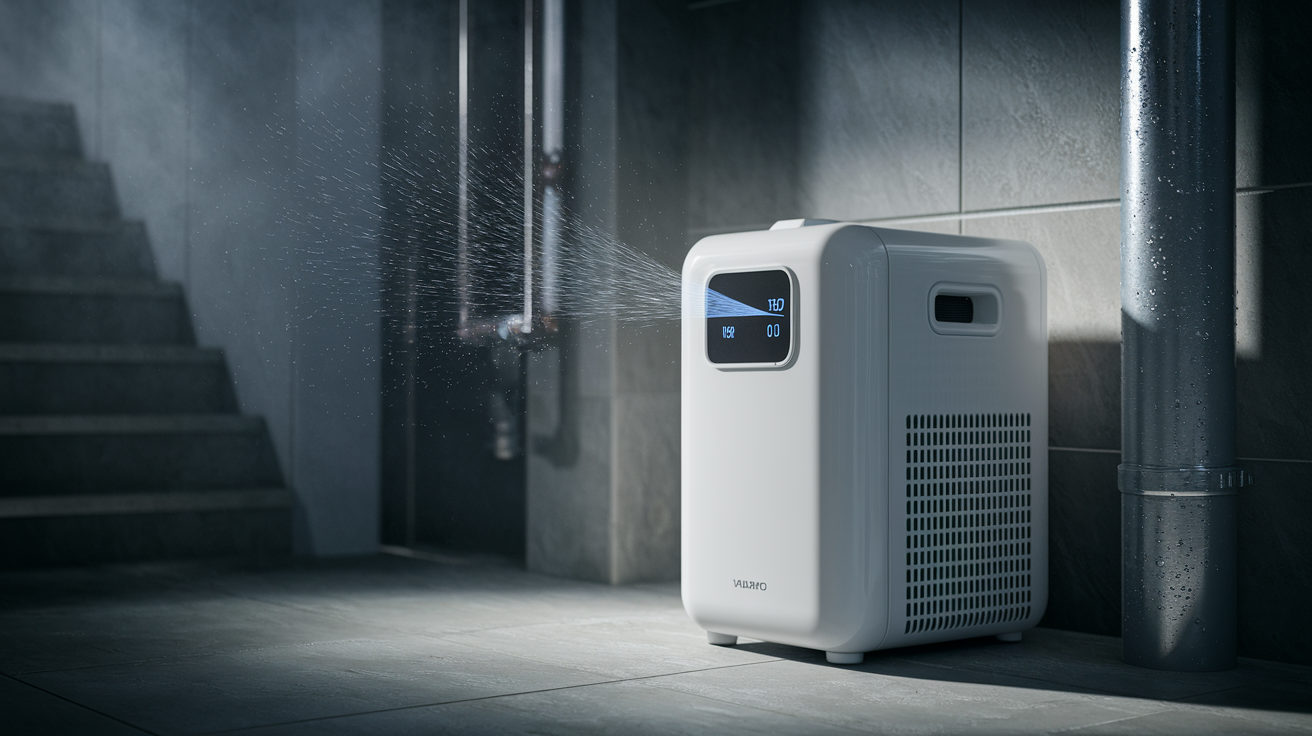
Dehumidifiers actively remove moisture from basement air, preventing condensation on cold surfaces and maintaining humidity levels that discourage mold growth. Size the unit based on basement square footage and moisture severity. 30 pint capacity handles spaces under 1,500 square feet with mild dampness, while 50 to 70 pint models suit larger basements or areas with persistent moisture problems. Energy Star rated units use less electricity while removing the same moisture, typically costing $30 to $50 monthly to operate during humid summer months but less in drier seasons. Built in condensate pumps eliminate need for manual emptying by automatically pumping collected water to floor drains or discharge lines, while gravity drain connections work if your unit sits above a floor drain. Place dehumidifiers in central basement locations with adequate airflow on all sides, away from walls and furniture that block air circulation. Target humidity of 30 to 50% creates comfortable conditions without promoting mold colonization or condensation issues. Modern units include humidistats that automatically cycle on and off to maintain set humidity levels.
Signs You Need Moisture Control Rather Than Drainage:
- Persistent musty or earthy odors even when walls appear dry to touch
- White powdery efflorescence appearing on walls without visible water staining
- Condensation forming on cold water pipes, concrete walls, or windows during humid weather
- Visible mold spots growing on cardboard, wood, fabric, or other organic materials stored in basement
- Rust forming on metal items, tools, or appliances despite no direct water contact
- Wood trim, doors, or furniture warping from moisture absorption and peeling paint without obvious leaks
Dehumidifiers work on symptoms rather than causes, meaning they remove moisture from air but don’t stop water from entering through foundation walls, cracks, or poor drainage. They work best combined with air sealing, proper ventilation, and addressing moisture sources like unvented dryers, bathroom exhaust, or groundwater infiltration. A dehumidifier running constantly at maximum capacity suggests underlying water intrusion problems exceeding the unit’s removal capacity. Time to investigate foundation waterproofing rather than buying a bigger dehumidifier.
Vapor barriers cost $0.50 to $2 per square foot installed depending on material thickness and installation complexity, with typical basement applications running $400 to $1,200 for materials and labor. Quality dehumidifiers range from $200 to $1,500 based on capacity, features like built in pumps and humidistats, and energy efficiency ratings. Operating costs depend on runtime and humidity load but average $30 to $50 monthly during peak humid seasons, less during drier periods when units cycle less frequently.
Water Source Management: Grading, Gutters, and Drainage
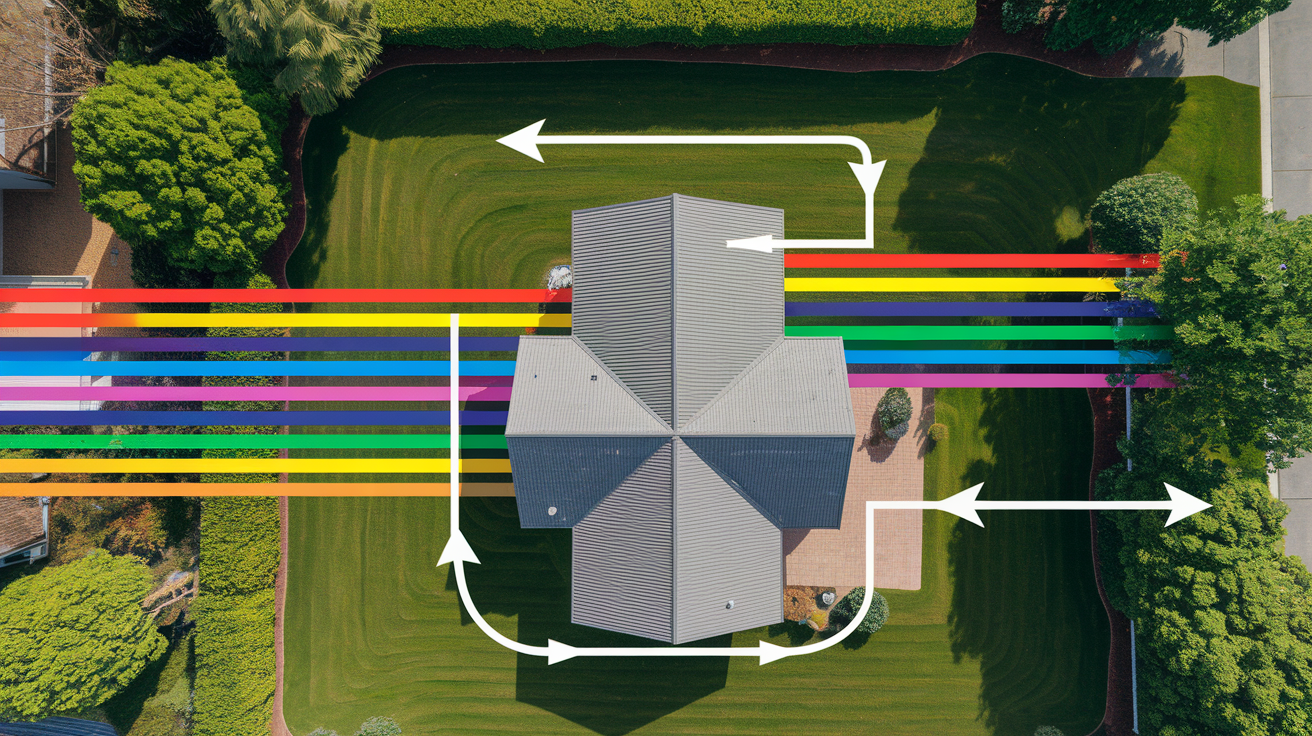
Managing rain and snowmelt before it saturates soil around your foundation prevents most basement water problems and costs less than any other waterproofing approach. Proper surface drainage eliminates the source rather than dealing with water after it’s already causing problems.
Proper grading establishes slopes running away from your foundation so gravity directs water away from basement walls rather than pooling against them. Ground should drop minimum 6 inches over the first 10 feet from the foundation, that works out to 1/2 inch per foot of slope. Regrading involves stripping existing soil and landscaping back from the foundation 10 to 15 feet, establishing the proper slope using laser levels or string lines, compacting fill soil in layers to prevent future settling, and finishing with 4 to 6 inches of topsoil that supports grass or plantings. Problem areas include sunken spots where settling created low points that collect water, flat or negative grades where ground slopes toward the house instead of away, and locations where sidewalks, patios, or driveways direct water back toward foundations. Professional regrading costs $500 to $3,000 depending on property size, soil conditions, extent of work needed, and whether you’re also addressing drainage structures. The work creates temporary mess as equipment moves soil, strips landscaping, and rebuilds grade, but results last 10 to 15 years before settling requires touchup.
Gutter systems collect roof drainage, often thousands of gallons during storms, and control where that water goes instead of letting it sheet off roof edges directly onto soil beside the foundation. Properly sized gutters for residential applications run 5 to 6 inches wide with capacity to handle roof drainage from typical 1,500 to 2,500 square foot roof areas. Size calculations account for roof square footage, local rainfall intensity, and roof pitch (steeper roofs shed water faster, requiring larger gutters). Gutters need proper pitch of 1/4 inch per 10 feet toward downspouts to prevent standing water and debris buildup. Common problems include gutters sagging from excess weight (ice, water, debris), separating at seams and end caps, or overflowing during heavy rain because they’re undersized or clogged. Clean gutters twice yearly minimum, spring after tree pollen and fall after leaf drop, removing all debris, flushing downspouts, checking for leaks, and tightening loose hangers. Gutter guards reduce maintenance frequency but don’t eliminate it.
Downspout management matters because even perfect gutters fail at waterproofing if they dump water right beside your foundation. Extensions direct water minimum 4 to 6 feet from foundation walls, with 10 feet ideal for problem properties or heavy clay soils that drain slowly. Solid extensions (rigid plastic, aluminum, or corrugated flex pipe) work better than splash blocks that just spread water. Buried discharge lines offer cleaner appearance and more reliable water routing. Installers run solid pipe underground from downspout outlets to daylight outlets at property edges or to dry wells. Pitch buried lines 1/4 inch per foot to prevent standing water and freezing issues in cold climates. Make sure discharge points don’t create problems on neighboring properties or route water back toward your foundation through surface swales or poor grading.
Window well covers made from clear polycarbonate or metal prevent rain from filling window wells while still allowing natural light and emergency egress through basement windows. Uncovered window wells collect rain, snowmelt, and debris, commonly flooding during storms when well drains can’t handle volume or become clogged. Window wells need gravel bases 6 to 12 inches deep for drainage plus drain connections to perimeter systems or independent drain lines running to daylight outlets. Clean window wells twice yearly, clearing leaves and debris, checking drain function, and ensuring covers fit securely without gaps.
Dry well installations handle downspout discharge and other drainage in areas without natural surface outlets. These consist of 3 to 4 foot diameter excavations, 3 to 6 feet deep, filled with gravel surrounding a perforated collection barrel or geotextile fabric chamber. Water from discharge lines fills the gravel void, then gradually percolates into surrounding soil over hours to days. Position dry wells 10 to 20 feet minimum from foundations to prevent drainage from seeping back toward basements. They work in soils with decent permeability but fail in heavy clay that doesn’t absorb water, requiring either deeper installation to reach better soil or alternative drainage solutions like routing to storm sewers or swales.
| Drainage Solution | Purpose | Typical Cost | Maintenance Frequency | DIY Feasible |
|---|---|---|---|---|
| Foundation grading | Direct surface water away from foundation perimeter | $500-$3,000 | Inspect annually, touchup every 5-10 years | Yes with equipment |
| Gutter installation/repair | Collect roof drainage and control discharge points | $600-$2,000 | Clean twice yearly, inspect annually |