
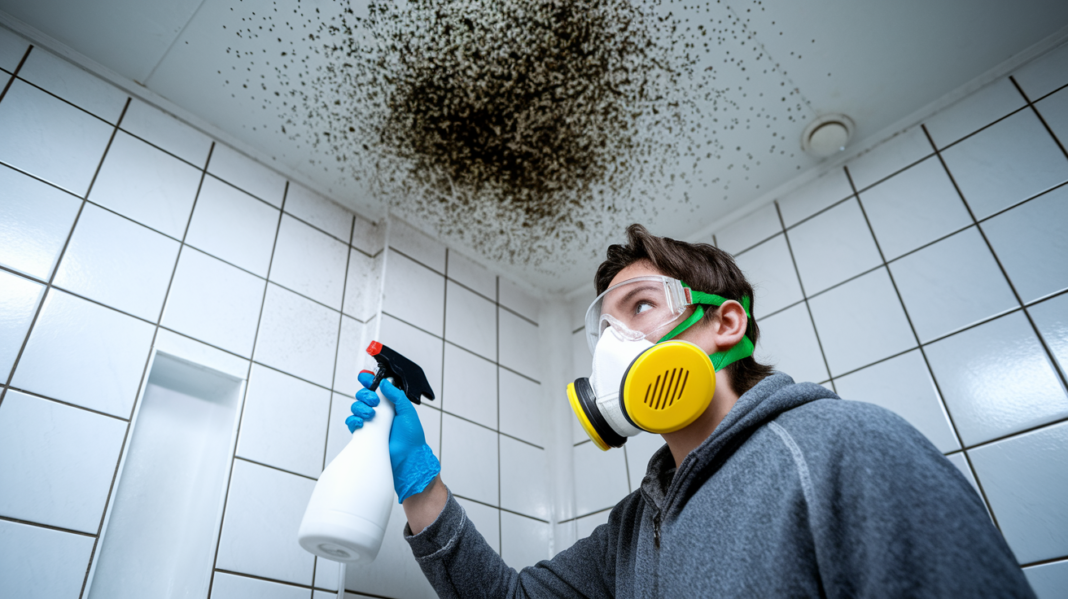

You found black mold in your bathroom, and now you’re standing there wondering if bleach and a scrub brush will actually fix it, or if you’re about to make things worse. Here’s the truth: small surface mold (under 10 square feet) on tile or glass? You can handle that yourself with the right safety gear and cleaning approach. But mold that’s traveled into drywall, spread behind walls, or covers more area than a small patch? That needs professional assessment, because DIY work on hidden growth usually just spreads spores and misses the real problem.
Identifying When DIY Black Mold Removal Is Appropriate
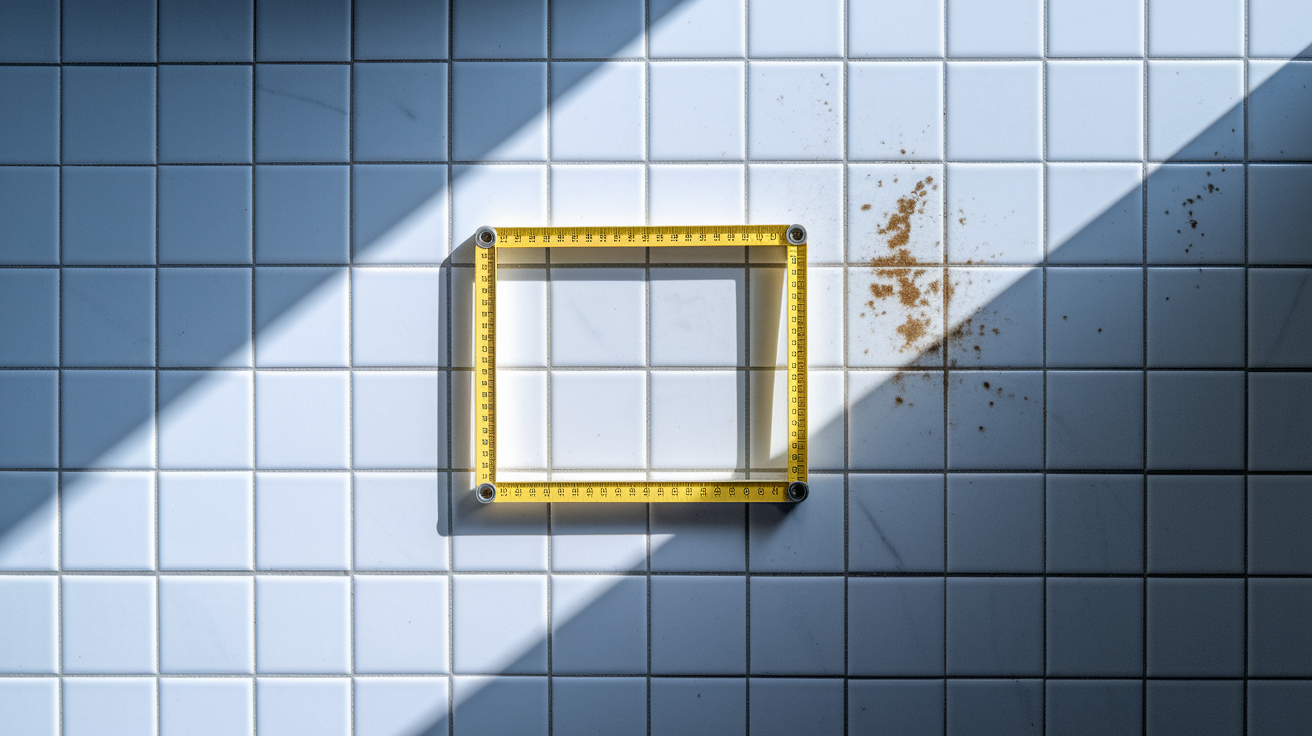
The 10 square foot rule tells you when to handle mold yourself versus calling professionals. If the affected area measures less than 10 square feet (roughly 3 feet by 3 feet), and you can reach it safely, DIY removal works for most homeowners.
You can handle small bathroom tile patches, minor ceiling spots from condensation, surface growth on shower walls, or mold on windowsills and non-porous surfaces like glass or metal. These situations involve visible surface mold on accessible areas where you can identify and fix the moisture source yourself. If the mold growth is contained, the surface is easy to clean, and you don’t have underlying health conditions that increase risk, you can tackle the removal with proper safety equipment and cleaning solutions.
Professional mold remediation becomes necessary when the contaminated area exceeds 10 square feet, mold appears in HVAC systems or ductwork, water damage came from sewage or flooding, structural materials show rot or deterioration, or toxic mold like Stachybotrys chartarum is confirmed. Hidden mold behind walls, under flooring, or in crawl spaces also requires professional assessment because you can’t see the full extent of growth. If anyone in your household has asthma, chronic respiratory conditions, weakened immune systems, or mold allergies, don’t attempt DIY removal regardless of size.
Before starting any work, consider whether you’ll need documentation for insurance claims. Professional remediation includes detailed reports, photos, and certificates of completion that insurance companies often require. DIY work may save money initially but can complicate claims if you don’t document the process properly or if the mold returns because the underlying problem wasn’t fully addressed.
Safety Gear and Preparation for Black Mold Removal Projects

Protective equipment isn’t optional when removing black mold, even for small DIY projects. Mold spores become airborne during cleaning, and inhaling them or getting them on your skin causes respiratory irritation, allergic reactions, and potential long term health effects. The “it’s just a little mold” mindset leads to exposure that could’ve been prevented with $30 worth of safety gear. DIY doesn’t mean cutting corners on protection.
Essential Safety Equipment:
- N95 respirator mask or HEPA rated mask that forms a seal around nose and mouth
- Safety goggles with side shields that seal against face to prevent spore entry into eyes
- Long rubber or nitrile gloves extending past wrists to prevent skin contact
- Disposable coveralls or old clothing dedicated to mold work that gets discarded afterward
- Plastic sheeting (6 mil thickness) and duct tape for sealing off the work area
- Box fan for creating negative air pressure and directing contaminated air outside
Setting up containment prevents mold spores from spreading throughout your home during removal. Seal the work area with plastic sheeting and tape, covering doorways and vents. Close interior doors to the space. Open a window and position a box fan facing outward to create negative air pressure, pulling contaminated air outside rather than pushing it into other rooms. This simple setup makes a real difference in preventing cross contamination.
Clear the work area of family members, pets, and anyone with respiratory sensitivities before starting. They should stay away until cleaning is complete and the area has been dried and ventilated. If you’re working in a shared space like a bathroom, arrange alternative facilities for at least 24 hours.
Understanding Health Risks From Black Mold Exposure

Most “black mold” health fears are overstated by sensational media coverage, but real risks exist that you should understand. Not all dark colored mold is toxic Stachybotrys chartarum, and even toxic mold affects people differently based on exposure duration, concentration, and individual sensitivity. Understanding the actual risks helps you make informed decisions without panic.
Common symptoms from mold exposure include coughing, wheezing, nasal congestion, throat irritation, eye irritation and watering, skin rashes or itching, headaches, and difficulty breathing. These symptoms typically appear during or shortly after exposure and improve when you leave the contaminated area. Stachybotrys chartarum produces mycotoxins that can cause more severe reactions including persistent respiratory distress, chronic fatigue, cognitive difficulties, and neurological symptoms in individuals with prolonged exposure.
High risk individuals shouldn’t attempt DIY mold removal under any circumstances. This includes people with asthma or chronic respiratory conditions, immune compromised individuals undergoing chemotherapy or with HIV/AIDS, infants and young children whose respiratory systems are still developing, elderly individuals with reduced immune function, and anyone with documented mold allergies.
Seek medical attention and stop DIY work immediately if you experience persistent coughing that worsens during cleaning, shortness of breath or chest tightness, severe headaches or dizziness, skin reactions that spread or intensify, or symptoms that don’t improve after leaving the area. These signs indicate either sensitivity to mold exposure or concentration levels that exceed safe DIY handling. In these situations, professional remediation with industrial containment and air filtration becomes necessary, and the occupants may need to temporarily relocate during the work.
Essential Cleaning Solutions for Removing Black Mold

Natural and chemical cleaning solutions each have specific applications based on surface type, mold severity, and household safety concerns. White distilled vinegar kills approximately 82 percent of mold species and works safely on most surfaces without toxic fumes. Hydrogen peroxide at 3 percent concentration provides similar effectiveness with the advantage of no lingering odor. Bleach solutions kill mold quickly on non-porous surfaces but release harsh fumes and lose effectiveness on porous materials like wood or drywall. For homes with children, pets, or family members with chemical sensitivities, natural options like vinegar, baking soda, and tea tree oil provide effective alternatives without respiratory irritants.
Different surfaces require different approaches because mold penetrates porous materials while remaining on the surface of non-porous materials. Bleach works well on bathroom tile and glass because these surfaces don’t absorb it, but only the water component penetrates wood, leaving the chlorine that kills mold on the surface where it evaporates without reaching embedded growth. This leads to regrowth within months. Never mix bleach with vinegar, ammonia, or other cleaning products, as the chemical reactions produce toxic gases that cause severe respiratory damage.
| Solution | Recipe | Application Time | Best For |
|---|---|---|---|
| White Vinegar | Undiluted (spray directly) | 15 to 60 minutes | Most surfaces, particularly porous materials like wood and drywall |
| Hydrogen Peroxide | 3% concentration (undiluted) | 10 minutes minimum | Colored surfaces where bleach would cause discoloration |
| Bleach Solution | 1 part bleach to 3 parts water | 10 to 15 minutes | Non-porous surfaces only (tile, glass, metal) |
| Baking Soda | 1/4 tablespoon per spray bottle of water | Apply, scrub, then reapply without rinsing | Mild mold on any surface, safe around children and pets |
| Tea Tree Oil | 1 teaspoon per cup of water | Extended period (let dry naturally) | Natural fungicide for small areas, leave on surface |
| Borax | 1 tablespoon per cup of water | Leave on without wiping | Wood surfaces as final treatment to deter regrowth |
Step by Step Black Mold Removal Process for Non-Porous Surfaces
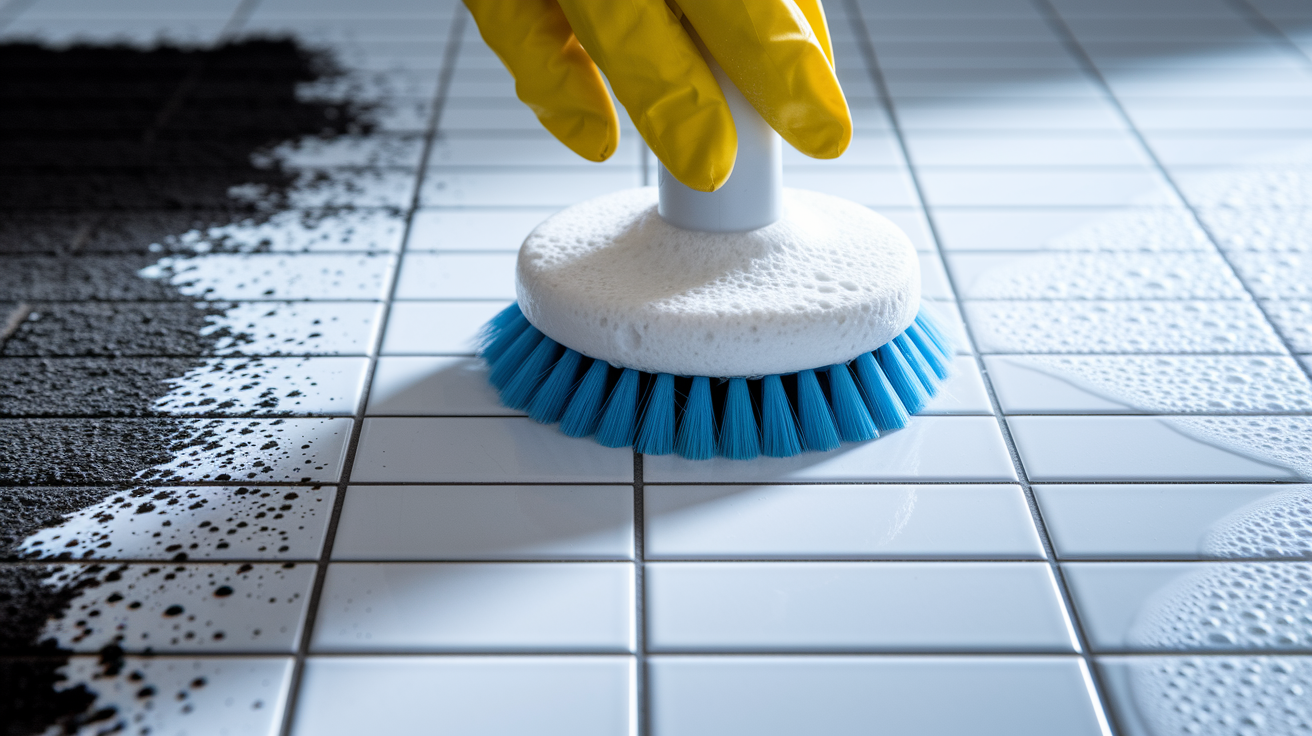
Non-porous surfaces including ceramic tile, glass, sealed countertops, and metal are the easiest candidates for DIY mold removal because growth remains on the surface rather than penetrating the material. This surface level colonization means thorough scrubbing with appropriate cleaning solutions fully removes the mold without requiring material replacement.
Complete Removal Process for Hard Surfaces:
- Spray cleaning solution generously across the entire affected area, extending 12 inches beyond visible mold to catch spores you can’t see
- Allow proper dwell time based on your chosen solution: vinegar needs 15 to 60 minutes, hydrogen peroxide requires 10 minutes minimum, bleach solution works in 10 to 15 minutes
- Scrub with stiff brush using firm circular motions to break up mold colonies and lift them from the surface
- Rinse thoroughly with clean water to remove loosened mold and cleaning solution residue
- Wipe completely dry with clean cloths or paper towels, disposing of used materials in sealed plastic bags
- Reapply solution lightly without scrubbing this time, creating a protective layer that discourages immediate regrowth
- Allow area to air dry completely with fan assistance, maintaining good airflow for at least 4 to 6 hours to ensure no moisture remains
Removing Black Mold From Porous Materials Like Drywall and Wood
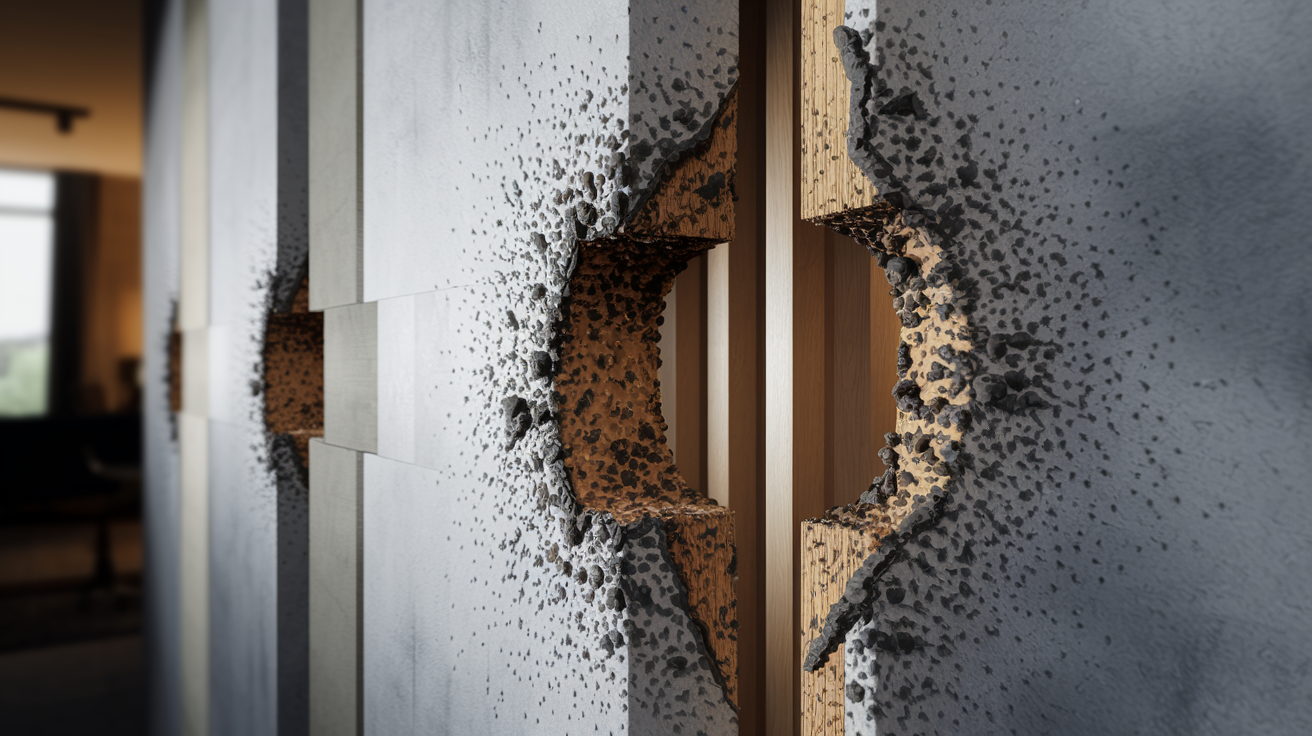
Porous surfaces present significant challenges for DIY mold removal because growth penetrates below the visible surface, colonizing the material structure itself. Drywall, unsealed wood, fabric, insulation, and similar materials absorb both moisture and mold spores, making surface cleaning insufficient for complete removal. These materials require different approaches and honest assessment about when replacement becomes necessary instead of cleaning attempts.
Wood specific cleaning requires a methodical escalation approach starting with the mildest solution and progressing to stronger treatments only if needed. Start with dish soap and warm water (1 teaspoon soap per spray bottle), scrubbing the wood surface and allowing it to dry completely. If mold returns or staining persists, escalate to equal parts vinegar and warm water, spraying generously and letting it sit for one full hour before scrubbing. For stubborn mold, mix borax solution (1 tablespoon borax per cup water) as your final treatment option. Borax penetrates wood better than other options and continues working after application, so leave it on the surface without wiping to deter future growth. Never use bleach on wood surfaces because only the water component penetrates sealed or painted wood while the chlorine that kills mold remains on the surface where it evaporates, causing regrowth within months as the moisture you introduced feeds mold deeper in the wood.
If these cleaning solutions fail to remove wood mold, sand the affected area with 100 grit sandpaper as a last resort before considering replacement. After sanding, immediately use a HEPA vacuum to capture the dust and spores you’ve released before they settle elsewhere. Test a small hidden area first to ensure sanding doesn’t damage the wood’s appearance beyond acceptability. Soft or crumbling wood, persistent musty odor after treatment, or visible staining that won’t lift indicates irreversible rot requiring complete removal and replacement. At this stage, the Water Damage Restoration Process becomes necessary because structural integrity is compromised beyond surface cleaning.
Use a HEPA filter vacuum on all porous surfaces before applying wet cleaning solutions. HEPA filters trap particles as small as 0.3 microns with 99.97% efficiency, capturing loose mold spores that would otherwise become airborne during wet cleaning and spread throughout your home. Vacuum slowly in overlapping passes, paying particular attention to textured surfaces and crevices where spores accumulate. Empty the vacuum immediately after use into a plastic bag, seal it tightly, and dispose of it outside your home.
Proper disposal procedures prevent mold spores from recontaminating your home after cleaning. Double bag all contaminated materials including rags, sponges, scrub brushes, disposable clothing, vacuum bags, and plastic sheeting used for containment. Seal each bag tightly before placing it inside the second bag. Remove these bags directly from your home to an outdoor trash receptacle, never leaving them in indoor trash cans where spores can escape. Porous materials like carpet, ceiling tiles, insulation, and upholstered furniture should be discarded rather than cleaned when moldy because effective cleaning is impossible and the risk of regrowth is nearly certain.
Addressing Moisture Sources to Prevent Black Mold Recurrence
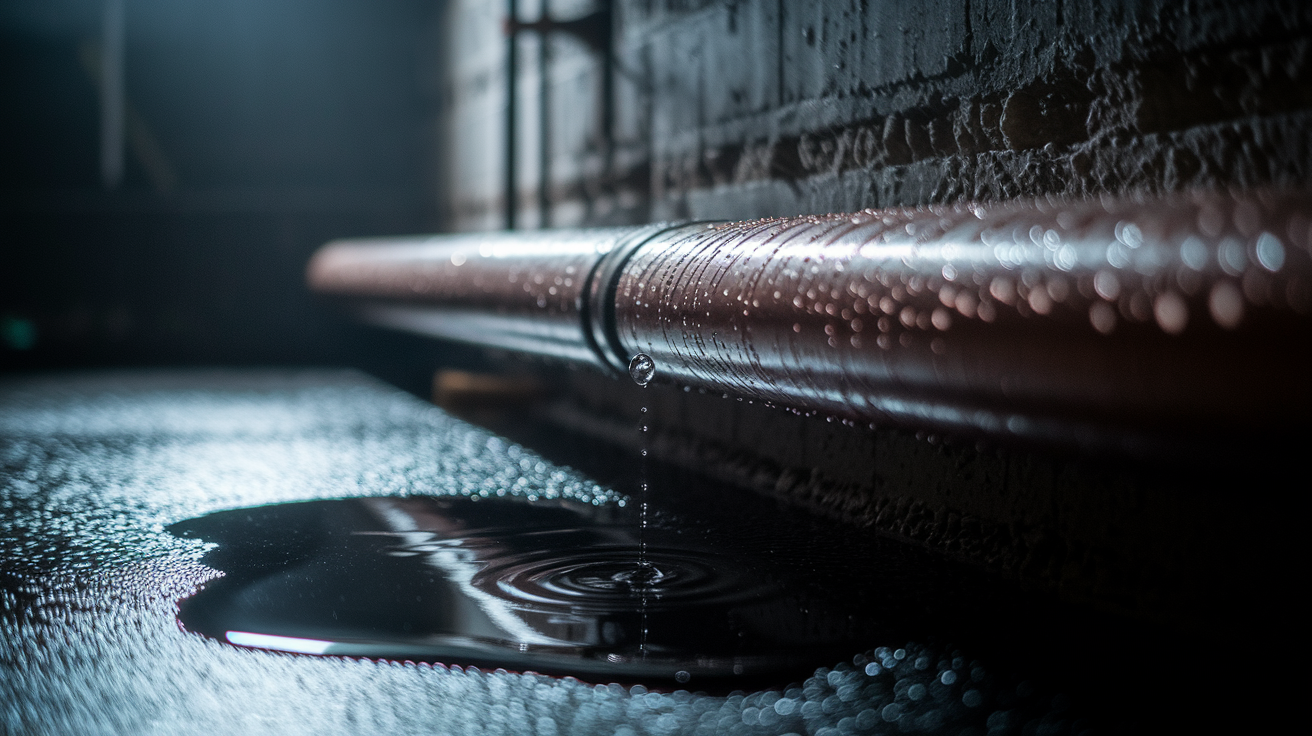
Removing visible mold without fixing moisture sources guarantees regrowth within weeks, making your cleaning effort completely wasted. Period. Mold removal is surface treatment, but moisture control is the actual solution. If you don’t identify and eliminate what caused the mold initially, you’re creating a cycle of repeated cleaning that never solves the problem.
Identifying water sources requires detective work because the leak location isn’t always where mold appears. Water travels along pipes, through wall cavities, and across building materials before emerging where you see damage. Check under sinks for leaking drain pipes and supply lines. Inspect areas around water heaters, dishwashers, refrigerators, and washing machines for moisture. Examine ceilings and walls for water stains indicating roof leaks or plumbing issues above. Test basement walls for dampness and foundation cracks. Look for condensation on windows, pipes, and ductwork. Fix every leak immediately with proper repairs, not temporary patches.
Common Moisture Sources That Cause Mold:
- Leaking pipes under sinks, behind walls, and in crawl spaces that drip constantly
- Roof leaks and missing shingles allowing rain penetration into attic spaces
- Condensation on cold pipes and windows from temperature differentials and poor insulation
- Basement seepage and foundation cracks admitting groundwater during rain
- Bathroom and kitchen exhaust fan failure trapping humidity indoors instead of venting it outside
Humidity control maintains indoor levels between 30 and 50 percent, the range where mold can’t thrive. Purchase an inexpensive hygrometer to monitor humidity in problem areas like basements, bathrooms, and poorly ventilated rooms. When readings consistently exceed 50 percent, place a dehumidifier in the space and run it until humidity drops into the safe range. Empty collection tanks daily or connect a continuous drain hose to prevent the unit from shutting off. In humid climates or during summer months, you may need to run dehumidifiers constantly in vulnerable areas.
Ventilation and air circulation prevent stagnant moist air from settling on surfaces where condensation forms. Use exhaust fans in bathrooms during showers and for 30 minutes afterward to remove humidity. Run kitchen exhaust fans when cooking, especially when boiling water or using the dishwasher. Open windows when weather permits to create cross ventilation. Don’t block air vents or returns with furniture or storage. Use ceiling fans or portable fans to keep air moving in rooms that feel stuffy or show condensation. Ensure your HVAC system runs efficiently with clean filters and proper airflow.
The Emergency Water Damage Mitigation timeline is critical: dry damp areas within 1 to 2 days after water exposure to prevent mold growth. Mold spores exist everywhere but only colonize when they find moisture. If you can dry materials completely within 24 to 48 hours, mold won’t establish growth even if spores are present. This tight timeline means responding to spills, leaks, and flooding immediately with fans, dehumidifiers, and removal of saturated materials rather than waiting to see if things dry on their own.
Using Mold Test Kits and Identifying Hidden Black Mold
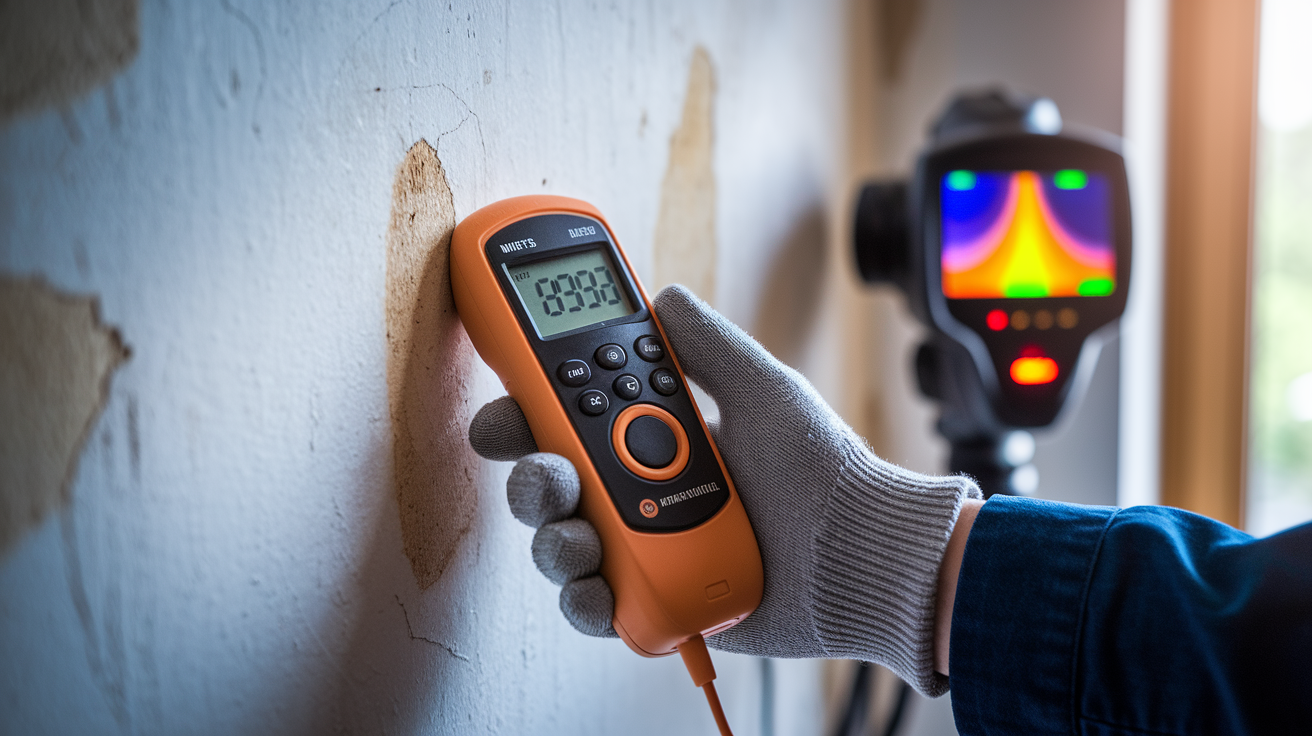
Musty odor serves as the primary indicator of hidden mold growth somewhere you can’t see. If you smell mildew but don’t see visible growth, mold is colonizing behind walls, under flooring, in ductwork, or in other concealed spaces. Other warning signs include water stains on ceilings or walls even if the leak seems fixed, peeling or bubbling paint and wallpaper, warping wood floors or baseboards, and discolored patches that appear and worsen over time. These visible changes suggest moisture problems and likely mold growth in the affected areas.
Common Hidden Mold Locations:
- Behind wallpaper and wall paneling where trapped moisture creates ideal conditions
- Inside wall cavities near plumbing where slow leaks go unnoticed for months
- Under carpets and padding especially in basements and near exterior walls
- Behind refrigerators and washing machines where condensation and minor leaks accumulate
- In HVAC ducts and drip pans distributing spores throughout your home via airflow
- In ceiling spaces above water damaged areas from roof leaks or upstairs plumbing
- Crawl spaces and rim joists with poor ventilation and ground moisture intrusion
The cotton swab bleach test provides quick surface identification. Dip a cotton swab in diluted bleach, touch it to the discolored spot, and wait two minutes. If the stain lightens, you’re looking at mildew or mold. If it stays dark, it’s likely dirt, smoke staining, or other discoloration. This simple test helps you distinguish between actual mold growth and harmless staining before starting unnecessary removal work.
Home mold test kits identify presence and approximate spore counts but don’t tell you the mold type or toxicity level. These kits cost $10 to $50 and provide general information about whether mold exists in the air or on surfaces. Lab testing costs $50 to $300 and identifies specific mold species, helping determine if toxic varieties like Stachybotrys chartarum are present. If you’ve found extensive growth, have health symptoms suggesting exposure, or need documentation for insurance or legal purposes, pay for lab analysis. For small visible patches where you just need to confirm it’s mold before cleaning, home test kits provide sufficient information for DIY decisions.
Ceiling and Wall Black Mold Removal Techniques
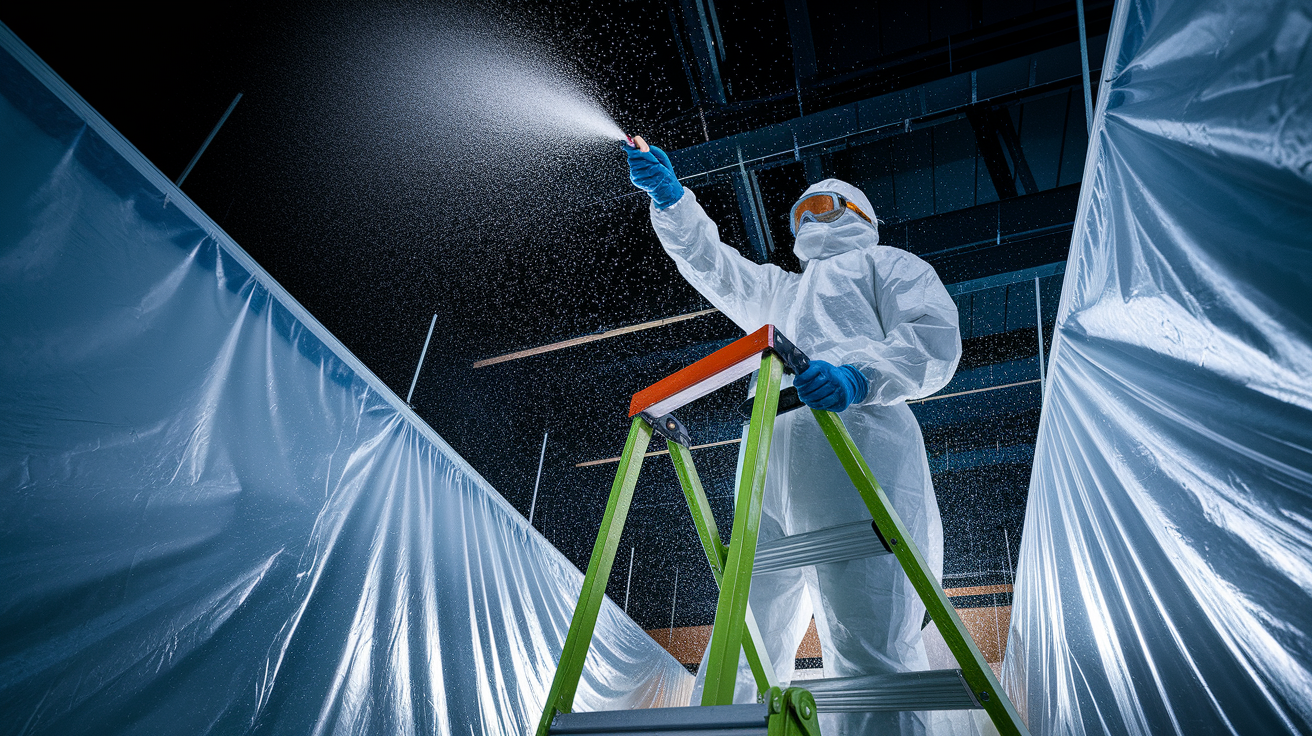
Overhead work requires extra eye protection because cleaning solution drips directly onto your face and into your eyes when spraying upward. Wear safety goggles that seal completely around your eyes, not just basic safety glasses. Mix your cleaning solution slightly thicker by reducing water content by about 10 percent to minimize dripping. Work in small sections rather than spraying large areas at once, which creates excessive liquid that runs down walls and ceilings before you can control it.
Application technique for vertical and overhead surfaces differs from floor cleaning. Spray solution from bottom to top on walls to prevent clean solution from running down through dirty areas and recontaminating them. For ceilings, spray directly upward but lightly, allowing the mist to settle rather than creating heavy streams. Work in 2 to 3 foot sections, applying solution, allowing dwell time, scrubbing, rinsing, and drying each section before moving to the next. Use a step ladder that positions you at comfortable reaching height, never overextending or working from unstable positions. Place drop cloths and plastic sheeting below your work area to catch drips and debris.
Cut out and replace drywall rather than surface cleaning when material is soft or crumbling to the touch, shows water staining that extends beyond the visible mold, smells musty even after cleaning attempts, or reveals mold growth on the back side when you peek behind it. Surface cleaning painted drywall with intact paper facing and solid structure works for small spots. Removal becomes necessary when water damage has compromised the drywall itself. Cut out damaged sections in clean squares or rectangles extending at least 12 inches beyond visible damage, inspect the wall cavity for mold on studs or insulation, treat exposed framing with antimicrobial solution, allow complete drying, then patch with new drywall.
Never paint over mold without complete removal. The paint seals moisture and mold spores behind the coating where they continue growing, eventually causing the paint to bubble, peel, and discolor as growth breaks through. Even killed mold spores create ghosting and staining that show through fresh paint. After cleaning and confirming complete mold removal, apply antimicrobial primer specifically designed to prevent mold regrowth. These primers contain mildewcides that create an inhospitable surface for new colonization. After primer dries, apply two coats of finish paint, matching sheen and texture to blend repairs invisibly into surrounding areas.
Special Considerations for Basement and Attic Black Mold Removal
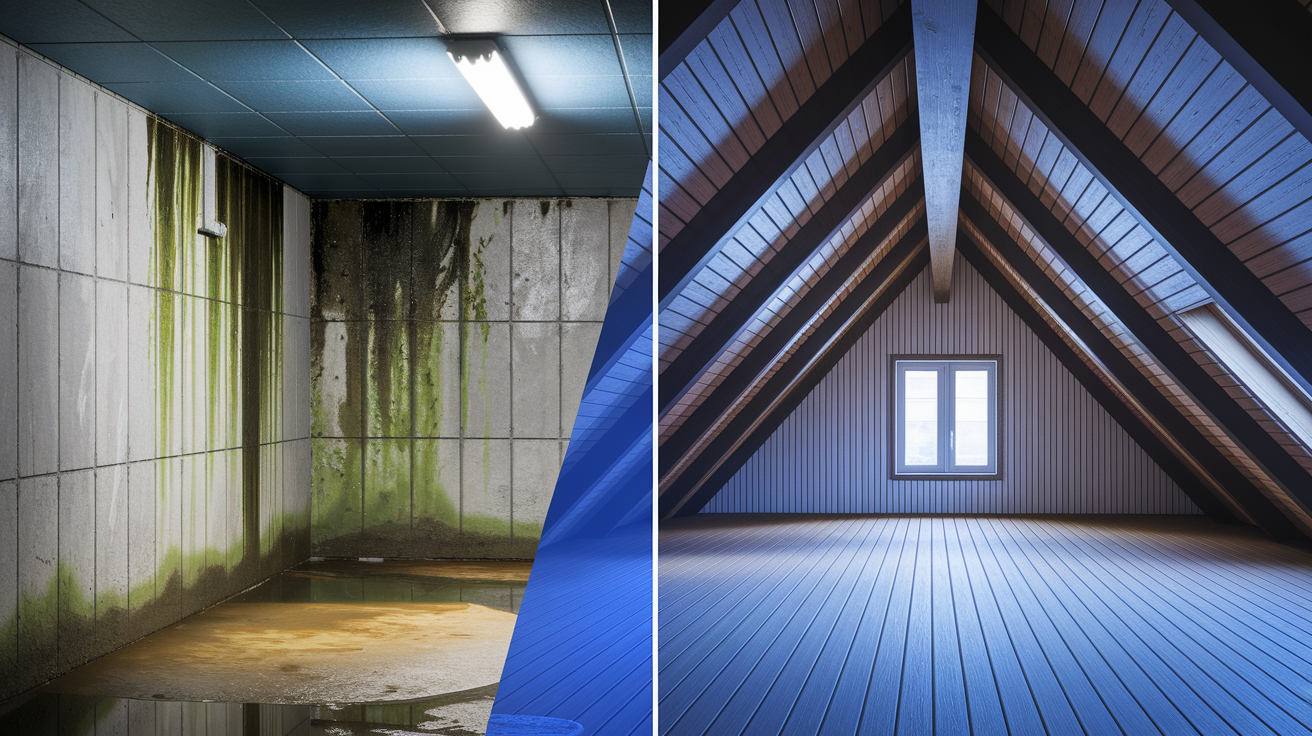
Basements and attics present unique mold challenges because both spaces experience temperature differentials with living areas, creating condensation conditions. Basements suffer from ground moisture intrusion through foundation walls and floors, poor ventilation from small or absent windows, and cooler temperatures that make humidity condense on cold surfaces. Attics experience temperature extremes, limited air circulation, and vulnerability to roof leaks that go unnoticed until significant damage occurs. These environmental factors make these spaces persistently damp even without obvious leaks.
Concrete walls require more aggressive cleaning than painted walls or drywall because concrete’s porous nature allows mold to penetrate deeply into the material structure. Standard surface cleaning leaves embedded growth that recolonizes the surface within weeks. After removing visible mold from concrete, allow the surface to dry completely for at least 48 hours. Apply a mold inhibitor or penetrating sealer specifically designed for concrete surfaces. These products soak into the concrete, killing embedded mold and creating a barrier that prevents moisture absorption and future growth. Basement floor concrete benefits from the same treatment, especially in sections that show recurring dampness.
Moldy insulation must be removed and replaced, never cleaned. Insulation materials including fiberglass batts, cellulose, and spray foam are too porous to clean effectively, and mold growth indicates water damage that has reduced insulation effectiveness anyway. Bag moldy insulation in heavy duty plastic bags as you remove it, working carefully to minimize airborne spore release. Inspect surrounding framing for mold growth and treat wood with appropriate solutions. Address the moisture source before installing new insulation. Consider mold resistant insulation products for the replacement.
Long term moisture control in basements requires foundation waterproofing if seepage occurs, proper grading around the foundation to direct water away from the building, functional gutters and downspouts extending at least 6 feet from the foundation, and continuous dehumidifier operation maintaining humidity below 50 percent. In attics, ensure adequate ventilation through soffit and ridge vents creating continuous airflow, proper roof and flashing maintenance preventing leaks, and sufficient insulation preventing warm indoor air from reaching cold roof decking where condensation forms. Installing a vapor barrier on the warm side of attic insulation blocks moisture migration from living spaces below.
Alternative Natural Black Mold Removal Methods
Natural cleaning methods appeal to homeowners with chemical sensitivities, young children, pets, or preferences for environmentally friendly products. These solutions work effectively for light to moderate mold growth without releasing harsh fumes or leaving toxic residues. Natural remedies require longer contact time than chemical cleaners but avoid respiratory irritation and chemical exposure that concern many families.
Combining natural ingredients creates enhanced effectiveness through different cleaning mechanisms working simultaneously. The vinegar, baking soda, and lemon juice paste provides a popular combination mixing equal parts of each ingredient into a thick paste consistency. The vinegar’s acetic acid kills mold, baking soda’s mild abrasion lifts it from surfaces, and lemon juice’s 5 percent natural acid content bleaches stains while adding fresh scent. The foaming action when vinegar contacts baking soda helps penetrate surface pores and crevices. Spread the paste on moldy areas, let it sit 15 to 30 minutes, scrub thoroughly, rinse, and wipe dry. Orange peel vinegar solution involves soaking orange peels in white vinegar for two weeks before straining and using the infused vinegar in a spray bottle. The citrus oils add cleaning power and pleasant scent while maintaining vinegar’s mold killing properties.
| Natural Solution | Mixture Ratio | Contact Time | Application Notes |
|---|---|---|---|
| Tea Tree Oil | 1 teaspoon per cup of water | Let dry naturally (extended period) | Expensive but highly effective natural fungicide; leave on surface without wiping |
| Grapefruit Seed Extract | 10 drops per cup of water | 10 minutes to 1 hour based on severity | Odorless alternative to tea tree oil with similar antifungal properties |
| Lemon Juice | Undiluted or mixed 50/50 with water | 15 to 20 minutes | Natural bleaching for stain removal; 5% acid content kills mold and freshens air |
| Citrus Seed Extract | 20 drops with 2 cups water | Leave on without rinsing | Apply and allow to air dry; repeat every few days for prevention |
| Combination Paste | Equal parts vinegar, baking soda, and lemon juice | 15 to 30 minutes | Foaming action enhances penetration; combines multiple cleaning mechanisms |
Preventing Future Black Mold Growth With Regular Maintenance
Prevention costs less and requires less effort than repeated mold removal, making proactive maintenance the smarter long term approach. Monthly inspection takes 15 minutes and catches small problems before they become major remediation projects. Regular attention to vulnerable areas means you’ll never face extensive growth requiring professional services.
Monthly and Seasonal Maintenance Schedule:
- Monthly inspection of vulnerable areas including bathrooms, basements, under sinks, around windows, and previously affected spots
- Quarterly HVAC filter replacement ensuring proper airflow and reducing airborne mold spores circulating through your home
- Annual roof and gutter inspection before rainy seasons, clearing debris and repairing minor damage before leaks develop
- Immediate leak repair within 24 hours of discovery, never delaying plumbing fixes or allowing “small” drips to continue
- Weekly bathroom ventilation running exhaust fans during showers and for 30 minutes after to remove humidity
- Bi-annual caulk and grout inspection around tubs, showers, sinks, and windows, replacing degraded seals before water penetrates
- Seasonal humidity monitoring with particular attention during summer humidity and winter condensation periods
- Prompt cleanup of water spills within 24 hours, drying affected areas completely rather than assuming they’ll air dry
Mold resistant materials for renovations provide long term protection in vulnerable areas. Mold resistant drywall uses fiberglass facing instead of paper, eliminating the cellulose that mold feeds on in standard drywall. These specialized panels cost 20 to 30 percent more but prevent growth even when exposed to moisture. Paint with antimicrobial additives contains mildewcides that discourage surface colonization in bathrooms, basements, and kitchens. Encapsulation products for concrete and wood seal surfaces against moisture penetration while killing existing spores. When planning bathroom or basement renovations, the Home Maintenance and Repair Services comprehensive approach to materials selection and moisture control creates lasting protection against future problems.
Seasonal maintenance priorities shift based on weather patterns. Spring inspections focus on roof and gutter systems before summer storms, checking for winter damage and ensuring drainage works properly. Summer maintenance emphasizes humidity control, testing and servicing dehumidifiers before peak humidity months. Fall inspections prepare for winter condensation issues, checking window seals and insulation to prevent cold surface condensation. Winter monitoring watches for ice dam damage, pipe condensation, and indoor humidity from heating systems.
Cost Savings and Realistic Expectations for DIY Mold Removal
DIY black mold removal costs $40 to $95 for supplies compared to professional remediation pricing of $500 to $6,000 depending on affected area size and contamination severity. For a small bathroom mold project covering 6 to 8 square feet, homeowners spend approximately $50 to $60 on protective equipment ($25 to $40 for mask, goggles, and gloves), cleaning solutions ($8 to $15 for vinegar, hydrogen peroxide, or commercial products), and basic tools ($15 to $20 for scrub brushes, spray bottles, and plastic sheeting). These supplies handle multiple small projects since you’ll reuse protective equipment and have leftover cleaning solutions.
Time commitment varies significantly based on project scope and material type. A small bathroom tile section takes 2 to 4 hours including preparation, cleaning, and drying time. Basement wall sections covering 8 to 10 square feet require 6 to 8 hours spread across multiple days to allow proper dwell times and complete drying between treatment stages. Wood mold removal averages 3 hours with intermediate skill level for accessible surfaces. These estimates assume straightforward access and no complications like hidden moisture sources or structural damage requiring repairs beyond simple cleaning.
Intermediate skill level means you can follow detailed instructions, use basic hand tools competently, work safely on a step ladder, and troubleshoot minor problems during the process. You don’t need professional trade skills, but you should be comfortable with home maintenance tasks beyond basic housekeeping. If you’ve never done more than routine cleaning, practice on a very small area first to build confidence before tackling larger visible sections.
DIY approaches have clear limitations compared to professional services. You won’t have moisture meters to measure water content inside walls and determine if materials are truly dry. Thermal imaging cameras that reveal hidden moisture and mold growth behind surfaces aren’t available to homeowners. Industrial drying equipment including commercial dehumidifiers and air movers that professionals use speeds drying times from days to hours. Mold air quality testing to confirm complete remediation and safe reoccupancy requires lab analysis. Structural assessment expertise to determine if framing, joists, or subfloors need reinforcement or replacement goes beyond most homeowners’ knowledge. These professional capabilities become necessary when mold problems extend beyond simple surface cleaning into more complex remediation scenarios.
Final Words
Small surface mold on tile or a bathroom ceiling? DIY black mold removal works when you stay under 10 square feet, use proper safety gear, and fix the moisture source feeding the problem.
But if the area’s larger, the material’s porous and crumbling, or you’re dealing with sewage contamination, that’s when you call professionals with the right equipment and containment methods.
Clean what you can see. Dry it completely. Then keep humidity under 50 percent and fix leaks fast.
That’s how you stop mold from coming back and keep your home safe.
FAQ
What kills 100% of black mold?
No single cleaning solution kills 100% of black mold, but white vinegar eliminates about 82% of mold species when applied undiluted. Hydrogen peroxide at 3% concentration and bleach solutions (1 part bleach to 3 parts water) also kill most mold. The key is proper application time, thorough scrubbing, and fixing the moisture source.
Can I safely remove black mold myself?
You can safely remove black mold yourself if the affected area is smaller than 10 square feet, on non-porous surfaces, and you wear proper protective equipment. Use an N95 respirator mask, safety goggles, long rubber gloves, and set up containment with plastic sheeting. Skip DIY if you have respiratory issues or the mold involves sewage contamination.
How do I get rid of black mold permanently?
Getting rid of black mold permanently requires removing visible growth and fixing the underlying moisture problem. Spray your cleaning solution, let it sit 10-15 minutes, scrub thoroughly, then dry the area completely with fans. If you don’t repair leaking pipes, improve ventilation, or control humidity below 50%, the mold returns within weeks.
What kills mold better, vinegar or hydrogen peroxide?
White vinegar and hydrogen peroxide work similarly on mold, with vinegar killing about 82% of species and hydrogen peroxide offering comparable effectiveness. Vinegar works well on most surfaces and doesn’t require rinsing. Hydrogen peroxide is better for brightening stained grout. Never mix them together or combine with bleach.
When should I call a professional instead of trying DIY mold removal?
Call a professional when black mold covers more than 10 square feet, appears in HVAC systems, results from sewage backup, or hides behind walls. Professional remediation is also required if you have asthma or immune system issues, if structural materials feel soft or crumbly, or when insurance documentation matters.
What protective equipment do I need for DIY black mold removal?
For DIY black mold removal, you need an N95 or HEPA-rated respirator mask, safety goggles that seal around your eyes, long rubber gloves extending past your wrists, and disposable coveralls. Add plastic sheeting and tape for containment, plus a box fan to create airflow pushing spores outward.
Why does black mold keep coming back after I clean it?
Black mold keeps coming back because the moisture source wasn’t fixed. Mold needs water to grow, so cleaning visible growth without repairing leaking pipes, improving ventilation, or controlling humidity just buys temporary relief. Dry the area within 24-48 hours after any water exposure and maintain indoor humidity between 30-50%.
Can I use bleach on wood to kill black mold?
Don’t use bleach on wood surfaces because only the water penetrates sealed wood, not the chlorine that kills mold. This actually feeds mold roots below the surface, causing regrowth within months. Instead, use dish soap and warm water first, then equal parts vinegar and warm water for stubborn spots.
When should I replace moldy drywall instead of cleaning it?
Replace moldy drywall when it feels soft or crumbly, shows persistent staining after cleaning attempts, or smells musty even after treatment. These signs indicate mold has penetrated deep into the porous material where cleaning solutions can’t reach. Surface cleaning only works on shallow, recent growth.
How long does vinegar need to sit on black mold to work?
Vinegar needs to sit on black mold for 15 minutes before scrubbing to effectively kill mold spores. Spray undiluted white vinegar directly on the affected area, wait the full 15 minutes, then scrub with a stiff brush in circular motions. For prevention, reapply after cleaning and let it air dry without wiping.
What humidity level prevents black mold growth in my home?
Maintaining indoor humidity between 30-50% prevents black mold growth in your home. Use a hygrometer to monitor levels and run a dehumidifier when humidity climbs above 50%. Turn on exhaust fans during showers, fix leaks immediately, and dry any water spills within 24-48 hours to stop mold before it starts.
Should I remove moldy insulation or can I clean it?
Remove and replace moldy insulation rather than attempting to clean it. Insulation is highly porous and absorbs mold growth throughout the material where cleaning solutions cannot reach. Seal the contaminated insulation in plastic bags before disposal to prevent spreading spores during removal and transport.