
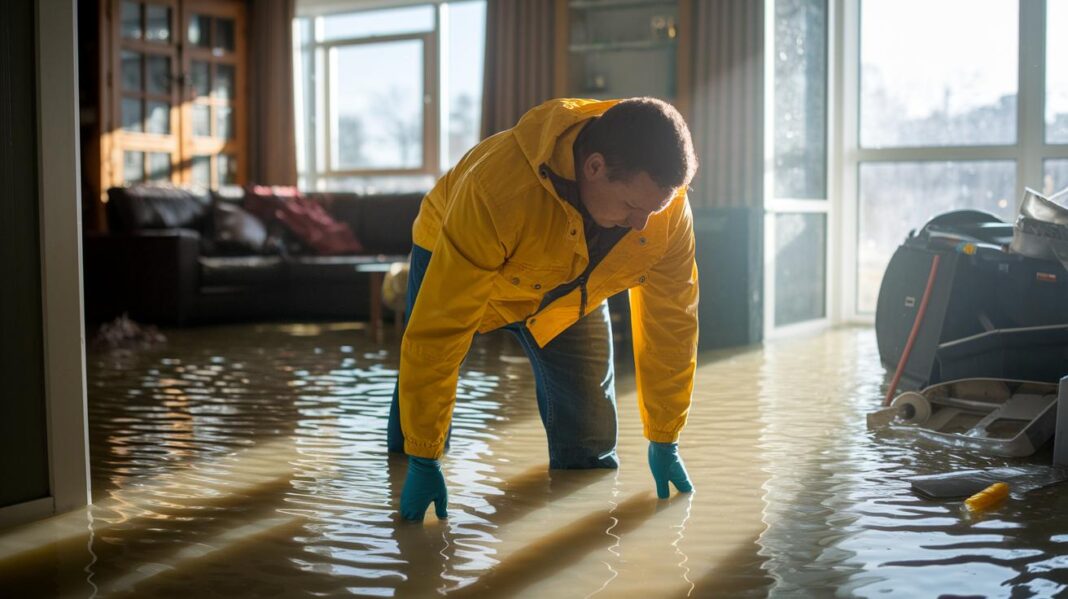

Have you ever worried that cleaning up storm damage on your own may be risky? You might be surprised to learn that with a few simple steps and the proper tools, you can begin repairs right away. Storms can cause sudden damage, but you don’t have to wait for professionals. We show you how to spot hazards, use safety gear, and start the cleanup quickly. With careful planning and basic tools, you can safely restore your home and get back to normal.
Essential First Steps in DIY Storm Damage Cleanup
Before you start cleaning up, take a good look around to spot any dangers. Check for downed power lines, unstable structures, and broken glass that could hurt you. Stay clear of any dangerous spots. Look carefully at the roof, windows, and gutters. If something sounds or looks unsafe, mark it as a top priority.
Wear protective gear before stepping onto the property. You should have:
- Gloves to keep your hands safe.
- Boots with a good grip to stop slips.
- Eyewear to protect your eyes from flying debris.
Next, walk around the area and check for other hazards. Watch for leaning trees that might fall because the soil is soggy. Make sure there are no branches or debris hanging over driveways or walkways. One helpful tip from our crew: always gear up completely before you start moving any debris.
Take a good look at the building’s structure by examining the siding, roof shingles, and gutters. If you see broken windows or parts of the building that are out of place, it might mean the damage is more serious and needs a professional. Write down what you see or use your phone to take photos and videos. This record will help you know what needs fixing right away and can be useful for your insurance claim.
Storm damage can be overwhelming, but following these simple steps helps you get started on the cleanup in a safe and organized way.
Tools and Safety Gear for DIY Storm Damage Cleanup
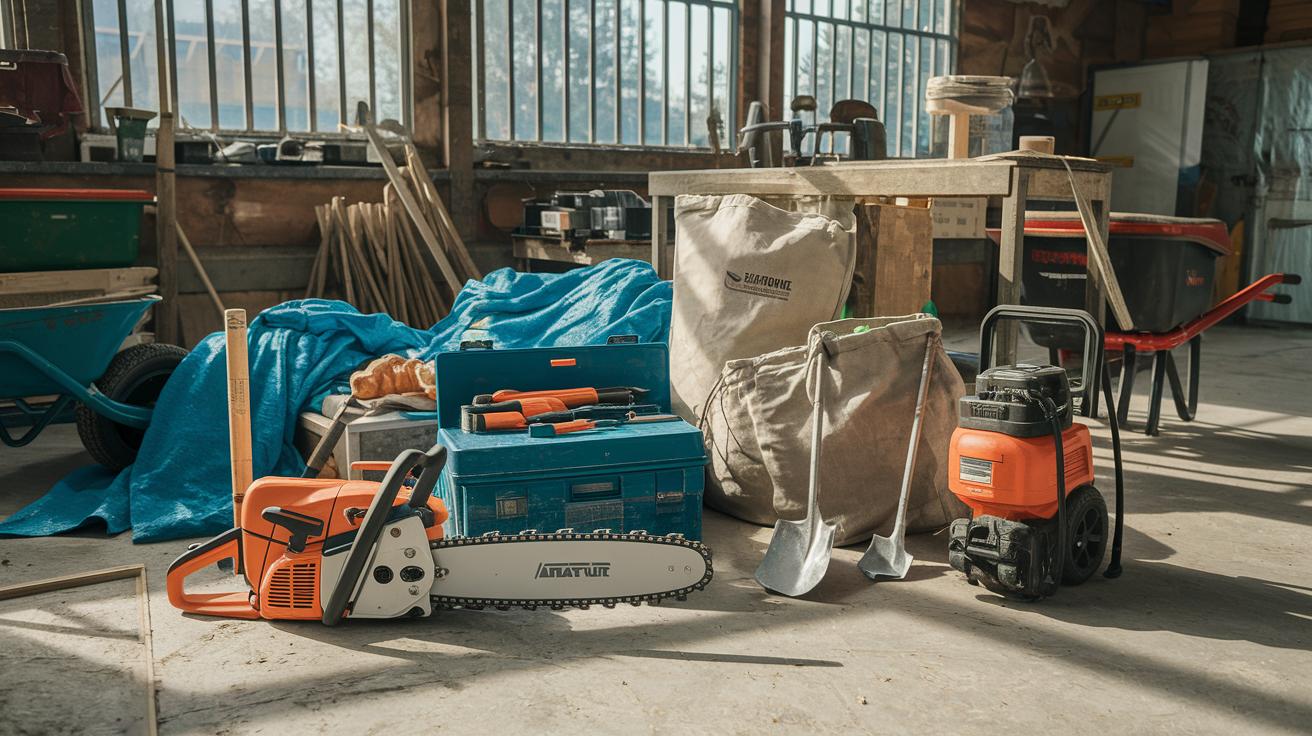
When you begin cleanup, having the proper tools and gear makes a big difference. Start with simple equipment: a chainsaw for cutting off fallen branches, a shovel for moving debris, and tarps to cover areas in need of protection. A wheelbarrow lets you move heavy stuff, and heavy-duty trash bags are handy for small pieces. An industrial water pump (a strong machine that pulls out water) works like a vacuum to clear puddles before they lead to more damage.
Your safety comes first. Always protect yourself. Wear a hard hat to shield your head from falling objects. Use an N95 respirator (a mask that filters dust and bad particles), cut-resistant gloves for handling rough items, and steel-toe boots to keep your feet safe from sharp debris. Don’t forget safety glasses to stop dust or bits from irritating your eyes. One technician mentioned, "I always double-check my gear before starting a cleanup, it feels like suiting up for a mission."
After you remove the water, use dehumidifiers (machines that take moisture out of the air) and axial fans to dry the area. These tools help reduce the chance of mold and stop further damage from developing.
Assessing and Documenting Damage in DIY Storm Damage Cleanup
Start by capturing clear photos of all damage. Take wide shots to show the whole area and close-ups to highlight details like cracks, leaks, or warped surfaces. Make a list for each room that shows what was there before and what is damaged now. This helps you decide what to fix first and is useful for your insurance claim.
Walk around your home and check every area. Look closely at your siding for dents or breaks, inspect roof shingles for missing parts, and check gutters for clogs or leaks. Don’t forget window frames and interior walls. If you see warping or cracks, note them right away. A tip: use extra light or your phone’s flash to get clearer photos in dark spots.
Write your findings as you move from room to room. Note each damaged item, what it looked like before the storm, and its estimated value. This step-by-step record will make it easier when you talk to your insurance adjuster. Here’s what to do:
- Take wide-angle photos of the overall damage.
- Snap close-up shots of specific problems.
- Record a video of the damaged areas for a different view.
- List each room’s condition and damage details.
Good documentation helps speed up insurance claims because many policies need proof of damage within days. For more tips, visit tips for recording property damage for insurance claims. Being detailed now will help you explain the damage later and ensure you get the help you need after the storm.
Debris Removal and Waste Sorting in DIY Storm Damage Cleanup
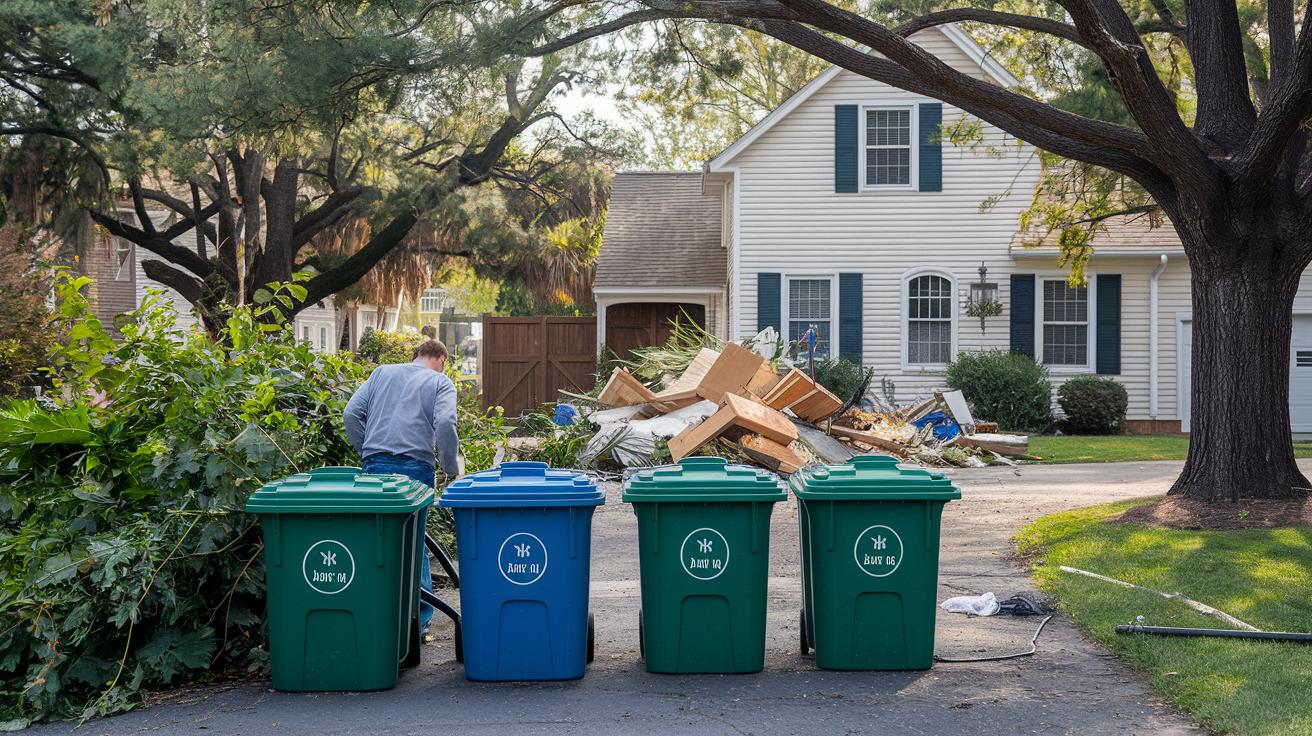
After a storm, cleaning up debris is a key step to protect your home. Start by grouping debris into simple categories. For example, sort plant material (branches and leaves), building pieces (shingles and siding), unsafe items (chemicals and electronics), and things you can fix or reuse. This method makes it easier to recycle and dispose of waste safely.
Here are some simple steps to manage storm debris:
- Use local yard-waste pickup for plant debris.
- Rent a dumpster for heavy building materials and large trash.
- Join neighborhood cleanup efforts to work together.
- Set aside metals, plastics, and wood for recycling drop-offs.
- Check with your city office about collection events for unsafe waste.
One crew member shared, "Sorting debris by type saved us time and cut cleanup costs." Once you have grouped everything, set aside items that can be repaired or donated. Keep unsafe items separate to protect yourself and your neighbors. Finally, check the area one last time to catch any stray debris. This careful approach helps you clear the mess quickly and get your home back in order.
Temporary Repairs for DIY Storm Damage Cleanup
First, measure the area on your roof that is damaged. Cut your tarpaulin to fit so it completely covers the spot. Nail it down firmly using washers for extra hold. One of our team members always checks the measurements twice because being precise saves time later.
Next, inspect any broken windows. Use plywood to board them up and keep wind and rain out until a proper repair can be done. Secure the plywood with nails or screws to hold it in place.
For missing shingles, apply a peel-and-stick underlayment (a self-adhesive, waterproof layer). Cut the material to the right size and press it down firmly. This temporary fix helps stop water from seeping under the roof and causing more damage.
Remember the window frames too. Use silicone caulk (a waterproof sealant) to fill any gaps where the window meets the wall. Run a bead of caulk along the edges and smooth it out to create a tight seal.
- Measure and cut tarps carefully for full roof coverage.
- Secure tarps with nails and washers.
- Board up broken windows with plywood.
- Apply peel-and-stick underlayment for missing shingles.
- Seal window frames with silicone caulk to block out water.
These simple steps can help limit further damage until a professional repair is scheduled.
DIY Storm Damage Cleanup: Interior Water Extraction and Drying
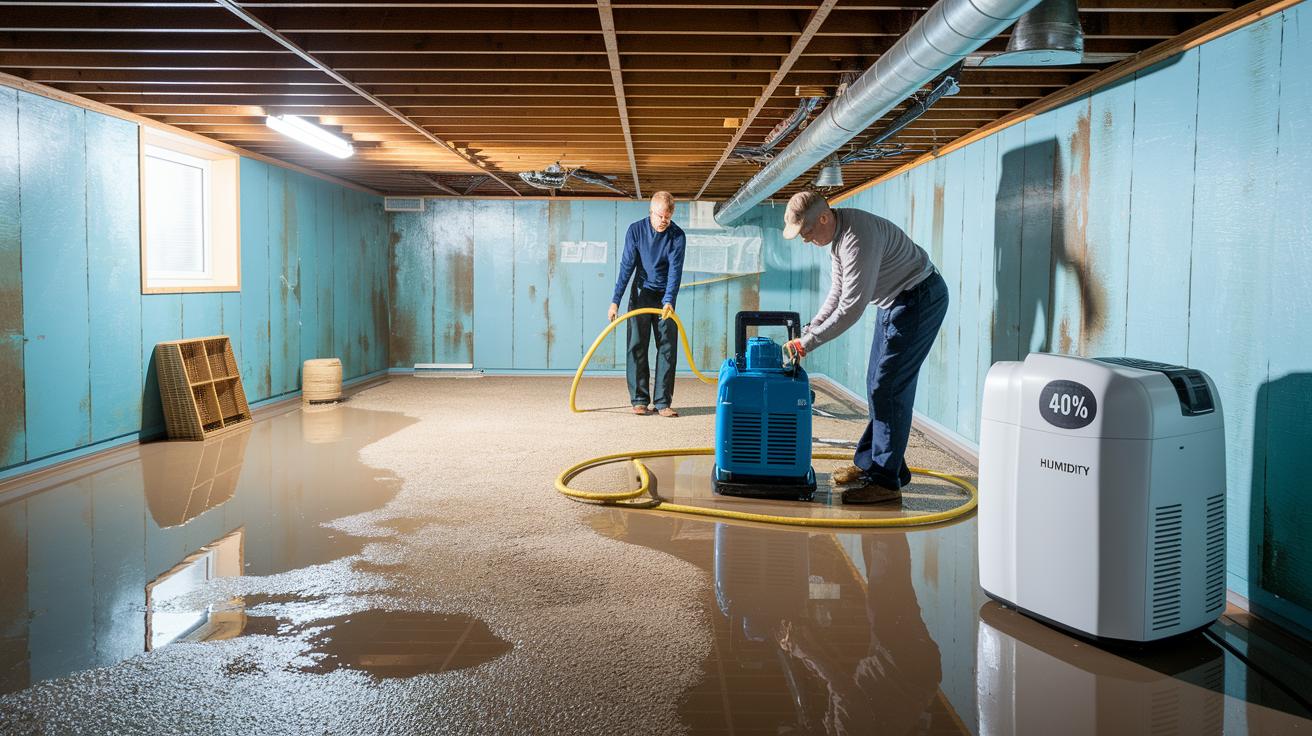
If your home has flooded, act fast by clearing out the water within 24 hours to prevent more damage and mold growth. Use a portable pump or shop vac (a handheld machine that sucks up water) to remove the water quickly. One technician explained, "Removing water quickly keeps damage and mold risk low." Once the water is out, set up dehumidifiers (machines that pull moisture from the air) and high-velocity fans in every affected room so that the air stays below 40 percent humidity.
After the standing water is gone, pull up any wet carpet, baseboards, and drywall up to 12 inches above the water line. This step helps stop hidden mold growth. Use a moisture meter (a tool that checks water content in materials) to test damp areas every day. Full structural drying might take 48 to 72 hours, but patience now will protect your home later.
Pick a dehumidifier that fits the size and moisture level of each room. In tricky areas, using several fans along with dehumidifiers makes drying more efficient. For floors, lift carpets and run fans underneath to allow air circulation.
By following these steps, you reduce the risk of secondary damage like mold. Regularly check all areas with a moisture meter to track progress and adjust fan positions or add extra dehumidifiers if needed. This way, every inch of your home dries thoroughly before any repair work begins.
Mold Mitigation and Final Safety Checks in DIY Storm Damage Cleanup
Mold can begin growing in just 24 to 48 hours when humidity rises above 60 percent. Once your home is dry, lower your risk by scrubbing all hard surfaces with a bleach solution (mix 1 part bleach with 10 parts water) or an EPA-approved cleaner. This helps remove any remaining mold spores. Remember to wear an N95 mask (a mask that filters out very small particles) and gloves to protect your lungs and skin.
Next, use a HEPA vacuum (a vacuum that traps tiny particles) to pick up any leftover dust. Focus on areas that are hard to see. Check wall cavities, under floorboards, and behind appliances since mold might hide in these spots.
Before you declare your space safe, walk through each room for a final check. Look behind cabinets, in basements, and around utility areas. Use a moisture meter (a tool that measures dampness) where needed to ensure all moisture is gone.
- Wear N95 masks and gloves for every step.
- Follow the instructions on any cleaning solution.
- Check hidden spots carefully.
Taking these steps completes your mold prevention process and helps keep your home safe and healthy.
Final Words
In the action, the post offered a clear roadmap for handling storm damage. You explored assessing hazards, wearing safety gear, and documenting every detail. Next, you learned how to remove debris, apply temporary repairs, extract water, and prevent mold. This methodical approach to diy storm damage cleanup helps you act fast and secure your home. Each step builds your readiness to restore safety while easing stress. Remember, taking these steps now means a safer, livable home sooner.
FAQ
What is a DIY storm damage cleanup PDF?
A DIY storm damage cleanup PDF is a downloadable guide that outlines clear steps and safety tips for assessing hazards, using tools, and beginning the cleanup process after a storm.
What is natural disaster cleanup?
Natural disaster cleanup refers to the process of removing debris, drying out structures, and making initial repairs after events like floods, hurricanes, or storms to secure and restore your home.
What do storm cleanup companies and disaster cleanup companies do?
Storm cleanup and disaster cleanup companies handle debris removal, water extraction, and temporary fixes to prevent further damage, ensuring your home is safe until permanent repairs are made.
What are storm cleanup jobs and hurricane cleanup jobs?
Storm and hurricane cleanup jobs involve removing debris, securing damaged areas, and preparing properties for repair; these roles help quickly restore safety and prevent additional damage.
How can I find disaster cleanup near me?
Searching for “disaster cleanup near me” connects you with local professional services ready to respond to storm damage, offering prompt, safe debris removal and initial restoration efforts.
What are storm cleanup listening answers?
Storm cleanup listening answers provide practical, expert tips on safely handling storm-related debris, coordinating with professionals, and using the right tools to restore your property effectively.
What’s the fastest way to remove storm debris?
The fastest way to remove storm debris is to first sort and separate materials, then use heavy equipment or contact professionals to quickly and safely clear large items from your property.
Can I DIY water damage restoration?
You can perform DIY water damage restoration if you follow safety guidelines, use proper water extraction tools like pumps or vacuums, and apply dehumidifiers and fans to thoroughly dry affected areas.
How do you clean up after a storm?
Cleaning up after a storm starts by assessing hazards and wearing protective gear, then removing debris, extracting water with appropriate tools, and drying surfaces to stop further water damage and mold growth.
What is the best cleaner to use after a flood?
The best cleaner to use after a flood is usually a bleach-to-water solution (typically 1:10) or an EPA-registered cleaner that helps safely scrub surfaces and reduce the risk of mold development.