
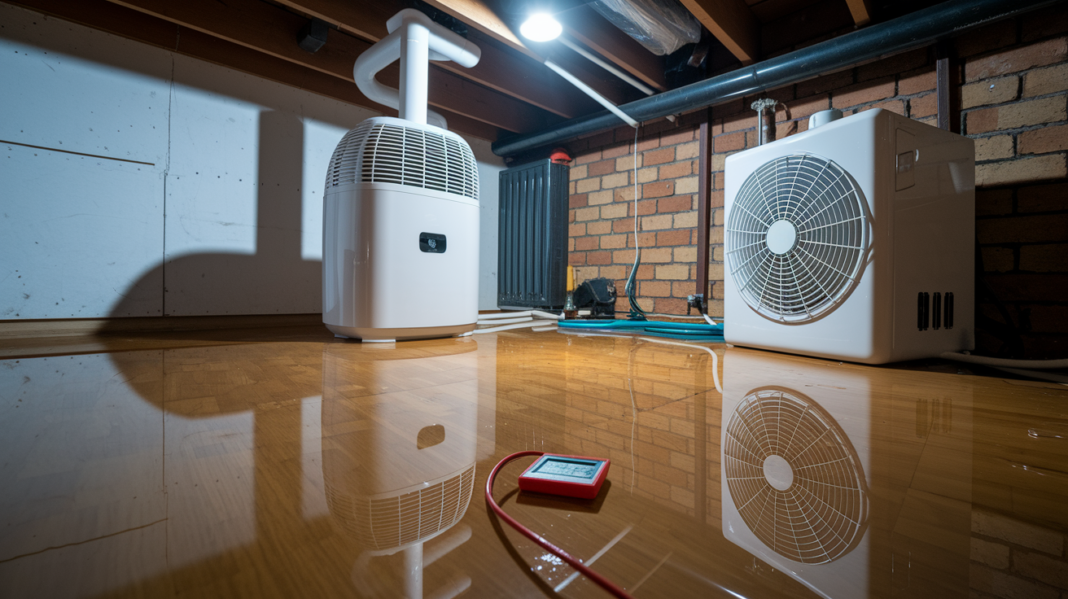

You’re looking at water under your floor, and the clock’s already ticking. Mold can start growing on damp surfaces within 24 to 48 hours after flooding occurs. The good news? Most wet subfloors can be saved if you act fast and dry them correctly. This guide walks through exactly what to do first, what equipment you actually need, how to know when the subfloor’s truly dry, and when to call in help versus handling it yourself.
Immediate Steps and Complete Drying Process Overview
You’re looking at water under your floor, and the clock’s already ticking. Mold can start growing on damp surfaces within 24 to 48 hours after flooding occurs. You need to start drying now, not tomorrow.
| Step | Action | Equipment Needed | Duration |
|---|---|---|---|
| 1 | Shut off electricity to affected areas | Circuit breaker access | 5 minutes |
| 2 | Stop water source and extract standing water | Submersible pump or wet-dry vacuum | 1-4 hours |
| 3 | Remove flooring and wet underlayment | Pry bar, utility knife, gloves | 2-6 hours |
| 4 | Set up air circulation across subfloor | Air movers or box fans (3-4 units) | 15-30 minutes |
| 5 | Run dehumidifiers continuously | Commercial or residential dehumidifier | 3-14 days |
| 6 | Monitor moisture levels daily | Moisture meter | 5 minutes per day |
| 7 | Apply antimicrobial treatment if needed | EPA-registered antimicrobial spray | 30-60 minutes |
| 8 | Verify dryness before reinstalling flooring | Moisture meter | 10 minutes |
This table gives you the complete roadmap for drying a wet subfloor from start to finish. The sections that follow break down equipment specs, material-specific drying approaches, moisture testing techniques, and guidance on when you need professional help versus when you can handle it yourself.
Here’s the detailed process for each step.
Safety and electrical shutdown. Turn off electricity at the circuit breaker to all affected rooms before you touch anything wet. Water and electricity create a deadly combination, and even a small amount of moisture can conduct current through wet wood subflooring. If water’s reached electrical outlets or your breaker box is in the flooded area, call an electrician before you do anything else.
Water source identification and stoppage. Find where the water’s coming from and stop it. Shut off the main water valve if a pipe burst. Turn off the supply line if it’s a leaking appliance. If it’s groundwater seepage, you’ll need to address drainage, but first focus on what’s already inside. Document the source with photos for insurance purposes.
Standing water removal. For large amounts of standing water (more than an inch deep across a room), submersible pumps work best, moving hundreds of gallons per hour. Wet-dry vacuums handle smaller floods and give you more control in tight spaces. Start from the farthest point and work toward your drainage exit. Empty vacuum tanks frequently. They fill fast.
Flooring and underlayment removal. Most wet subfloor situations require removing the flooring above to access the subfloor surface. Carpet padding has to be removed and tossed in most flood cases because it acts like a sponge and is ridiculously hard to dry thoroughly. Laminate planks need to come up to reach the subfloor underneath. Pull up sections carefully if you’re hoping to save the flooring, but plan on replacement if water sat for more than a few hours.
Air circulation setup. Air movers beat standard box fans for blowing air across floors to speed up evaporation. Position them at 45-degree angles to the wet subfloor so air skims across the surface rather than blowing straight down. Use three to four units for an average-sized room, spacing them to create continuous airflow across the entire wet area. Point one toward an open window or door if outside air’s drier than interior air.
Dehumidifier operation. Dehumidifiers need to run continuously with regular reservoir emptying to pull moisture from air. A residential unit removes 50 to 70 pints per day, while commercial models handle 150-plus pints. Place the unit in the center of the affected space, not against a wall where airflow gets blocked. Empty the collection tank every 8 to 12 hours, or connect a drain hose if the model allows it. The goal is dropping relative humidity below 50 percent.
Moisture meter testing. Moisture meters give you objective measurement instead of guessing based on how the wood feels. Test the subfloor in multiple spots, especially near where standing water pooled deepest. Wood-based subflooring should read below 16 percent moisture content before you reinstall flooring, with 12 to 14 percent being ideal. Concrete slabs need different testing. We’ll cover that in the materials section.
Completion verification. Before calling it done, verify that moisture readings stay consistent over 24 to 48 hours without equipment running. A subfloor might feel dry but still hold moisture deeper in the material that’ll wick back to the surface once you stop drying. Retest after the equipment’s been off for a day. If readings climb back up, you’re not finished yet.
Continuous monitoring matters throughout this process because conditions change as drying moves forward. Check moisture readings daily and adjust equipment placement if certain areas aren’t drying as fast. Regular drying often requires waiting weeks or even a couple of months to reach appropriate moisture content levels, especially in below-grade basements where concrete walls hold moisture longer than above-grade spaces. The specific timeline depends on how saturated the subfloor got, what material it’s made from, your indoor humidity levels, and how much air circulation you can maintain.
Wet Subfloor Material Types and Drying Methods
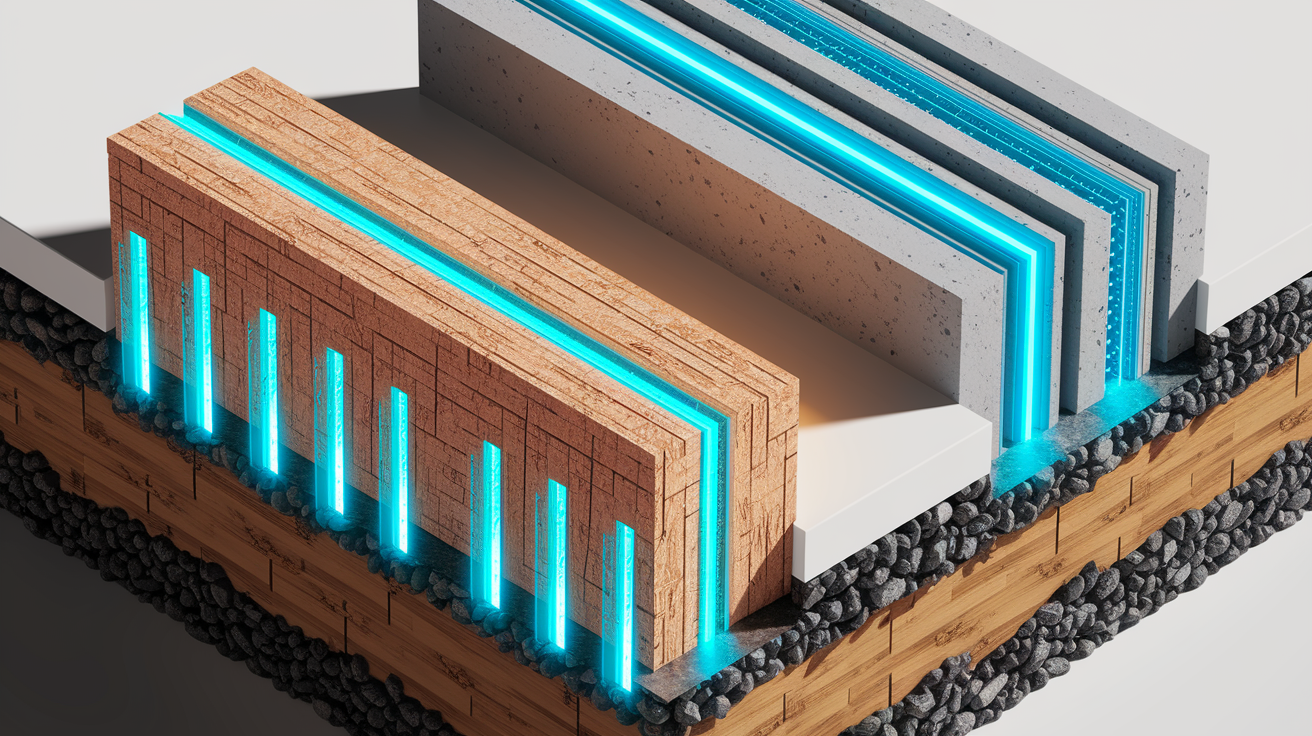
The material your subfloor’s made from determines how it absorbs water, how long drying takes, and whether you’re looking at repairs or replacement. Wood-based subflooring soaks up moisture and swells, concrete holds moisture in its pores and releases it slowly, and engineered products can delaminate when their bonded layers separate.
| Subfloor Material | Drying Challenges | Recommended Approach | Typical Drying Time |
|---|---|---|---|
| Plywood | Absorbs water into wood layers, prone to delamination if soaked through | Remove flooring, direct air movers across surface, monitor for warping | 5-10 days |
| OSB (Oriented Strand Board) | Swells significantly when wet, edges deteriorate faster than centers | Aggressive airflow on both sides if possible, expect replacement if edges crumble | 7-14 days if salvageable |
| Concrete Slab | Holds moisture below surface, vapor transmission continues for weeks | Surface drying with dehumidification, calcium chloride test for deep moisture | 14-30 days |
| Engineered Wood | Layers separate when adhesive fails, thin veneer vulnerable to damage | Gentle drying to prevent further delamination, often requires replacement | 3-7 days before assessment |
Wood-based subfloor materials should dry to 12 to 14 percent moisture content before you reinstall flooring over them. You can push the upper limit to 16 percent in high-humidity climates, but going above that risks trapping moisture that’ll cause problems later. Test in multiple locations because edges and seams dry slower than open expanses. If one section reads 18 percent while the rest measures 13 percent, keep drying until the wet spots come down.
Below-grade basements naturally dry slower than above-grade spaces, which hurts subfloor moisture levels even after you’ve removed standing water. Modern homes with poured concrete basement walls retain more moisture compared to older block wall construction, creating subfloor drying challenges that extend timelines by a week or more. The concrete acts like a moisture reservoir that keeps feeding humidity into the air above it. That’s why commercial dehumidifiers make a bigger difference in basements than residential units do upstairs.
Flooring and Floor Covering Removal for Subfloor Access
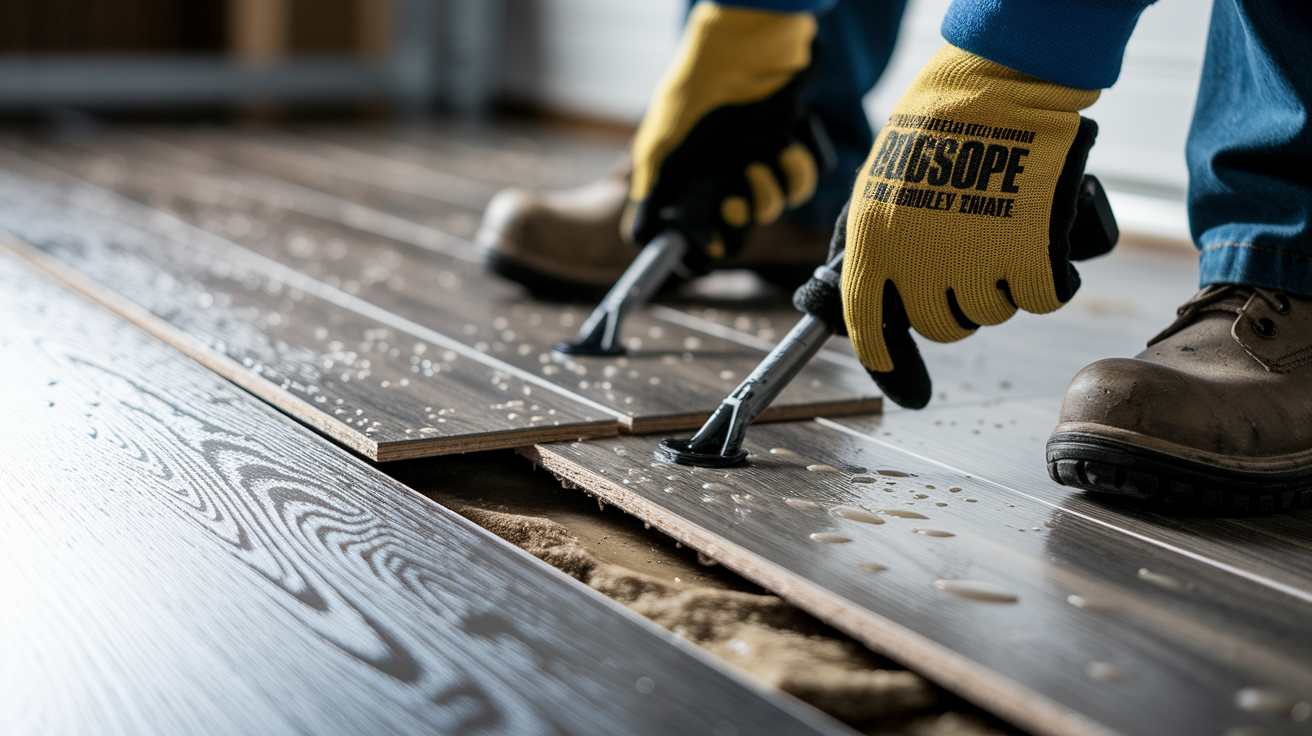
You can’t dry a subfloor you can’t reach. Most floor coverings create a moisture barrier that traps water against the subfloor surface, which is exactly what you need to prevent. Getting access to the subfloor means pulling up enough flooring to expose the wet areas, and in many cases, that flooring isn’t going back down.
Carpet and Padding Removal
Carpet padding acts like a sponge and has to be removed and tossed in most flood cases. It’s designed to absorb impact, which also means it absorbs water fast and holds it against the subfloor. By the time you notice the carpet’s wet, the padding underneath is usually completely saturated. Roll it up, bag it, and get it out of the house. Wet padding also creates ideal conditions for mold growth within that 24 to 48 hour window.
The carpet itself might be salvageable if you act within the first few hours and it’s only moisture, not contaminated water. Pull it up, extract as much water as possible with a wet-dry vacuum, and hang it to dry in a space with good airflow. But if sewage or ground water soaked it, plan on replacement regardless of timing.
Hard Surface Flooring Considerations
Laminate planks have to be removed in most cases to access and dry subfloor underneath because laminate doesn’t breathe. The planks create a sealed surface, and moisture trapped beneath them has nowhere to go. Laminate also swells and warps when wet, so even if you want to save it, it’s often too damaged to reinstall.
Tile’s more forgiving because the grout lines allow some air movement, though tile grout is porous and can absorb water despite tile being water-resistant. You might not need to remove tile if the water exposure was brief and you can position air movers to push air across the grout lines. Test the subfloor moisture through the grout with a moisture meter probe to determine if drying’s happening.
Hardwood floors should be watched for warping or buckling signs during the drying process. If boards start cupping or crowning, you’re either drying too fast or the moisture content was too high to salvage them. In many cases, you can leave hardwood in place and dry it along with the subfloor if you catch the water quickly, but you need to watch for signs the wood’s moving.
Underlayment Assessment
Underlayment sits between your subfloor and finished flooring, and it’s often the forgotten layer that stays wet long after everything else appears dry. Foam underlayment used under laminate traps moisture and won’t dry effectively. Paper-backed underlayment used under vinyl disintegrates when soaked. If water reached the underlayment, it usually needs to be removed.
Cork and rubber underlayment materials have similar issues. They hold moisture and create a barrier to airflow. The exception is breathable rosin paper or certain mesh products designed to allow vapor transmission, but even those dry faster when removed. When in doubt, pull it up. Underlayment’s inexpensive compared to the cost of dealing with mold growth later.
Mold Prevention and Safety During Wet Subfloor Drying

Turn off electricity before beginning water extraction work to prevent hazards. This isn’t optional. Water conducts electricity, and wet subflooring can energize metal fasteners, nails, and even adjacent framing. Locate your electrical panel and shut off breakers to any room with water damage. If your panel’s in the flooded area or you’re unsure which breakers control which rooms, shut off the main breaker and work with extension cords from an unaffected area.
Here’s what you need to stay safe during the drying process.
Wear rubber gloves rated for water work to protect against electrical shock if energized components remain, plus bacteria and contaminants in the water. Use an N95 respirator or better when working in spaces where mold may already be growing or when applying antimicrobial treatments. Wear eye protection, especially when removing wet materials overhead or when spraying cleaning solutions, to prevent splashing into eyes. Make sure you’ve got adequate ventilation by opening windows and running exhaust fans to prevent airborne spore concentration buildup as materials dry. Apply antimicrobial treatment after initial water extraction but before complete drying to prevent spore establishment on damp surfaces. Never attempt sewage backup cleanup yourself. Sewage backup water is a biohazard requiring certified professional handling due to bacteria, viruses, and parasites present.
Early mold growth shows up as dark spots or discoloration on wood surfaces, usually in corners or along seams where moisture pools. You might smell it before you see it, that musty, earthy odor that indicates active spore growth. If you spot mold forming during drying, increase air circulation in that area and consider applying antimicrobial treatment to stop further spread. Small spots (less than a few square feet) can be treated with proper safety gear. Larger infestations mean you’re past the DIY stage.
Health hazards extend beyond mold. Contaminated water carries bacteria that cause illness through skin contact or breathing airborne particles as materials dry. If the water came from outside, from a toilet backup, or sat stagnant for more than 48 hours, treat it as potentially contaminated. Professional restoration services have the protective equipment and disposal protocols to handle contaminated materials safely, which matters when you’re talking about subflooring that affects your entire home’s air quality.
Signs of Structural Damage and Irreparable Wet Subfloor
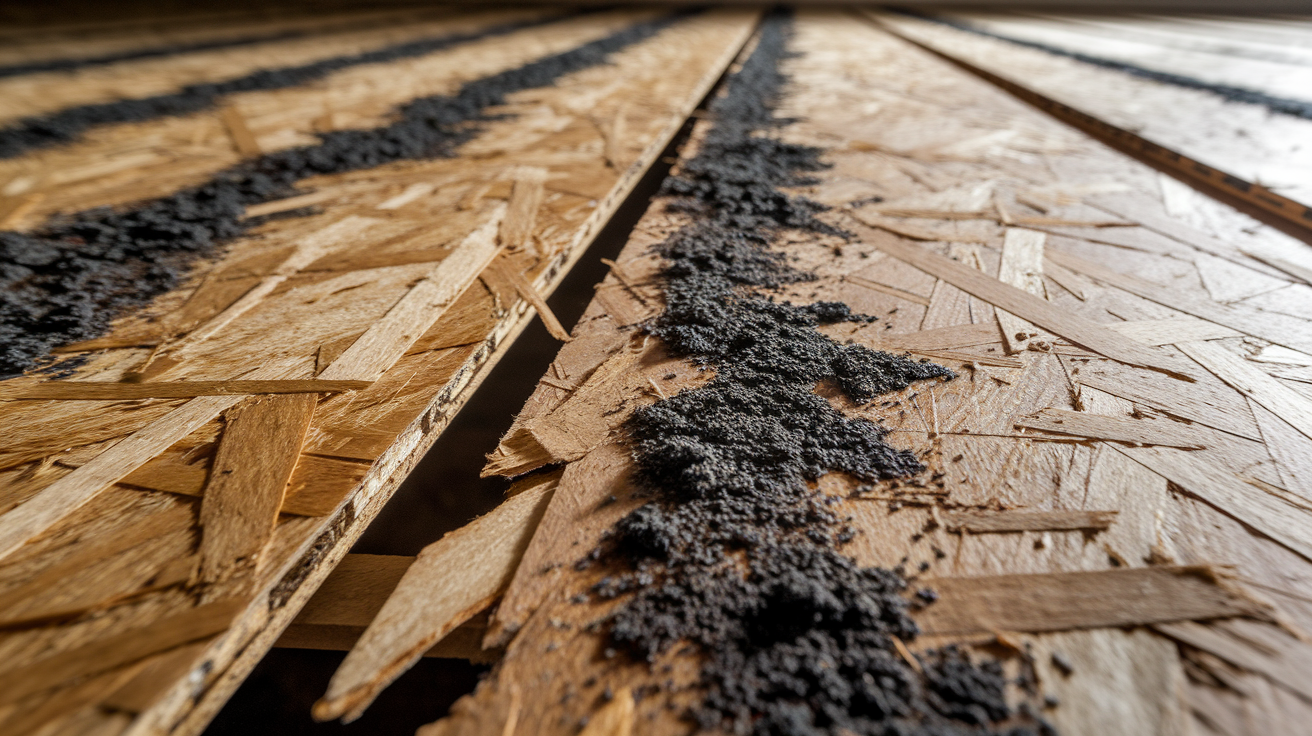
Surface moisture dries out, but structural damage stays. Knowing the difference between wet material and compromised material determines whether you’re drying or replacing. Long moisture exposure causes wood-based flooring to warp and buckle, changing the shape and integrity of the subfloor itself. At that point, pulling out moisture doesn’t restore what the wood used to be.
| Damage Sign | Severity Level | Salvageable or Replace |
|---|---|---|
| Surface warping or cupping in isolated spots | Moderate | Salvageable with aggressive drying and monitoring |
| Widespread buckling or separation between panels | Severe | Replace affected sections |
| Soft, spongy areas that compress under pressure | Severe | Replace, indicates wood rot or delamination |
| Visible black mold penetration into wood grain | Severe | Replace, mold has colonized the material |
| Persistent musty odor after drying to acceptable moisture levels | Moderate to Severe | Replace, odor indicates trapped moisture or mold inside layers |
| Floor joists showing water staining or deflection | Critical | Requires structural evaluation and likely replacement |
Water can cause delamination in vinyl and engineered wood flooring layers, separating the bonded materials that make up the product. When this happens, the flooring literally comes apart, layers peeling away from each other. You’ll see it as bubbling, separating edges, or a floor that feels uneven when you walk on it. Delamination’s irreversible. The adhesives that failed won’t re-bond when dry.
Subfloor and joist water penetration compromises home structural integrity in ways that aren’t always immediately visible. Water that reaches floor joists can weaken the connections between joists and beams, or cause joists to sag as the wood loses rigidity. If you notice floors that bounce more than they used to, or if you can see sagging when looking at joists from below, water’s affected structural members. This requires professional assessment through water damage restoration services because you’re talking about the support system for your entire floor.
A structural inspection looks beyond moisture content to evaluate whether materials can still carry their designed loads. A floor joist might read dry on a moisture meter but have lost 30 percent of its load capacity due to wood rot or compromised grain structure. Professional restoration teams identify these concerns through deflection testing, visual inspection of support connections, and assessment of how materials responded to water exposure. When structural integrity’s questionable, replacement isn’t about being cautious. It’s about maintaining a safe floor.
Basement and Crawl Space Subfloor Drying Challenges
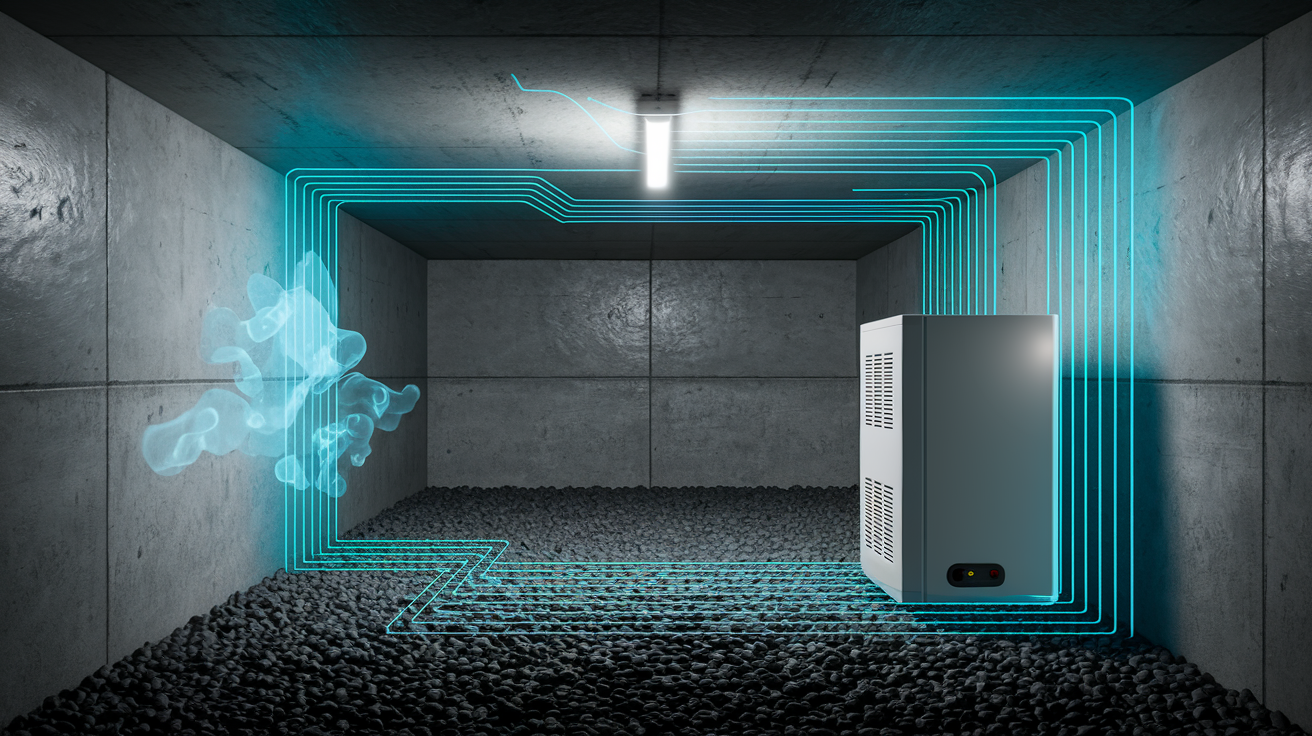
Above-grade floors dry faster because physics works in your favor. Warm air holds more moisture, and gravity pulls that moisture-laden air away from the drying surface. Below-grade basements naturally dry slower than above-grade spaces, hurting subfloor moisture levels even when you run the same equipment and follow the same process. The ground stays cool, the concrete walls stay damp, and the whole space works against fast drying.
Modern homes with poured concrete basement walls retain more moisture compared to older block wall construction, creating subfloor drying challenges that show up as persistently high relative humidity even after standing water’s gone. Poured concrete’s denser and less permeable than block, which means moisture can’t migrate through the walls the way it used to in older construction. That moisture stays in the basement, feeding humidity into the air that your dehumidifier has to process.
A double-drying method uses one commercial dehumidifier to simultaneously dry multiple levels by drilling a 4-inch hole in the subfloor and blowing heated dry air into the basement. The technique was developed for high-end flooring projects that couldn’t wait weeks for basement subfloors to reach acceptable moisture content. By drying both the basement and the main level at the same time, you reduce relative humidity in the basement while actively drying the subfloor above. The air movement between levels speeds up evaporation in both spaces.
Here’s how it works in practice. Position a commercial dehumidifier in the main level room with the wet subfloor. Drill a 4-inch hole through the subfloor near the center of the wet area, making sure you’re not hitting plumbing or wiring. Attach flexible ductwork to the dehumidifier’s discharge and direct that heated, dry air through the hole into the basement below. The warm, dry air blows across the basement’s ceiling (which is the underside of your wet subfloor) while also reducing humidity in the basement. A single commercial unit running this setup can drop relative humidity in both spaces at once, cutting drying time by 30 to 40 percent compared to single-level drying.
Crawl spaces create different problems. Ground moisture migrates upward through soil into the crawl space, raising humidity even without active flooding. If your crawl space doesn’t have a vapor barrier covering the ground, moisture transmission from the earth below continues regardless of how much you dry the subfloor above. Ventilation alone won’t solve it because you’re fighting a constant moisture source.
Address crawl space moisture by installing a 6-mil polyethylene vapor barrier across the entire ground surface, overlapping seams by 12 inches and sealing the edges where the barrier meets foundation walls. This stops ground moisture from feeding humidity into the space. Then add dehumidification equipment designed for crawl space use, which typically means a unit that tolerates cooler temperatures and higher humidity levels than standard residential dehumidifiers handle. Target relative humidity below 60 percent in the crawl space to prevent the subfloor above from reabsorbing moisture.
Below-grade spaces require longer equipment operation times because the moisture has more places to hide and more sources feeding new humidity into the air. A main-level floor might dry in 5 to 7 days with proper equipment. That same level of water saturation in a basement subfloor might take 10 to 14 days, and a crawl space floor could stretch to 14 to 21 days depending on ground moisture conditions and ventilation.
DIY Versus Professional Restoration for Wet Subfloor
Some wet subfloor situations you can handle yourself, and others you shouldn’t try. The decision factors include how much water you’re dealing with, how long it’s been sitting, where it came from, and whether structural components are affected. Professional water extraction services are critical when water’s been present for more than 48 hours, because at that point, mold growth’s likely started and contamination risks increase.
| Scenario | DIY Appropriate | Professional Required | Reason |
|---|---|---|---|
| Small leak caught within 2-4 hours, clean water source | Yes | No | Limited water volume, quick response, manageable with rental equipment |
| Extensive flooding affecting multiple rooms or entire level | No | Yes | Volume exceeds homeowner equipment capacity, coordination of drying needed |
| Sewage backup or contaminated water source | No | Yes | Sewage backup water is a biohazard requiring certified professional handling |
| Water present for 48+ hours before discovery | No | Yes | Mold growth likely established, contamination risk high, structural assessment needed |
| Visible structural damage, sagging floors, or joist concerns | No | Yes | Structural integrity evaluation requires professional inspection and repair |
IICRC-certified technicians have proper training and equipment for water damage restoration, which includes understanding water migration patterns, moisture mapping, proper drying protocols for different materials, and contamination safety. The certification isn’t just a piece of paper. It represents training in building science and restoration standards that DIY efforts usually miss. When a professional maps moisture content across an affected area, they’re identifying hidden pockets of water that’ll cause problems weeks later if you miss them now.
Commercial equipment makes a measurable difference in drying speed and effectiveness. A residential dehumidifier removes 50 to 70 pints per day. A commercial restoration dehumidifier pulls 150 to 200 pints per day and maintains lower relative humidity levels under high-moisture-load conditions. Air movers used by professionals move 2,000 to 3,000 cubic feet per minute compared to 1,000 to 1,500 CFM from rental units. When you’re racing a 48-hour clock before mold establishes, that capacity difference matters.
The cost-benefit analysis gets interesting when you factor in what happens if DIY drying fails. Renting a dehumidifier costs $40 to $70 per day. Renting air movers adds another $30 to $50 per day each. Over a 10-day drying period, you might spend $500 to $800 in rental costs, plus your time and effort. Professional fire and water damage restoration services for a moderate wet subfloor job typically run $1,500 to $3,500 depending on scope. But if DIY drying misses moisture pockets that turn into mold remediation needs a month later, you’re looking at $3,000 to $10,000 in additional costs for mold removal, plus subfloor replacement.
Emergency response timing matters because water damage compounds rapidly. Water that sits for 24 hours penetrates deeper into subfloor materials than water extracted in 4 hours. That deeper penetration extends drying time and increases the likelihood of permanent damage. Professionals respond with equipment and crews within hours, not days, which stops progression before it becomes replacement instead of drying.
Cost Estimates for Wet Subfloor Drying and Repair

Cost varies by region, scope of damage, and whether you’re handling it yourself or hiring professionals. These estimates provide general ranges based on national averages, but your specific situation might run higher or lower depending on local labor rates and material costs.
Here’s what you’re looking at.
Equipment rental for residential dehumidifier: $40-$70 per day, $200-$350 per week. Equipment rental for air mover or fan: $30-$50 per day each, $150-$250 per week each. Moisture meter purchase: $40-$200 depending on pin-type versus pinless and accuracy level. Professional drying service: $150-$400 per day depending on equipment used and square footage affected, typically 5-10 day minimum. Subfloor material replacement (plywood): $45-$75 per sheet installed, covering approximately 32 square feet. Subfloor material replacement (OSB): $35-$55 per sheet installed, covering approximately 32 square feet. Labor for removal and reinstallation of flooring: $2-$6 per square foot depending on flooring type and complexity. Antimicrobial treatment application: $0.50-$2 per square foot for professional-grade products and application. Complete professional restoration package for moderate damage (single room): $1,500-$3,500 including water extraction, drying, monitoring, and basic repairs.
Insurance claim considerations affect whether you proceed with professional restoration or attempt DIY drying. Most homeowner policies cover sudden and accidental water damage, like a burst pipe or appliance failure, but exclude gradual damage from long-term leaks or maintenance issues. Review your policy’s water damage coverage limits and deductible before starting work. Document everything with photos, moisture readings, and receipts regardless of whether you file a claim, because you might need that documentation if damage appears later that’s related to this incident.
Insurance companies typically require professional restoration for claims above your deductible amount because they want documented proof that proper drying protocols were followed. An IICRC-certified company provides that documentation through moisture mapping reports, daily logs, and completion certificates that demonstrate industry-standard procedures. DIY drying rarely produces the documentation insurers require to confirm work was done properly.
Cost escalation happens fast when mold remediation becomes necessary after delayed response. If you wait 3 to 4 days before starting the drying process, mold growth’s likely established and requires professional remediation protocols instead of simple antimicrobial treatment. Mold remediation costs $1,500 to $4,000 for a single room with contained growth, or $10,000-plus for extensive colonization affecting multiple areas. Structural repairs add another layer of expense when long moisture weakens floor joists or causes subfloor delamination. Joist repair or replacement runs $100 to $300 per linear foot, and if water damaged multiple joists, you’re looking at several thousand dollars in framing repairs that could have been avoided with immediate water extraction.
Insurance Claims and Documentation for Subfloor Water Damage

Contact your insurance company within 24 hours of discovering water damage, even if you’re not sure whether you’ll file a claim. Most policies require prompt notification, and delays can complicate coverage. The insurance company will assign an adjuster to assess damage, and that assessment determines what’s covered and what limits apply.
Document everything before you start major work.
Photograph standing water depth, affected areas, water source, and damaged materials from multiple angles showing extent and location. Record initial moisture meter readings across the entire affected area, marking locations so you can retest the same spots later. Document the water source classification: clean water (supply line), gray water (appliance discharge), or sewage backup, as category affects coverage decisions. Keep equipment usage logs showing what equipment ran, where, for how many days, including make and model if using rental units. Save all invoices for professional services, equipment rentals, material purchases, and disposal costs with itemized descriptions. Photograph removed materials before disposal, showing damage severity and why replacement was necessary rather than salvageable. Create a timeline documenting when water damage occurred, when discovered, when extraction started, when drying equipment was deployed, and when moisture readings reached acceptable levels.
Covered scenarios typically include sudden pipe bursts, appliance supply line failures, toilet overflows from internal blockages, and water heater ruptures. Non-covered scenarios usually include gradual seepage from aging plumbing, maintenance-related failures like a deteriorated wax ring under a toilet, ground water seepage due to inadequate drainage, and flood water from external sources requiring separate flood insurance.
Claim adjusters expect to see proof that immediate action was taken to prevent further damage, which the insurance industry calls “mitigation.” If you discovered water at 8 AM but didn’t start extraction until the next day without a justifiable reason, the adjuster might argue that additional damage resulted from delayed response rather than the original water event. That documentation timeline protects you by showing reasonable and prompt action.
Working with IICRC-certified professionals supports claim validity and proper restoration standards because insurance companies recognize IICRC protocols as industry-standard. When a certified technician documents moisture levels, equipment placement, and drying progress, the insurer has objective data showing appropriate restoration procedures were followed. That documentation reduces claim disputes and speeds approval because the work meets recognized restoration standards rather than subjective homeowner judgment about when a floor’s dry enough.
Most policies cover professional restoration costs above your deductible, with typical deductibles ranging from $500 to $2,500. If your damage estimate’s $3,000 and your deductible’s $1,000, the insurance company covers $2,000 of the restoration work. Whether professional restoration makes sense depends on comparing the covered amount to the cost difference between DIY and professional service. If you’d spend $800 on equipment rentals to DIY and the professional quote’s $3,000, you’re paying $1,000 out of pocket (your deductible) either way, making professional service the clear choice for proper documentation and faster completion.
Prevention and Maintenance to Avoid Future Wet Subfloor Issues
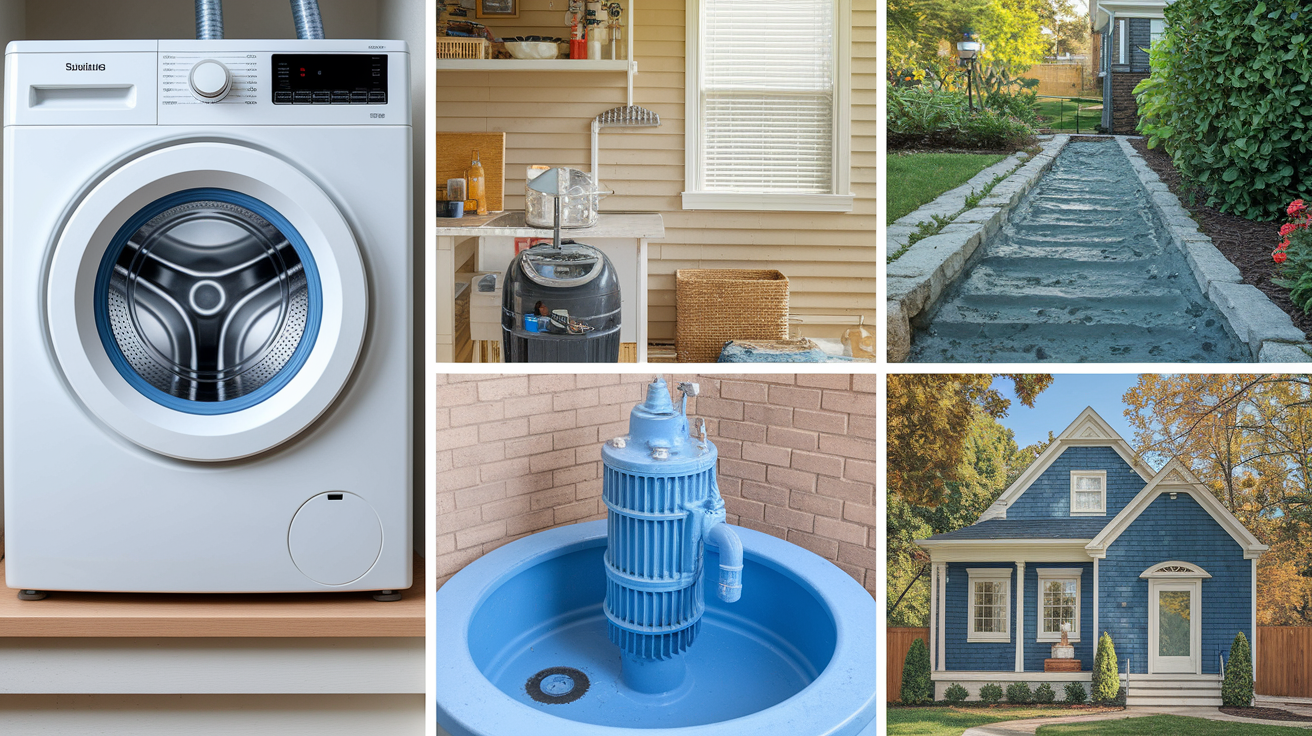
Fixing wet subfloor damage once teaches you to prevent it from happening again. Prevention costs a fraction of remediation, and most wet subfloor situations come from predictable sources you can address with regular maintenance and targeted improvements.
Here’s what actually stops water before it reaches your subfloor.
Inspect plumbing supply lines to appliances every 6 months, checking for bulges, cracks, or corrosion especially on washing machine hoses and dishwasher connections. Replace washing machine hoses every 5 years regardless of appearance, as rubber and braided lines deteriorate internally before showing external damage. Install water heater catch pans with drain lines to floor drains or exterior, preventing leaks from flooding floors when units fail. Test sump pumps quarterly by pouring water into the pit to verify the float switch activates and the pump discharges properly. Clean gutters twice per year and make sure downspouts extend at least 6 feet from foundation, directing roof runoff away from basement walls. Install backwater valves on sewer lines if your home’s at risk for sewage backup during heavy rain events. Seal crawl space ground with 6-mil polyethylene vapor barrier, overlapping seams and securing edges to stop ground moisture migration. Grade soil around foundation to slope away at 6 inches drop over first 10 feet, preventing water from pooling against basement walls. Maintain HVAC condensation drain lines with vinegar flushes every 3 months, clearing algae buildup that causes overflow onto floors.
Below-grade moisture control requires more than fixing leaks because concrete naturally transmits moisture from exterior soil through walls into interior space. Modern homes with poured concrete basement walls retain more moisture compared to older block wall construction, creating conditions where even without active water intrusion, basement humidity stays high enough to affect subfloor moisture content. Address this with interior waterproofing membranes on basement walls, perimeter drainage systems that collect groundwater before it enters, and continuous dehumidification maintaining relative humidity below 50 percent.
Vapor barrier installation in crawl spaces controls ground moisture migration that feeds humidity into the space beneath your main floor. Without a vapor barrier, soil moisture evaporates into crawl space air, raising humidity to 70 to 80 percent or higher. That moisture-laden air contacts cooler subfloor surfaces above, condensing on the wood and creating dampness without any liquid water source. A proper vapor barrier with sealed seams stops this transmission at the source.
Early detection signs let you respond quick before minor moisture becomes subfloor saturation. Musty smell in a room indicates moisture and possible mold growth somewhere, often in subflooring or wall cavities before visible signs appear. Floor discoloration or staining, especially near plumbing fixtures, shows water’s been present even if no active leak’s currently visible. Squeaky floors that weren’t squeaky before can indicate subfloor movement from moisture causing wood to swell and shift against fasteners. Peeling vinyl or lifting laminate edges shows moisture underneath affecting adhesive or causing expansion. Any of these signs warrants investigation with a moisture meter before the problem progresses to flood-level damage.
Final Words
Speed matters when dealing with a wet subfloor.
The 24 to 48 hour window before mold takes hold means you need to act now, not tomorrow. Whether you’re renting equipment for a DIY approach or calling in professionals, the key is starting the drying process immediately and monitoring it consistently with a moisture meter until readings hit safe levels.
Learning how to dry out wet subfloor the right way protects your home’s structure, prevents health hazards, and saves you from much larger repair bills down the road.
If the damage is extensive, the water’s been sitting for days, or you’re seeing signs of structural problems, don’t hesitate to bring in certified help. Your home is worth it.
FAQ
How do you pull moisture out of a subfloor?
You pull moisture out of a subfloor by removing standing water first, then running air movers and dehumidifiers continuously to evaporate trapped moisture. Wood-based subfloors typically require several weeks of constant air circulation and moisture removal to reach safe dryness levels before you can reinstall flooring.
What should you do if the subfloor gets wet?
If the subfloor gets wet, shut off electricity to the affected area immediately, stop the water source, remove standing water with pumps or vacuums, and start air circulation within 24 to 48 hours. Remove wet flooring and carpet padding to allow direct airflow across the subfloor surface.
What draws moisture out of wood?
Air movement and low humidity draw moisture out of wood. Air movers blow air across wet wood surfaces to speed evaporation, while dehumidifiers pull water vapor from the surrounding air, creating conditions that force trapped moisture to leave the wood fibers.
How do you dry wet plywood fast at home?
You dry wet plywood fast at home by removing any covering materials, positioning air movers to blow directly across the surface, running a dehumidifier continuously in the space, and ensuring good ventilation. Even with aggressive drying, plywood subfloors typically need one to three weeks to dry completely depending on saturation depth.
How long does it take to dry a wet subfloor?
Drying a wet subfloor takes anywhere from one week to several months depending on material type, saturation level, and location. Above-grade floors with moderate moisture dry faster than below-grade basement subfloors, which naturally hold moisture longer due to concrete wall conditions and limited air exchange.
Can you dry a subfloor without removing flooring?
You cannot effectively dry a subfloor without removing most flooring types. Carpet padding traps moisture and must be removed, laminate planks block airflow completely, and tile prevents evaporation. Only certain breathable floor coverings allow adequate drying without removal.
When does wet subfloor require professional help?
Wet subfloor requires professional help when water has been present for more than 48 hours, when sewage contamination exists, or when you see structural damage like sagging or wood rot. IICRC-certified technicians have commercial-grade equipment and training to handle extensive flooding or category-three water damage safely.
How do you know if a wet subfloor is ruined?
You know a wet subfloor is ruined when you see delamination in plywood layers, soft spots indicating wood rot, persistent musty odor after drying attempts, or visible mold growth penetrating deep into the material. Moisture meter readings that won’t drop below 20 percent after extended drying also signal replacement needs.
What moisture level is safe for subfloor?
A safe moisture level for subfloor is typically 12 to 14 percent or lower before reinstalling flooring. You measure this with a moisture meter, testing multiple spots across the affected area to confirm uniform dryness before moving forward with repairs.
Does basement subfloor dry differently than main level?
Basement subfloor dries slower than main level because below-grade spaces naturally hold more moisture. Modern poured concrete walls retain water compared to older block construction, and limited air exchange in basements extends drying time by weeks or even months compared to above-grade floors.
What equipment do you need to dry wet subfloor?
You need submersible pumps or wet-dry vacuums for water removal, air movers to create surface airflow, dehumidifiers to pull moisture from the air, and a moisture meter to track drying progress. For extensive damage, commercial equipment dries faster than residential models.
Should you treat wet subfloor for mold?
You should treat wet subfloor for mold prevention after initial drying but before complete dryness. Antimicrobial treatment applied to damp surfaces helps prevent spore growth during the extended drying period, especially in below-grade spaces where moisture naturally lingers longer.