

Think a single sheet of plastic can’t stop basement moisture? Think again.
Water vapor moves up through concrete and can ruin drywall, warp baseboards, and leave a musty smell that won’t quit.
A proper vapor barrier, the right thickness, taped seams, and clean installation stop that vapor before it hits your living space.
In this post we’ll show how to choose materials, test the slab so you don’t trap moisture, and seal every seam so your finished floors and walls stay dry and mold-free.
Core Principles of Basement Vapor Barrier Installation

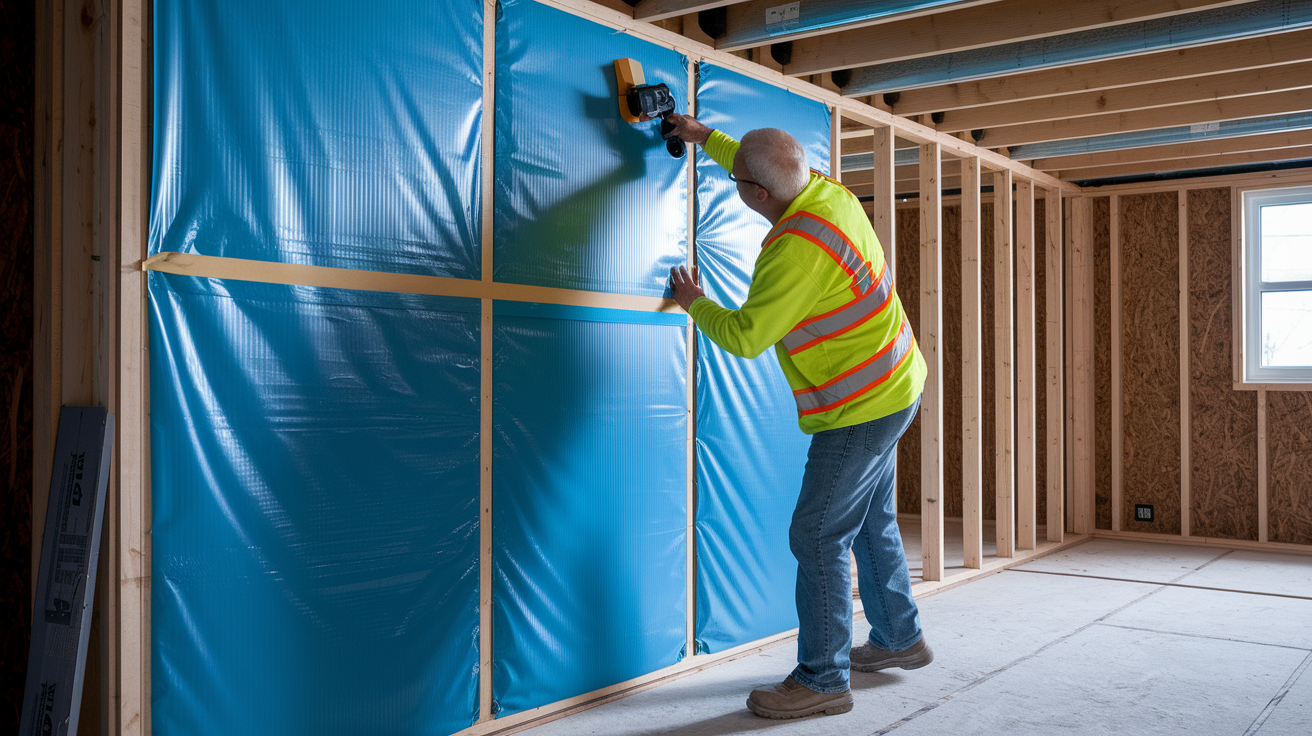
A basement vapor barrier is basically a thick plastic membrane you install on foundation walls and sometimes floors to stop water vapor from creeping up from the ground into your living space. It blocks vapor before it can jack up your indoor humidity, trigger condensation on cold surfaces, or start growing mold inside wall cavities and finished rooms. Common materials include polyethylene plastic sheeting (usually 6 to 20 mil thick), closed-cell spray foam, and specialized vapor-blocking coatings. The effectiveness gets measured in perms, which is just a way to say how much water vapor can sneak through. A real vapor barrier sits at 0.1 perm or lower, meaning almost nothing gets through. A 6-mil polyethylene sheet typically rates around 0.06 perms, so it works well in high moisture environments.
Moisture gets into basements through a few different routes. Water vapor naturally moves from damp soil through porous concrete and block foundations. Poor ventilation traps humid air inside. Warm indoor air rises through your home in what’s called the stack effect, pulling humid basement air upward and dragging fresh moisture in from below. When that warm, humid air hits cold basement walls or floors, condensation forms and soaks into framing, insulation, and drywall. Installing a vapor barrier on the interior side of basement walls stops ground vapor before it reaches your living space. When you install it on floors, it blocks vapor rising through slabs. The barrier creates a physical layer that vapor molecules can’t pass through, unlike porous stuff like untreated concrete or fiberglass insulation.
Proper installation means using the right material thickness and managing seams carefully. Thinner sheeting like 6 mil works fine for basic wall coverage, but floors and high traffic areas need thicker, reinforced products (10 to 20 mil) to resist punctures from sharp stones, framing fasteners, or foot traffic during construction. All seams between sheets must overlap by at least 4 to 6 inches and be sealed completely with specialized vapor barrier tape. Gaps, tears, or loose edges create pathways for vapor to bypass the whole system. Every penetration for plumbing, electrical conduit, or HVAC ducting has to be cut precisely and sealed with tape or compatible sealant to keep a continuous barrier from floor to ceiling.
Types of Basement Vapor Barriers and Material Specifications

Vapor barrier materials get classified by their permeance rating, which determines how much moisture can pass through. Class I materials have a permeance of 0.1 perm or less and they’re considered true vapor barriers. Class II materials range from 0.1 to 1.0 perm and work as semi-permeable vapor retarders. Class III materials allow 1.0 to 10 perms, giving you high breathability but minimal vapor control. For basement work, Class I materials are standard because they fully block vapor migration from ground sources. Polyethylene sheeting dominates the market since it’s cheap, easy to install, and has proven performance.
Walls and floors need different durability levels. Wall installations don’t face much physical stress once studs and drywall are up, so standard 6-mil polyethylene works well. Floors have to handle foot traffic, construction debris, and potential settling or shifting of the slab, so reinforced membranes with woven scrim layers or thicker 15 to 20 mil HDPE are what you want. Reinforced barriers resist tearing and punctures better than single layer plastic, especially in basements where sub-slab gravel, uneven concrete, or protruding aggregate can create pressure points.
6-mil polyethylene sheeting: Lightweight and inexpensive. Perfect for interior basement walls where you won’t have much physical abuse.
10-mil polyethylene: Moderate puncture resistance. Works for most floor applications when you don’t expect heavy construction traffic.
15 to 20 mil reinforced HDPE: Has woven scrim or cross-laminated structure. Recommended for sub-slab or floor installations where you need high durability.
Closed-cell spray foam (2 to 3 inches): Serves as both vapor barrier and insulation. Often used on walls combined with plastic sheeting or as a standalone system where you need insulation.
Step-by-Step Basement Vapor Barrier Installation (Walls and Floors)
-
Clear and clean all surfaces. Remove debris, dust, loose mortar, and any flaking paint or efflorescence from walls and floors. Sweep, then vacuum to get rid of fine particles that could puncture the barrier or stop tape from sticking properly.
-
Inspect and repair foundation cracks and penetrations. Fill hairline cracks in concrete with hydraulic cement or epoxy sealant. Seal gaps around window frames, utility penetrations, and pipe chases so the vapor barrier has a solid surface to anchor against.
-
Measure walls and floors to calculate material needs. Measure wall height from floor to top plate and total linear footage around the room. Add 10 percent for waste and overlap. For floors, measure length and width and account for a 4 to 6 inch extension up each wall.
-
Cut and position sheeting with proper overlap. Unroll plastic sheeting and cut to size, leaving extra length at top and bottom edges. Position each sheet so adjacent pieces overlap by at least 4 to 6 inches. On floors, the first sheet should extend up the wall by 4 to 6 inches to tie into the wall barrier.
-
Anchor wall sheeting every 24 inches. Use a staple gun or mechanical fasteners (plastic cap nails or adhesive-backed buttons) to secure the top edge of each sheet to the rim joist or top of the wall. Work down the sheet, anchoring every 2 feet along vertical seams and mid-sections to keep the material taut and wrinkle-free.
-
Seal all seams with vapor barrier tape. Apply specialized vapor barrier tape (not general purpose duct tape) over the full length of every seam, from top to bottom. Press firmly for full adhesion. Tape should cover the entire overlap zone.
-
Cut and seal penetrations for pipes, outlets, and ducts. Use a utility knife to make precise cuts around electrical boxes, plumbing pipes, and HVAC registers. Seal the edges of each cut with vapor barrier tape or compatible sealant to prevent vapor leakage.
-
Install wall studs, insulation, and finish materials over the barrier. Once the vapor barrier is inspected and verified, frame interior walls over the sheeting. Install insulation between studs if you want, then hang drywall or other finish materials as normal.
Wall vs Floor Installation Details
Wall installations are simpler because gravity and fasteners hold the barrier in place while you work. Anchoring happens at the top edge and at intervals down the wall, with overlaps running vertically and sealed with tape. Floor installations need more care. The barrier has to tie into perimeter drainage systems, such as dimple board panels or French drains, so water that reaches the slab can escape without pooling under the plastic. Floor sheeting doesn’t get fastened down. Instead, it’s laid flat, overlapped at seams, fully taped, and extended up the wall where it meets the wall barrier. Penetrations through floors (like sump pump discharge pipes or floor drains) must be sealed carefully with tape or gasketed collars to keep the barrier continuous without blocking water flow.
Moisture Testing and Verification Before Vapor Barrier Installation

Before installing a vapor barrier, you need to confirm that the concrete slab or foundation wall is dry enough to accept a sealed membrane. Installing a vapor barrier over wet concrete traps moisture inside the slab, causing efflorescence, spalling, adhesive failure, and mold growth behind finished walls. Moisture meters give surface readings but don’t reveal moisture content deep inside thick concrete. Relative humidity (RH) testing uses probes embedded in drilled holes to measure vapor levels within the slab. Calcium chloride testing places absorbent dishes on the concrete for 60 to 72 hours to measure the rate of moisture vapor emission from the surface. Infrared inspection detects thermal variations that point to hidden dampness or active leaks that must be fixed before barrier installation.
Each test serves a different phase of the project. Surface moisture meters work for quick checks, but RH and calcium chloride tests are required when the slab is new, recently poured, or suspected of retaining curing moisture. If RH readings exceed 80 percent or calcium chloride results show high emission rates, the slab needs additional drying time or mechanical dehumidification before barrier installation. Ignoring these tests means trapped moisture that can spread mold spores throughout your home via the stack effect, where rising air pulls contaminated basement air into upper floors.
| Test Method | What It Detects | When It’s Used |
|---|---|---|
| Relative Humidity (RH) Probe | Moisture vapor inside slab (percentage of RH) | New slabs, suspected moisture retention, pre-flooring installs |
| Calcium Chloride Test | Rate of moisture vapor emission from concrete surface | Before adhesive flooring, coating, or vapor barrier installation |
| Infrared Thermal Imaging | Temperature variations indicating hidden moisture or active leaks | Suspected foundation leaks, post-storm inspections, hidden damp zones |
Integrating Vapor Barriers with Drainage and Sump Systems
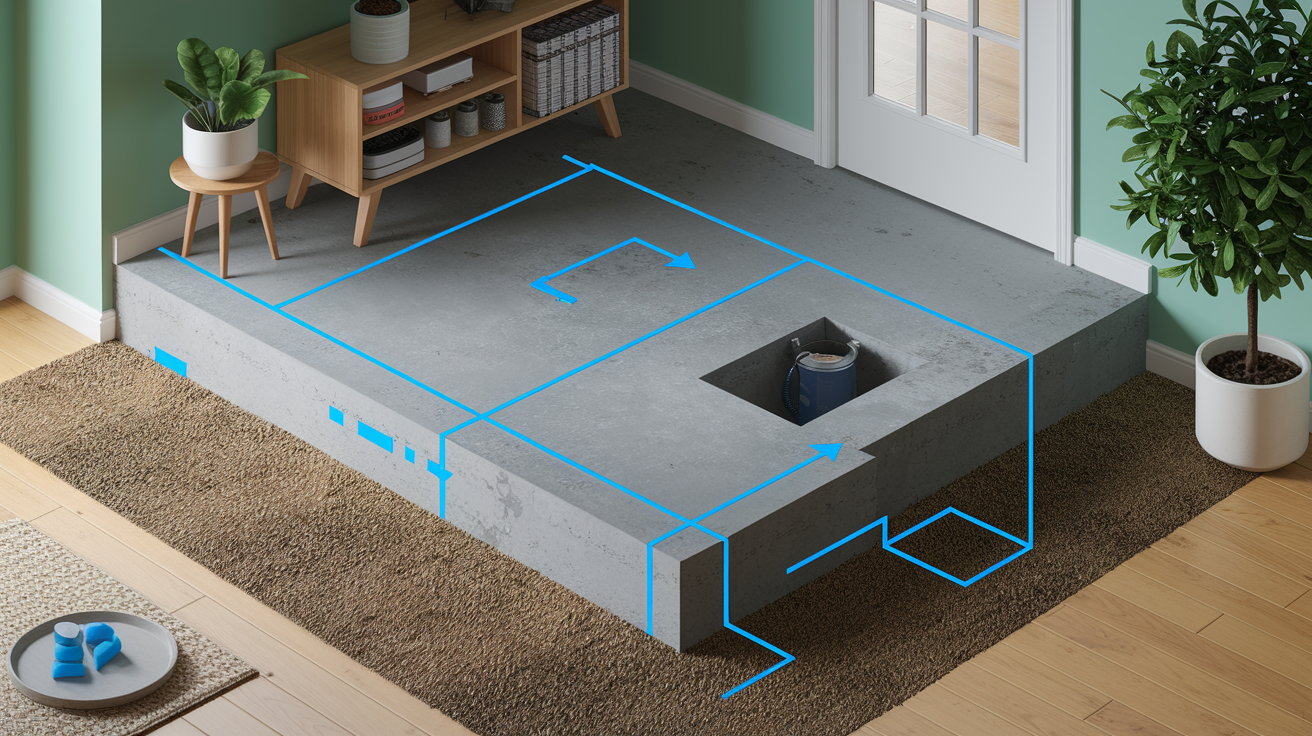
Floor vapor barriers in basements often tie into interior perimeter drainage systems designed to manage hydrostatic pressure and groundwater intrusion. When water vapor barriers are installed over slabs, they can’t obstruct the flow of liquid water that enters through foundation cracks or rises through the slab under pressure. Dimple board panels (also called drainage mats) get installed vertically along the foundation wall, creating a small air gap between the concrete and the vapor barrier. Water that seeps through the foundation runs down the dimple board and into a perimeter French drain or footer drain system, which channels it to a sump pump basin for removal. The vapor barrier sheeting on the floor extends up the wall and tucks into the top edge of the dimple board, creating a sealed transition that stops vapor but allows liquid drainage.
Sump pump integration requires careful detailing around the basin and discharge pipe. The floor vapor barrier gets cut to fit around the sump pit, and the edges are sealed to the basin liner with tape or sealant. If the discharge pipe penetrates the barrier, a gasketed boot or taped collar seals the opening. You’re trying to prevent vapor from rising through the gap while making sure the sump pump can still receive water from the perimeter drain. Improper sealing at the sump pit or dimple board connection can create a vapor bypass, letting ground moisture into the basement even with a barrier in place.
Managing hydrostatic pressure is critical. If exterior drainage is poor and water pressure builds under the slab, no vapor barrier will stop liquid water from finding a path into the basement. Vapor barriers control vapor diffusion, not flooding. Before installing a floor barrier, verify that exterior foundation drains are functional, downspouts discharge away from the house, and grading slopes away from the foundation. If hydrostatic pressure is high, install or repair footer drains and consider exterior waterproofing before relying only on an interior vapor barrier.
Building Code Requirements and Compliance for Basement Vapor Barriers

Local building codes dictate whether a vapor barrier is required in basement construction, what materials are acceptable, and where the barrier must be installed. Some jurisdictions require Class I vapor barriers on basement walls and floors in new construction or major remodeling projects. Others specify minimum thickness (commonly 6 mil for walls, 10 mil for floors) and may require flame spread ratings for materials used in habitable spaces. Inspectors check installations for proper overlap, seam sealing, fastening intervals, and integration with drainage systems.
Permit requirements vary. In some areas, installing a vapor barrier as part of finishing a basement requires a building permit and inspection sign off before walls can be closed. Other regions treat vapor barriers as routine work not requiring permits unless tied to structural changes or mechanical systems. Verify local code and permit requirements before starting the project, especially if you plan to convert basement space into living areas. Failing inspection can require tearing out finished walls to correct barrier defects.
Seam overlap and tape verification: Inspectors measure overlap width and confirm that all seams are fully taped with approved vapor barrier tape.
Fastening intervals and material anchoring: Wall barriers must be fastened at specified intervals (commonly every 2 feet) to prevent sagging or gaps.
Permeance rating and material certification: Installed materials must meet local permeance standards (typically 0.1 perm or lower) and be labeled or certified by the manufacturer.
Vapor Barriers and Basement Insulation Compatibility

Installing insulation over or against a vapor barrier requires understanding the vapor profile of the entire wall assembly. Closed-cell spray foam insulation has a permeance rating low enough to act as both thermal insulation and a vapor barrier. When sprayed directly on foundation walls at 2 to 3 inches thickness, it eliminates the need for separate plastic sheeting. Rigid foam board insulation (such as extruded polystyrene or polyisocyanurate) can also serve as a vapor retarder when installed against the foundation, but only if joints are taped and edges are sealed. Combining an interior vapor barrier with the wrong type of insulation can trap moisture between layers, causing condensation, mold, and rot inside wall cavities.
Fiberglass batt insulation is vapor permeable and should never be installed directly against a foundation wall without a vapor barrier on the warm (interior) side. If you install plastic sheeting on the wall first, then frame studs and fill cavities with fiberglass, the plastic must be on the interior face (the warm side in winter) to prevent warm, moist indoor air from reaching the cold foundation and condensing. Placing the vapor barrier on the wrong side of the insulation reverses the intended moisture control and can make condensation problems worse.
Thermal bridging happens when metal studs or uninsulated framing members create paths for heat loss through the wall assembly. To minimize thermal bridging and maintain vapor control, install rigid foam board directly against the foundation, then frame interior walls with wood or metal studs over the foam. The foam board acts as a continuous insulation layer and, if joints are sealed, provides vapor control. A second layer of plastic sheeting is often unnecessary if the foam board meets local vapor barrier requirements and is installed correctly.
Cost Estimates, Material Comparisons, and Labor Considerations

Material costs for basement vapor barriers depend on thickness, area, and reinforcement. Basic 6-mil polyethylene sheeting costs roughly $0.10 to $0.20 per square foot, making it the most economical choice for wall installations. Thicker 10-mil sheeting runs $0.20 to $0.30 per square foot, and reinforced 15 to 20 mil HDPE membranes range from $0.40 to $0.70 per square foot. Vapor barrier tape, fasteners, and sealant add another $0.05 to $0.10 per square foot. A typical 1,000 square foot basement wall installation might require 1,200 square feet of material (accounting for overlap and waste), resulting in material costs of $120 to $360 depending on product choice.
Labor costs for professional installation vary by complexity. Simple wall barrier installations in open, unobstructed basements may cost $1.00 to $1.50 per square foot for labor, while complex jobs with many penetrations, tight corners, or drainage integration can reach $2.00 to $3.00 per square foot. Professional installers bring experience with seam sealing, penetration detailing, and drainage tie-in, and most offer warranties covering installation defects. Errors in DIY installations (missed seams, improper drainage connections, or punctured sheeting) are costly to fix once walls are framed and finished, because repairs require removing drywall and studs.
DIY advantages: Lower cost, flexible scheduling, control over material quality and installation pace.
Professional advantages: Warranty coverage, correct drainage integration, faster completion, and reduced risk of installation errors that require expensive wall removal later.
Complexity factors: Many plumbing and electrical penetrations, sump pump and drain tie-in, code compliance verification, and time constraints favor professional installation.
Common Vapor Barrier Installation Mistakes and How to Avoid Them
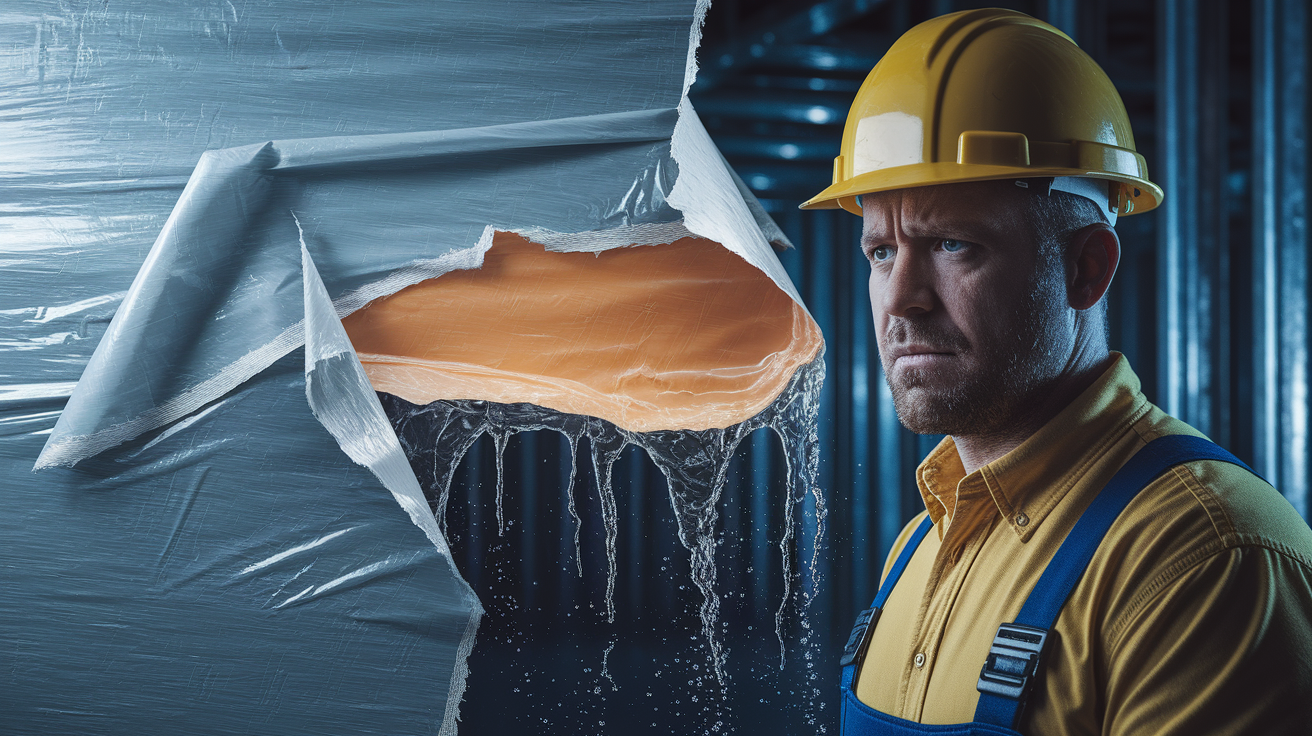
Installing a vapor barrier over undetected moisture or active mold traps the problem and makes it worse. Water vapor and mold spores continue to pile up behind the barrier, degrading indoor air quality and structural materials. Before installation, inspect the foundation for wet spots, efflorescence, musty odors, and visible mold. Use a moisture meter to confirm walls and floors are dry. If moisture is present, identify and fix the source (exterior grading, gutter downspouts, foundation cracks, or high groundwater) before sealing the space. If mold is found, complete mold remediation and verify clearance before installing the barrier.
Insufficient seam overlap or missing tape: Seams must overlap by at least 4 to 6 inches and be sealed from top to bottom with vapor barrier tape, not duct tape or painter’s tape.
Unsealed penetrations around pipes and outlets: Every hole cut for electrical boxes, plumbing pipes, or HVAC ducts must be sealed with tape or sealant to prevent vapor bypass.
Installing barriers over wet concrete: Trapping moisture under plastic sheeting causes efflorescence, spalling, and mold inside wall cavities.
Improper drainage integration: Floor barriers that block water flow to sump pumps or perimeter drains create standing water under the plastic, defeating the system.
Using the wrong material for the application: Lightweight 6-mil sheeting on floors tears under construction traffic. Use reinforced or thicker membranes where durability is critical.
Preventing these mistakes requires careful planning, proper material selection, and verification at each step. Measure twice and cut once to minimize waste and make sure you get clean, precise cuts around penetrations. Inspect seams and tape joints before covering them with framing and insulation. Test drainage flow by pouring water near perimeter drains and confirming it reaches the sump basin without pooling under the barrier. If you’re unsure about drainage integration, moisture testing, or code compliance, hire a professional to verify the design before you commit to finishing the space.
Final Words
You’ve seen what a good vapor barrier does, which materials meet the perm target, and why thickness and taped overlaps matter. We walked through testing, wall and floor steps, drainage tie-ins, insulation choices, common mistakes, and code checks.
Next, confirm moisture tests, plan how the barrier ties to your drain or sump, and seal every penetration. No guesswork. Measure and document.
If you follow these steps, your basement will stay drier and healthier. For reliable results, consider professional help for vapor barrier installation for basements.
FAQ
Q: Where should the vapor barrier be installed in a basement?
A: A vapor barrier should be installed on basement walls and, when used on floors, extend 4–6 inches up the wall. Place it against concrete, tape seams, and tie floor barriers into drainage or sump systems.
Q: Should you put a vapor barrier on basement walls?
A: You should put a vapor barrier on basement walls when blocking ground moisture; install Class I material (low permeance) against the concrete and seal seams to prevent vapor migration.
Q: Will mold grow under a vapor barrier in the basement?
A: Mold can grow under a vapor barrier if moisture or existing mold is trapped; proper moisture testing, complete drying, sealed seams, and fixing leaks first prevent hidden growth.
Q: How much does it cost to install a vapor barrier in a basement?
A: The cost to install a vapor barrier in a basement depends on square footage, material thickness, drainage tie-ins, and labor; DIY material costs are low, while professional installs with repairs run higher. Get local estimates.