
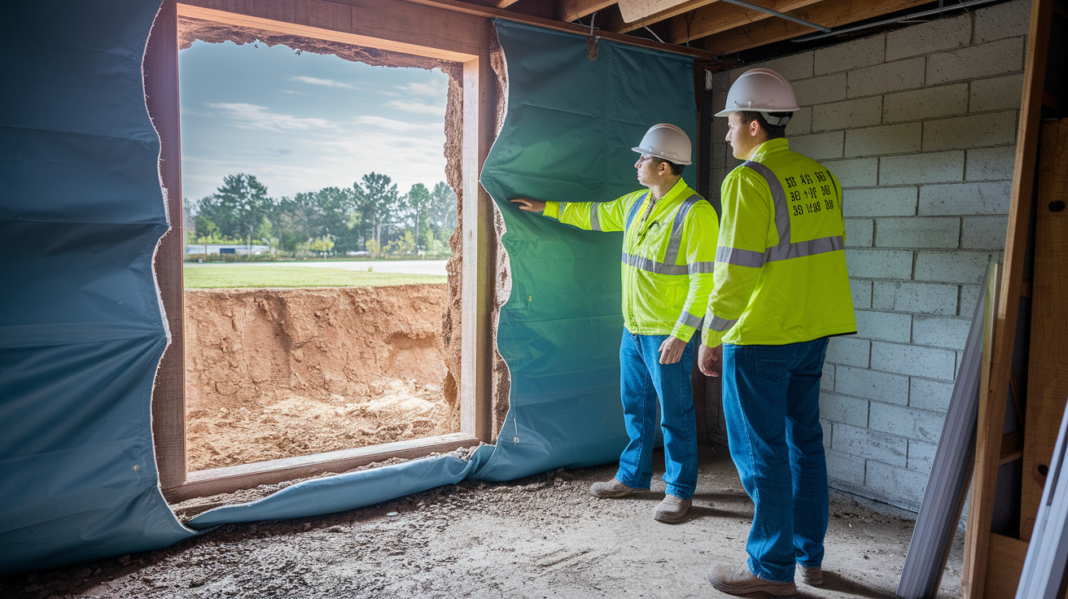

You’ve probably heard that waterproofing your basement is important, but here’s what nobody tells you upfront: the method you choose affects whether you’re stopping water problems or just managing them after they happen. Interior systems work from inside your basement, collecting water after it enters. Exterior systems dig around your foundation to block water before it touches your walls. The right choice depends on your water problem severity, your budget, and how much disruption you can handle.
Comparing Waterproofing Methods: Which Approach Fits Your Basement Needs
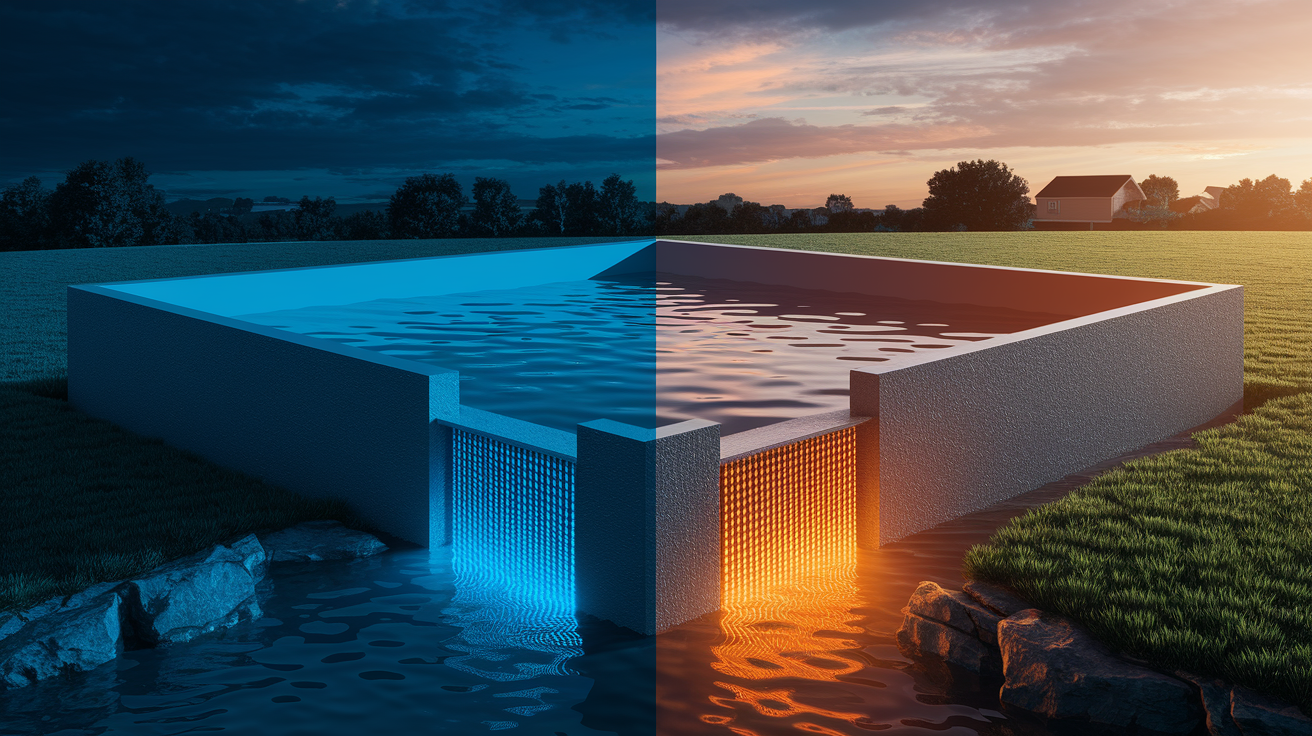
Interior waterproofing is reactive. It manages water after it’s already penetrated your foundation. The method uses drainage systems installed along your basement floor perimeter, sump pumps that remove collected water, and vapor barriers controlling moisture on interior walls. The system channels water away after it enters, not before.
Exterior waterproofing stops water before it contacts your foundation walls. This approach involves excavating soil around your foundation, applying waterproof membranes directly to exterior foundation walls, and installing drainage systems at the footer level. You’re creating a barrier between surrounding soil and your foundation.
Cost differences are significant. Interior waterproofing typically runs $1,000 to $5,500 with installation taking one to two days. Exterior waterproofing costs between $8,000 and $15,000 because of excavation requirements, with projects often taking a week or longer depending on property size and weather.
The right choice depends on your situation. Severe water problems with high hydrostatic pressure often require exterior solutions addressing the root cause. Budget conscious homeowners managing moderate water issues may find interior systems adequate. Think about your soil conditions, whether your basement is finished, how accessible your foundation perimeter is, and whether you need immediate management or long term prevention. Some properties benefit most from combining both approaches.
Interior Waterproofing: Advantages and Limitations

Interior waterproofing offers practical advantages. Installation happens quickly, usually within one to two days, without digging up your yard or disrupting landscaping. You can schedule the work year round since it’s not weather dependent. The system components remain accessible inside your basement, making maintenance and repairs straightforward when issues arise. This approach effectively manages minor to moderate water issues by channeling moisture to a sump pump before it spreads across your basement floor. The cost stays reasonable compared to exterior methods. You won’t face unexpected expenses from discovering hidden foundation problems during excavation.
But the limitations matter. Interior waterproofing is reactive, not preventive. Water still contacts your foundation walls before the system manages it. This ongoing contact can gradually affect structural integrity over time. The system requires a sump pump that needs electricity to function and regular maintenance to stay reliable. Power outages create flooding risk unless you install a battery backup system. You’ll need to move furniture and stored items away from walls during installation. The approach doesn’t protect the exterior foundation or address the source of water entry, so moisture continues affecting the foundation even though it’s managed before reaching your living space.
| Advantage | Description |
|---|---|
| Cost-Effective | $1,000 to $5,500 range makes it accessible for most homeowner budgets |
| Quick Installation | Typical completion in 1 to 2 days minimizes disruption to household routine |
| Minimal Disruption | No excavation required means landscaping, driveways, and porches remain intact |
| Accessible Maintenance | All system components located inside basement for easy inspection and repair |
| Effective for Moderate Issues | Successfully manages water infiltration before it causes visible basement flooding |
Exterior Waterproofing: Advantages and Limitations
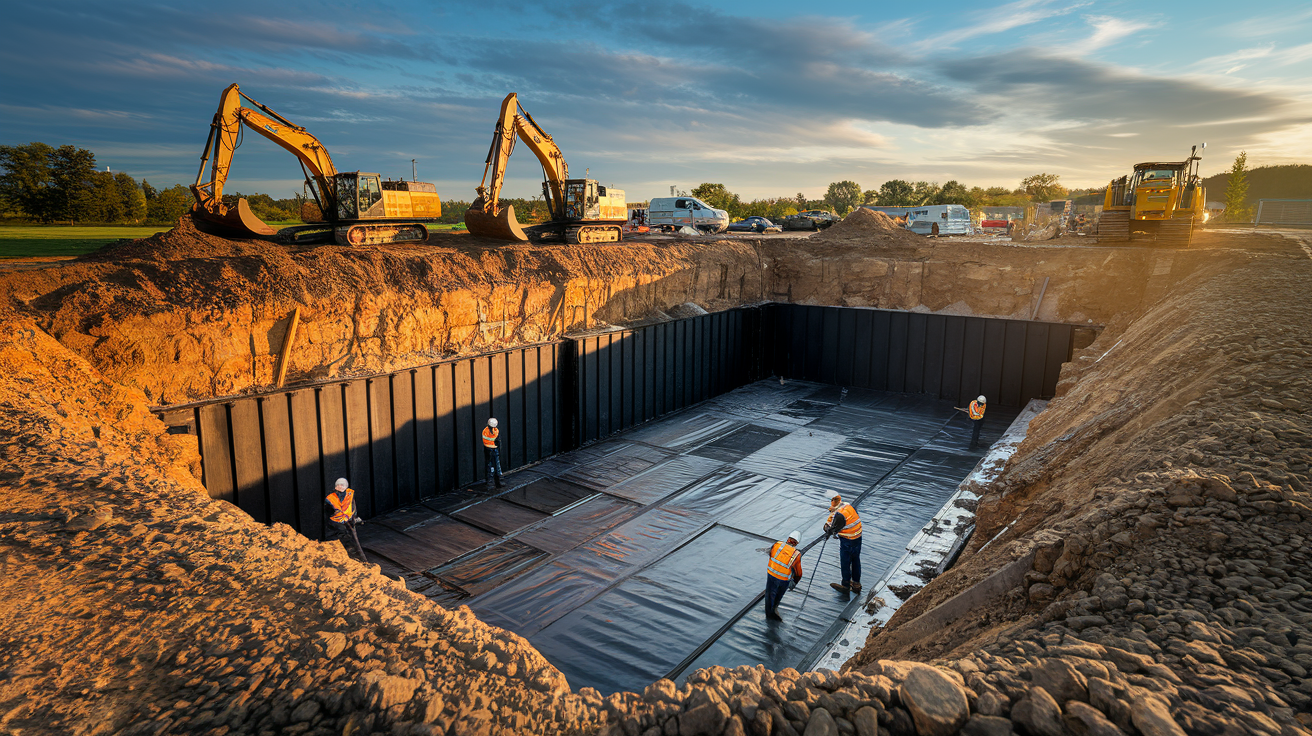
Exterior waterproofing provides several strong advantages. The method prevents water from entering your foundation by addressing the problem at its source, keeping moisture away from foundation walls entirely. This protection preserves your overall structural integrity by preventing water related foundation damage and cracking. The system typically lasts longer than interior methods since it stops water before penetration rather than managing it after entry. Properties with high water tables or persistent hydrostatic pressure benefit most from this preventive approach. Your basement space stays fully usable without internal drainage channels or sump pump systems taking up floor area. Properly installed exterior waterproofing increases property value by demonstrating solid structural protection to potential buyers.
The challenges are considerable. Exterior installation requires extensive excavation around your foundation perimeter, disrupting your property significantly. Landscaping, gardens, walkways, patios, and driveways may need removal and restoration, adding to total costs. The work depends on weather conditions, with rain or frozen ground causing delays and potential complications. Projects take longer due to labor intensive excavation and installation. Excavation sometimes reveals unexpected foundation issues like severe cracking or deterioration, increasing both project scope and expense. Once buried, the waterproofing membrane becomes difficult to access for future maintenance or repairs, unlike interior systems you can inspect anytime.
| Advantage | Description |
|---|---|
| Prevents Water Entry | Stops moisture before it contacts foundation walls, eliminating problem at source |
| Structural Protection | Preserves foundation integrity by preventing water infiltration and related damage |
| Long-Term Solution | Typically outlasts interior systems with properly installed membranes lasting decades |
| High Water Table Effectiveness | Handles persistent hydrostatic pressure better than interior management systems |
| Preserves Basement Space | No interior drainage channels or sump pumps required, keeping full usable area |
Basement Waterproofing Cost Comparison and ROI

Interior waterproofing costs break down into drainage materials, sump pump system (including basin, pump, discharge line, and often a backup battery system), labor for one to two days of work, and concrete restoration over drainage channels. The $1,000 to $5,500 range covers most standard basement perimeters. Exterior waterproofing requires excavation equipment rental or contractor fees, waterproofing membranes or coatings for all exterior foundation walls, French drain or weeping tile systems at the footer level, proper drainage stone for backfill, soil replacement and compaction, landscaping restoration, and multi-day labor costs. These components push costs to $8,000 to $15,000 or higher for larger properties.
Several factors affect your final price. Basement size directly impacts material quantities and labor hours. Water problem severity determines system complexity, with minor seepage requiring less extensive solutions than active flooding. Your material choices matter, from basic waterproofing paint to premium membrane systems. Regional labor rates vary significantly, with urban areas typically charging more than rural locations. Foundation accessibility affects excavation difficulty and cost for exterior work.
Long term value considerations differ between methods. Exterior waterproofing provides better structural protection and typically adds more to resale value since it prevents foundation damage rather than managing it. Buyers recognize the superior protection when considering homes. Interior systems offer immediate cost savings and work well for moderate issues, making them practical when budget constraints are significant. Both methods prevent costly damage from mold growth, foundation deterioration, and repeated flooding. A properly functioning waterproofing system, whether interior or exterior, saves money compared to ongoing water damage repairs, mold remediation, and progressive foundation problems. Prevention costs less than repeated restoration.
Waterproofing Installation Process: What to Expect

Understanding the installation process helps you prepare your property, set realistic timeline expectations, and know what level of disruption to anticipate during the project.
Interior Waterproofing Installation Steps
The process starts with a thorough basement inspection to assess moisture sources, measure humidity levels, and identify water entry points. You’ll need to move furniture, storage items, and anything along the walls away from the work area. Contractors then jackhammer the concrete floor perimeter, creating a trench typically 12 to 18 inches from the wall and about 6 inches deep. They install drainage channels or perforated tiles in this trench, sloping them toward a sump basin location they excavate at the lowest point. The drainage system connects to the sump basin, and contractors install the sump pump with discharge piping that routes water away from your foundation. They test the entire system to verify proper water flow and pump operation. Fresh concrete gets poured over the drainage channels, restoring the floor perimeter. If needed, they install vapor barriers on walls to control moisture transmission through concrete. The typical project completes in one to two days. You can schedule installation any time of year since weather doesn’t affect interior work.
Exterior Waterproofing Installation Steps
Contractors begin with a property assessment to plan excavation access, identify underground utilities, and protect existing landscaping where possible. They may need to remove or relocate plants, shrubs, walkways, or portions of patios and driveways. Excavation equipment digs down to the foundation footer level, typically 6 to 8 feet deep, exposing the entire exterior foundation wall. Workers clean the foundation surface, removing soil, roots, and debris. They repair any foundation cracks using epoxy or polyurethane injection before waterproofing application. Next comes the waterproofing membrane or coating, applied directly to clean, dry foundation walls. This might be spray applied rubberized asphalt, rolled on self adhesive sheets, or liquid rubber coatings. At the footer level, contractors install a French drain system or weeping tiles surrounded by drainage stone to collect and redirect water away from the foundation. They backfill the excavation using proper drainage materials that won’t retain water or crush the drainage system. Final grading ensures water flows away from your foundation. Weather significantly affects this work, with rain delaying progress and frozen ground making winter installation impossible in cold climates. Most exterior projects take several days to over a week depending on property size and conditions. When working with professionals experienced in water damage restoration services, they can assess whether existing water damage needs repair before waterproofing installation begins.
Combined Waterproofing Approaches for Maximum Protection
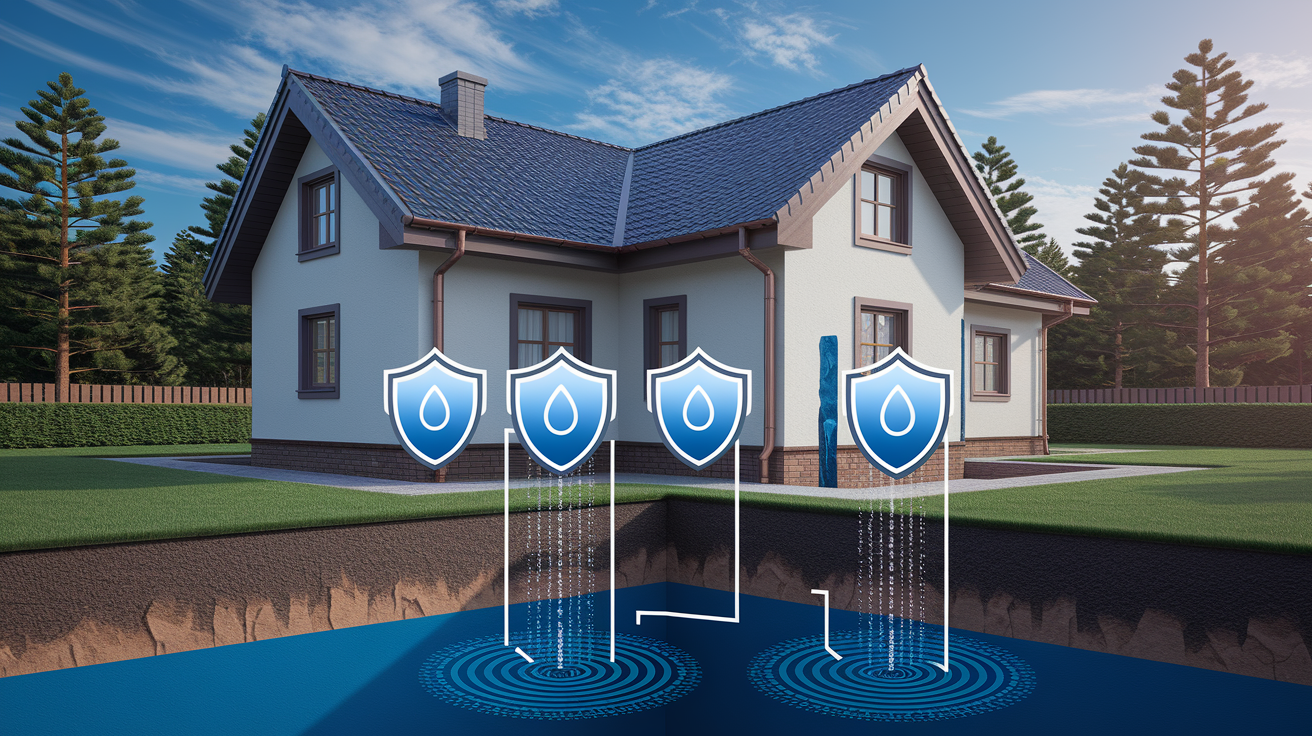
Some properties need both interior and exterior waterproofing working together. Homes with severe water problems benefit from the combined approach, addressing water at the source while also managing any moisture that penetrates. Properties in flood prone areas or regions with extremely high water tables gain peace of mind from redundant protection. When both prevention and active management are priorities, particularly in finished basements with living spaces, combining methods makes sense despite higher upfront costs.
Interior and exterior systems complement each other effectively. The exterior waterproofing prevents most water from reaching your foundation, significantly reducing the volume your interior system must handle. If the exterior membrane develops a small breach or extreme weather overwhelms the exterior drainage, your interior system catches and removes that breakthrough moisture before it damages your basement. This redundancy means you’re protected even if one system experiences temporary issues. You gain confidence knowing multiple barriers stand between groundwater and your living space.
Supplementary techniques enhance both waterproofing types. Proper yard grading that slopes away from your foundation forms the first line of defense, directing surface water away before it saturates soil near walls. Regular gutter maintenance and downspout extensions (6 to 10 feet from foundation) prevent roof runoff from pooling near your basement. Sealing minor foundation cracks promptly stops them from widening into major entry points. Landscaping adjustments matter too. Avoid water hungry plants near your foundation that keep soil constantly moist. Trim vegetation to allow air circulation that dries foundation walls. Use mulch rather than soil directly against foundation walls.
Maintenance Requirements for Basement Waterproofing Systems
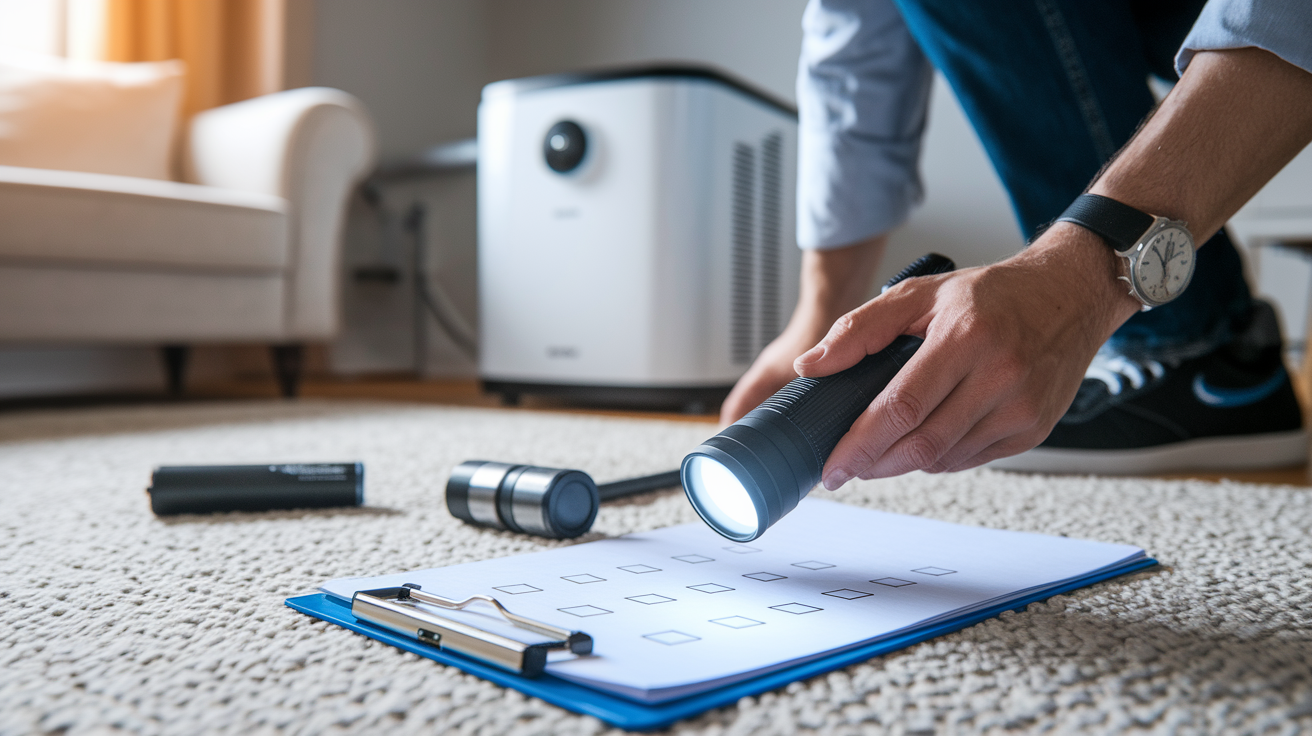
Interior waterproofing systems need regular attention to stay effective. Test your sump pump quarterly by pouring water into the basin until the float triggers the pump, verifying it activates and discharges properly. Clean drainage channels annually to remove any sediment or debris that might slow water flow. Monitor basement humidity levels, keeping them below 50% to prevent moisture problems even with functioning waterproofing. Check backup battery systems twice yearly, replacing batteries according to manufacturer schedules to ensure power outage protection. Inspect discharge lines for blockages from leaves, ice, or collapsed sections, especially after winter. The advantage is that all these components stay accessible inside your basement, making inspection and maintenance straightforward without digging or special equipment.
Exterior waterproofing maintenance focuses on supporting systems and visible elements since the buried membrane stays inaccessible. Clean gutters and downspouts at least twice yearly, more often if you have trees nearby, to prevent overflow near your foundation. Monitor yard grading annually, adding soil where settling has created low spots that direct water toward your foundation rather than away. Check for new foundation cracks in visible above grade sections, addressing them promptly before water finds new entry paths. Ensure your landscaping hasn’t redirected water flow toward your foundation as plants mature and soil settles. Keep downspout extensions in place and functioning, replacing damaged sections. Verify proper drainage away from your home after heavy rains, watching for standing water or soggy soil against foundation walls. The buried waterproofing membrane itself is difficult to inspect without excavation, so maintaining the surrounding drainage systems becomes essential.
| System Type | Maintenance Tasks | Frequency |
|---|---|---|
| Interior | Sump pump testing and operation verification | Quarterly |
| Interior | Drainage channel cleaning and debris removal | Annually |
| Exterior | Gutter and downspout cleaning | Twice yearly |
| Exterior | Yard grading inspection and correction | Annually |
| Interior | Basement humidity monitoring and dehumidifier operation | Monthly |
| Exterior | Downspout extension inspection and replacement | Twice yearly |
Common Signs Your Basement Needs Waterproofing
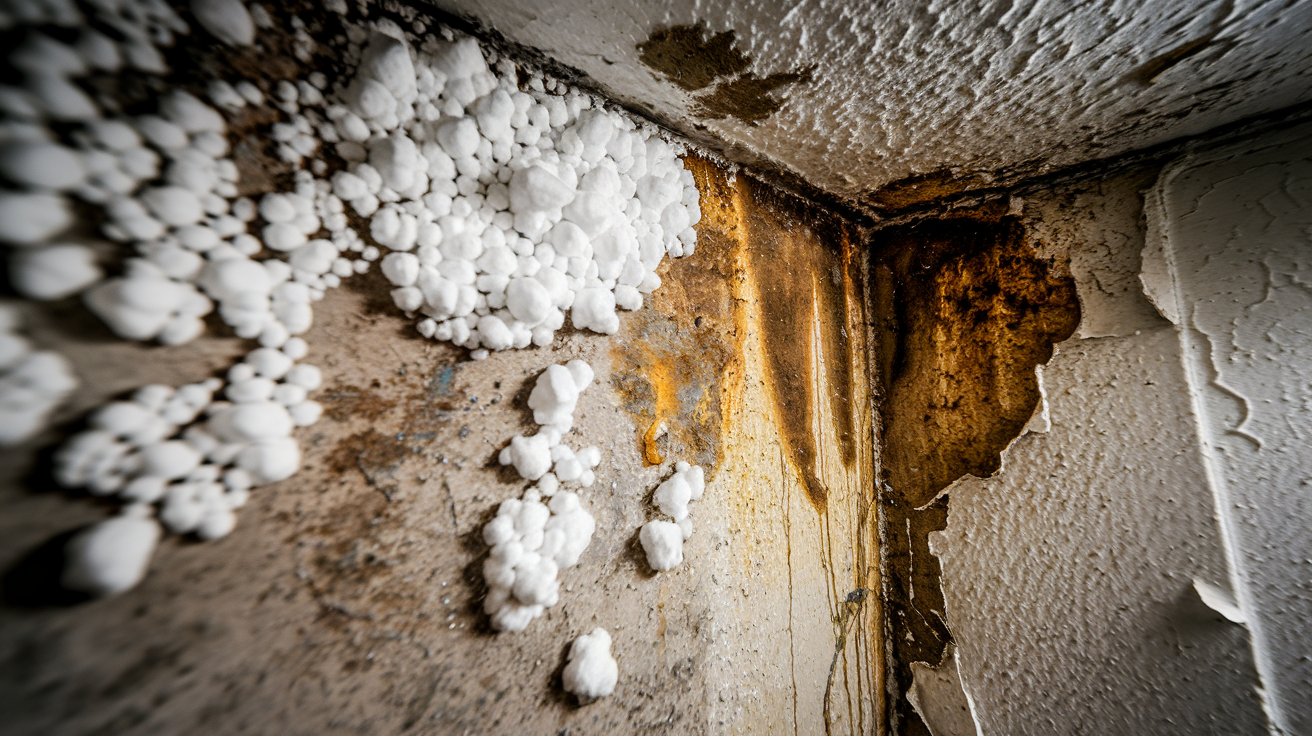
Recognizing early warning signs lets you address moisture problems before they escalate into extensive water damage, mold growth, and expensive foundation repairs.
Standing water or puddles on basement floor after rain. Wet spots on walls or floors that appear and disappear with weather changes. White chalky residue (efflorescence) on masonry walls where water evaporates and leaves mineral deposits. Damp or musty odors that persist even with ventilation. Mold or mildew growth on walls, floors, stored items, or in corners. Water stains or discoloration on walls showing previous water contact. Peeling paint or wallpaper indicating moisture behind wall surfaces. Warped wood paneling or baseboards from moisture absorption. Rust on metal fixtures, support posts, or furnace components from high humidity.
Addressing these signs promptly prevents structural damage that worsens over time. Water infiltration weakens foundation walls, damages framing and floor systems, ruins stored belongings, and creates ideal conditions for mold that affects indoor air quality throughout your home. Early intervention with appropriate waterproofing costs less than dealing with progressive foundation failure, extensive mold remediation, and replacing damaged building materials. If you’re seeing multiple warning signs or water appears frequently, getting a professional assessment helps you understand the severity and choose the right waterproofing approach before the problem escalates.
DIY vs Professional Waterproofing: Making the Right Choice
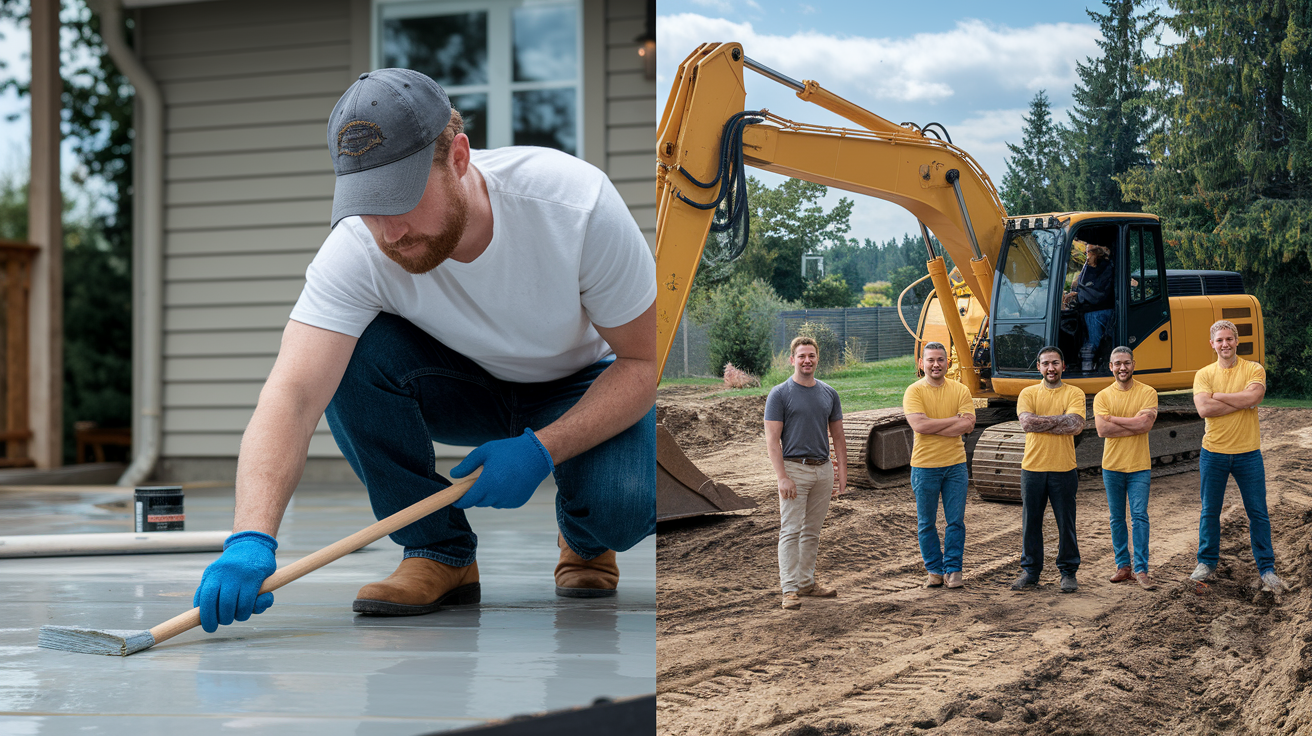
Some waterproofing tasks suit homeowner DIY skills when you have the necessary tools and experience. Applying interior waterproofing paint or sealants to walls requires basic painting skills and can reduce minor moisture transmission. Installing small vapor barriers using plastic sheeting and proper tape gives you moisture control on limited wall sections. Basic crack filling using hydraulic cement, epoxy, or polyurethane foam works for small, non structural cracks. Improving gutters by cleaning them regularly, adding extensions to downspouts, and adjusting yard grading away from your foundation are within most homeowner capabilities and make real differences.
Professional help becomes essential for complex or severe situations. Installing complete drainage systems with perimeter channels requires cutting concrete, proper slope calculation, and connecting multiple components correctly. Sump pump installation involves electrical work that needs permits and code compliance. All exterior waterproofing requiring excavation is beyond DIY scope due to safety risks, equipment needs, and the potential for causing more damage if done incorrectly. Foundation crack repairs that are structural or actively leaking need professional assessment and specialized injection equipment. Situations with severe water intrusion indicate underlying problems that require expert diagnosis to identify root causes. Building permits and code compliance requirements for major waterproofing work need professional knowledge and licensing.
When selecting contractors, verify current licenses and insurance coverage that protects you if problems occur during installation. Check references from recent customers and read online reviews to understand their work quality and customer service. Obtain multiple detailed quotes that break down labor, materials, and timeline so you can compare accurately. Ask specifically about warranty coverage, what it includes, how long it lasts, and what actions void the warranty. Discuss their experience with your local soil conditions and climate patterns since regional factors affect waterproofing effectiveness.
The cost benefit analysis matters. DIY waterproofing saves labor costs, which often represent 50% or more of professional quotes, but risks improper installation that fails to solve your water problem. Professional installation ensures systems function correctly, typically includes warranties covering both materials and workmanship, and often completes faster than DIY attempts. Incorrect DIY waterproofing can lead to more expensive repairs later when the inadequate solution fails and water causes additional damage during the time you thought you were protected.
Climate and Soil Considerations for Basement Waterproofing
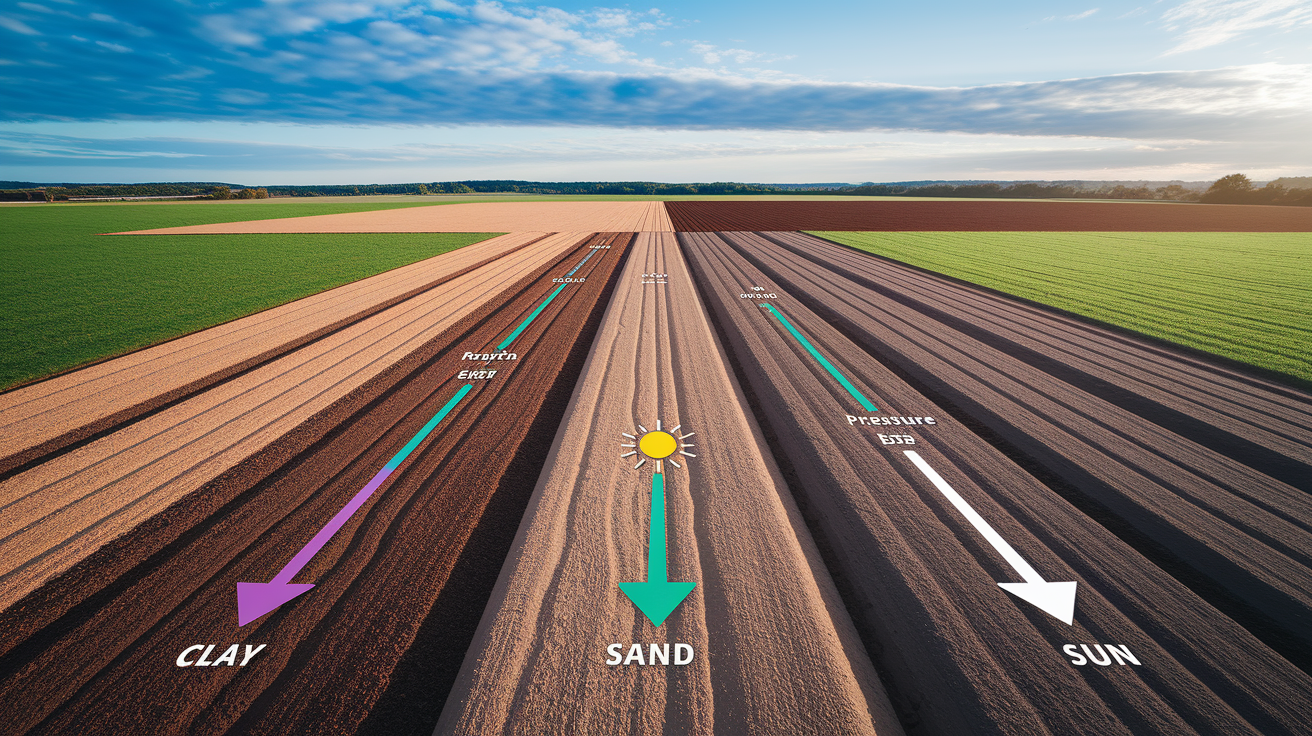
Soil type significantly affects waterproofing needs and system selection. Clay soil, common in areas like St. Louis, retains water rather than draining freely, creating persistent high hydrostatic pressure against foundation walls even days after rainfall. This pressure demands more robust waterproofing solutions, often requiring exterior systems that prevent water contact rather than just managing interior seepage. Sandy soil drains much better, reducing hydrostatic pressure but potentially shifting and settling, which can create foundation movement and new cracks that need attention. Expansive soils swell considerably when saturated, then shrink during dry periods, creating cyclical stress on foundations that causes cracking and requires both crack repair and waterproofing to address effectively.
Climate patterns determine water volume your waterproofing must handle. Regions with heavy rainfall or rapid spring snow melt need drainage systems with sufficient capacity to manage peak water flow, not just average conditions. Areas with high water tables face constant groundwater pressure against foundation walls, making exterior waterproofing particularly valuable since it prevents water contact rather than continuously pumping it out after entry. Freeze thaw cycles in colder climates worsen existing foundation cracks, as water enters cracks, freezes and expands, then thaws repeatedly, widening gaps with each cycle. This requires addressing cracks during appropriate seasons when materials cure properly and weather permits complete installation.
Grading and drainage patterns around your property affect water accumulation near foundations. Improper slope that directs water toward rather than away from your home concentrates moisture exactly where you don’t want it. Regional soil saturation levels vary, with some areas staying damp year round while others dry between rain events, affecting how much continuous pressure your waterproofing faces. Below grade basement walls on downhill property slopes experience more pressure than uphill sides, sometimes requiring different waterproofing intensity on different walls. Landscaping must account for climate. Use drought tolerant plants in dry regions that won’t require irrigation near foundations. Select plants for wet climates that won’t hold excessive moisture against basement walls.
Waterproofing Materials and Technologies Explained
Interior waterproofing relies on several material types. Hydraulic cement sets quickly even in damp conditions, making it useful for filling small cracks and holes where water actively seeps through. Epoxy and polyurethane injection systems fill cracks from inside, with epoxy providing structural bonding for stable cracks and polyurethane foam expanding to fill voids and stop active leaks. Waterproofing paints and sealants create moisture barriers on interior walls, though they work best for dampness rather than active water pressure. Vapor barriers using thick plastic sheeting control moisture transmission through concrete, reducing humidity but not stopping water under pressure. Crystalline waterproofing penetrates into concrete pores and forms crystals that block water passage while still allowing the concrete to breathe. Drainage tiles and channels, made from perforated plastic pipe or formed plastic channels, collect and redirect water to sump basins.
Exterior materials provide varied approaches to water exclusion. Rubberized asphalt membranes, applied as spray coatings or rolled sheets, create flexible waterproof barriers that move with minor foundation settling without cracking. Self adhesive waterproofing sheets stick directly to foundation walls, offering easy application and good adhesion when walls are properly prepared. Liquid rubber or tar coatings brush or spray onto foundations, forming seamless barriers but requiring careful application for complete coverage. Dimple membranes (drainage boards) create air gaps between foundation walls and soil, allowing water to drain down rather than pressing against the wall continuously. Bentonite clay panels absorb water and swell to form impermeable barriers, self sealing around any fasteners or small breaches. Spray applied waterproofing creates thick protective coatings quickly but requires professional equipment and expertise.
Material performance varies by application. Some materials last 20 to 30 years or longer with proper installation, while others need reapplication or maintenance within 10 to 15 years. Application requirements range from simple DIY painting to complex professional spray systems. Cost differences are significant, with basic sealants costing much less than premium membrane systems, though more expensive materials often perform better under challenging conditions. Effectiveness depends on matching the material to your specific situation, like using flexible membranes where foundation movement occurs or choosing breathable systems where interior humidity control matters.
| Material | Application | Lifespan | Best Use |
|---|---|---|---|
| Rubberized Membrane | Exterior foundation walls | 20 to 30 years | Comprehensive exterior waterproofing with foundation movement tolerance |
| Crystalline Waterproofing | Interior or exterior concrete | Permanent when properly applied | Penetrating protection that allows concrete to breathe while blocking water |
| Bentonite Clay | Exterior foundation walls | 20 to 25 years | Self sealing barrier in areas with consistent moisture exposure |
| Dimple Membrane | Exterior foundation walls | 25+ years | Drainage and protection where water volume is high |
| Hydraulic Cement | Interior crack repair | 10 to 15 years | Quick repair of active leaks and small cracks |
| Vapor Barrier | Interior walls | Indefinite when protected | Humidity control and moisture transmission reduction |
Foundation Crack Repair as Part of Waterproofing
Foundation cracks fall into different categories that indicate severity. Hairline cracks less than 1/8 inch wide typically result from normal concrete curing and minor settling, rarely indicating serious problems. Structural cracks wider than 1/4 inch, especially those that continue widening, may signal foundation issues needing immediate attention. Vertical cracks usually come from minor settling and are less concerning than horizontal or stair step cracks that can indicate soil pressure or foundation failure. Floor cracks often result from slab settling independent of walls, though they can allow moisture entry. When cracks show displacement where one side sits higher than the other, or when horizontal cracks appear, serious structural problems may exist requiring professional evaluation beyond just waterproofing.
Repair methods match crack types and conditions. Epoxy injection provides structural repair for non leaking cracks, bonding concrete back together with strength often exceeding the original concrete. This method works best for stable cracks that aren’t actively leaking. Polyurethane foam injection handles active water leaks, as the foam expands on contact with water to fill voids and create flexible seals that accommodate minor movement. Hydraulic cement works for surface repairs and small cracks, setting quickly even in wet conditions, though it doesn’t provide structural bonding like epoxy. Exterior crack sealing during waterproofing installation addresses cracks from the outside, preventing water entry at the source. Whether to repair cracks before, during, or after waterproofing installation depends on crack severity and water activity, with active leaks often needing immediate attention before full waterproofing proceeds.
Professional assessment becomes critical for determining crack severity and appropriate response. Experts identify whether cracks result from normal settling or indicate progressive foundation problems needing structural repair. They determine if cracks are stable or actively widening, which affects repair method selection. Working with contractors experienced in foundation repair services ensures repairs integrate properly with your waterproofing system rather than treating them as separate issues. Professionals can identify underlying causes like poor drainage or soil problems that must be addressed to prevent future crack development. Proper crack repair before or during waterproofing installation ensures your waterproofing system performs as intended rather than fighting against structural problems.
Preventing Future Water Problems After Waterproofing
Waterproofing systems work best when combined with ongoing prevention efforts and regular property maintenance that reduces water volume reaching your foundation in the first place.
Clean gutters quarterly, removing leaves, twigs, and debris that block water flow and cause overflow near your foundation. Extend downspouts 6 to 10 feet from foundation, using solid extensions or underground drainage that carries roof water away from basement walls. Maintain proper yard grading that slopes away from home, adding soil where settling has created depressions that collect water near the foundation. Trim landscaping to allow air circulation near foundation walls, removing dense vegetation that keeps soil constantly damp. Use a dehumidifier to control basement humidity below 50%, preventing condensation and moisture accumulation even with functioning waterproofing. Inspect and repair foundation cracks promptly, addressing small issues before they widen into major water entry points. Monitor sump pump function regularly by testing it and listening for unusual sounds that indicate developing problems. Avoid planting water hungry vegetation near foundation, choosing drought tolerant species that won’t require irrigation that saturates soil near basement walls.
These prevention strategies reduce the total water volume your waterproofing system must handle, which extends system lifespan by reducing wear on components like sump pumps. Keeping water away from your foundation protects your waterproofing investment by preventing overwhelming moisture that might breach even good systems. Prevention controls humidity that leads to mold growth, even in waterproofed basements, by limiting moisture sources. Simple maintenance like gutter cleaning costs almost nothing compared to repairing water damage from preventable overflow. Think of these practices as protecting the protection you’ve already installed through waterproofing.
Waterproofing Failures: Common Mistakes to Avoid
Learning from common waterproofing failures helps you avoid wasting money on solutions that won’t work for your specific situation.
Sealing cracks alone without addressing hydrostatic pressure that forces water through concrete even without visible cracks. Improper French drain installation at wrong depth or incorrect slope that prevents effective water collection. Inadequate sump pump capacity for actual water volume, leading to overwhelmed pumps during heavy rain. Poor backfill material selection using clay soil that retains water or improper compaction that crushes drainage systems. Ignoring exterior drainage while relying only on interior systems, allowing continuous foundation water contact despite interior management. Applying waterproofing paint over actively leaking walls where water pressure prevents proper adhesion. Failing to address root causes like improper grading, clogged gutters, or poor drainage, treating symptoms instead of underlying problems.
Consequences of these mistakes include repeated flooding despite your waterproofing investment, as inadequate systems fail during the heavy rains when you need them most. Progressive foundation damage continues when exterior moisture contact persists because interior only solutions don’t prevent wall deterioration. Mold growth develops when moisture gets trapped behind improperly applied coatings or inadequate systems allow persistent dampness. You face expensive rework costs to remove failed waterproofing and install effective solutions, essentially paying twice for the same protection.
Getting professional assessment before committing to waterproofing helps identify actual causes rather than just treating visible symptoms. Experts determine whether your problem stems from surface water, groundwater pressure, poor drainage, foundation cracks, or combinations requiring multi faceted solutions. They can calculate proper drainage capacity for your property size and typical rainfall, ensuring systems handle real world conditions. Professional assessment costs less than failed DIY attempts that leave you still dealing with water problems.
Insurance, Permits, and Legal Considerations
Permit requirements for waterproofing work vary by location and project scope. Many jurisdictions require building permits for installing complete drainage systems that involve cutting concrete and installing sump basins. Electrical permits are typically needed for sump pump installation since it involves running dedicated circuits to code compliant outlets. Local building codes specify requirements for drainage system installation, sump pump discharge locations, and vapor barrier installation. Some areas require inspections at various project stages to verify code compliance. Unpermitted work can create problems when selling your home, potentially preventing sale completion or requiring expensive removal and reinstallation to code, plus penalties from building departments.
Insurance considerations affect coverage and claims. Standard homeowner policies typically exclude gradual water damage from seepage or long term moisture problems, covering only sudden incidents like burst pipes. Flood insurance covers surface water entering your home but often excludes groundwater seepage, which is how most basement water enters. Documenting your waterproofing installation with receipts, photos, and contractor information helps if you need to file future claims by demonstrating you’ve taken preventive measures. Some insurers offer premium discounts for homes with proper waterproofing, recognizing reduced claim risk. When water damage occurs despite waterproofing, documentation shows you’ve maintained your property responsibly, which can affect claim handling.
Warranty expectations need clear understanding before installation begins. Typical contractor warranties run from 1 to 10 years depending on system type and contractor, with exterior systems often carrying longer warranties than interior installations. Read what warranties actually cover, as many exclude issues caused by improper maintenance, foundation movement, or situations beyond the waterproofing system’s design capacity. Material manufacturer warranties often differ from installation warranties, sometimes offering longer coverage on specific components. Get warranty terms in writing, including what actions void coverage, required maintenance to maintain warranty status, and how to file claims if problems develop.
Properly documented waterproofing becomes a selling point when marketing your home, demonstrating proactive maintenance and structural protection to potential buyers. Disclosure requirements in most states mandate revealing known water problems, so waterproofing documentation shows you’ve addressed issues rather than hiding them. Some buyer financing programs require water problem resolution before loan approval, making waterproofing potentially necessary to complete sales. Professional waterproofing with permits and warranties provides verification that work meets standards, which reassures buyers and their lenders compared to undocumented DIY attempts.
Final Words
Both interior vs exterior basement waterproofing serve different purposes in protecting your home. Interior systems offer fast, affordable management for moderate moisture. Exterior methods prevent water at the source with longer-lasting results.
Your choice depends on your water problem severity, budget, and how long you plan to stay in the home.
Start with a professional assessment. We’ll show you what’s causing the moisture, explain your options clearly, and help you pick the approach that fits your situation and goals.
A dry basement protects your foundation, your belongings, and your peace of mind.
FAQ
What are the disadvantages of interior waterproofing?
The disadvantages of interior waterproofing include that it manages water after it penetrates foundation walls rather than preventing entry, requires ongoing sump pump maintenance and electricity, needs furniture relocation during installation, and doesn’t protect exterior foundation walls from water contact or damage.
What type of basement waterproofing is best?
The best type of basement waterproofing depends on your water problem severity, budget, and property conditions. Exterior waterproofing offers superior prevention and structural protection for severe issues and high water tables, while interior waterproofing provides cost-effective management for minor to moderate moisture problems.
How much does it cost to waterproof a 1200 sq ft basement?
Waterproofing a 1200 sq ft basement typically costs between $1,000 and $5,500 for interior systems with drainage and sump pumps, or $8,000 to $15,000 for exterior waterproofing requiring excavation, membranes, and foundation drainage installation.
Is it better to fix a leaky basement from the inside or outside?
Fixing a leaky basement from the outside is better for severe water issues, high water tables, and long-term structural protection. Interior fixes work well for moderate problems, offering faster installation, lower costs, and adequate moisture management when prevention isn’t critical.
How long does interior waterproofing installation take?
Interior waterproofing installation takes 1 to 2 days for most basements, including jackhammering floor perimeter, installing drainage channels, connecting sump pump systems, and pouring new concrete, with year-round installation availability regardless of weather.
How long does exterior waterproofing installation take?
Exterior waterproofing installation typically takes several days to over a week, depending on foundation size and excavation complexity. The process includes digging to footer level, applying membranes, installing drainage systems, backfilling, and restoring landscaping, with weather-dependent scheduling.
Can you combine interior and exterior waterproofing methods?
You can combine interior and exterior waterproofing methods for maximum protection, especially in homes with severe water issues or flood-prone locations. The exterior system prevents most water entry while interior drainage manages any breakthrough moisture.
How often should you maintain basement waterproofing systems?
You should maintain basement waterproofing systems quarterly for sump pump testing, annually for drainage cleaning and gutter maintenance, and monitor humidity levels regularly. Interior systems offer easier access for maintenance than buried exterior components.
What are the early signs your basement needs waterproofing?
The early signs your basement needs waterproofing include standing water, wet spots on walls or floors, white chalky efflorescence on masonry, musty odors, mold growth, water stains, peeling paint, and warped wood indicating moisture intrusion.
Should you hire a professional for basement waterproofing?
You should hire a professional for basement waterproofing when installing complete drainage systems, sump pumps, or any exterior work requiring excavation. Professional installation ensures proper function, code compliance, warranty coverage, and prevents costly mistakes from improper DIY attempts.
What waterproofing materials last longest?
Waterproofing materials that last longest include rubberized asphalt membranes, crystalline waterproofing that penetrates concrete, and properly installed dimple membranes. Exterior systems generally outlast interior treatments when correctly applied with proper drainage and foundation protection.
Do foundation cracks need repair before waterproofing?
Foundation cracks need repair before or during waterproofing to prevent continued water entry and structural damage. Epoxy injection fixes non-leaking structural cracks, while polyurethane foam seals active leaks, with repair methods integrated into comprehensive waterproofing systems.
How do you prevent basement water problems after waterproofing?
You prevent basement water problems after waterproofing by cleaning gutters quarterly, extending downspouts away from foundation, maintaining proper yard grading, controlling humidity below 50 percent, monitoring sump pump function, and promptly repairing new cracks.
What are common basement waterproofing mistakes?
Common basement waterproofing mistakes include sealing cracks without addressing hydrostatic pressure, improper French drain installation, inadequate sump pump capacity, poor backfill crushing drainage systems, ignoring exterior drainage, and applying paint over actively leaking walls.
Does homeowner insurance cover basement waterproofing?
Homeowner insurance typically does not cover basement waterproofing installation as preventive maintenance. Policies may cover sudden water damage from specific events but generally exclude groundwater seepage, requiring separate flood insurance for comprehensive protection.