

Here’s your intro paragraph:
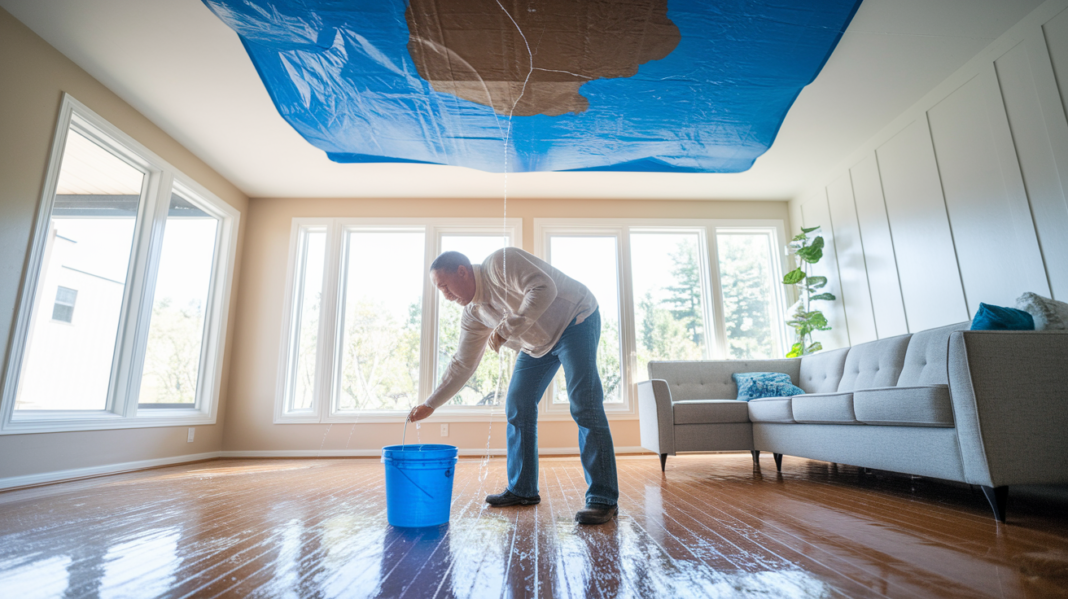
That brown stain spreading across your ceiling right now is doing more damage than you can see. Water’s soaking through insulation, pooling on drywall, creating perfect conditions for mold growth in spaces you can’t reach. The next 24 to 72 hours determine whether you’re looking at a simple patch job or structural repairs with mold remediation. This guide walks you through emergency response, finding the actual leak source, drying everything properly, and rebuilding your ceiling so the repair disappears completely.
Emergency Response: First Steps for Active Ceiling Water Damage
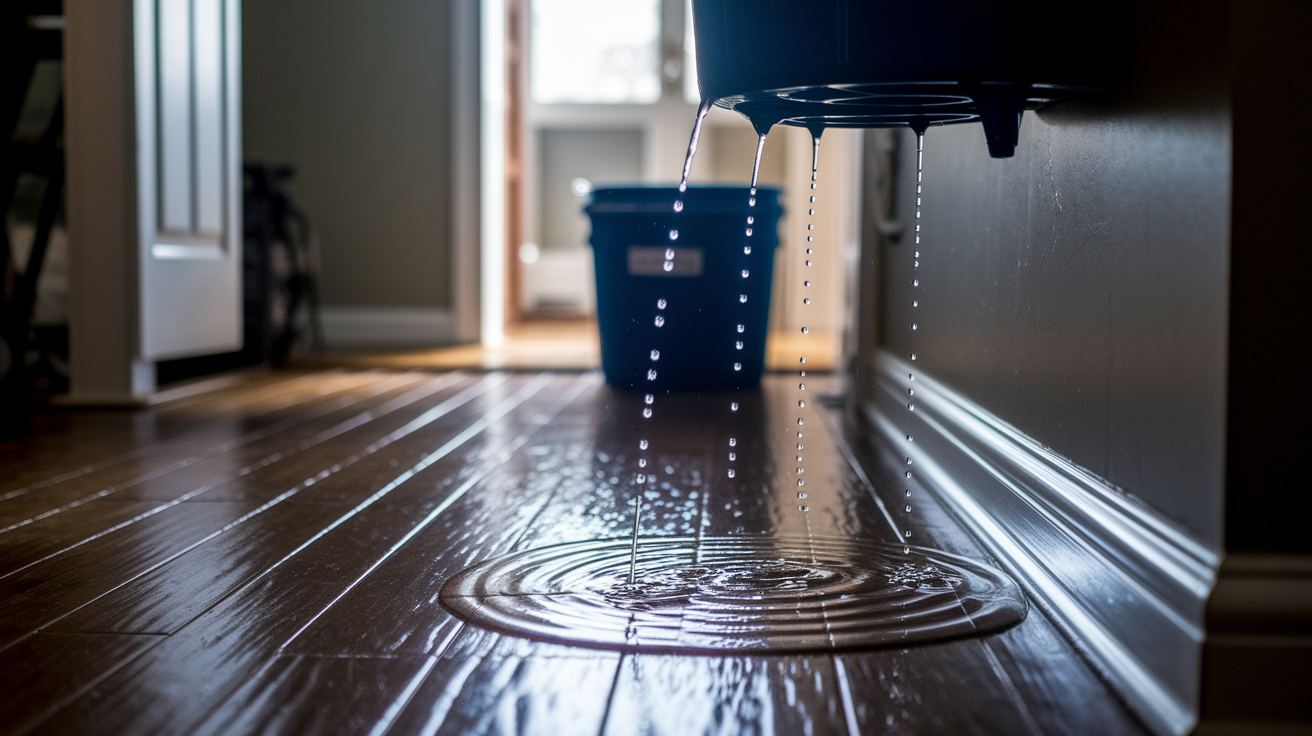
That first hour after you spot water dripping from your ceiling? It pretty much decides how bad things are going to get. Water’s spreading through your drywall, soaking into insulation, working its way through framing. Stop the source first. Before you start mopping or dragging furniture around.
- Turn off the main water supply if plumbing related
- Shut off electricity to affected rooms
- Move furniture and belongings away from the damaged area
- Place tarps or buckets to catch dripping water
- Document the damage with photos for insurance
- Contain the leak source if possible
Don’t touch wet stuff or climb ladders to inspect damage without thinking it through. Water and electricity together kill people. Stay out of rooms with standing water if outlets or fixtures are underwater. Rubber gloves, safety goggles, dust mask. Especially if there’s sewage involved or mold. Lay tarps under the damaged area because water and debris will fall as things dry and shift.
Identifying the Source of Your Ceiling Water Damage

That brown stain on your ceiling doesn’t always sit directly under the actual leak. Water travels. It follows joists, runs along pipes, tracks through ductwork before it finally soaks through drywall where you can see it. You might find damage in your living room when the real problem is a bathroom fixture two rooms away. If you don’t find the actual source, you’re just patching damage that’ll come right back.
Plumbing Related Ceiling Damage
Upstairs bathroom fixtures cause most ceiling leaks. Check around toilets for loose wax ring seals. Look under sinks for dripping P-traps. Inspect tub and shower pan seals for water seepage. Burst pipes happen when it freezes or when old galvanized plumbing corrodes through. Kitchen appliances leak too. Dishwashers with failed door gaskets, refrigerators with cracked water lines. Laundry room washing machine hoses develop slow leaks nobody notices until water saturates the floor below.
Roof and Attic Issues
Missing or damaged shingles create entry points during rain or snow melt. Storm impacts crack shingles without removing them completely, letting water infiltrate in ways you can’t spot from the ground. Flashing around chimneys and vent pipes separates over time. Water runs straight into your attic through those gaps. Dryer vents that terminate in attics pump hot, moisture laden air into confined spaces. That creates condensation that drips onto insulation and ceiling drywall below.
Gutter and Drainage Problems
Clogged gutters overflow during heavy rain, sending water backward under shingles instead of away from your home. Sagging sections create low spots where water pools instead of flowing toward downspouts. When gutters can’t handle water volume, overflow runs down exterior walls and finds its way into the structure through soffit vents or gaps in siding. Regular gutter cleaning prevents most of this.
HVAC and Condensation Sources
Air conditioning units produce condensation that normally drains through dedicated lines. When drain lines clog with algae or debris, water backs up into drip pans. Once drip pans fill beyond capacity, water overflows onto ceilings below. Bathrooms and kitchens without proper ventilation trap humidity that condenses on cold surfaces. That creates moisture buildup that eventually damages ceiling materials. Attic mounted HVAC units with improper insulation on refrigerant lines cause condensation drips.
Trace the source before you start cutting and patching. Otherwise you’re just covering up damage that keeps happening.
Warning Signs of Ceiling Water Damage
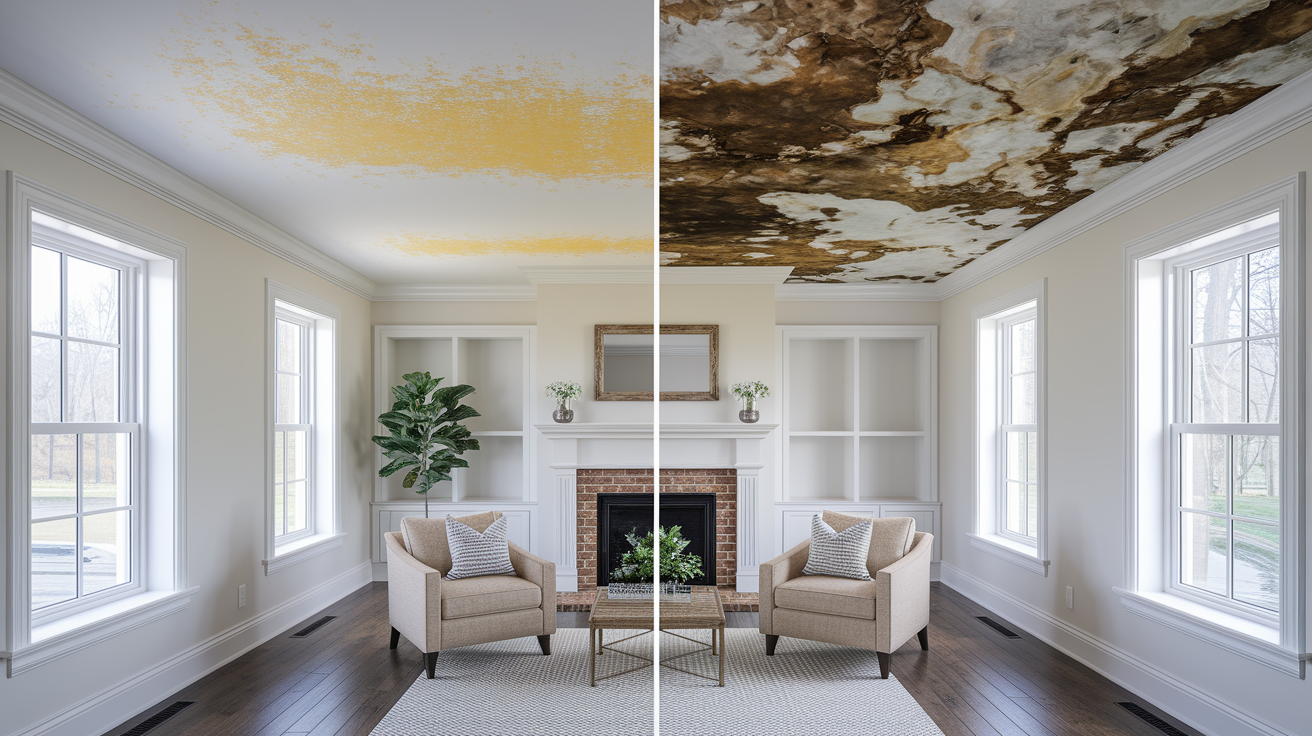
Catching water damage early saves you from structural repairs, mold remediation, potential ceiling collapse. Small warning signs that seem minor today become expensive disasters when you ignore them. Check your ceilings regularly. Especially after storms or in rooms below bathrooms and kitchens.
- Water stains and brown spots on ceiling surface
- Yellow or brown discoloration spreading outward
- Paint peeling or bubbling
- Sagging or soft areas in the ceiling
- Visible bulging or bowing drywall
- Musty odors in the room
- Visible mold or mildew growth
- Dripping water or active moisture
Water damaged ceilings deteriorate fast once the process starts. Wet drywall loses structural integrity, creating sagging sections that can suddenly collapse. Moisture trapped behind ceiling surfaces creates perfect conditions for mold growth you can’t see until health symptoms appear or the damage spreads visibly. Electrical wiring running through wet ceiling cavities creates fire and shock hazards. The longer you wait after noticing these signs, the more extensive and expensive your repairs become. Higher risk of serious structural failure or mold contamination throughout the affected space.
Complete Ceiling Water Damage Repair Process

Successful ceiling repair starts with one rule you can’t negotiate: the damaged area must be completely dry before you apply any new materials. Moisture trapped behind fresh drywall, primer, or paint guarantees mold growth and repeated failure. Damage severity determines your repair approach, but the drying step applies to every situation.
Drying the Water Damaged Ceiling
Mold and mildew begin colonizing within 72 hours of water exposure. Once spores establish, you’re dealing with remediation instead of simple drying. Complete dryness isn’t optional. Open windows near the damaged area and position box fans to blow air directly at the wet ceiling. Run a dehumidifier in the room to pull moisture from the air and materials. For minor leaks affecting only surface drywall, this natural drying might work within a few days.
Major leaks require removing sections of soaked drywall to increase airflow and reach hidden wet areas. Water saturates insulation above the drywall and soaks into ceiling joists where you can’t see it. Professional moisture meters verify dryness by measuring moisture content in materials. Thermal imaging cameras detect hidden water pockets behind seemingly dry surfaces. Don’t trust visual inspection alone. Professional restorers use commercial grade drying equipment that completes moisture removal in days instead of the weeks natural drying requires.
Removing Damaged Ceiling Materials
Assess whether you’re dealing with surface staining only or whether peeling, bulging, and sagging sections indicate structural damage requiring complete removal. For stable drywall with only stains, you might skip this step and proceed directly to priming. Peeling or bulging areas need scraping at minimum. Sagging or soft sections must be cut out entirely. Cut damaged drywall back to the nearest ceiling joists so replacement pieces have solid framing for attachment.
- Safety goggles
- Dust mask or respirator
- Gloves
- Drop cloths and tarps
- Keyhole saw or utility knife
- Stable ladder
- Proper lighting
Cut new drywall pieces 2 inches wider and longer than the holes you’re patching. This extra material gives you room to trim for perfect fit and ensures your replacement panel reaches from joist to joist for proper structural support.
Installing and Finishing Replacement Drywall
Drywall replacement follows a specific sequence that builds a smooth, invisible repair. Skip steps or rush and you’ll create visible ridges, cracks, or texture mismatches.
- Cut replacement drywall to match ceiling thickness
- Secure new drywall to ceiling joists with drywall screws
- Apply joint tape over all seams
- Spread joint compound over tape and screw holes
- Allow compound to dry completely (typically 24 hours)
- Sand smooth to eliminate ridges and bumps
- Apply second coat of joint compound if needed
- Final sanding for seamless finish
Texture matching matters more than most homeowners expect. Smooth ceilings require perfectly flat finishing with no tool marks or ridges. Popcorn texture needs matching spray application or hand texturing with a sponge. Orange peel and knockdown textures require specific tools and techniques. If your ceiling has texture and you’ve never matched it before, practice on scrap drywall first. Or hire a professional for this step.
Priming the Repaired Area
Standard primer won’t stop water stains from bleeding through fresh paint. You need stain blocking primer specifically formulated to seal tannins, nicotine, smoke, and water stains. These primers create a barrier that prevents discoloration from migrating through subsequent paint layers. Even if you’ve completely removed and replaced damaged drywall, use stain blocking primer on the new sections.
Apply thin, even coats rather than one thick layer. Thick primer sags, runs, and creates texture differences. Allow complete drying between coats as specified on the product label. Keep windows open during application because stain blocking primers produce stronger fumes than standard primers. Proper ventilation protects your respiratory system and speeds drying.
Painting for Invisible Repairs
Paint matching makes the difference between obvious patches and invisible repairs. Bring a small sample of your existing ceiling paint to the paint store for color matching, or note the original paint brand, color name, and sheen from the can if you still have it. Ceiling specific paint formulations resist yellowing and provide better coverage in overhead applications than wall paint.
Feather the edges where new paint meets old by gradually thinning your brushstrokes or roller pressure as you approach the boundary. Apply thin coats to avoid texture differences between old and new paint. Thick coats create slight surface buildup visible in angled light. After the first coat dries, inspect from multiple angles, standing in different parts of the room with various lighting conditions. What looks perfect under one light source might show obvious differences from another angle.
Minor damage repairs skip straight to stain blocking and repainting when the drywall itself remains intact and stable. Moderate to severe damage with peeling, bulging, or structural compromise requires full drywall replacement following all the steps above. Both approaches wait for 100% dryness regardless of how quickly you want to finish.
Understanding Ceiling Water Damage Repair Costs

Repair costs swing dramatically based on damage extent, ceiling accessibility, and whether you tackle the work yourself or hire professionals. A minor stain in an 8 foot ceiling might cost under $200 for cleaning supplies, stain blocking primer, and matching paint. Extensive damage spanning multiple rooms with mold present can reach several thousand dollars once you factor in remediation, structural drywall replacement, and finish work.
Small DIY projects save significant money but consume time and require skills you might not have. Professional contractors complete repairs faster with specialized equipment and provide warranties on their work.
| Repair Type | DIY Cost Range | Professional Cost Range |
|---|---|---|
| Minor stain repair | $50 – $200 | $200 – $400 |
| Small patch (under 2 sq ft) | $100 – $300 | $300 – $600 |
| Single room drywall replacement | $300 – $800 | $800 – $2,000 |
| Large area replacement (multiple rooms) | $800 – $2,500 | $2,500 – $6,000 |
| Mold remediation | Not recommended DIY | $1,500 – $5,000+ |
| Full ceiling rebuild | $1,500 – $4,000 | $4,000 – $10,000+ |
Square footage of damaged ceiling directly impacts material and labor costs. Higher ceilings require scaffolding or special ladders, increasing both DIY difficulty and professional labor charges. Structural damage to ceiling joists adds repair costs before drywall work begins. Mold presence requiring remediation protocols adds specialized labor and antimicrobial treatments. Water classification matters because clean water from supply lines costs less to address than contaminated water from sewage backups requiring sanitation procedures. Emergency services command premium rates when you need immediate response during active flooding. Geographic location affects professional labor rates, with urban areas typically charging more than rural regions. Professional services complete work in days with commercial grade equipment instead of weeks of DIY effort. Licensed contractors provide documentation needed for insurance claims and drywall repair services that include warranties protecting your investment.
When Ceiling Water Damage Requires Professional Help
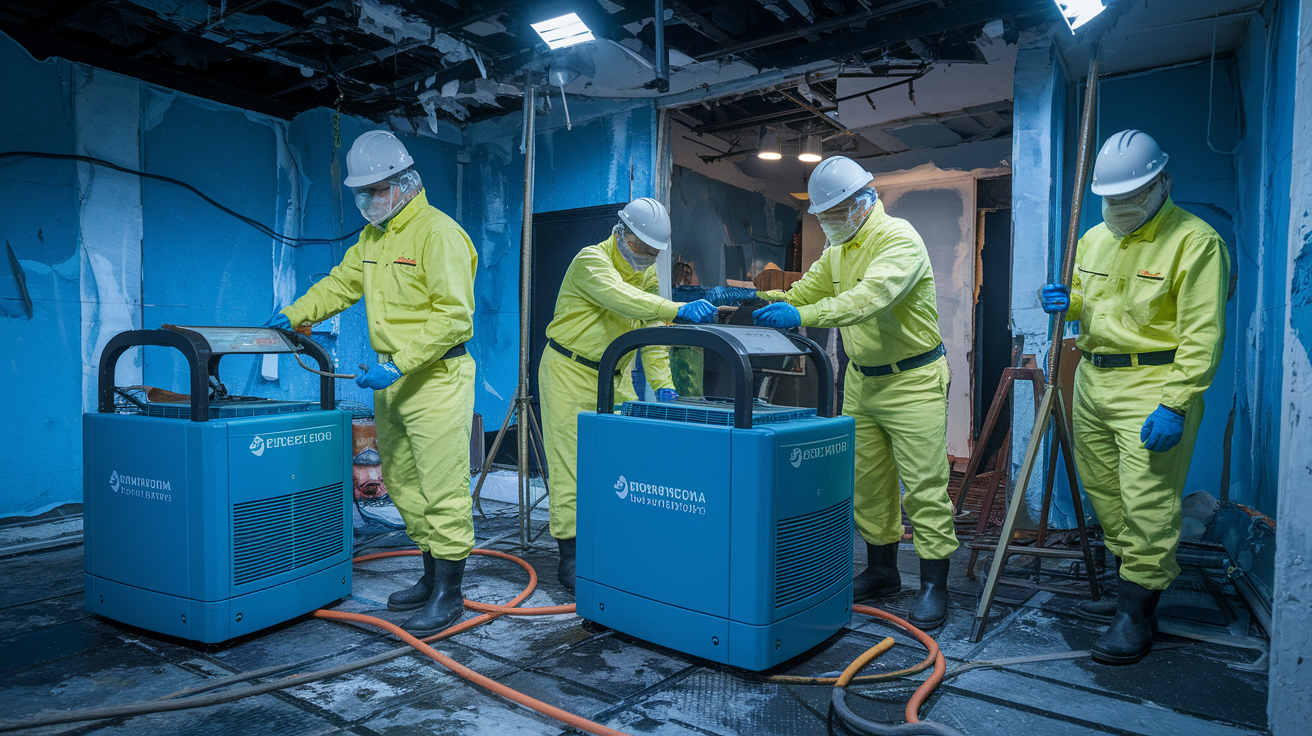
Minor ceiling stains might seem manageable for DIY repair, but certain situations exceed homeowner capability and demand professional expertise for safety, thoroughness, and success that lasts. Knowing when to call professionals protects your health, preserves your home’s structural integrity, and prevents small problems from becoming disasters.
- Damage spanning multiple rooms or large ceiling areas
- Visible mold growth or persistent musty odors
- Water damage near electrical fixtures or wiring
- Structural sagging or compromised ceiling joists
- Inability to locate the water source
- Sewage or toilet backup water contamination
- Recurring water damage in the same location
- Water damage in older homes with plaster ceilings
- Insurance claims requiring documented professional work
Professional water damage restoration contractors bring equipment and expertise homeowners can’t replicate. Commercial grade drying equipment removes moisture in days instead of the weeks required for natural drying using household fans and dehumidifiers. Infrared leak detection cameras identify hidden moisture pockets behind walls and above ceilings where visual inspection misses problems. Mold remediation protocols protect your respiratory health through containment barriers, HEPA filtration, and proper disposal of contaminated materials. Contaminated water from sewage or toilet backups introduces dangerous bacteria requiring specialized disinfection procedures beyond simple drying. Licensed professionals provide detailed documentation, moisture readings, and completion certificates that insurance companies require for claim approval and that protect your property value when selling your home.
Mold Risks from Ceiling Water Damage
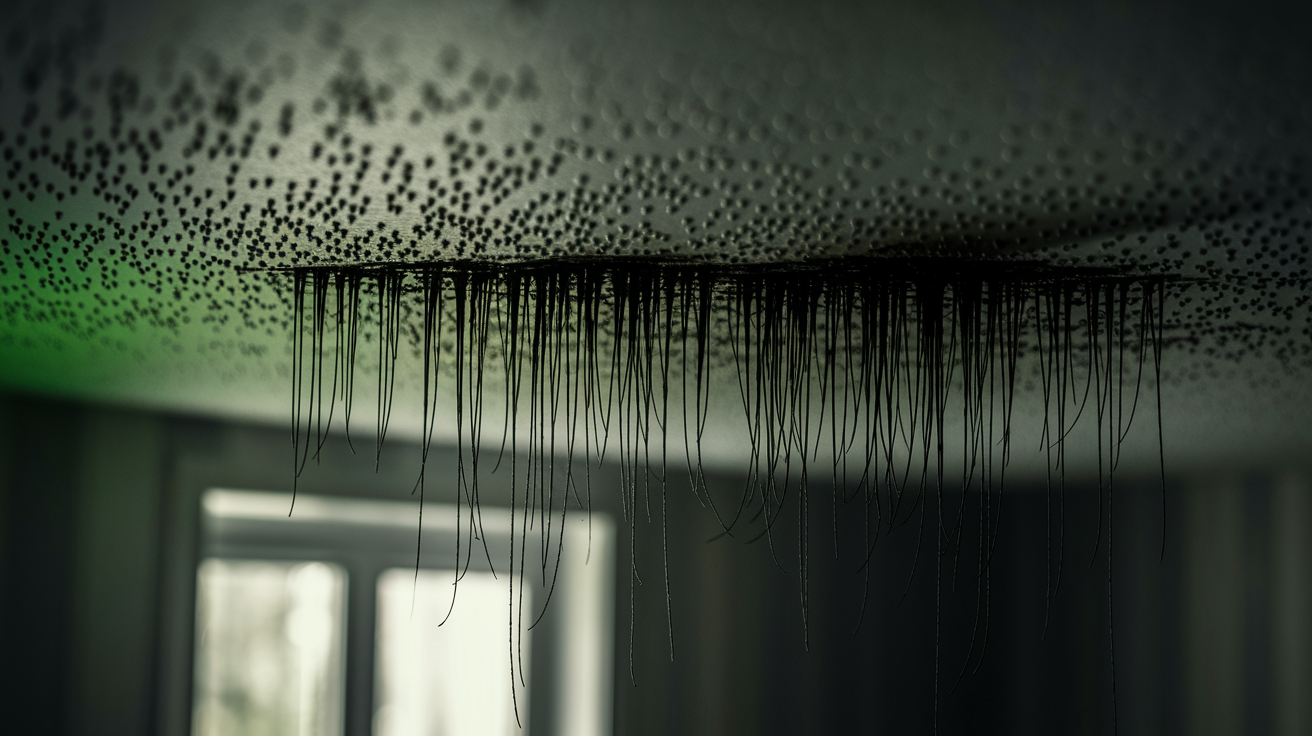
Mold spores exist everywhere, floating through air and settling on surfaces throughout your home. They remain dormant until water provides the moisture they need to colonize and spread. Within 72 hours of water exposure, those dormant spores activate and begin growing into established mold colonies. Hidden moisture behind drywall creates perfect mold environments you can’t see until health symptoms appear or visible growth spreads beyond the concealed space. Musty odors often signal established mold growth already releasing spores into your home’s air.
Health risks from mold exposure range from minor irritation to serious respiratory problems depending on exposure duration, mold species, and individual sensitivity. Respiratory irritation causes coughing, wheezing, and throat discomfort in most people exposed to significant mold concentrations. Allergic reactions trigger sneezing, runny nose, red eyes, and skin rashes in sensitive individuals. Asthma sufferers experience worse symptoms including increased attack frequency and severity. Individuals with compromised immune systems face severe responses including lung infections. Black mold (Stachybotrys chartarum) produces mycotoxins linked to serious health effects requiring immediate professional remediation when discovered.
Mold prevention through rapid action saves you from expensive remediation and health risks. Complete drying within 48 hours prevents mold colonization before it establishes. Moisture removal verified by moisture meters ensures hidden dampness doesn’t create concealed mold growth. Antimicrobial treatment applied to affected surfaces kills residual spores and inhibits future growth. Air quality testing after suspected mold exposure identifies elevated spore counts requiring professional attention. Proper ventilation during and after repairs prevents humidity buildup that encourages new mold development. Professional mold remediation becomes necessary when growth exceeds 10 square feet, when water came from contaminated sources, or when health symptoms suggest significant exposure.
Navigating Insurance Claims for Ceiling Water Damage

Proper documentation from the moment you discover water damage significantly impacts whether your insurance company approves your claim and how much they’ll pay toward repairs. Insurance adjusters evaluate claims based on evidence you provide. Missing documentation gives them reasons to reduce payouts or deny coverage entirely.
- Take photos and videos of all visible damage immediately
- Document the water source and any failed components
- Keep records of all emergency expenses
- Obtain written estimates from licensed contractors
- Create an inventory of damaged belongings
- Preserve damaged materials until adjuster inspection
- Track all communication with insurance company
Insurance policies typically cover sudden and accidental water damage while excluding gradual damage from poor maintenance. Burst pipes that suddenly spray water throughout a room usually qualify for coverage. Appliance malfunctions causing immediate flooding generally receive approval. Storm related roof leaks from high winds or hail typically fall under covered events. Gradual damage from poor maintenance, including slow seepage from ignored minor leaks or moisture accumulation over time, often faces exclusion. Policy specific coverage for mold remediation varies dramatically between carriers and policy types. Some cover it fully, others cap it at specific dollar amounts, and some exclude it completely. Additional living expenses if your home becomes uninhabitable during repairs may be included depending on your policy’s specific provisions and the extent of damage forcing you from the property.
Review your policy details before damage occurs so you understand deductibles, coverage limits, exclusions, and claims procedures. Understanding these terms prevents surprises during stressful situations. Consider whether filing a claim makes financial sense by comparing your out of pocket repair costs against your deductible and potential premium increases that often follow claims, especially for minor damage barely exceeding deductible amounts.
Preventing Future Ceiling Water Damage
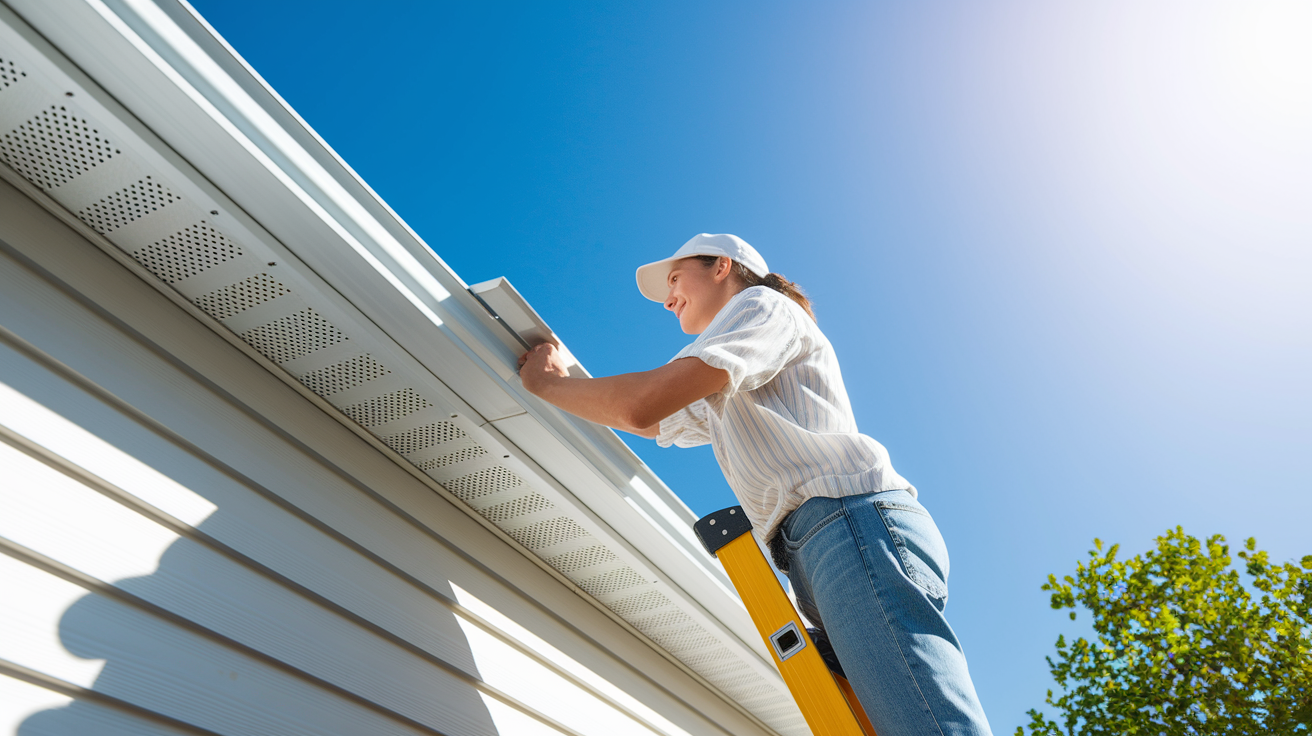
Prevention costs a fraction of what you’ll spend repairing repeated ceiling water damage. Regular maintenance catches small problems before they saturate your ceilings, destroy belongings, and create mold hazards. A prevention schedule takes minimal time and provides protection against expensive disasters.
- Inspect roof twice yearly for damaged or missing shingles
- Clean gutters and downspouts seasonally
- Check attic for signs of roof leaks or condensation
- Inspect plumbing fixtures in upstairs bathrooms regularly
- Monitor water pressure to prevent pipe stress
- Clear HVAC drain lines annually
- Inspect drip pans under HVAC units and water heaters
- Ensure proper bathroom and kitchen ventilation
- Insulate pipes in unheated areas to prevent freezing
- Address minor leaks immediately before they worsen
- Schedule professional plumbing inspections every 2 to 3 years
Regular maintenance schedules catch damaged shingles before the next storm turns them into major roof leaks. Gutter cleaning prevents overflow that sends water backward under roofing materials and into attic spaces. Attic inspections reveal condensation problems from poor ventilation before moisture rots structural framing. Plumbing fixture checks find small drips at supply line connections before they become major failures. Proper bathroom and kitchen ventilation prevents condensation related ceiling damage from daily moisture sources. Addressing root causes creates permanent solutions rather than temporary fixes that fail again within months. Keep records of inspection dates and repairs for tracking maintenance patterns, identifying recurring problem areas, and supporting future insurance claims if needed by demonstrating your consistent property upkeep and immediate attention to developing problems.
Final Words
Ceiling water damage repair starts with stopping the source and drying everything completely before you touch drywall or paint. The rest follows a clear path: remove damaged materials back to solid structure, replace and finish drywall properly, seal stains with the right primer, and match your paint.
Small repairs you can handle. Big damage, mold, or contaminated water means calling in a professional team.
Catch it early. Fix it right. Keep an eye on your roof, gutters, and plumbing so it doesn’t happen again.
FAQ
Can a water damaged ceiling be fixed?
A water damaged ceiling can be fixed by first stopping the water source, ensuring complete drying, then repairing or replacing damaged drywall, applying stain-blocking primer, and repainting. The repair success depends on addressing the root cause and achieving 100% dryness before reconstruction begins.
How expensive is it to fix water damage in a ceiling?
Fixing water damage in a ceiling costs between under $200 for minor stain repairs using DIY methods and several thousand dollars for extensive damage requiring professional mold remediation, structural repairs, and full ceiling replacement across multiple rooms.
Who do you call for ceiling water damage?
For ceiling water damage, call a professional water damage restoration company when damage spans multiple rooms, involves mold growth, affects electrical components, or stems from contaminated water sources requiring specialized drying equipment and remediation protocols.
When should I worry about a water damaged ceiling?
You should worry about a water damaged ceiling immediately when you notice sagging or bulging areas, active dripping, musty odors indicating mold growth, or damage near electrical fixtures, as these conditions create safety hazards and worsen rapidly without intervention.
How long does it take for mold to form after ceiling water damage?
Mold begins forming within 72 hours after ceiling water exposure, making rapid drying within 48 hours essential to prevent colonization, especially in hidden areas behind drywall where moisture creates ideal growth conditions invisible to homeowners.
What are the first steps to take when discovering ceiling water damage?
The first steps when discovering ceiling water damage include turning off the main water supply if plumbing-related, shutting off electricity to affected rooms, moving furniture away, placing tarps to catch dripping water, and documenting damage with photos for insurance.
Does homeowners insurance cover ceiling water damage repairs?
Homeowners insurance typically covers ceiling water damage from sudden and accidental incidents like burst pipes, appliance malfunctions, and storm-related roof leaks, but excludes gradual damage from poor maintenance, long-term seepage, or lack of preventative repairs.
How do you identify the source of ceiling water damage?
You identify the source of ceiling water damage by inspecting upstairs plumbing fixtures, checking the roof and attic for leaks, examining gutters for clogs or overflow, and inspecting HVAC drain lines, noting that visible damage location doesn’t always indicate the actual water origin.
Can you just paint over a water stained ceiling?
You cannot just paint over a water stained ceiling successfully without first ensuring complete dryness and applying stain-blocking primer, as water stains will bleed through standard paint and primer, causing discoloration to reappear shortly after painting.
What tools are needed to repair ceiling water damage?
Tools needed to repair ceiling water damage include safety goggles, dust mask or respirator, gloves, drop cloths, keyhole saw or utility knife, stable ladder, moisture meter, fans, dehumidifier, joint compound, and stain-blocking primer for proper drying and reconstruction.