
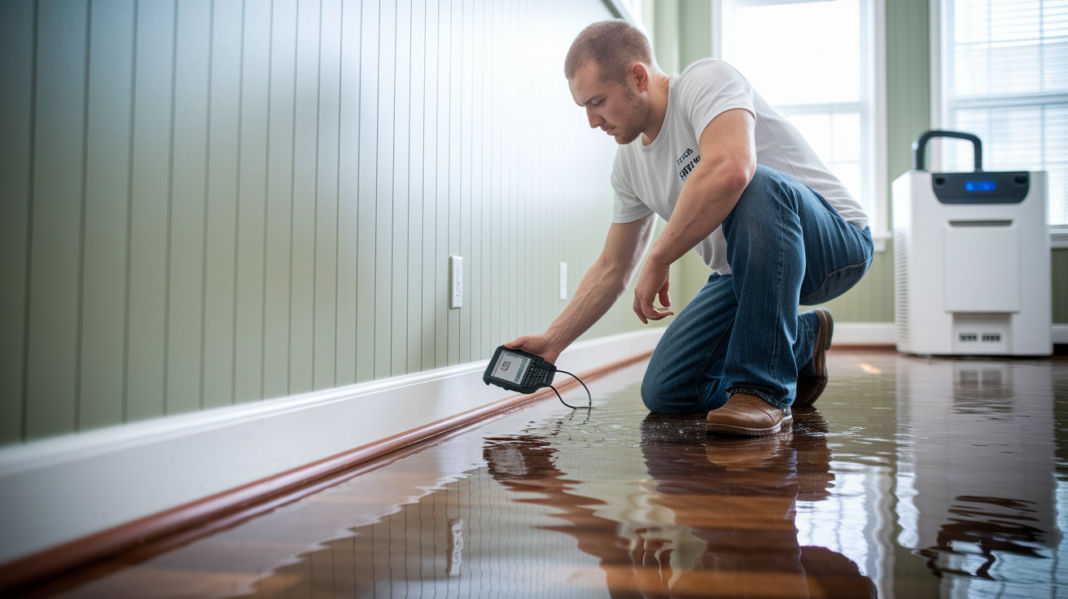

Standing water in your home is one thing. Knowing what happens next is another. Most homeowners think flood damage restoration means pumping out water and running some fans. The real process involves eight connected phases, from initial assessment and emergency extraction through structural drying, sanitization, mold treatment, contents restoration, odor removal, and complete reconstruction. Each phase builds on the one before it, and skipping steps or rushing through them sets up hidden problems that appear months later. Here’s what actually happens when a professional restoration team shows up, and why the sequence matters as much as the services themselves.
Complete Flood Damage Restoration Services Overview
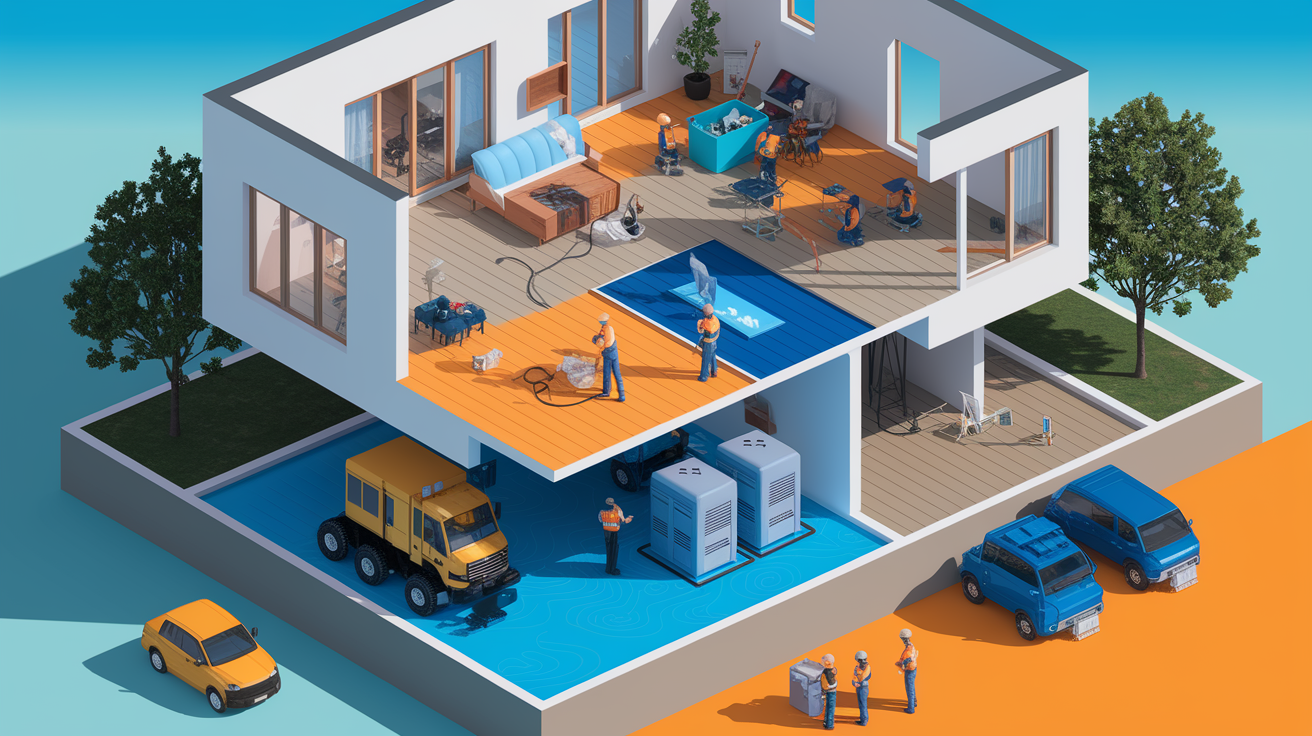
Flood damage restoration is a multi-phase process that brings water damaged properties back to safe, livable condition.
Professional restoration includes these core services:
- Initial assessment and documentation – Evaluating water source, damage extent, and creating a restoration plan with detailed photos and moisture readings
- Emergency water extraction – Removing standing water using professional pumps and vacuums
- Structural drying and dehumidification – Eliminating moisture from building materials with industrial dehumidifiers and air movers
- Antimicrobial treatment and sanitization – Addressing health hazards from contaminated water with EPA registered solutions
- Mold remediation (when needed) – Containing and removing mold growth, then applying preventative treatments
- Contents cleaning and restoration – Evaluating, cleaning, and salvaging personal belongings
- Odor elimination – Using advanced extraction techniques and equipment to remove persistent smells
- Reconstruction and repairs – Rebuilding from minor drywall replacement to complete structural restoration
Professional restoration services coordinate all these phases as one connected plan. You’re not juggling separate contractors or managing a complicated timeline. The restoration team handles scheduling, works directly with your insurance company to document the process, and keeps you updated from first response through final walk through. That single point of contact makes a stressful situation manageable.
Each service builds on the previous phase. Water extraction clears the way for drying. Complete drying allows safe sanitization. Verified sanitization permits reconstruction to start. Skip a step or rush through one, and you’re setting up future problems. Hidden moisture leads to mold, incomplete sanitization creates health risks, and poor documentation complicates insurance claims. The sequence matters.
Emergency Response: Assessment and Water Extraction
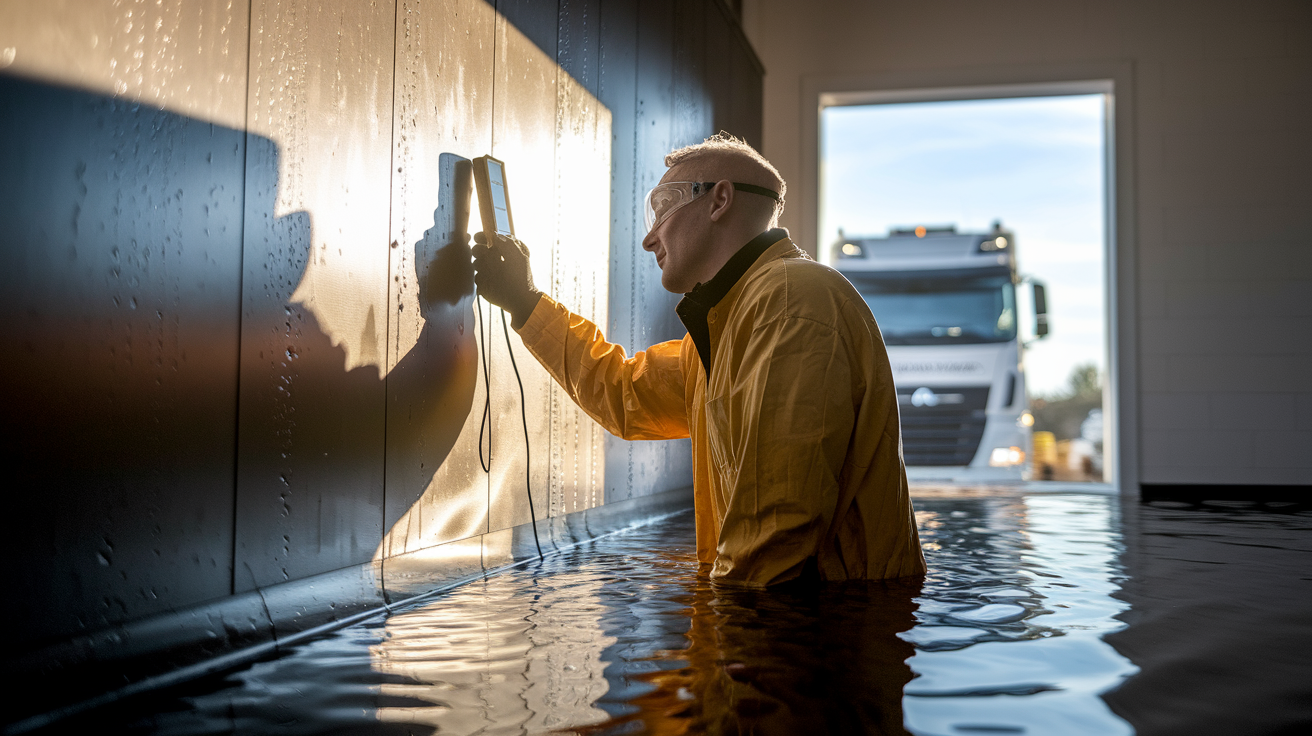
Accurate assessment and rapid water removal must happen together during the first 24 to 48 hours. The assessment determines what equipment to use, where to focus extraction efforts, and what materials face immediate risk. Water extraction can’t wait for a perfect plan, but it also can’t proceed blind. Both happen in tandem because every hour of water contact increases damage severity.
The assessment process identifies the water source. Burst pipe, roof leak, external flooding. And it classifies the damage category. Category 1 is clean water from supply lines or rain. Category 2 is gray water from appliances, toilets (urine only), or washing machines, carrying some contamination. Category 3 is black water from sewage backups, rising floodwater, or long standing water that’s grown bacteria. That classification tells the team what protective gear to wear, how aggressive sanitization needs to be, and which materials can be saved. Technicians evaluate affected materials. Hardwood floors respond differently than concrete, drywall soaks up water faster than tile. And they measure moisture levels with specialized meters. Pin type meters probe into materials. Pinless meters scan surfaces without damage. Both create a moisture map showing where water traveled beyond visible wet spots.
Documentation requirements start immediately. Detailed photos capture room conditions from multiple angles. Video walkthroughs record the full scope before any demolition. Moisture readings document baseline conditions. This wall reads 28% moisture content, that subfloor reads 19%. Creating objective proof of damage severity. Written reports itemize affected materials, square footage impacted, and preliminary repair scope. This evidence package supports your insurance claim and protects you if questions arise later about what was damaged and what needed replacement.
Extraction methods vary based on water contamination level and affected materials. Submersible pumps handle deep standing water in basements and crawlspaces, moving hundreds of gallons per hour. Truck mounted extractors pull water from carpets and porous materials with powerful suction. Picture a giant wet vacuum permanently installed in a van parked outside. Wet vacuums reach tight spots around furniture, inside cabinets, and along baseboards. For Category 3 black water, extraction equipment gets sanitized between uses to prevent cross contamination. Hard floors get squeegeed and extracted. Carpets receive weighted extraction where a heavy tool presses water up from padding. The approach adjusts to what you’re removing. Clean rainwater requires less caution than sewage contaminated floodwater.
This combined assessment and extraction phase creates your restoration roadmap and cost estimate while preventing damage from escalating. Water wicks into adjoining rooms, seeps down into lower floors, and climbs up walls through capillary action if you don’t stop it fast. Get the bulk water out, understand what you’re dealing with, and document it properly. That sets up everything that follows.
Structural Drying and Dehumidification in Flood Restoration

Surface drying isn’t sufficient. A floor might feel dry to the touch while the subfloor underneath holds moisture. Drywall can look fine while saturated insulation inside the wall cavity breeds mold. Structural moisture must be eliminated from every building material, or you’re leaving problems waiting to appear.
The equipment used creates a controlled drying environment. Commercial air movers, not household fans, position strategically to create airflow across wet surfaces and through building cavities. They look like oversized floor fans tilted at angles, moving hundreds of cubic feet of air per minute. Refrigerant dehumidifiers pull moisture from the air like oversized versions of the small unit you might use in a basement, dumping extracted water into floor drains or collection tanks. Desiccant dehumidifiers handle challenging conditions. Very low temperatures, extremely high humidity, or situations requiring ultra dry air. They use silica gel or other moisture absorbing materials and work when refrigerant units struggle. The combination of air movement and moisture removal turns your property into a giant drying chamber.
The monitoring process involves daily moisture meter readings in walls, floors, and ceilings. Technicians track drying progress by testing the same spots repeatedly. Tuesday the wall reads 22% moisture, Wednesday it’s 18%, Thursday it drops to 14%. When progress stalls or certain areas dry slower than expected, equipment gets repositioned. Air movers redirect toward stubborn wet spots. Additional dehumidifiers get added. Sometimes small holes get drilled to insert warm air into wall cavities where moisture hides. The monitoring tells the team what’s working and what needs adjustment.
| Material Type | Typical Drying Time |
|---|---|
| Hardwood floors | 3 to 5 days |
| Drywall | 2 to 4 days |
| Carpet and padding | 1 to 3 days |
| Subfloors | 4 to 7 days |
| Wall cavities | 5 to 10 days |
Drying continues until moisture readings in affected areas match readings from unaffected areas. If undamaged drywall in your upstairs bedroom reads 8% moisture content, the flood damaged drywall downstairs needs to reach that same level before drying equipment gets removed. Close enough isn’t good enough. Complete drying prevents every problem that comes next.
Sanitization, Disinfection, and Mold Remediation
Floodwater carries bacteria, viruses, chemicals, and sewage requiring professional grade sanitization. It’s not just dirty. It’s contaminated with whatever it touched on its journey into your property. Mold begins growing within 24 to 48 hours of water exposure, making it a common flood damage complication even when initial cleanup moves quickly.
The sanitization process applies EPA registered antimicrobial solutions to all affected surfaces, structural components, and remaining building materials. These solutions eliminate pathogens. Bacteria like E. coli and salmonella, viruses, fungi. And prevent microbial growth during the drying phase. Hard surfaces get wiped down or sprayed. Porous materials that are staying get treated with penetrating antimicrobials. Structural wood framing, concrete foundations, and subflooring all receive treatment. The goal is killing what’s there now and creating an environment hostile to new growth.
Sanitization intensity varies by water category. Category 1 clean water from a supply line requires standard cleaning. Think thorough housecleaning with antimicrobial products. Category 2 gray water from a washing machine overflow or toilet backup (urine only) needs antimicrobial treatment because it carries some contamination. Category 3 black water from sewage backups or external flooding demands aggressive disinfection and often requires removing porous materials entirely because they can’t be adequately sanitized. You don’t lightly clean materials that touched raw sewage. You dispose of them.
Mold assessment happens during the drying phase. Visual inspection identifies active growth. Fuzzy spots, discoloration, musty appearance. Air quality testing measures airborne spore counts, comparing affected areas to outdoor baseline levels. Moisture mapping with infrared cameras and meters identifies high risk areas where conditions favor mold growth even if visible growth hasn’t started. If the assessment finds mold, the process expands beyond standard sanitization.
Mold Containment and Removal Process
Physical containment barriers seal off affected areas from the rest of your property. Heavy plastic sheeting creates walls and airlocks. Negative air pressure systems use fans and HEPA filters to pull air from the containment area and exhaust it outside, preventing spores from drifting into clean spaces. Anyone entering wears protective gear. Respirators, gloves, coveralls. Because disturbing mold releases spores into the air.
Removal methods start with HEPA vacuuming to capture loose spores from surfaces. Antimicrobial application treats remaining mold on salvageable materials like framing lumber or concrete. Disposal removes heavily contaminated porous materials. Drywall with visible growth, soaked insulation, carpet padding that sat in water. Because cleaning them adequately isn’t possible. Those materials get bagged inside the containment area and carried out through the airlock to prevent spore spread.
Post Remediation Prevention
Preventative treatments get applied to restored surfaces. Wood framing, concrete, any salvageable material that stays. These create an inhospitable surface chemistry that resists future mold growth. Final air quality testing verifies safe conditions by measuring post remediation spore counts and comparing them to pre remediation baseline and outdoor levels. When counts return to normal ranges, containment comes down.
Moisture control measures prevent future mold growth. That means confirming complete drying, improving ventilation in previously problematic areas, and sometimes adding vapor barriers or upgrading insulation to prevent condensation.
Mold remediation requires certified technicians following IICRC standards in most states. It’s regulated work requiring specific training, and your insurance company typically wants to see proper credentials. Ongoing air quality considerations include cleaning or replacing HVAC filters, sanitizing ductwork if it circulated contaminated air, and sometimes treating the entire HVAC system to prevent spreading residual contamination throughout your property once heating or cooling kicks back on.
Contents Restoration and Salvage Evaluation

Restoration teams balance two priorities: protecting your belongings whenever possible while removing items that can’t be safely restored. Not everything survives floodwater contact, especially if the water was contaminated or if items sat wet for days.
The evaluation criteria include water contamination category, exposure duration, material type, and sentimental or replacement value. Clean Category 1 water damages items less than black water sewage. A few hours of exposure is survivable for many materials. Days of soaking ruins most things. Porous materials absorb contamination and hold moisture. They’re harder to restore than hard, non porous items. And sometimes an item’s sentimental value justifies extraordinary restoration efforts even when replacement would cost less.
Commonly unsalvageable flood damaged materials include:
- Carpet padding (absorbs water and contamination, impossible to adequately dry and clean)
- Mattresses and box springs (porous materials that harbor bacteria and mold)
- Stuffed toys, pillows, and cushions (retain moisture and contamination)
- Books, papers, and cardboard (disintegrate or become permanently warped)
- Particle board furniture (swells and crumbles when wet, lacks structural integrity after drying)
- Compromised food items (anything exposed to floodwater or power outage temperature fluctuations)
Pack out services handle salvageable contents by removing them to climate controlled facilities for specialized cleaning, drying, deodorizing, and storage. Your furniture, clothing, dishes, electronics, and other belongings get transported out while demolition and reconstruction happen. Each item gets cleaned using appropriate techniques. Upholstery gets extracted and treated, hard goods get wiped and sanitized, electronics get carefully dried and tested, documents get freeze dried if they’re important. Items stay in storage until your property restoration completes, then they come back clean.
Inventory documentation supports insurance claims by photographing and listing every item removed, its condition, and its restoration status. That detailed record prevents disputes about what was damaged, what got saved, and what required replacement.
Structural Repairs and Reconstruction in Flood Restoration
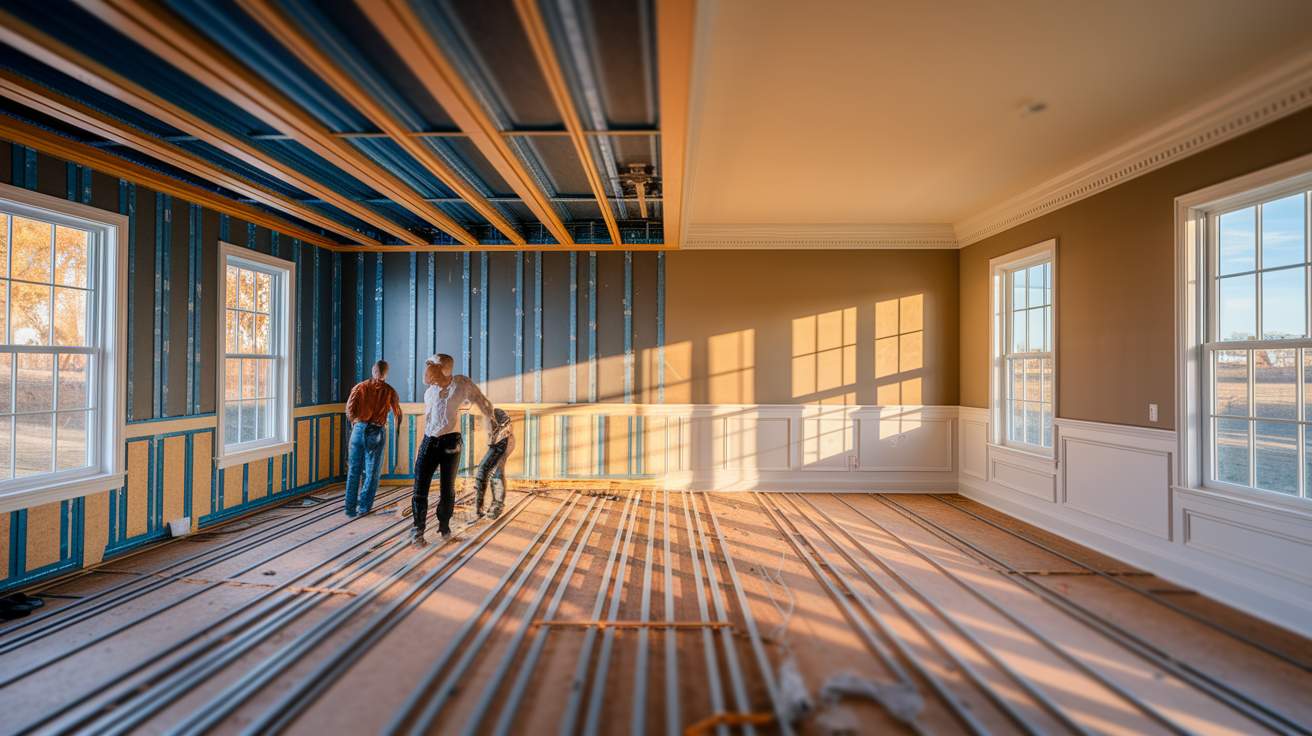
Reconstruction begins only after complete drying and sanitization verification. You don’t rebuild on top of moisture or contamination. Moisture readings confirm materials reached safe levels. Sanitization confirms surfaces are treated. Then permanent repairs start.
Typical structural repairs involve removing and replacing water damaged drywall. Cutting out the wet section, usually to four feet high if water wicked up the wall, disposing of it, then installing new drywall. Installing new insulation in walls and floors happens before closing them back up, replacing soaked batts that lost their insulating value. Removing and reinstalling baseboards and trim creates access to wall cavities for drying and allows replacement of damaged wood. Replacing compromised subflooring addresses structural concerns where moisture caused swelling, warping, or delamination. If the subfloor (the layer under your finished flooring) failed, it gets cut out and replaced with new plywood or OSB rated for the installation.
Finish work makes repairs blend into your existing home. Matching drywall texture, whether it’s smooth, orange peel, knockdown, or something custom, requires skill and sometimes several attempts to get right. Painting affected areas to blend with existing surfaces means matching sheen (flat, eggshell, satin) and color, often requiring painting entire walls rather than just patches to avoid obvious differences. Installing new flooring comes in hardwood, tile, carpet, or vinyl depending on what was damaged and what you choose for replacement. Replacing damaged cabinets or fixtures becomes necessary when floodwater reached kitchens, bathrooms, or utility areas.
Restoration scope varies dramatically. Single room repairs might take a few days. Cut out drywall, dry the wall cavity, install new drywall, tape and texture it, prime and paint, reinstall baseboards. Whole house reconstruction requiring weeks involves gutting multiple rooms, replacing subflooring throughout, rebuilding walls, installing new flooring in every space, repainting the entire interior, and replacing all trim and finish work. Coordination of multiple trades determines timeline and final results. Drywall installers, flooring specialists, painters, and carpenters work in sequence, and scheduling those phases efficiently makes the difference between a smooth project and one that drags on with gaps between work crews.
For a complete look at the water damage repair services that handle everything from minor fixes to complete rebuilding, professional restoration companies coordinate the entire scope. The transition from emergency water damage response to permanent repairs happens smoothly when one team manages both phases.
Timeline and Cost Factors for Flood Restoration
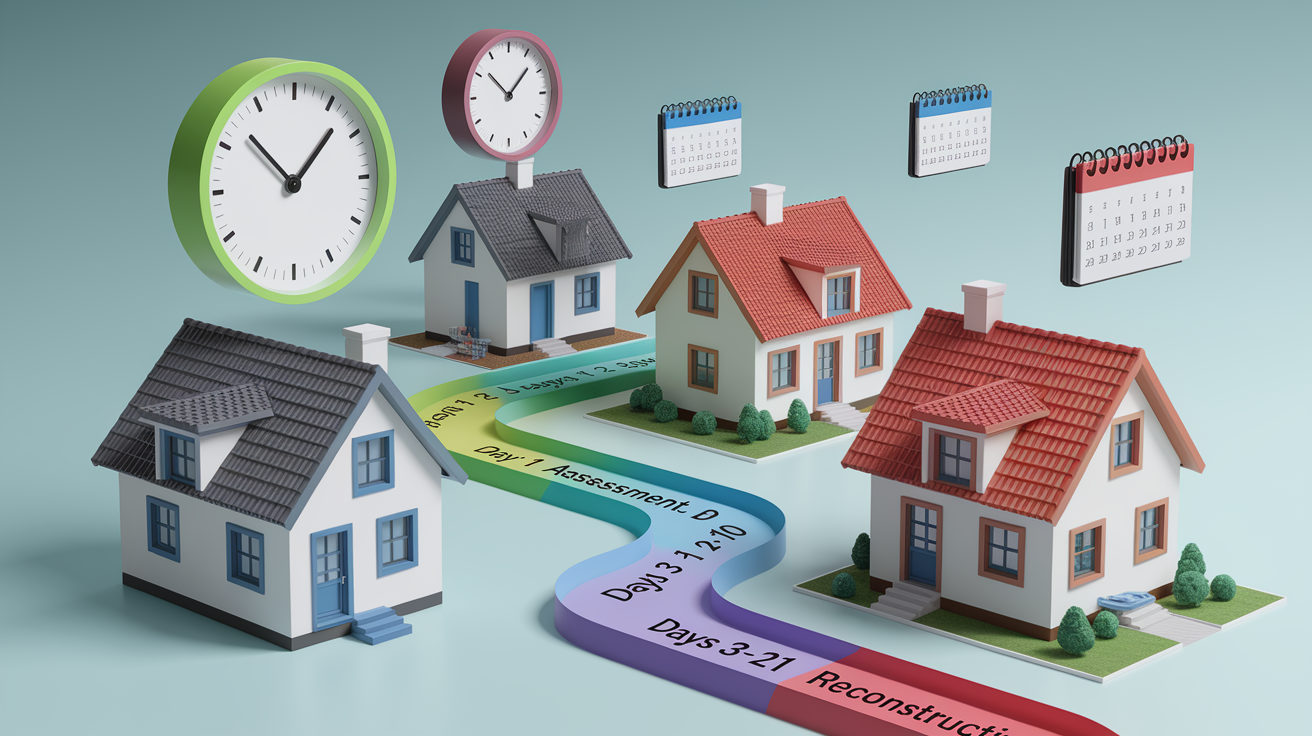
Timeline and cost depend on damage extent, property size, water category, and materials affected. A small Category 1 clean water leak in one bathroom costs and requires less time than Category 3 sewage flooding an entire first floor.
Typical phase durations break down this way. Emergency response and assessment happen on day one. Technicians arrive, evaluate damage, document conditions, and begin extraction. Water extraction takes one to two days for most residential properties, though extensive flooding or difficult access can extend that. Structural drying runs three to ten days depending on materials affected, humidity levels, and how much moisture soaked in. Repairs and reconstruction take three to twenty one days depending on scope. A single room with minor drywall replacement sits at the short end, whole house reconstruction with new flooring and full repainting stretches toward the long end. Severe damage requiring structural work, extensive mold remediation, or major rebuilding can require four to six weeks total from first call to final completion.
Cost factors stack up quickly. Water contamination level drives sanitization requirements. Category 3 sewage costs significantly more to handle than Category 1 clean water because of disposal requirements, protective gear, aggressive disinfection, and material replacement. Square footage affected multiplies labor and material costs. Materials requiring replacement vary widely in price. Luxury vinyl plank costs less than hardwood flooring, basic drywall costs less than custom plaster. Mold remediation needs add containment setup, specialized labor, and air quality testing. Contents restoration requirements depend on how much you own and what percentage can be salvaged versus replaced.
Insurance coverage varies by policy and damage cause. Most homeowner policies cover sudden flooding from internal sources. Burst pipes, appliance failures, roof leaks. But specifically exclude external flood events like rising water from storms or rivers. External flooding requires separate flood insurance through the National Flood Insurance Program or private carriers. Read your policy or call your agent to understand what’s covered before damage happens.
Faster initial response reduces both timeline and total cost by preventing secondary damage. Water that sits for days wicks farther, affects more materials, and creates mold growth requiring expensive remediation. Water removed within hours limits damage to immediately affected areas and materials. The difference between a three day project and a three week project often comes down to how quickly extraction and drying started.
Professional Equipment Used in Flood Damage Restoration

Household fans and shop vacuums can’t match commercial grade restoration equipment in power, capacity, or effectiveness. The difference shows up in drying time, thoroughness, and final results.
Extraction equipment includes truck mounted water extractors with powerful suction pulling hundreds of gallons from carpets, pads, and upholstery in minutes. These units sit permanently installed in service vehicles, running off the truck engine, generating suction consumer machines can’t approach. Submersible pumps rated for hundreds of gallons per hour drop into standing water in basements, crawlspaces, or flooded rooms, moving water out fast. Weighted extraction tools press down on carpets while vacuuming, squeezing water up from padding and backing that regular vacuuming misses.
Drying and monitoring tools create and verify the controlled drying environment. Axial air movers sit low and direct high velocity airflow across floors and up walls, shaped like oversized floor fans angled for maximum surface coverage. Centrifugal air movers handle tighter spaces and direct airflow into wall cavities or under cabinets where axial movers don’t fit. Refrigerant dehumidifiers remove moisture from air continuously, dumping gallons of extracted water daily into drains or collection tanks. Desiccant dehumidifiers work in cold conditions or extremely wet environments where refrigerant units struggle, using moisture absorbing materials that get regenerated with heat. Infrared cameras detect hidden moisture behind walls, under floors, or in ceilings without demolition. Wet materials show up as cooler spots on the thermal image. Pin type moisture meters probe into materials with metal pins, measuring electrical resistance to calculate moisture content. Pinless moisture meters scan surfaces without leaving holes, using radiofrequency or electromagnetic signals to detect moisture depth.
Air quality equipment protects health during and after restoration. HEPA air scrubbers capture mold spores, dust particles, and airborne contaminants, filtering air continuously throughout the drying process. Negative air machines prevent contamination spread by pulling air from work areas and exhausting it outside through HEPA filters, creating lower air pressure in the contained space so air flows in rather than out.
Insurance Documentation Support During Flood Restoration
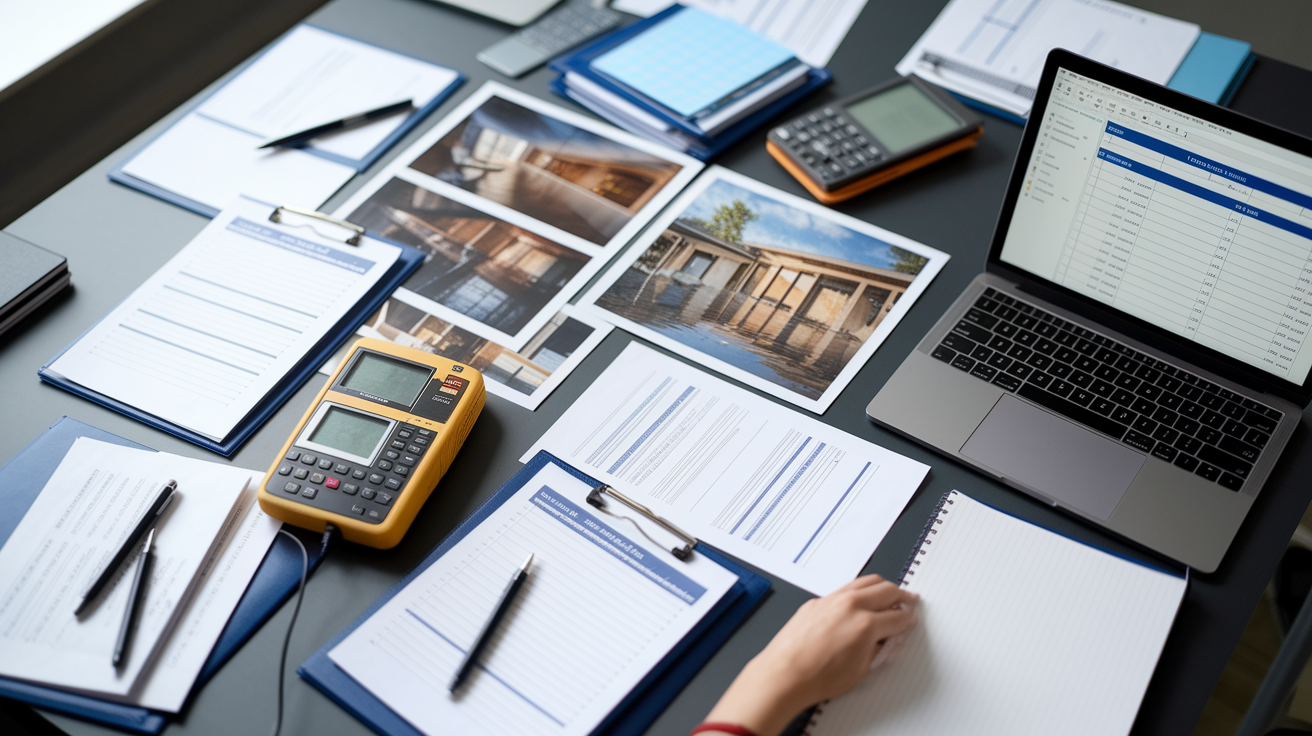
Emergency repairs must proceed quickly, but documentation must be thorough. That tension between speed and detail creates stress, but experienced restoration companies handle both at the same time.
Documentation practices start before any demolition. Comprehensive photo evidence captures room conditions from multiple angles. Wide shots showing overall damage, close ups of specific problems, detail shots of moisture staining or material failure. Video walkthroughs record the full scope, narrating what the camera shows and why it matters. Detailed moisture mapping and readings document exactly where water traveled, how deeply it penetrated, and which materials absorbed it. Written scope of loss itemizes all damaged materials. Square footage of affected drywall, linear feet of wet baseboard, number of doors requiring replacement. Creating an objective damage inventory. Daily progress photos throughout restoration show work completed, materials removed, and conditions improving, creating a timeline of the repair process.
Adjuster coordination happens throughout the project. Restoration companies provide industry standard estimates using software insurance companies recognize, pricing line items the same way adjusters expect to see them. Meeting with insurance adjusters on site allows walkthroughs where the restoration project manager explains technical details, shows affected areas, and answers questions about repair necessity. Answering technical questions about necessary repairs draws on experience. Explaining why subflooring replacement is required, why certain materials can’t be salvaged, or why drying took longer than estimated. Supplying supporting documentation for contested items means providing moisture readings that prove the extent of saturation, photos showing contamination levels, or industry standards that specify when replacement is required versus when cleaning is adequate.
Experienced restoration companies understand insurance processes because they work with adjusters regularly. They speak the language. Talking about Xactimate pricing, IICRC standards, and coverage provisions in ways adjusters recognize. They help homeowners navigate coverage questions while keeping the project moving forward, explaining what’s likely covered versus what might require out of pocket payment, and documenting everything to support the strongest possible claim.
Final Words
Flood damage restoration starts with urgent water extraction and assessment, then moves through structural drying, sanitization, and mold prevention before reaching permanent repairs.
Each phase builds on the one before it. Skip the drying step, and mold shows up. Rush past sanitization, and health risks stick around. Cut corners on finish work, and the repairs look obvious for years.
Professional teams coordinate the entire sequence so you’re not juggling contractors or guessing what happens next. They document everything for insurance, use industrial equipment that actually dries hidden moisture, and handle what does flood damage restoration include from first response to final paint.
The goal is simple: get your home safe, dry, and back to normal.
FAQ
What are the main steps in water damage restoration?
The main steps in water damage restoration include initial assessment and documentation, emergency water extraction, structural drying with dehumidifiers and air movers, antimicrobial sanitization, mold remediation when needed, contents cleaning, odor removal, and reconstruction repairs to return your property to pre-loss condition.
Is water damage restoration worth it?
Water damage restoration is worth it because professional services prevent secondary damage like mold growth and structural deterioration, coordinate all repair phases under one team, work directly with insurance companies for claims support, and ensure your home is safely dried, sanitized, and rebuilt to livable condition.
What’s the difference between remediation and restoration?
The difference between remediation and restoration is that remediation focuses on stopping active damage and removing hazards like water, mold, or contaminants, while restoration involves the complete rebuilding process including drywall replacement, flooring installation, painting, and returning your property to its original or better condition.
How long does water damage restoration take?
Water damage restoration takes anywhere from one week for minor damage to four to six weeks for severe flooding, depending on property size, water contamination category, extent of structural damage, and whether mold remediation is required, with emergency response beginning within one to two hours.
What type of water damage requires professional sanitization?
Professional sanitization is required for Category 2 gray water from appliances and Category 3 black water from sewage or flooding, as these contain bacteria, viruses, chemicals, and pathogens requiring EPA-registered antimicrobial treatment and possible material removal to protect health and prevent microbial growth.
Can carpet and furniture be saved after flood damage?
Carpet and furniture can sometimes be saved after flood damage depending on water contamination category, exposure duration, and material type, but carpet padding, mattresses, stuffed items, and particle board furniture are typically unsalvageable and require disposal regardless of cleaning attempts.
What equipment do professionals use for structural drying?
Professionals use truck-mounted water extractors, submersible pumps rated for hundreds of gallons per hour, axial and centrifugal air movers creating high-velocity airflow, refrigerant and desiccant dehumidifiers, infrared cameras detecting hidden moisture, and moisture meters tracking drying progress throughout affected building materials.
Does homeowners insurance cover flood damage restoration?
Homeowners insurance typically covers flood damage from internal sources like burst pipes or appliance failures but excludes external flooding from storms or rising water, which requires separate flood insurance policies, though restoration companies help document claims and coordinate with adjusters regardless of coverage type.