

If you’re staring at wet, sagging drywall after a flood, yeah, that’s scary. But here’s the truth most contractors won’t lead with: not all flood damaged drywall needs to be ripped out, and the stuff that does need replacement won’t fix itself by drying. This guide walks you through exactly when to patch, when to replace entire panels, and how to do the work safely so you’re not trapping mold or creating bigger problems three months from now. We’ll cover safety first, damage assessment, proper drying, removal, and installing replacement drywall that actually blends in and lasts.
Critical Safety Protocols Before Any Flood Repair Work

Turn off electricity at the breaker box before you get anywhere near wet drywall, outlets, switches, or fixtures. Water conducts electricity. Touching a wet wall with live power behind it can shock or kill you.
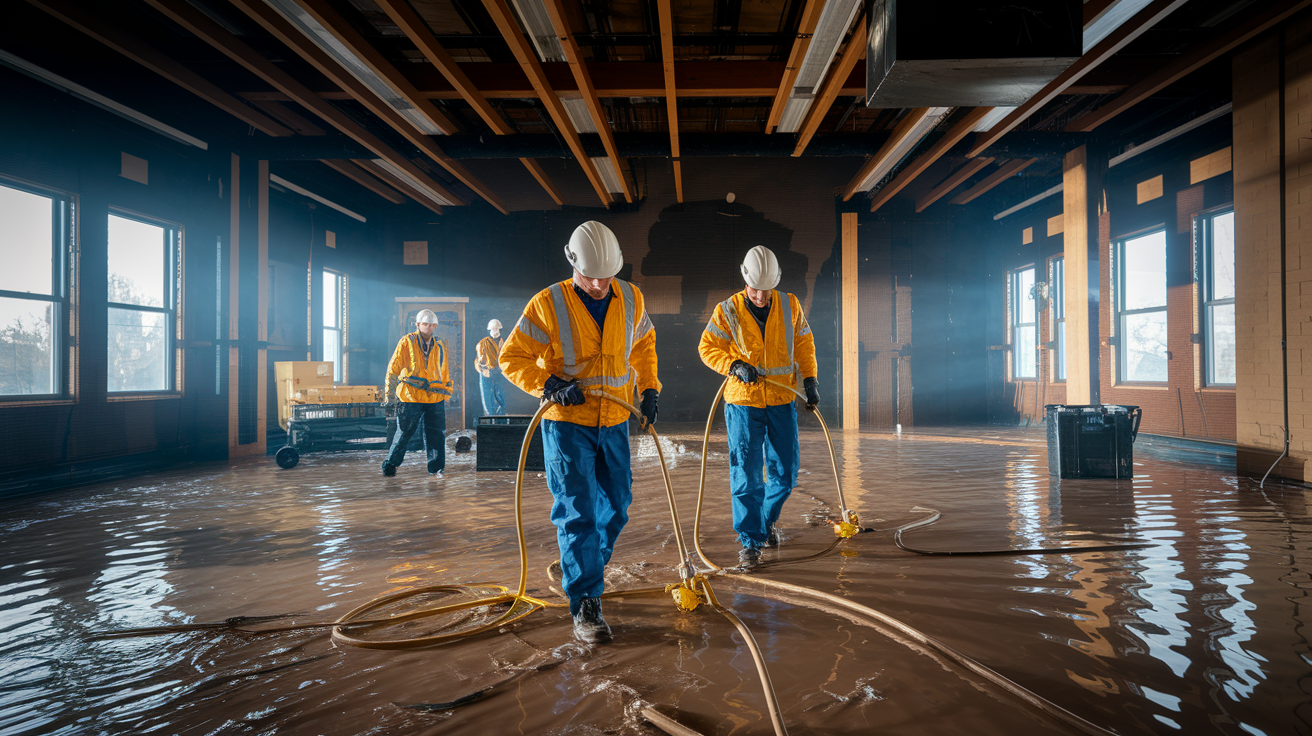
Floodwater isn’t just wet. It’s contaminated. Even clean looking water carries bacteria, chemicals, and sewage residue once it’s been sitting in your home. Protective equipment isn’t optional. You’re dealing with materials that can make you sick, cause respiratory issues, or expose you to mold spores that started growing within the first 24 hours.
Wear an N95 or N100 respirator mask, not a dust mask. Rubber gloves, safety glasses, long sleeves, long pants, and sturdy closed toe shoes complete the minimum protection. Wet drywall crumbles, releases particles, and hides contamination you can’t see.
-
Shut off electricity at the main breaker panel before entering rooms with standing water or wet walls. Never assume circuits are safe based on how they look.
-
Wear an N95 or N100 respirator mask to protect your lungs from mold spores, dust, and airborne contaminants released when cutting or handling wet drywall.
-
Put on rubber gloves, safety glasses, long sleeves, and sturdy shoes before touching any flood damaged materials to prevent skin contact with contaminated water residue.
-
Open windows and set up fans for ventilation before starting demolition work to reduce airborne particle concentration and improve air quality during removal.
-
Keep children and pets out of work areas until all damaged materials are removed, dried, sealed, and finished to prevent exposure to health hazards.
Assessing Flood Damage Severity and Repair Decisions

Drywall is porous. It soaks up water like a sponge and starts breaking down fast. The gypsum core swells, the paper facing separates, and mold spores find a perfect growing environment within 24 to 48 hours. Assessing damage severity right away helps you decide if you’re patching, replacing panels, or calling professionals before things get worse.
Category 1 water from clean supply line breaks? DIY repair is usually safe after proper drying if the damaged area is under 10 square feet and shows no mold growth.
Category 2 water from washing machine overflow or dishwasher leaks requires thorough drying, disinfection, and mold resistant materials during replacement. Still possible for small areas under 10 square feet.
Category 3 water from sewage backup, contaminated floodwater, or river flooding requires professional remediation. Contaminated water carries pathogens that make DIY unsafe, and improper cleanup creates long term health risks.
Flood events affecting multiple rooms or floors need professional assessment to evaluate hidden damage behind walls, under flooring, and within structural cavities you can’t access. Any situation where the water source is unclear means professionals need to inspect before you repair anything. If you can’t identify where water entered or if moisture keeps appearing after you think it’s fixed, don’t move forward on your own.
Black mold or widespread mold growth, those black, green, or fuzzy patches, indicate established colonies that require containment and specialized removal beyond basic cleaning.
Look at the drywall. If it sags when you press on it, crumbles to the touch, or feels soft and spongy, it’s done. Replacement is the only option. Discoloration, staining, and bubbling paint are visible markers, but the real test is structural integrity. Heavily saturated drywall loses strength and won’t return to normal even after drying.
Small isolated spots under 8 inches in diameter with only surface damage can be patched if the drywall dried quickly and remains firm. Anything larger than 8 inches across, or scattered damage in multiple areas, means replacing entire panels makes more sense than trying to patch a failing surface. When removing damaged sections, cut at least 2 inches beyond visible damage on all sides. You want to remove all compromised material, not just what looks bad. In basement flooding situations, mark and cut 6 inches above the waterline around the room to ensure you’re removing everything that absorbed contaminated water.
Small isolated damage under 8 inches with surface staining only? Patch if drywall is dry, firm, and shows no sagging or soft spots.
Damage between 8 inches and 10 square feet affecting one area means replace the damaged panel section rather than attempting large patches that won’t blend or hold up long term.
Scattered damage over 8 inches in multiple spots across the same wall calls for replacing entire panels to avoid a patchwork wall that shows seams and texture mismatches.
Basement flooding with visible waterline means cut and remove drywall 6 inches above the waterline around the entire affected room perimeter.
Sagging, crumbling, or soft drywall regardless of size needs replacement immediately. Structural integrity is gone and the material will fail even if it dries.
Active mold growth over 10 square feet or black, green, fuzzy patches means call professionals immediately for containment and remediation before attempting any repairs.
Visible stud damage, insulation saturation, or framing concerns behind drywall require professional inspection to assess structural elements before proceeding with cosmetic drywall replacement.
Stopping Water Sources and Drying Flooded Walls
First, find the water source and stop it. Until the leak is fixed, the pipe is capped, or the exterior breach is sealed, drying and repairing drywall is pointless. Water will keep coming back, keep saturating materials, and keep feeding mold growth. Fix the cause, then fix the damage.
Dry affected areas for at least 48 to 72 hours before starting repairs. Mold develops within 24 to 48 hours of water exposure, and installing new drywall over damp framing or insulation traps moisture and guarantees problems. Use a moisture meter to confirm readings below 15% moisture content before you proceed. Set up fans aimed at wall cavities, run dehumidifiers to pull humidity out of the air, and open windows for cross ventilation when outdoor conditions allow. The goal is removing moisture from wall cavities, studs, insulation, and subfloor, not just drying the surface.
| Drying Method | Duration | Best For |
|---|---|---|
| High velocity fans aimed at exposed wall cavities | 48 to 72 hours continuous operation | Increasing air circulation and evaporating surface moisture after drywall removal |
| Dehumidifiers running in enclosed spaces | 48 to 72 hours, emptying collection tanks regularly | Reducing indoor humidity levels and pulling moisture from air in closed rooms |
| Natural ventilation with open windows and doors | 48 to 72 hours when outdoor humidity is below 60% | Cross ventilation in mild, dry weather conditions with low outdoor humidity |
| Combination of fans, dehumidifiers, and ventilation | 48 to 72 hours with moisture meter confirmation below 15% | Maximum drying efficiency in most flood damage scenarios with saturated materials |
Removing Water Damaged Drywall Sections Properly
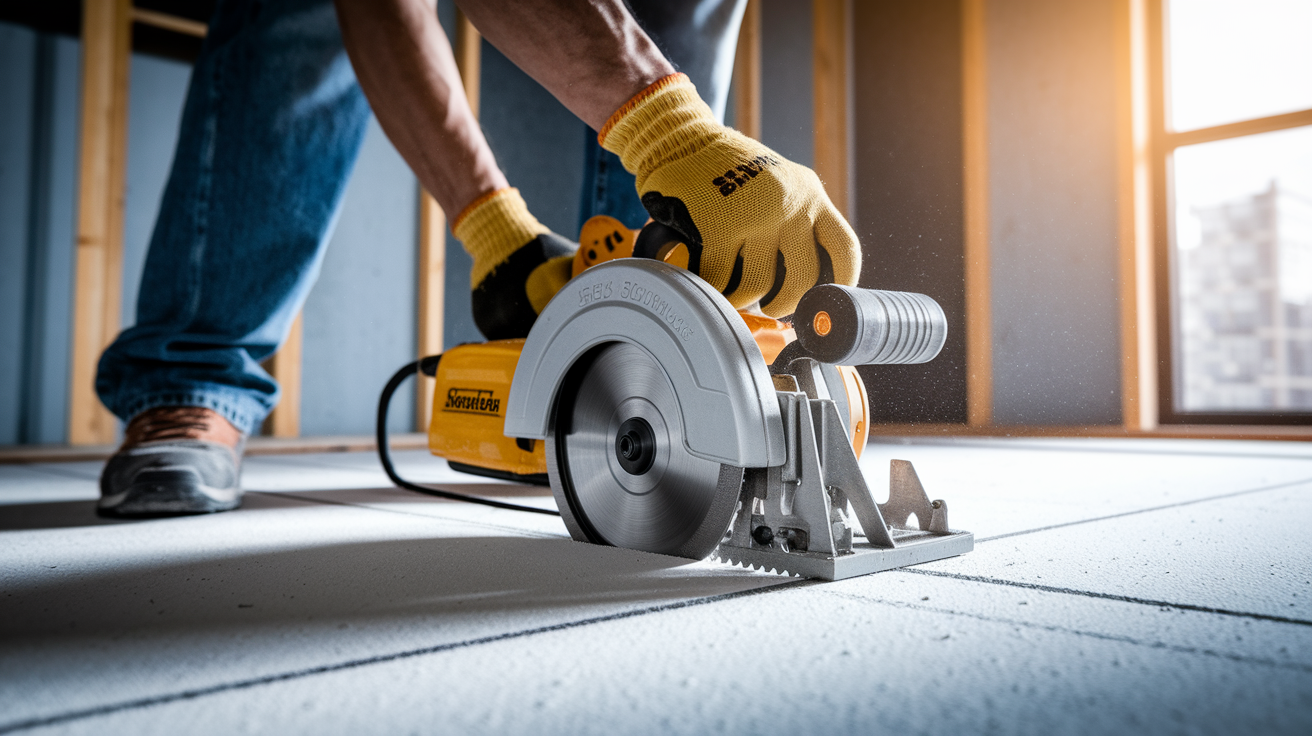
You’ll need a utility knife, a drywall saw, and a pry bar. If baseboards are in the way, remove them first. Trying to cut around them leaves jagged edges and makes installation harder later.
Mark your cutting lines with a pencil. Extend cuts at least 2 inches beyond visible damage on all sides. For basement flooding, mark 6 inches above the waterline around the room. Score the drywall face with the utility knife along marked lines, then use the drywall saw to cut through. The saw works better than a knife for long cuts and reduces dust compared to power tools. Cut to the center of the nearest wall stud on each side so you’ll have a solid fastening surface for new drywall.
-
Remove baseboards and trim carefully with a pry bar to avoid damaging reusable pieces and to expose the bottom edge of drywall for clean cutting.
-
Mark cutting lines with a pencil and straightedge at least 2 inches beyond visible damage, or 6 inches above waterline in flood situations, extending cuts to the center of wall studs.
-
Score the drywall face deeply with a utility knife along marked lines to create a clean starting edge and reduce tearing during saw cuts.
-
Cut through the drywall with a drywall saw following scored lines, cutting to stud centers for solid backing support on replacement panels.
-
Pry out damaged sections carefully with a pry bar, removing fasteners and pulling drywall away from studs without damaging framing behind it.
-
Remove and discard wet insulation from wall cavities and check for standing water, mold growth, or debris inside the wall before proceeding.
Inspect wall studs and framing once drywall is removed. Look for water staining, soft spots, mold growth, or structural damage. If studs show signs of rot or mold penetration, they’ll need treatment or replacement before installing new drywall. Wet insulation must be removed and replaced. It doesn’t dry properly and becomes a mold reservoir.
Installing Replacement Drywall After Flood Damage

Use mold resistant drywall in flood prone areas. Standard drywall works for dry locations, but greenboard (moisture resistant) or purple board (mold resistant and moisture resistant) makes sense in basements, bathrooms, and anywhere flooding has happened before. Cement board is overkill for most wall repairs unless you’re tiling over it.
Measure the opening and cut replacement drywall to fit. A utility knife scores the face, then you snap the panel along the score line and cut the back paper. Test fit the piece before fastening. It should fit snug against studs without forcing or leaving gaps wider than 1/4 inch. Drywall that’s too tight will buckle. Drywall with big gaps creates weak seams that crack later.
Fasten the replacement panel with drywall screws every 6 to 8 inches along all edges where it meets stud backing. Screws should sink just below the drywall surface without breaking the paper facing. A dimple, not a tear. Drive screws into stud centers, not edges, and make sure every seam has solid wood backing behind it for support.
| Drywall Type | Moisture Resistance | Best Application |
|---|---|---|
| Standard drywall (white or gray paper facing) | None, absorbs moisture readily | Dry living areas, bedrooms, and upper floors with no history of water intrusion |
| Greenboard (green paper facing) | Moderate moisture resistance in paper and core | Bathrooms, laundry rooms, and basements with occasional moisture exposure |
| Purple board (purple paper facing) | High moisture and mold resistance in paper and treated core | Flood prone basements, high humidity areas, and locations with previous water damage |
| Cement board (fiber cement core) | Waterproof, does not absorb moisture | Shower surrounds, tile backer, and areas with direct water contact |
Finishing, Priming, and Painting Repaired Drywall

Finishing takes patience because each coat needs to dry completely before the next step. Rushing this part shows in the final result.
-
Apply fiberglass mesh tape over all seams where new drywall meets existing walls, pressing it flat against the surface.
-
Spread the first coat of joint compound over taped seams with a 6 inch drywall knife, embedding the tape and feathering edges outward.
-
Let the first coat dry 24 hours in a well ventilated room before touching it or applying the second coat.
-
Apply the second coat of joint compound with an 8 inch knife, extending coverage 2 inches wider than the first coat and feathering edges.
-
Let the second coat dry 24 hours before proceeding to the third coat.
-
Apply the third coat of joint compound with a 10 inch knife, feathering edges even wider for a smooth transition to existing wall surface.
-
Let the third coat dry 24 hours before sanding.
-
Sand dried compound smooth with 120 grit sandpaper on a sanding block, using light pressure and checking frequently to avoid over sanding.
-
Remove loose or flaking paint around the repair area with a scraper, then sand the wall smooth to create a clean surface for primer.
-
Apply oil based or shellac based stain blocking primer over the entire repair area to prevent tannin and mineral bleed through, allowing 2 to 4 hours drying time per manufacturer instructions, then apply a coat of mold resistant primer before painting.
Match existing wall texture before final painting. Smooth walls get sanded flat. Knockdown, orange peel, or other textures require matching with a spray texture product or hand tools. Practice on scrap drywall first if you’re unfamiliar with the texture pattern. Extend paint coverage at least 6 inches beyond the repair area to blend the finish with the existing wall. Apply two coats of matching paint, letting the first coat dry completely before applying the second. If you’re unsure of the paint color, take a paint chip from an inconspicuous area to a paint store for color matching.
Estimated Costs for Flood Drywall Repair Projects

DIY material costs for small repairs run low. One 4×8 sheet of standard drywall costs $10 to $15, a bucket of joint compound runs $15 to $20, primer costs $20 to $30 per gallon, and paint adds another $30 to $50 per gallon. Add taping supplies, sandpaper, and basic tools if you don’t already own them, and a small patch job stays under $100 in materials. Larger repairs requiring multiple sheets, mold resistant drywall, more compound, and additional primer push material costs to a few hundred dollars.
Professional service pricing depends on square footage, damage extent, and what’s involved beyond drywall replacement. Minor wall repairs handled by a contractor cost a few hundred dollars for labor and materials combined. Larger issues involving plumbing repairs, mold remediation, structural framing work, or multi room restoration run into the thousands. Mold remediation alone adds significant cost due to containment procedures, specialized cleaning, and disposal requirements.
| Repair Scope | DIY Material Cost | Professional Cost Range |
|---|---|---|
| Small patch under 1 square foot (surface damage only) | $30 to $75 | $150 to $300 including labor |
| Moderate damage 10 to 50 square feet (panel replacement, no mold) | $100 to $250 | $500 to $1,500 including labor and finishing |
| Large area 50 to 100 square feet (multiple panels, minimal mold) | $200 to $500 | $1,500 to $3,500 including labor, materials, and mold treatment |
| Full room (all walls, extensive water exposure) | $400 to $800 | $3,000 to $6,000 including demolition, drying, and reconstruction |
| Multiple rooms with mold remediation and structural repairs | Not recommended for DIY | $5,000 to $15,000+ depending on extent and contamination level |
When to Hire Professional Drywall Restoration Contractors
The threshold where DIY becomes unsafe or impractical is clear: 10 square feet of damage, active mold growth, or contaminated water. Beyond that point, you’re dealing with health risks, structural concerns, or repair complexity that requires more than basic skills and tools. Trying to handle large scale flood damage without proper equipment, containment procedures, or mold remediation certification puts your health at risk and often creates bigger problems than you started with.
Professional water damage restoration contractors bring specialized moisture detection equipment, commercial grade dehumidifiers, mold containment systems, and the experience to assess hidden damage behind walls, under floors, and within structural cavities you can’t see. They know building codes, understand when structural elements need reinforcement, and coordinate the full sequence from water extraction through final finish work. When electrical systems are involved, they bring licensed electricians. When plumbing caused the flood, they handle that repair before touching drywall.
Category 3 contaminated water from sewage backup, river flooding, or storm surge requires professional remediation due to pathogen contamination and specialized disinfection procedures beyond DIY capabilities.
Black mold or active mold growth covering more than 10 square feet requires containment, proper removal procedures, and often air quality testing that DIY methods can’t provide safely.
Electrical system involvement, wet outlets, switches, fixtures, or wiring means licensed electricians must assess and repair electrical hazards before any drywall work begins.
Structural damage to wall studs, floor joists, or framing members requires structural assessment and potentially engineered repairs beyond cosmetic drywall replacement.
Persistent moisture after 72 hours of drying efforts indicates hidden water sources, trapped moisture, or conditions requiring professional moisture mapping and extraction equipment.
Unknown or inaccessible leak source? Professionals use thermal imaging and moisture detection to locate hidden leaks behind walls, under slabs, or in concealed plumbing.
Damage affecting multiple rooms or floors creates a scale of work requiring coordinated demolition, drying, and reconstruction that’s impractical for DIY timelines and equipment.
Insurance claim complexity requiring documented estimates and licensed contractor coordination matters because many insurers require professional assessment, detailed scopes, and licensed contractor invoices for claim approval.
Health concerns, respiratory issues, or occupants with mold sensitivity mean professional containment and removal protects vulnerable household members from exposure during remediation.
Filing Insurance Claims for Flood Drywall Damage

Insurance typically covers sudden events like burst pipes, storm damage, or appliance failures but excludes gradual damage from slow leaks, poor maintenance, or long term neglect. The difference matters when filing a claim. A pipe that bursts overnight gets covered. A pipe that’s been dripping for months and finally causes visible damage usually doesn’t. Read your policy to understand what’s covered before assuming flood damage qualifies.
Document everything immediately. Take photos and videos of all damaged areas before touching anything, including wide shots showing room context and close ups of specific damage. Written notes with dates, times, and observations help later when details blur together.
Coordinate between your insurance adjuster, restoration contractors, and repair timelines. Adjusters need to assess damage before major demolition happens, but waiting too long risks mold growth and secondary damage. Contractors can provide estimates and document damage for the adjuster while beginning emergency stabilization work like water extraction and drying. Clear communication keeps the claim moving and prevents disputes over what was damaged initially versus what worsened due to delays.
-
Notify your insurance company immediately after discovering flood damage, providing basic details about the water source, affected areas, and approximate extent of damage.
-
Document all damage with photos and videos before beginning cleanup or repairs, capturing wide angle room views and detailed close ups of every damaged surface.
-
Write detailed notes describing when you discovered damage, what caused it, and what actions you’ve taken to prevent further damage (water shutoff, emergency drying).
-
Wait for adjuster visit before removing damaged materials unless immediate safety hazards exist (active mold, electrical hazards, structural collapse risk).
-
Get written estimates from licensed contractors covering full scope of repairs including demolition, drying, reconstruction, and finishing to compare against adjuster assessments.
-
Keep receipts for all emergency measures including equipment rentals, temporary repairs, hotel stays if displacement occurs, and mitigation efforts to include in claim documentation.
Preventing Future Drywall Water Damage After Repairs

Repair is only half the solution. Preventing future water damage protects your investment and avoids going through this process again. Most flood damage is preventable with regular maintenance, monitoring, and addressing small issues before they become big problems.
Prevention works as a multi layered approach. Plumbing failures, exterior water intrusion, appliance leaks, and condensation issues all threaten drywall differently. Address each potential source with specific preventive actions rather than hoping one fix covers everything.
Schedule annual plumbing inspections by a licensed plumber to identify deteriorating pipes, loose connections, corrosion, and early leak signs before failures occur.
Clean gutters and downspouts twice yearly (spring and fall) to prevent overflow that saturates exterior walls and seeps into basements or crawl spaces.
Install water leak detectors behind washing machines, dishwashers, water heaters, and under sinks to alert you immediately when small leaks start before they cause visible damage.
Insulate exposed pipes in unheated spaces (crawl spaces, attics, exterior walls) to prevent freezing and bursting during cold weather.
Test sump pumps quarterly by pouring water into the pit to confirm activation, and install battery backup systems to prevent basement flooding during power outages.
Seal window and door frames with caulk and weatherstripping to prevent rain intrusion during storms and reduce condensation from temperature differentials.
Improve grading around foundation so ground slopes away from the house at least 6 inches over 10 feet to direct surface water away from basement walls.
Replace washing machine hoses every 5 years and dishwasher supply lines every 7 years regardless of visible condition to prevent age related failures.
Maintain HVAC systems with annual service including drain line clearing, condensate pan inspection, and ductwork checks to prevent overflow and condensation damage.
Monitor indoor humidity levels with a hygrometer, keeping levels between 30% and 50% to prevent condensation on walls and reduce conditions that support mold growth.
Final Words
Flood damaged drywall repair starts with safety and ends with prevention.
Shut off power, assess contamination level, dry everything completely, and remove damaged sections beyond the visible waterline. Replace with mold-resistant materials when flooding is a risk.
Finish carefully with proper taping, stain-blocking primer, and paint that blends into the existing wall.
Know when to call professionals, especially with Category 3 water, active mold over 10 square feet, or structural concerns. Document everything for insurance if the damage qualifies.
Once repairs are complete, protect your work with regular plumbing checks, leak detectors, and smart moisture control. Prevention keeps you from doing this twice.
FAQ
Can water damaged drywall be repaired?
Water damaged drywall can be repaired if the damage is minor and the material dried quickly without severe saturation or contamination. Small surface damage under 8 inches in diameter can be patched, while heavily saturated or crumbling drywall must be completely replaced to prevent structural failure and mold growth.
How do you patch flood cuts to drywall?
Flood cuts to drywall are patched by cutting replacement drywall to fit the removed section, fastening it to wall studs with screws every 6 to 8 inches, taping seams with joint compound, applying three coats of mud with 24-hour drying between each, sanding smooth, and priming before painting.
How much does it cost to repair water damaged drywall?
Water damaged drywall repair costs range from a few hundred dollars for small DIY patches under 1 square foot to several thousand dollars for professional repairs involving multiple rooms, mold remediation, or structural damage. Material costs for DIY projects include drywall sheets, joint compound, primer, paint, and basic tools.
Do you have to replace drywall after a flood?
You have to replace drywall after a flood if the material is heavily saturated, sagging, crumbling to the touch, or exposed to contaminated Category 3 water like sewage. Slightly damp drywall that dries quickly within 48-72 hours and shows no structural compromise may be salvageable without replacement.
What are the safety precautions before repairing flood damaged drywall?
Safety precautions before repairing flood damaged drywall include shutting off electricity at the breaker box, wearing N95 or N100 respirator masks, using rubber gloves and safety glasses, and ensuring proper ventilation. These steps protect against electrical hazards, contaminated floodwater exposure, and respiratory issues from mold or airborne particles.
How long does drywall need to dry before repair?
Drywall needs to dry for at least 48 to 72 hours before repair work begins to prevent mold growth and ensure structural stability. Use moisture meters to confirm readings below 15 percent moisture content before installing replacement material, as mold can develop within 24 to 48 hours of water exposure.
What type of drywall should be used after flood damage?
The type of drywall used after flood damage should be mold-resistant or moisture-resistant material like purple board or greenboard in flood-prone areas. Standard drywall works for low-risk locations, while cement board provides maximum protection in high-moisture environments like basements or areas with recurring water exposure.
When should you call a professional for water damaged drywall?
You should call a professional for water damaged drywall when damage exceeds 10 square feet, shows active mold growth with black or green patches, involves Category 3 contaminated water, affects electrical systems, or persists across multiple rooms. Structural damage, unknown leak sources, and moisture remaining after 72 hours also require professional intervention.
How do you prevent mold growth after drywall water damage?
Preventing mold growth after drywall water damage requires drying affected areas within 24 to 48 hours, using dehumidifiers and fans for air circulation, removing all saturated material, applying mold-resistant primer before painting, and maintaining proper ventilation. Regular moisture monitoring and fixing water sources immediately also prevent future growth.
Will insurance cover flood damaged drywall repair?
Insurance will cover flood damaged drywall repair for sudden events like burst pipes or storm damage but typically excludes gradual damage from poor maintenance or long-term leaks. Document damage immediately with photos and written assessments, notify your insurer quickly, and coordinate with adjusters and contractors for claim approval and repair timelines.