
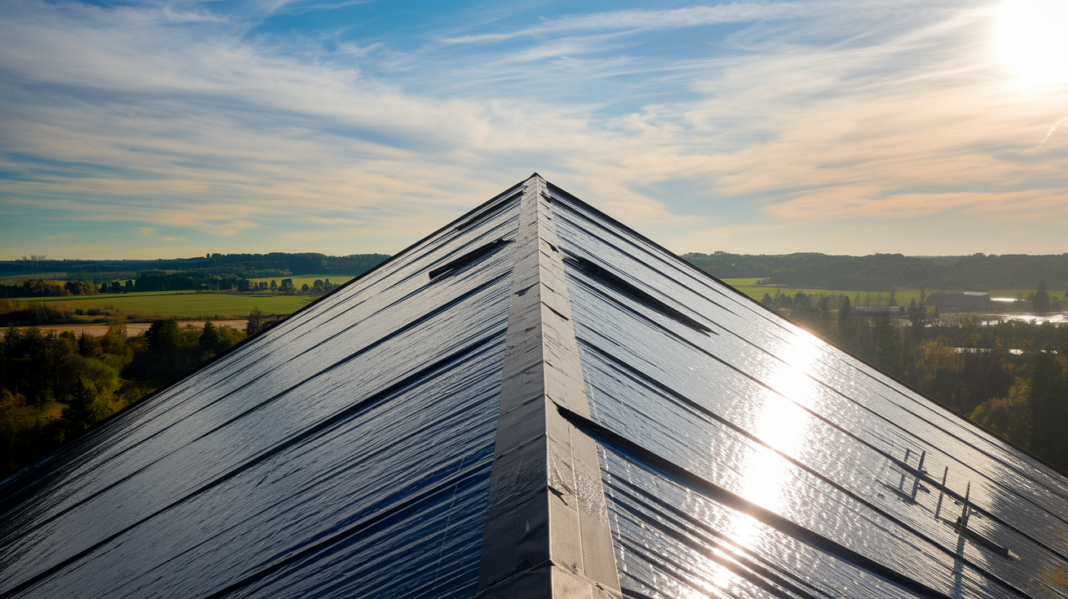

Think a tarp will hold in a storm? Think again—basic lightweight poly usually fails at 25 to 35 mph.
When a tarp peels off, rain soaks drywall, warps trim, and gives mold a place to start.
This post cuts straight to what works: which materials (heavy vinyl, canvas, reinforced poly) resist uplift, and which fastening steps (rope-lined hems, furring strips, sandbags, cross-ties, reinforced grommets) actually keep a tarp on the roof.
You’ll get clear, practical steps to reduce damage now and make repairs easier later.
Understanding Wind Resistance Performance of Roof Tarps

Your basic lightweight poly tarp starts failing when sustained winds hit 25 to 35 mph. Heavy-duty vinyl or canvas can push that to 45 or 55 mph if you install it right. Commercial-grade reinforced tarps handle 50 to 60 mph, and when professionals install them, you’re looking at effective wind tolerance up to 70 or 80 mph. Those numbers are for sustained speeds, not gusts. Actual performance depends on how you attach it, what your roof pitch looks like, and what the terrain does to the wind around your house. A tarp rated for moderate wind will rip or lift away if you skimp on anchors or don’t reinforce the edges properly.
Material thickness matters. A 6-mil poly tarp tears under moderate gusts. 12-mil and 16-mil versions do better but still fail under sustained heavy wind. Heavy-duty tarps at 20 mils or higher give you the best temporary protection during storms. Thickness gets measured in mils (thousandths of an inch) or ounces per square yard for canvas and woven stuff. Higher numbers mean more puncture and tear resistance.
Reinforced edges, rope-lined hems, and grommets spaced about every 18 inches reduce tear-out and uplift where you attach things. A lightweight tarp with weak grommets will rip at the holes before the material itself tears. Reinforced grommets and double-stitched hems spread the load more evenly across the fabric, preventing isolated failures when wind pressure spikes. Tarps without edge reinforcement will balloon, flutter, and eventually peel away from anchor points even in moderate winds.
Material Strength Factors That Influence Roof Tarp Wind Resistance

Heavy-duty vinyl gives you the best combo of tear resistance and complete waterproofing. That’s why it’s the go-to for emergency roof protection. Canvas provides high tensile strength and breathability but isn’t fully waterproof, so it works better when some moisture permeability is acceptable. Reinforced polyethylene costs less for short-term jobs and performs okay in moderate conditions, but it degrades faster under prolonged sun and wind than vinyl does.
Denier ratings describe fiber thickness in woven tarps like canvas and poly fabrics. Higher denier means thicker, stronger fibers that resist tearing and abrasion. Weight ratings, usually in ounces per square yard, reflect overall density and durability. Polyurethane or vinyl coatings applied to base fabrics improve waterproofing and UV resistance without adding much weight.
Core strength characteristics that determine wind performance:
Rope-reinforced hems create continuous edge strength and prevent tearing at anchor points under tension.
Reinforced corner patches distribute load at high-stress zones where wind uplift concentrates.
UV-resistant coatings prevent material degradation that leads to cracking and tearing after weeks of sun exposure.
Grommets set in reinforced backing plates reduce the chance of tear-out when rope or straps pull against anchor points.
Laminated or woven construction increases puncture resistance compared with single-layer extruded plastic sheeting.
Installation Techniques That Improve Roof Tarp Wind Resistance
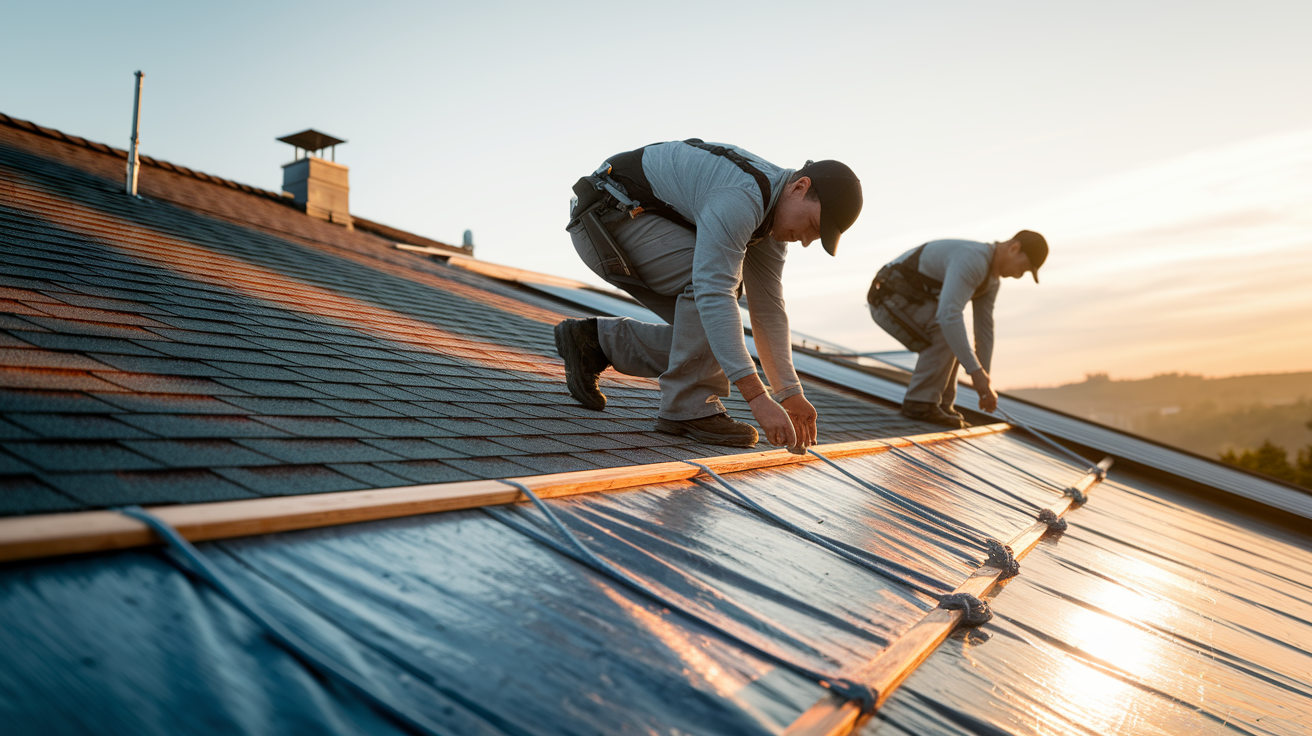
Extend the tarp at least 4 feet beyond the damaged area on all sides. That provides enough overlap for secure attachment and reduces water intrusion at the edges. Perimeter attachment points should be spaced every 2 to 3 feet to create a continuous hold along the entire edge. That prevents wind from lifting the tarp at gaps between anchors. Concrete blocks placed every 4 to 6 feet along the perimeter provide distributed weight, and sandbags weighing 25 to 50 pounds each add conforming ballast that adjusts to roof contours.
Use screws with 2- to 3-inch-diameter washers to spread the load across the tarp material and reduce tear-out risk. Furring strips (wood or metal) secured through the tarp and into solid roof decking create continuous attachment lines when you drive fasteners every 6 to 8 inches along the strip. Don’t use oversized tarps that create excessive sail area. Always fold tarp edges to create double-thickness barriers under weights and anchors. Triangular reinforcement patches cut from excess tarp material and bonded with waterproof adhesive at corners add strength where uplift forces concentrate.
Step-by-step anchoring and tensioning process:
Secure all four corners first with weighted sandbags or mechanical anchors to establish the tarp footprint and prevent shifting.
Attach perimeter edges every 2 to 3 feet using rope threaded through grommets, tarp clips with stakes, or furring strips with fasteners.
Install cross-ties in a crisscross pattern from corner to corner to reduce billowing and distribute tension across the entire tarp surface.
Add supplemental weights along all edges, spacing sandbags or blocks every 4 to 6 feet and concentrating extra weight at corners.
Apply tensioning using rope and bungee combinations to maintain consistent pressure without overtightening, which creates stress points.
Seal overlaps and seams with professional-grade waterproof tape and verify that no wrinkles or air pockets remain that could catch wind.
Roof Tarp Wind Uplift Forces and How to Reduce Them

Wind flowing over a roof creates higher pressure underneath a tarp than above it. That generates uplift that pulls the tarp away from the surface. Steep roof pitches amplify this effect because wind accelerates as it moves up the slope, increasing the pressure differential. Two-story structures experience wind speeds about 15 to 20 percent higher than ground-level measurements, so tarps installed on upper floors face greater uplift forces. Complex roof geometries with valleys, dormers, and multiple slopes create turbulent airflow that concentrates uplift at specific points rather than distributing forces evenly.
Single-point anchors fail under gusts because all the wind load transfers to one fastener or weight, exceeding the holding capacity of the tarp material or the anchor itself. Cross-tie rope patterns, multiple attachment points spaced closely along edges, and weighted perimeter edges all work together to spread uplift forces across many anchors. Using a combination of sandbags, mechanical fasteners, and continuous furring strips creates redundant systems. If one anchor point fails, others absorb the load without allowing the entire tarp to lift away.
| Roof Condition | Wind Effect | Recommended Mitigation |
|---|---|---|
| Steep pitch (6:12 or greater) | Increased uplift and acceleration of airflow | Use heavier tarps, add fasteners every 12 inches along edges, apply furring strips |
| Two-story or elevated | Wind speeds 15–20% higher than ground level | Increase anchor weights by 20%, add cross-ties, use mechanical fasteners |
| Complex geometry (valleys, dormers) | Turbulence concentrates uplift at corners and transitions | Install triangular corner patches, double-weight corners, seal all seams |
| Open site with no wind barriers | Sustained high winds without turbulence reduction | Combine sandbags + rope systems + mechanical anchors for layered redundancy |
Preventing a Roof Tarp from Blowing Away During Storms

Always secure the windward edge first to prevent the tarp from acting as a sail during installation. If you anchor the leeward edge before the windward side, wind can catch underneath and lift the entire tarp, making it impossible to control. Working from the direction the wind is coming from lets you pin down the high-pressure side and progressively tension the tarp toward the downwind edge. Sandbags weighing 25 to 50 pounds each should be placed every 4 to 6 feet along all edges, with additional concentrated weight at corners where uplift forces peak.
Cross-tie rope patterns distribute tension across the tarp surface and prevent billowing. Thread heavy-duty braided nylon rope (minimum 3/8-inch diameter) through grommets in a diagonal crisscross layout, then tie each rope end to a solid anchor point such as a chimney, vent pipe, or mechanical fastener. Don’t leave wrinkles or air pockets in the tarp because these areas catch wind and create localized lifting forces that can tear the material or pull anchors loose. If gusts are expected, add elastic straps or bungee cords between rope tie-downs to absorb sudden pressure spikes without transferring the full load to rigid anchors.
Storm-specific securing strategies:
Double-layer corners by folding the tarp back on itself and placing weighted blocks on the folded section to create a thicker, stronger anchor zone.
Use tarp clips along edges to add attachment points between grommets, increasing the number of anchors without drilling or punching new holes.
Monitor weather forecasts and add supplemental weights or tighten ropes within 12 hours of predicted high winds.
Create windbreaks using portable barriers, lumber, or natural features like trees to reduce direct gust exposure on the tarp surface.
Inspect and retighten all ropes, straps, and fasteners immediately after the first gust event to correct any loosening before sustained winds arrive.
Common Roof Tarp Failures Under Wind and How to Avoid Them
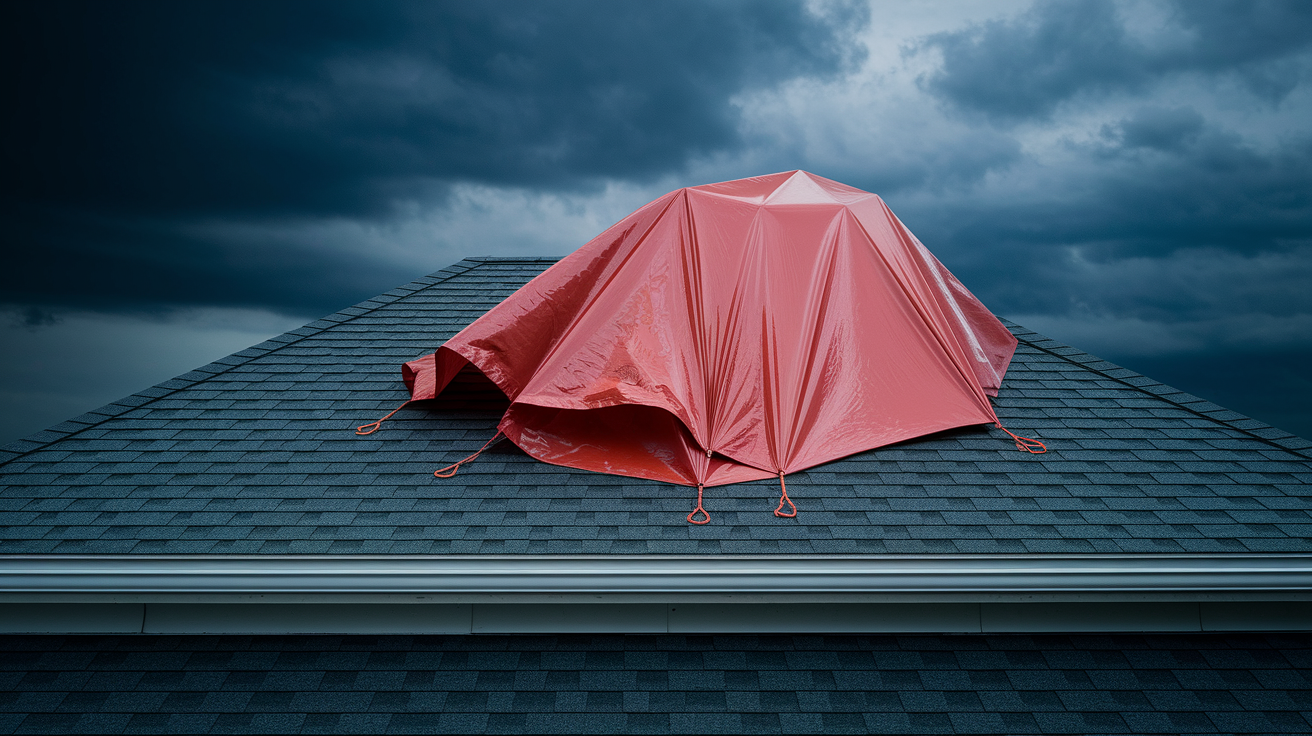
Inadequate continuous perimeter attachment is the most frequent failure mode. When anchors are spaced too far apart or skipped along sections of the edge, wind intrudes underneath and inflates the tarp like a balloon. Once the tarp lifts away from the roof surface, it flaps violently, tearing at anchor points and accelerating material fatigue. Improper tensioning (either overtightening that creates stress points or leaving the tarp too loose) also leads to failure. Overtightening concentrates load at individual fasteners, while loose tarps flutter and develop fatigue cracks along fold lines.
Insufficient overlap between adjacent tarp sections allows water and wind to penetrate seams. Seam separation occurs when overlapping edges aren’t bonded or weighted adequately. Wrinkles and air pockets act as wind scoops, catching gusts and generating localized uplift that pulls the tarp away from anchors. Loose or missing fasteners reduce the total holding capacity of the installation, and a single missing anchor can shift load to neighboring points, triggering a progressive failure as each anchor exceeds its design limit.
Root causes of blow-off incidents:
Gaps between perimeter anchors allowing wind intrusion underneath the tarp
Single-layer edges with no reinforcement patches at high-stress zones
Lack of cross-tie rope systems to distribute tension and prevent billowing
Installation during windy conditions that prevent proper tensioning and sealing
Safety Protocols When Securing a Wind-Resistant Roof Tarp

Installation should only occur when sustained winds are below 15 mph and gusts remain under 25 mph. Working in higher wind creates loss-of-control hazards where partially secured tarps can act as sails, pulling workers off balance or tearing free and becoming airborne projectiles. Don’t attempt tarp installations within 12 hours of an approaching storm because changing weather can rapidly increase wind speeds and make safe completion impossible.
Use fall-protection harnesses rated for rooftop work and anchor them to solid structural points, not to the tarp or temporary fasteners. Wear non-slip footwear with aggressive tread to maintain traction on wet or debris-covered roof surfaces. Secure each tarp section fully (corners, edges, and cross-ties) before moving to the next section to prevent partially installed materials from catching wind and creating additional hazards.
Personal protective equipment and hazard-avoidance rules:
Fall-arrest harnesses with lanyards anchored to permanent roof structures or dedicated anchor points installed before tarp work begins.
Hard hats and safety glasses to protect against dropped tools, flying debris, or fasteners that slip during installation.
Two-person minimum crews so that one worker can stabilize the tarp while the other secures anchors, and both can assist in emergency situations.
Wind Resistance Longevity and Maintenance for Roof Tarps

Weekly inspections are recommended during extended tarp coverage to catch small problems before they turn into catastrophic failures. Check for frayed edges, enlarged grommets, seam separation, sagging sections, and water pooling that stretches the material. Standard polyethylene tarps exposed to outdoor conditions typically last 30 to 60 days before UV degradation and wind fatigue compromise strength. Heavy-duty vinyl and canvas tarps can remain effective for 90 to 120 days, depending on weather exposure and initial installation quality.
After each wind event exceeding 30 mph, inspect all anchor points, retighten ropes and straps, and verify that sandbags and weights haven’t shifted. Apply waterproof tape to reseal edges if the original seal has lifted, and add reinforcement patches over any small tears or punctures using material-specific repair kits. If brittleness, surface cracking, or color fading appears, the tarp has reached the end of its service life and should be replaced rather than repaired. Any tarp exposed to sustained winds above 40 mph should be inspected immediately and replaced if material fatigue is visible, even if no obvious tears have developed.
Proactive maintenance extends the functional lifespan of a tarp and reduces the risk of sudden failure during the next storm. Small tears grow rapidly under wind load, and loose fasteners allow progressive edge separation that can’t be corrected once significant tearing begins. Retightening anchors, adding supplemental weights, and resealing seams take minimal time compared with the cost and disruption of a tarp failure that exposes the interior to rain and wind damage.
Emergency Professional Tarping Services for Wind-Resistant Roof Protection

Professional emergency tarping services use commercial-grade materials and fastening systems engineered to achieve wind tolerance of 70 to 80 mph. That’s significantly higher than typical DIY installations that top out around 40 to 45 mph. Professionals document pre-installation roof conditions, damage extent, and installation methods with photographs and written reports. That creates the detailed records insurance adjusters need to process claims and approve coverage. Temporary roof covers must comply with local building codes, and professional installers understand permitting requirements, safety regulations, and liability considerations that homeowners may overlook.
Steep roofs, complex geometries with multiple slopes and valleys, and two-story or higher structures present fall hazards and installation challenges that exceed the capabilities of most homeowners. Professional crews carry fall-protection equipment, use scaffolding or lift systems for safe access, and complete installations faster because they work in trained teams with specialized tools. When sustained winds are forecast within 24 hours, professionals can mobilize quickly and secure tarps before conditions become unsafe, while DIY efforts often run out of daylight or face worsening weather mid-installation.
Key benefits of professional wind-resistant tarping:
Commercial materials with reinforced edges, heavy-duty grommets, and higher mil ratings than consumer tarps available at retail stores.
Engineered attachment systems using furring strips, mechanical fasteners, and tensioning hardware designed for sustained high wind loads.
Insurance documentation including damage photos, moisture readings, installation records, and scope-of-work reports that support claim approval and supplement requests.
Final Words
Light poly usually gives up around 25–35 mph, heavy-duty vinyl or canvas holds 45–60 mph, and commercial/pro installs can stand near 70–80 mph.
We covered what materials do, why thickness and reinforced hems matter, and how proper anchoring and ballast cut uplift. Check seams, grommets, and inspect after high winds.
If you need the tarp to actually stay put, focus on material choice, edge reinforcement, and the right installation. That’s how you improve roof tarp wind resistance and get back to normal with confidence.
FAQ
Q: How to keep a tarp from blowing in the wind?
A: Keeping a tarp from blowing in the wind requires securing the windward edge first, attaching the perimeter every 2–3 feet, adding sandbags or weights every 4–6 feet, and tensioning cross-ties.
Q: What is the best roofing material for high wind areas?
A: The best roofing material for high wind areas is metal or concrete tile for permanent roofs; for temporary covers, use commercial-grade reinforced vinyl tarps of 20+ mil thickness for stronger tear and wind resistance.
Q: Are tarps wind resistant?
A: Tarps are wind resistant depending on material and thickness: lightweight polyethylene often fails at 25–35 mph, heavy-duty vinyl or canvas holds around 45–55 mph, and commercial reinforced tarps withstand 50–60+ mph.
Q: How long will a 20 mil tarp last on a roof?
A: A 20 mil tarp will last about 90–120 days on a roof as a temporary cover, assuming regular inspections, edge resealing, and retightening of anchors to maintain wind resistance.