

Sealing cigarette smoke smell without cleaning first is like putting a lid on a garbage can that’s still full. You’re just trapping the problem, not fixing it. Most people skip the surface prep step, roll on a coat of primer, and wonder why the smell comes back two weeks later. Here’s the truth: nicotine, tar, and resin have to come off before any sealer can work. If you want the odor gone for good, you need the right products, proper ventilation, and a plan that treats more than just your walls.
Priority Action Guide for Sealing Cigarette Smoke Odor
If you’re staring at yellowed walls and breathing that stale tobacco smell, you need a clear plan that actually works. Here’s what to do first:
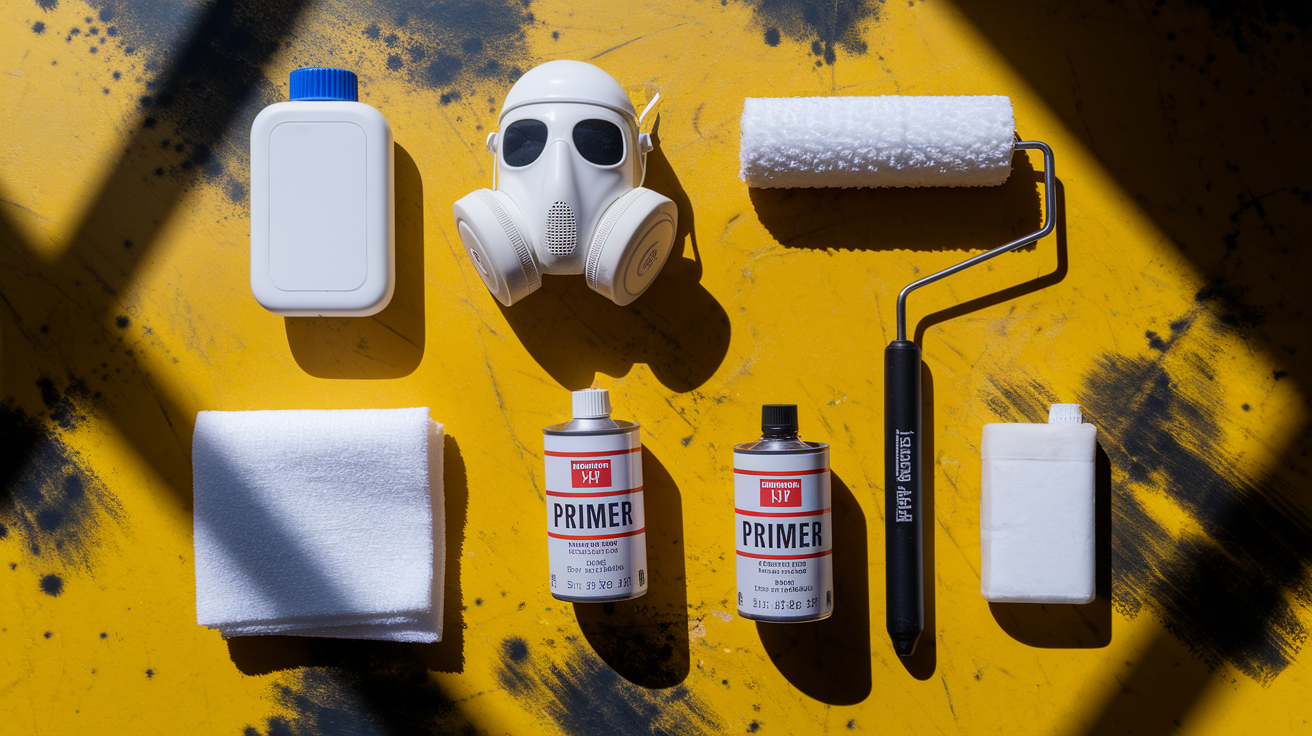
- Clean all surfaces with TSP solution before you apply any sealer. Nicotine, tar, and resin have to come off or the primer won’t stick.
- Pick the right primer based on how bad things are. Light staining needs different products than heavy buildup.
- Apply multiple thin coats with windows open and a respirator on. One coat rarely seals cigarette smoke completely.
- Deal with your HVAC system and all soft surfaces like carpet and furniture. Walls alone won’t solve the problem if smoke is trapped everywhere else.
Shellac Based Primers for Maximum Odor Control
Shellac primers like Zinsser B.I.N are the most effective option for blocking smoke odor and nicotine discoloration. They lock in tar buildup and resin deposits better than anything else. You’ll find B.I.N at most hardware stores for around $35 to $45 per gallon, and it covers about 400 square feet per coat.
Shellac based sealers dry fast, usually within an hour, and create a hard barrier that locks in the smell. If you’ve got heavy contamination, this is your best starting point. The downside? Strong alcohol smell during application, but it fades quickly once it dries.
Oil Based Primers for Heavy Stain Blocking
Oil based primers like Zinsser Cover Stain work well when you’re dealing with severe surface discoloration. They lock in yellowing stains and provide solid coverage over nicotine buildup. You’ll need good cross ventilation and a respirator rated for organic vapors because oil based products produce a heavier scent than shellac.
Use this option when contamination is thick and you need strong stain blocking. Oil based primers take longer to dry, typically four to six hours between coats, and they require mineral spirits for cleanup.
Specialty Water Based Smoke Sealers
Water based alternatives like Ultra Recon Smoke and Odor Sealer are designed specifically for tobacco smoke. They’re low VOC, easier to clean up with soap and water, and produce less smell during application. These work best for moderate contamination, not heavy buildup.
Standard water based primers won’t seal nicotine effectively. You need a specialty formula that’s engineered for smoke and odor encapsulation. Water based sealers dry quickly and allow for same day recoating, making them a good choice if you’re sensitive to solvent fumes.
Sealing products create a barrier that prevents smoke penetration and stops the lingering smell from continuing to off gas into your rooms. Multiple coats ensure permanent odor elimination rather than temporary masking, which is why primer paint and stain blocking matter more than just covering it with regular paint.
Complete Surface Preparation and Pre Treatment Process
Proper surface preparation determines whether your sealing effort works or fails. If you skip cleaning and go straight to primer, you’re sealing nicotine residue, tar buildup, and resin deposits right into the wall. That means poor adhesion and persistent odor.
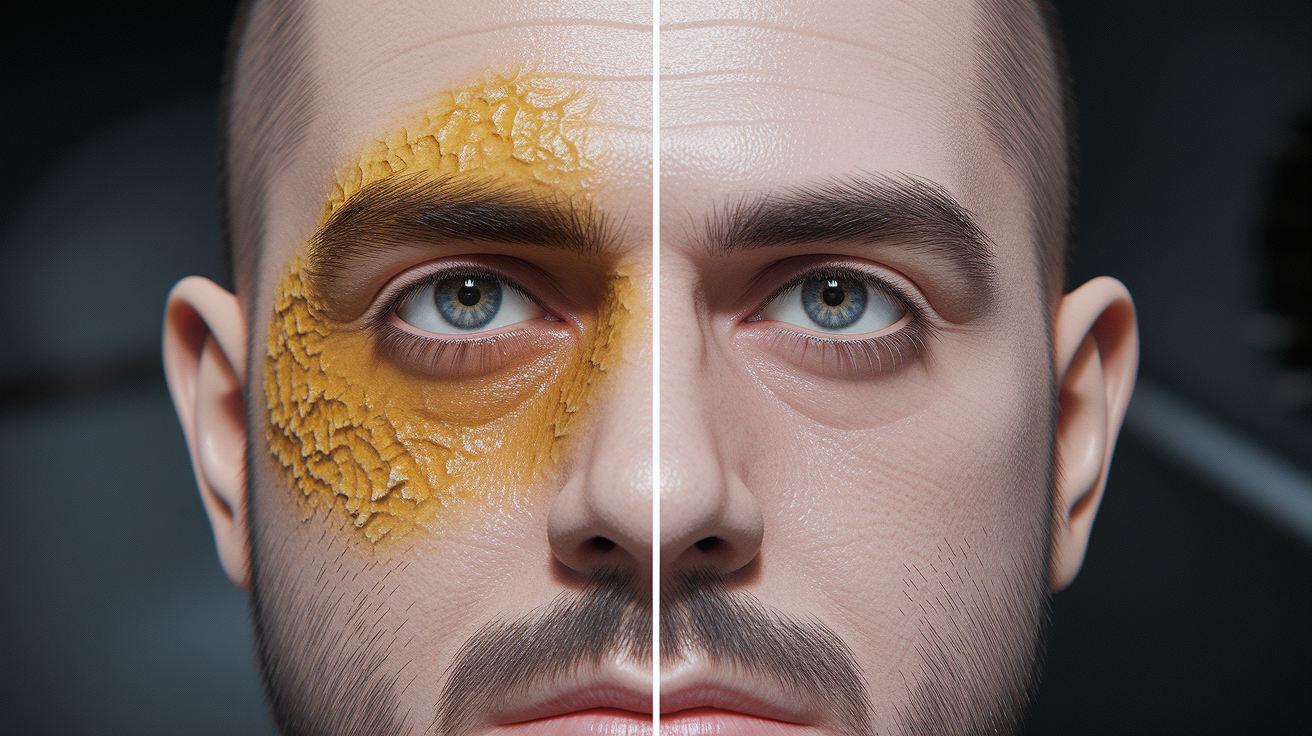
Nicotine leaves a sticky film on walls, ceilings, cabinets, and every hard surface in the house. Tar buildup creates dark spots and yellowing stains. Resin deposits settle into texture and corners. All of this has to come off before you apply any sealer.
You’ve got two cleaning paths. TSP (trisodium phosphate) is a chemical degreasing solution that cuts through heavy contamination fast. Mix it according to package directions, usually about half a cup per gallon of warm water. For moderate residue or if you prefer something gentler, use a vinegar solution. One part white vinegar mixed with one part water.
Test any cleaning product on a concealed area first. Vinegar can sometimes affect certain paint finishes or wallpaper, and you don’t want to find that out after you’ve treated an entire wall. Wait 24 hours and check for damage or fading before you continue.
Complete pre treatment process:
- Start with a dry cleaning sponge on heavy buildup areas. These sponges are designed to lift soot and sticky residue without water. Wipe in one direction, don’t scrub in circles.
- Mix your TSP solution at half a cup per gallon of warm water, or prepare your vinegar water mix at a 1:1 ratio in a spray bottle.
- Wipe down all walls, ceilings, and hard surfaces using a sponge or cloth dipped in your cleaning solution. Work from top to bottom so dirty runoff doesn’t streak cleaned areas.
- Clean glass, mirrors, and metal fixtures with straight vinegar, then rinse with clean water to prevent streaking.
- Treat curtains, shades, wall hangings, and light fixtures with your chosen solution. Remove light bulbs and wipe them separately.
- Let everything dry completely. This usually takes 24 hours in well ventilated spaces. Wet surfaces won’t accept primer properly.
- Inspect for remaining residue. Run your hand across the wall. If it feels sticky or leaves a yellowish film on your fingers, clean it again.
Step by Step Process for Applying Smoke Sealing Primer
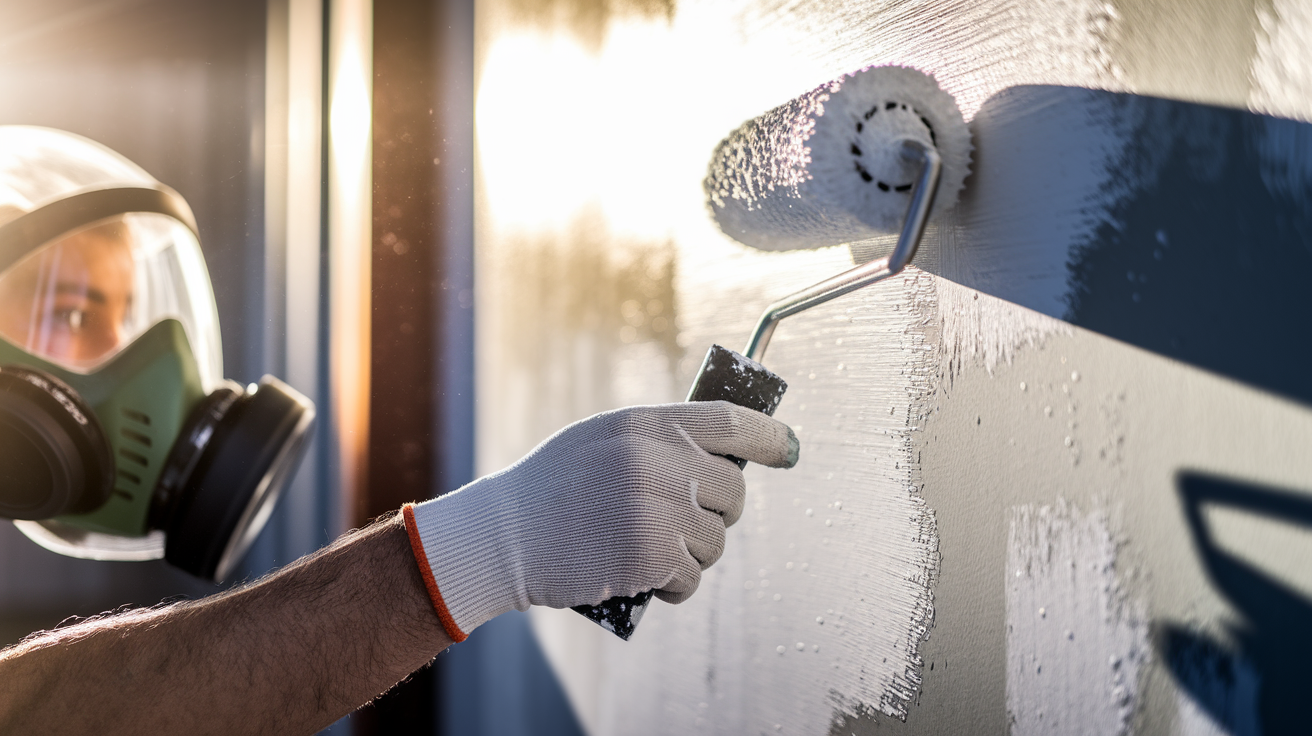
Proper application technique ensures complete coverage and prevents odor breakthrough. Rolling primer onto walls promotes maximum adhesion to the cleaned surface and creates an even seal. If you miss spots or apply primer too thin, cigarette smoke smell will keep pushing through.
Ventilation during application protects your health and helps the primer cure correctly. Open all windows, set up box fans pointing outward, and wear a respirator rated for organic vapors, especially with oil based or shellac based products. Don’t rely on a dust mask. It won’t filter the fumes.
Complete application process:
- Prepare the room by removing furniture, covering floors with drop cloths, and taping off trim and fixtures you don’t want to seal.
- Set up protective equipment including respirator, safety glasses, and gloves. Have soap and water ready for water based products, mineral spirits for oil based.
- Stir your primer thoroughly but don’t shake it. Shaking creates bubbles that leave weak spots in the seal.
- Apply the first coat with a roller using a three eighths inch nap for smooth walls, half inch nap for textured surfaces. Work in three foot sections, rolling in a W pattern, then filling in.
- Let the first coat dry completely. Shellac primers dry in about an hour, oil based in four to six hours. Check the can for specific drying times.
- Apply the second coat using the same technique. Multiple coats are usually needed depending on how bad the nicotine buildup is. If you still see yellowing or smell odor after the second coat dries, apply a third.
- Allow final curing before applying topcoat paint. This usually takes 24 hours for shellac, up to 48 hours for oil based primers.
Comprehensive Treatment for Carpets, Upholstery, and Fabric Surfaces

Porous surfaces like carpet and upholstery absorb significant amounts of tobacco smoke. Sealing your walls won’t solve the problem if smoke smell is still trapped in furniture, rugs, and fabric items. These surfaces need dedicated treatment that goes beyond wall sealing.
Baking soda pulls moisture and odor out of fabric fibers. Sprinkle a heavy layer over carpets, rugs, and upholstery, then leave it overnight at minimum. For heavily saturated items, let it sit for several days. The longer it stays, the more smell it absorbs. Vacuum thoroughly when you’re done, using slow passes to pick up all the powder.
Curtains, shades, and fabric fixtures need washing or spot treatment. Use a vinegar or baking soda solution in a spray bottle for items you can’t remove and wash. For washable curtains, add half a cup of white vinegar to the rinse cycle instead of fabric softener. The vinegar smell fades as it dries, taking the smoke odor with it.
Wall to wall carpet that’s been exposed to years of cigarette smoke may require professional cleaning or complete replacement. Professional services use hot water extraction and specialized deodorizers that penetrate deeper than home equipment. If carpet padding underneath is saturated, replacement is usually the only option that works. No amount of surface cleaning will eliminate odor that’s trapped in the pad.
Addressing Ventilation Systems and HVAC Ducts

Cigarette smoke doesn’t stay in one room. It circulates through your entire house via the ventilation system, settling in ducts, filters, and exhaust fans. You can seal every wall perfectly, but if contaminated air keeps cycling through vents, the smell comes right back.
Addressing the ventilation system is part of a comprehensive sealing strategy, not optional. Smoke residue coats the inside of ductwork and builds up on filter screens. Every time your heating or cooling system runs, it pushes that contamination back into your clean spaces.
Charcoal containing filters are designed for odor removal and help trap smoke particles. Install them as soon as you start cleaning, and change them every 30 days until the smell is gone. After that, maintain a regular replacement schedule.
HVAC system treatment steps:
- Inspect all duct openings for visible buildup and dark residue around registers
- Hire a professional duct cleaning service to remove contamination from inside the ductwork using specialized equipment
- Replace all air filters with odor removing filters that contain activated charcoal
- Clean exhaust fans in bathrooms and kitchens, removing covers and wiping blades and housing
- Set an ongoing maintenance schedule for filter changes every 30 to 90 days depending on contamination levels
Additional Surfaces That Require Smoke Odor Sealing

Tobacco smoke penetrates baseboards, trim, door surfaces, and window frames, causing yellowing stains that show up even after you’ve sealed the walls. These surfaces accumulate nicotine and tar just like drywall does, and they’ll continue releasing odor if you don’t treat them.
Hardwood surfaces need cleaning with a degreasing solution before sealing. Kitchen cabinets, hardwood floors, and wood trim should be wiped down with TSP or vinegar solution, then sealed with the same primer you’re using on walls. For finished hardwood floors that can’t be painted, professional refinishing may be necessary if smoke has penetrated the finish. Ceiling tiles in drop ceilings absorb smoke and rarely clean well enough to eliminate odor. Replacement is usually faster and more effective than trying to seal them.
Comprehensive sealing addresses all exposed surfaces, not just the obvious ones. Door frames, closet interiors, shelving, and even the backs of cabinet doors need attention. If smoke was present in the house, it touched everything. Missing one contaminated surface means the smell will keep spreading from that spot into your cleaned areas.
Air Purification Methods to Support Smoke Smell Containment
Air purification complements surface sealing by addressing airborne particles and third hand smoke that’s still circulating after cleaning. Even after you’ve sealed walls and treated fabrics, microscopic smoke particles can stay suspended in the air for weeks.
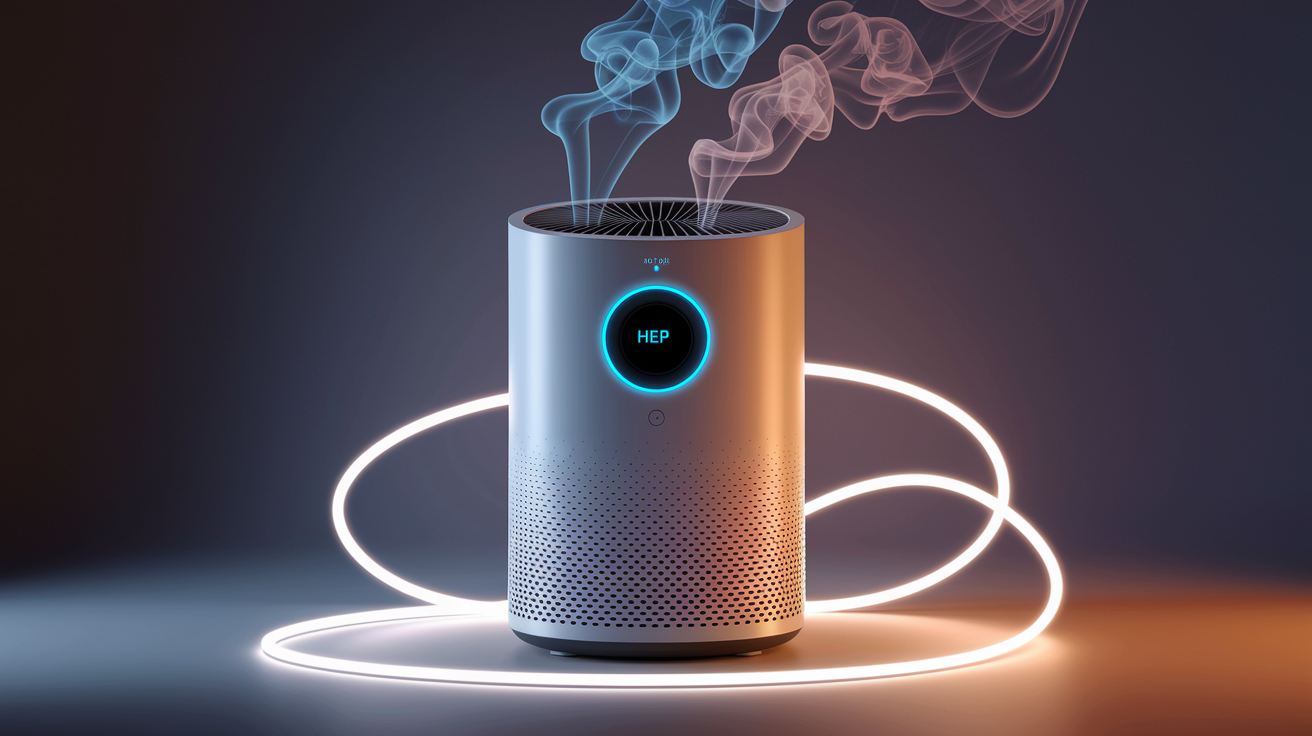
HEPA filters trap particles as small as 0.3 microns, which includes most tobacco smoke components. Activated charcoal works differently by adsorbing odor molecules through a chemical process. Industrial grade air purifiers combine both technologies for maximum effectiveness.
Opening windows dilutes the odor but doesn’t eliminate it. Ventilation helps during the cleaning and sealing process by moving contaminated air out, but fresh air circulation alone won’t remove the smoke that’s embedded in surfaces. You need active purification that filters and neutralizes rather than just dilutes.
For persistent odor situations after you’ve completed sealing work, run an industrial grade air purifier continuously for two to four weeks. Position it centrally in the most affected room and keep interior doors open so air circulates throughout the space. Replace or clean the filters according to manufacturer instructions, usually every 30 days during heavy use.
Safety Precautions When Sealing Cigarette Smoke Damage
Primer application, especially with oil based and shellac products, requires respirator masks rated for organic vapors, not basic dust masks. The fumes from these sealers can cause headaches, dizziness, and respiratory irritation if you don’t protect yourself properly. Wear safety glasses and nitrile gloves throughout the application process.
Proper ventilation during application and the curing process protects your health and helps primers dry correctly. Open all windows and doors, position box fans to pull air out of the work area, and don’t work in sealed rooms. If you feel lightheaded or develop a headache, leave the area immediately and get fresh air. Oil based primers produce heavier scent and require more ventilation time than water based alternatives, sometimes needing 48 hours of continuous airflow.
Safe disposal of materials contaminated with nicotine residue follows local hazardous waste guidelines. Used rags soaked in oil based primer can spontaneously combust if left bunched up. Lay them flat outside to dry completely before disposal, or store them in a sealed metal container filled with water. Empty primer cans and cleaning solution waste should go to your local household hazardous waste facility, not regular trash.
Cost Considerations and Project Timeline for Smoke Sealing

Product costs for a typical 12×12 room with 8 foot ceilings run about $150 to $300 for DIY sealing, including primer, cleaning supplies, brushes, rollers, and protective equipment. Shellac primers are widely affordable at $35 to $45 per gallon, oil based primers cost similar amounts, and specialty water based smoke sealers run slightly higher at $45 to $60 per gallon.
A DIY approach timeline for that same room takes three to five days: one day for cleaning, 24 hours for drying, one day for first primer coat, one day for second coat, and final cure time before painting. Professional remediation services complete the work faster using specialized equipment but cost significantly more.
Factors that affect project scope and budget include room size, how bad the nicotine buildup is, and what types of surfaces you’re sealing. Heavy contamination requires more cleaning solution, additional primer coats, and possibly professional duct cleaning. Wall to wall carpet replacement adds substantial cost if padding is saturated. Houses with cathedral ceilings or multiple stories need scaffolding or lift equipment that increases both cost and timeline.
| Task | DIY Cost Range | Professional Cost Range | Typical Timeline |
|---|---|---|---|
| Wall and ceiling sealing (single room) | $150 – $300 | $600 – $1,200 | 3-5 days DIY, 1-2 days professional |
| HVAC duct cleaning (whole house) | Not recommended DIY | $400 – $800 | 4-6 hours |
| Carpet deep cleaning or replacement | $50 – $200 (cleaning only) | $300 – $600 cleaning, $2,000 – $5,000 replacement | 1 day cleaning, 2-3 days replacement |
| Ozone treatment or thermal fogging | Not available DIY | $500 – $1,500 | 1 day treatment plus 24-48 hour ventilation |
Rental Property and Real Estate Applications for Smoke Sealing

Smoking inside a house can reduce resale value by up to 29 percent according to studies. That’s a massive financial hit for landlords and sellers dealing with tenant damage or inherited smoke contamination. Buyers walk away from properties that smell like stale cigarettes, even if the price drops.
Landlords face obligations for tenant damage repair and restoration between occupancies. Security deposits rarely cover the full cost of smoke sealing, carpet replacement, and duct cleaning. Proper sealing and restoration protects your investment and makes the property rentable again without absorbing months of lost income.
Disclosure requirements for real estate transactions vary by state, but most require sellers to reveal known smoke damage history. Trying to cover it up with air fresheners or quick paint jobs creates legal liability. Professional fire and smoke damage restoration services document the work properly for disclosure purposes.
Third hand smoke pollutants remain in homes two months after smokers move out, even after deep cleaning and ventilation. That’s why surface sealing matters so much for real estate applications. Proper painting with correct sealing products resolves both discoloration and odor issues when preparing homes for sale or after purchase, protecting buyers from ongoing contamination.
Advanced Techniques: Ozone Treatment and Thermal Fogging
Ozone treatment works as an oxidation process that breaks down smoke molecules at the molecular level. Commercial ozone generators produce O3 gas that reacts with nicotine, tar, and odor compounds, neutralizing them chemically. This isn’t something you spray on surfaces. It’s an atmospheric treatment that penetrates everywhere air reaches.
Thermal fogging technology pushes deodorizing agents deep into porous surfaces using heat and pressure. The fog particles are microscopic, small enough to follow the same paths smoke took when it originally contaminated the space. This reaches areas that cleaning and sealing can’t access, like inside wall cavities and under flooring.
Advanced techniques become necessary when severe contamination persists after standard sealing work. If you’ve cleaned thoroughly, applied multiple primer coats, treated all soft surfaces, and the smell still returns, professional remediation with specialized equipment is your next step. These aren’t DIY methods. The equipment costs thousands of dollars and requires training to operate safely.
Ozone treatment and thermal fogging require professional application and strict safety protocols. Ozone is harmful to breathe at treatment concentrations. The space must be completely evacuated, including pets and plants, during treatment and ventilation periods. Professional restoration companies handle the process correctly and verify safe re entry before you return.
Long Term Maintenance After Sealing Smoke Odor
Install new HVAC filters immediately after completing sealing work, and change them every 30 days for the first three months. After that, maintain a 60 to 90 day replacement schedule. Regular filter changes prevent any remaining airborne particles from recirculating and recontaminating your sealed surfaces.
Test for odor breakthrough by closing up the house for 24 hours with windows shut and HVAC off, then entering and checking for smell. Do this one week after sealing, then again at 30 days. If you detect odor returning, identify the source and apply touch up sealing to that area. Sometimes corners, closets, or less visible surfaces get missed during initial treatment.
Prevention tips for maintaining fresh air quality include running bathroom and kitchen exhaust fans during cooking and showering to remove moisture that can reactivate any remaining trace contaminants. Keep humidity levels below 50 percent using a dehumidifier if necessary. Avoid scented products and air fresheners during the first month after sealing so you can accurately detect any odor breakthrough. The smell will dissipate over time as sealed surfaces fully cure, but it requires active removal of the odor source first, not just masking.
Final Words
Sealing cigarette smoke smell requires a complete approach that starts with thorough surface cleaning and follows with the right primer for your situation.
Shellac-based products offer the strongest odor control. Oil-based primers handle heavy staining. Water-based alternatives work for lighter contamination.
Don’t forget the soft surfaces, HVAC system, and all the trim work that holds onto residue.
When you seal it right with proper prep and multiple coats, you’re creating a permanent barrier that stops the smell from coming back through your walls.
The work takes time, but it gets your space back to normal.
FAQ
What neutralizes cigarette smoke odor?
Cigarette smoke odor is neutralized by shellac-based primers, oil-based primers, or specialty water-based smoke sealers that encapsulate nicotine residue and tar buildup. These products create a barrier that prevents smoke particles from off-gassing. Pre-cleaning surfaces with TSP solution or vinegar-water mixture removes surface contamination before sealing.
What materials absorb cigarette smells?
Materials that absorb cigarette smells include porous surfaces like carpet, upholstery, curtains, drywall, and unsealed wood. Baking soda applied to fabrics and carpets absorbs smoke odor when left overnight or for several days before vacuuming. Activated charcoal in air purifiers and HEPA filters also capture airborne smoke particles and lingering smell.
How do you stop cigarette smoke from coming through walls?
You stop cigarette smoke from coming through walls by cleaning surfaces with TSP solution, then applying multiple coats of shellac-based or oil-based primer to seal nicotine residue. The primer creates a barrier preventing smoke penetration and tar buildup from continuing to off-gas. Proper ventilation during application and addressing HVAC ducts prevents smoke recirculation.
Will cigarette smoke smell eventually go away?
Cigarette smoke smell will not go away on its own without active treatment. Opening windows dilutes odor temporarily but doesn’t remove embedded nicotine, tar, and resin deposits from walls, carpet, and ventilation systems. Proper sealing with primer and treatment of soft surfaces provides permanent odor elimination rather than temporary masking.
How long does it take to seal cigarette smoke odor?
Sealing cigarette smoke odor typically takes two to five days for a complete treatment, including surface cleaning, primer drying time between coats, and final curing. Heavy contamination requiring multiple primer coats, carpet treatment, and HVAC cleaning may extend the timeline. Professional remediation services can complete projects faster using specialized equipment.
Can you seal smoke smell without replacing carpet?
You can seal smoke smell without replacing carpet by treating it with baking soda left for several days, then vacuuming thoroughly, followed by professional deep cleaning. Wall-to-wall carpet heavily saturated with smoke may require replacement if baking soda treatment and professional cleaning don’t eliminate the persistent odor completely.
Do you need to clean walls before sealing smoke odor?
You need to clean walls before sealing smoke odor because nicotine residue, tar buildup, and resin deposits prevent proper primer adhesion and can cause sealer failure. Use a dry cleaning sponge for heavy buildup followed by TSP wash or vinegar-water solution. Skipping pre-cleaning steps results in persistent odor and wasted sealing effort.
What type of primer works best for cigarette smoke?
Shellac-based primers like Zinsser B-I-N work best for cigarette smoke because they provide superior encapsulation of nicotine residue and tar buildup. Oil-based primers handle heavy stain blocking but require respirator use and strong ventilation. Specialty water-based smoke sealers offer low-VOC alternatives for moderate contamination situations.