
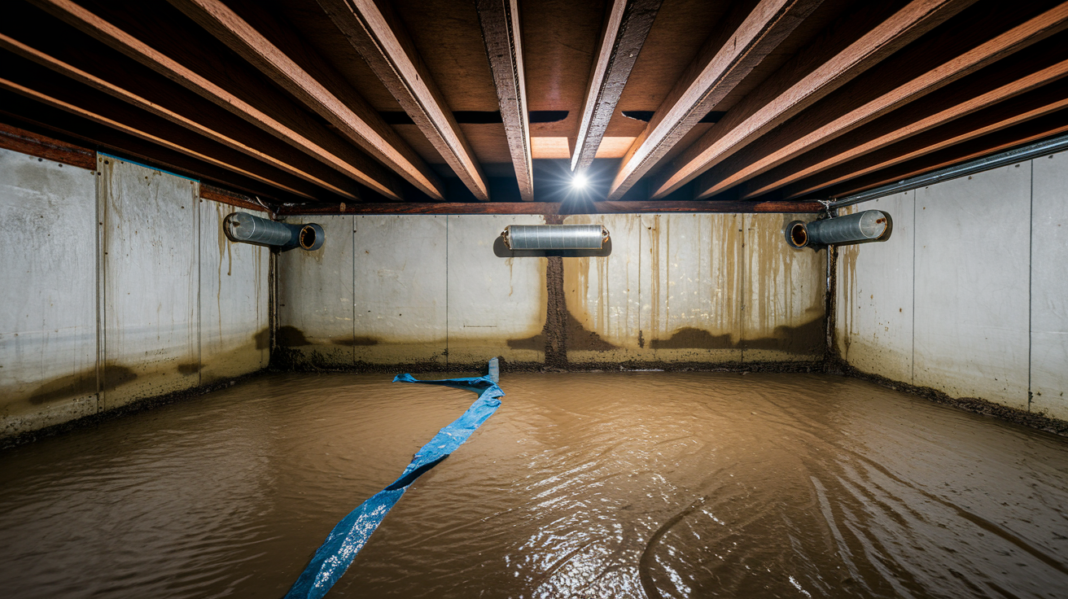

For decades, building codes required open vents in crawl spaces to fight moisture. Turns out that advice has been making things worse in most climates. In humid areas, those foundation vents pull in wet outside air that condenses on cool surfaces, feeding mold and rotting floor joists. Encapsulation flips the approach completely: seal everything tight, block ground moisture with heavy barriers, and run a dehumidifier to control what’s left. One method invites problems in. The other locks them out.
How These Two Methods Compare: What You Need to Know
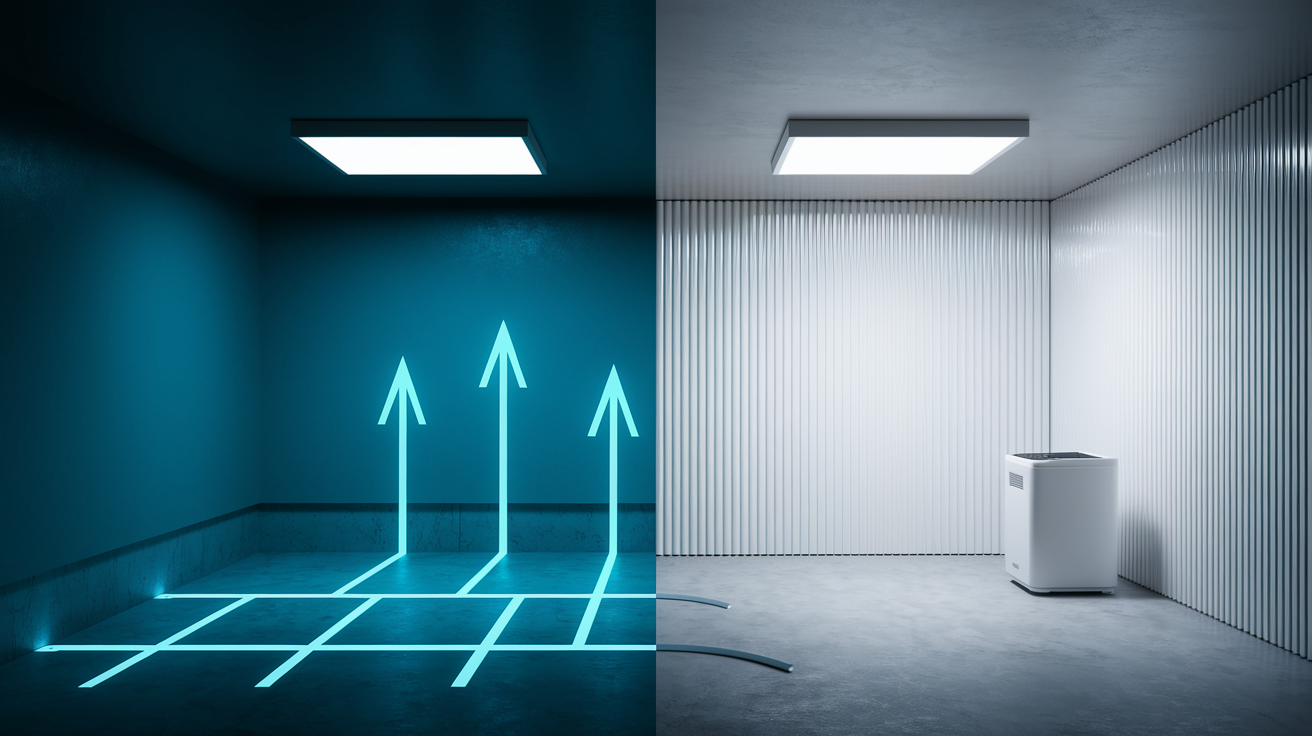
Ventilation uses foundation vents to let outside air flow through your crawl space, while encapsulation seals everything shut with heavy vapor barriers and runs a dehumidifier.
| Factor | Ventilation | Encapsulation | Best For |
|---|---|---|---|
| Moisture Control | Introduces outside humidity, often makes problems worse | Blocks ground moisture and humid air completely | Encapsulation in all climates except desert-dry regions |
| Energy Performance | Cold air in winter, hot air in summer increases HVAC costs | Creates thermal boundary, reduces heating and cooling loads | Encapsulation for year-round efficiency |
| Initial Cost | Low, simple vent installation | Higher, professional materials and labor needed | Ventilation for immediate budget, encapsulation for value |
| Climate Suitability | Only viable in consistently arid climates | Works in humid, mixed, and most climates | Encapsulation unless you live in a desert climate |
| Maintenance Needs | Minimal, occasional vent cleaning | Dehumidifier filter changes, drainage checks | Depends on willingness to monitor equipment |
Crawlspace ventilation is the old way. Back in the 1940s and 1950s, building codes required foundation vents to let air circulate. The thinking was simple: moving air dries out ground moisture naturally. That worked better in theory than in real life. In humid climates, you’re pulling in outside air that’s often wetter than what’s already down there.
Encapsulation is different. It seals your crawl space completely. You install thick polyethylene plastic barriers, usually 20 mil, over the dirt floor and up the walls. Every seam gets taped tight. Vents get closed. A dehumidifier runs to keep humidity controlled. This creates an airtight envelope that blocks ground moisture and humid outside air from getting in. The system keeps relative humidity stable year-round, typically between 40 and 60 percent, which prevents mold and protects the wood structure.
Here’s what separates them:
Moisture management is the big one. Ventilation tries to dry things by introducing outside air. Encapsulation blocks moisture at the source with barriers and active dehumidification.
Air quality matters more than most people think. About 50 percent of your first-floor air comes from the crawl space. If your crawl space is musty, that’s what you’re breathing. Encapsulation keeps contaminated air separated.
Energy performance shows up on your utility bills. Vented crawl spaces let cold winter air and hot summer air mess with your floor and utility lines. Encapsulation creates a stable temperature zone that cuts heating and cooling costs.
Structural protection is simple. Ventilation exposes floor joists and sill plates to humidity swings and condensation. Encapsulation maintains dry conditions that prevent wood rot.
Pest control gets easier with encapsulation. Open vents give insects and rodents easy access. Sealed encapsulation eliminates most entry points, though you’ll need inspection ports for termite checks.
Operating costs tell the story. Ventilation has no operating costs but wastes energy through thermal losses. Encapsulation adds 10 to 50 bucks monthly for dehumidifier operation but saves on heating and cooling.
Traditional Crawl Space Ventilation Methods and Limitations
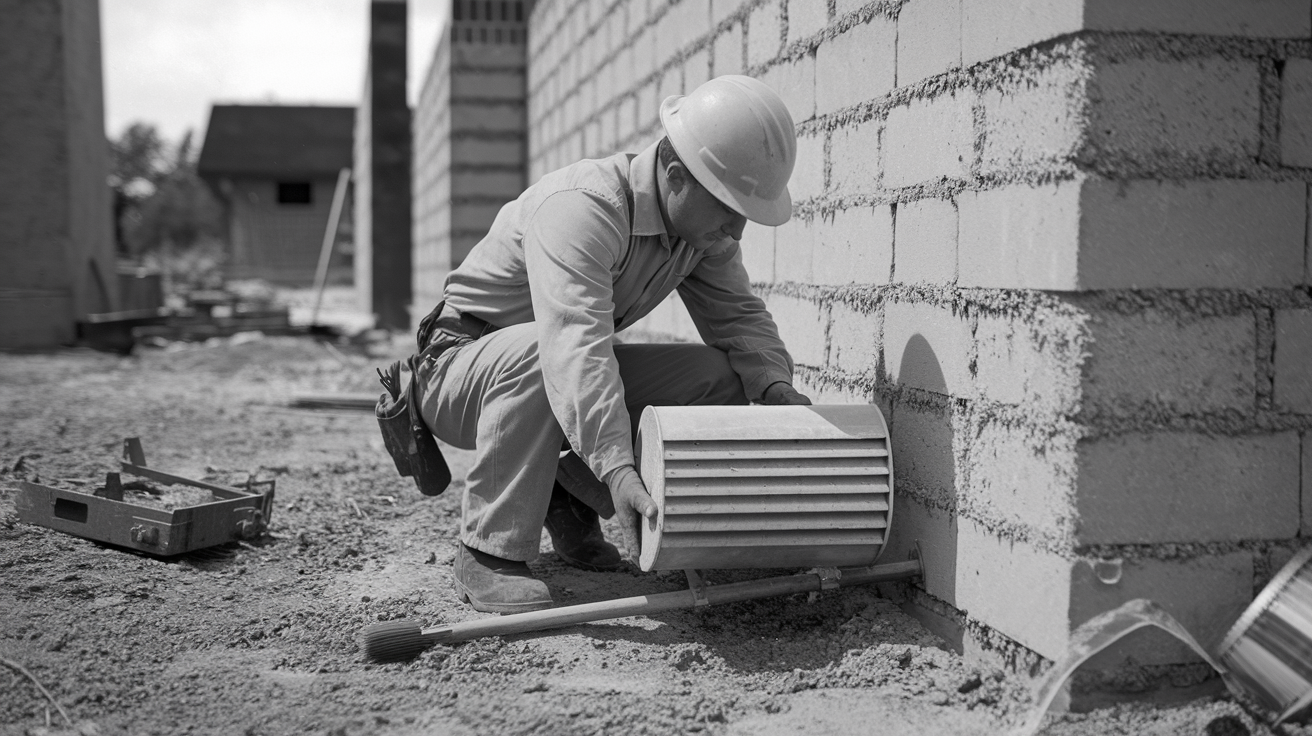
Vented crawl spaces became standard in the United States during the 1940s and 1950s. Building codes required multiple foundation openings to promote air circulation. The thinking was straightforward: moving air prevents moisture buildup. Codes recommended installing vapor barriers over the soil and adding screened vents on opposite walls to create cross-ventilation. Builders did it that way for decades because that’s what the code said.
Research from the American Society of Heating, Refrigerating and Air-Conditioning Engineers later found something interesting. Foundation vents actually bring unwanted moisture into homes. In summer, warm humid air flows through the vents into the cooler crawl space. When that warm air hits cold pipes, ductwork, or cool foundation walls, condensation forms. Water droplets collect on surfaces. Wood stays damp. Mold starts growing. The ventilation system designed to dry things out is making them wetter.
Winter creates a different problem. Cold outside air rushes through those same vents, cooling your hot water pipes, water heater, furnace, and heating ducts. Your HVAC system works harder to maintain temperature because it’s constantly fighting cold air infiltration from below. Energy gets wasted heating the first floor while cold air pools underneath. Open vents also provide convenient entry points for insects, mice, rats, and other pests looking for shelter. Seasonal changes make ventilation effectiveness swing wildly. It might help slightly in spring and fall but causes problems during summer humidity and winter cold.
Modern Crawlspace Encapsulation Systems Explained
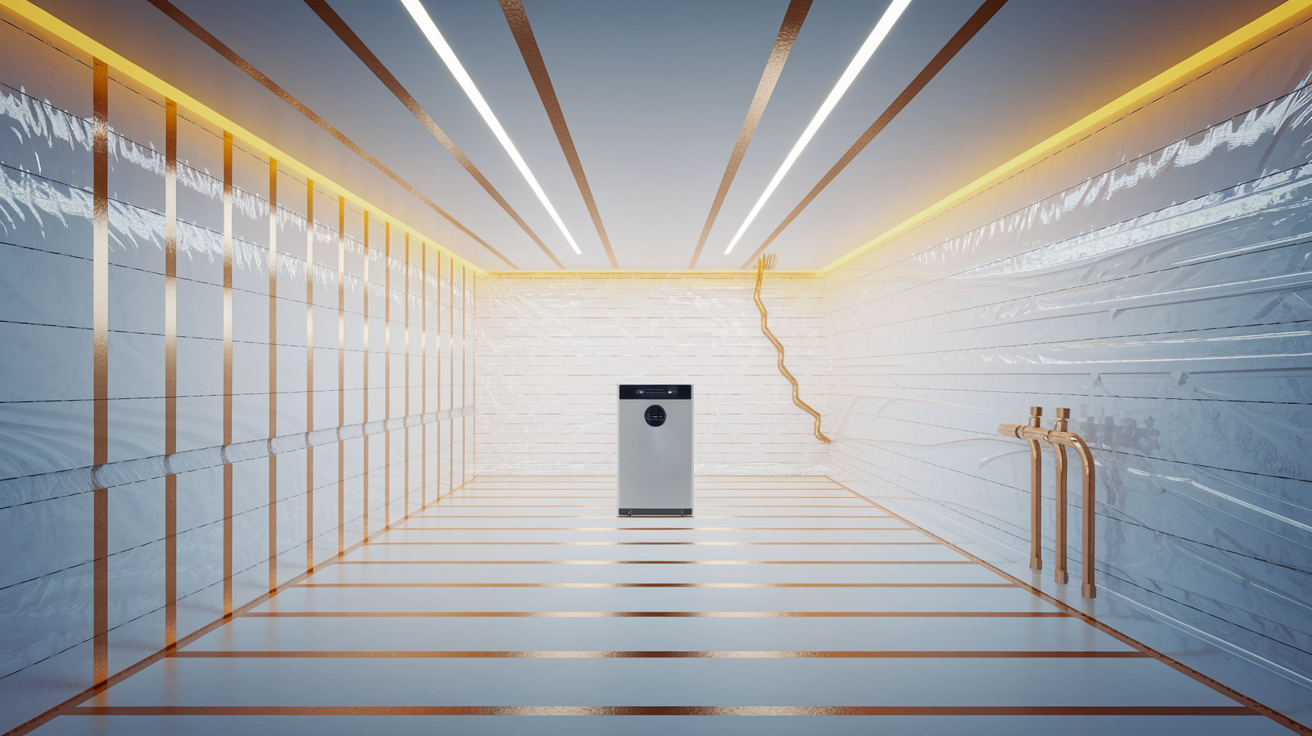
Encapsulation turns your crawl space into a controlled environment. Instead of hoping air movement will solve moisture problems, you’re creating a space that actively manages humidity. It becomes part of your home’s thermal envelope rather than an uncontrolled zone underneath.
The primary material is heavy-duty vapor barrier, typically 20 mil thick polyethylene plastic similar to pool liners. This barrier gets installed over the dirt floor, up the foundation walls, and around piers and columns. All seams get taped with specialized waterproof tape to create a continuous moisture seal. A dehumidifier runs as needed to maintain stable humidity levels.
Here’s the seven-step process professional installers follow:
- Cleaning and sanitizing. Remove debris, old insulation, and contaminated materials from the crawl space.
- Rodent prevention. Seal gaps around pipes, wires, and rim joists where pests could enter.
- Sealing gaps and cracks. Fill foundation cracks and seal penetrations with spray foam or appropriate sealants.
- Installing stem wall foam board insulation. Attach rigid foam insulation to foundation walls to create a thermal barrier.
- Installing 20 mil thick vapor barrier. Cover the floor and walls with heavy polyethylene, overlapping seams and taping everything tight.
- Installing dehumidifier. Mount a commercial-grade dehumidifier sized for your crawl space volume.
- Routing condensation drainage. Run the dehumidifier’s condensate line to a drain or sump pump for automatic water removal.
The sealed system works by blocking moisture before it enters. Ground moisture can’t evaporate through the vapor barrier. Humid outside air stays outside because the vents are closed and sealed. The dehumidifier removes any moisture that enters through minor air leaks or gets introduced from plumbing or HVAC systems. You get a stable, dry environment that protects your home’s structure and improves the air quality in your living space.
Performance Comparison: Moisture, Energy, Structure, and Health
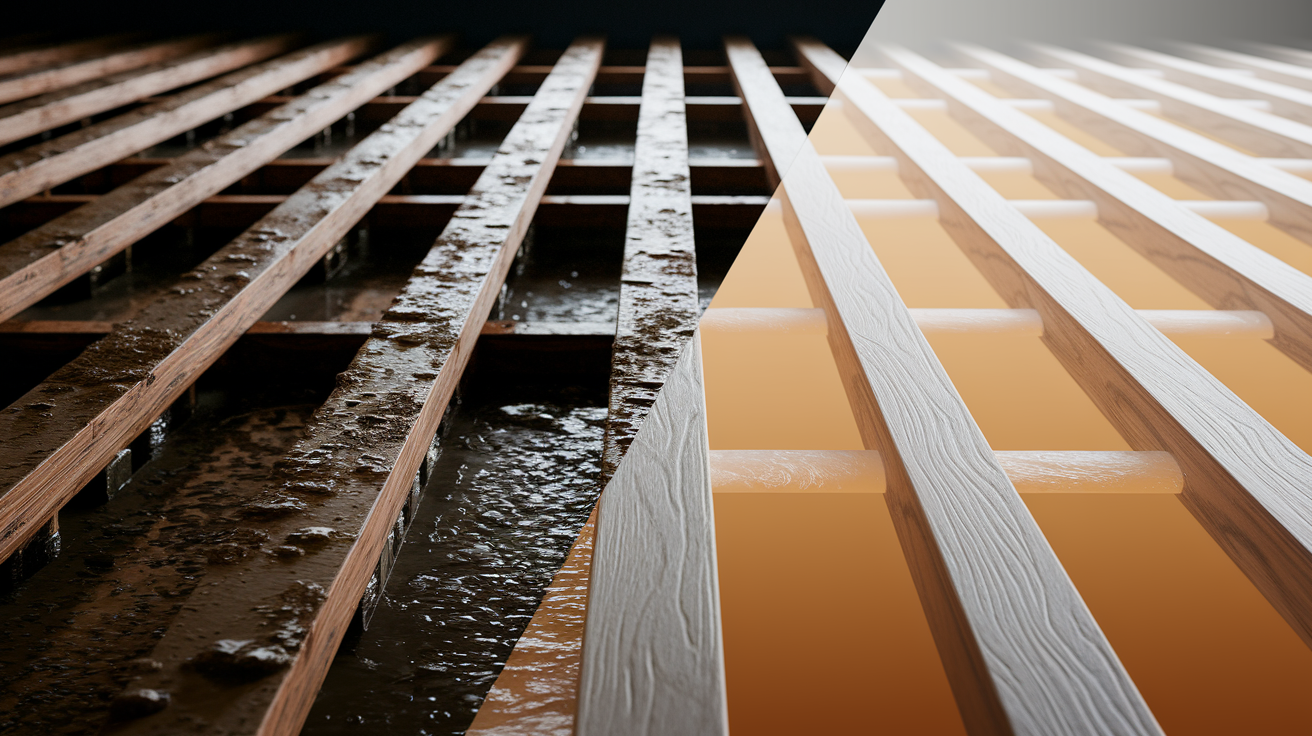
The way these systems perform affects your home’s condition, your monthly utility bills, the air you breathe, and whether pests move in.
Moisture Control and Structural Protection
Encapsulation blocks ground moisture with a continuous barrier that prevents water vapor from rising through the soil into your crawl space. The sealed system also stops humid outside air from entering through vents. That’s critical in humid climates where outdoor humidity levels often exceed 70 or 80 percent. The dehumidifier actively removes any moisture that does get in, maintaining relative humidity between 40 and 60 percent. That controlled environment prevents mold growth on floor joists, keeps wood moisture content low enough to stop rot, and eliminates the condensation that forms on cold pipes and ductwork.
Ventilation tries to dry out ground moisture by introducing outside air. In humid climates, that doesn’t work. The outside air contains more moisture than the crawl space air. When warm humid air flows through foundation vents into the cooler crawl space, it causes condensation on every cool surface. Water droplets collect on pipes, sill plates, and floor joists. Wood stays damp. Mold grows. The ventilation system designed to control moisture is actually introducing it, especially during summer months when outdoor humidity peaks.
Energy Efficiency and Thermal Performance
Vented crawl spaces create significant energy losses by allowing outside air to flow directly under your home. In winter, cold air enters through the vents and cools your floor, hot water pipes, water heater, furnace, and heating ducts. Your HVAC system runs longer trying to maintain comfortable temperatures upstairs while fighting constant cold air infiltration from below. In summer, hot humid air enters and forces your air conditioning to work harder removing both heat and humidity. The thermal losses happen continuously whenever outside temperatures differ from your indoor settings.
Encapsulation creates a thermal boundary by sealing the crawl space and insulating the foundation walls with rigid foam board. The sealed space maintains a more stable temperature closer to your home’s conditioned air. Your HVAC system’s workload decreases because it’s not constantly compensating for temperature swings from below. The utility lines in your crawl space stay warmer in winter and cooler in summer, improving their efficiency. The dehumidifier does add operating costs, typically 10 to 50 bucks per month depending on crawl space size and local humidity levels. Those costs are usually offset by reduced heating and cooling expenses.
Indoor Air Quality and Health Impact
About 50 percent of the air on your first floor comes from the crawl space below through the stack effect. Warm air rises and creates a pressure difference that pulls air upward through floor penetrations, gaps, and cracks. If your crawl space contains mold spores, musty odors, allergens, and dust mites from high moisture levels, you’re breathing that contaminated air in your living space. Mold exposure can trigger respiratory problems, allergic reactions, and asthma symptoms, especially in children and people with existing health conditions.
Encapsulation improves indoor air quality by sealing off the moisture source that feeds mold growth and controlling humidity levels that prevent new mold from forming. The barrier also blocks soil gases and odors from entering your home. Some homeowners notice stale air or off-gassing odors from the plastic vapor barrier itself or from construction materials that were sealed in. Those concerns are typically addressed by ensuring the dehumidifier runs regularly to provide some air circulation and by choosing low-VOC materials during installation.
Pest Control Considerations
Open foundation vents provide direct access for insects, spiders, mice, rats, and other pests seeking shelter, food, or nesting sites. The vents can’t be screened small enough to block all insects without restricting airflow, so the screen mesh becomes a minor barrier at best. Rodents gnaw through screening or find gaps around the vent frames.
Encapsulation eliminates most pest entry points by sealing vents and gaps. The installation process includes rodent prevention steps like sealing penetrations around pipes and wires with spray foam. But vapor barriers do create a challenge for termite inspections. Pest control companies need to see exposed wood and soil contact points to check for termite activity. Many companies cancel termite bonds when crawl spaces get fully encapsulated because they can’t perform required inspections. The solution is installing inspection ports or creating removable sections in the vapor barrier that allow inspectors to check critical areas without compromising the moisture seal.
The performance advantages stack heavily toward encapsulation across moisture control, energy efficiency, structural protection, and air quality. Ventilation’s only advantages are lower initial costs and simpler termite inspections. In practice, the ongoing problems caused by vented crawl spaces often cost more to fix than the upfront investment in proper encapsulation. Mold growth, wood rot, energy waste, and pest entry add up fast.
| Performance Factor | Ventilation | Encapsulation |
|---|---|---|
| Moisture Control | Poor, introduces humidity in most climates | Excellent, blocks moisture at source |
| Energy Efficiency | Poor, allows thermal losses year-round | Good, creates thermal boundary |
| Structural Protection | Weak, exposes wood to humidity cycles | Strong, maintains dry stable conditions |
| Air Quality | Poor, allows mold and odors to spread | Good, prevents mold growth and contamination |
| Pest Control | Weak, vents provide entry points | Good, seals most access points |
| Overall Effectiveness | Limited, only viable in arid climates | High, works in all climates |
Cost Analysis: Initial Investment, Ongoing Expenses, and Maintenance

Ventilation costs less upfront because you’re just installing screened vents in foundation walls. That’s why it became the historical standard. It was cheap and met code requirements. Typical material costs for foundation vents run 15 to 40 bucks per vent. Labor for installation is simple enough that many builders included it as basic construction work.
Encapsulation requires significant material investment. A 20 mil vapor barrier costs 0.50 to 1.50 dollars per square foot depending on quality and thickness. Dehumidifiers sized for crawl spaces run 1,200 to 2,500 dollars for commercial-grade units. Rigid foam insulation, sealing materials, tape, and drainage components add to the total. Labor costs are substantial because installation is meticulous work. Cleaning the space, installing barriers without tears, taping every seam, sealing penetrations, and setting up drainage takes time. Professional installation typically costs between 5,000 and 15,000 dollars depending on crawl space size, access difficulty, and existing condition.
| Expense Category | Ventilation | Encapsulation |
|---|---|---|
| Initial Materials | $200 – $600 for vents and screens | $2,000 – $6,000 for barriers, dehumidifier, insulation |
| Installation Labor | $300 – $800 for vent cutting and installation | $3,000 – $9,000 for professional installation |
| Monthly Operating Costs | $0 direct costs, higher HVAC expenses | $10 – $50 for dehumidifier operation |
| Annual Maintenance | $50 – $150 for vent cleaning | $200 – $400 for filters, drainage checks, inspection |
| 10-Year Total Cost | $1,500 – $3,500 plus repair costs from moisture damage | $8,000 – $20,000 including operation and maintenance |
Dehumidifier maintenance includes changing or cleaning filters every few months, checking the condensate drainage line to make sure it’s not clogged, and verifying the unit runs properly. Most commercial dehumidifiers last 8 to 12 years before needing replacement. The vapor barrier needs periodic inspection to check for tears, separations at seams, or areas where the barrier has pulled away from walls. Small repairs like patching tears with tape or resecuring loose edges prevent moisture intrusion and keep the system working.
Specific maintenance tasks break down like this:
Ventilation cleaning means removing debris from vent screens twice yearly, checking for pest damage to screens, and verifying airflow isn’t blocked by vegetation or stored items.
Encapsulation dehumidifier maintenance involves replacing or cleaning filters quarterly, emptying or checking condensate drainage monthly, and verifying humidity readings stay in target range.
Vapor barrier inspection means checking for tears or punctures annually, inspecting seam tape for separation, and looking for areas where barrier has detached from walls.
Foundation wall insulation needs verification that foam board remains attached, checking for moisture intrusion behind insulation, and looking for pest damage.
Drainage system maintenance includes clearing condensate lines if clogged, testing sump pump operation if installed, and verifying water routes away from foundation.
General crawl space checks mean looking for standing water, new leaks, pest activity, or equipment malfunction during seasonal inspections.
The return on investment for encapsulation comes through two paths: lower energy bills and prevented repair costs. Reduced heating and cooling expenses typically save 10 to 20 percent on utility bills. More importantly, encapsulation prevents expensive moisture damage repairs like mold remediation (3,000 to 10,000 dollars), floor joist replacement (5,000 to 15,000 dollars), and structural repairs from wood rot (10,000 dollars and up). The investment often pays for itself over time through those combined savings, especially in homes where moisture problems would have required repeated repairs.
Alternative Systems: Dew Point Controlled Ventilation
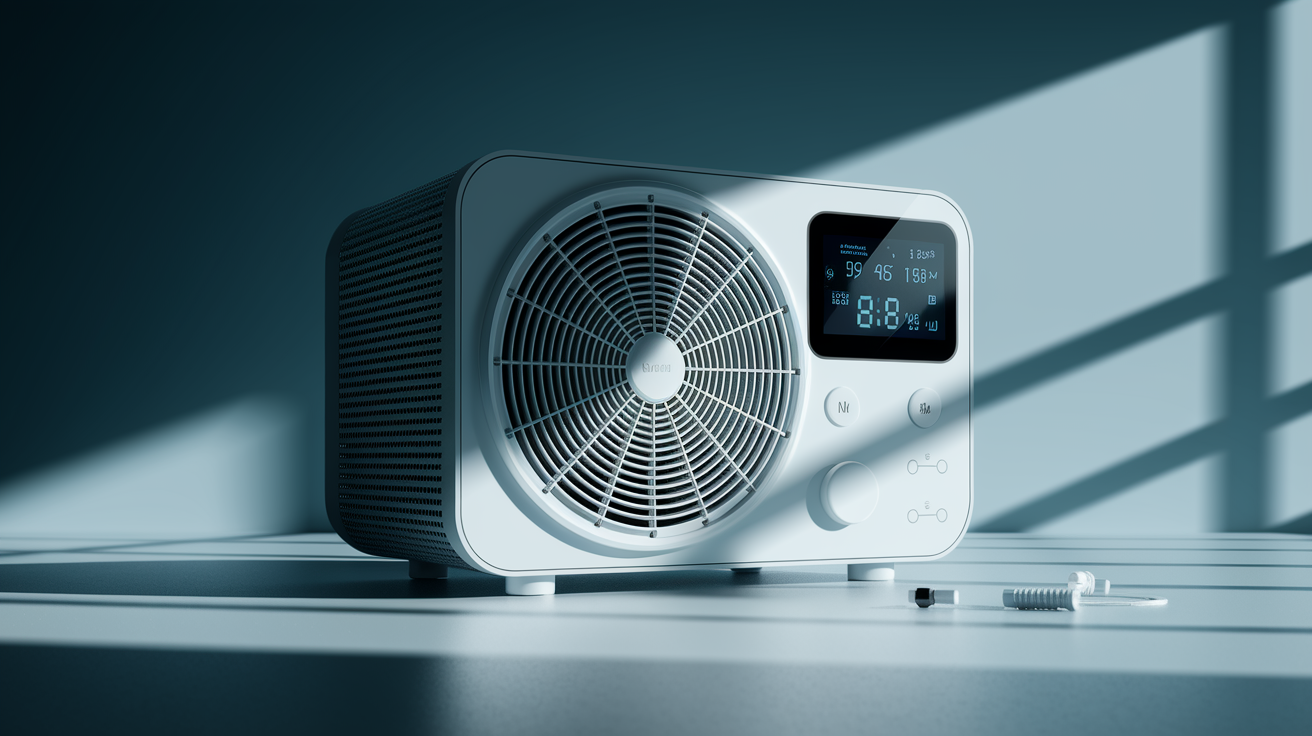
You’re not stuck choosing between simple vents that cause problems or full encapsulation with dehumidifiers. A third approach uses sensor technology to get ventilation benefits without introducing moisture.
Dew point controlled ventilation systems monitor both interior crawl space humidity and exterior outdoor humidity continuously. When outside air is drier than crawl space air, meaning it can actually absorb moisture, the system opens vents or turns on fans to bring that dry air in. When outside air is more humid, the vents stay closed. This prevents the main problem with traditional ventilation: introducing humid air that makes things worse. The system uses controllers with interior and exterior sensors plus strategically placed fans, including dead corner fans that move air to areas with poor circulation.
Modern systems contrast sharply with older ventilation controls that don’t work properly. Older fan systems used barometric control, temperature control, or humidistat control. None of those approaches open and close at the correct times because they don’t compare interior versus exterior moisture levels. A simple humidistat might run fans when crawl space humidity hits 70 percent. But if outside humidity is 80 percent, you’re making the problem worse. Atmox is the primary provider of true dew point control technology in the United States, using smart sensors that calculate whether air exchange will help or hurt based on moisture content, not just humidity percentages.
The benefits include preventing hot humid air entry during summer and cold air entry during winter. The system only operates when conditions favor drying, which eliminates the need for dehumidifiers in most cases. You need only contractor-grade staked liners covering the soil surface, not full encapsulation barriers on walls and piers. That reduces installation complexity and material costs.
Dew point controlled systems typically cost less than full encapsulation because you’re using existing vents with added fans, sensors, and a controller rather than sealing everything and installing a commercial dehumidifier. Long-term maintenance costs are lower than encapsulation since you don’t have dehumidifier filters to change or condensate drainage to monitor. The system works best in climates with variable humidity where dry periods allow effective ventilation. You get automated control that captures those opportunities without the constant dehumidifier operation.
DIY Feasibility vs Professional Installation
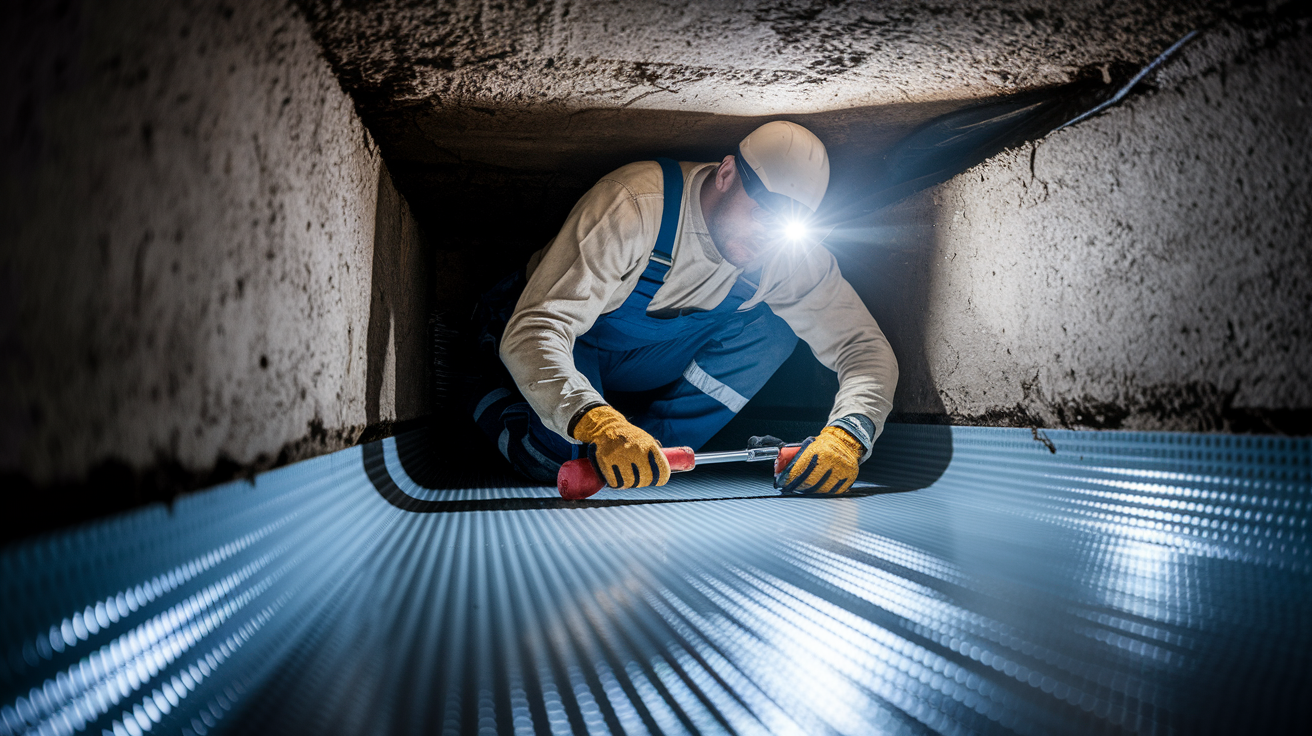
Ventilation is a straightforward DIY project if you’re comfortable cutting foundation wall openings and installing screened vents.
Ventilation as a DIY Project
Installing foundation vents requires basic masonry tools, a template for marking vent openings, and care when cutting through concrete or block foundations. You mark the locations, cut the openings, install the screened vent frames, and seal around them with mortar or caulk. The work is manageable for homeowners with moderate DIY skills and the right tools. The limitation isn’t the installation difficulty. It’s that ventilation offers limited moisture control effectiveness, especially in humid climates. You can do the work yourself, but the system won’t solve moisture problems and might make them worse.
Encapsulation Installation Complexity
Encapsulation is labor-intensive work that demands meticulous attention to detail. The vapor barrier must cover every inch of exposed soil, wrap foundation piers, extend up the walls, and seal completely around all penetrations. Seams get overlapped and taped with specialized waterproof tape that bonds permanently. Any gaps, tears, or poorly sealed areas compromise the entire system by allowing ground moisture to escape into the crawl space. Common mistakes include missing penetrations around utility lines, failing to seal barrier edges to foundation walls properly, leaving wrinkles that later tear, and not securing the barrier so it stays in place long-term.
Professional installation provides specialized knowledge about vapor barrier placement, proper taping techniques, foundation wall insulation attachment, dehumidifier sizing, and drainage routing. Pros have the tools needed for crawl space work in tight spaces. Specialized tape rollers, cutting tools, and equipment for moving materials through small access openings make the job go faster. High-quality materials that last 20 to 30 years cost more but prevent the failures that happen with lighter barriers. Professional contractors also assess existing issues during installation. If they find mold growth, wood rot, or water damage, they can address it properly before sealing everything up.
Professional help is worth the investment when moisture problems already exist, when the crawl space has difficult access or extensive penetrations to seal, or when you want warranty coverage on materials and labor. DIY might be acceptable if you have a small, accessible crawl space with no existing moisture problems and you’re willing to invest significant time learning proper installation techniques and sourcing commercial-grade materials.
Drainage and Water Management Integration
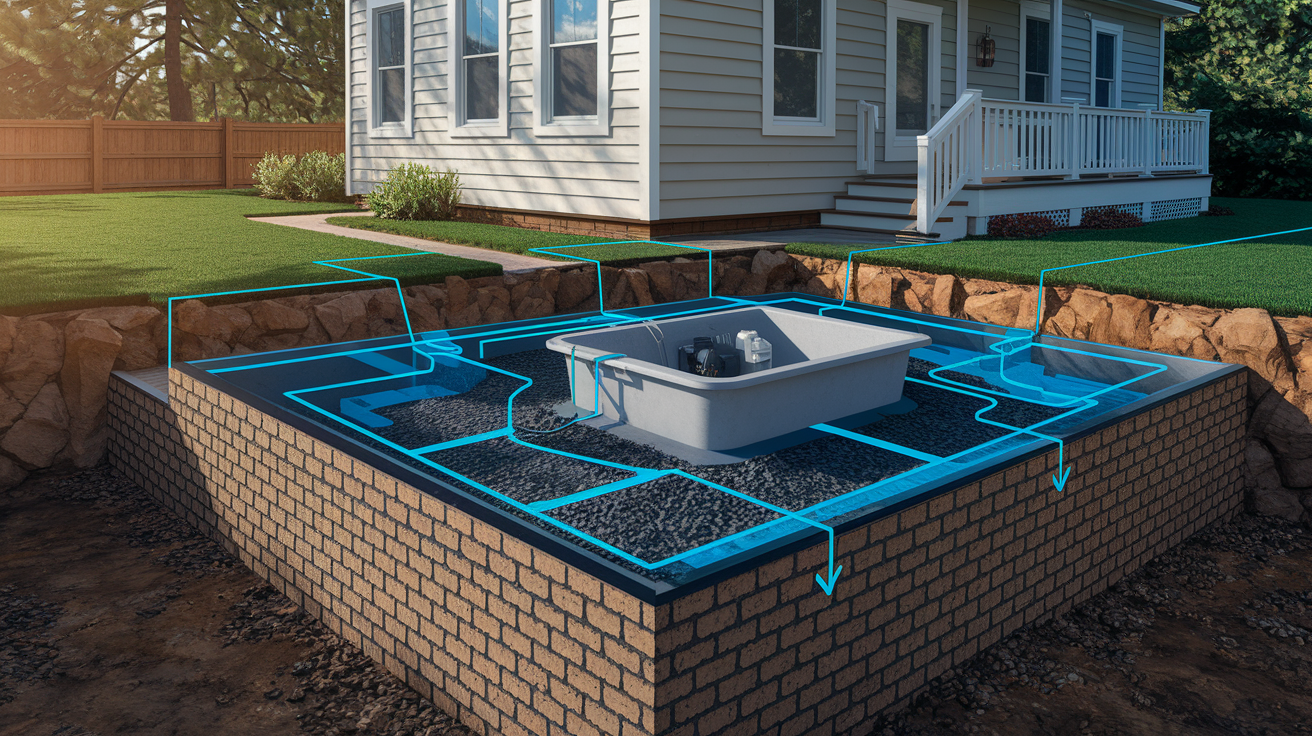
Standing water in your crawl space will defeat either ventilation or encapsulation before you start. Water sitting on the ground means your site has drainage problems that need fixing first.
You need perimeter drain tile or a French drain system that collects water before it enters the crawl space. Drain tile gets installed around the foundation’s interior or exterior perimeter, sloped toward a collection point. The tile routes water to a sump pump basin, and the pump pushes water away from the foundation when the basin fills. Without proper drainage, ground water will pool under your vapor barrier or sit on exposed soil in vented crawl spaces. That creates ongoing moisture problems no ventilation or encapsulation system can fix.
Encapsulation systems generate condensate from the dehumidifier that needs routing to a drain or sump pump. Most installations include a condensate pump that automatically removes water when the collection pan fills. The condensate line gets routed outside, to a floor drain if available, or to the sump pump basin. That automatic drainage prevents water from backing up if the dehumidifier runs continuously during humid periods.
One risk with encapsulation is trapped water beneath the vapor barrier from plumbing leaks or foundation cracks. If a pipe leaks or water seeps through a foundation crack, it collects under the barrier where you can’t see it. Detection gets difficult because you won’t notice puddles, moisture stains, or obvious water until the problem becomes severe. Prevention strategies include installing the vapor barrier in sections that can be lifted for inspection, adding moisture sensors beneath the barrier in problem areas, and checking for soft spots or bulging areas during routine crawl space inspections. Waterproofing integration with encapsulation means sealing foundation cracks before installing the barrier and adding exterior waterproofing if your site has consistent water intrusion issues.
Building Codes and Compliance Requirements
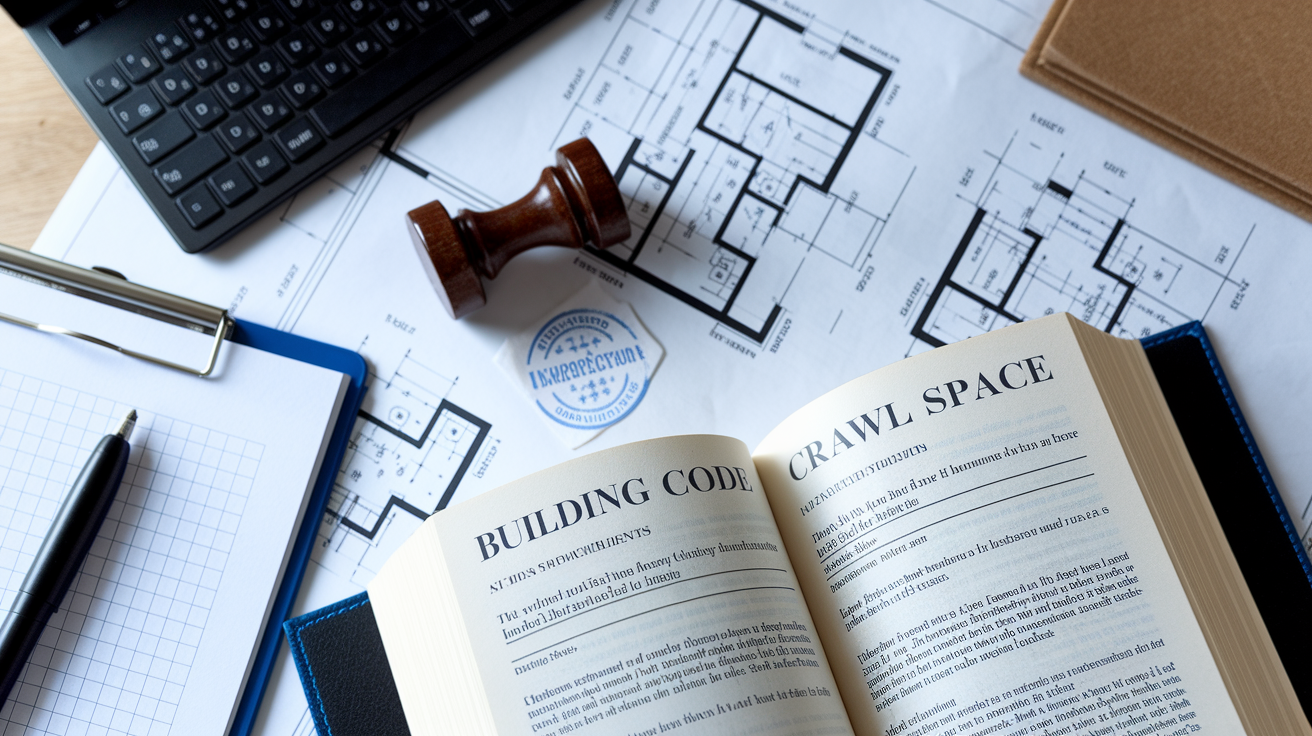
Building codes have shifted dramatically from requiring ventilation to now preferring encapsulation for most new construction and renovations. That change reflects research showing ventilation creates more problems than it solves.
The original codes from the 1940s through the 1990s required ventilated crawl spaces with minimum vent area calculations based on square footage. A typical requirement was one square foot of vent opening for every 150 square feet of crawl space area when a vapor barrier covered the ground. Modern codes now include provisions for unvented crawl spaces that meet specific requirements for vapor barriers, conditioning, and moisture control. The International Residential Code added unvented crawl space provisions recognizing that sealed spaces with proper moisture management outperform vented ones.
Permit requirements vary by jurisdiction. New construction typically requires permits and inspections for either approach. Existing home retrofits converting vented crawl spaces to encapsulated systems often require permits, especially when HVAC modifications are involved. The permit process ensures work meets code requirements for vapor barrier specifications, insulation placement, and mechanical ventilation if required. Some jurisdictions require crawl spaces to have conditioned air supply from the home’s HVAC system or a separate mechanical ventilation system to meet air quality and moisture control standards.
HVAC and combustion appliance safety requirements matter when sealing crawl spaces containing furnaces, water heaters, or other equipment with combustion processes. Sealed crawl spaces can create negative pressure that affects draft and venting. Code requires sealed combustion appliances or adequate ventilation to provide combustion air. Converting a vented crawl space containing atmospheric-draft appliances to an encapsulated space may require upgrading to sealed combustion units, which adds significant cost. Code compliance verification happens through scheduled inspections at different installation stages, ensuring work proceeds correctly before getting covered or sealed.
Warranty Coverage and Contractor Selection

Typical warranty coverage for encapsulation projects includes materials warranties ranging from 15 to 25 years on vapor barriers and 3 to 7 years on dehumidifiers, plus labor warranties covering installation workmanship for 1 to 5 years depending on the contractor.
The industry has seen an explosion of manufacturer-franchisee relationships over the last 10 years, where contractors become exclusive dealers for specific product lines. These arrangements often push overpriced encapsulation products because the contractor’s business model depends on selling proprietary materials at markup. Franchisees may recommend encapsulation even when simpler solutions would work because that’s what they sell. The high-pressure sales approach focuses on fear. They show you mold, point out moisture stains, and insist immediate action prevents disaster.
Independent noncommissioned consultants educated in crawl space science provide unbiased recommendations because they don’t profit from product sales. These consultants assess your specific situation, measure moisture levels, check for structural issues, and recommend appropriate solutions whether that’s encapsulation, drainage improvements, simple repairs, or doing nothing. Paying for an independent inspection upfront, typically 300 to 600 dollars, can save thousands by preventing unnecessary work or overpriced solutions.
Contractor qualification factors matter when you decide to proceed with encapsulation. Look for licensed general contractors or specialized crawl space contractors with proper insurance including general liability and workers compensation. Verify they specialize in crawl space work rather than treating it as a side service. Specialists understand moisture dynamics, proper material selection, and installation details that prevent failures. Check references from recent projects, ask to see photos of completed installations, and verify they’ll handle existing problems like mold remediation or structural repairs if discovered during installation.
Dehumidifier warranties typically cover the compressor for 5 to 7 years and other components for 1 to 3 years. Commercial crawl space dehumidifiers last 8 to 12 years with proper maintenance. Expect equipment replacement as a planned expense rather than a failure. Higher-quality units with better warranties cost more upfront but reduce the likelihood of mid-life failures that leave your crawl space unprotected during humid periods.
Making Your Decision: Climate, Codes, and Evaluation Framework
Your climate determines whether ventilation or encapsulation makes sense before considering any other factors.
Climate and environmental factors that influence your decision:
Regional humidity patterns matter. Humid climates with average summer outdoor humidity above 60 percent need encapsulation because ventilation introduces more moisture than it removes.
Soil moisture levels create constant challenges. High water tables, clay soils that hold moisture, and sites with poor drainage create constant ground moisture that requires barriers.
Water table proximity is critical. Shallow water tables within 12 to 18 inches of crawl space floor need encapsulation plus drainage systems regardless of climate.
Seasonal weather variations complicate things. Mixed climates with humid summers and dry winters might benefit from encapsulation or dew point controlled ventilation rather than constant open vents.
Desert-dry arid climates are the exception. Only consistently arid regions where outdoor humidity stays low year-round allow ventilation to work without introducing moisture. Even those locations increasingly favor encapsulation.
Building science experts now recommend against vented crawl spaces regardless of climate. Research consistently shows that even in moderate climates, vented crawl spaces create more problems than they solve through condensation issues, energy losses, and air quality impacts. The stack effect pulls contaminated crawl space air into your living space, making moisture and mold problems a health concern that affects your family daily.
Existing moisture problems serve as clear indicators that encapsulation is needed. Musty odors coming from floor vents or noticeable when you open the crawl space access door mean mold is already growing. Visible mold on floor joists, insulation, or foundation walls shows humidity levels have stayed high long enough for growth to establish. Damp or compressed insulation that’s lost its fluffy texture indicates ongoing moisture exposure. Condensation on pipes, ductwork, or plastic vapor barriers shows humid air is reaching cool surfaces and depositing water. Water stains, efflorescence (white mineral deposits on foundation walls), and soft spots in wood framing all signal moisture problems that ventilation can’t fix.
Here’s your decision checklist:
Assess your climate type. Humid, mixed, or arid determines baseline suitability for each approach.
Check for existing moisture issues. Musty smells, visible mold, damp insulation, condensation, and wood damage all point toward encapsulation.
Evaluate budget including return on investment. Compare upfront costs against long-term energy savings and prevented repair expenses.
Consider long-term goals. Planning to stay 5 to 10 years or longer makes encapsulation investment more worthwhile.
Review local code requirements. Verify what your jurisdiction requires for vented versus unvented crawl spaces and permit processes.
Inspect for existing structural damage. Address mold growth, wood rot, or foundation issues before sealing anything.
Determine DIY capability realistically. Ventilation is DIY-friendly but limited effectiveness. Encapsulation demands professional skills.
Get professional assessment. Independent inspection identifies specific needs and prevents oversold solutions.
Get a professional inspection before making final decisions, especially if you see any signs of moisture problems or existing damage. An experienced inspector or consultant can measure moisture levels, assess structural condition, check for mold growth, and evaluate drainage around your foundation. That expert assessment provides the specific information you need about your home rather than general recommendations. Encapsulation resolves moisture problems in humid and mixed climates. The investment often pays for itself through energy savings and prevented repair costs from structural damage and mold remediation. The upfront expense protects your home’s value and your family’s health by creating a controlled, dry environment under your living space.
Final Words
Crawlspace ventilation vs encapsulation comes down to performance, climate, and long-term goals.
Ventilation might cost less upfront, but it often brings more moisture problems than it solves, especially in humid regions.
Encapsulation provides superior moisture control, better energy efficiency, and improved indoor air quality by sealing out ground moisture and humid outside air.
If you’re dealing with musty odors, condensation, or visible mold, encapsulation addresses those problems at the source.
Get a professional inspection to evaluate your crawl space conditions. The right approach protects your home, saves energy, and prevents costly repairs down the road.
FAQ
Should I encapsulate or ventilate my crawl space?
You should encapsulate your crawl space rather than ventilate it if you live in a humid climate, since outside air typically contains more moisture than crawl space air, making traditional ventilation counterproductive for moisture control.
How much does it cost to encapsulate a 2000 square foot crawl space?
Encapsulating a 2000 square foot crawl space typically requires professional labor, materials including thick vapor barriers, dehumidification equipment, and sealing work. While initial costs exceed ventilation expenses, the investment often pays for itself through energy savings and prevented moisture damage repairs.
What are the drawbacks of crawlspace encapsulation?
The drawbacks of crawlspace encapsulation include higher initial costs, monthly dehumidifier operating expenses ranging from 10 to 50 dollars, termite inspection challenges requiring special access ports, and potential for trapped water beneath vapor barriers if plumbing leaks occur.
Can you dehumidify a crawl space without encapsulation?
You can dehumidify a crawl space without full encapsulation using dew point controlled ventilation systems that monitor interior and exterior humidity, introducing outside air only when conditions are drier outside, typically requiring only basic ground liners instead of complete vapor barriers.
What is the difference between vented and unvented crawl spaces?
The difference between vented and unvented crawl spaces is that vented systems use foundation wall openings to circulate outside air, while unvented (encapsulated) systems seal all openings and use vapor barriers with controlled dehumidification to manage moisture.
Does crawl space encapsulation improve energy efficiency?
Crawl space encapsulation improves energy efficiency by creating a thermal boundary that prevents cold winter air and hot humid summer air from entering, reducing heating and cooling system workload and lowering utility bills despite dehumidifier operating costs.
How does crawl space air quality affect my home?
Crawl space air quality affects your home significantly because approximately 50 percent of air on the first floor rises from the crawl space, meaning residents breathe whatever moisture, mold, or allergens exist in that space.
Will encapsulation prevent mold growth in my crawl space?
Encapsulation will prevent mold growth in your crawl space by blocking ground moisture and humid outside air from entering, maintaining stable low humidity levels that inhibit mold development on wood surfaces and floor joists.
Can I install crawl space encapsulation myself?
You can install crawl space encapsulation yourself, but DIY installation is complex and labor-intensive, requiring meticulous vapor barrier installation, proper vent sealing, and wall insulation work where mistakes can compromise effectiveness by trapping moisture.
What maintenance does an encapsulated crawl space require?
An encapsulated crawl space requires dehumidifier filter changes, condensation drainage monitoring, periodic vapor barrier inspections for tears or separations, and eventual dehumidifier equipment replacement based on manufacturer lifespan specifications.
Do building codes allow crawl space encapsulation?
Building codes allow crawl space encapsulation and now prefer closed or encapsulated crawl spaces over vented ones, reversing earlier requirements from the 1940s and 1950s that mandated foundation ventilation openings.
Will encapsulation affect my termite inspection?
Encapsulation will affect your termite inspection by covering soil and foundation areas with vapor barriers, making visual inspection difficult and potentially causing pest control companies to cancel termite bonds unless proper inspection ports are installed.