
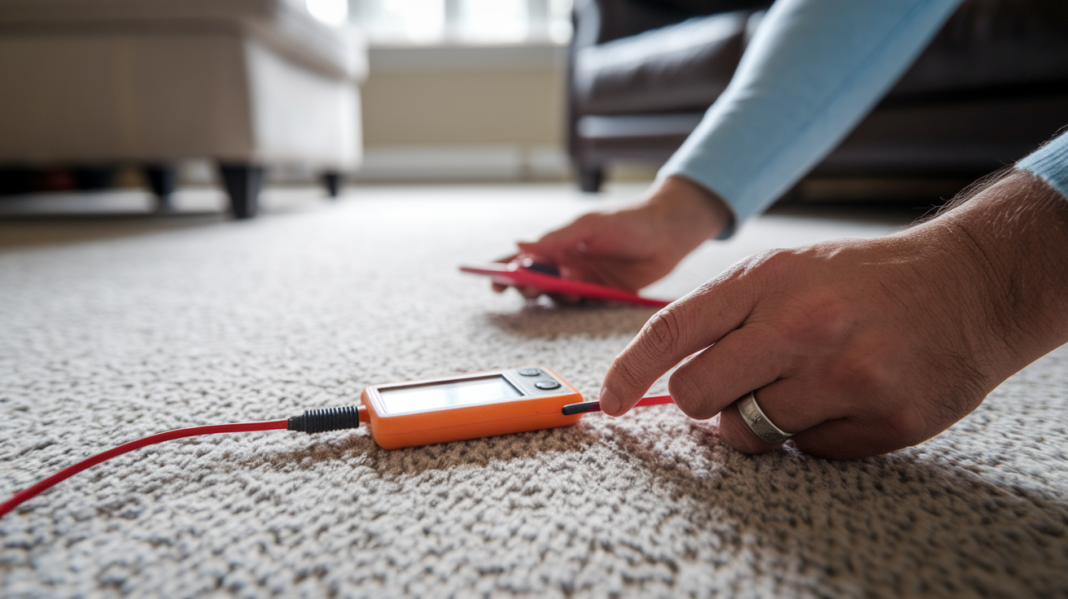

Think a quick vacuum and a fan will save soaked carpet?
Not always.
Carpet padding replacement after water damage is often the step homeowners skip, and it’s the step that prevents mold, lingering odors, and bigger repairs.
In this post we’ll show you how to tell when padding is ruined, why timing matters, and the fast, practical steps to take right now to stop contamination and protect the subfloor.
Read on so you can act fast and avoid a larger bill later.
Immediate Guidance for Handling Water‑Damaged Carpet Padding
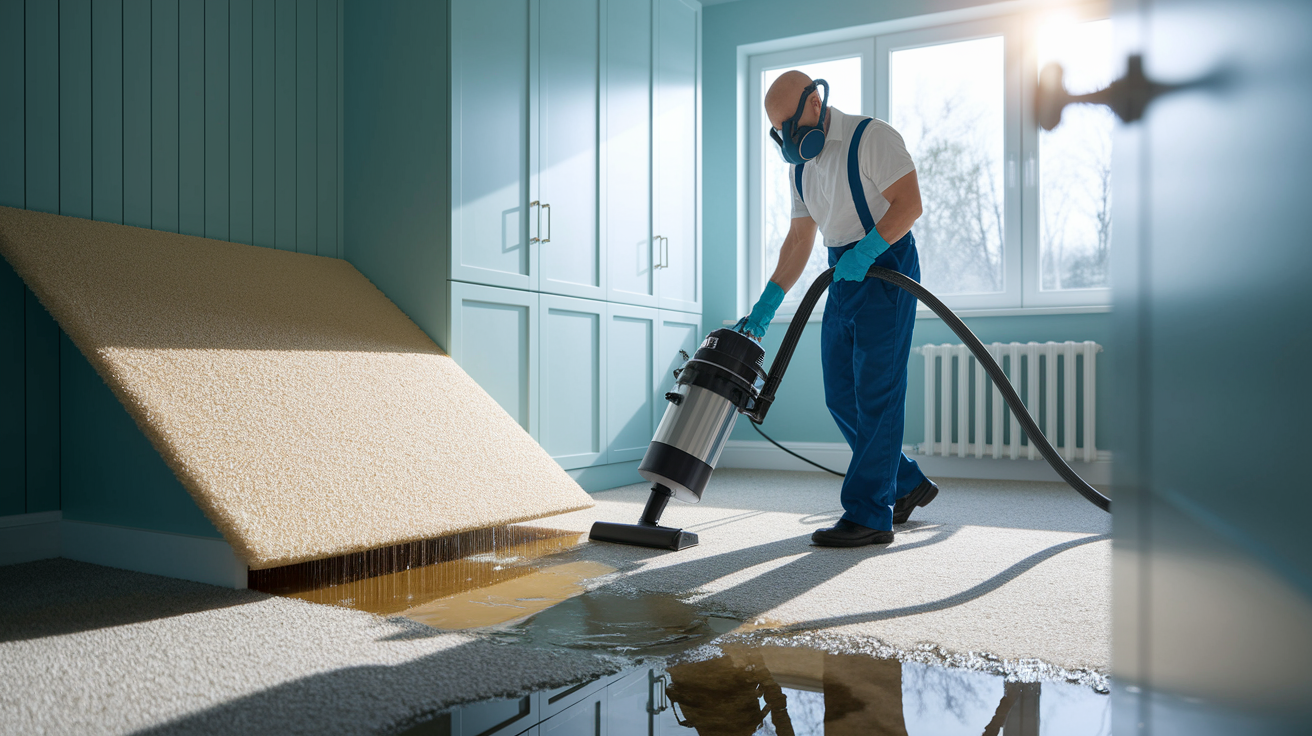
Carpet padding absorbs water faster than most homeowners realize. Once saturated, the dense foam or fiber core traps moisture deep inside, creating conditions where bacteria and mold can thrive in less than two days. If your padding’s been soaked by grey water (appliance overflow, washing machine drain) or black water (sewage backup, toilet overflow, flood), replacement isn’t optional. The contamination can’t be safely cleaned out, and the health risk to your family grows every hour the wet padding remains in place.
Clean water events, like a burst supply line or a quick spill, sometimes allow you to salvage padding if you act within the first 24 hours. The key is complete extraction and aggressive drying with professional grade air movers and dehumidifiers. Even then, if the padding stays damp for more than 48 hours, mold spores begin colonizing the organic binders and fibers. Once that musty smell sets in or you see discoloration on the underside, the pad’s lost. Trying to dry moldy padding only spreads spores into your living space and subfloor.
Most water damage jobs require full padding replacement because the material can’t release moisture quickly enough to stay safe. Foam and rebond pads are designed to cushion and insulate, not to breathe. When they get wet, they act like a sponge that never fully wrings out. Wait too long to decide and you risk damaging the subfloor beneath, facing a much larger repair bill.
Here are the immediate steps to take as soon as you discover wet carpet:
- Stop the water source. Turn off the valve, shut down the appliance, or call a plumber if the leak’s still active.
- Extract standing water. Use a wet/dry vacuum to pull as much liquid as possible from the carpet surface and edges.
- Identify the contamination category. Clean supply line water is Category 1, grey water from appliances is Category 2, sewage or flood water is Category 3.
- Lift the carpet edges. Pull back a corner to expose the padding and check for saturation, odor, and visible staining.
- Remove furniture and ventilate. Clear the room and open windows. Start fans to increase airflow across wet surfaces.
- Document the damage. Take photos of the wet area, the padding, and any visible mold or staining for your insurance claim.
How to Assess the Extent of Water Damage
Not all water is the same. The category of contamination determines your next move. Category 1 water comes from a clean source, supply lines, rainwater that hasn’t contacted soil or waste. If you can start drying within hours and the padding shows no signs of breakdown, salvage is possible. Category 2 water’s been in contact with washing machines, dishwashers, or similar grey water sources. It carries bacteria and organic matter that padding can’t shed. Category 3 is sewage, toilet backflow, or any floodwater that’s mixed with soil and waste. Both Category 2 and Category 3 exposures require immediate padding removal and disposal.
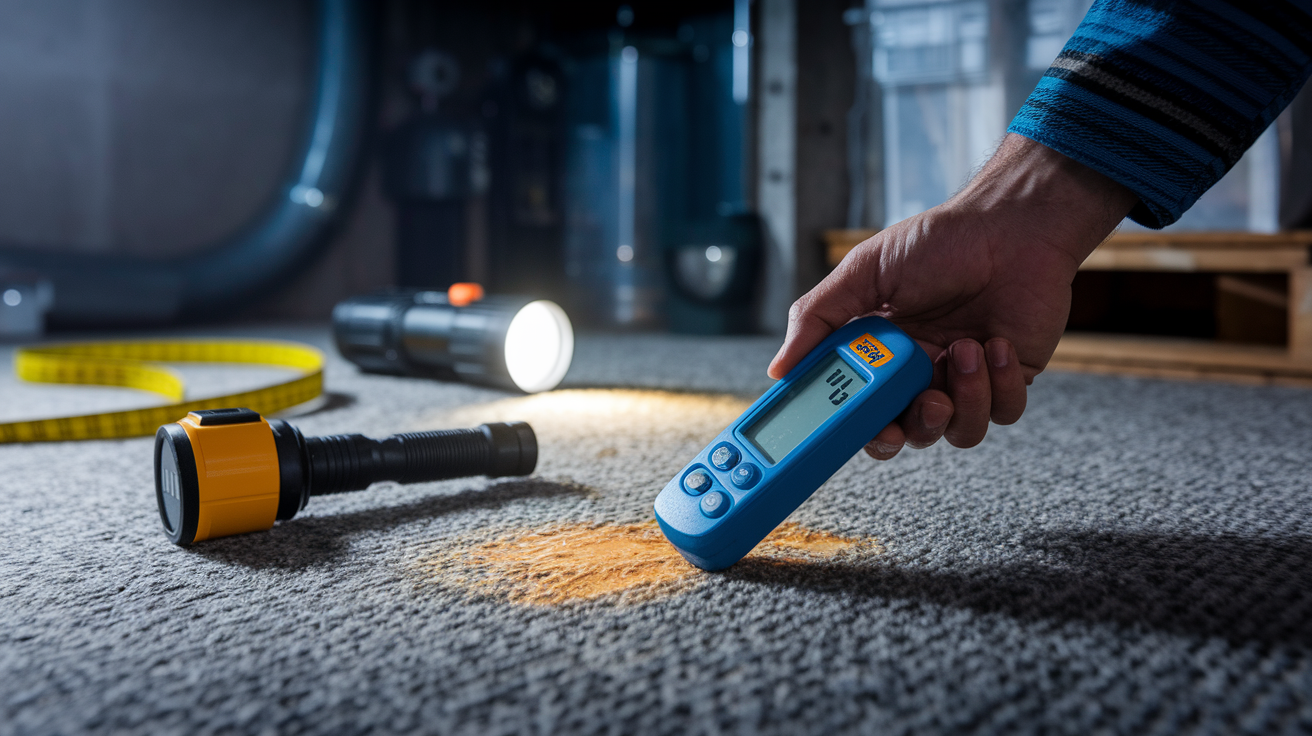
Use a moisture meter to measure the saturation level of the carpet, padding, and subfloor. Pin style meters work well on wood subfloors. Readings above 15 percent moisture content mean the floor’s still too wet to reinstall padding. For concrete slabs, a relative humidity probe or surface meter helps confirm drying progress. If you don’t own a meter, press firmly on the carpet in several spots. If water wells up or the padding feels cold, spongy, or heavy, it’s still saturated.
Smell is another reliable indicator. A sharp, musty odor that doesn’t fade after extraction points to organic breakdown or early mold growth inside the pad. Peel back the carpet and look at the padding surface. Staining, delamination (layers separating), or any visible fuzzy growth means the pad’s ruined. Even if the top looks clean, flip a corner and check the subfloor contact side. That’s where contamination and moisture pool.
When assessing damage, check for these key criteria:
- Water category (clean, grey, or black)
- Hours since initial exposure (under 24 hours, 24 to 48 hours, or more than 48 hours)
- Moisture meter readings on padding and subfloor (dry vs. saturated)
- Presence of odor, staining, or visible mold
Safe Removal Steps for Water‑Damaged Padding
Before you start pulling up carpet, clear the room completely and protect yourself. Wet padding’s heavier than dry padding, and contaminated material can carry bacteria or mold spores. Wear nitrile gloves, an N95 respirator (upgrade to P100 if there’s visible mold or sewage exposure), and eye protection. If the subfloor’s wet or you’re working in a basement, wear rubber boots to avoid tracking contamination into clean areas of the home.
Start by peeling the carpet back from one corner of the room. Most residential carpet is secured along the edges by tack strips, narrow wooden strips with angled pins. Use a pair of pliers or a small pry bar to gently lift the carpet edge off the pins, working slowly to avoid tearing the backing. Roll the carpet toward the center of the room to expose the full padding layer. If the carpet’s glued down (common on stairs or concrete), you may need a floor scraper and solvent, but that’s rare in standard installations.
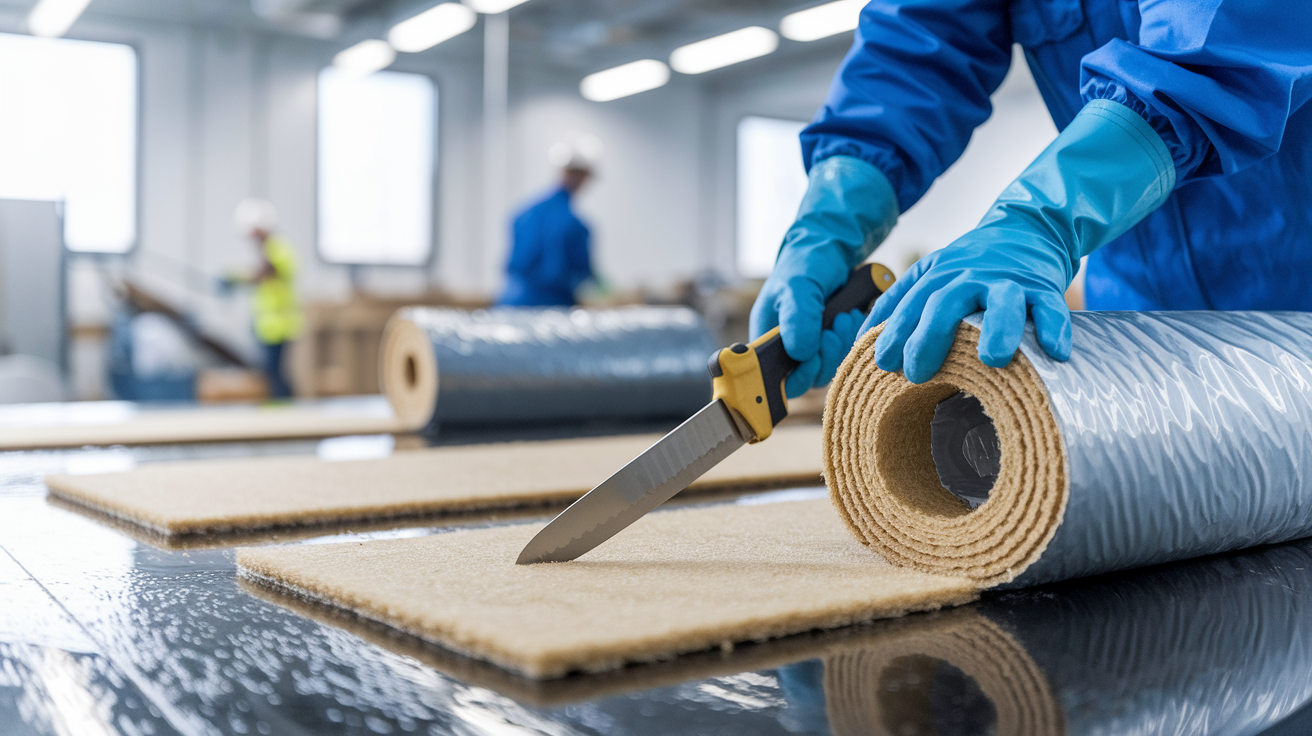
Once the padding’s visible, cut it into manageable sections using a utility knife. Wet padding tears easily, so cut strips about two feet wide and roll them up as you go. Dispose of each roll immediately into heavy duty trash bags. Double bag any material exposed to grey or black water. Check your local waste regulations. Some jurisdictions require special handling for mold contaminated or sewage soaked materials. Don’t leave wet padding sitting in the garage or yard. The longer it sits, the more it off gasses odor and moisture into surrounding spaces.
Follow these steps for complete removal:
- Turn off power to the room if there’s any risk of electrical contact with wet flooring.
- Remove all furniture, rugs, and stored items from the affected area.
- Lift one corner of the carpet and detach it from the tack strips using pliers.
- Roll the carpet toward the center, exposing the full padding layer.
- Cut the padding into two foot wide strips with a utility knife.
- Roll each section tightly and place it into heavy duty trash bags. Seal and remove immediately.
- Inspect the subfloor for standing water, staining, mold, or soft spots. Document what you see.
- Clean and disinfect the subfloor if salvageable, or mark damaged sections for replacement before installing new padding.
How to Install New Carpet Padding After Damage
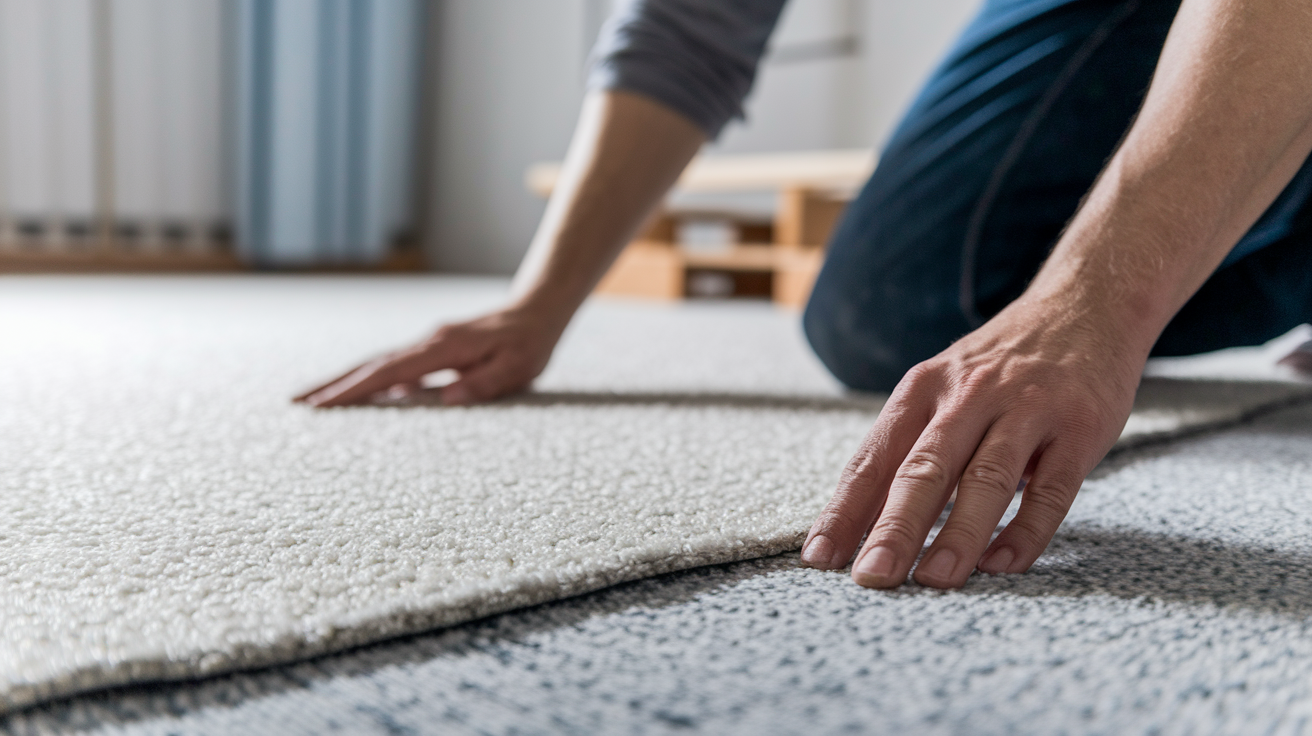
Wait until the subfloor’s completely dry before installing new padding. Use a moisture meter to confirm wood subfloors are below 12 to 15 percent moisture content. For concrete slabs, follow manufacturer guidance, often 75 percent relative humidity or lower measured with an in situ probe. Rushing installation traps residual moisture under the new pad and restarts the mold cycle.
Choose padding appropriate for your traffic level and moisture risk. Standard rebond padding (7/16 inch thick, 6 to 8 pound density) works for most living areas. In basements or rooms prone to dampness, use a closed cell or rubber pad that resists moisture absorption. Lay the padding smooth side up if there’s a film face. Some pads have a moisture barrier integrated on one side. Butt seams together without overlapping. Overlaps create lumps that telegraph through the carpet. Secure the padding with staples every 12 to 18 inches along seams and edges, or use manufacturer approved adhesive if working over concrete.
Here’s the full installation process:
- Confirm the subfloor’s dry using moisture meter readings and visual inspection.
- Sweep or vacuum the subfloor to remove debris, dust, and old staples.
- Lay out the new padding, starting along the longest wall and working toward the door.
- Trim padding to fit the room, leaving about half an inch of clearance at walls and tack strips.
- Butt seams tightly and tape them with padding seam tape. Don’t overlap sections.
- Staple the padding every 12 to 18 inches along edges and seams (wood subfloor) or apply adhesive per manufacturer instructions (concrete).
- Reposition the carpet, stretch it with a knee kicker or power stretcher, and reattach it to tack strips. Trim excess and tuck edges.
Costs of Replacing Water‑Damaged Carpet Padding
Replacing water damaged padding costs less than replacing the entire carpet, but the final bill depends on room size, contamination level, and whether you hire professionals. Material cost for standard rebond padding runs $0.20 to $0.60 per square foot. Premium rubber or moisture barrier pads can reach $0.80 to $1.50 per square foot. Labor for removal, disposal, and reinstallation typically adds $0.50 to $2.00 per square foot, with higher rates when mold remediation or subfloor drying’s required.
A typical 12 by 12 foot bedroom (144 square feet) might cost $100 to $200 for materials and $150 to $400 for labor, bringing the total to $250 to $600. If the job involves grey or black water contamination, add charges for antimicrobial treatment, subfloor cleaning, and disposal fees. Renting equipment (air movers, dehumidifiers, and a carpet stretcher) can add another $100 to $200 for a multi day drying period.
| Cost Factor | Typical Range |
|---|---|
| Padding material (per sq ft) | $0.20–$1.50 |
| Removal and disposal labor (per sq ft) | $0.20–$0.60 |
| Carpet re‑stretching and reinstall (per sq ft) | $0.50–$1.50 |
| Total replacement cost for 144 sq ft room | $250–$600 |
DIY vs. Professional Water Damage Restoration
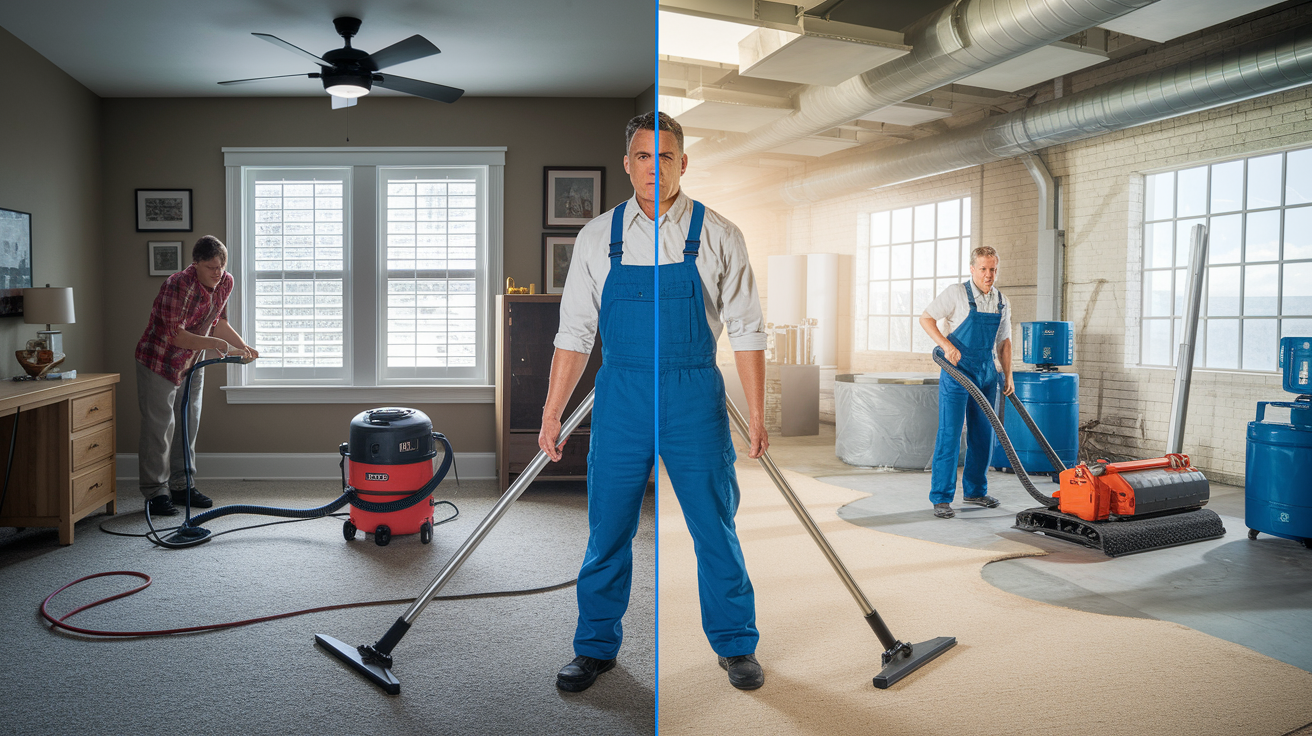
Small, clean water incidents in a single room can often be handled yourself if you’ve got the time, tools, and physical ability to lift furniture and pull carpet. Renting a wet/dry vacuum, a few air movers, and a dehumidifier is affordable, and the work’s straightforward if the padding isn’t glued and the subfloor is sound. DIY makes sense when the affected area’s under 100 square feet, you caught the water within hours, and you’re confident identifying mold or contamination.
Professionals bring commercial grade extraction equipment, thermal imaging to find hidden moisture, and experience with carpet stretching that prevents ripples and buckling. They also carry liability insurance and can document moisture readings in a format your insurance adjuster will accept. When grey or black water’s involved, or when the affected area spans multiple rooms, the speed and thoroughness of a certified crew often prevents secondary damage that costs more than the service itself.
Call a professional restoration company if any of these apply:
- Water is Category 2 (grey) or Category 3 (black/sewage).
- The affected area’s larger than 200 square feet or spans multiple rooms.
- You see or smell mold, or the padding’s been wet longer than 48 hours.
- The subfloor shows soft spots, staining, or structural concerns.
- You need documented moisture readings and a written scope for an insurance claim.
Drying Times and Mold Prevention After Water Damage
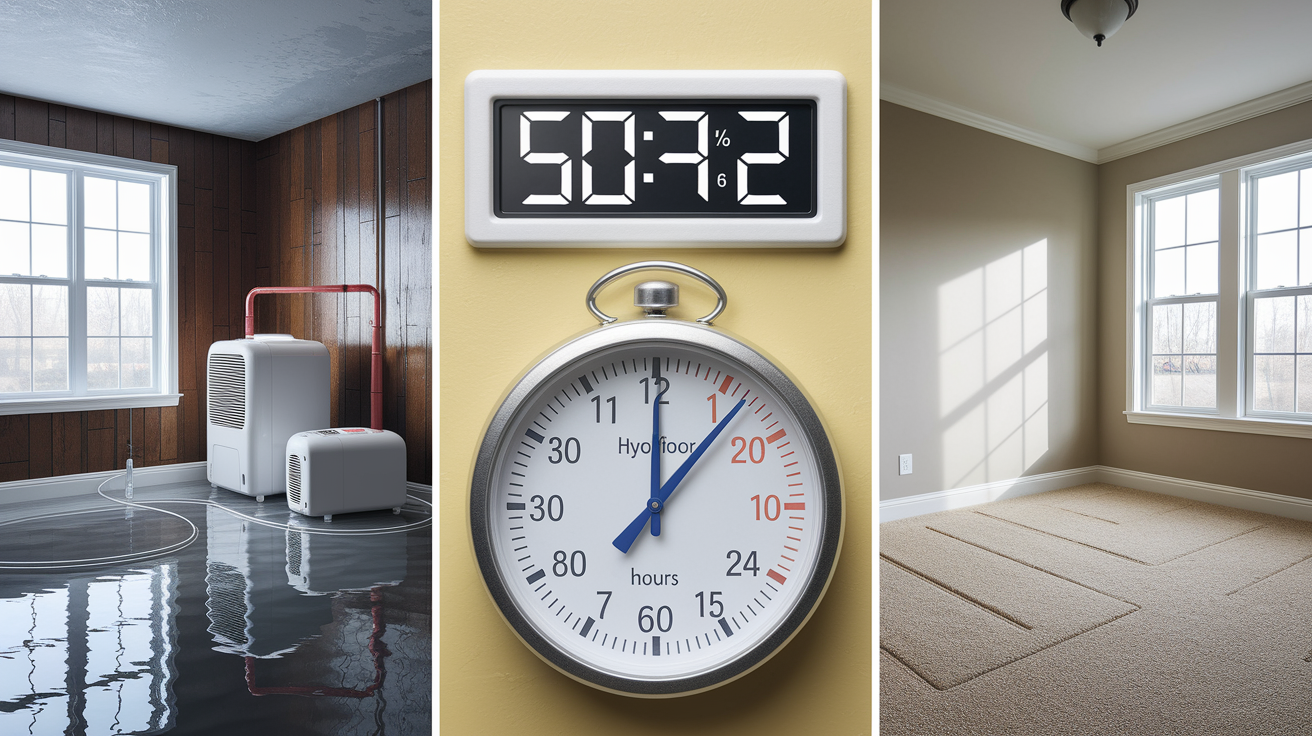
Mold can begin growing within 24 to 48 hours when relative humidity stays above 60 percent and temperatures sit between 60 and 86 degrees Fahrenheit. Once mold colonies establish, they release spores into the air and penetrate porous materials like drywall, wood trim, and carpet backing. Preventing mold means drying everything (carpet, padding, and subfloor) within that first 48 hour window.
Professional drying equipment can pull bulk moisture out in 24 to 72 hours. Air movers create high velocity airflow across wet surfaces, while dehumidifiers extract water vapor from the air. Position air movers to blow under lifted carpet edges and across the subfloor. Run dehumidifiers continuously and empty the collection tank or connect a drain hose. Monitor humidity with a hygrometer. Aim to bring indoor relative humidity below 50 percent. If you’re drying with household box fans and a portable dehumidifier, expect the process to take three to five days and check moisture levels daily with a meter.
To prevent mold during and after drying:
- Start extraction and drying within the first 24 hours of water exposure.
- Lift carpet edges and remove wet padding immediately if it can’t dry in time.
- Run air movers and dehumidifiers continuously until moisture meter readings are safe (wood subfloor below 15 percent, room RH below 50 percent).
- Discard any padding, carpet, or building materials that remain damp after 48 hours or show visible mold.
- Treat the subfloor with an EPA registered antimicrobial if contamination or early mold growth’s present.
Preventing Future Water Damage to Carpet Padding
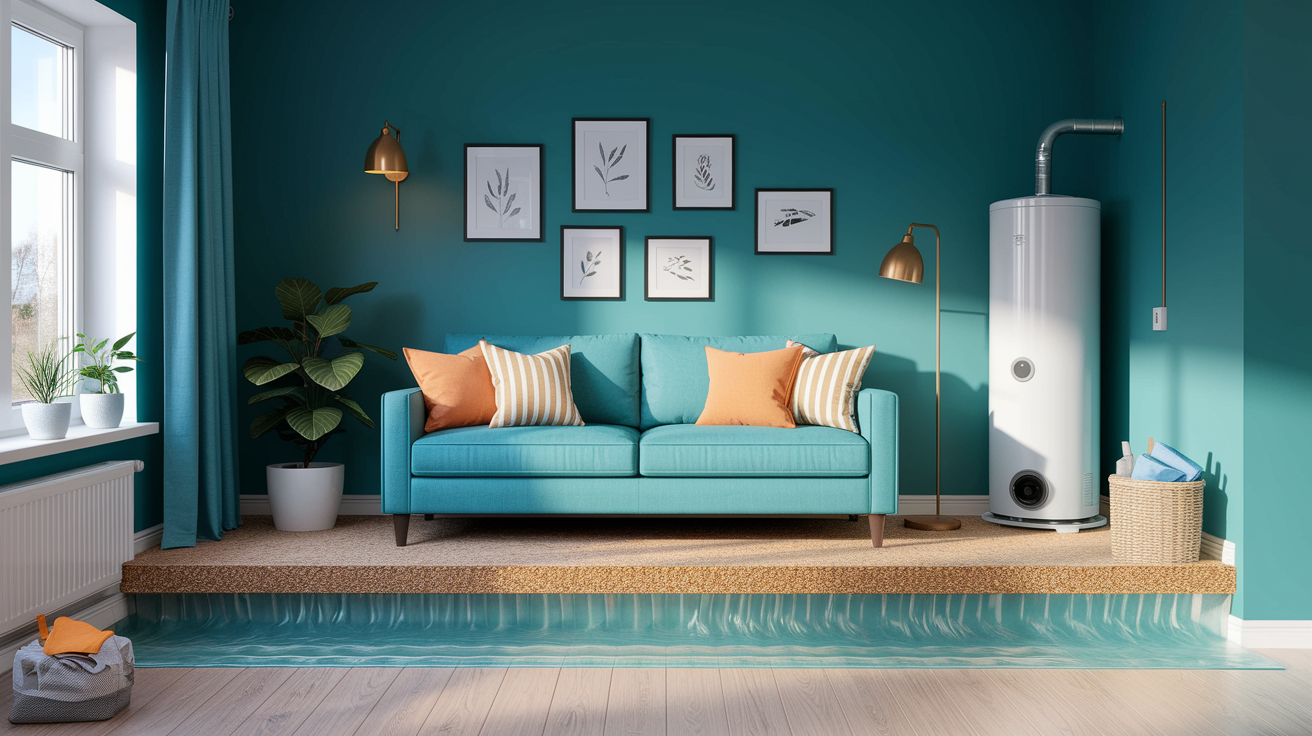
Once you’ve replaced damaged padding, take steps to reduce the chance of another water event. In basements and ground floor rooms, consider upgrading to closed cell or rubber padding that resists moisture absorption. Install a 4 to 6 mil polyethylene vapor barrier under the padding on concrete slabs to block ground moisture from wicking up. In areas near water heaters, washing machines, or sinks, place waterproof mats or pans under appliances and check supply hoses and drain lines every few months.
Improve drainage around your home by grading soil away from the foundation and keeping gutters clean. Inside, maintain indoor humidity between 30 and 50 percent using exhaust fans in bathrooms and kitchens. Install water leak alarms near high risk appliances. They cost less than $20 and give you early warning before a slow drip becomes a soaked floor.
Key prevention upgrades include:
- Closed cell or rubber carpet padding in basements and moisture prone rooms
- Polyethylene vapor barrier (4 to 6 mil) under padding on concrete slabs
- Water leak alarms positioned near water heaters, washing machines, dishwashers, and sump pumps
- Regular maintenance of supply hoses, drain lines, and sump pumps. Replace rubber hoses every five years.
Final Words
Stop the water, extract standing moisture, and lift the carpet to check the padding. That’s the action that prevents mold and bigger fixes.
This post walked through quick assessment steps, when padding must be removed, safe pull-up and disposal, installation basics, cost expectations, DIY vs. pro choices, drying times, and prevention tips. Use tools and photos so you’re not guessing.
If the pad can’t be saved, prompt, documented carpet padding replacement after water damage gets the job done and helps with claims. You’ll get to a dry, healthy home again.
FAQ
Q: Does carpet padding need to be replaced after water damage?
A: The carpet padding usually needs to be replaced after water damage, especially if contaminated (grey or black water) or still damp after 24–48 hours. Clean-water cases can be saved if dried very quickly.
Q: Can carpet be saved after water damage?
A: Carpet can be saved after water damage when the water is clean, extraction and drying start within 24–48 hours, and backing or fibers aren’t delaminated or contaminated. Quick action prevents mold and odors.
Q: What happens if carpet padding gets wet?
A: When carpet padding gets wet it soaks up water, holds moisture under the carpet, and can lose shape or delaminate. It also breeds mold and odor within 24–48 hours, often forcing replacement.
Q: How much does it cost to replace padding under carpet?
A: Replacing padding under carpet typically costs $1 to $3 per square foot for the padding itself; total cost rises with labor, disposal, drying equipment, and carpet re-stretching, and is higher for large or contaminated jobs.