
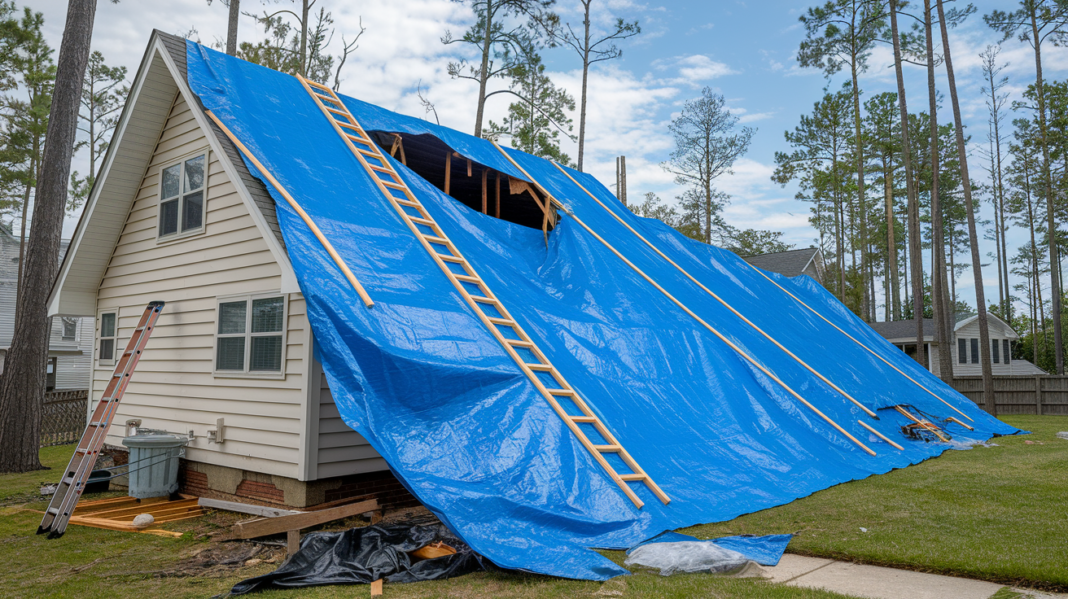

When your roof gets ripped open during a storm, you’ve got maybe hours before water starts wrecking your ceilings, insulation, and walls. The difference between a roof repair and a full-blown interior disaster comes down to how fast you stop the water from getting inside. Emergency roof coverings aren’t permanent fixes, but they buy you time to coordinate real repairs without watching damage spread through your home. This guide walks you through exactly what materials work, how to install them safely, and when to call professionals instead of climbing up yourself.
Quick-Action Emergency Roof Protection Guide
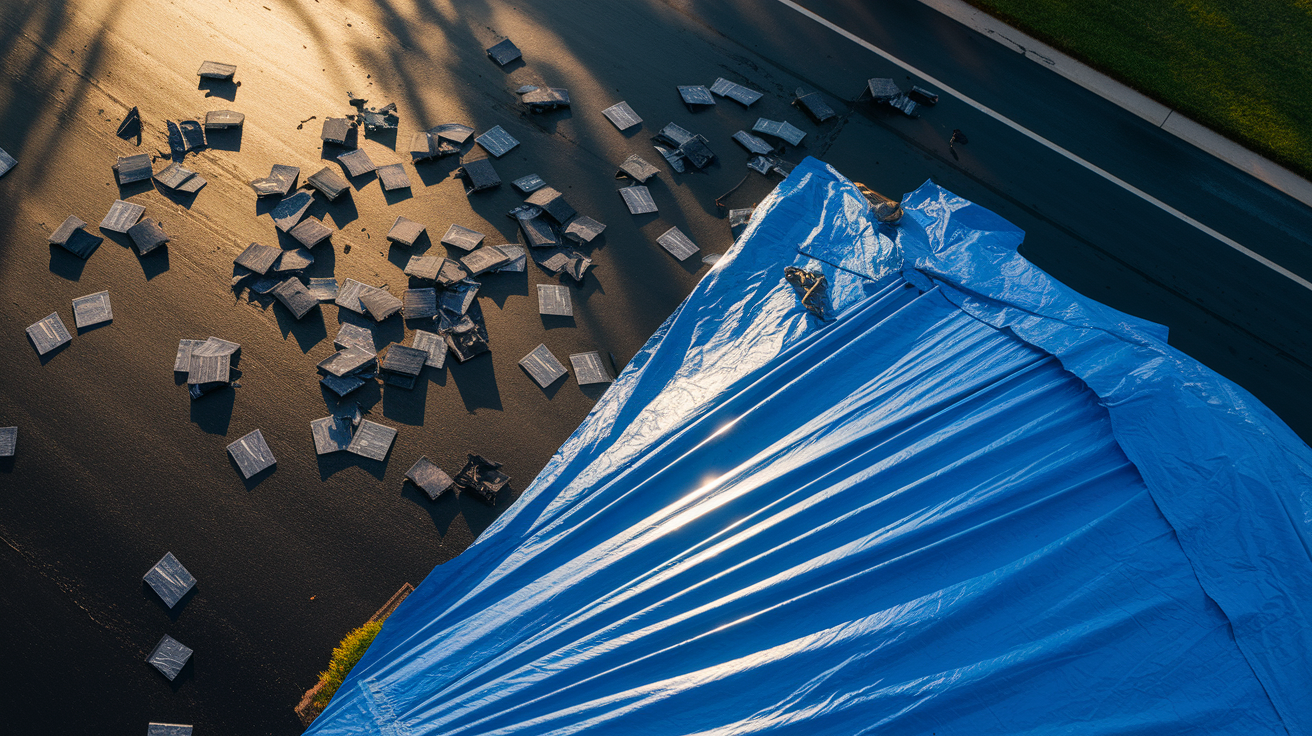
The second you spot roof damage after a storm, the clock starts ticking. Water doesn’t wait around. It’ll destroy your ceilings, trash your insulation, and soak straight through your walls in just a few hours.
Here’s what you need to do right now:
Step 1 Walk around your house and check the damage from the ground. Grab any loose debris, branches, or busted shingles you can reach safely without getting on the roof.
Step 2 Round up your emergency stuff: a heavy duty tarp that’s at least 6 mil thick, some wooden boards (2x4s work great), roofing nails or screws with washers, either a hammer or power drill, and roofing cement for sealing things up.
Step 3 Start your tarp at the highest point of the damaged spot and let it drape down over everything. Make sure it extends at least 4 feet past the damage on every side so you’ve got complete coverage.
Step 4 Lock down the top edge first. Use those wooden boards nailed into the roof deck every 6 to 8 inches. Pull everything tight, secure the sides with more boards, then seal all the edges and every single nail hole with roofing cement to keep water out.
This stops active water from getting inside immediately. The next part gets into detailed installation, but if you follow these four steps right now you’ll prevent interior damage while you figure out proper repairs.
Now let’s talk about emergency covering materials, because what you pick depends on your damage type, what the weather’s doing, and how long you need temporary protection to hold up.
| Material Type | Thickness/Durability | Estimated Cost | Expected Duration | Best Used For | Primary Advantages |
|---|---|---|---|---|---|
| Heavy-Duty Polyethylene Tarp | 6+ mil, reinforced mesh | $50-$150 | 2-3 months | Most common roof damage, general storm protection | Lightweight, fully waterproof, easy to handle, affordable |
| Vinyl Tarp | 12-20 mil, heavy-duty | $100-$300 | 3-6 months | Extended protection, severe weather regions, large damaged areas | Superior durability, excellent UV resistance, tear-resistant |
| Canvas Tarp | 10-12 oz weight | $75-$200 | 1-2 months | Areas needing breathability, humid climates, attic ventilation concerns | Prevents condensation buildup, reduces interior moisture accumulation |
| Roof Membrane | Various mil ratings | $150-$400 | 4-6 months | Flat roofs, commercial buildings, professional installations | Self-adhesive options, superior water barrier, professional-grade |
| Plywood Sheeting | 1/2″ – 3/4″ thick | $30-$60 per sheet | 6+ months (with tarp over) | Large holes, structural damage, tree punctures, reinforcement needs | Structural support, rigid protection, additional security layer |
These materials work because they create a water barrier between your damaged roof deck and whatever weather’s coming. Water can’t reach your ceiling joists, insulation, or the inside of your house when you’ve got proper emergency coverings in place. That’s what stops the secondary damage that turns a $2,000 roof repair into a $15,000 interior restoration nightmare. What you pick depends on how big the damage is, whether you need structural backup, and how long it’ll be before real repairs can start.
You’ve got to balance immediate cost against how long the protection needs to last. A 6 mil polyethylene tarp costs less but breaks down faster when the sun hits it. A 20 mil vinyl tarp runs more money upfront but keeps water out longer and handles wind way better. Think about your timeline. If permanent work starts in two weeks, go cheap. If insurance claims or contractor scheduling mean you’re waiting two months, spend the money on durability and UV protection that won’t fail halfway through.
Step-by-Step Tarp Installation for Roof Coverage

Before you climb anywhere, walk around your house and figure out how bad the damage really is. You need to see where it starts and where it stops so your tarp covers everything with extra room.
Here’s how you do this:
Step 1 Check the damage from ground level and clear whatever loose debris, broken shingles, or branches you can safely grab without getting on the roof. Look for sagging spots that might not hold your weight.
Step 2 Measure the damaged area edge to edge. Add 4 feet in every direction when you’re cutting your tarp. If damage runs 6 feet across, your tarp needs to be at least 14 feet wide to give you proper overlap and stop water from sneaking underneath.
Step 3 Start positioning the tarp from the highest point of damage and drape it down following the roof slope. If damage is near the peak, run the tarp over the ridge to the other side so water flows over it instead of under it.
Step 4 Secure the top edge first. Lay a 2×4 board along the upper edge of the tarp and nail it into the roof deck every 6 to 8 inches. Use roofing nails or screws long enough to bite into solid wood, not just whatever’s already damaged.
Step 5 Pull the tarp tight toward the sides and bottom to get rid of wrinkles and saggy spots where water pools. Secure the side edges with more wooden boards nailed the same way. Tension matters here. Loose tarps flap around in wind and tear right at the fastener points.
Step 6 Weigh down the bottom edge with sandbags or bricks if you can’t safely nail into that section. Put roofing cement along all edges, over every nail hole, and anywhere the tarp meets a roof thing like a vent or chimney. Seal it completely.
Walk around your house and check the tarp from the ground. You shouldn’t see gaps, loose sections, or spots where the tarp’s pulling away from the roof surface. Wind’s your enemy. Even small loose sections turn into flapping tears during the next storm. If the tarp balloons or ripples, add more fasteners in those areas. Complete edge sealing with roofing cement stops water from wicking underneath, which defeats the whole point of emergency coverage.
Safety Precautions During Emergency Roof Repairs
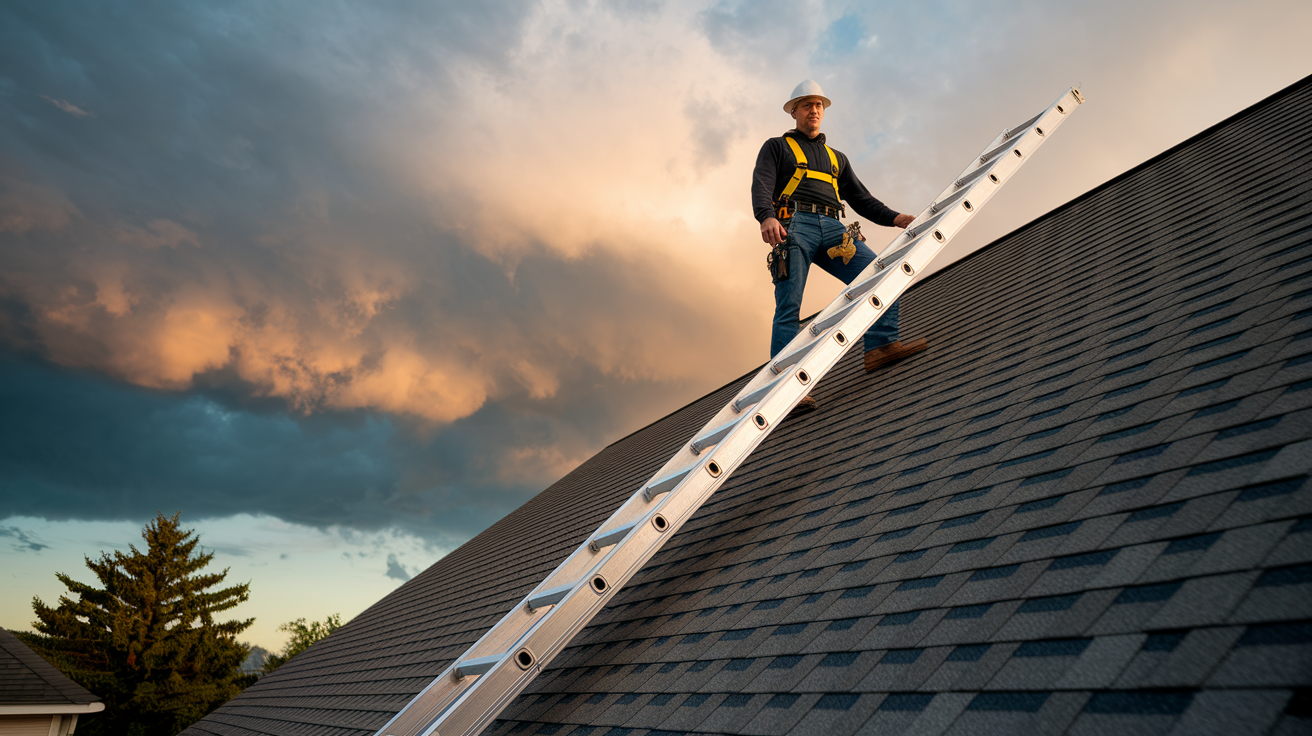
Your safety matters way more than preventing a ceiling stain. Seriously.
Wait for clear weather before you climb up. A wet roof is slippery, and active storms create wind gusts that can knock you off balance or yank tools right out of your hands.
Here’s what you’ve got to do before attempting any roof work:
Wait for completely clear weather with no rain, wind gusts, or storm activity in the forecast for at least the next three hours.
Position your ladder at the correct angle with the top sticking at least 3 feet above the roof edge so you’ve got something to grab when stepping on and off.
Wear a safety harness anchored to something secure if your roof’s steep or if you’re working more than one story up.
Have somebody on the ground to hold the ladder, hand up materials, and call for help if something goes wrong.
Don’t touch any roof with a slope greater than 6/12 pitch (that’s 6 inches of rise for every 12 inches going across) unless you’re an experienced roofer.
Never work on wet, icy, or frost covered surfaces where your footing isn’t completely solid.
Don’t work during active storms, high winds, or when weather’s changing fast.
Most homeowners don’t have professional roofing experience. That’s fine. But steep roofs, multiple story homes, and extensive damage create risks that training and equipment can’t fix if you’re not physically ready for that work. If you feel unstable, if the damage area puts you near the edge, or if you’re honestly not confident, stop and call a professional. Emergency roofing contractors offer 24 hour response specifically for situations where homeowners can’t safely do the work themselves.
You’re also taking on liability if someone gets hurt helping you. Professional services carry insurance that covers worker injuries and property damage during emergency repairs. That protection matters when you’re asking a neighbor to hold a ladder or help haul materials onto a roof.
Common Roof Damage Scenarios Requiring Coverage
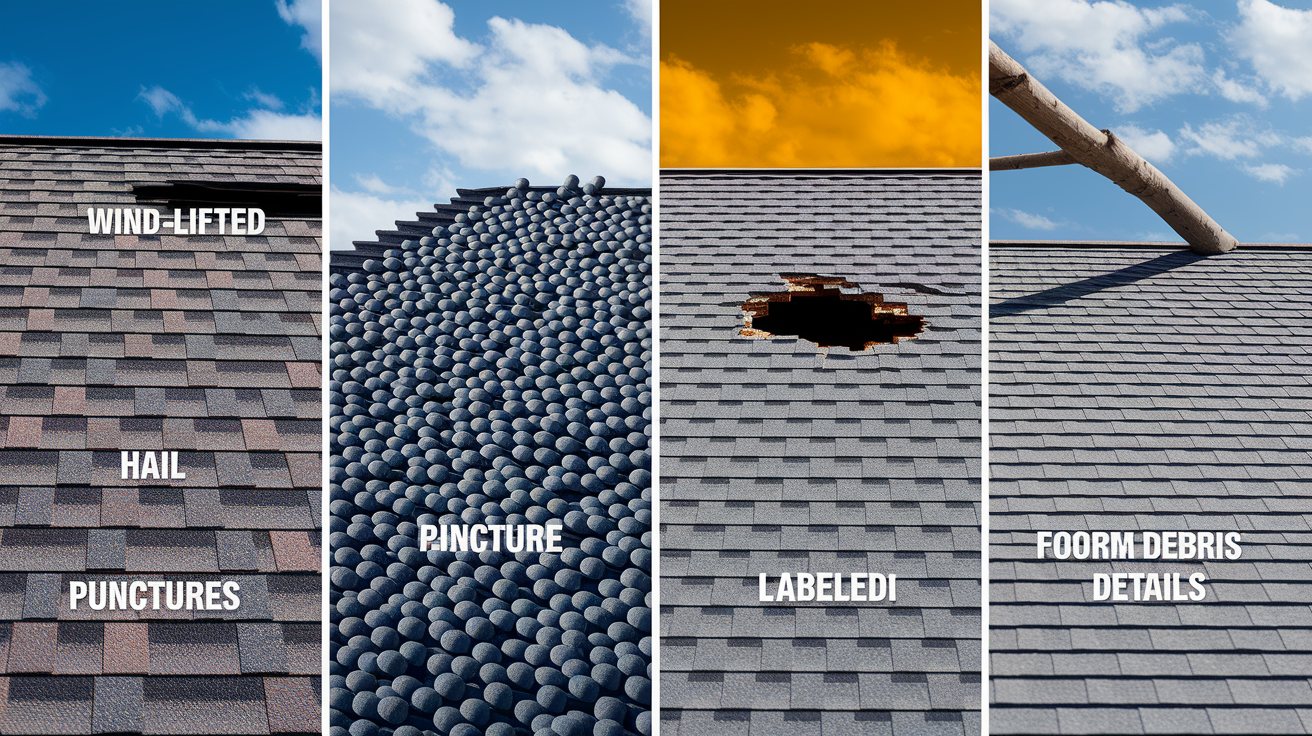
Different damage needs different coverage strategies. A few missing shingles don’t require the same approach as a tree branch that punched straight through your roof deck.
Here’s what you’re dealing with and how to cover it:
Wind lifted or missing shingles. The roof deck underneath is exposed but intact. Cover with a single layer polyethylene tarp secured directly over the exposed area. No structural reinforcement needed.
Hail impact damage creating punctures. Small holes or cracks in shingles let water through. A standard tarp works, but slap extra roofing cement around any visible holes before laying the tarp to seal the immediate leak points.
Fallen tree branches causing holes. You need plywood sheeting first to cover the actual hole and give you structural support, then tarp over the plywood to waterproof it. The plywood keeps the tarp from sagging into the hole.
Storm debris penetration. Check whether the damage went through just the shingles or through the roof deck. If you can see into your attic, use plywood reinforcement before tarping.
Hurricane or severe weather preparation. Install tarps over vulnerable sections before the storm hits if you’ve already got damaged areas. Secure them extra well with additional fasteners every 4 to 6 inches instead of 6 to 8 inches.
Aging material deterioration. Multiple weak spots across a large area need one oversized tarp that covers the entire section rather than multiple small tarps with seams where water sneaks through.
How bad it is determines your materials. Minor damage (a patch of missing shingles smaller than 4 feet across) is a tarp only job. Moderate damage (multiple damaged sections or a hole through the decking) requires plywood plus tarp. Extensive damage (large holes, multiple penetrations, or structural concerns) needs professional assessment before you try covering anything because you might be dealing with compromised support beams or unsafe roof deck sections.
Think about weather exposure too. A small damaged section gets immediate coverage to stop active leaks, but if your forecast shows heavy rain for the next 48 hours, prioritize getting that tarp on fast over getting it perfect. You can add extra fasteners and sealing later once the immediate rainfall threat passes.
DIY Installation Versus Professional Roof Covering Services

You need to honestly figure out whether you can safely handle this work or whether the situation needs professional help from the start.
When DIY Roof Covering Makes Sense
Single story homes with accessible roof areas and minor damage are realistic DIY projects if you’re physically capable and have basic tool experience. We’re talking about damage you can reach from a standard extension ladder, where the roof pitch isn’t so steep you’re sliding around, and where the damaged area sits at least 3 feet from any roof edge. If you’ve done basic home maintenance before (cleaned gutters, replaced deck boards, handled a power drill), you probably have the skills needed to position and secure a tarp safely.
When to Call Emergency Roofing Professionals
Steep roofs create serious fall risks even for experienced workers. Multiple story buildings put you at dangerous heights where a mistake means hospital level injuries. Extensive damage, especially anything involving structural concerns, large holes, or areas near roof valleys and peaks, requires professional assessment before you start covering things. If you’re looking at the damage and feeling uncertain, that uncertainty is telling you something. Time constraints matter too. If you’re dealing with active leaks during a storm and can’t wait for weather to clear, emergency contractors have the equipment and experience to work in marginal conditions you shouldn’t attempt. Look for contractors with proper licensing for your state, current liability and worker’s compensation insurance, positive reviews from recent emergency jobs, and 24 hour availability for true emergencies.
Professional installation also matters for insurance claims and code compliance. Some places require permits even for temporary roof coverings, and lots of insurance policies require professional documentation of emergency mitigation work to approve those costs. If your damage is extensive enough that you’re filing a claim anyway, having a licensed contractor handle the emergency covering creates a paper trail that supports your claim and makes sure the work meets any code requirements that apply to temporary structures.
Insurance Claims and Damage Documentation for Roof Coverage

Before you touch anything, grab your phone and start taking pictures. Insurance companies want to see what happened before you started fixing it.
Follow this sequence:
Step 1 Take photos of all visible damage from multiple angles before you move any debris or start any covering work. Shoot wide shots showing the overall damage area and close ups of specific broken shingles, holes, or impact points.
Step 2 Document the cause if it’s visible. Photograph the fallen tree branch, the debris that hit your roof, or the area where wind lifted shingles. Insurance adjusters need to verify that covered stuff caused the damage.
Step 3 Photograph the emergency covering installation process as you work. Show the materials you’re using, how you’re securing them, and the completed temporary protection from multiple angles.
Step 4 Keep every receipt for materials and professional services. Your tarp, wooden boards, roofing cement, nails, and contractor labor are all potentially reimbursable as emergency mitigation costs.
Step 5 Take final photos showing the completed temporary protection and how it covers the damaged areas. These prove you took reasonable steps to prevent further damage.
Emergency roof covering qualifies as damage mitigation, which most insurance policies require you to perform after a loss. That means the cost of materials and reasonable labor to install temporary protection should be covered under your policy, separate from your actual roof repair costs. The key word is “reasonable.” A basic tarp installation to stop active leaks is covered, but upgrading to premium materials beyond what’s needed for temporary protection might not be.
Proper documentation protects your claim by showing the insurance company exactly what was damaged, what caused it, and what steps you took to prevent the damage from spreading to interior spaces. That matters because if your roof leaks for three days before you cover it and your ceiling gets destroyed, the insurance company can argue you failed to mitigate and deny coverage for the ceiling damage.
Contact your insurance company within the timeframe specified in your policy (usually 24 to 72 hours after discovering damage). Report the loss, explain what happened, and tell them you’ve installed or are installing emergency roof covering to prevent further damage. Ask specifically whether they cover emergency mitigation costs and what documentation they need for reimbursement.
Specialized Roof Features and Emergency Coverage Techniques
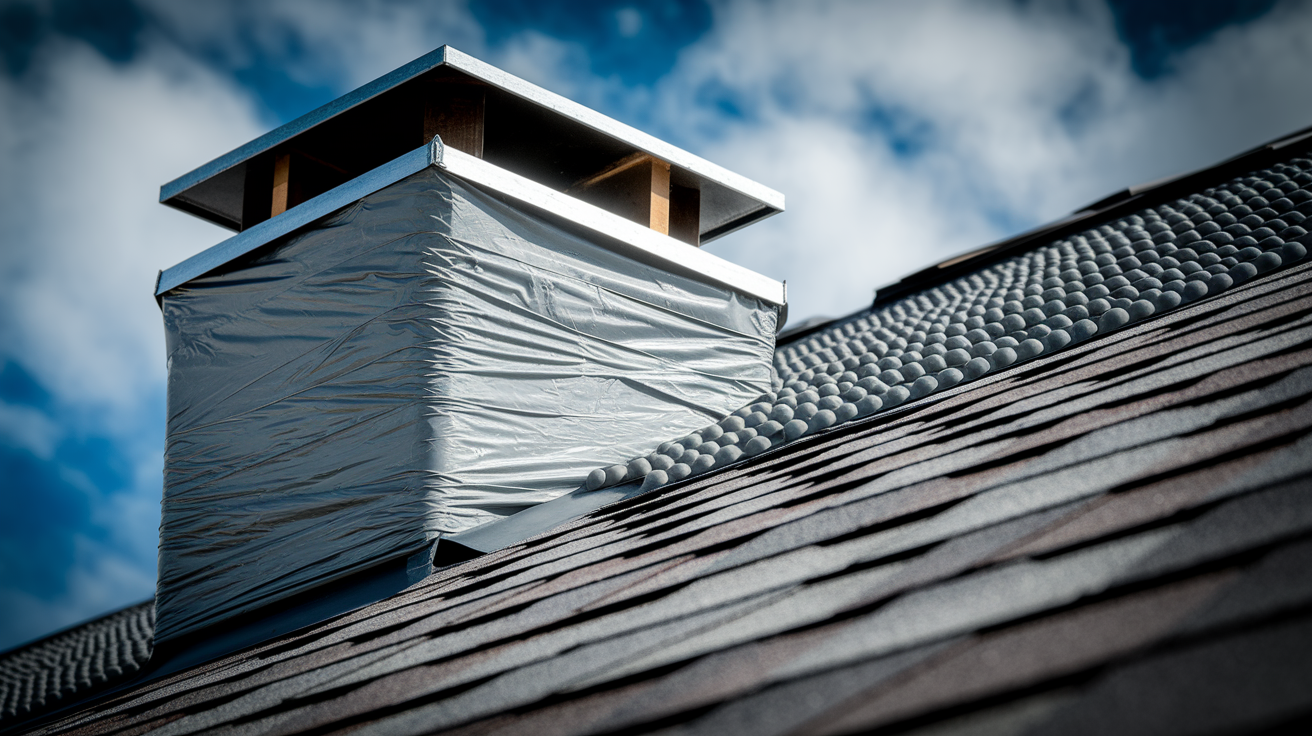
Roof penetrations and architectural features are where most emergency coverings fail because homeowners just lay tarps over them without addressing the gaps and weak points they create.
Here’s how to handle the problem spots:
Flat roof water pooling prevention. Don’t just lay the tarp flat. Create slight drainage channels using extra lumber underneath the tarp edges so water flows toward drains or off the roof edge instead of pooling in one spot and sagging through damaged decking.
Pitched roof peak protection. When damage is near the ridge, run your tarp completely over the peak to the other side and secure it on both slopes. Water flows down, so coverage that stops at the peak line lets water run under the tarp.
Valley area reinforcement. Valleys channel water flow, which means more water volume hits that section. Use extra fasteners every 4 inches along valley areas and apply a thick bead of roofing cement along the entire valley tarp edge.
Ridge cap coverage methods. If the ridge cap itself is damaged, fold the tarp over the peak and secure wooden boards on both sides of the ridge to sandwich the tarp and prevent wind from lifting it at the highest point.
Roof vent sealing techniques. Cut an X pattern in the tarp over each vent pipe, slip the tarp down around the pipe, and seal the cut edges to the pipe with roofing cement. Don’t cover vents completely. Attic ventilation prevents moisture buildup.
Chimney base wrapping. Run the tarp up to the chimney base, cut the tarp to fit around it, and seal the cut edges where tarp meets chimney with multiple layers of roofing cement. The chimney roof intersection is a common leak point.
Skylight protection strategies. If the skylight itself is damaged, cover it from the outside with plywood first for impact protection, then tarp over the plywood. If damage is around the skylight, cut the tarp to fit against the skylight curb and seal heavily with roofing cement.
The flashing around these features (the metal or rubber strips that seal penetrations) is where water intrusion happens most often during normal weather, and it’s definitely where emergency coverings fail. Every spot where your tarp meets a roof penetration or architectural feature needs roofing cement applied generously. We’re talking about a bead of cement at least a half inch wide that completely seals the tarp edge to the feature.
Use extra fasteners in high stress areas where wind catches edges or where water naturally flows in heavy volume. On flat roofs or in regions with strong prevailing winds, double your fastener density (every 4 inches instead of every 8 inches) along edges and near penetrations. But watch weight distribution on damaged roof deck sections. If you’re fastening into wood that’s already compromised, you might punch through or create new weak points. When in doubt, distribute fasteners across a wider area using longer boards that spread weight to undamaged sections.
Duration Limits and Maintenance of Emergency Roof Coverings
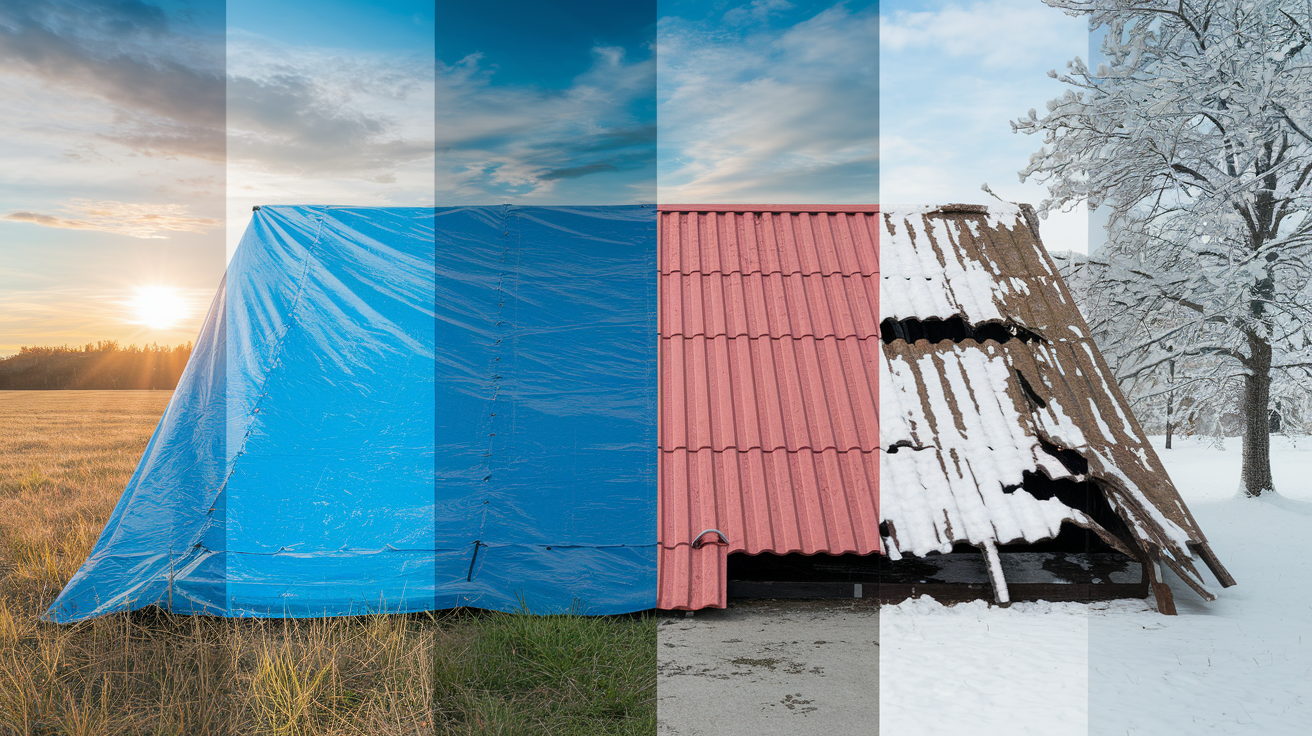
Even quality materials properly installed won’t last forever. You’re buying time, not creating a permanent roof.
Count on these realistic protection windows. Heavy duty tarps in good conditions provide solid coverage for several weeks to maybe three months. That timeline shrinks fast if you’re dealing with extreme weather, constant sun exposure, or freeze thaw cycles that stress the material daily.
Check your emergency covering weekly using these procedures:
Inspect the entire tarp surface for tears, holes, or thin spots where UV degradation is weakening the material and you can see light coming through.
Make sure all fasteners are still tight and that wooden boards haven’t loosened or shifted position from wind stress.
Check for water pooling or sagging sections where the tarp has stretched or where weight has created low spots that collect rainfall.
Remove debris buildup. Leaves, branches, dirt, all that stuff holds moisture against the tarp and speeds up breakdown.
Look for UV degradation signs including color fading, material brittliness, and surface cracking that show the tarp is approaching failure.
Check edge sealing to make sure roofing cement hasn’t cracked or pulled away from tarp edges or roof penetrations.
Weather throws specific challenges that speed up the deterioration process. Summer heat and constant sun exposure degrade polyethylene and vinyl through UV breakdown. The material literally becomes brittle and cracks. Winter snow loads add hundreds of pounds of weight that stress fastener points and can tear tarps or pull boards loose. Ice formation along edges creates sharp pressure points that puncture tarp material. Freeze thaw cycles repeatedly expand and contract the materials, which loosens fasteners and cracks roofing cement seals.
Watch for these replacement timing signals. Material fading from bright blue or silver to a pale washed out color means UV damage that’s weakened the waterproof coating. Visible tears or holes obviously mean water’s getting through. Reduced water resistance shows up as dark wet spots on the tarp surface after rain instead of water beading and running off. That’s the waterproof layer failing. When you see any of these signs, plan tarp replacement within days, not weeks.
The absolute maximum you should expect from emergency roof covering is a few months, and that’s with quality materials, proper installation, and regular maintenance in moderate weather. If you’re approaching that timeline and permanent repairs aren’t scheduled yet, you need to either replace the temporary covering or seriously push your contractor to start work. A failed emergency tarp during a rainstorm dumps all that delayed damage into your home at once.
Final Words
When your roof takes damage, knowing your emergency roof covering options makes the difference between quick protection and escalating interior damage.
Tarps, plywood, and proper installation techniques stop water intrusion immediately while you arrange permanent repairs.
Whether you handle installation yourself or call emergency professionals, the goal stays the same: protect your home’s interior, prevent structural deterioration, and maintain a dry, safe living space until complete repairs happen.
Document everything, check your covering weekly, and remember that these solutions buy you time, not permanence. Get those permanent repairs scheduled before your temporary protection wears out.
FAQ
What is the best way to temporarily cover a roof?
The best way to temporarily cover a roof is to use a heavy-duty polyethylene or vinyl tarp (minimum 6 mil thick) secured with wooden boards nailed every 6-8 inches along edges, extending 4 feet beyond the damaged area on all sides, and sealing with roofing cement.
What are the options for a temporary roof cover?
Temporary roof cover options include heavy-duty polyethylene tarps (6+ mil), vinyl tarps (12-20 mil), canvas tarps (10-12 oz), roof membrane materials, and plywood sheeting (1/2″ to 3/4″), each selected based on damage severity, weather exposure, and expected repair timeline.
How long does peel and stick roofing last?
Peel and stick roofing typically lasts several weeks to a few months depending on weather conditions and UV exposure, which gradually degrades the material’s waterproof properties and requires regular inspection for tears, fading, and reduced water resistance.
How to temporarily cover missing shingles?
To temporarily cover missing shingles, position a heavy-duty tarp over the exposed area extending 4 feet past the damage, secure edges with 2×4 boards nailed every 6-8 inches into solid roof deck, and seal all fastener points with roofing cement.
When should I call a professional instead of installing a roof tarp myself?
You should call a professional for roof tarp installation when dealing with steep roofs (greater than 6/12 pitch), multiple-story homes, extensive damage requiring structural assessment, wet or icy conditions, or when lacking proper safety equipment like harnesses.
Do I need to document roof damage before installing emergency covering?
You need to document roof damage before installing emergency covering by taking photos from multiple angles, capturing the damage cause if visible, and photographing the installation process, as proper documentation supports insurance claims for both temporary and permanent repairs.
How do I cover roof penetrations like vents and chimneys during emergency repairs?
To cover roof penetrations during emergency repairs, wrap tarps around vent bases and chimney structures, use extra fasteners in these high-stress areas, and apply additional roofing cement along seams to prevent water intrusion at common leak points.
What maintenance does an emergency roof tarp require?
Emergency roof tarp maintenance requires weekly inspections for tears or holes, verifying fasteners remain secure, checking for water pooling or sagging, removing debris accumulation, and monitoring UV degradation signs like fading or brittleness before material failure occurs.
What causes most emergency roof damage requiring temporary covering?
Emergency roof damage requiring temporary covering is caused by severe weather (high winds, heavy rain, hail), fallen trees and debris during storms, wind-lifted shingles exposing roof deck, hail punctures weakening shingle integrity, and aging materials deteriorating over time.
Will my insurance cover emergency roof tarping costs?
Insurance typically covers emergency roof tarping costs as required damage mitigation, but you must document damage thoroughly with photos before and after installation, keep all receipts for materials and professional services, and contact your insurance company within required timeframes.