

If you notice a musty smell, it might hide a bigger issue. Mold is more than an odor, it can affect your family's health.
We understand how stressful this can be. That is why we follow clear, proven steps to handle mold safely. First, we locate where the mold began. Then, we stop it from growing. Finally, we remove it so you can breathe clean air.
This guide shows you simple steps to keep the mold levels low and your home safe. We are here to help you take back your space.
Comprehensive Mold Remediation Process Overview
When you find mold at home, it can feel overwhelming. We’re here to help with a clear, step-by-step process that makes your home safe again. Mold remediation means finding the mold, stopping it from spreading, and removing it so your air quality stays healthy. We aim to keep mold levels below 500 spores per cubic meter.
-
Inspection & Assessment
We begin by checking the problem area. Using tools like moisture meters (devices that measure wetness) and infrared cameras (tools that show heat differences), we pinpoint where the mold is growing. This helps us see how far the mold has spread. -
Containment
Next, we set up barriers with plastic sheeting and create simple airlocks with taped seams. These steps stop mold spores from getting into other parts of your home. -
Air Filtration
We use air scrubbers with HEPA filters (air filters that catch tiny particles) to clean the air. This makes the space safer before we start removing the mold. -
Removal
We carefully remove any moldy materials. Items like drywall or insulation that are badly affected might get thrown away, while things that can be saved are cleaned properly. -
Cleaning & Disinfection
We then wipe down all exposed surfaces with EPA-approved antimicrobial cleaners (products that kill germs). This step helps make sure no mold spores are left behind. -
Restoration
Finally, we fix or replace the damaged parts of your home. This restores the strength of your walls and stops mold from coming back later.
Every step is important. By following this simple process, we make sure your home is safe and comfortable for the long run.
Mold Assessment and Air Testing in the Mold Remediation Process
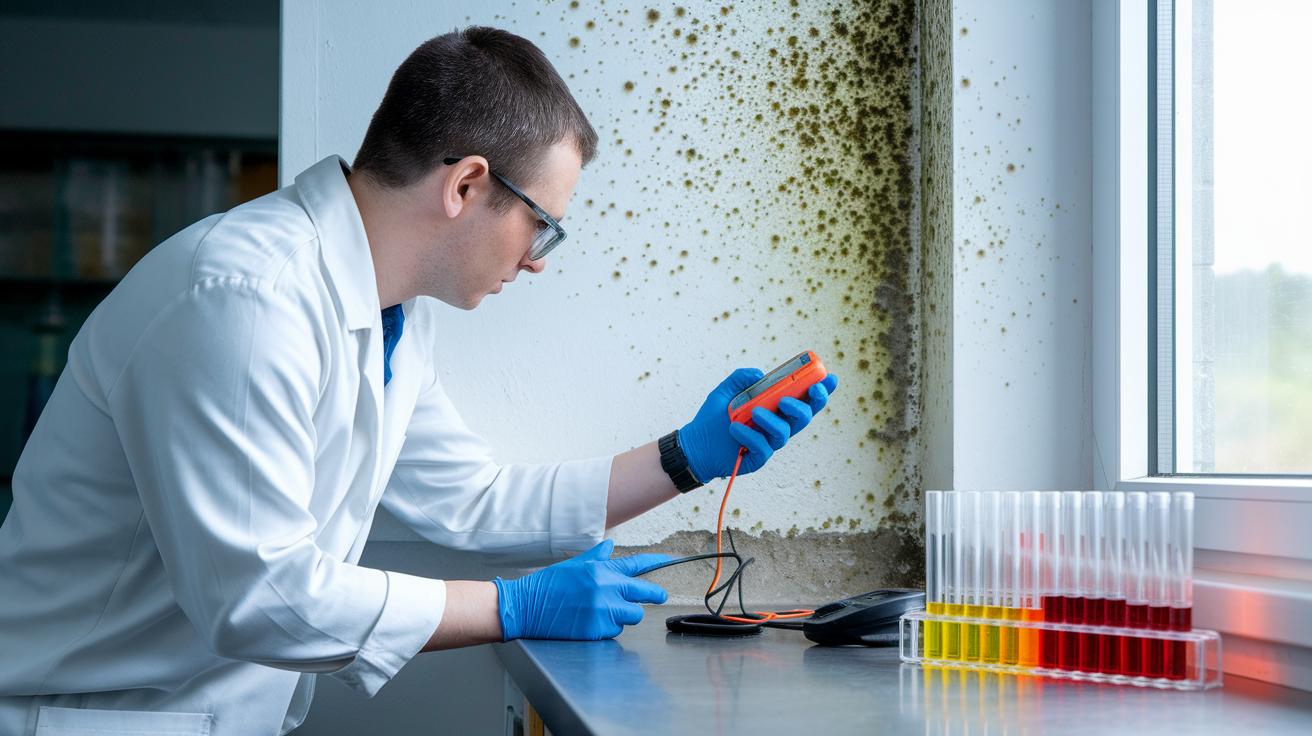
We start by checking areas where mold might hide. We look for water stains, changes in color, and musty smells. We use moisture meters (tools that measure dampness) and infrared cameras (devices that show hidden moisture) to find wet spots that mold loves. We follow EPA mold control guidelines (steps to safely handle mold) and IICRC S520 standards (industry rules) to make sure our work meets high standards.
After our look around, we take air samples. We use air pump spore traps (machines that grab mold particles from the air) to collect spores. These samples are sent to a lab for analysis. We then compare the mold count to a safe limit of 500 spores per cubic meter. If the number is too high, we know more cleaning is needed.
Moisture Detection Tools
We use moisture meters to check how wet areas are and infrared cameras to spot hidden damp spots. These tools help us create a clear map of where mold can grow.
Spore Sampling Procedures
We use air pump spore traps to collect mold spores from the air. The samples get tested in a lab and are compared to a limit of 500 spores per cubic meter. This test shows if we need to do more cleanup.
Containment and Air Filtration in the Mold Remediation Process
We start by sealing off the mold-affected area with a strong 6 mil polyethylene sheeting. We secure the sheeting with heavy-duty tape to form tight seams that block mold spores from reaching clean areas. We also set up airlocks (controlled entry points) to create a pressure difference that stops spores from spreading outside the sealed zone.
Once the area is contained, we bring in portable air scrubbers with HEPA filters (air filters that trap tiny mold and soot particles) to continuously clean the air. These machines capture 99.97% of spores as small as 0.3 microns. We also use negative air machines that pull air inward from surrounding areas to keep the contaminated air confined. We monitor airflow and pressure throughout the process to ensure our barriers hold strong. This coordinated approach helps control mold spread and keeps your home safer while we work.
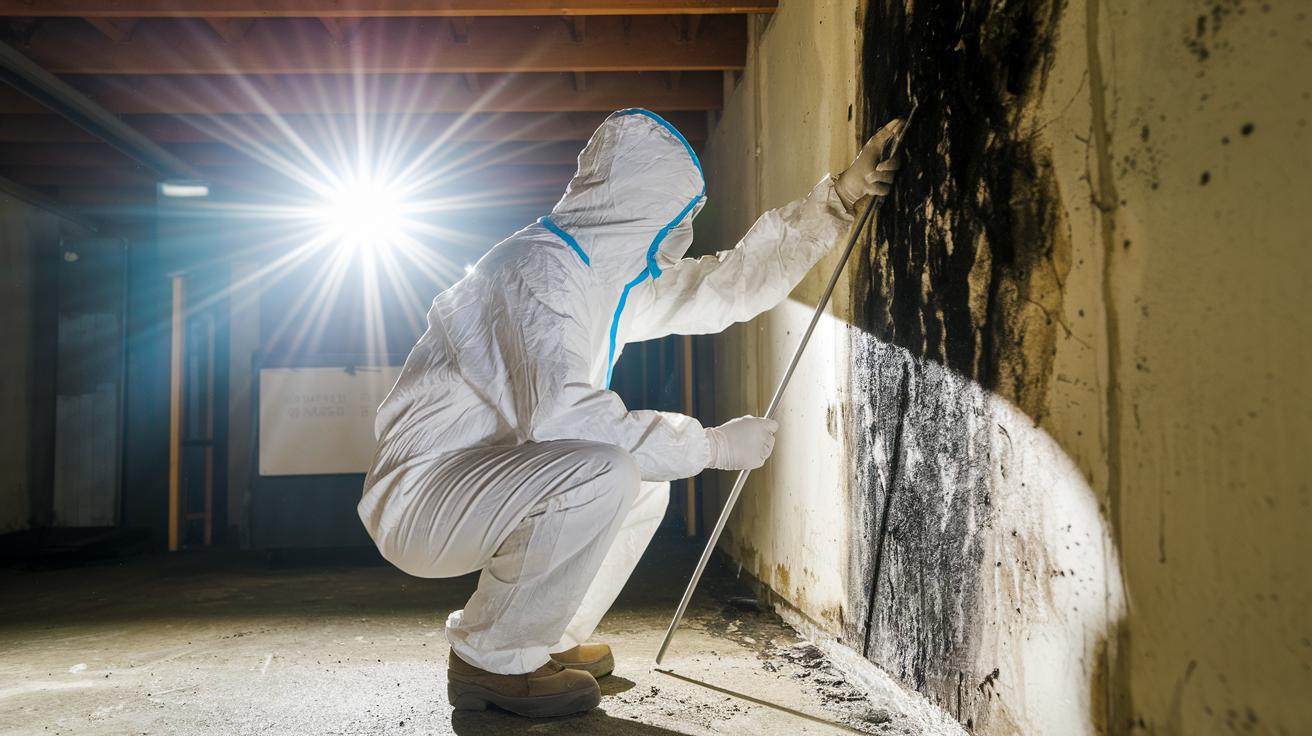
Removal and Cleaning Techniques in the Mold Remediation Process
We remove mold safely and restore your living space. First, we inspect the area to see which materials are affected. We then decide on the best method based on the type and size of the mold spread. For surfaces that do not absorb moisture, we use EPA-registered antimicrobial agents (germs-killing cleaners). For soft items like drywall or insulation covering more than 30 square feet, we remove them to stop hidden spores from causing more trouble. When we find black mold (Stachybotrys, a type that can be dangerous), we take extra care by double-bagging the items and disposing of them off-site. We also treat salvageable items with natural antifungal solutions like vinegar, hydrogen peroxide, or quaternary ammonium compounds (mold-fighting but gentle cleaners).
Surface Treatments
We treat moldy areas by spraying disinfectants directly on them. The disinfectant is left on the surface for a few minutes to kill the mold completely. After waiting, we rinse the area to wash away any leftover chemicals and mold pieces. This method not only removes the seen mold but also helps stop it from coming back. We make sure that every part of the surface, even in small crevices, gets treated.
Proper Disposal of Contaminated Materials
Items that cannot be cleaned well, especially soft or porous materials, are taken out of your home. We place these items in heavy-duty plastic bags, sealing and labeling each bag as hazardous waste. These are then taken to a designated landfill that safely handles such waste. This careful disposal helps prevent the mold from spreading and keeps both our crew and your family safe.
Restoration and Prevention Measures in the Mold Remediation Process
After cleaning the affected area, we begin restoring your home. We remove damaged drywall and fix surfaces to rebuild your home's structure. We take out damaged materials carefully and replace them with new, safe ones. We also repaint the walls with mold-resistant paint (a special coating that stops mold) to add extra protection against moisture and mold.
When the restoration is done, our technicians test the air using approved methods (IICRC standards, which guide safe cleaning). This test makes sure that mold spore levels are safe. We work closely with you throughout the process to ensure we follow proper residential and commercial mold cleaning techniques.
Preventing future mold growth is just as important. Once repairs are complete, we work on reducing moisture and controlling humidity, key steps to stop mold from returning. By fixing the causes of mold growth, you help keep your home healthy.
Here are some simple steps to prevent mold:
- Install dehumidifiers and monitor relative humidity (RH) to keep indoor levels below 50%.
- Upgrade HVAC filters to those rated MERV 13 or higher for cleaner air.
- Seal leaks and improve drainage around your home to reduce water intrusion.
- Use mold-resistant paints and coatings when repainting.
- Schedule annual visual inspections and air-quality checks to catch any moisture early.
These steps work together to restore and protect your home, helping keep it safe and mold-free.
Cost Analysis and Timeline for the Mold Remediation Process
Our mold removal pricing is set per square foot. We typically charge between $15 and $30 per square foot. For a small area under 100 square feet, you can expect to pay between $500 and $1,500. This gives you an upfront idea, though the final cost may change based on your home's unique conditions and materials.
How long the work takes depends on the size of the affected area. For small spaces under 100 square feet, the job usually takes 1 to 2 days. Areas between 100 and 500 square feet often need 3 to 5 days. Larger jobs, over 500 square feet, may require 1 to 2 weeks before your home is safe and restored. These timelines help set clear expectations for when your space can be used again.
It’s important to plan your budget in advance. Many homeowner policies cover water-damage–related mold issues, which might help pay for the work through an insurance claim. We recommend discussing these options with your contractor and insurance provider so you know your financial options during the remediation process.
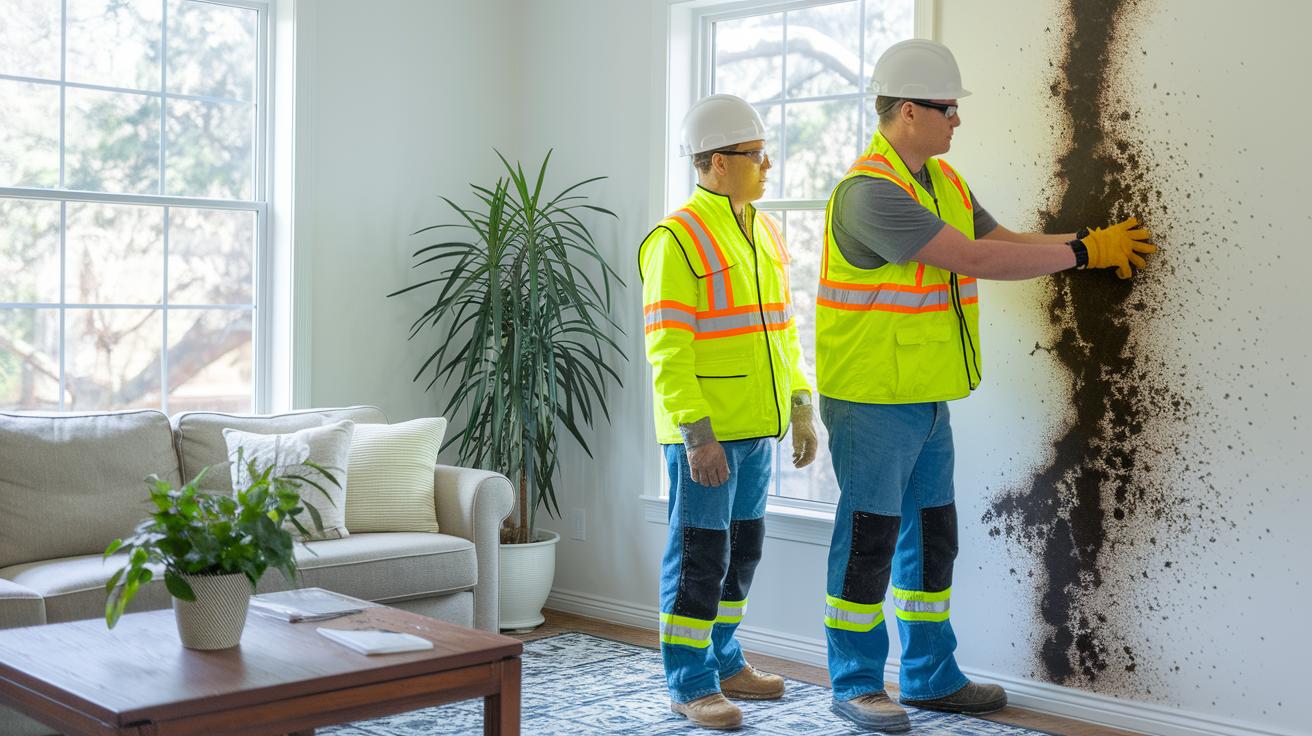
Certification, Safety Protocols, and Regulatory Compliance in the Mold Remediation Process
Our team wears N95 respirators (special masks that filter out harmful particles), gloves, and Tyvek® suits to keep both you and us safe during cleanup. We follow OSHA’s Hazard Communication Standard and EPA mold guidelines (rules for safe mold cleanup) to lower your exposure to mold spores and chemicals.
We take safety very seriously. We use the proper gear and follow strict procedures to meet all required rules. This means our cleanup is done right and without risk.
Our licensed contractors carry state certifications and IICRC S520 credentials, which show they have special training in mold remediation. They also follow local rules to dispose of contaminated materials safely, ensuring all waste is handled correctly.
This dedication to safety and compliance protects your home and makes our work both responsible and legal.
Final Words
In the action, we broke down the mold remediation process from inspection to full restoration. We explained air testing, containment, safe removal, cleaning, and final restoration steps to keep your home safe. Every phase plays its part, reducing damage and cutting ongoing risk.
Following this simple guide helps you act quickly and confidently. With clear, documented steps, you can move toward a safer, healthier space and a positive new start.
FAQ
Q: What are the steps in the mold remediation process?
A: The mold remediation process involves six steps: inspection and assessment, containment, air filtration, mold removal, cleaning and disinfection, and restoration. Each step builds on the previous one for safe cleanup.
Q: When is mold remediation required?
A: Mold remediation is required when water damage causes visible mold growth or health concerns. Professionals use EPA guidelines alongside inspections to decide when remediation is needed.
Q: How long does the mold remediation process take?
A: The process timeline depends on the job size. Small areas can take 1–2 days, mid-size areas 3–5 days, while large jobs may need 1–2 weeks to complete.
Q: How long should you stay out of the house after mold remediation?
A: You should stay out until professionals complete clearance testing and confirm air quality is safe for reentry. This ensures all mold spores and contaminants are removed.
Q: Who pays for mold remediation?
A: Payment usually hinges on your insurance policy. Homeowners may bear the cost unless water-damage incidents trigger coverage for mold remediation expenses.
Q: Can I remediate mold myself?
A: Homeowners can tackle very small mold spots, but professional remediation is safer. Experts follow strict guidelines to effectively remove mold and protect your health.