

Think rebuilding after a flood is just drying and painting? Think again.
Floodwater brings contamination and hidden moisture that ruins walls, floors, and wiring fast.
What you do in the first hours decides if you stop mold, avoid bigger repairs, and get the right insurance claim.
This post walks you step by step through safe recovery: when to go in, how to document and remove water, how to remove soaked materials, how to dry and check moisture, and when to rebuild and call pros.
No guesswork. Just clear, practical steps you can use now.
Start Here: Immediate Steps After a Flood
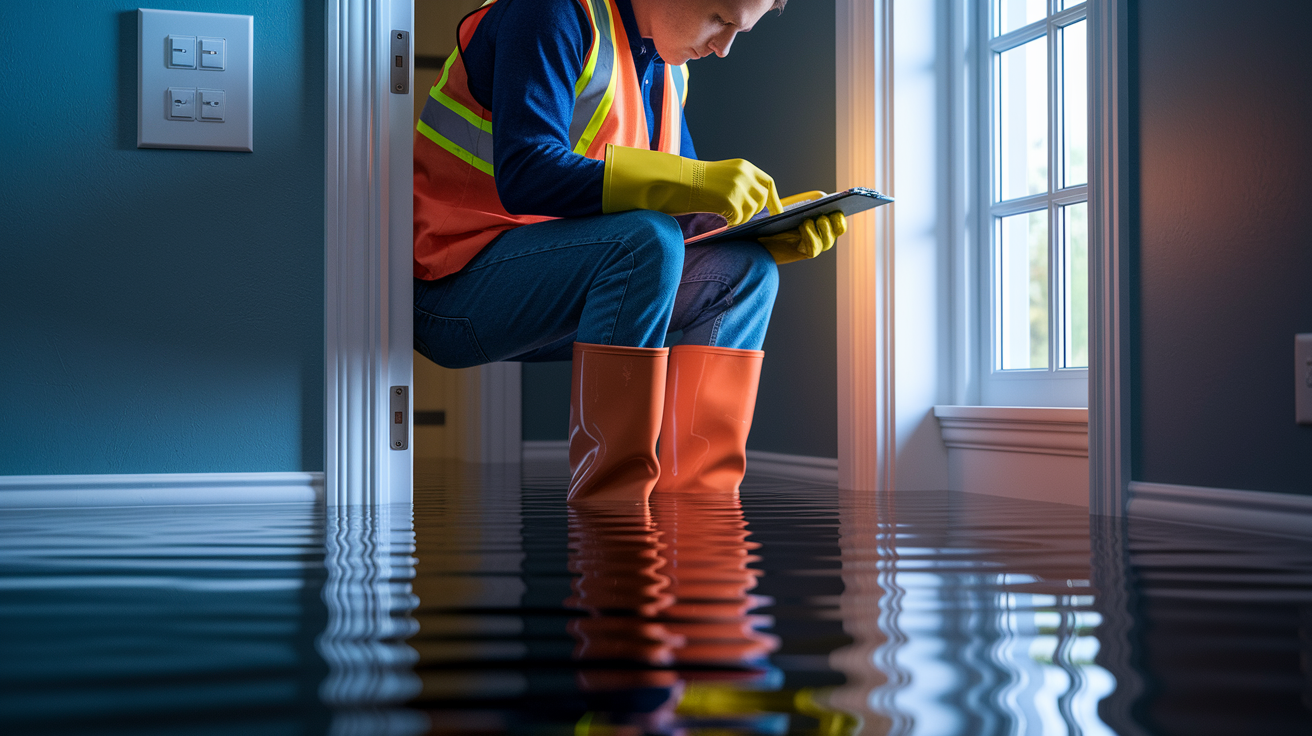
Don’t walk into your home until the building department or fire marshal says it’s safe. Floodwater carries sewage, chemicals, and bacteria. The structure may have shifted or weakened. Electricity and gas lines may be damaged and dangerous.
If officials clear entry, shut off the main electrical panel before stepping into water. If you can’t safely reach the panel without entering water, call a licensed electrician or your utility company. Wear rubber boots, waterproof gloves, a respirator mask, and eye protection. Open windows and doors to start cross ventilation if outdoor humidity is lower than inside. This slows mold growth and helps moisture escape.
Your first hour sets the tone for the entire recovery:
- Shut off electricity and gas at the main source.
- Document the scene with photos and video before touching anything.
- Remove standing water as quickly as possible using pumps, wet vacs, or buckets.
- Elevate furniture on blocks if floors are still wet.
- Remove soaked carpets, pads, and any items holding water.
Speed reduces mold risk. Mold can start growing within 24 to 48 hours after exposure.
Assessing Damage and Documenting for Insurance
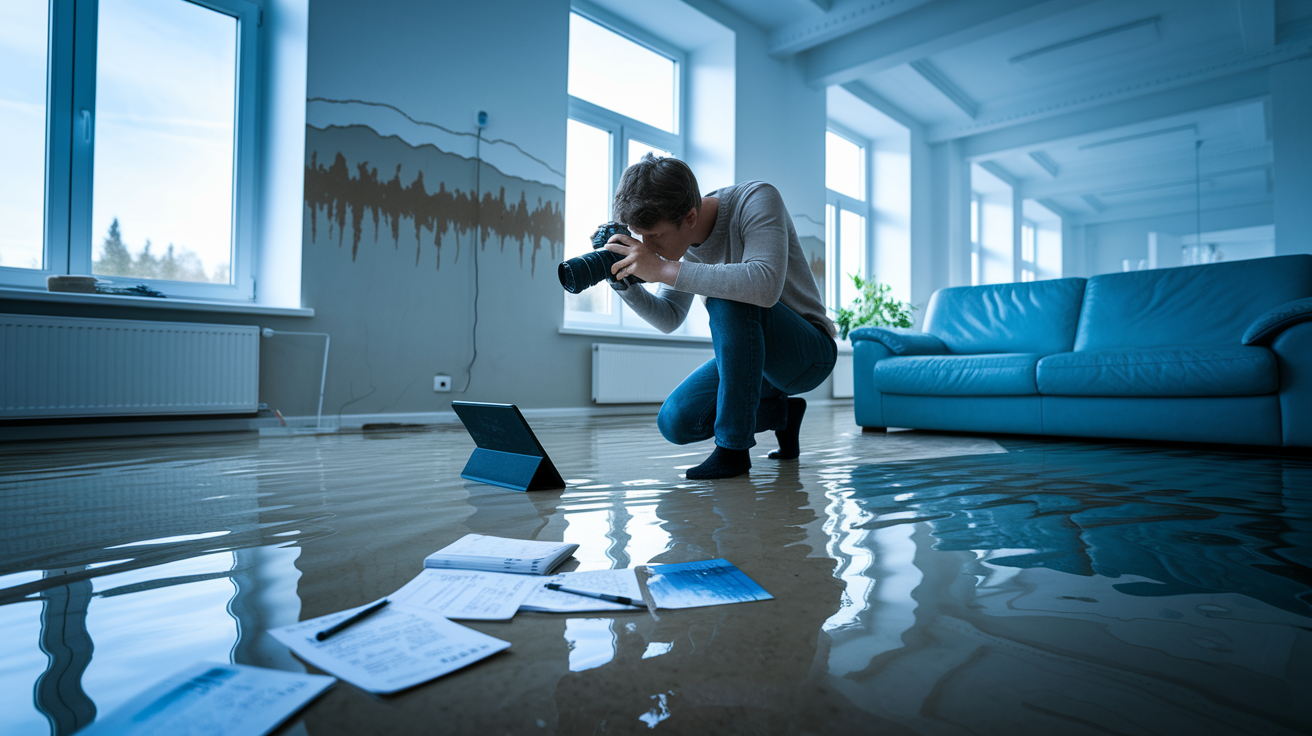
Walk through each room and photograph everything. Capture wide shots and close ups. Record water lines on walls, warped floors, stained ceilings, and damaged belongings. Video works well for showing the full scope and layout. These records prove what happened and how high the water reached.
Make a written inventory of damaged items. Include the item name, approximate age, and what you paid or what it would cost to replace. Keep receipts for any emergency expenses like tarps, pumps, hotel stays, temporary repairs. Don’t throw away damaged materials until your insurance adjuster has seen them. Some carriers require inspection before disposal. Standard homeowner policies often exclude external flooding, so confirm whether you have separate flood coverage through FEMA’s National Flood Insurance Program or a private flood policy.
Your insurer will need:
- Photos and video of every affected room
- Close ups of structural damage (walls, floors, ceilings)
- Water level marks on walls
- Written inventory with estimated values
- Receipts for emergency purchases
- Before and after photos if available
Removing Water and Debris
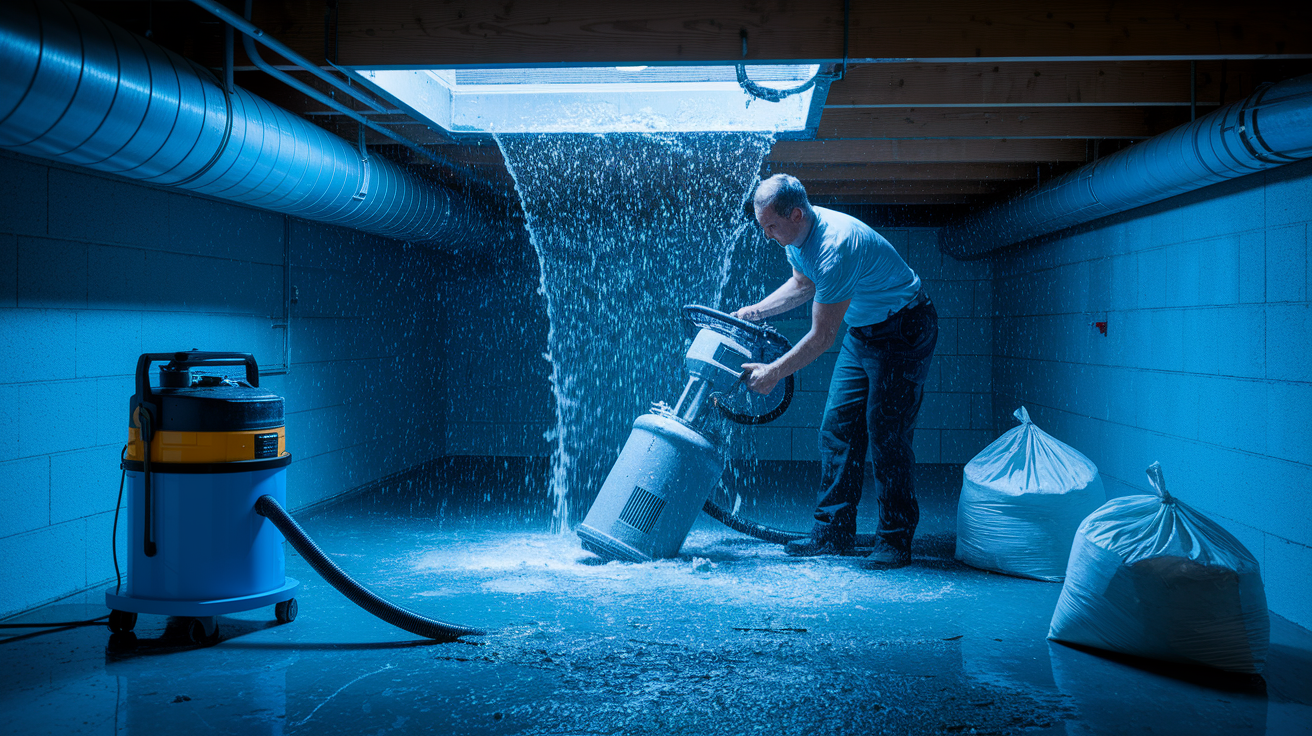
Start with the deepest standing water. Use a submersible pump for basements or large volumes. A wet/dry vacuum works for shallower areas and corners. Mops and towels handle the last layer, but they’re slow and labor intensive. The faster you remove water, the less it soaks into studs, subfloors, and insulation.
Separate contaminated debris from salvageable items. Anything touched by sewage or black water should be bagged and removed immediately. Soaked drywall, insulation, and carpet padding usually can’t be saved. Stack salvageable furniture and belongings in a dry area with airflow. Wipe them down and let them dry completely before bringing them back inside.
Work from the top floor down if multiple levels flooded. This prevents dirty water from dripping onto cleaned areas.
Common water removal tools:
- Submersible pump for deep standing water
- Wet/dry vacuum for medium depths and corners
- Buckets and mops for final cleanup
- Squeegees to push water toward drains
Safe Interior Demolition

Flood soaked drywall must be cut and removed at least 12 inches above the visible waterline. Water wicks upward inside the paper and gypsum core, and hidden moisture leads to mold and rot. Use a utility knife to score the drywall, then snap and pull sections free. Wear gloves and a mask. Drywall dust is irritating, and mold spores may be present.
Wet insulation loses its R value and traps moisture against framing. Pull it out completely. Fiberglass and cellulose insulation can’t be dried and reused after contamination. Spray foam may survive if it dries fully, but inspect it closely for trapped water pockets or odor.
Check subfloors for warping, delamination, or soft spots. Plywood and OSB swell when saturated and rarely return to their original shape. If the subfloor feels spongy or has separated layers, it must be replaced before new flooring goes down. Laminate flooring almost always needs replacement. Hardwood may be saved with rapid professional drying. Tile can often stay if the subfloor underneath dries properly and remains stable.
Materials Commonly Removed After Flooding
Drywall is cut 12 to 18 inches above the water line to make sure no hidden moisture remains in the cavity. Baseboards and trim are pulled to expose wall bottoms and allow airflow. Carpet and padding are removed immediately. Padding holds water like a sponge and fuels mold. Insulation is stripped from walls and ceilings wherever water reached. Cabinets made of particleboard or MDF typically swell and fall apart. Solid wood cabinets may be saved if dried quickly. Always inspect structural framing for rot, warping, or mold before closing walls back up.
Drying and Dehumidifying the Interior

Set up industrial air movers to push moisture out of walls, floors, and cavities. Position them at angles to create airflow across wet surfaces. Pair them with a commercial dehumidifier that pulls moisture from the air. Consumer grade dehumidifiers remove 5 to 10 gallons per day. Professional units extract up to 30 gallons per day and cover larger areas.
Keep indoor temperature between 70 and 80 degrees Fahrenheit if possible. Warmer air holds more moisture and speeds evaporation without encouraging mold growth. Expect active drying to take 3 to 5 days depending on the amount of water, materials affected, ventilation, and weather. Use a moisture meter to confirm dryness in wood framing and subfloors before rebuilding. Readings should drop below 15 percent moisture content.
Recommended drying equipment:
- Industrial air movers (move 3 to 4 times more air than household fans)
- Commercial dehumidifiers rated for the square footage
- Moisture meter to test framing and subfloors
- Thermometer and hygrometer to monitor conditions
- Fans to assist cross ventilation through windows and doors
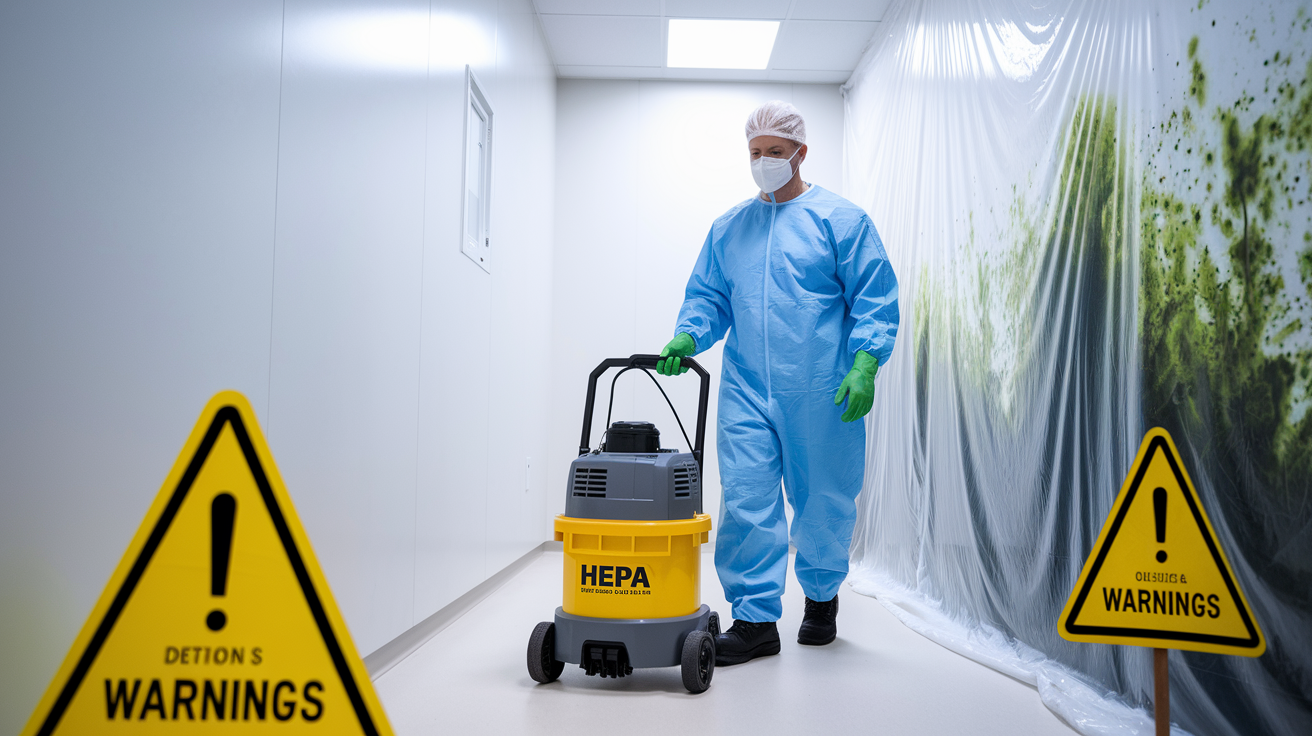
Mold Prevention and Remediation
Mold needs moisture, organic material, and time. Drywall, wood, insulation, and carpet provide food. If those materials stay wet for 24 to 48 hours, mold begins. You can’t always see it at first. It grows inside walls, under flooring, and behind baseboards.
Stop mold by removing water fast and drying materials completely. Antimicrobial washes reduce surface contamination on framing and concrete after demolition, but they don’t replace proper drying. Porous materials like drywall and insulation that were soaked and then sat wet can’t be reliably cleaned. They must be removed. Hard surfaces such as metal studs, concrete, and tile can be disinfected with a bleach solution. One cup of household bleach per 5 gallons of water, left on the surface for at least 10 minutes.
If you see or smell mold, or if materials were wet for more than two days before drying started, hire a certified mold remediation specialist. Professionals use containment barriers, HEPA air scrubbers, and disposal protocols that prevent spores from spreading during removal. Moisture meters and thermal imaging cameras find hidden moisture you can’t see. Don’t seal up walls or install new flooring until you confirm the structure is dry and mold free.
Rebuilding Walls, Floors, and Interior Structures

Reconstruction begins only after moisture levels in framing and subfloors fall below 15 percent. Installing new materials over wet structure traps moisture and leads to rot, mold, and buckling. Confirm dryness with a moisture meter, not by touch or appearance.
Replace damaged subfloor sections first. Screw down new plywood or OSB and make sure it sits flat and level. Install vapor barriers if your original assembly included them, or if your building code requires them in below grade or flood prone areas. Then hang drywall. Use moisture resistant or mold resistant drywall in areas that flooded. Tape, mud, and sand the seams. Prime and paint after the final sanding. Install flooring last. Tile, hardwood, laminate, or vinyl, once walls are finished and painted.
Blueboard ceilings require a specialist to apply the skim coat plaster finish. Standard drywall crews often don’t have that skill set. If your home originally had blueboard, budget extra time and cost to find a qualified plasterer.
Sequence of Interior Rebuild Tasks
Start with structural repairs. Fix or replace floor joists, studs, or sill plates that rotted or shifted. Install new subfloor sections and fasten them securely. Add insulation to wall and ceiling cavities. Hang drywall on walls and ceilings. Tape and mud seams, then sand smooth. Prime and paint all surfaces. Install finish flooring after walls are complete. Reinstall baseboards, door casings, and trim. Finally, reconnect electrical fixtures, outlets, and HVAC registers. Each step depends on the previous one being dry and solid.
Electrical, HVAC, and Plumbing Considerations

Any electrical component that was submerged or splashed must be inspected by a licensed electrician before you restore power. Outlets, switches, breaker panels, and wiring can corrode or short even after drying. The electrician will test circuits, replace damaged devices, and confirm grounding is intact.
HVAC ducts that were underwater or exposed to contaminated air need cleaning or replacement. Mold and bacteria can colonize ductwork and spread spores every time the system runs. A professional duct cleaning service uses brushes, vacuums, and antimicrobial treatments to sanitize the interior. If ducts are crushed or filled with mud, replacement is often faster and cleaner than attempting restoration. Check the furnace, air handler, and any mechanical components for water damage and rust.
Critical systems requiring professional inspection after a flood:
- Electrical panel, outlets, switches, and visible wiring
- HVAC ducts, air handler, and heating/cooling units
- Plumbing supply lines, drain lines, and fixtures
- Water heater, sump pump, and backflow prevention devices
Final Interior Restoration and Prevention for the Future

Once walls, floors, and systems are rebuilt and tested, schedule a final walkthrough. Confirm that all materials are dry, mold free, and installed correctly. Test outlets, check for leaks at fixtures, and run the HVAC system. Keep documentation like photos, invoices, permits, inspection reports in a safe place. These records help with insurance, resale, and any future claims.
Reduce the risk of the next flood by upgrading materials and systems. Closed cell spray foam insulation doesn’t absorb water. Tile and luxury vinyl plank flooring resist moisture better than carpet or laminate. Elevate electrical outlets at least 12 inches above expected flood levels. Install a sump pump with battery backup if you have a basement. Add backflow valves to prevent sewage from backing up through drains during heavy rain or municipal overflows.
Preventative improvements to consider:
- Flood resistant insulation (closed cell foam or foam board)
- Tile or luxury vinyl flooring instead of carpet
- Elevated outlets and switches
- Sump pump with battery backup and backflow valves
Final Words
First, stop the water, make the scene safe, and document damage for insurance. Take photos, shut off utilities if it’s safe, and remove standing water right away.
Next, clear out ruined materials, dry with air movers and dehumidifiers, and watch for mold. Get pros to inspect electrical, HVAC, and plumbing before you rebuild.
Follow these steps and you’ll know how to rebuild interior after flood. You’ll get your home back safe, dry, and ready to live in again.
FAQ
Q: How to fix water damage inside walls?
A: Fixing water damage inside walls involves stopping the leak, opening and drying the cavity, removing wet insulation and damaged drywall, treating for mold, confirming dryness with moisture readings, then repairing and documenting for insurance.
Q: How long does it take for walls to dry out after a flood?
A: Walls typically take 48–72 hours to dry with proper equipment, but thicker or heavily soaked assemblies can take several days to weeks; we confirm dryness with moisture meters before rebuilding.
Q: Can a house be repaired after a flood?
A: A house can be repaired after a flood in most cases; we stop further damage, dry and demo affected areas, remediate mold, then rebuild, with structural and system inspections guiding the scope and cost.
Q: Is furniture salvageable after a flood?
A: Furniture is salvageable depending on material and contamination; solid wood and metal often can be cleaned and dried, but soaked upholstered or particle-board items usually need to be discarded and replaced.