

What if your temporary roof tarp fails the first night? That’s not dramatic, it’s how a small tear or a loose edge turns into soaked insulation, warped trim, and a big insurance headache. In the next few minutes you can stop more harm. This post walks you through the exact steps pros use: picking the right tarp, stretching it 2 to 3 feet past the damage, taping seams, capping nails with washers, anchoring against wind, and testing with a hose. Follow these steps and keep the water out while you plan real repairs.
Essential Roof Tarp Damage Prevention Techniques for Immediate Protection
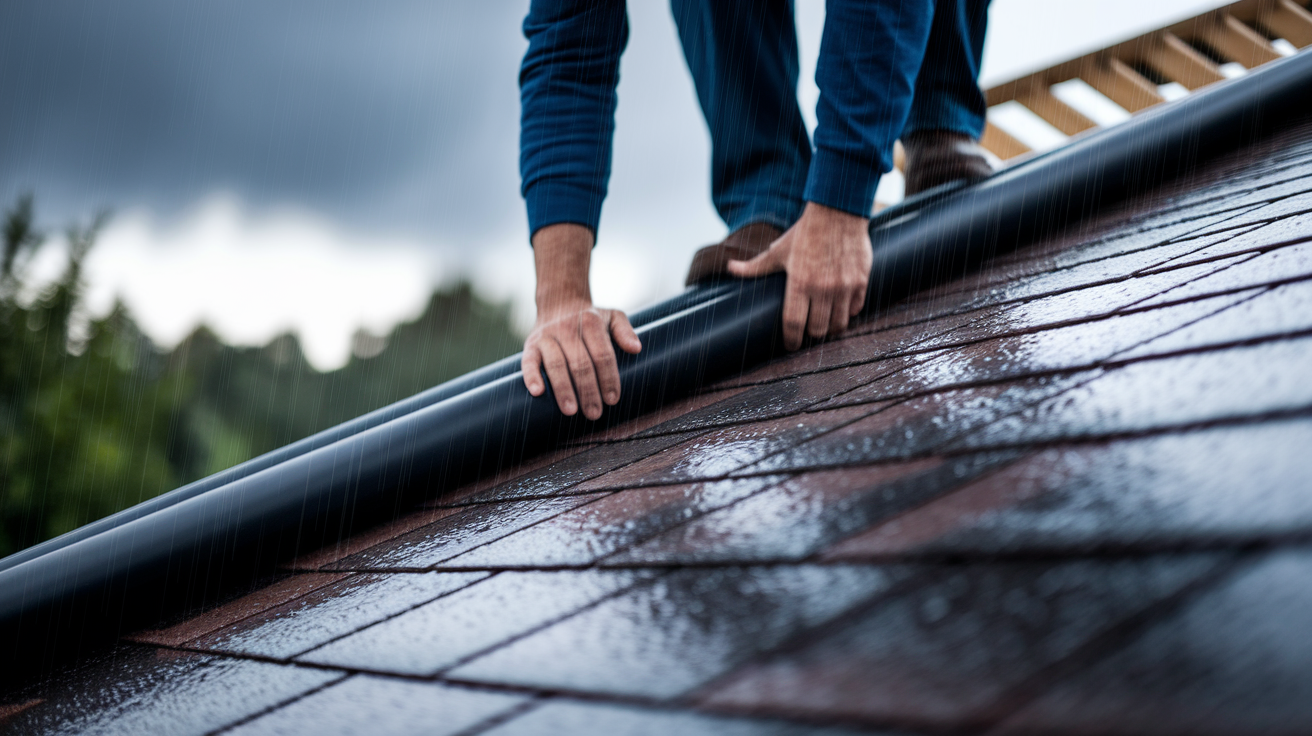
The first hour after you find roof damage decides whether you stop the problem or watch it creep into ceilings, insulation, and walls. Water won’t wait around. A tarp done right stops water while you figure out real repairs.
Most people mess up in three spots. They cut the tarp too small, forget the tape, or don’t fasten tight enough. Your tarp needs to stretch 2–3 feet past the damaged spot so water runs away from the breach. Taping every seam and capping each nail with a washer builds a weatherproof seal that actually holds when wind and rain hit.
Here’s what you need to do:
-
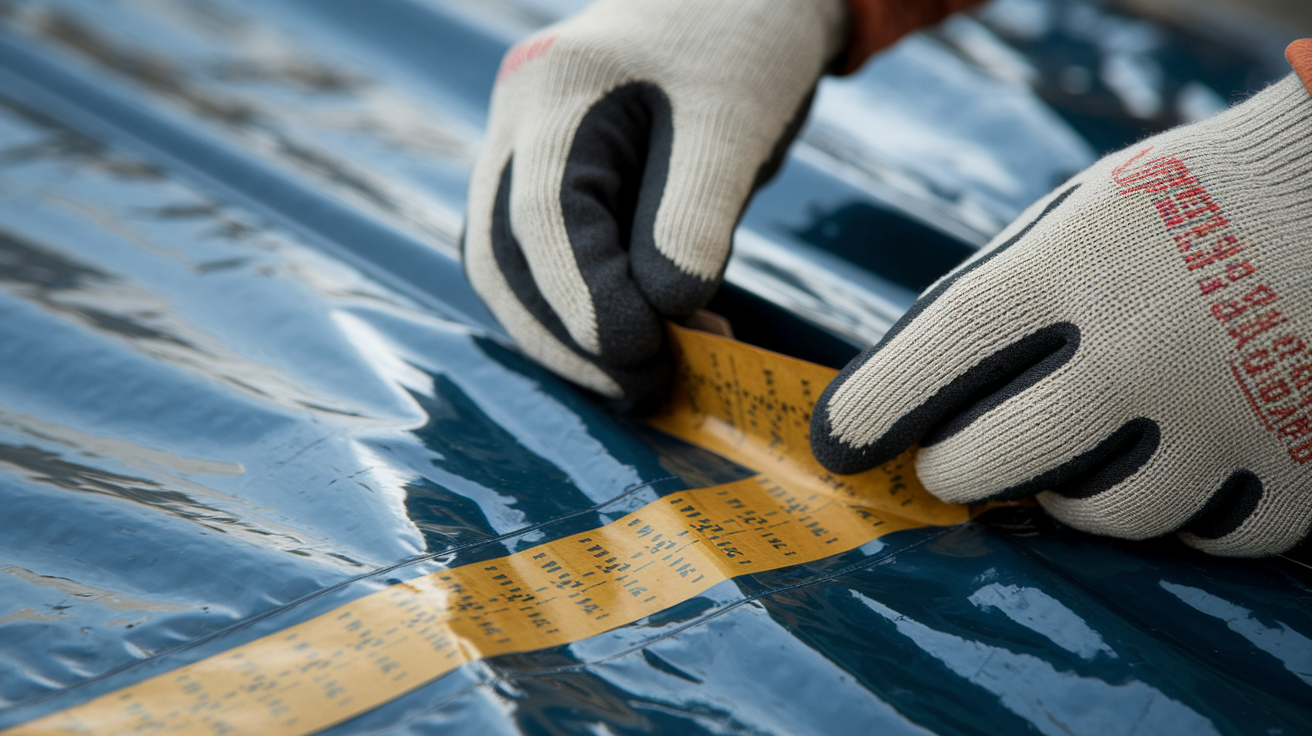
Check and measure the damaged section from the ground or a stable ladder. Mark where shingles are missing, where holes are, or where decking shows through. Clear off debris and loose bits so the tarp sits flat.
-
Grab a heavy duty UV resistant tarp that’s at least 6 mil thick. Cut it so it goes 2–3 feet beyond the damage on every side.
-
Center the tarp over the roof peak if damage crosses the ridge. Drape it evenly so water flows down without forming puddles.
-
Fold 6–8 inches of tarp over the ridge. Run a solid line of outdoor tarp tape along that fold, then nail through the fold every 12–16 inches. Cap every nail with a washer so it won’t tear and leak.
-
Push tarp edges at least 12 inches past the eaves. Fold the edge under and lock it down with nails and washers, or tuck it beneath drip edges if you can reach them.
-
Press the tarp tight into roof valleys. Tape the tarp to the decking along the valley shape and lock the edges with washers.
-
For pipes or vents, cut an X shaped opening in the tarp. Fold the flaps over the pipe, tape the edges, and secure with washers to seal it up.
-
Test what you did with a garden hose before walking away. Run water over seams, edges, and openings to find leaks. Fix anything that drips right away.
Skip the tape or use nails without washers and water just bypasses your tarp and flows straight into the house. Leave edges loose and wind pockets form that’ll rip the material in hours.
Choosing the Right Materials to Prevent Roof Tarp Failure

A thin tarp looks the same as a heavy one when it’s folded on the shelf. You’ll see the difference three days later when the cheap one tears at the grommets or gets brittle from sun.
Heavy duty polyethylene tarps fight tearing and UV breakdown better than budget canvas or light poly. You need 6 mil minimum for short term coverage. Go with 10–16 mil contractor grade if you want something that lasts and handles wind without shredding. Canvas tarps breathe and resist scraping but they soak up water and get heavy, which stresses fasteners on steep slopes.
Grommets are where things fail. Reinforced corner grommets with doubled fabric or metal rings spread tension and resist pullout. Tarps with grommets spaced 18–24 inches along edges give you more anchor points and cut down on sagging between fasteners.
UV protection matters if your tarp stays up for weeks. UV stabilized tarps include stuff that slows sun breakdown. An untreated tarp can crack and tear within 30 days of full sun. A UV rated tarp keeps its strength for 60–90 days or more.
What you need:
- Tarp thickness: 6 mil minimum. 10–16 mil for longer coverage or windy spots.
- Grommet reinforcement: Find double layer fabric or metal rings at stress points.
- UV rating: Make sure it says UV stabilized if the tarp stays up more than two weeks.
- Fasteners: Use galvanized roofing nails or screws with neoprene or metal washers. Don’t use staples.
- Reinforcement boards: Pressure treated 1×6 or 1×8 lumber placed across the slope every 6–8 feet stops wind uplift on big tarps.
Roof Tarp Positioning for Different Slopes and Structural Layouts

Flat and low slope roofs collect water if the tarp sags even a little. Steep roofs create wind uplift that can peel a loose tarp in minutes. How you position it has to match pitch, drainage direction, and where the structure carries load.
On flat or low slope roofs, create a slight angle by putting small blocks or folded lumber under the tarp to push water toward gutters or drains. Without slope, water pools in low areas, stresses the tarp, and eventually leaks through seams or nail holes. On moderate slopes (4/12 to 8/12), standard ridge to eave draping works if you tension it evenly and lock down edges to stop flapping. Steep roofs (9/12 and up) need tighter tension and more fasteners to fight wind lift along the slope.
| Roof Type | Primary Positioning Requirement |
|---|---|
| Flat or low slope (0/12 to 3/12) | Add angled supports beneath tarp to create runoff channels. Inspect daily for ponding. |
| Moderate pitch (4/12 to 8/12) | Drape from ridge to eave. Tension evenly. Secure edges to prevent flapping and uplift. |
| Steep pitch (9/12 and above) | Increase fastener density (every 10–12 inches). Use reinforcement boards to resist wind peel. |
Proper slope management stops sagging that traps water weight, stresses fasteners, and speeds up tarp failure. Water pooling adds hundreds of pounds of load, which can warp decking or yank fasteners loose. Keeping drainage going also cuts down on ice buildup in cold weather, which can tear the tarp or overload the roof structure.
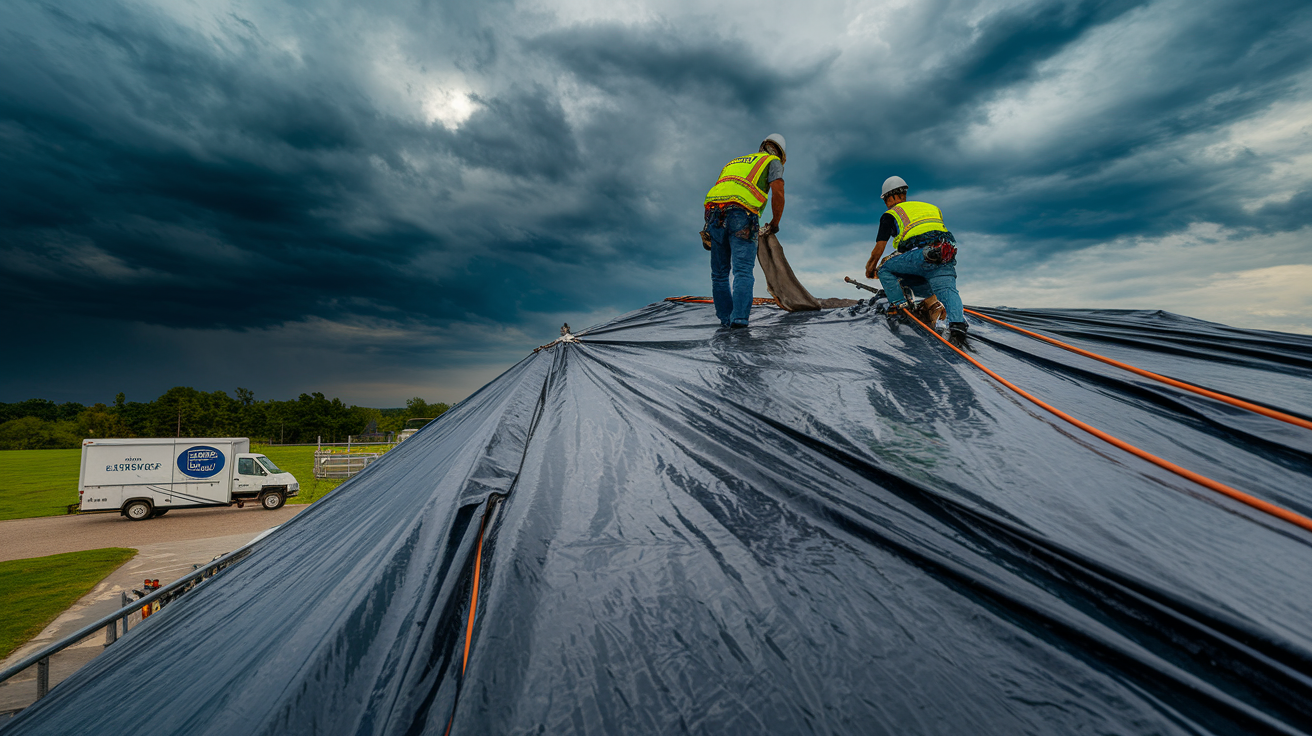
Extreme Weather Reinforcement Methods Beyond Standard Anchoring
High winds create uplift forces that standard nails and washers can’t fight alone. A 30 mph gust can lift a poorly anchored tarp and rip it away in seconds, leaving your roof exposed during the storm.
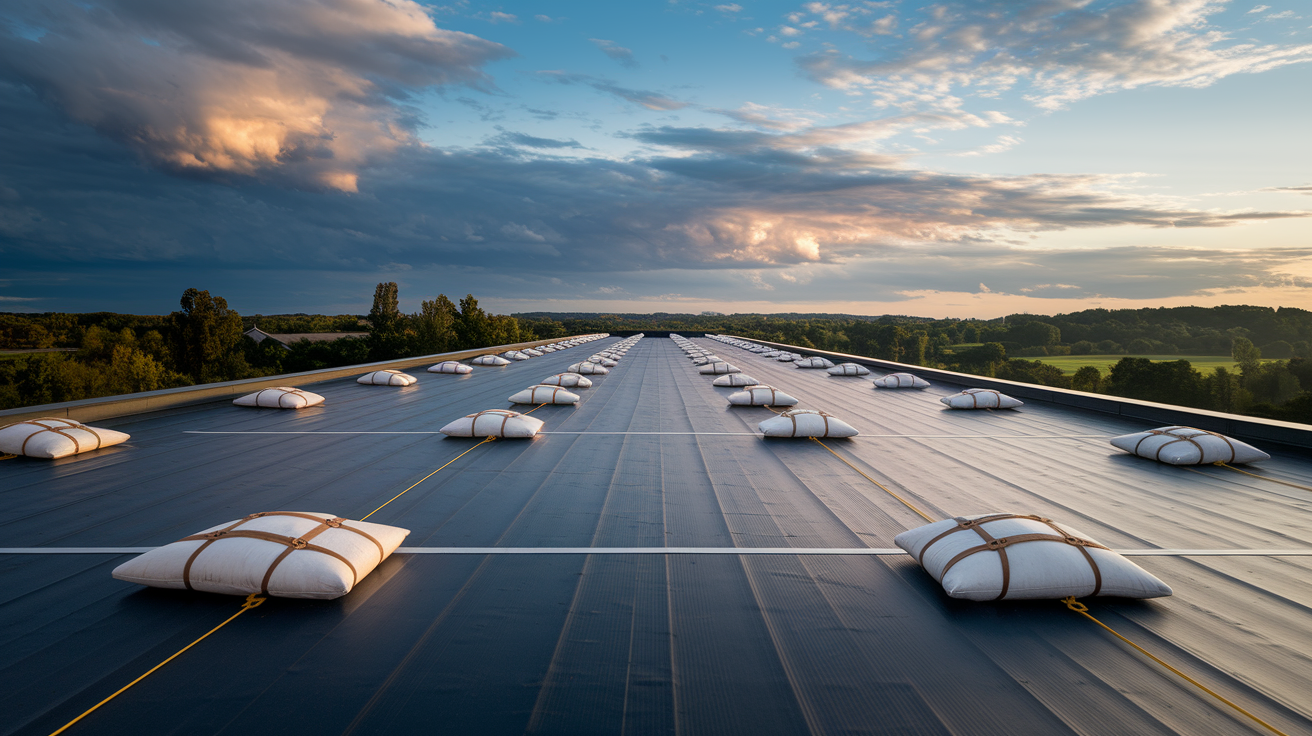
Ballast placement adds weight at critical stress points without punching through the roof. Put sandbags or water filled containers every 6–8 feet along tarp edges, especially at corners and along the ridge. Only position ballast on solid areas. Don’t put heavy loads near damaged decking or compromised rafters. Ballast works best paired with mechanical fasteners, not instead of them.
Ratchet straps threaded through grommets and anchored to secure roof features (chimney bases, vent stacks, or the opposite roof edge) fight uplift on large tarps. Never anchor straps to gutters. The force will tear gutters loose and cause more damage. Route straps over the ridge or tie to anchor points installed in solid decking. Tighten straps until the tarp is taut but not stretched. Over tensioning tears grommets and stresses the fabric.
Uplift pressure goes up with roof slope and exposure. A ridge mounted tarp on a 10/12 pitch in an open field takes more wind load than a 4/12 roof sheltered by trees. Exposed ridgelines need reinforcement boards fastened through the tarp into decking every 6 feet to stop peeling.
Advanced reinforcement tactics:
- Double layer tarp edges: Fold the tarp edge back on itself before fastening to double the material thickness at stress points.
- Cross bracing with rope: Run paracord or heavy rope diagonally across the tarp surface, threading through grommets and tying to opposite anchors to cut down on flapping.
- Wind deflectors: Position small boards or foam wedges along the windward edge to push airflow over the tarp rather than underneath it.
- Redundant fastener rows: On high wind roofs, add a second row of fasteners 6–8 inches inside the primary edge fasteners to create a backup attachment line.
- Storm inspection triggers: Check and retighten all fasteners, straps, and ballast within 12 hours before forecast high winds. After the storm, inspect right away for damage.
- Temporary wind fences: If the tarp covers a large area, stack sandbags or anchor plywood panels upwind to reduce direct wind pressure on the tarp surface.
Protecting Roof Features, Skylights, and Penetrations
Vents, pipes, and chimneys create openings that standard tarp draping can’t seal. Water funnels into these gaps and flows straight into the attic or living space below.
The X cut method seals penetrations without leaving open edges. Measure the penetration diameter, then cut an X in the tarp slightly smaller than the penetration. The undersized cut creates tension when you stretch the tarp over the feature. Fold each flap of the X down over the penetration base, tape the edges with outdoor grade waterproof tape, and lock down each flap with a washer and nail. The tape bonds the tarp to the penetration surface and blocks water from slipping beneath the fold.
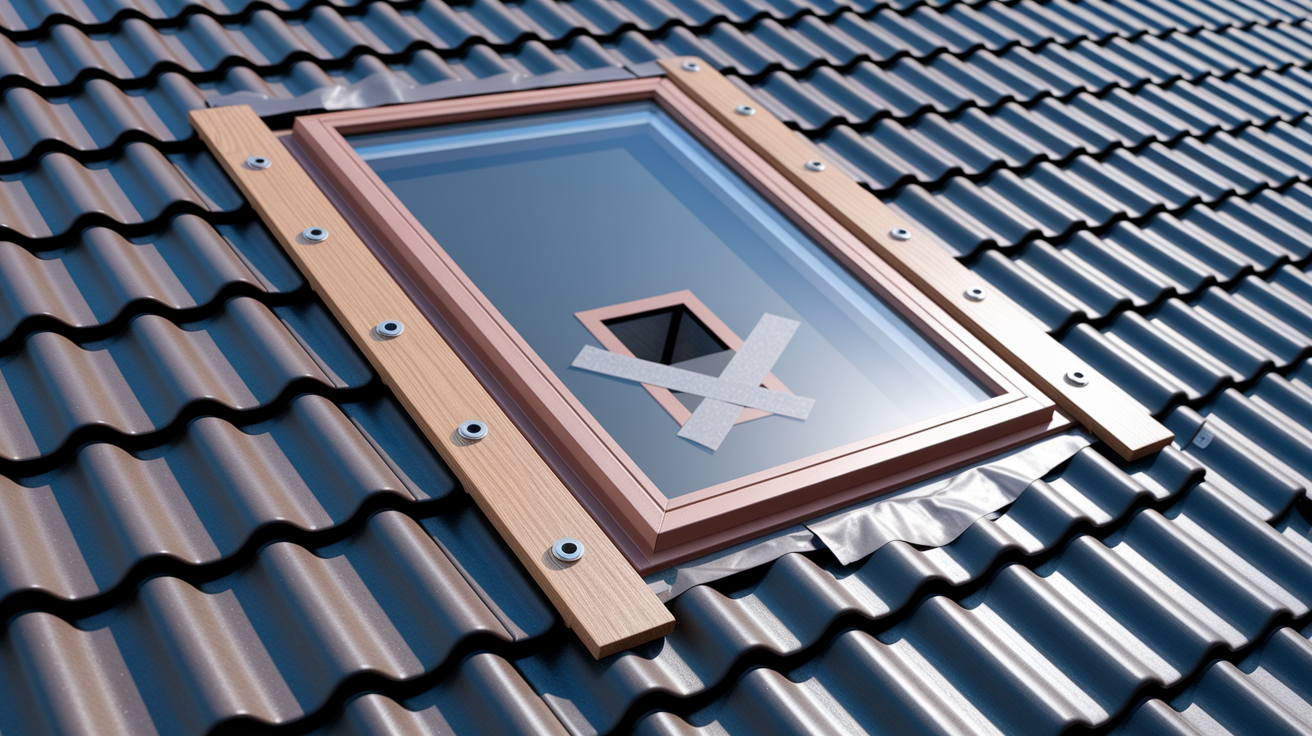
Skylights need a frame approach. Don’t drape the tarp directly over the skylight dome. It’ll trap water and stress the glass. Instead, build a small plywood frame around the skylight perimeter, drape the tarp over the frame to create a tent shape, and secure the tarp edges to the frame with battens and screws. This sheds water away from the skylight and keeps clearance.
X cut sealing procedure:
-
Find the penetration and measure its diameter. Add 2 inches to account for the fold over.
-
Cut an X in the tarp with each leg around 75% of the penetration diameter. The tight fit creates a seal when stretched.
-
Position the tarp so the X opening lines up with the penetration. Pull the tarp taut and fold each flap down against the base of the pipe or vent.
-
Apply waterproof tape along each folded edge. Press firmly to bond the tape to both the tarp and the penetration surface. Lock down each flap with a washer and nail driven into the roof deck next to the penetration base.
Safety Precautions for Tarping Without Causing Additional Damage
Roof work mixes height, unstable footing, and weather exposure. A fall from a single story roof can cause serious injury. A fall during installation creates a bigger emergency than the original leak.
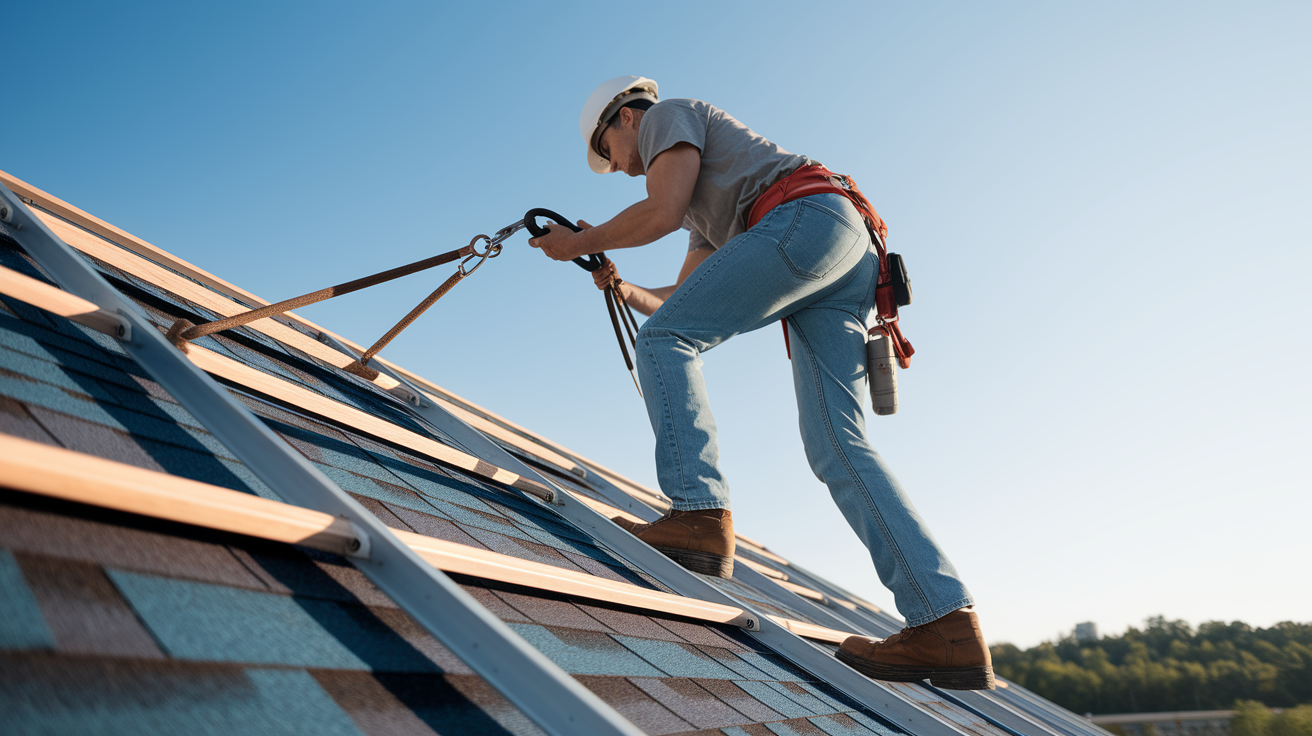
Use a ladder rated for your weight plus the weight of tools and materials. Position the ladder on level, stable ground at a 75 degree angle, about one foot of base distance for every four feet of ladder height. Extend the ladder at least three feet above the roof edge so you have a handhold when stepping on and off. Wear non slip rubber soled shoes with good tread. Wet shingles are slippery even when they look dry.
Work only in calm, dry conditions. Wind speeds above 20–25 mph make it hard to control the tarp and increase the risk of being blown off balance. Stop work right away if rain starts. Wet roofing materials become dangerously slippery within seconds. Lightning risk is another hard stop. Even distant storms can produce strikes without warning.
Never tarp alone. A second person on the ground can steady the ladder, hand up materials, and call for help if something goes wrong. If you have to climb onto the roof, use a safety harness anchored to a secure point on the opposite side of the roof peak or to a properly installed roof anchor. Harnesses are required by OSHA for any work on roofs above six feet, and they prevent fatal falls even if you slip.
Maintaining, Inspecting, and Repairing Roof Tarps for Long Term Protection
A tarp done right still breaks down. UV exposure weakens the fabric, wind works fasteners loose, and temperature swings cause expansion and contraction that stresses seams.
Inspect the tarp at least once per week and right after any storm with wind or heavy rain. Walk the perimeter from the ground with binoculars if climbing is unsafe. Look for loose edges, torn fabric, pulled fasteners, sagging sections, or water stains on the underside. Check that washers stay snug and that tape along seams is still stuck down. Small problems caught early take minutes to fix. Ignored, they turn into full tarp failures that need complete reinstallation.
Maintenance checklist:
- Tighten loose washers and refasten any nails or screws that have backed out.
- Check seams and overlap zones for separation. Re tape with fresh waterproof tape if edges have lifted.
- Remove leaves, branches, and debris that collect on the tarp surface. Organic material traps moisture and speeds up fabric breakdown.
- Check for ponding or sagging. Add support blocks or adjust tensioning to get proper drainage back.
- Patch small tears right away with heavy duty waterproof tape or tarp repair patches. Tears grow fast under wind stress.
- Document tarp condition with dated photos after each inspection. Insurance adjusters use this record to verify the timeline of temporary protection and approve claim supplements.
Replace the entire tarp if you see widespread cracking, multiple large tears, or fastener pullout in more than three locations. A failing tarp gives false security. It looks intact from the ground but leaks during the next rain. Re tarping every 30–45 days is standard for extended coverage, and always re tarp right after a big storm even if the tarp looks undamaged.
When to Call Professionals and What to Expect from Emergency Services
Some roof damage is beyond safe DIY scope. Structural instability, large damaged areas, steep pitches, and hazardous weather conditions need professional emergency tarping services.
Pros bring fall protection equipment, commercial grade tarps, and the experience to work safely on complex roof shapes. They also carry liability insurance, which protects you if someone gets injured during the tarping process. Emergency services typically respond within hours and can secure a roof in conditions that would be unsafe for you to attempt.
| Situation | Why Pros Are Needed | Typical Cost Range |
|---|---|---|
| Steep roof pitch (9/12 or greater) or multi story height | Requires specialized fall protection, roof jacks, and anchor systems. High injury risk for untrained climbers. | $400–$1,200 |
| Large damaged area (over 100 sq ft) or multiple roof planes | Needs multiple tarps, extensive fastening, and coordination. Difficult to tension and seal properly without a crew. | $600–$2,000+ |
| Structural damage (sagging decking, compromised rafters, or tree penetration) | Requires engineering assessment before tarping. Walking on unstable decking can cause collapse. | $500–$1,500+ (may include shoring or debris removal) |
| Active severe weather or unsafe conditions (high winds, ice, lightning risk) | Professionals have equipment and training to work in marginal conditions. Attempting DIY tarping in storms is extremely dangerous. | $300–$1,000 (emergency surcharge common) |
Insurance companies expect you to take reasonable steps to prevent more damage, and professional tarping qualifies as a covered emergency expense in most policies. Keep the invoice, take photos of the installed tarp, and document the date of installation. Submit these records with your claim to support reimbursement for the tarping cost and any follow up repairs that the tarp prevented from getting worse.
Final Words
Start by centering a heavy-duty tarp over the damaged area, extending it 2–3 feet, folding over the ridge, taping seams, and nailing with washers so water can’t sneak in.
Pick a thick, UV-resistant tarp and add boards, straps, or ballast for wind. Tuck around vents, press tarps into valleys, and follow safe ladder and harness practices.
Inspect, hose-test, patch small tears, and photograph everything for your claim. For steep roofs or big damage, call pros. roof tarp damage prevention is about stopping more harm now so repairs can move forward. You’ll be under a dry roof again soon.
FAQ
Q: What is the best way to cover a damaged roof with a tarp?
A: The best way to cover a damaged roof with a tarp is to use a heavy-duty UV-resistant tarp (6 mil+), extend it 2–3 ft past the damage, fold over the ridge, tape seams, and secure with boards and washered nails every 12–16 inches.
Q: What is the 25% rule in roofing?
A: The 25% rule in roofing says if damage affects 25% or more of the roof surface, insurers and roofers often require a full roof replacement rather than spot repairs.
Q: How long will a tarp last on a roof?
A: A tarp will last on a roof depending on material and weather; light 6-mil tarps often need replacement in 30–45 days, while 10–16 mil contractor tarps can last several months with regular inspections.
Q: What do roofers use to tarp a roof?
A: Roofers use heavy polyethylene tarps (6–16 mil), 1×6 or 1×8 lumber for wind resistance, roofing nails or screws with washers, continuous tarp tape, and sometimes straps or ballast for high winds.