
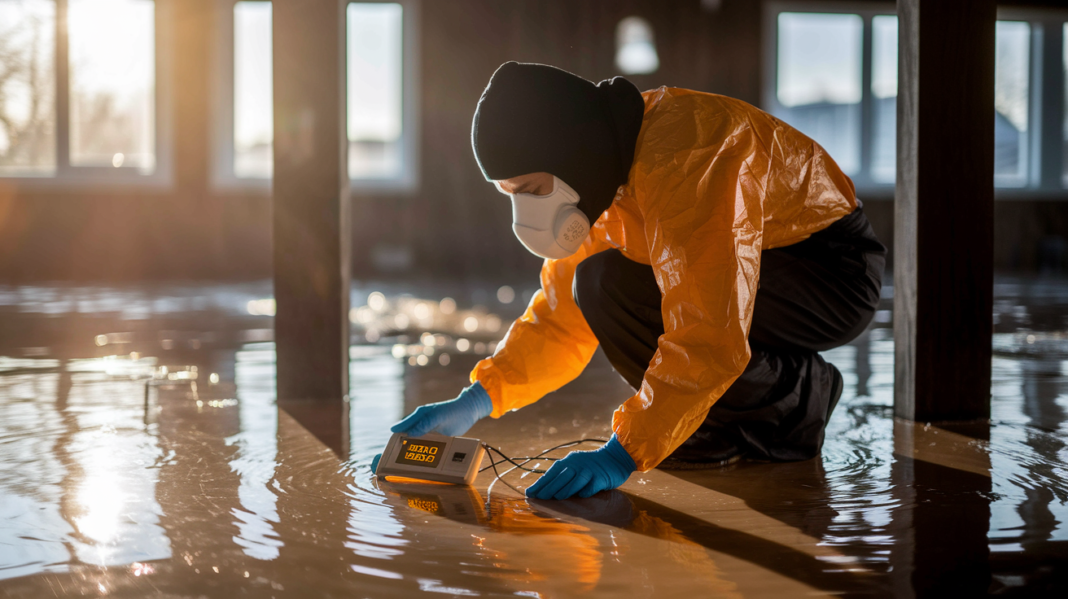

Think you can save big by replacing a flood-damaged subfloor yourself?
Sometimes you can, but a bouncy floor, stubborn musty smell, or hidden joist rot can turn a weekend fix into an expensive rebuild.
This post walks you through the immediate safety steps, moisture checks, demo and replacement basics, tools, drying tips, and cost ranges.
You’ll get clear red flags, like when joists need repair, when mold or sewage is involved, and when an expert should take over, so you can decide confidently and stop more damage fast.
Step‑by‑Step Guide to Replacing a Flood‑Damaged Subfloor
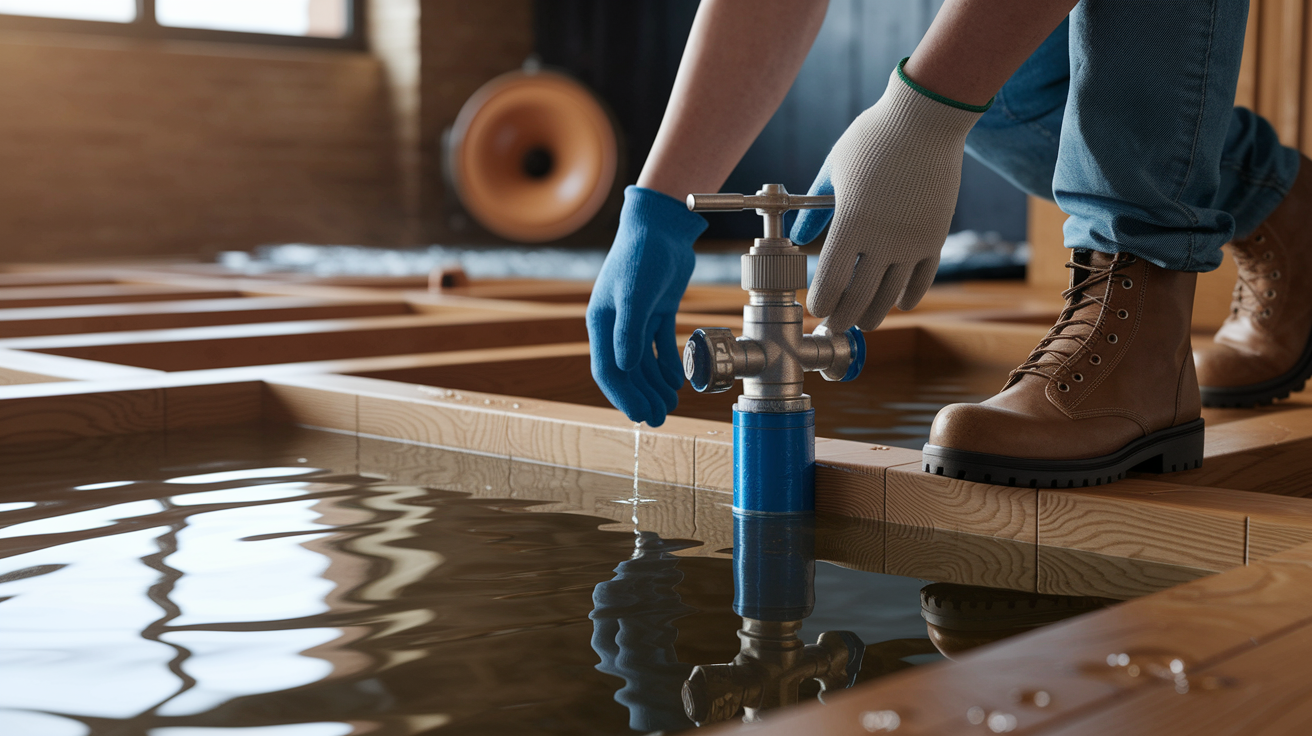
Before you start tearing up flooring, shut off the water source and make sure the floor is actually safe to walk on. If there’s standing water or the floor feels like a trampoline when you step on it, stay off until you know the joists aren’t compromised.
Next up, kill the electrical power in that room at the breaker panel. Floodwater gets into outlets and wiring, and wet hands on wet tools can kill you. If you need to run equipment, use GFCI-protected power.
Put on your PPE. Waterproof gloves, safety glasses, knee pads, and an N95 or P100 respirator if you see mold or smell anything musty. If sewage or gray water is in the mix, add boots and full sleeves.
Use a moisture meter to check the subfloor in several spots. Readings above 15 to 18 percent mean the wood is still soaked and needs replacing, not just drying. Write down the numbers in case insurance asks later.
Pull baseboards carefully and label them if you’re planning to reuse them. Roll back carpeting, pull up laminate or engineered boards, or cut vinyl into sections. You need the subfloor fully exposed so you can see what you’re dealing with.
Cut out and remove all saturated subflooring. Set your circular saw to the panel thickness so you don’t bite into the joists, then finish corners with a jab saw or oscillating tool. Pry up the damaged panels with a pry bar. Bag everything and haul it to a dumpster or disposal trailer right away to stop mold from spreading.
Inspect every joist in the exposed area. Look for rot, soft spots, or black staining. If a screwdriver sinks into a joist when you press it, that joist needs replacing or sistering with new lumber of the same size. This is where you call a design professional if you find damage.
Measure and cut new plywood or OSB panels to fit. Leave a 1/8 inch gap between old and new subflooring for expansion. Apply construction adhesive in a zigzag pattern along each joist where the new panel will sit.
Lay the replacement panel and fasten it with deck screws or ring shank nails. Drive fasteners every 6 to 8 inches along the edges, placed 3/8 inch back from the edge, and every 8 to 12 inches in the field. Work from the center out to avoid buckling.
Let the adhesive cure and the subfloor dry for at least 24 to 72 hours before installing underlayment or finish flooring. Run dehumidifiers and air movers during that window. Check moisture levels again before you close up the floor.
How to Assess the Extent of Subfloor Water Damage

Walk across every part of the wet area and feel for soft spots, sagging, or flexing that wasn’t there before. If your foot sinks slightly or the floor feels bouncy, the subfloor underneath has absorbed water and lost its structural stiffness. That’s a replacement indicator.
Pull back a corner of carpet or peel up a plank if you can. Look for discoloration, staining, or swelling at the seams of the subfloor panels. Dark streaks or fuzzy white or black patches mean mold growth. If you see that, the panel needs to come out.
Use a moisture meter on the exposed subfloor. Readings above 15 to 20 percent mean the wood is still wet enough to support rot and mold. Test in several spots, including near walls and under appliances, because those areas hold moisture longer.
Check for persistent odors. Musty or sour smells that don’t go away after surface drying usually mean hidden moisture trapped in subflooring or between layers. An infrared camera can show you cold spots where water is pooled or wicking up from below.
Soft or spongy feel underfoot, especially near walls or under appliances. Visible cupping, warping, or buckling of the flooring surface above the subfloor. Dark stains, waterlines, or white fuzzy mold growth on exposed panel edges. Moisture meter readings consistently above 15 percent after 48 hours of drying. Persistent musty or rotten smell even after cleaning and ventilating.
Tools and Materials Needed for Subfloor Replacement
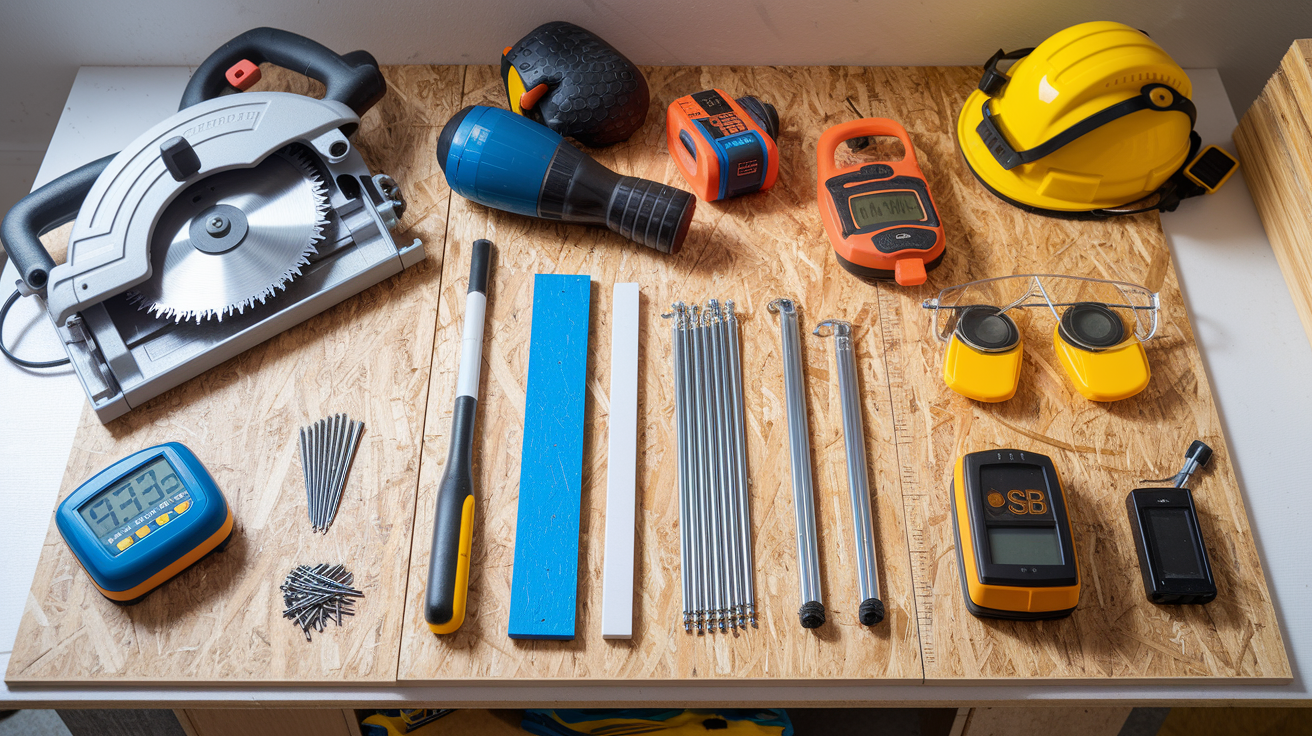
You’ll need cutting tools, fastening tools, moisture testing equipment, and safety gear to complete this project safely and correctly. Most items are available at home centers or tool rental shops.
Circular saw with a fresh blade for clean cuts through wet plywood or OSB. Reciprocating saw or jab saw for cutting panel corners and tight spots. Pry bar and hammer to lift damaged subflooring without damaging joists. Moisture meter, pin or pinless, to confirm moisture content before and after installation. Drill or impact driver for driving screws through panels into joists. Tape measure, chalk line, and carpenter’s square for measuring and marking cuts. Safety glasses, N95 or P100 respirator, waterproof gloves, knee pads. Dehumidifier and air movers, rental or purchase for controlled drying. 3/4 inch tongue and groove plywood or OSB panels. Choose exterior rated or pressure treated for flood prone areas. Construction adhesive compatible with the panel type, one tube per 12 to 20 linear feet of joist contact. #8 x 2 1/2 inch or 3 inch deck screws or 8d galvanized ring shank nails. Vapor barrier or moisture blocking membrane if required by local code or manufacturer spec.
Mold Prevention and Remediation Before Installing New Subflooring

Mold spores can colonize wet wood in 24 to 48 hours, so speed matters. The moment you cut out saturated subflooring, bag it and get it out of the house. Leaving it to dry in place just gives mold more time to spread into the joists and insulation.
Before you install replacement panels, treat any exposed framing with a borate or antimicrobial solution if you saw visible mold or suspect hidden growth. Follow the product label for mixing ratios and dwell time. Spray or brush it onto the joist faces and the underside of the subfloor that remains, then let it dry completely.
Run HEPA air scrubbers or high efficiency air movers in the work area while the framing dries. These machines capture airborne spores that get kicked up during demolition. Vent them outside if possible, or at least run them continuously until moisture levels drop below 15 percent and the smell clears.
If mold coverage exceeds 10 square feet or you see black staining deep into the wood grain, call a certified mold remediation contractor before you proceed. At that point, containment and HEPA vacuuming are necessary to avoid spreading contamination into ductwork or living spaces.
Cost Breakdown for Replacing a Water‑Damaged Subfloor

Material and labor costs vary widely depending on the size of the damaged area, the type of subflooring you choose, and whether joists or framing need repair. In most cases, you’ll pay between $3 and $10 per square foot for professional replacement, including tear out, disposal, new panels, adhesive, fasteners, and basic prep. Smaller jobs with minor joist repairs fall near the lower end. Larger jobs involving structural work, mold remediation, or sewage contamination push costs higher.
| Area Size | Typical Cost Range | Factors Affecting Cost |
|---|---|---|
| Small room (100–200 sq ft) | $400–$2,000 | Material grade, moisture meter rental, disposal fees, minimal joist repair |
| Medium room (300–500 sq ft) | $900–$5,000 | Extent of mold, joist sistering, number of panels, adhesive and fastener quantity |
| Whole floor or multi-room (1,000+ sq ft) | $3,000–$12,000+ | Structural repairs, sewage contamination, professional remediation, permit requirements |
| DIY materials only (per sq ft) | $2–$8 | Panel type (OSB, CDX, T&G plywood, pressure-treated), adhesive brand, fastener choice |
How Long Subfloor Replacement Takes After Flooding

Drying is the longest part. Even after you remove standing water, subflooring and joists can hold moisture for 24 to 72 hours or longer depending on airflow, humidity, and the thickness of the material. Plan to run dehumidifiers and air movers continuously during that window, and check moisture readings twice a day until they drop below 15 percent.
Demolition and installation move faster once the structure is dry. Removing damaged panels, cutting and fitting replacement sheets, and fastening them down typically takes one to two days for a single room. If you discover rotted joists or need to sister new framing, add another day or two. Larger projects or whole floor replacements can stretch to a full week or more when you factor in drying time, structural repairs, and final moisture verification before you install underlayment or finish flooring.
When to Hire a Professional vs DIY

You can handle small, straightforward subfloor replacements yourself if the damage is limited to one or two panels, the joists are solid, and you’re comfortable using a circular saw and drill. If you have access to a moisture meter, dehumidifier, and basic carpentry tools, the job is manageable.
Call a professional in these situations.
Joist rot or structural sagging that requires sistering or replacement of framing members. Mold contamination covering more than 10 square feet or black staining deep into the wood grain. Sewage or gray water flooding, which requires containment and biohazard disposal protocols. Large area replacement spanning multiple rooms or an entire floor system. Radiant heating, plumbing, or HVAC components embedded in or under the subfloor. Insurance claims requiring documentation, moisture logs, and professional estimates for adjuster review.
Even if you plan to DIY the installation, consider hiring a licensed contractor for the initial assessment and structural inspection. That step alone can catch hidden damage that would otherwise cause the floor to fail or the claim to be denied later.
Filing an Insurance Claim for Water‑Damaged Subflooring

Homeowners insurance often covers sudden and accidental water damage from burst pipes, appliance failures, or ice maker leaks. It typically doesn’t cover flooding from rivers, storm surge, or ground saturation unless you carry a separate flood policy through the National Flood Insurance Program or a private carrier. Read your policy declarations page to confirm what’s covered before you file.
Start documentation the moment you discover the damage. Take time stamped photos of the wet flooring, the subfloor once exposed, any visible mold or rot, and moisture meter readings. Photograph the water source if you can identify it. Keep receipts for emergency mitigation expenses like dehumidifier rentals, disposal fees, and temporary repairs to prevent further damage.
To file your claim, contact your insurer within 24 to 48 hours of discovering the damage. Most policies require prompt notice to avoid denial for delayed reporting. Request a claims adjuster inspection and ask when they can visit the property. Don’t begin major demolition until the adjuster documents the loss, unless waiting would cause additional damage. Provide written estimates from licensed contractors for tear out, disposal, structural repairs, and subfloor replacement. Include line item pricing so the adjuster can see the scope clearly. Submit all supporting documentation. That includes photos, moisture logs, receipts for mitigation equipment, and any professional mold or structural reports if the damage is extensive.
If the adjuster’s initial settlement offer doesn’t cover the full scope of hidden damage, submit a supplement request with additional photos, contractor estimates, and moisture readings that justify the extra work. Keep copies of everything you send.
Final Words
If water’s still in the room, stop the source and cut power to wet areas if it’s safe. Pull up wet flooring, use a moisture meter to find soaked spots, remove saturated subfloor panels, and inspect joists before installing new plywood or OSB with adhesive and screws.
Drying matters — aim for readings under 15% and allow 24–72 hours of drying. Treat mold before you close the floor and document photos and readings for the insurer.
Flood damaged subfloor replacement is a steady process: act fast, measure carefully, and repair right.
FAQ
Q: Can a water-damaged subfloor be repaired?
A: A water-damaged subfloor can often be repaired if damage is limited to a few panels or surface rot. We test moisture, remove the bad wood, dry framing, then patch or replace panels.
Q: How much does it cost to replace a water-damaged subfloor?
A: The cost to replace a water-damaged subfloor typically runs $3 to $10 per square foot, rising with structural repairs, material choice, and labor, with joist fixes or mold work increasing totals.
Q: Will homeowners insurance cover rotted subfloors?
A: Homeowners insurance may cover rotted subfloors if rot results from a sudden, covered event like a burst pipe. Policies usually exclude long-term neglect and flood damage without a flood policy.
Q: What does water damage subfloor look like?
A: Water-damaged subfloor looks like cupped or warped flooring, soft or spongy spots, musty odors, dark stains, bubbling finish, visible mold, or sagging where moisture meter readings are high.