

Think that brown stain on your wall is just cosmetic?
It’s not.
Water trapped inside walls hides rot, breeds mold, and often means the drywall and insulation must come out.
This post walks you through the complete repair steps: stopping the leak, documenting damage, testing and drying the framing, removing and replacing wet materials, treating mold if needed, and rebuilding so the problem doesn’t return.
Read on for fast, practical steps, safety checks, timing, and what to show your insurer.
Immediate Steps to Take When Your Interior Wall Has Water Damage

First, find the water source. Look for burst pipes, leaking appliances, roof leaks, or overflowing gutters. If you can safely shut off a supply valve or the main water line, do it. Every minute water flows into the wall adds damage and cost.
Turn off electrical power to the affected area at the breaker box. Water inside walls can reach outlets, switches, and wiring. Don’t touch wet walls near electrical components until power is off. If water’s actively dripping near electrical fixtures, stay clear and call a licensed electrician.
Start drying the area as soon as the leak stops. Pull furniture and rugs away from the wall. If baseboards are wet, remove them so air can reach the wall cavity. Set up fans to push air across the surface and open windows if the weather allows. The faster you begin drying, the better your chance of limiting mold growth and structural damage.
Within the first 24 hours, you should:
- Document the damage with photos for insurance and contractors
- Remove wet carpet, padding, or floor coverings near the wall
- Place a dehumidifier in the room to pull moisture from the air
- Check adjacent rooms and floors for hidden water spread
How to Assess the Extent of Interior Wall Water Damage

Use your eyes and hands first. Press gently on the drywall. If it feels soft, spongy, or crumbles under light pressure, the gypsum core has absorbed too much water. Look for bubbling paint, brown or yellow stains, warping, or visible mold. Sniff for musty odors. They often signal moisture trapped inside the wall cavity.
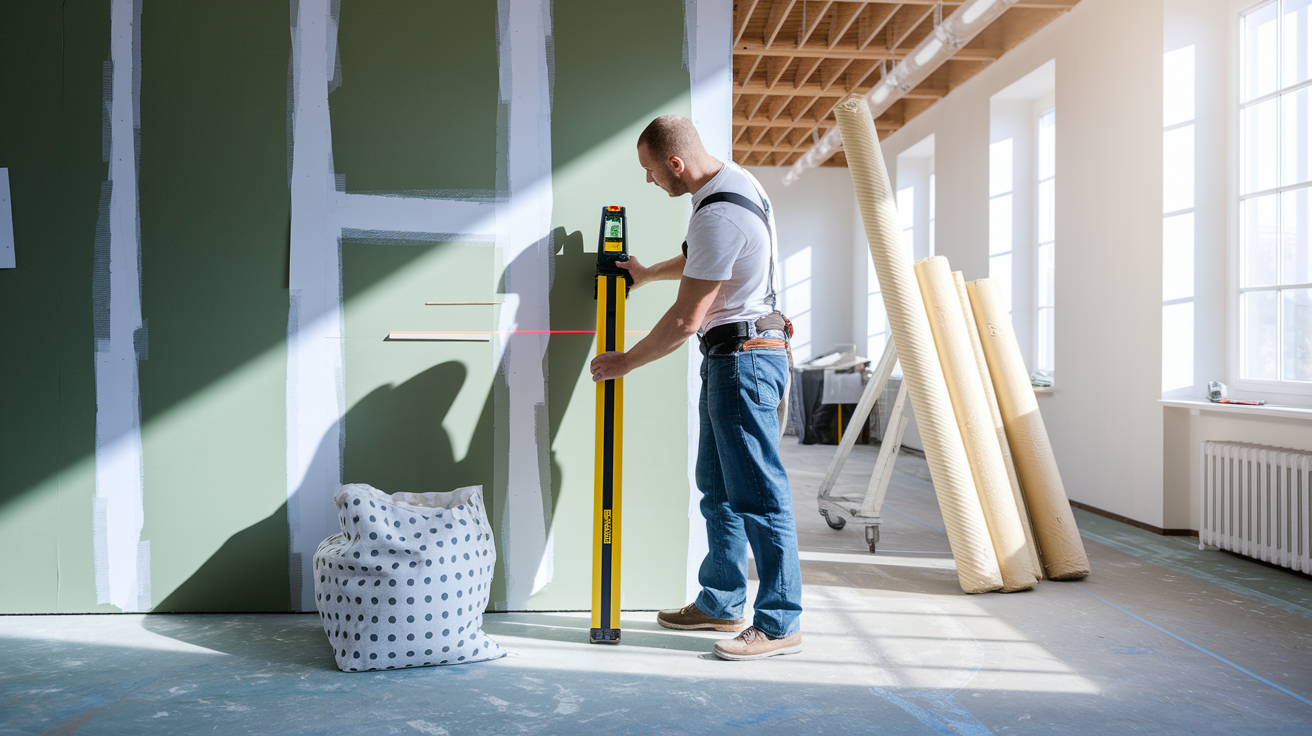
A moisture meter gives you numbers instead of guesses. Press the pins into the drywall at multiple heights, near the floor, mid-wall, and near the ceiling. Readings above 16 to 20 percent mean the material’s still wet and at risk for mold. An infrared camera shows temperature differences that reveal hidden moisture traveling up studs or across insulation. Water doesn’t always stay where you first see the stain.
To identify structural or concealed damage:
- Test moisture in multiple spots along each stud to map the wet zone
- Check behind baseboards and inside closets on the same wall
- Look at the wall from an angle under strong light to spot warping you might miss head on
When Interior Walls Need Replacement Instead of Repair

If drywall stays soft after you dry the surface, the core’s compromised. Gypsum loses its strength when saturated, and even after drying it may not regain rigidity. Sagging, crumbling edges, or a spongy feel all point to replacement, not patching.
Moisture readings that remain above 20 percent after drying efforts, or any visible mold growth on the drywall surface or paper backing, mean the material must come out. Mold doesn’t just sit on the surface. It sends roots into the paper and gypsum, so wiping it down won’t solve the problem.
Insulation behind the drywall often holds water longer than the wall itself. Fiberglass batts turn heavy and compressed when wet, and they rarely dry completely in place. Wet insulation loses its insulating value, traps moisture against studs, and creates conditions for mold. If the insulation’s damp or stained, plan to remove and replace it during the wall rebuild.
Step by Step Guide to Replacing an Interior Wall After Water Damage
Replacing a water damaged wall means working in stages. Remove what’s ruined, dry what’s left, rebuild with new materials, and finish it so the repair blends in. The goal is to eliminate all wet or moldy material, confirm the framing is dry and sound, then close the wall correctly so it stays dry.
-
Mark your cut line at least 12 inches above the highest visible water stain or moisture reading. For basement floods, that’s typically 6 to 12 inches above the waterline. Use a straightedge or laser level to keep the line level and plan vertical cuts to land on stud centers so you’ve got solid backing for the new drywall.
-
Cut out the damaged drywall with a utility knife or reciprocating saw. Score the face paper deeply, snap the panel, then cut the back paper. Pull sections away carefully to avoid tearing drywall you’re leaving in place.
-
Remove all wet insulation from the wall cavity. Bag it immediately and dispose of it. Don’t try to dry and reuse soaked fiberglass or cellulose.
-
Dry the studs, plates, and remaining wall structure. Use fans, dehumidifiers, and open ventilation. Check moisture levels in the wood framing daily with a moisture meter. Don’t close the wall until wood studs read below 15 percent moisture.
-
Inspect the studs for mold, rot, or damage. If you see dark staining, fuzzy growth, or soft wood, treat it with an EPA registered antimicrobial or replace the affected framing. Photograph any mold or damage for your records.
-
Install new insulation in the wall cavity. Use unfaced fiberglass batts or the insulation type that matches the rest of your wall assembly. Press it snugly between studs without compressing it.
-
Cut and hang new drywall panels. Screw them to the studs every 12 inches along edges and every 16 inches in the field. Sink screws just below the surface without breaking the paper.
-
Apply joint tape and joint compound over seams and screw dimples. Let the first coat dry completely, then apply a second and third coat, feathering edges wider each time. Sand smooth after the final coat cures.
-
Prime with a stain blocking primer, then paint to match the surrounding wall. In high moisture areas like basements or bathrooms, use a mold resistant primer.
Drying the wall cavity often takes 3 to 5 days with good airflow and dehumidification. Joint compound needs at least 24 hours between coats. Plan on a full week from demolition to paint for a typical single wall repair, longer if the damage is widespread or if you’re waiting for materials.
Safety Precautions During Water Damaged Wall Replacement

Shut off electrical power to any circuits running through the damaged wall before you cut or remove drywall. If you’re unsure which breaker controls the area, turn off the main panel or call a licensed electrician to verify it’s safe.
Wear an N95 mask, safety goggles, and work gloves during demolition. Cutting into wet drywall releases dust, fibers, and potential mold spores into the air. Even if you don’t see mold, assume it may be present when materials have been wet for more than 48 hours.
If you see black mold, widespread fuzzy growth, or smell strong musty odors when you open the wall, stop work and contact a mold remediation professional. Disturbing large mold colonies without containment and HEPA filtration can spread spores throughout your home and increase health risks, especially for children, seniors, and anyone with asthma or allergies.
Materials and Tools Needed for Interior Wall Replacement

Using the right materials from the start prevents callbacks and ensures the repair lasts. Moisture resistant drywall works better in bathrooms, basements, and kitchens. Quality joint compound and stain blocking primers stop old water stains from bleeding through your new paint.
- Drywall panels (standard ½ inch or moisture resistant for wet prone areas)
- Insulation batts to match existing wall depth
- Drywall screws (1¼ inch for ½ inch drywall)
- Joint tape (paper or fiberglass mesh)
- Joint compound (all purpose or lightweight)
- Stain blocking primer
- Utility knife with sharp blades
- Reciprocating saw or drywall saw
- Drill or screw gun
- Moisture meter
- Sanding block or pole sander
- Fans and dehumidifier for drying
- N95 masks, safety goggles, and gloves
- Tarps to catch debris
Cost Breakdown for Replacing Water Damaged Interior Walls

Costs vary by room size, extent of damage, and whether you hire help or do the work yourself. A straightforward drywall replacement in a small area may run a few hundred dollars. Larger jobs involving plumbing repairs, mold remediation, or multiple rooms can reach several thousand.
| Cost Category | Typical Range |
|---|---|
| Materials (drywall, insulation, compound, primer, screws) | $150–$400 per room |
| Labor (if hiring a contractor) | $50–$90 per hour or $1.50–$3.50 per sq ft installed |
| Waste disposal (wet drywall, insulation) | $75–$200 |
| Mold remediation (if needed) | $500–$3,000+ depending on extent |
Factors that raise costs include concealed plumbing or electrical work, structural framing repairs, extensive mold growth, and insurance claim coordination. If your water source was a burst pipe or roof leak and you need a plumber or roofer before rebuilding, add those repair costs to your total. Upgrades like moisture resistant drywall or improved ventilation also increase material expenses but can save money long term by preventing future damage.
Mold Risks and Remediation Before Installing New Walls

Mold can start growing within 24 to 48 hours after water exposure. Once drywall’s removed, inspect studs, plates, and subfloor for dark staining, fuzzy patches, or discoloration. Mold thrives in enclosed, damp cavities, so even if the drywall face looked clean, the back side and framing may be contaminated.
Treat affected wood framing with an EPA registered antimicrobial product. Apply it with a fogger, pump sprayer, or brush, and allow the manufacturer’s recommended cure time before closing the wall. If mold covers more than a few square feet, or if you identify black mold, hire a professional with containment equipment and HEPA filtration. Disturbing large colonies without proper controls spreads spores and increases health risks.
Before you hang new drywall:
- Confirm all framing moisture readings are below 15 percent
- Photograph treated areas and mold locations for insurance and future reference
- Verify the original water source is fully repaired so the wall won’t get wet again
DIY vs Hiring a Professional for Water Damaged Wall Replacement
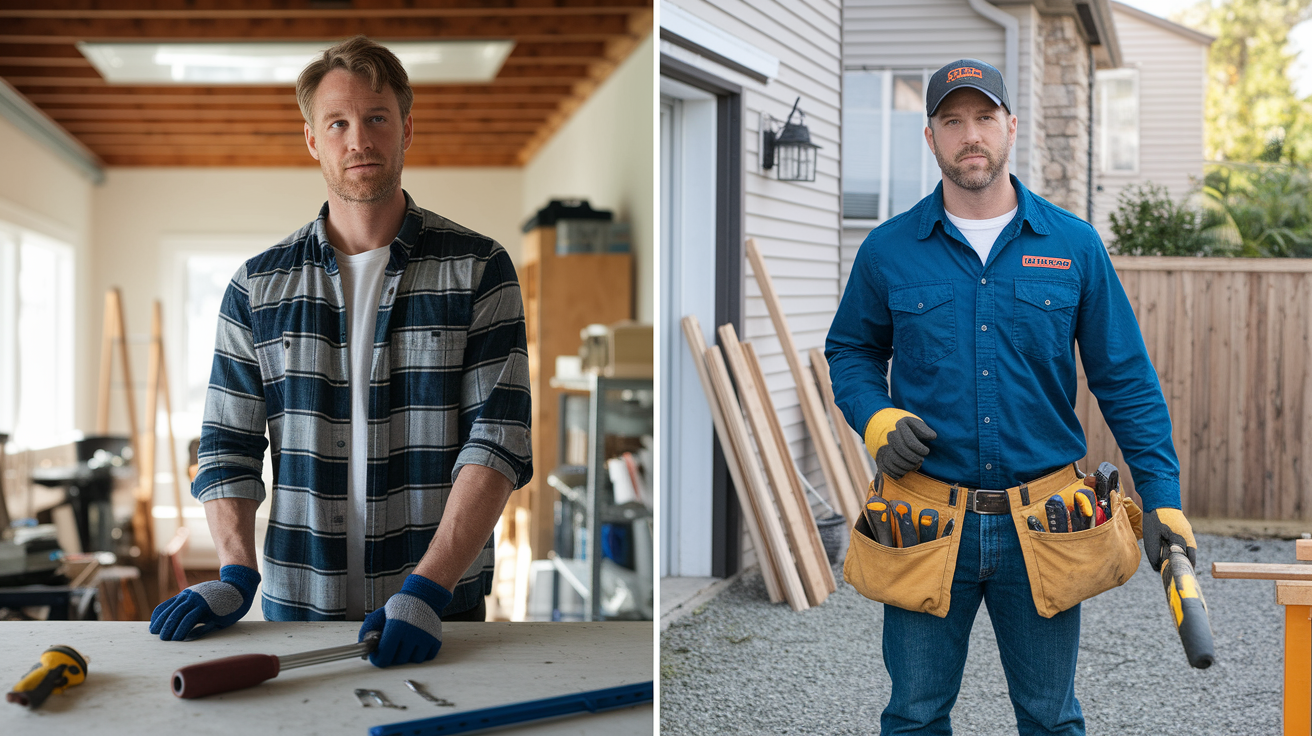
A small, isolated patch, one wall, clean water source, no mold, is manageable for a homeowner with basic carpentry skills and the right tools. If the leak’s fixed, the studs are dry, and you’re comfortable cutting drywall and taping seams, you can handle the project in a few days and save on labor costs.
Hire a professional when damage spans multiple rooms, involves structural concerns, or includes contaminated water from sewage or outdoor flooding. Pros bring moisture meters, thermal cameras, industrial dehumidifiers, and experience identifying hidden damage you might miss. They also carry insurance, follow IICRC standards, and provide documentation that supports your insurance claim. If mold’s present, electrical work is needed, or plumbing repairs must happen inside the wall, a licensed contractor ensures the job is safe, code compliant, and warrantied.
How to Prevent Future Water Damage Inside Interior Walls

Regular maintenance stops most interior wall water damage before it starts. Inspect visible plumbing under sinks, around toilets, and near water heaters every few months. Tighten connections, replace worn supply lines, and fix small drips before they become bigger problems.
- Keep gutters and downspouts clear so roof water drains away from the foundation
- Seal cracks around windows, doors, and pipe penetrations with caulk or weatherstripping
- Insulate pipes in unheated areas to prevent freeze related bursts
- Install water leak detectors near washing machines, dishwashers, and water heaters to catch leaks early
Final Words
Stop the leak first. Shut off the water, protect electrical areas, and remove wet materials so mold and warping don’t get worse.
Next, check how deep the damage goes with moisture readings and visual inspection. If drywall or studs stay wet or show mold, replacement is the right call. Follow the step-by-step removal, drying, and rebuild process and use proper PPE (mask, gloves, goggles).
Whether you DIY or hire pros, document everything for insurance. interior wall replacement after water damage is manageable when you act fast and follow the right steps, and your home will be whole again.
FAQ
Q: How to know if drywall needs to be replaced after water damage? Do walls need to be replaced after a flood?
A: You can tell drywall needs replacement when it stays soft or crumbles after drying, shows bubbling paint, deep stains, warped studs, visible mold, or moisture readings above about 20 percent; flooded walls are often replaced for safety.
Q: How to fix a wall after water damage?
A: To fix a wall after water damage, stop the water, remove wet drywall and insulation, dry studs to under 15 percent, install new drywall, tape and mud seams, sand, prime, and repaint.
Q: How much to replace a water damaged wall?
A: The cost to replace a water-damaged wall typically runs $1.50–$3.50 per square foot for drywall alone; full repairs including labor, disposal, and minor mold work usually range $300–$800 per room.