

You ever scrub off black mold from your garage floor or basement wall, only to watch it come back two weeks later? That’s because concrete’s riddled with tiny pores that soak up moisture deep inside, and surface wiping doesn’t reach where mold actually lives. The good news: you can get rid of black mold on concrete for real if you treat it like the deep-rooted problem it is, not just something you wipe away. This guide walks you through the safe removal process, the gear that actually protects you, and the moisture fixes that stop mold from returning.
Step-by-Step Removal Process for Black Mold on Concrete
Getting rid of black mold on concrete isn’t just about what you can see on the surface. Concrete’s full of tiny holes and pores that soak up moisture deep inside, and that’s where mold roots dig in. If you just wipe the surface, you’re wasting your time. You need to get your cleaning solution down into those pores and scrub hard enough to break up the mold colonies below what’s visible.
Before you start anything, get your safety gear together. You need an N-95 respirator mask (not a dust mask, an actual respirator), heavy duty nitrile or neoprene gloves, goggles that cover the sides of your eyes, and long sleeves that cover your arms and legs completely. This stuff isn’t optional. When you disturb mold, it throws thousands of spores into the air, and you don’t want those in your lungs or landing on your skin.
-
Put on all your safety equipment before you even walk into the work area. Mask, goggles, gloves, protective clothing.
-
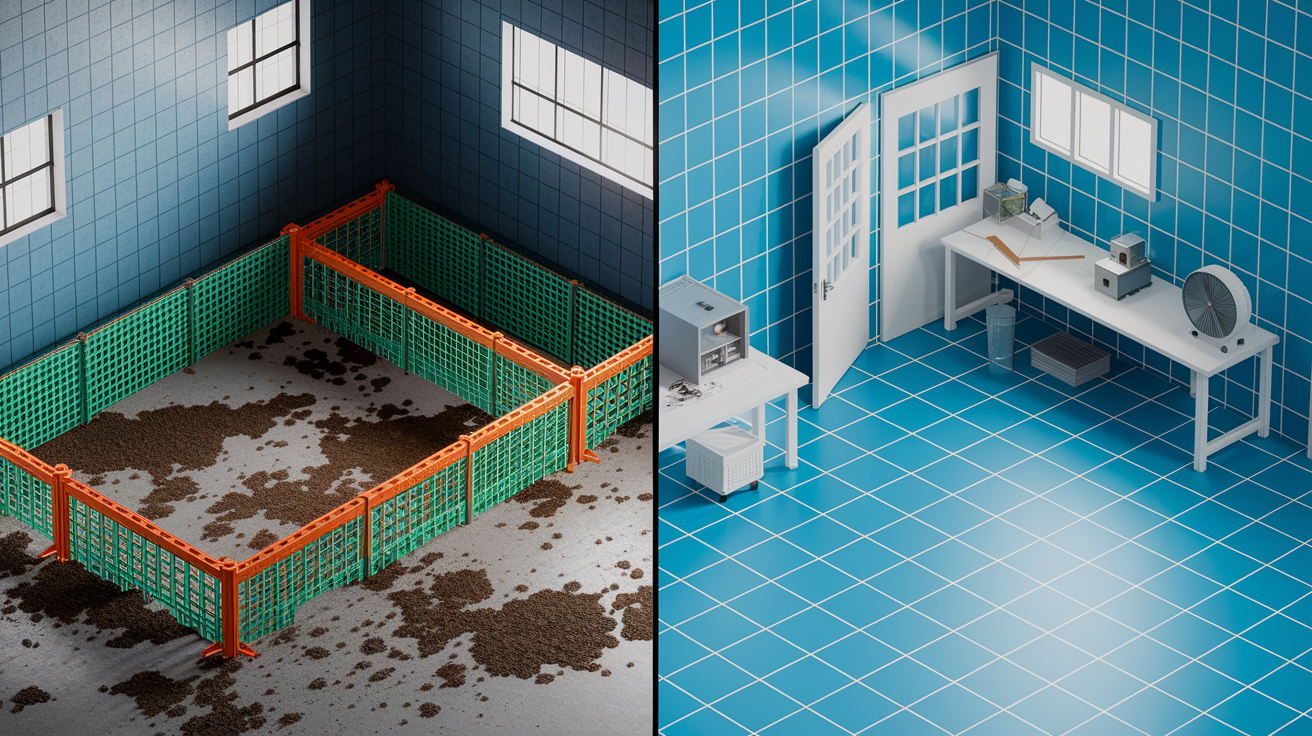
Seal off the space by taping plastic sheeting over vents and doorways so spores don’t spread to other rooms.
-
Open windows and set up fans to blow air outside, away from you (if you’re working outdoors, just make sure there’s good airflow).
-
Clear loose debris from the concrete using a stiff broom or a shop vacuum with a HEPA filter.
-
Mix your cleaning solution based on how bad the mold is and where you’re working:
- Heavy growth or outdoor concrete: 1 cup bleach per gallon of water (bleach kills mold but doesn’t remove it by itself, so you still have to scrub)
- Small indoor spots or light mold: 1 cup vinegar mixed with 2/3 cup water in a spray bottle
- Large areas using vinegar: double or triple that ratio and use a pump sprayer
- Another option: 3% hydrogen peroxide straight from the bottle
-
Soak the entire moldy area with your solution. Don’t be stingy. You want it saturated.
-
Wait 30 minutes while the solution soaks down into the concrete’s pores. This isn’t wasted time, it’s letting the cleaner reach mold roots below the surface.
-
Scrub hard with a stiff bristle brush for most jobs, a wire brush for stubborn outdoor mold, or a deck brush for big areas. Push the bristles into the concrete, not just across it. You’re working the solution deeper while physically breaking up the mold.
-
Spray again and wait another 30 minutes if you still see discoloration or smell that musty odor after the first round.
-
Rinse everything thoroughly with a pressure washer for outdoor concrete (1500 to 2000 PSI works well) or a garden hose with a strong spray nozzle. For indoor concrete, use buckets of clean water and a mop, changing the water often. Pressure washers blast mold off physically but don’t kill the spores, which is why you used antimicrobial solutions first.
-
Try a baking soda paste if staining’s still there: mix baking soda with just enough water to make a thick paste, spread it on the stains, wait 15 minutes, then scrub and rinse. Baking soda works as a mild scrubber and gets rid of odors.
-
Get rid of all your cleaning materials right away by sealing them in plastic bags before taking them outside.
After you rinse, check whether you actually got it all by looking for remaining dark spots and smelling for that musty smell. If either’s still there, do the whole thing again. Deep mold often needs multiple treatments because those roots go way down into concrete’s porous structure. Chemical solutions work best for heavy infestations. Natural options like vinegar are better for lighter growth or indoor spaces where ventilation makes chemicals impractical. Match your tool intensity to the mold severity and location. Manual scrubbing’s fine for indoor or delicate areas, pressure washing suits outdoor surfaces that can handle aggressive treatment.
Let the concrete dry completely for 2 to 3 days in warm, low humidity conditions before you seal or finish it. Trapping moisture under a sealer creates perfect conditions for mold to come right back. The surface should feel totally dry and you shouldn’t see any dark patches that show dampness.
Essential Safety Precautions and Protective Equipment for Mold Removal

You can’t skip protective equipment when dealing with black mold on concrete. When you start removing mold, it releases thousands of airborne spores that you can inhale, swallow, or absorb through your skin. These spores cause allergic reactions in sensitive people right away and long term health problems with repeated exposure. Your body can’t tell the difference between “a little bit” of exposure and dangerous levels until symptoms show up, so you need full protection from minute one.
N-95 respirator mask: Filters at least 95% of airborne particles including mold spores. Regular dust masks don’t work. The mask has to seal tight against your face without gaps.
Heavy duty non-porous gloves: Nitrile or neoprene gloves rated for chemical resistance. Never use cotton or fabric gloves that soak up mold spores and cleaning solutions, letting them reach your skin.
Complete eye protection goggles: Must include side shields to stop spores from getting in from any angle. Regular glasses leave gaps. Mold spores irritate your eyes, make them red and watery.
Long sleeve protective clothing: Covers your arms and legs completely. Disposable Tyvek suits work well for big jobs. Wash protective clothing separately in hot water right after you finish, or throw away disposable gear in sealed plastic bags.
Closed toe boots or shoes: Protect your feet and keep you from tracking spores through your home on shoe treads.
Plastic sheeting and tape: Create barriers by sealing vents, doorways, and openings to unaffected areas. This stops spore spread during the aggressive scrubbing and rinsing that throws mold into the air.
Preparing your workspace means sealing all vents and doorways with plastic sheeting secured with painter’s tape or duct tape. Open windows in the work area and position fans to blow air outward, never toward other rooms. This creates negative pressure that keeps spores contained. For indoor work, especially basements, set up a direct path from the work area to outside for throwing away contaminated materials without walking through living spaces.
Disposal done right prevents bringing contamination back. Put all used cleaning materials, disposable protective gear, rags, and brushes into heavy duty plastic bags. Seal the bags completely before you carry them outside to the trash. Don’t shake out brushes, dump dirty water down drains that lead to other areas, or reuse any porous materials that touched mold. The goal’s preventing spore spread to areas you just cleaned or to spaces that weren’t affected before.
Surface Preparation Before Black Mold Removal
Before you apply any cleaning solution, figure out whether your mold situation’s something you can handle yourself or needs professional help. The standard guideline: if mold covers more than 10 square feet (roughly a 3 foot by 3 foot area), professional services make more sense. Large mold colonies mean you’ve got significant moisture problems that likely go beyond what you can see, and disturbing extensive mold releases massive amounts of spores that overwhelm basic containment. If you’re not sure what type of mold it is, if it showed up after sewage backup or flooding, or if anyone in your house has respiratory conditions, get a professional to look at it before you start.
For jobs you can do yourself, prepare the workspace by moving all movable items out of the area. Furniture, storage boxes, tools, and other belongings should be relocated completely away, not just pushed to the side. Mold spores settle on everything during removal, and you don’t want to clean your concrete only to contaminate it again from spore covered items you move back later. Seal all vents and doorways leading to other rooms using plastic sheeting secured with tape, creating a contained work zone. Open windows in the contaminated area and set up fans to blow air directly outside. This ventilation’s critical because aggressive scrubbing launches spores into the air. Protect any surfaces you can’t move by covering them with plastic sheeting secured at the edges.
Fix any active moisture sources before you start removing mold. Check for leaking pipes, dripping faucets, condensation on walls, or water seeping through foundation cracks. Fix these moisture problems first, or at least at the same time as mold removal. Removing mold while water keeps coming in guarantees rapid regrowth, often within days. If you spot water intrusion but can’t fix the source right away, at least identify it and plan the repair. Removing mold without fixing moisture is like mopping your floor while the faucet runs.
Understanding Black Mold Growth on Concrete Surfaces
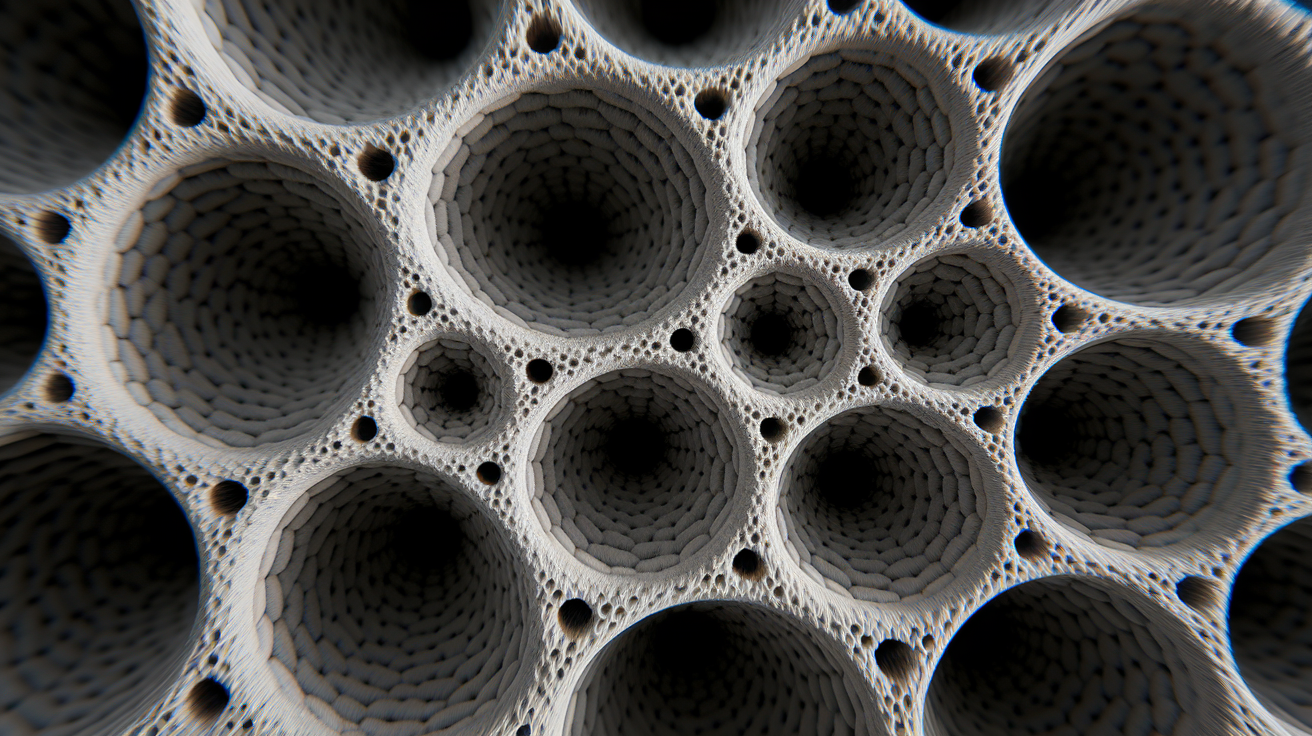
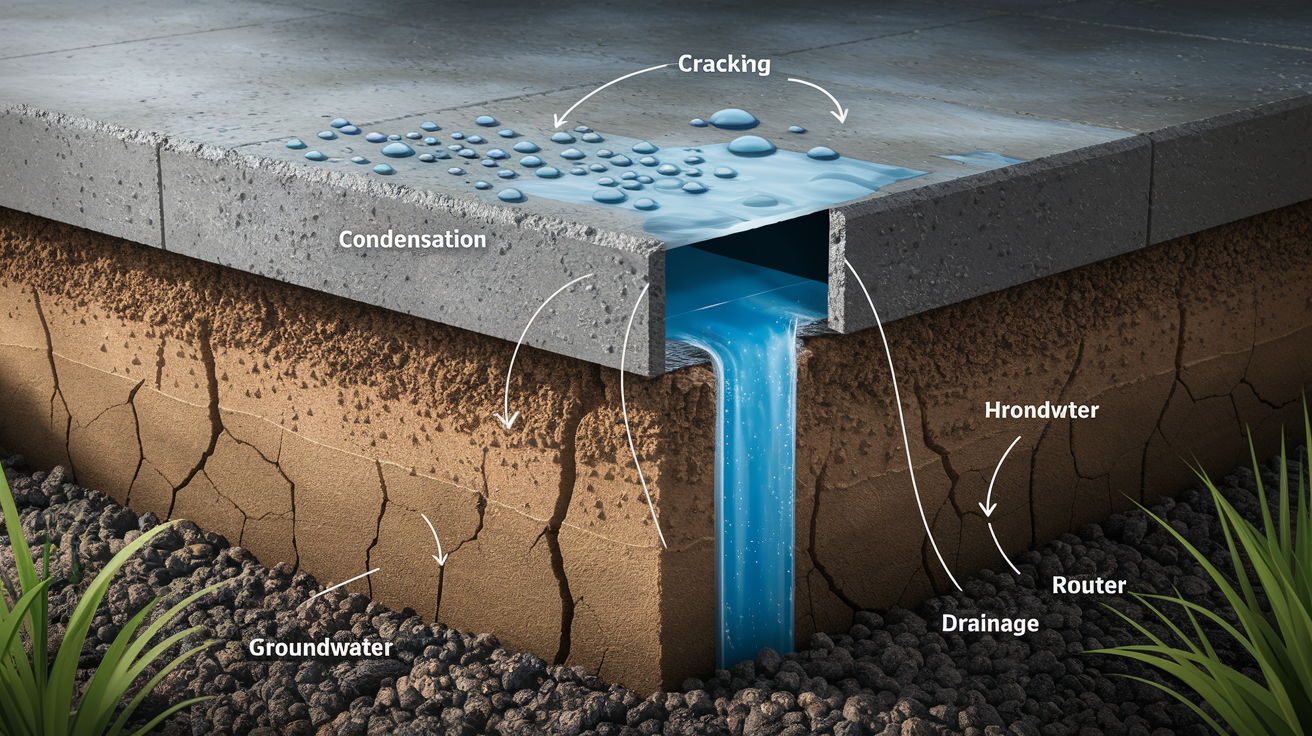
Concrete’s porous structure makes it surprisingly vulnerable to black mold. The material’s full of thousands of tiny holes, nooks, and crannies created during curing when water evaporates and leaves behind interconnected channels. These microscopic spaces absorb and hold onto moisture from the air, rain, condensation, or ground seepage. When moisture levels stay elevated and concrete stays damp for more than 24 to 48 hours, conditions become ideal for mold.
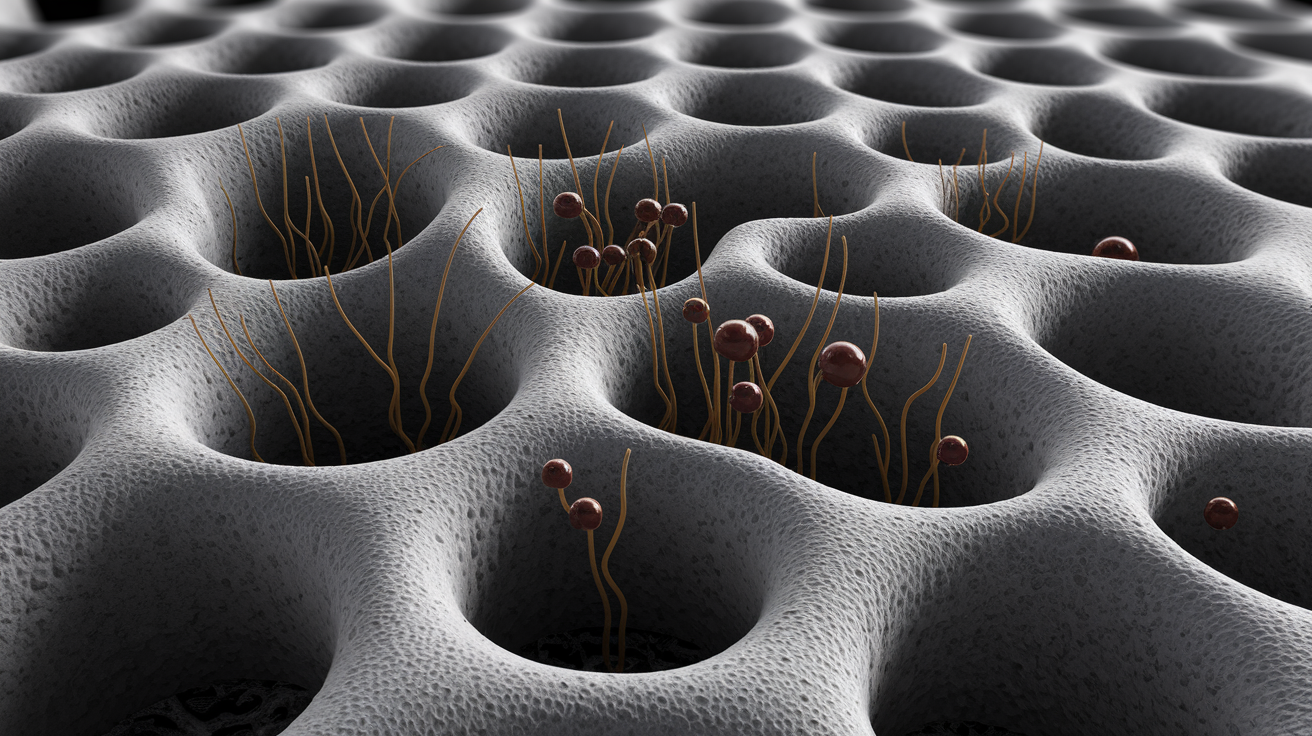
Stachybotrys chartarum, commonly called black mold or toxic black mold, thrives when moisture combines with organic matter like dirt, dust, leaves, wood particles, or dead insects. Concrete itself doesn’t feed mold, but these organic materials pile up on concrete surfaces and in its pores, providing the nutrition mold needs. Add poor ventilation that keeps humidity high and prevents drying, and you’ve created perfect conditions for black mold.
Black mold penetrates deep into concrete’s porous structure rather than staying on the surface like it does on non-porous materials such as glass or metal. The visible dark patches you see represent only surface growth. Mold roots, called hyphae, extend down into the concrete’s pore network, sometimes going a quarter inch or deeper. This deep penetration’s why surface wiping or light scrubbing fails. You have to use cleaning solutions that soak into the concrete and scrubbing techniques aggressive enough to reach mold roots below the visible surface. Think of it like weeds in your lawn. Cutting the visible top leaves the roots intact to regrow.
Mold reproduces through microscopic spores that become airborne and travel on air currents. These spores settle on other surfaces throughout your home, staying inactive until they encounter moisture and food sources that trigger growth. One established mold colony produces millions of spores daily, which explains why mold problems spread to multiple areas if you don’t deal with them quickly.
Drying Process After Mold Removal from Concrete
After you finish the removal and rinsing process, concrete has to dry completely before you apply any sealers or finishes. The minimum drying time’s 2 to 3 days in ideal conditions like warm temperatures, low humidity, and good air circulation. Sealing damp concrete traps residual moisture beneath the sealer, creating immediate regrowth conditions. You just did all that work. Give it proper drying time.
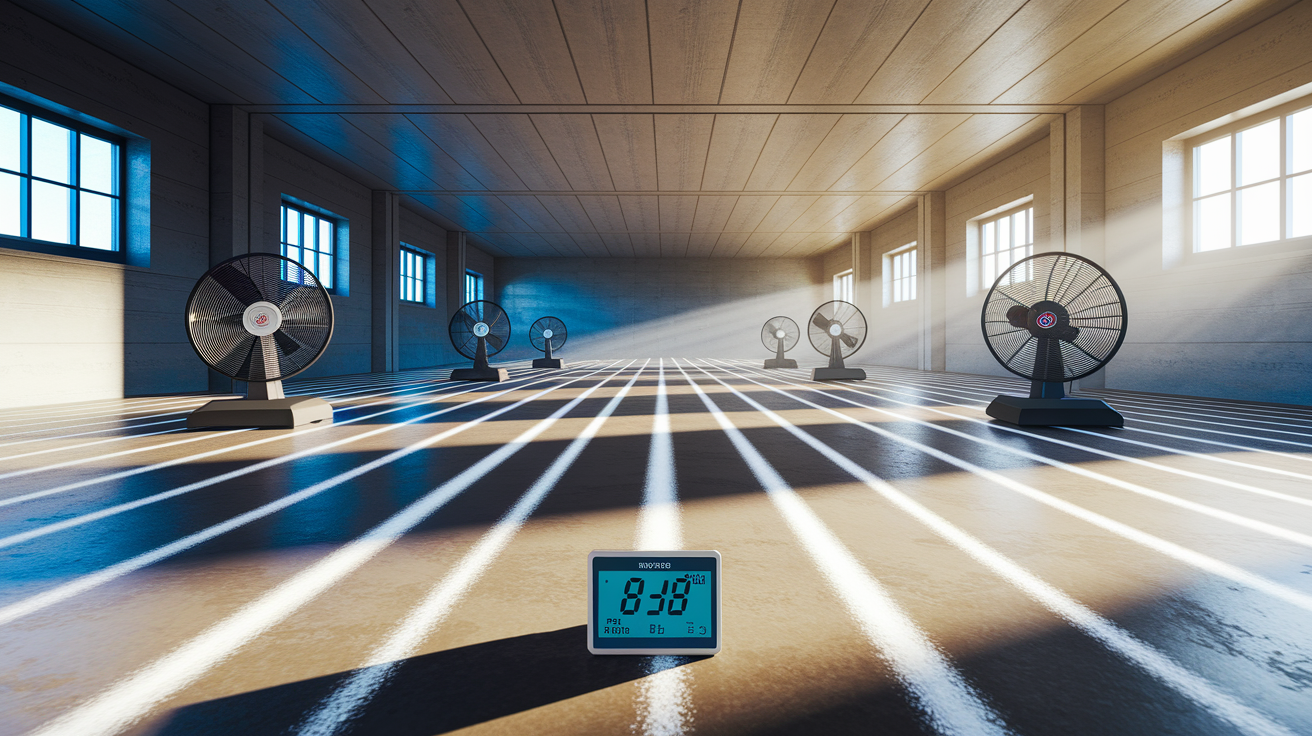
Speed up drying by maximizing air circulation with box fans or floor fans positioned to blow across the concrete surface. For indoor spaces like basements or garages, run a dehumidifier continuously to pull moisture from the air and the concrete itself. Dehumidifiers should be set to maintain relative humidity below 50%. Open windows if outdoor humidity’s lower than indoor humidity. If you’re working outdoors, avoid rain exposure during the drying period by checking weather forecasts and covering the area with tarps if rain’s coming. Warm temperatures and direct sunlight speed outdoor concrete drying significantly.
Indoor concrete typically needs longer drying times than outdoor surfaces because of reduced air circulation and higher baseline humidity levels. Basement concrete, especially below grade walls and floors, may need 4 to 5 days of active dehumidification before it’s completely dry. You’ll know concrete’s dry when it feels completely dry to the touch, shows no darkened damp spots, and a moisture meter reads below 12% (if you’ve got one).
Test moisture levels before moving forward. Place a 2 foot square piece of plastic sheeting on the concrete, taping all edges down to create an airtight seal. Wait 24 hours, then lift the plastic. If you see condensation on the plastic’s underside or darkened concrete beneath it, moisture’s still there. Keep drying. If the plastic and concrete stay dry, you’re ready for sealing or finishing work. Trapped moisture under sealers leads to peeling, clouding, and most importantly, rapid mold regrowth that forces you to repeat this entire process.
Prevention Methods to Stop Black Mold Regrowth on Concrete
Preventing mold regrowth costs way less than repeated removal and protects your home from ongoing damage. Once you’ve removed existing mold, shift your focus to the conditions that allowed growth in the first place.
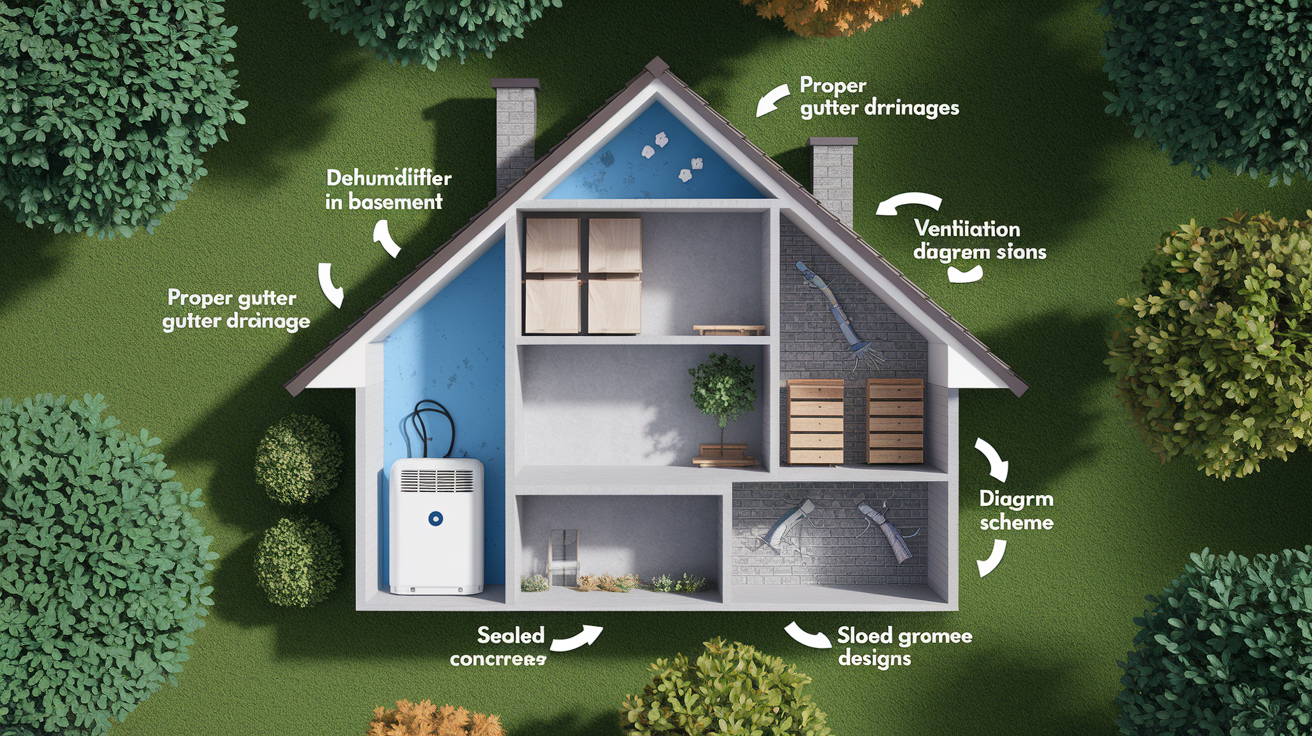
Moisture control’s the foundation of mold prevention. Use dehumidifiers in enclosed spaces like basements and garages to maintain relative humidity below 50%. High humidity alone provides enough moisture for mold growth even without visible water. Improve ventilation by installing exhaust fans in poorly ventilated areas, opening windows regularly when outdoor humidity’s low, and making sure air can circulate freely rather than creating stagnant pockets. Fix leaks promptly, even small drips from pipes, faucets, or roof leaks. Correct drainage problems around your home’s foundation by making sure the ground slopes away from the structure, extending downspouts at least 6 feet from the foundation, and maintaining gutters to prevent overflow.
Surface treatments create a protective barrier that resists moisture intrusion. Penetrating sealers work better than surface coatings for mold prevention because they let concrete breathe while blocking liquid water. These sealers soak into the concrete’s porous structure and chemically bond within the material rather than forming a surface film. Apply penetrating concrete sealers formulated with silane/siloxane blends after the concrete’s dried completely following mold removal (remember that 2 to 3 day minimum drying time). These hydrophobic sealers cause water to bead up and run off rather than absorbing into the concrete, which makes future mold growth far less likely and makes any future cleaning easier.
For warm, humid environments, choose low solids solvent based sealers designed for better breathability. These allow water vapor to escape from within the concrete rather than trapping it beneath a surface film. Water trapped under sealers creates the exact moist environment mold loves.
Ongoing maintenance practices prevent mold establishment:
Clean concrete surfaces regularly to remove organic matter (dirt, leaves, pollen) that feeds mold growth. Address standing water immediately, even small puddles that appear after rain. Maintain gutters and downspouts to prevent water from pooling near concrete surfaces. Monitor indoor humidity levels with a hygrometer and adjust dehumidifier settings seasonally. Inspect concrete regularly in known problem areas (shaded outdoor sections, basement corners, areas near plumbing). Trim vegetation that shades outdoor concrete and prevents sunlight and air circulation.
Reapply penetrating sealers according to the manufacturer’s recommendations, typically every 3 to 5 years for most formulations. Even quality sealers gradually break down from UV exposure, foot traffic, and weather. Maintaining that moisture resistant barrier’s your best long term defense against mold regrowth. Prevention requires ongoing attention, not just one time treatment, but spending 30 minutes every few months on maintenance beats spending days on mold removal.
Indoor Versus Outdoor Concrete Mold Removal Differences
Location significantly affects both mold severity and the appropriate treatment methods you should use. The same basic removal process applies, but the intensity, tools, and solutions vary based on whether you’re working outside or inside.
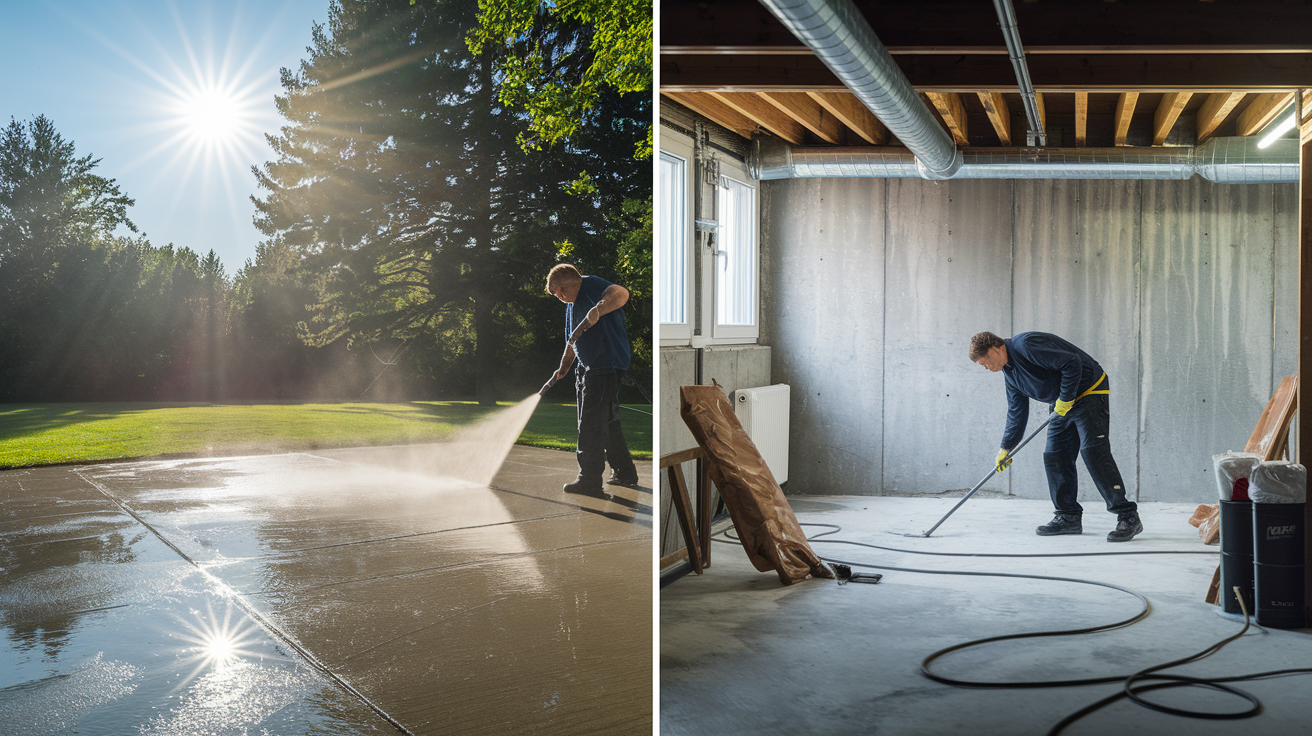
Outdoor concrete on patios, driveways, walkways, and pool decks tolerates aggressive cleaning methods that’d be problematic indoors. You can use stronger chemical solutions without worrying about indoor air quality, use pressure washers at higher PSI settings without worrying about water spray reaching furniture or flooring, and benefit from natural sun exposure and air circulation that speeds drying. Outdoor mold typically develops in damp or shaded areas that don’t get direct sun or adequate heat. Think north facing walkways, areas under roof overhangs, or sections shaded by trees or fences. These locations stay consistently damp, especially in humid climates or rainy seasons.
Indoor concrete in basements, garage floors, utility rooms, and crawl spaces faces different challenges. You have to contain cleaning to prevent spore spread throughout living spaces by sealing doorways and vents with plastic sheeting. Ventilation matters more because you’re working in an enclosed environment where chemical fumes concentrate. You may need to choose gentler solutions like vinegar or hydrogen peroxide instead of bleach to avoid overwhelming indoor air with harsh chemical odors, especially if the space connects to your HVAC system. Manual scrubbing with stiff brushes replaces pressure washing for most indoor work to control water spread and avoid saturating adjacent materials like drywall or wood framing.
Basement mold represents a special category that often indicates larger moisture or waterproofing problems beyond simple surface treatment. Below grade concrete walls and floors face constant ground moisture pressure trying to push through the material. If mold appears on basement concrete, you’re likely dealing with inadequate waterproofing, failed drainage systems, or high water table issues. These situations often need professional help because the work involves not just removing surface mold but installing proper drainage, applying waterproof coatings or membranes, and potentially adding dehumidifiers or sump pumps. A professional restoration service can assess whether structural concerns need attention beyond mold removal.
The treatment intensity you choose should match both the location and severity. Outdoor concrete can handle aggressive approaches like high bleach concentrations, wire brushes, 2000 PSI pressure washing. Indoor concrete needs measured approaches like diluted solutions, controlled scrubbing, careful water management. The goal stays the same, but the execution adapts to the environment.
Moisture Control and Root Causes of Concrete Mold Growth
Removing existing mold without fixing the moisture source that caused it guarantees regrowth. You’re treating the symptom while ignoring the disease. Successful mold removal requires identifying and solving the moisture problem first or at least at the same time as cleaning.
Common moisture sources that cause mold growth on concrete:
Leaking pipes: hidden leaks within walls or under floors, dripping supply lines, or condensation on cold water pipes. Poor drainage: ground slopes toward foundation, clogged gutters overflow near concrete, inadequate yard grading. Inadequate waterproofing: basement walls without proper exterior waterproofing or failing interior sealants. Condensation: temperature differences cause moisture to form on cold concrete surfaces, especially basement walls in humid weather. High humidity: enclosed spaces without adequate ventilation maintain consistently elevated moisture levels. Standing water: puddles from rain or irrigation that don’t drain properly from concrete surfaces. Gutter problems: overflowing, damaged, or missing gutters dump water directly against concrete foundations. Grading issues: improper slope allows water to pool against foundation walls or under concrete slabs. Seasonal flooding: periodic water intrusion during heavy rain or spring thaw that saturates concrete.
Indoor specific moisture causes need particular attention because they’re often hidden. Basement seepage occurs when ground moisture pushes through concrete walls or floors that lack proper exterior waterproofing. You’ll see this as damp spots, white mineral deposits, or actual water entry during rain. Condensation from temperature differences happens when warm, humid air contacts cold concrete surfaces, especially common in basements during summer when outdoor air enters cool below grade spaces. Poor ventilation in enclosed areas like basements, crawl spaces, or closed garages allows humidity to build and prevents drying between moisture events.
Outdoor concrete faces different factors. Shaded areas without direct sun exposure stay damp longer after rain or irrigation. Trees, tall fences, or building overhangs block sunlight and air movement that’d normally dry concrete surfaces. Poor drainage allows water to pool rather than sheet off, which keeps concrete surfaces saturated. Water pooling might result from settling that created low spots, improper initial installation without adequate slope, or blockages in drainage channels or weep holes.
The difference between acute water events and chronic moisture issues matters for your solution approach. A leaking pipe (acute) requires immediate repair, after which mold removal and prevention proceed straightforward. High humidity or inadequate waterproofing (chronic) requires ongoing moisture management through dehumidifiers, ventilation improvements, and potentially professional waterproofing services for complex basement situations. Figure out which category your moisture problem falls into before starting removal. Chronic moisture problems often need professional assessment because proper solutions involve structural improvements beyond DIY cleaning.
Health Risks from Black Mold on Concrete

Black mold, specifically Stachybotrys chartarum, produces mycotoxins as part of its metabolic processes. These mycotoxins become airborne attached to mold spores and fragments that are released continuously from active colonies. When you breathe indoor air containing these spores, the mycotoxins enter your respiratory system and bloodstream, affecting indoor air quality and your health.
Health symptoms from black mold exposure:
Sneezing, runny nose, and red, itchy eyes from allergic reactions. Persistent cough and throat irritation from respiratory tract inflammation. Skin rashes, hives, or irritation from direct contact or airborne exposure. Headaches and difficulty concentrating, especially persistent morning headaches in mold affected homes. Asthma attacks or significantly worsened asthma symptoms including wheezing, chest tightness, and breathing difficulty. Chronic fatigue and weakened immune response with prolonged exposure allowing other infections to establish more easily.
People with pre-existing respiratory conditions face heightened risks from any mold exposure, but black mold’s mycotoxin production makes it particularly problematic. People with asthma experience more frequent and severe attacks. Those with chronic obstructive pulmonary disease (COPD) or emphysema develop increased breathing difficulties. Children, whose respiratory systems are still developing, show stronger reactions to the same exposure levels that might cause only mild symptoms in healthy adults. Elderly people and anyone with weakened immune systems from cancer treatment, HIV/AIDS, or immunosuppressive medications also face increased vulnerability.
The difference between allergic reactions and toxic exposure matters for understanding your risk. Allergic reactions occur when your immune system overreacts to mold spores as foreign invaders, producing symptoms like sneezing, watery eyes, and skin irritation. These happen relatively quickly after exposure and affect people with mold allergies or sensitivities. Toxic exposure from mycotoxins produces different effects like headaches, fatigue, cognitive difficulties, and respiratory irritation. These result from the chemical compounds’ direct effects on your body’s tissues and systems rather than immune system responses.
Prolonged exposure leads to more severe, persistent health problems because repeated mycotoxin exposure causes cumulative damage to respiratory tissues and can trigger chronic inflammatory responses. Symptoms worsen over time without removal. A person might start with occasional sneezing, progress to daily headaches and persistent cough, and eventually develop serious respiratory complications or immune system impairment. This is why immediate removal matters when you identify black mold in your home.
Identifying Black Mold on Concrete Versus Other Growth Types
Black mold shows specific characteristics that distinguish it from other concrete discolorations. It appears as dark green to black patches with irregular, somewhat fuzzy edges rather than clean circular spots. The texture changes based on moisture levels. When wet or in consistently damp conditions, black mold feels slimy or slippery to the touch. When conditions dry out temporarily, the same patches become powdery and friable, easily releasing spores if disturbed. The distinctive musty, earthy smell’s often the most reliable identifier. People describe it as smelling like rotting wood, wet newspaper, or damp basement.
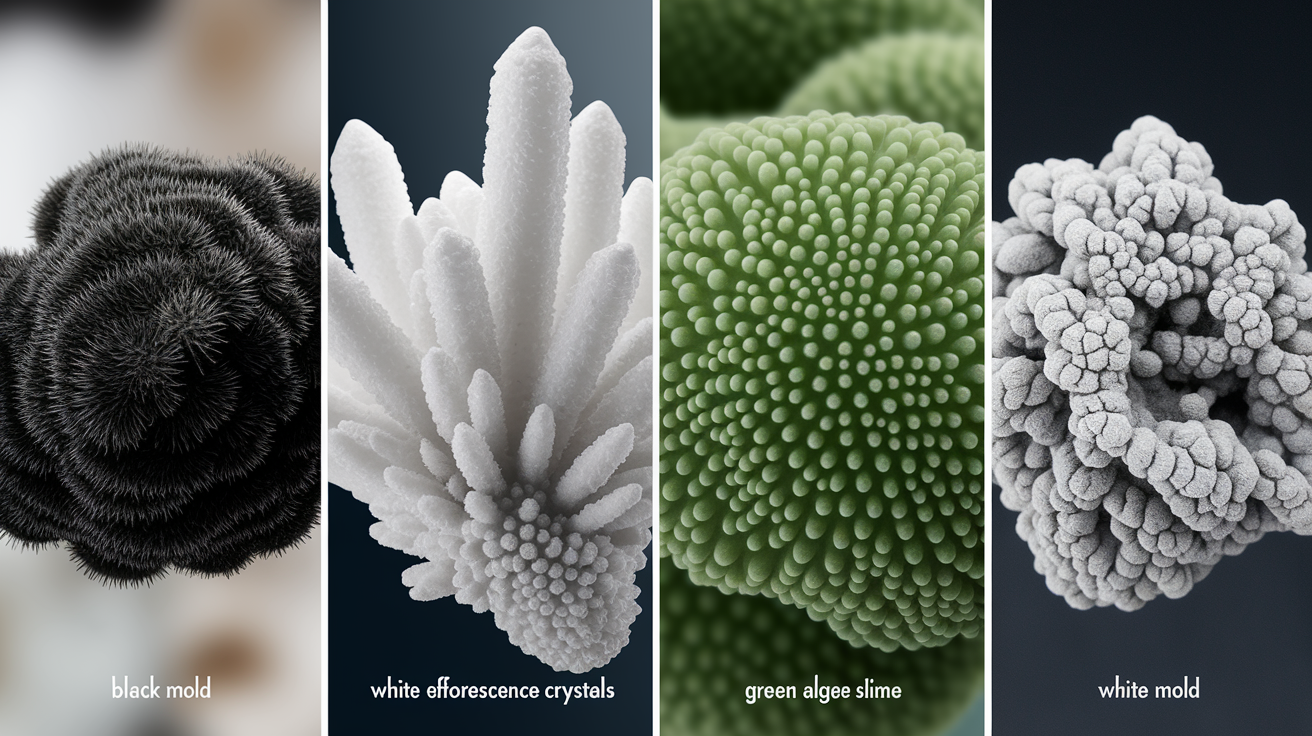
Common confusion points complicate identification because several substances resemble mold at first glance. White mold versus efflorescence causes frequent misidentification. White mold appears as white or light gray fuzzy or powdery growth on concrete. Efflorescence looks similar with white crystalline deposits on concrete surfaces, but it’s mineral salts left behind when water evaporates, not biological growth. The simple water test distinguishes them: spray water on the white substance. Efflorescence dissolves and disappears quickly because it’s water soluble minerals. White mold remains intact because living organisms don’t dissolve in water.
Green algae growth’s another common confusion on outdoor concrete. Algae appears as green slimy patches in consistently wet areas, especially where water runs regularly or puddles form. While algae isn’t mold (it’s a plant-like organism), it indicates the same moisture conditions that support mold. Algae typically feels more slimy than fuzzy, stays bright to medium green rather than darkening to black green, and has less pronounced musty smell than mold.
General mildew represents lighter mold growth (usually Aspergillus or Cladosporium species rather than Stachybotrys) that appears as gray, brown, or white patches. Mildew’s technically a type of mold but doesn’t produce the same mycotoxin concerns as black mold. The distinction matters less for removal since you’d treat them similarly, but understanding what you’re dealing with helps assess health risks.
For identification, check texture by gently touching the growth with a disposable glove. Black mold feels distinctly slimy when conditions are damp. Check smell by sniffing near the area without disturbing the growth (don’t put your face right against it). That strong musty, earthy odor confirms mold rather than mineral deposits. Look at typical locations: black mold appears most often in shaded outdoor areas that stay damp, basement corners with poor ventilation, areas near plumbing where moisture accumulates, and behind stored items that block airflow against concrete walls.
When to Hire Professional Mold Remediation Services
The general DIY threshold follows EPA guidelines: if mold covers less than 10 square feet (roughly a 3 foot by 3 foot area), you’ve got an identifiable moisture source you can fix, you’re not experiencing health symptoms from the mold, and no household members have compromised immune systems or severe respiratory conditions, DIY removal’s usually appropriate. These factors combined suggest a manageable situation where proper protective equipment, correct cleaning solutions, and adequate ventilation provide sufficient safety.
Situations requiring professional mold remediation:
Mold covering more than 10 square feet indicates extensive contamination likely reflecting larger moisture problems. Basement or foundation wall mold suggests structural moisture issues requiring waterproofing expertise beyond surface treatment. Mold growth after flooding or sewage backup because contaminated water introduces additional pathogens and requires specialized containment. HVAC system contamination that could spread spores throughout your entire home through air ducts. Visible structural damage to concrete, wood, or other building materials from long term moisture exposure. Recurring mold growth despite previous removal attempts, indicating you haven’t identified or fixed the true moisture source. Uncertainty about mold type, if you can’t confidently identify whether you’re dealing with black mold versus less concerning species. Vulnerable household members including infants, elderly people, people with asthma or COPD, anyone immunocompromised from illness or medication.
Professional mold remediation services provide capabilities beyond typical DIY approaches. Testing and identification services use laboratory analysis to determine exactly which mold species are present and concentration levels, which guides appropriate treatment intensity. Professional containment uses negative air pressure systems with HEPA filtration that prevents spore spread far more effectively than plastic sheeting alone. Industrial equipment includes truck mounted water extraction systems, commercial dehumidifiers that remove moisture faster than residential units, and HEPA vacuums that capture microscopic spores. Structural repair expertise addresses damaged materials that need replacement rather than just cleaning.
Professional services are especially important for complex basement situations where restoration expertise determines whether you need interior treatments only or exterior waterproofing that requires excavation. They provide post remediation verification through testing that confirms spore counts have returned to normal levels rather than just assuming the visible mold’s gone. The specialized equipment professionals use, especially HEPA filtration systems and negative air machines during removal, prevents spore dispersal that DIY methods can’t match.
The 10 square foot guideline exists because extensive mold colonies indicate two problems: first, the moisture source has been active long enough for substantial growth, suggesting significant underlying issues; second, disturbing large mold areas releases massive spore quantities that quickly overwhelm basic containment and present serious health risks even with protective equipment.
Cost and Time Considerations for Black Mold Removal Projects
Total project time includes more than active cleaning. You need time for preparation and safety setup, the actual treatment and scrubbing, mandatory drying time before any finishing work, and prevention steps including sealer application.
Typical DIY timeline for a moderately sized area (around 50 square feet): 1 to 2 hours for preparation including gathering safety equipment, sealing work area, and removing movable items. Then 2 to 4 hours for the actual cleaning process depending on area size and mold severity. Light surface mold cleans faster than deep set growth requiring repeated applications. After cleaning comes 2 to 3 days of drying time where the concrete must stay undisturbed in good ventilation and low humidity. Finally, add 2 to 4 hours for applying penetrating sealer once the concrete’s completely dry.
| Project Component | DIY Cost Range | Time Required |
|---|---|---|
| Safety Equipment (respirator, gloves, goggles, protective clothing) | $30-$60 | N/A (one time purchase) |
| Cleaning Solutions (bleach, vinegar, hydrogen peroxide, commercial products) | $15-$40 | N/A |
| Tools & Equipment (brushes, sprayer, plastic sheeting, fans) | $25-$75 | N/A |
| Sealing Products (penetrating concrete sealer, 1 to 2 gallons typical) | $40-$120 | 2 to 4 hours application |
| Professional Assessment (if needed for identification or extent) | $200-$500 | 1 to 2 hours |
| Professional Remediation (if DIY inappropriate, varies widely by extent) | $500-$6,000+ | 1 to 5 days depending on severity |
DIY costs typically total $50 to $200 for supplies including safety equipment you’ll keep for future projects, cleaning solutions, and preventive sealers. If you already own some equipment or choose all natural cleaning solutions, costs drop toward the lower end. Professional services vary widely based on contamination extent, required containment level, and whether structural repairs are necessary. Small professional jobs (under 25 square feet, straightforward access) might cost $500 to $1,500. Larger areas, basement situations requiring waterproofing, or cases with structural damage easily reach $3,000 to $6,000 or more.
Proper drying time often exceeds actual cleaning time but it’s absolutely critical. Rushing this phase by applying sealers to damp concrete traps moisture that causes immediate mold regrowth, forcing you to repeat the entire project. That impatience costs you another full weekend plus another $50 to $200 in materials. The upfront investment in quality penetrating sealers reduces long term costs through prevention. Spending $80 on good sealer now prevents spending another $150 and several days of work on repeated mold removal next year.
Weather affects outdoor project timing because you need rain free conditions during the entire drying phase. Check forecasts before starting outdoor work and avoid beginning projects when rain’s expected within 4 to 5 days. Indoor projects have more control over conditions but require active dehumidification and ventilation rather than relying on sun and heat to dry concrete.
Final Words
Black mold on concrete removal demands more than surface scrubbing. You need solutions that penetrate deep, aggressive tools that reach into pores, and enough patience to let treatments work.
Skip the moisture fix, and you’ll be back here in a few months doing this again.
Get the safety gear right. Stop the water source. Apply your solution with real dwell time. Scrub hard. Let it dry completely before sealing.
Most DIY jobs take a weekend when you include proper drying. Larger infestations or basement situations call for professional help.
Done right, your concrete stays clean, dry, and mold-free.
FAQ
How do you kill black mold on concrete?
You kill black mold on concrete by applying a cleaning solution (bleach, vinegar, or hydrogen peroxide), letting it soak for 30 minutes, then scrubbing aggressively with a stiff brush to penetrate the porous surface and remove mold roots.
Does Dawn dish soap kill black mold?
Dawn dish soap does not kill black mold. While dish soap can help remove surface dirt and organic matter, it lacks antimicrobial properties needed to eliminate mold spores and prevent regrowth on concrete surfaces.
What kills black mold permanently?
Killing black mold permanently requires removing existing growth with antimicrobial solutions, fixing the moisture source causing growth, thoroughly drying the concrete, and applying a penetrating sealer to prevent moisture intrusion and future mold development.
Is black mold on concrete toxic?
Black mold on concrete is toxic because it produces mycotoxins that become airborne during growth and removal. These toxins can cause respiratory issues, allergic reactions, headaches, and more severe health problems with prolonged exposure, especially for vulnerable individuals.
Can I remove black mold from concrete myself?
You can remove black mold from concrete yourself if the affected area is less than 10 square feet, you have proper safety equipment, and there’s no structural damage. Larger infestations or basement mold require professional remediation.
How long does concrete take to dry after mold removal?
Concrete takes 2 to 3 days to dry completely after mold removal in ideal conditions with good air circulation, low humidity, and warm temperatures. Indoor concrete may require longer drying time, especially in humid environments or basements.
What’s the difference between mold and efflorescence on concrete?
Mold appears as dark patches with a musty smell and slimy or powdery texture, while efflorescence looks like white crystalline deposits that dissolve easily in water. Efflorescence is harmless mineral deposits, whereas mold requires removal.
Should I seal concrete after removing black mold?
You should seal concrete after removing black mold once the surface has dried completely for 2 to 3 days. Penetrating sealers prevent moisture intrusion while allowing vapor transmission, making future mold growth less likely and easier to clean.
Why does black mold keep coming back on my concrete?
Black mold keeps coming back on concrete when the underlying moisture source remains unfixed. High humidity, poor drainage, leaking pipes, inadequate waterproofing, or condensation create conditions that allow mold spores to regrow despite surface cleaning.
What safety equipment do I need for concrete mold removal?
Safety equipment needed for concrete mold removal includes an N-95 respirator mask, heavy-duty non-porous gloves, complete eye protection goggles, and long-sleeve protective clothing to prevent inhaling spores and direct skin contact with mold and cleaning solutions.
How do I know if concrete mold is black mold or another type?
You identify black mold on concrete by its dark green to black color, slimy texture when wet, powdery feel when dry, and distinctive musty odor. Professional testing provides certain identification when appearance alone is unclear.
Can pressure washing alone remove black mold from concrete?
Pressure washing alone cannot remove black mold from concrete because it only removes visible surface growth without killing spores. Effective removal requires combining antimicrobial cleaning solutions with physical scrubbing or pressure washing to eliminate mold roots.