

Think smoke smell stuck in your ceiling is permanent? Think again.
Smoke doesn’t just sit on the surface, it soaks into drywall, plaster, and texture, and ordinary paint lets it come back when the room warms or gets humid.
This quick-start guide walks you through cleaning away residue, choosing and applying a true odor-blocking primer (shellac or oil), and finishing so the smell stays sealed for good.
Follow these steps and you won’t be chasing that musty smoke smell every time the heat kicks on.
How to Permanently Block Smoke Odor Coming Through Your Ceiling (Quick Start Guide)

When smoke smell soaks into your ceiling, it doesn’t just sit on the surface. It gets inside the drywall, plaster, or texture, and standard paint won’t lock it in. The smell comes back every time the room heats up or humidity changes. Permanently sealing smoke odor means cleaning what’s already there, then applying a primer designed to trap and block odors before you repaint.
Here’s the step by step quick start process to seal smoke smell in ceiling surfaces:
- Turn off the HVAC and open windows. Stop air circulation from pushing odor into other rooms. Run exhaust fans toward open windows.
- Vacuum loose soot. Use a HEPA vacuum with a brush attachment to remove loose particles without smearing them deeper into the ceiling.
- Degrease with TSP solution. Mix 1/4 cup trisodium phosphate (TSP) or TSP substitute in one gallon of warm water. Scrub the ceiling in sections, rinse with clean water, and allow 24 hours to dry.
- Repair surface damage. Patch cracks or holes. Let repairs cure for 24 to 48 hours before moving forward.
- Apply shellac based odor blocking primer. Use a product like Zinsser BIN. Apply one to two coats, allowing 45 minutes to two hours between coats.
- Paint with latex ceiling paint. After the primer dries, apply one to two topcoats of quality ceiling paint.
- Ventilate for 48 to 72 hours. Keep fans running and windows open to clear fumes and allow the sealer to cure fully.
- Inspect for remaining odor. After three days, check if smell persists. If it does, investigate insulation, HVAC ducts, or wall cavities.
This process stops smoke odor from bleeding through by creating a sealed barrier inside the paint layer. It works on drywall, plaster, and most textured ceilings as long as you clean first and seal with the right primer.
Preparing the Room and Protecting Surfaces Before Odor Removal

Prep work keeps smoke residue from spreading to clean areas and makes cleanup easier. Before you start cleaning or priming, you need to contain the work zone and protect anything you don’t want covered in dust, cleaner, or primer.
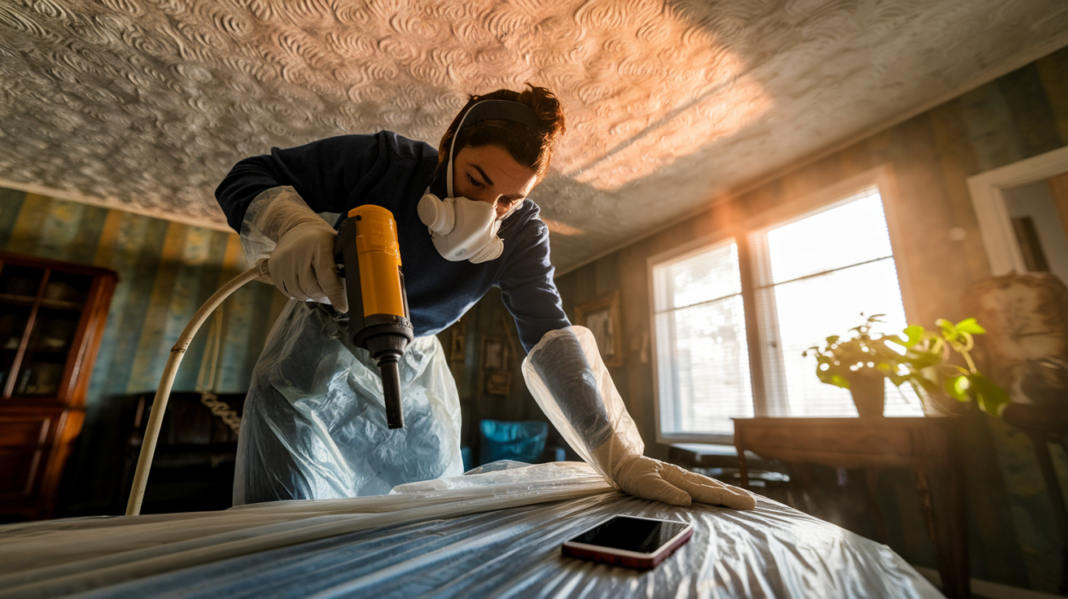
Start by moving all furniture out of the room. If you can’t move something, push it to the center and cover it with heavy plastic sheeting, not just a drop cloth. Tape plastic over air vents and return grilles to stop soot and fumes from entering the HVAC system. Remove or cover light fixtures, ceiling fans, and smoke detectors. Lay canvas drop cloths on the floor. Canvas absorbs drips better than plastic and won’t slide under your stepladder.
Key prep steps:
- Seal HVAC vents with painter’s tape and plastic to prevent contamination.
- Cover floors with canvas drop cloths anchored with tape at seams.
- Remove ceiling mounted fixtures or wrap them tightly in plastic.
- Set up cross ventilation with box fans blowing outward through windows.
This containment setup protects the rest of your home and gives you safe airflow while you work. Don’t skip ventilation. Both cleaning chemicals and sealing primers release fumes that need to exit the room continuously.
Cleaning the Ceiling to Remove Residue Before Sealing

Sealing over smoke residue doesn’t work. Tar, nicotine, and soot will bleed through almost any primer if you don’t remove the surface layer first. Cleaning pulls out the greasy film so the primer can bond to the ceiling material instead of sitting on top of contamination.
TSP is one of the most effective cleaners for breaking down smoke residue. Mix 1/4 to 1/2 cup of TSP or TSP substitute in one gallon of warm water. Work in small sections so the ceiling doesn’t stay wet too long. Use a sponge or microfiber cloth, wring it out until it’s damp but not dripping, and scrub in firm strokes. Rinse each section with a separate bucket of clean water and a fresh cloth, then dry with a towel to check if staining remains.
Here’s the cleaning sequence:
- Vacuum the ceiling with a HEPA filter and brush attachment. This lifts loose soot without pushing it into the pores.
- Mix TSP solution in a bucket. Use 1/4 to 1/2 cup per gallon. Wear thick rubber gloves and eye protection.
- Scrub one section at a time. Work from corner to corner in three foot squares. Keep the sponge damp, not soaked.
- Rinse immediately with clean water. Use a second sponge and bucket. Change rinse water frequently.
- Dry each section with a clean towel and inspect. If yellow or brown staining shows through the towel, scrub that area again.
Let the ceiling dry completely for 24 hours with fans running and windows open. Don’t skip drying time. Moisture trapped under primer causes blistering, peeling, and mold. If the ceiling still smells strong after cleaning and drying, the odor has soaked deeper than surface residue, which is why the primer step is critical.
Choosing the Right Odor Blocking Primer or Sealer

Not all primers block odor. Standard latex primers seal stains visually but don’t stop smell from passing through. Smoke odor needs a primer that chemically binds to odor molecules and creates an impermeable barrier. Shellac based and oil based primers are the two types that actually work for smoke.
Shellac based primers like Zinsser BIN are the strongest option for blocking smoke smell. They dry fast, seal tightly, and lock in phenolic odors that other products can’t touch. Shellac primers work on nicotine, fire smoke, and tar. They’re solvent based, so they release strong fumes and require good ventilation and a respirator with organic vapor cartridges. Recoat time is usually 45 minutes to two hours, which means you can prime and paint in the same day on a small ceiling. One quart of shellac primer typically covers 100 to 200 square feet on porous or sooty surfaces.
Oil based primers are the second best choice. They create a strong odor barrier and cost less per gallon than shellac products. Oil based primers take longer to dry. Plan on 12 to 24 hours between coats. And they also require ventilation and a respirator. Coverage is around 300 to 400 square feet per gallon. They work well for moderate smoke contamination but may not fully block heavy fire damage or years of cigarette smoke without a second coat.
| Primer Type | Odor Blocking Strength | Recoat Dry Time |
|---|---|---|
| Shellac based (e.g., Zinsser BIN) | Highest – blocks severe smoke, nicotine, fire odor | 45 minutes to 2 hours |
| Oil based (e.g., KILZ Original) | High – effective for moderate smoke contamination | 12 to 24 hours |
| Water based latex | Low – insufficient for smoke odor alone | 1 to 4 hours |
Water based primers don’t block smoke smell reliably. They’re fine for general stain coverage, but smoke molecules pass right through. If cost or ventilation limits your options, use an oil based primer as your minimum standard. For certainty, choose shellac.
Applying Sealers and Primers on Different Ceiling Types

Different ceiling materials absorb smoke differently and require adjusted application techniques. Drywall, textured surfaces, and acoustic tiles all hold odor, but the way you apply primer changes based on porosity and fragility.
Drywall Ceilings
Drywall is porous but relatively smooth, so it accepts primer evenly with a standard roller. Use a 3/8 inch nap roller for flat drywall and an extension pole to avoid working directly overhead. Apply shellac or oil based primer in one direction for the first coat, then cross roll the second coat perpendicular to the first if heavy staining remains. Let the first coat dry fully before adding a second. On clean, well prepped drywall, one coat of shellac primer usually seals the odor. If bleed through appears after drying, apply a second coat before painting. Drywall that was damaged by scraping or heavy soot may need patching with joint compound. Allow 24 to 48 hours for patches to cure, then sand lightly and prime.
Textured/Popcorn Ceilings
Popcorn and textured ceilings have deep crevices that trap soot and absorb odor throughout the texture layer. Use a roller with a 1/2 to 3/4 inch nap, or consider an HVLP sprayer for even coverage without pressing the texture flat. Don’t oversaturate the surface. Textured ceilings can sag or release from the drywall if loaded with too much liquid. Roll gently and let the primer soak in naturally. Avoid back rolling excessively. If the texture is severely stained or the odor persists after two coats of shellac primer, the contamination may have soaked into the drywall underneath. At that point, removing and replacing the texture, or covering it with a smooth skim coat, may be the only permanent solution.
Acoustic Drop Ceiling Tiles
Acoustic tiles are highly porous and absorb smoke deeply. Cleaning them rarely works because water damages the fiber. If the tiles smell after cleaning, sealing them with primer is possible but not always effective long term. Spray shellac based primer lightly on both sides of the tile if you can remove them. If tiles are installed, spray the visible side only with an HVLP sprayer, working in a well ventilated space. Let the primer cure fully. If odor remains after sealing, replace the tiles. Acoustic tiles are inexpensive, and replacement is often faster and more reliable than sealing when smoke contamination is heavy.
Safety Precautions When Removing Smoke Odor

Shellac and oil based primers release fumes that can cause headaches, dizziness, and respiratory irritation if you work in a closed room. Ventilation isn’t optional. Open all windows, set up box fans to blow air out of the room, and use an exhaust fan if available. Cross ventilation (fresh air coming in one side, contaminated air pushing out the other) keeps fumes from building up.
Wear a respirator rated for organic vapors, not just an N95 mask. N95 masks filter particles like soot but don’t block solvent fumes. Look for a half face respirator with replaceable cartridges labeled for organic vapors and VOCs. If you start to feel lightheaded, leave the room immediately, get fresh air, and increase ventilation before returning. Don’t work alone if you’re using solvent based products for the first time.
Essential protective gear:
- Respirator with organic vapor cartridges (not just an N95).
- Rubber or nitrile gloves rated for solvents (not thin latex).
- Eye protection to prevent primer splatter from reaching your eyes.
Keep the room ventilated for 24 to 48 hours after priming, even if the smell seems gone. The fumes continue off gassing as the sealer cures. Don’t let pets or children into the space until ventilation is complete and the odor has cleared.
Identifying Active Smoke Infiltration vs. Old Odor Residue

Sealing works when the smoke source is gone and you’re dealing with residual odor trapped in the ceiling material. It doesn’t work if smoke is still entering the room. Before you prime, confirm whether the odor is old contamination or active infiltration from an ongoing source.
Active smoke infiltration happens when gaps, cracks, shared walls, or ventilation systems allow smoke to move into your space from elsewhere. Common signs include smell that gets stronger at certain times of day, odor that appears near vents or light fixtures, or new staining that wasn’t there before. Temperature changes and airflow shifts can pull smoke through ceiling penetrations, especially in apartments or multi unit buildings. If you’re smelling smoke from a neighbor or an attic, sealing the ceiling surface won’t stop it. You need to seal the gaps where smoke enters, or address the source directly.
Residual smoke odor stays consistent or fades slowly over time. It doesn’t get worse. It’s strongest when the room heats up or humidity rises because heat releases trapped odor molecules from porous materials. Old cigarette smoke, past kitchen fires, and prior occupants’ smoking habits all leave residual contamination. Sealing this type of odor works because the smell is already inside the material, not actively entering.
Key differences to check:
- Does the smell get stronger when the HVAC runs or the temperature changes? (Likely residual odor.)
- Do you see new yellow or brown stains forming after cleaning? (Possible active infiltration.)
- Is the odor isolated to one room, or does it appear near shared walls and ceilings? (May indicate infiltration from adjacent units or attic.)
- Does the smell fade when you ventilate, then return later? (Residual odor releasing from materials.)
If you’re not sure, clean and ventilate the room for 48 hours with fans running. If the smell comes back without any new smoke source, it’s residual and sealing will help. If it returns only near vents, gaps, or ceiling fixtures, investigate those entry points before priming.
When to Call a Professional for Smoke Odor Remediation

If two coats of shellac based primer, thorough cleaning, and full repainting don’t eliminate the smell, the contamination has spread beyond the ceiling surface. Smoke can soak into insulation above the drywall, infiltrate HVAC ductwork, or settle into wall cavities and structural framing. At that stage, DIY sealing won’t reach the source, and professional remediation is the reliable next step.
Professionals use tools and methods that aren’t practical for homeowners. Thermal fogging releases a deodorizing vapor that penetrates porous materials and neutralizes odor molecules. Ozone generators oxidize odor compounds, but they’re hazardous to occupants and pets and must be used in unoccupied spaces with proper ventilation and timing. Ozone is effective but requires training and safety precautions. Improper use can damage materials and harm respiratory systems. Restoration companies also have moisture meters, infrared cameras, and air quality testing equipment to locate hidden contamination that you can’t see or smell from the room itself.
You should call a professional if the odor persists after proper cleaning and sealing, if smoke damage extends to multiple rooms, if insulation or drywall needs replacement, or if you’re dealing with fire damage that affected structural elements. Professionals can also handle situations where smoke has contaminated HVAC systems, requiring duct cleaning or filter replacement throughout the ventilation network. Heavy smoke exposure, especially from fire, often leaves residues that require material removal rather than surface treatment. Trying to seal over severe contamination without removing affected insulation or drywall usually just delays the problem.
Final Words
Start by cleaning and degreasing the ceiling with TSP, neutralizing residue, then lock it in with a shellac-based primer.
We walked through prepping and protecting the room, step-by-step cleaning, primer choices for different ceiling types, and safety tips like ventilation and respirators.
Follow the steps on how to seal smoke smell in ceiling and you’ll stop the odor from coming back and restore a fresh, livable space. If the smell persists, call a pro, you’re not stuck alone.
FAQ
Q: How to get rid of smoke smell from ceiling?
A: The best way to get rid of smoke smell from a ceiling is to clean soot with TSP, neutralize odors, then seal with a shellac-based primer and repaint, ventilating well afterward.
Q: Does Kilz get rid of cigarette smoke smell?
A: Kilz primers can reduce cigarette smoke smell, with oil-based Kilz blocking many stains and odors; shellac-based primers seal strongest. Clean residue first and expect multiple coats for heavy penetration.
Q: What absorbs smoke odor and what absorbs cigarette smoke smell in a house?
A: Activated charcoal and baking soda absorb smoke odor; HEPA-plus-carbon air purifiers remove airborne particles and smells, but porous materials often need cleaning, sealing, or replacement.