

Have you seen your floor soaked with water and wondered if it will ever feel safe again? We understand how overwhelming it can be when water damages your subfloor. There is hope. Quick water removal, careful drying with the right machines, and smart repairs can restore your home’s strength and stability. In three clear steps, we help fix a flooded subfloor so you can feel safe and secure in your home from day one.
Critical Steps to Repair Your Flooded Subfloor
First, clear out all the extra water. Remove standing water right away to stop damage and keep conditions safe. Always turn off the electricity before you enter. We use strong pumps or our emergency water extraction system (equipment that removes water quickly) to get the job done fast. In one case, quick water removal helped prevent extra moisture from soaking into the subfloor, lowering the risk of more problems later.
Next, take care of any hidden moisture. Even after you remove most of the water, dampness can stay under the boards. Use dehumidifiers (machines that pull moisture from the air) and fans to speed up drying. This step is key because any remaining moisture can weaken the layers below. While drying, it’s smart to check that the subfloor is coming back to a stable condition.
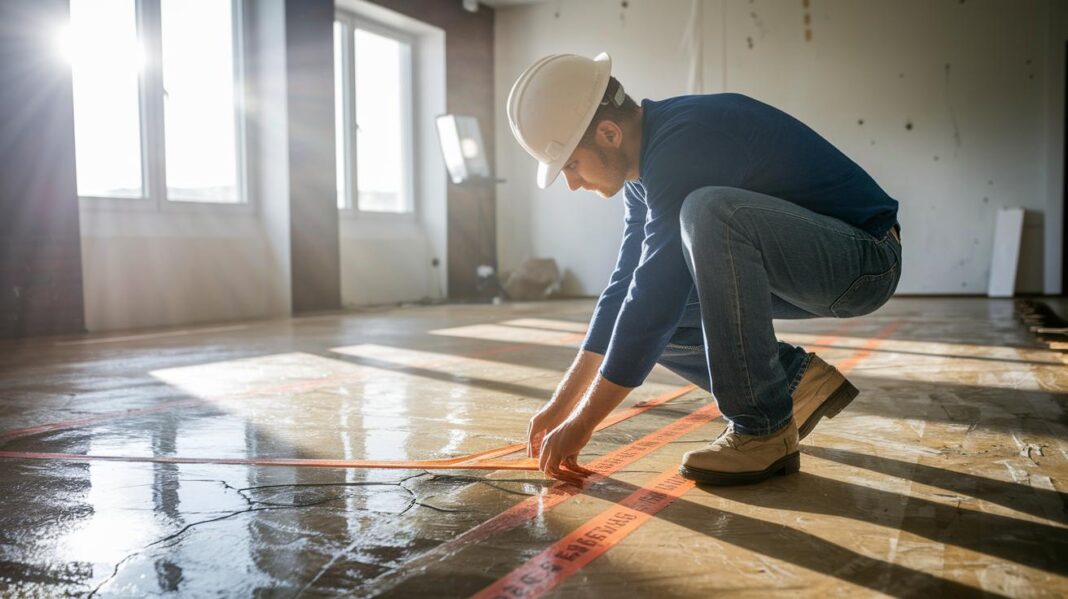
When the area is completely dry, inspect the subfloor carefully. Look for signs like swelling, soft spots, or loose sections that suggest damaged plywood or OSB panels (Oriented Strand Board, a type of engineered wood). Mark these areas with chalk so you know exactly what needs fixing. Also, use a stud finder (a tool that locates support beams) to check the joists before you cut anything. This helps you remove only the affected wood while keeping the good parts intact.
Finally, cut out and replace the bad boards. Secure the new panels well and seal the joints to bring back strength and stability. By following these steps, you can repair your flooded subfloor safely and confidently, protecting your home from further issues.
Identifying Damage in a Flood-Soaked Subfloor
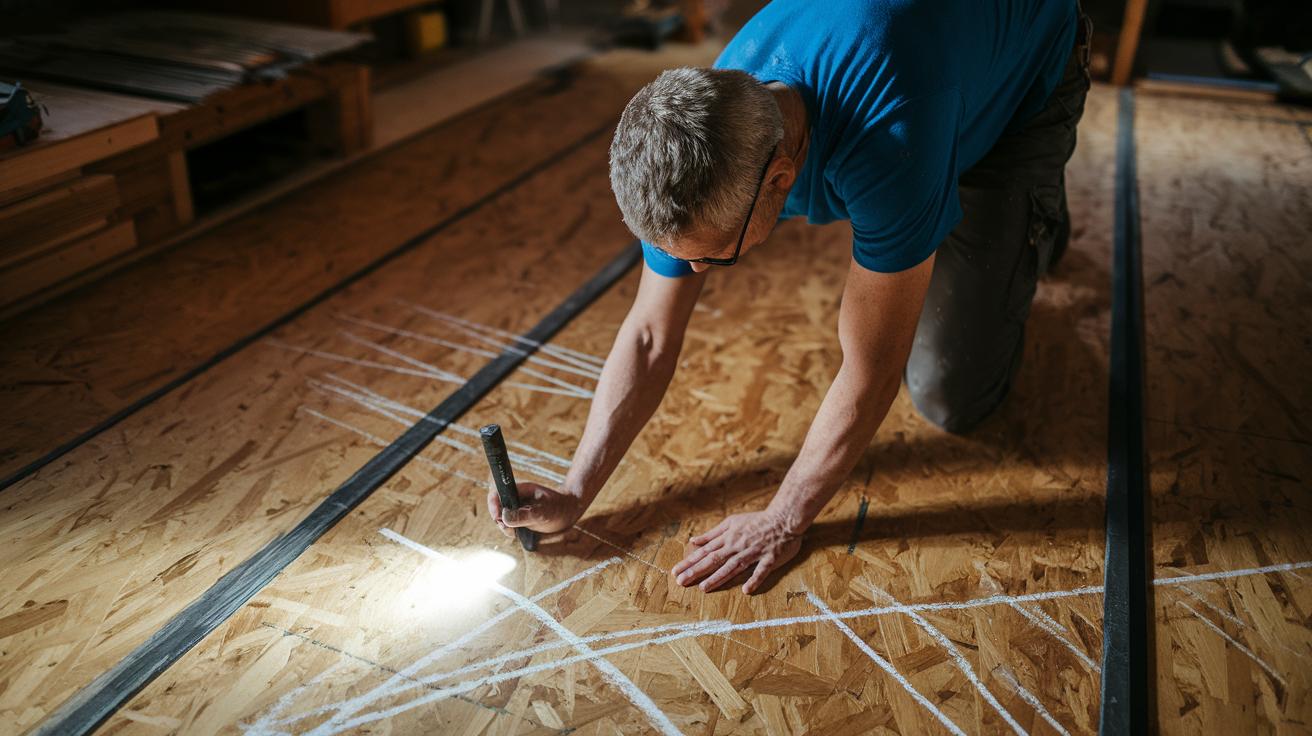
Run your hand over the wood to check for damage. Look for swollen areas, soft spots, or boards that are coming apart in materials like plywood or OSB (a type of engineered wood). Use chalk to mark any spot that feels weak.
Dark stains and a musty smell may mean mold or mildew is growing under your floor. Also, check for small leaks from your roof, windows, or plumbing that might slowly damage the wood over time. You might need a quick wood strength test (a simple check of the wood’s condition) to find hidden issues.
Make a note of each problem on a simple checklist. Writing down both the feel of the wood and any signs of long-term damage helps us do a complete subfloor evaluation.
Drying and Moisture Removal Techniques for Flooded Subfloors
Natural drying can take months if left on its own. We speed things up by using industrial dehumidifiers (machines that pull moisture from the air) that cut drying time to just a few days. We also set up fans around the area to keep air moving, which helps evaporate and carry moisture away from the subfloor.
Thermal drying systems gently warm the space so water evaporates faster, much like warming a cold sponge to help it dry. You can see the effect by feeling the subfloor; after a few hours of heat, it should feel warmer and drier.
Before we start any repairs, we check the wood with a moisture meter (a tool that measures dampness) to make sure the area is dry. Using fans with dehumidifiers also stops mold from forming and prevents additional damage.
| Step | Action |
|---|---|
| 1 | Place dehumidifiers and fans together to boost drying. |
| 2 | Use thermal units to warm the area and speed up evaporation. |
| 3 | Test with a moisture meter to ensure the wood is dry. |
Essential Materials and Tools for Subfloor Restoration

Begin by collecting the panels needed for subfloor repair. Most jobs use softwood or 3/4 inch plywood/OSB sheets that come in sizes up to 4×12 ft. These panels provide a solid base for your floors and meet construction standards to keep your home safe.
Gather the right tools to work efficiently. A circular saw (a power tool with a round blade) makes clean, accurate cuts. A chalk line helps you draw straight marks, while a stud finder shows where the support beams (joists) are hidden before you cut. Use a drill with subfloor screws to secure the new panels and a pry bar to remove any damaged sections. A moisture meter (a tool that checks how wet something is) confirms the wood is dry before installation, helping prevent future issues.
Always wear your safety gear during repairs. An N95 respirator protects you from mold spores and dust. Gloves safeguard your hands, and eye protection shields your eyes from debris. This gear helps keep you safe as you work.
For larger projects, consider renting extra equipment. An industrial fan boosts airflow, and dehumidifiers (machines that remove moisture from the air) quickly lower moisture levels. Renting moisture-detection tools can also help you monitor the drying process on bigger or more complex jobs.
With these materials and tools, you’re ready to replace damaged subfloor panels safely and correctly, ensuring your restoration project runs smoothly.
When to Hire a Professional for Subfloor Repair After Flooding
If you spot more than 10 square feet of mold or see that your support beams (the structural parts that hold up your floor) are weak, it's time to call a certified expert. They can come to your home, check the damage up close, and create a clear repair plan that finds even the hidden issues.
When mold keeps coming back, a mold cleanup specialist can apply an anti-microbial coating (a treatment that stops germs from growing) to help control it. They also disinfect the foundation and handle any biohazard cleanup safely. With the proper tools and training, these experts ensure that repairs meet building standards and keep any premium subfloor panels under warranty.
If you aren’t comfortable with complex structural fixes or if the damage goes beyond a simple repair, hiring a professional becomes essential. Consider these points:
- How widespread the mold growth is
- Any visible damage to beams or support systems
- Your level of comfort with tackling the repair yourself
A certified contractor will ensure that your repair work is safe and follows current codes. With their expertise, your home can quickly return to a secure, livable condition.
Preventing Future Subfloor Flood Damage
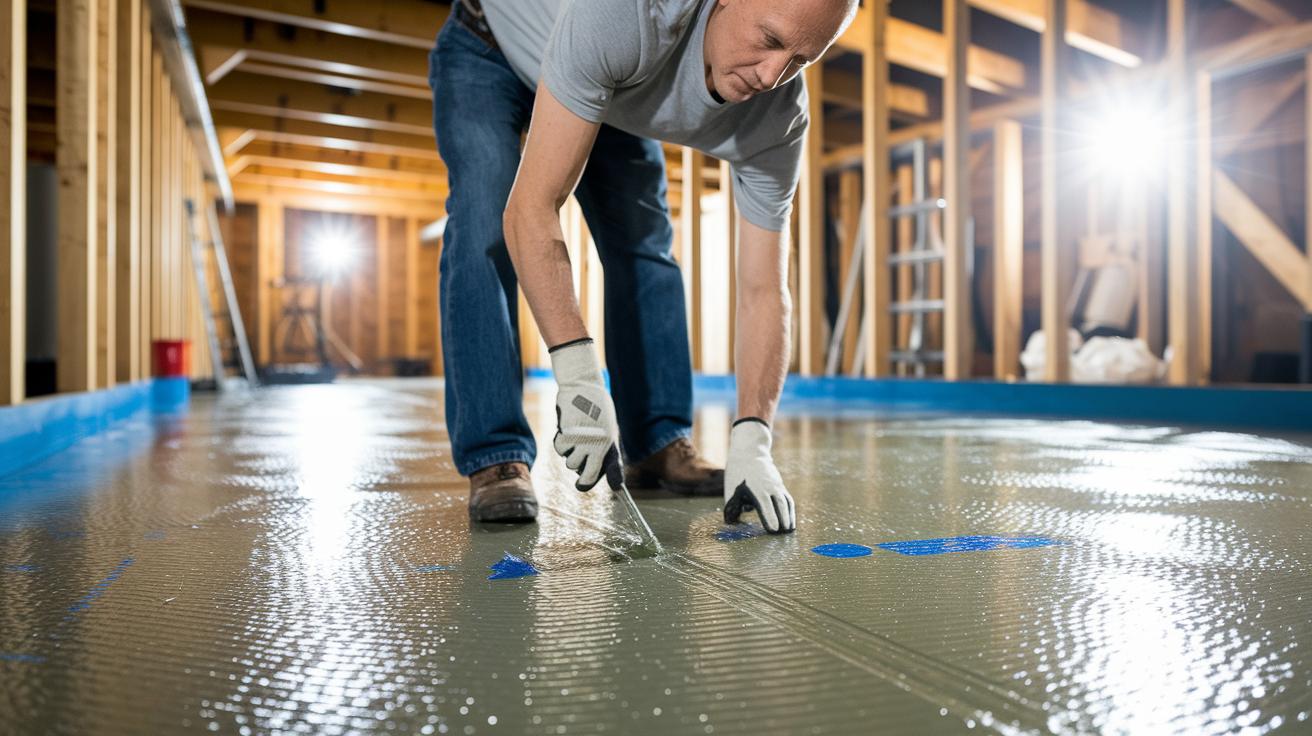
Place a waterproof membrane or gasproof barrier between the slab and the subfloor in areas that flood. This extra layer blocks water from seeping into your home's structure. When installed correctly, it stops moisture from reaching areas that could rot or grow mold.
Before you lay finishing flooring, treat new panels with a mold inhibitor (a product that stops mold from starting) or an anti-microbial coating (a treatment that fights germs). This step lowers the chance of mold and helps keep your wood floors clean longer.
Improve airflow with energy-efficient ventilation. Use fans and vents to create a steady breeze that speeds up drying and keeps mold from forming. Good ventilation protects your subfloor and makes the indoor air fresher after a flood.
Check the seals around plumbing, appliances, and your foundation regularly. Small leaks can cause big problems over time, so routine inspections are important. If you suspect a leak, fix it quickly to stop further damage.
By following these steps, your home is better protected against future floods. For more ideas on keeping your home safe, take a look at our home safety checklist after a flood.
Final Words
In the action, we acted fast to clear excess water, assess floor joists, and mark damaged areas. We used pressure fans and dehumidifiers to dry out the subfloor thoroughly before making precise cuts and replacing boards. We covered safety steps and detailed tools to prepare for subfloor repair after a flood. By following these tasks, you can limit repair costs while preventing further damage. The process restores both your home and your sense of security. Stay positive; with the right steps, your home will be safe and livable again.
FAQ
What is the best method for subfloor repair after a flood?
The best method involves removing standing water, drying the area with industrial dehumidifiers and fans, and then cutting out and replacing any damaged panels while using proper safety gear.
How can I do DIY subfloor repair after a flood, including for concrete subfloors?
DIY repair means you first locate and mark warped or rotten areas using a stud finder and chalk, then carefully cut, replace with new panels, and seal joints. Safety gear like gloves and eye protection is a must.
What is the cost of repairing a water-damaged or rotten subfloor?
Repair costs depend on the extent of water damage, type of panel used, and whether you hire a specialist. Expenses can vary, so get a detailed estimate to understand labor and material costs.
Can a water-damaged subfloor be repaired, or is it ruined if it gets wet?
A water-damaged subfloor can be repaired if damage is isolated. If the boards are heavily swollen or rotten, replacing the entire section is needed to keep your home safe.
When should I replace my subfloor due to water damage?
Replace your subfloor when you see significant swelling, separation, or persistent mold and rot. These signs indicate that the board has lost structural integrity and poses further risk.
How long does it take for water to damage a subfloor?
Water can cause damage to a subfloor in a matter of hours if standing. However, severe rot and mold growth may take days to develop, so prompt action is essential.