
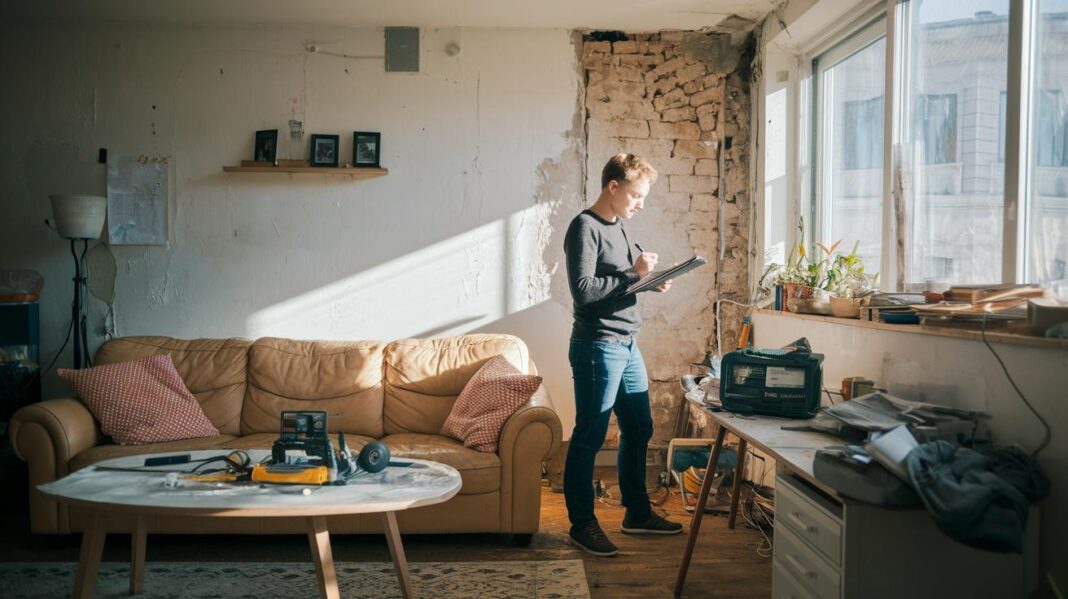

One bad photo can hurt your insurance claim. When damage hits, clear photos are your best help. We’ll show you simple steps to capture every bit of damage safely and clearly. You can use your phone or camera to take pictures. Remember to include the time the photo was taken (a timestamp) and get wide shots that show the whole area. These easy tips help build a strong case for your claim and lower your stress during a tough time. Stay safe, record every detail, and let your photos tell the story.
Immediate Steps to Capture Property Damage for Your Insurance Claim
After an incident, your safety comes first. Before you start documenting the damage, make sure the area is safe and free of hazards like loose debris or weak structures. Taking this small step protects you and helps you focus on capturing clear details later.
Before any clean-up begins, take a slow, careful walk-through of your property. Look for damage such as water spots on walls, loose roof shingles, broken gutters, and malfunctioning AC units. Recording these details right away is key for your insurance claim.
- Walk around the damaged areas and note every spot that shows harm.
- Use your camera or phone to take photos. Snap wide shots for a full view and close-ups to capture details like cracks or stains.
- Ensure each photo has a timestamp (the digital date and time recorded with the image) to confirm when the damage happened.
Following these steps gives you clear proof for your claim. Taking immediate photos and notes creates a simple, step-by-step log that shows the full extent of your damage. This clear record helps adjusters understand your loss and supports a fair, quick claim resolution.
Mastering Photographic Techniques in Damage Documentation
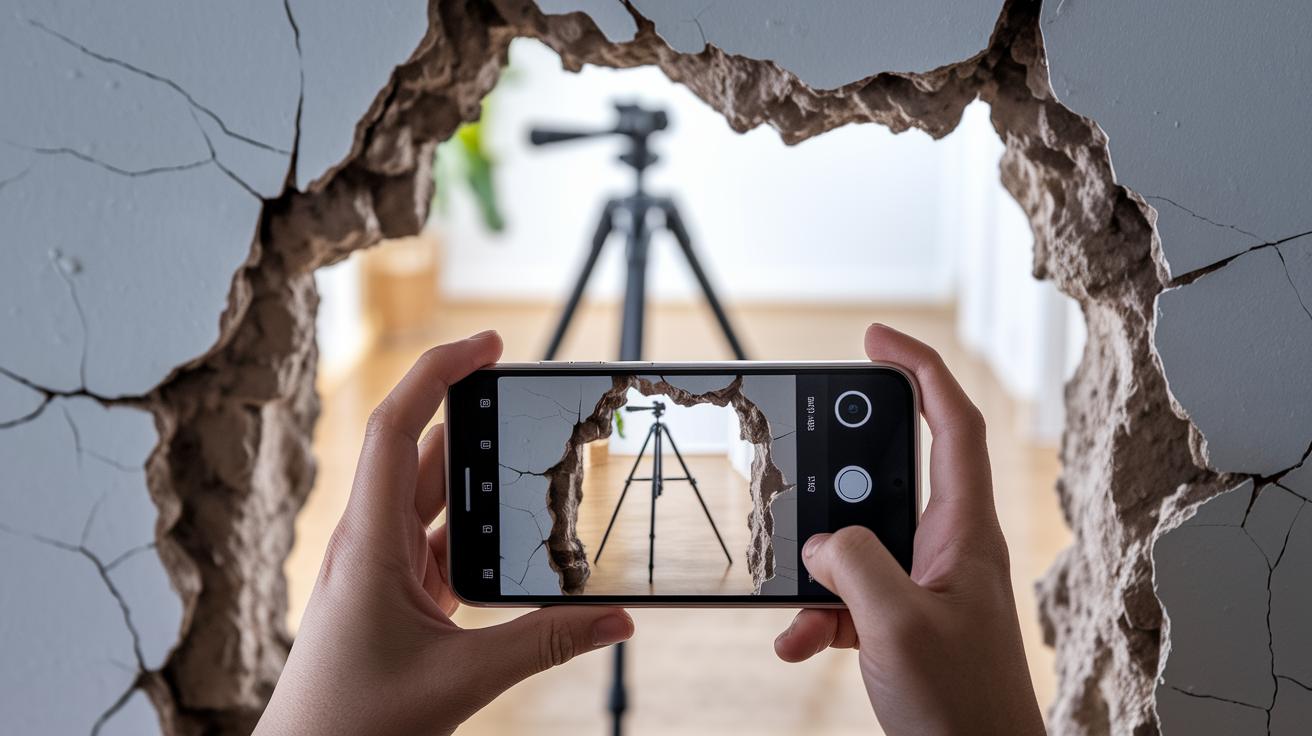
When you document damage, set your camera or smartphone to its highest resolution. This gives you clear pictures that show every important detail for your insurance claim. Turn on metadata (extra info like date and time) and timestamps so that each photo tells when the damage occurred. Rest your device on a steady surface or use a tripod to avoid blurry images from shaky hands. Try different angles to show small problems like wall cracks or hidden moisture.
Good lighting makes a big difference in photo quality. Use natural light when you can, open your blinds or step outside to avoid shadows that hide details. If natural light isn’t enough, add extra lighting carefully to prevent glare. Make sure you take wide-angle photos to show the whole scene and close-up shots that capture the damage up close. This mix helps keep the context clear for both you and your insurer.
| Tip | Reason |
|---|---|
| High-resolution setting | Makes the details clear |
| Use natural light | Reduces harsh shadows |
| Take multiple angles | Shows both overall and detailed views of the damage |
| Enable metadata and timestamps | Verifies when the damage happened |
| Stabilize your camera | Prevents blur from shaky hands |
| Frame the damage carefully | Keeps the context clear |
| Experiment with angles | Reveals hidden details |
Following these simple tips will help you capture high-quality images that show all the details of the damage. Using the right device settings, lighting, and a mix of wide and close-up shots creates a complete visual record. This approach gives adjusters clear evidence, which speeds up their review and helps them assess your claim more accurately.
Utilizing Video and Written Records for Comprehensive Claim Evidence
Video and written records work together to build a strong insurance claim. A narrated video lets you walk through damaged areas while explaining when and how the damage happened. This step-by-step visual proof supports your claim. Recording adjuster visits and keeping written logs adds even more solid evidence.
Narrated Video Walkthrough
- Use your phone or camera to capture a steady, clear video of each damaged area.
- Talk through your video, mentioning the date, time, and details of what you see.
- Keep it simple by describing things like cracks in walls, water stains, or missing shingles.
- Turn on timestamps (automatic date and time markings) to show when the damage was recorded.
- Label your video files clearly so you can find them later.
Adjuster Visit Recordings
- Record the visit of the insurance adjuster while they inspect your property.
- Capture important parts of what they say and note any differences they point out.
- Hold your recording device at a safe distance to get clear audio without interfering.
- Write down any extra comments or observations they share.
- Label these recordings with the adjuster’s name and the visit date so your files stay organized.
Detailed Inventory Logs
- Write a list of every damaged item, including details like brand, model, and age.
- Note the condition of each item before and after the damage.
- Include estimated replacement costs and attach receipts or warranty information when possible.
- Organize your list in a clear table or spreadsheet with descriptive names.
- Keep the entries in order by date to show a clear timeline of events.
Using both video and written records gives you a strong, verified claim that helps move the insurance process along smoothly.
Best Practices for Organizing and Storing Evidence Securely

Backing up your evidence is very important. Save your photos, videos, and documents to a secure cloud service and an external drive. Use clear folder names with the date, damage type, and affected area. For example, you might label a folder as "2024-06-RoofLeak." This simple step helps prevent loss and makes it easier for people reviewing your claim to check the details.
Keep the original, unedited files with any copies you make. Save a copy of every file in its untouched form and with any work done. Use metadata (hidden file information) or a separate log (detailed record) to show that each file is genuine. Follow your insurer’s rules for file types and names. This well-organized system helps you quickly get the information you need during the claim.
- Back up your media to both secure cloud storage and an external drive.
- Label folders clearly by date, damage type, and affected area.
- Save original, unedited files along with your working copies.
- Use metadata or keep a detailed log to verify file authenticity.
- Follow insurer guidelines for file format and naming rules.
Leveraging Checklists and Professional Assessments to Strengthen Your Claim
Using a detailed checklist is one smart step to make sure every piece of property damage is recorded. A written list helps you track photos, videos, receipts, inventories, and damage estimates from experts. With this clear record, nothing gets overlooked and your insurance claim has a solid backup.
- Photos that show both the overall damage and close-up views of problem areas
- Videos with a narrated walkthrough explaining when and how the damage happened
- Receipts and invoices that list repair costs and temporary living expenses
- A written inventory of damaged items with details like brand, model, age, and condition before and after the event
- Damage assessments from contractors or inspectors (professionals who inspect and estimate damage), including repair costs and replacement values
- Metadata records such as timestamps to prove when you captured each piece of evidence
- Notes from insurance adjuster visits, pointing out any discrepancies or extra damage
- Records of expert consultations or estimates to pin down an accurate claim value
Working with experienced professionals can boost your claim even more. Contractors and inspectors know how to point out hidden issues that may not be obvious at first glance. Their written estimates and recommendations add strength to your documentation. If your well-organized checklist and professional assessments don’t lead to a fair settlement, you might consider speaking with an attorney who specializes in insurance claims. They can review your complete documentation to ensure every loss is acknowledged.
With a clear checklist and the support of skilled professionals, you are in a stronger position to fight undervaluation and secure the compensation you deserve.
Final Words
In the action, we covered how to collect clear, accurate evidence for your insurance claim. We stressed safety first, then guided you through photographing damage, recording video and written logs, and storing your evidence securely. Using simple tips for recording property damage for insurance claims can make your claim smoother and quicker. Follow your checklist, document every detail, and keep your records organized. Stay focused, and you'll move step-by-step toward a speedy restoration and peace of mind.
FAQ
Q: What is the 80% rule in property insurance?
A: The 80% rule in property insurance means damage repairs must reach 80% of your home’s replacement value before a claim may be treated as a total loss. This rule guides fair settlement decisions.
Q: What not to say in a recorded statement for insurance?
A: What not to say in a recorded statement includes admitting fault, exaggerating damage, guessing repair costs, or speculating on causes. Stick to clear, factual descriptions to keep your claim strong.
Q: What’s the biggest mistake people often make when dealing with an insurance claim?
A: The biggest mistake people make is not documenting all damage before cleanup. Missing detailed photos, video logs, and written records can weaken your claim and lower your compensation.
Q: What are the 4 major classifications of property damage?
A: The four major classifications of property damage are physical damage, water damage, fire damage, and wind or storm damage. These categories help assess loss and determine the proper claim process.