
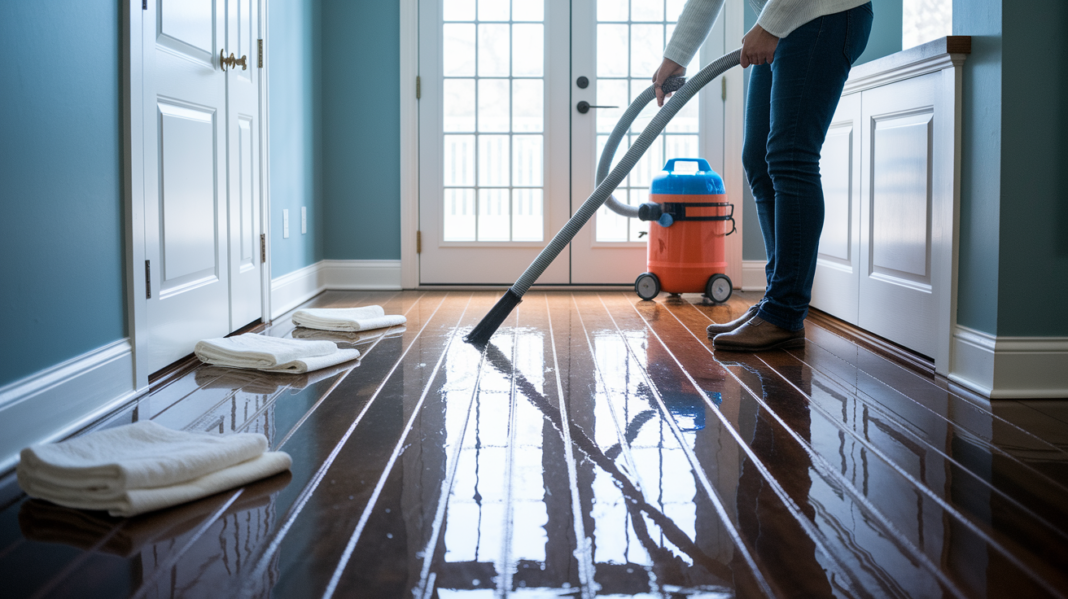

You think hardwood floor water damage is just a wet floor problem. It’s not. The real damage is happening underneath right now, in the subfloor and between the boards where you can’t see it. Every hour you wait, moisture pushes deeper into wood fibers, turning a manageable cleanup into a full replacement job. This guide walks you through the emergency steps that stop damage from spreading, the drying timeline that actually protects your subfloor, and the finish work that makes repairs disappear into your existing floor.
Immediate Emergency Response Steps for Water-Damaged Hardwood Flooring

Every minute counts when water hits hardwood floors. The longer moisture sits, the deeper it goes into wood fibers and the subfloor underneath, turning what could’ve been a quick cleanup into a full floor replacement.
-
Identify and stop the water source. Shut off your main water valve if a burst pipe is flooding things. Turn off the supply line to whatever appliance is leaking. Or just find where it’s coming from and stop it right now.
-
Remove standing water with a wet vacuum or shop vac. Pull up pooled water from the floor surface. Work from the outside edges toward the center so you’re not spreading water to dry sections.
-
Pull up area rugs and move furniture. Get everything off the wet floor within the first hour. That includes rugs trapping moisture underneath and furniture blocking air circulation or creating pressure points where water gathers.
-
Soak up what’s left with towels or absorbent materials. After you vacuum, press clean towels or microfiber cloths hard against the floor. They’ll pull out what the vacuum missed. Replace them when they get soaked.
-
Photograph damage for insurance documentation. Take clear photos showing how far the water spread, close ups of any warping or cupping you can see, the water source if you can identify it, and time stamped images of affected rooms from different angles.
-
Contact your insurance company if applicable. Report what happened within 24 hours if the damage is bad or if it’s something your policy covers. Ask about emergency mitigation coverage that might apply before an adjuster shows up.
The source of water matters for safety and how you approach cleanup. Clean water from supply lines, burst pipes, or appliance connections has fewer contaminants and lower health risks during cleanup. Contaminated water from flooding, sewage backups, or standing water that’s been sitting over 48 hours needs professional handling with protective equipment and sanitization. Don’t walk through or try DIY cleanup on water that might contain sewage or chemicals.
Quick damage assessment tells you if you’re dealing with surface stuff or a structural emergency. Look for these visual indicators right away:
• Cupping. Board edges curl upward higher than the center, creating a concave surface that catches your fingernail when you run it across.
• Warping. Boards bend along their length, creating waves or dips.
• Buckling. Boards lift completely away from the subfloor. You can feel raised sections when walking.
• Crown. Opposite of cupping. Board centers rise higher than edges.
• Water stains and discoloration. Dark spots, white cloudy patches, or gray streaking showing water got into the wood.
• Gaps between boards. Visible separation as boards shrink or pull away from each other.
• Soft or spongy spots. Areas that give slightly when you step on them, meaning subfloor damage beneath the hardwood.
• Mold or mildew presence. Fuzzy growth, black spots, or musty smells in affected areas.
A moisture meter confirms what your eyes are telling you and gives you baseline readings that guide the whole restoration. Pin type meters measure moisture by sticking prongs into the wood. Pinless meters scan the surface without creating holes. Wood moisture above 12 to 15% means you’ve got active water that needs immediate attention. Readings between 6 and 9% show the floor is dry and stable. Minor damage affecting just the surface layer might self repair as the wood dries and contracts back. Major damage with moisture readings over 20%, visible buckling, or subfloor penetration needs professional treatment with industrial drying equipment to prevent permanent structural problems.
Drying Process Requirements and Timeline Expectations
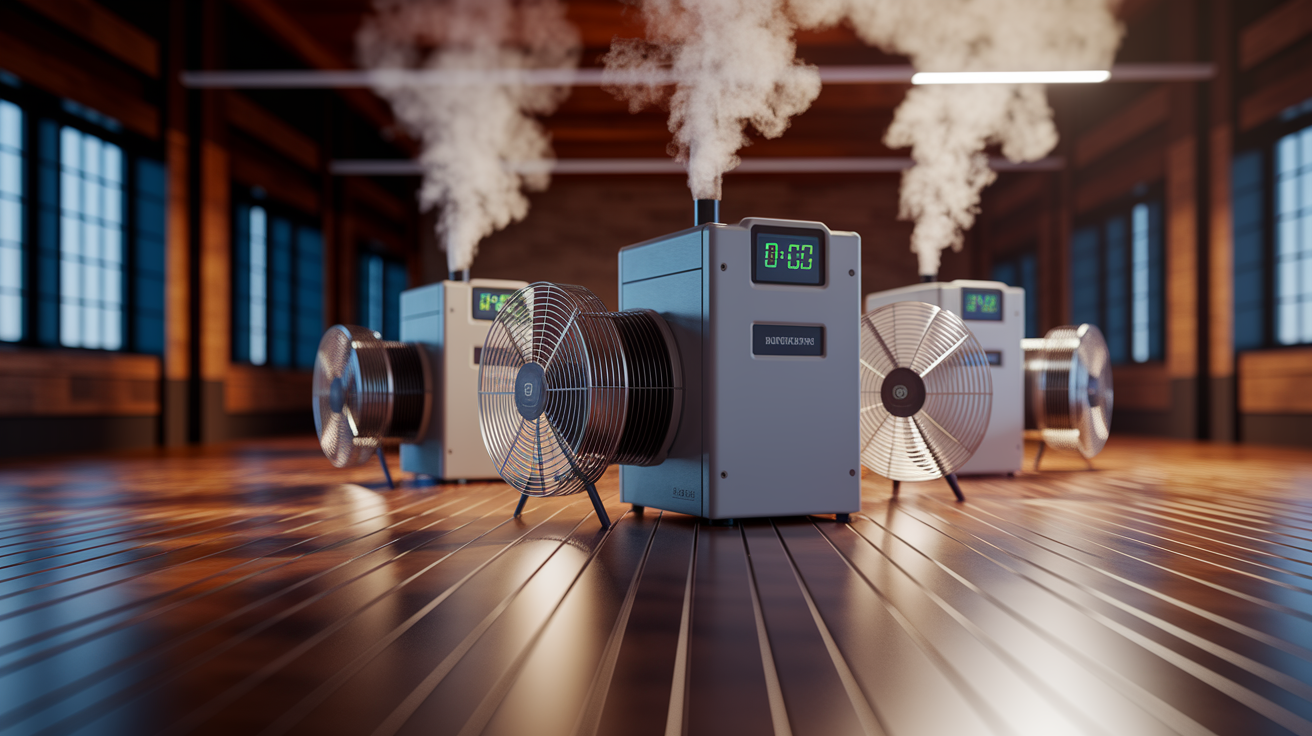
The subfloor controls your timeline, not the visible surface. Even when the top of your hardwood looks and feels dry, trapped moisture in plywood underlayment or floor joists keeps damaging your floor system until it evaporates completely.
Professional grade equipment creates the controlled environment you need for thorough drying. Dehumidifiers pull moisture from the air, targeting 30 to 50% relative humidity to draw water vapor out of wood and stop it from reabsorbing. High velocity fans move air continuously across floor surfaces, speeding up evaporation at the wood to air boundary where drying actually happens. Open windows only when outdoor humidity is lower than indoors. Otherwise you’re just adding more moisture.
• Position fans to blow across floor surface, not just into the room. Aim airflow horizontally along the floor at a 45 degree angle, creating wind patterns that sweep across the whole affected area.
• Run dehumidifiers continuously for the first 72 hours minimum. Empty collection tanks or connect gravity drains so equipment runs without stopping during the critical initial drying period.
• Monitor moisture readings daily with a moisture meter. Test the same spots at the same time each day, tracking progress in a simple log that shows moisture dropping consistently.
• Maintain indoor temperature between 60 to 80°F. Warmer air holds more moisture, speeding evaporation, but too much heat can cause rapid drying that cracks wood.
• Rotate equipment placement every 2 to 3 days. Move fans and dehumidifiers to different positions so air circulation reaches all sections evenly and doesn’t over dry concentrated areas.
Surface drying timelines depend on water volume and how long it sat. Minor spills you caught within an hour might dry completely in 3 to 7 days with fans and dehumidifiers running. Moderate saturation from a leak that ran several hours typically takes 2 to 4 weeks of controlled drying before moisture readings hit the safe zone. Severe flooding that covered floors with standing water for over 24 hours can take 4 to 8 weeks or longer, especially in humid climates or during summer when outdoor moisture slows things down.
Subfloor inspection reveals the hidden damage that determines whether you’re drying or replacing. Pull sample boards in the worst areas by drilling relief holes and carefully prying up 2 to 3 boards to see what’s underneath. Check for plywood delamination where layers separate into thin sheets. Press firmly on exposed subfloor looking for soft spots that show water saturation. Look for swelling where plywood thickness has expanded beyond original dimension. Inspect floor joists underneath for water staining, dark discoloration, or soft wood that compresses when you press a screwdriver tip against it.
• Spongy feeling when walking on apparently dry hardwood. Means subfloor has lost structural integrity even though the surface looks recovered.
• Visible sagging in floor sections. Shows joist or subfloor failure needing structural repair before hardwood can be reinstalled.
• Mold growth on the underside of removed boards or subfloor surface. Confirms moisture stuck around long enough to create conditions for growth.
• Swelling beyond original thickness in plywood underlayment. Plywood that measured 3/4 inch now reads 7/8 inch or more, showing permanent deformation.
• Crumbling or deterioration when you press the subfloor. Material breaks apart or compresses easily, showing water destroyed the wood composite structure.
• Persistent musty odors even after surface drying. Smell comes from beneath the floor, indicating ongoing moisture or mold issues in the subfloor layer.
Subfloor drying takes 2 to 3 times longer than the hardwood surface because moisture is trapped between layers with poor air circulation. Professional assessment using thermal imaging cameras and deep probe moisture meters maps exactly where water remains and predicts accurate drying timelines. Damaged plywood sections need to be cut out and replaced with new material matched to original thickness. Floor joists showing water damage need treatment with wood hardeners or replacement if structural integrity is compromised. Nothing gets reinstalled or refinished until moisture readings in both hardwood and subfloor confirm complete drying below 12% moisture content. Installing moisture barriers between new subfloor and hardwood prevents future water migration from below.
Mold Growth Risks and Prevention in Water-Damaged Hardwood Flooring
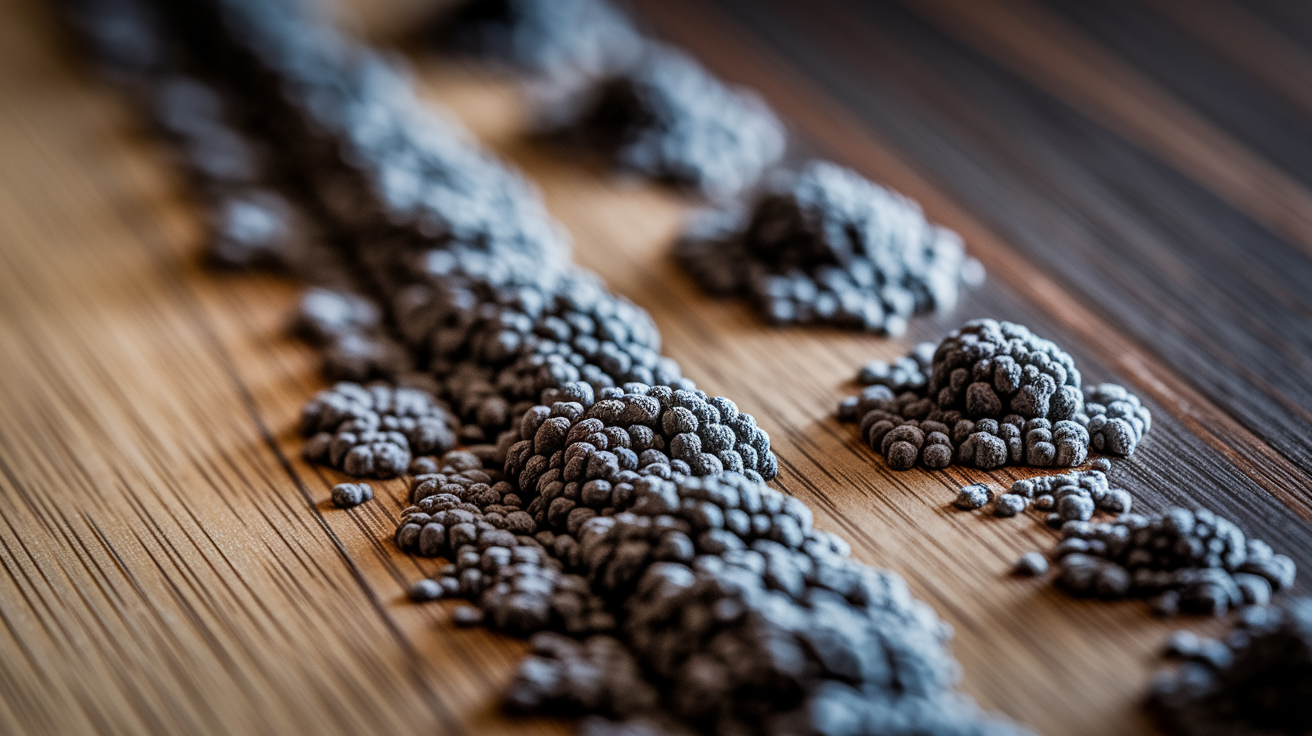
Mold spores start colonizing damp wood within 24 to 48 hours when moisture and warmth create ideal growing conditions. Once established, mold spreads quickly across floor surfaces and into the subfloor beneath.
Risk factors speed up mold development in water damaged hardwood. Moisture exposure beyond 48 hours almost guarantees some mold growth. Poor ventilation in bathrooms, basements, or closed off rooms traps humid air against wet flooring. Humidity levels above 60% provide the constant moisture supply mold needs to thrive. Hardwood naturally contains cellulose and other organic materials feeding mold colonies. Contaminated water from flooding or sewage carries mold spores and bacteria that start growing immediately when they contact porous wood surfaces.
Detection starts with careful inspection of both visible surfaces and hidden areas. Examine the floor topside for fuzzy patches, dark spots, or white powdery deposits in damp sections. Check underneath by removing sample boards in affected zones, looking for mold growth on board undersides or subfloor surfaces. A strong musty odor that gets worse near the floor indicates active mold growth even when you can’t see visible colonies yet. Discoloration patterns like black streaks, green patches, or brown staining that appeared after water exposure often signal mold penetration into wood grain. Professional mold testing using air samples or surface swabs confirms the specific mold species and concentration levels when contamination is suspected or visible growth looks extensive.
All mold needs professional remediation before any repair or refinishing work starts. Antimicrobial treatment becomes necessary when mold has penetrated into wood fibers, when contaminated water was involved, or when testing confirms high spore concentrations that pose health risks. Containment barriers prevent mold spores from spreading to unaffected areas during removal.
Professional vs DIY Repair: Decision Framework for Water-Damaged Hardwood
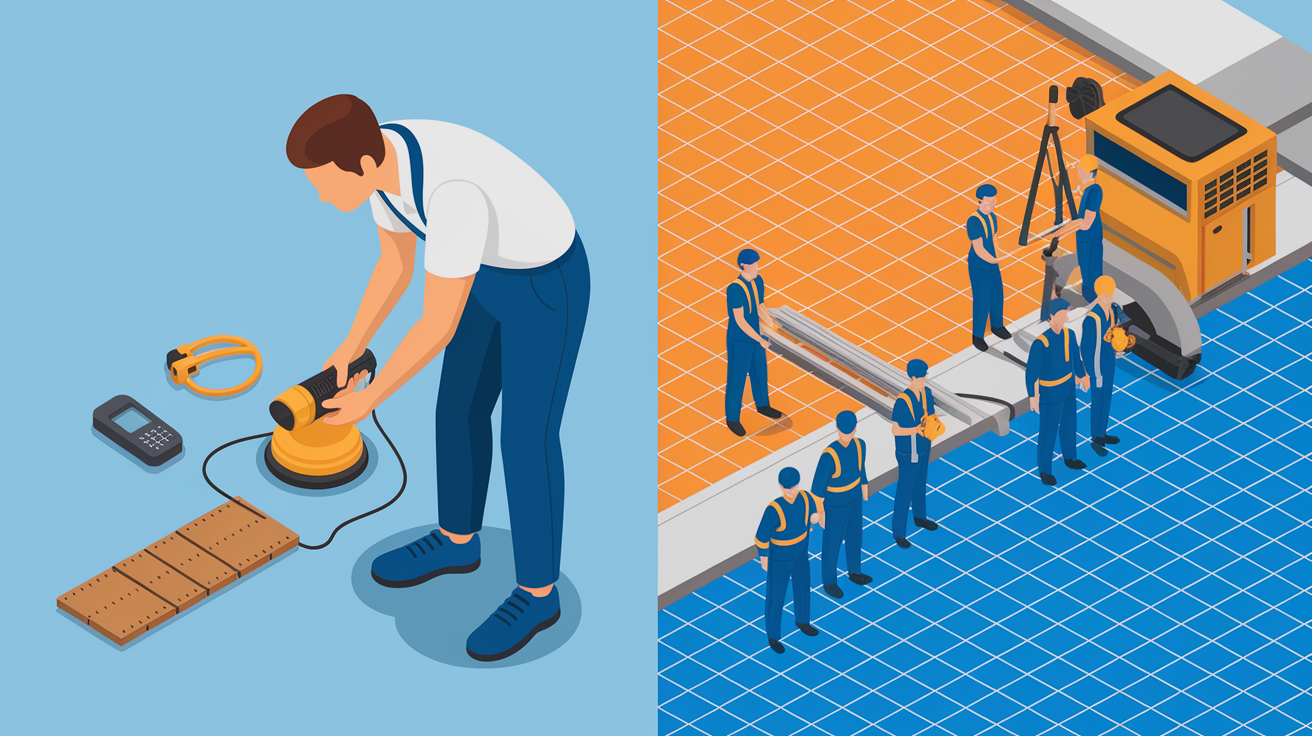
Small, contained damage you caught early fits within DIY capability. Water stains affecting just the finish layer, minor cupping in 2 to 3 boards that starts flattening as moisture evaporates, surface discoloration without structural changes, and isolated single board issues you can address with replacement techniques.
Call professionals when damage affects floor structure or spreads beyond isolated spots. Widespread buckling across multiple rooms, subfloor damage requiring plywood replacement, structural concerns with floor joists showing water staining or soft spots, extensive mold growth beyond surface cleaning, sewage contamination requiring specialized sanitization, and insurance claims needing certified documentation and estimates.
| Damage Type | Professional vs DIY |
|---|---|
| Surface stains only | DIY |
| Cupping affecting multiple boards | Professional |
| Isolated 1-3 board replacement | DIY |
| Subfloor water penetration | Professional |
| Minor discoloration | DIY |
| Structural instability | Professional |
| Engineered hardwood damage | Professional |
| Widespread warping | Professional |
Professional restoration companies bring capabilities DIY approaches can’t match. Industrial drying equipment including truck mounted dehumidifiers and dozens of high velocity air movers creates controlled drying environments in large spaces. Moisture mapping technology using thermal imaging cameras and deep probe meters tracks hidden water in subfloors and wall cavities. Subfloor inspection and replacement expertise handles structural repairs requiring removal of large floor sections and rebuilding the foundation beneath. Engineered hardwood complexity demands professional handling because thin veneer layers need different techniques than solid hardwood and damage often means complete replacement rather than refinishing. Fire and Water Damage Restoration Services follow IICRC certified water damage restoration protocols that insurance companies recognize and that protect your home from secondary damage during the drying process.
Essential DIY tools and materials for appropriate minor repairs include a pin type or pinless moisture meter to verify drying progress and confirm safe moisture levels before refinishing. An orbital sander with variable speed control and dust collection handles surface preparation. Wood stain matching kits with multiple color options let you blend repaired sections. Water based polyurethane finish in satin or semi gloss sheen protects refinished areas. Box fans or rental dehumidifiers maintain air circulation during drying. Safety gear including dust masks, eye protection, and ventilation fans protects you during sanding and finishing work.
Select contractors with proper credentials when professional help is needed. IICRC certification in water damage restoration, state contractor licenses, liability insurance, and references from recent similar projects. Get written estimates detailing scope of work, timeline, and payment schedule. DIY repairs should only proceed after moisture meter readings confirm floors are completely dry, showing consistent readings below 12% moisture content across all affected areas for at least 72 consecutive hours.
Complete Refinishing Process for Water-Damaged Hardwood Floors

Moisture verification comes before any sanding or finishing work starts. Test with a calibrated moisture meter in at least 10 spots across the affected area, waiting until all readings stabilize below 12% for a minimum of three consecutive days.
Board replacement becomes necessary when severe warping persists after complete drying and doesn’t flatten, when structural compromise has weakened boards so they crack or split under normal foot traffic, when mold has penetrated deep into wood grain beyond surface treatment, and when boards have split lengthwise or show separation along joints.
-
Identify damaged board boundaries. Mark the full length of boards requiring replacement, extending at least 6 inches beyond visible damage to ensure you remove all compromised wood.
-
Drill relief holes at board ends. Use a 3/8 inch drill bit to create holes near each end of the damaged section, positioned 1 inch from the board edge and stopping just short of penetrating the subfloor.
-
Use a circular saw set to board thickness. Adjust blade depth to exactly match your flooring thickness (usually 3/4 inch for solid hardwood), then cut carefully along the board’s length staying 1/2 inch away from adjacent boards.
-
Chisel out the damaged section without harming adjacent boards. Work from the relief holes toward the center, prying up the cut section and removing the tongue and groove connections by splitting them lengthwise with a chisel.
-
Inspect and repair subfloor if needed. Check exposed underlayment for soft spots, swelling, or mold, replacing damaged plywood sections before you continue.
-
Cut replacement board to exact dimensions. Measure the gap precisely, then cut new flooring to length, removing the bottom lip of the groove side with a chisel so the board drops into place.
-
Apply construction adhesive to subfloor contact points. Run a bead of wood flooring adhesive along the subfloor where the replacement board will sit, ensuring full contact for stability.
-
Face nail or blind nail new board depending on location. Face nail boards near walls where baseboards will hide nail heads, or blind nail through the tongue at a 45 degree angle for mid floor repairs, setting nails below the surface and filling with wood putty.
Matching challenges complicate repairs. Finding the same wood species matters because oak, maple, hickory, and other species have distinct grain patterns and color tones that don’t blend when mixed. Match grain pattern direction so replacement boards run parallel to existing flooring. Account for age related color differences since new wood is lighter than flooring that’s darkened over years of UV exposure and finish oxidation. Source options include leftover flooring from your original installation if you saved extras, current manufacturer stock if your floor series is still produced, reclaimed wood dealers who specialize in matching vintage flooring, or close grain alternatives stained to match.
-
Confirm final moisture reading below 12%. Test again right before sanding to verify no moisture returned during board replacement work.
-
Sand with progressively finer grits starting at 36. Begin with coarse 36 grit to level cupped areas and remove old finish, then move to 60 grit to smooth rough sanding marks, follow with 80 grit to refine the surface, and finish with 100 grit for a smooth base that accepts stain evenly.
-
Vacuum thoroughly between sanding stages. Use a shop vac with brush attachment to remove all dust between grit changes, preventing coarse particles from creating scratches during finer sanding passes.
-
Inspect for remaining cupping or unevenness. Run your hand across sanded sections feeling for high spots or depressions needing additional sanding attention.
-
Apply wood stain if color correction is needed. Brush or wipe stain onto bare wood in the direction of the grain, working in manageable sections and wiping excess before it dries to prevent blotching.
-
Apply polyurethane finish in 2 to 3 coats. Use a lambswool applicator or high quality brush to apply thin, even coats, allowing each coat to dry completely (4 to 6 hours minimum) before lightly sanding with 220 grit and applying the next layer.
-
Allow proper cure time of 72 hours minimum. Keep traffic off refinished floors for at least three full days, waiting a full week before replacing heavy furniture or area rugs.
Minor cupping less than 1/8 inch often flattens naturally during drying as wood fibers relax back to their original shape. Persistent cupping that remains after complete drying can usually be corrected through careful sanding that removes high edges and levels the surface. Professional assessment becomes necessary when cupping exceeds 1/4 inch or when boards show structural compromise beyond surface irregularities.
Blending replaced boards into existing flooring requires attention to transition details. Sand the edges where new wood meets old flooring at a slight angle, creating a gradual transition rather than an abrupt line. Stain the entire affected section rather than just replacement boards, feathering stain application 12 to 18 inches beyond repair boundaries so color gradually shifts rather than creating a visible patch. Feather polyurethane application at repair boundaries by thinning the finish slightly and brushing outward from the repair zone into existing floor finish. Match sheen level precisely since satin, semi gloss, and gloss finishes reflect light differently and mismatched sheen creates obvious patches even when color matches perfectly.
Acclimation prevents finish adhesion failures and moisture problems. Let replacement boards sit in the installation room for 3 to 5 days before installation so wood moisture content adjusts to ambient humidity. Wait until relative humidity stabilizes between 30 to 50% before applying finish coats. Rushing refinishing traps residual moisture beneath polyurethane, creating cloudiness, poor adhesion, and finish that peels within months.
Cost Estimates and Timeframes for Hardwood Floor Water Damage Repair

Damage extent and your location create wide cost ranges, with severe structural damage in high cost regions reaching the upper limits while minor surface repairs in affordable markets stay at the lower end.
| Service Type | Cost Range | Timeline |
|---|---|---|
| Water extraction | $150-$500 | 1 day |
| Professional drying/dehumidification | $1,000-$3,000 | 1-4 weeks |
| Moisture testing | $100-$300 | Ongoing |
| Minor refinishing 100-200 sq ft | $300-$800 | 3-5 days |
| Full refinishing 500+ sq ft | $3-$8 per sq ft | 4-7 days |
| Board replacement | $8-$15 per sq ft | 2-4 days |
| Subfloor replacement | $25-$50 per sq ft | 3-7 days |
| Complete professional restoration | $4,000-$15,000+ | 3-8 weeks |
Cost factors create variation within each service category. Water damage extent determines equipment needs, labor hours, and material quantities, with widespread flooding requiring more dehumidifiers, fans, and personnel than a localized leak. Flooring type affects both material and labor costs since solid hardwood sands and refinishes multiple times while engineered hardwood’s thin veneer layer often requires complete replacement rather than repair. Regional labor rates vary significantly, with metro areas charging $75 to $125 per hour compared to rural markets at $45 to $75 per hour. Wood species rarity impacts board replacement costs when matching exotic or discontinued flooring requires specialty suppliers. Urgency drives pricing when emergency water extraction and same day drying setup command premium rates compared to scheduled work.
Drying requirements dominate the overall timeline regardless of repair scope. Even fast surface drying takes 1 to 2 weeks minimum, while subfloor moisture extends timelines to 4 to 8 weeks before refinishing can begin. Humidity conditions affect drying speed, with summer moisture slowing evaporation and winter heating speeding it up. Structural repairs extend timelines significantly since subfloor replacement requires removing hardwood, replacing underlayment, allowing new plywood to acclimate, then reinstalling flooring before refinishing starts.
Get at least three written estimates from licensed contractors, comparing not just price but scope details like equipment type, monitoring frequency, moisture testing locations, and warranty terms. Understand that lowest bids sometimes skip critical steps like subfloor inspection or adequate drying time.
Insurance Claims and Documentation for Water-Damaged Hardwood Floors

Homeowners insurance typically covers sudden and accidental water damage like burst pipes, appliance failures, and roof leaks, but excludes gradual damage from ongoing leaks or poor maintenance and flooding from external sources requiring separate flood insurance.
Document everything immediately to support your claim and preserve evidence. Photograph damage from multiple angles showing the full extent of water coverage, close ups of warping or cupping, the water source if identifiable, and affected rooms from corner to corner views. Record the exact date and time you discovered the damage, noting what you were doing when you found it. Document the water source and cause in writing with photos, whether it’s a burst washing machine hose, failed water heater, or roof leak during a storm. Create video walkthroughs that capture room layout, damage extent, and your verbal description of what happened. Save damaged materials as evidence by storing removed boards, cut out subfloor sections, and failed appliance parts in a garage or basement until the adjuster confirms you can dispose of them.
-
Contact your insurance company within 24 hours. Call the claims line right after stopping the water source, providing your policy number and a brief description of what happened.
-
Request immediate inspection if damage is severe. Ask for emergency adjuster dispatch when flooding affects multiple rooms, when structural damage is visible, or when mold risk is high.
-
Obtain written damage assessment from the adjuster. Get the inspection report in writing showing what the insurance company agrees is covered damage versus pre existing conditions.
-
Get repair estimates from licensed contractors. Provide detailed written quotes to your adjuster showing scope of work, materials, labor, timeline, and total cost broken down by repair phase.
-
Review policy coverage limits and your deductible. Understand your coverage cap for water damage, whether contents and structure are covered separately, and what amount you’ll pay out of pocket.
-
Understand depreciation versus replacement cost coverage. Know whether your policy pays actual cash value (depreciated) or full replacement cost, and what documentation you need to receive full replacement reimbursement.
-
Maintain a communication log with your adjuster. Write down every phone conversation with date, time, adjuster name, and summary of what was discussed or decided.
Common coverage scenarios help predict claim outcomes. Burst pipes are usually covered as sudden and accidental events. Flooding from external sources like heavy rain, storm surge, or river overflow requires separate flood insurance through the National Flood Insurance Program. Gradual leaks from slow drips, worn seals, or aging plumbing are often excluded as maintenance issues. Sudden appliance failures like washing machine hose ruptures or water heater tank failures typically qualify as covered events.
Work with restoration companies experienced in insurance documentation who photograph every stage of work, provide detailed daily logs, itemize all equipment and materials, and submit proper claim formats that adjusters recognize. Keep copies of every repair invoice, material receipt, equipment rental agreement, and scope change authorization in a dedicated claim folder.
Prevention Strategies to Protect Hardwood Flooring from Future Water Damage
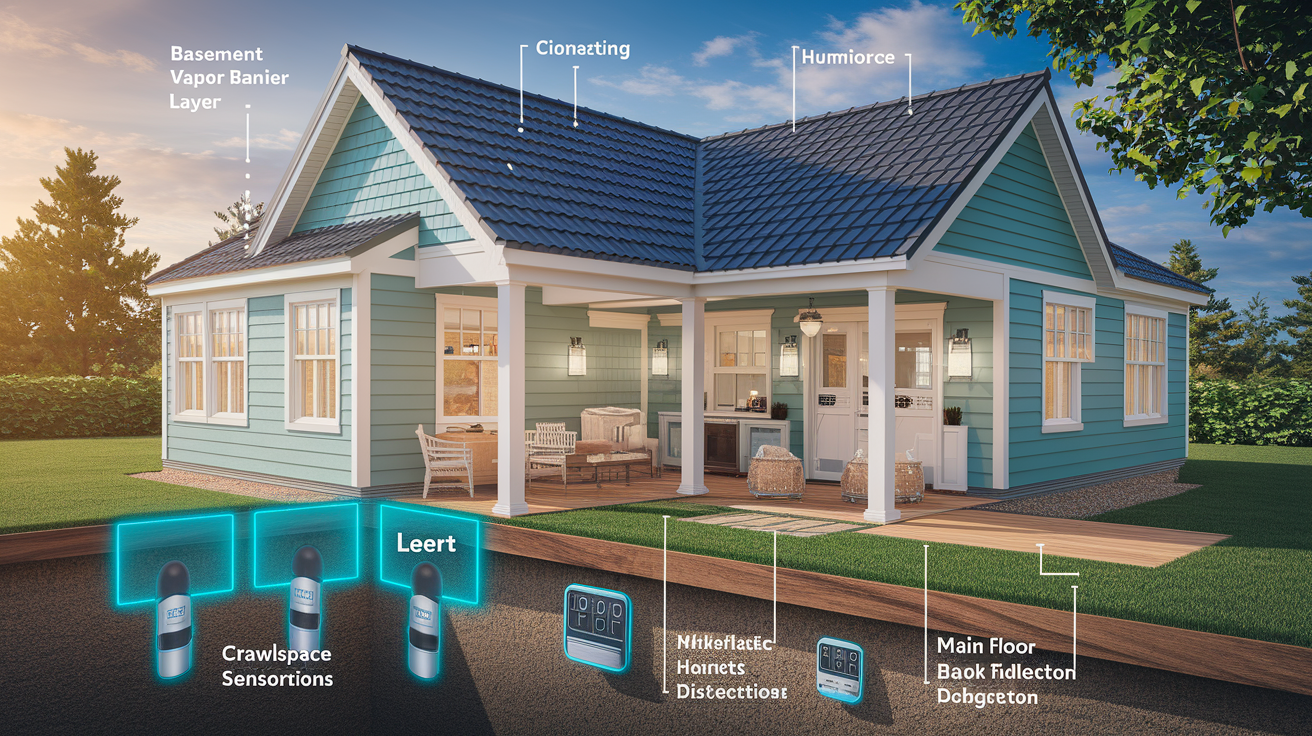
Prevention costs a fraction of repair expenses and eliminates the disruption, stress, and timeline of restoration projects.
• Maintain indoor humidity between 30 to 50% year round. Use whole house humidifiers in winter when heating dries air, and dehumidifiers in summer when cooling creates condensation, monitoring levels with a digital hygrometer.
• Install water leak detection systems near appliances. Place wireless leak sensors under washing machines, dishwashers, water heaters, and refrigerators with ice makers, choosing systems that send smartphone alerts when moisture is detected.
• Inspect washing machine and dishwasher hoses annually. Check rubber supply hoses for cracks, bulges, or brittleness, feeling along the entire length and examining connection points where leaks typically start.
• Apply water resistant sealant to high risk areas. Use polyurethane with moisture resistant additives in bathrooms, laundry rooms, and kitchens, reapplying every 3 to 5 years as the protective layer wears.
• Ensure proper expansion gaps at walls and transitions. Maintain 1/2 to 3/4 inch spacing between hardwood edges and walls, doorways, or other flooring types, allowing seasonal expansion without buckling.
• Use area rugs in pet and high traffic zones. Place washable rugs near pet water bowls, entry doors, and kitchen sinks where spills and tracked moisture concentrate, using rug pads that allow air circulation underneath.
• Clean up spills immediately within 20 minutes. Wipe water, pet accidents, or tracked snow with absorbent cloths before moisture penetrates finish and reaches wood, drying the area completely afterward.
• Install vapor barriers in basements and crawl spaces. Use 6 mil polyethylene sheeting over dirt crawl spaces and under basement subfloors, preventing ground moisture from migrating upward into flooring systems.
• Schedule annual HVAC and plumbing inspections. Have licensed technicians check condensate drain lines, drain pans, supply lines, and connections where slow leaks develop unnoticed.
• Apply protective coatings during refinishing. Choose water based polyurethane formulations with moisture barriers built in, applying at least three coats for maximum protection in vulnerable rooms.
Seasonal considerations affect hardwood moisture content throughout the year. Winter heating systems reduce indoor humidity to 15 to 25%, causing hardwood to contract and creating small gaps between boards. Add whole house humidifiers or portable units to raise humidity into the safe 30 to 40% range. Summer humidity climbs to 60 to 70% in many regions, causing hardwood to expand and sometimes creating slight cupping. Run dehumidifiers to maintain 40 to 50% relative humidity. Seasonal expansion and contraction of 1/16 to 1/8 inch is normal and doesn’t indicate damage, as long as boards return to their original shape when humidity stabilizes.
Appliance maintenance prevents the sudden failures that cause most hardwood water damage. Replace braided stainless steel washing machine hoses every 5 years even if they look fine, since internal deterioration isn’t visible from outside. Check refrigerator water lines annually where they connect to the wall valve and the back of the unit, replacing plastic tubing with braided stainless lines. Inspect toilet supply connections for corrosion or mineral buildup that weakens seals. Monitor water heaters for rust staining around the base or moisture on the floor nearby, indicating a developing leak needing immediate attention.
Expert Home Repair and Restoration professional floor inspections every 3 to 5 years catch early signs of moisture damage before they become expensive problems. Maintenance schedules that include finish renewal every 7 to 10 years keep protective coatings intact and prevent water from penetrating worn finish layers.
Final Words
Stop the water. Dry it right. Fix what’s damaged.
That’s the core of hardwood floor water damage repair.
Move fast in the first 24 hours. Pull the moisture out before it sinks deep. Let the subfloor dry completely before you sand or refinish anything.
Check for mold. Know when you can handle it yourself and when you need pros with the right equipment.
Document everything if insurance is involved. Get multiple quotes. Understand the timeline.
Then finish it clean so the repairs blend in and your floors look whole again.
With the right steps and realistic expectations, you’ll get your home back to solid ground.
FAQ
Can hardwood floors be repaired after water damage?
Hardwood floors can be repaired after water damage, depending on severity. Minor water exposure often dries naturally and self-repairs over time. Moderate damage may need professional drying, sanding, and refinishing. Severe damage involving buckling, subfloor deterioration, or widespread warping typically requires board replacement and structural repairs before refinishing.
Can mold grow under hardwood floors?
Mold can grow under hardwood floors when moisture penetrates beneath the surface. Mold development can begin within 24 to 48 hours in damp conditions. Prolonged moisture exposure, poor ventilation, humidity above 60%, and contaminated water sources increase mold risk. All mold must be remediated before repair work begins to protect home air quality and prevent further damage.
How much does it cost to repair a water damaged wood floor?
Water damaged wood floor repair costs vary from $300 to $15,000 or more depending on damage extent. Water extraction runs $150 to $500. Professional drying costs $1,000 to $3,000. Minor refinishing averages $300 to $800 for small areas. Board replacement costs $8 to $15 per square foot. Subfloor replacement runs $25 to $50 per square foot.
Will a wet wood floor go back to normal?
A wet wood floor will go back to normal if damage is minor and drying happens quickly. Minor cupping (edges higher than center) often flattens naturally during proper drying without professional intervention. Major water exposure requires immediate professional treatment with industrial fans to prevent permanent buckling. Complete drying typically takes several weeks to months, especially when subfloor is affected.