

Think painting over smoke fixes the smell? Think again.
You can wipe soot off drywall and still get that musty smoke smell every time the heat or humidity changes.
Sealing odor is the step that stops those tiny smoke particles in wood, drywall, and concrete from releasing smell into your home.
But it only works when done after proper cleaning, HEPA vacuuming (captures fine soot), and moisture checks.
This post walks you through the exact sealing process, what products, what order, and what tests to lock odor in and get your home smelling normal again.
Core Process for Sealing Smoke Odor
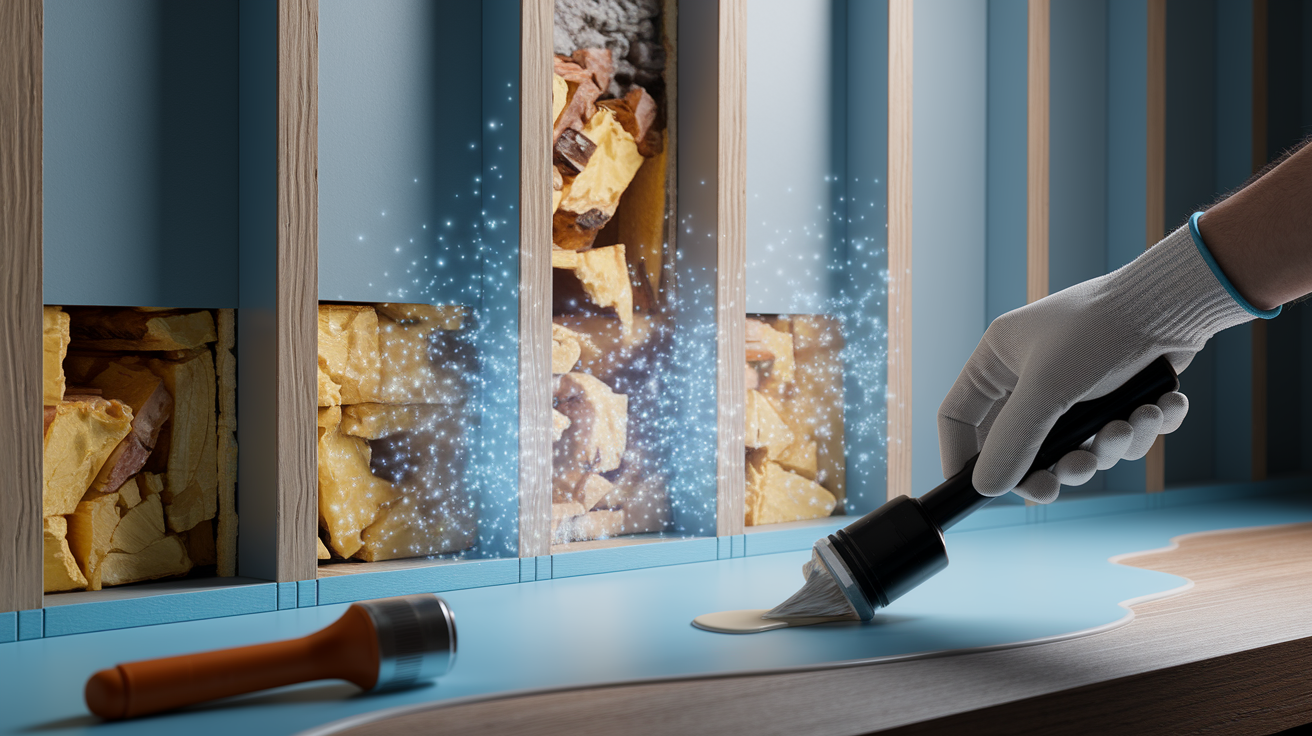
Sealing smoke odor is required because smoke particles (many under 2.5 microns) penetrate deep into porous materials like drywall, wood framing, concrete, and insulation. After a fire, you can clean visible soot from surfaces. But odor molecules stay embedded in the structure. Without encapsulation, those particles keep releasing odor, especially when humidity or temperature shifts. Sealing traps those molecules behind an impermeable barrier so they can’t reach the air you breathe.
Sealing happens near the end of the fire restoration timeline. First the property gets stabilized and dried. Then debris and unsalvageable materials are removed, followed by thorough soot and residue cleaning. Deodorization treatments may be applied to neutralize airborne and embedded odors. Only after all cleaning and drying is complete does sealing begin. Applying primer over dirty or damp surfaces locks in contaminants and prevents the sealer from bonding. That causes odor to bleed through later.
Typical materials that get sealed include painted drywall, wood studs and joists, roof decking, baseboards, door and window trim, concrete foundations, and plaster. Porous materials like carpet padding, insulation, and heavily soaked ceiling tiles are usually removed and replaced rather than sealed because cleaning them doesn’t work.
- Remove and dispose of unsalvageable materials that are too contaminated to clean or seal.
- HEPA vacuum all surfaces to remove loose soot and particulate without spreading it into the air.
- Wash surfaces with appropriate cleaners to remove oily residue, tar, and remaining soot.
- Dry completely and verify with moisture readings before any primer is applied.
- Apply odor blocking primer in one or more coats, allowing full cure between coats.
- Finish with topcoat paint once the sealer has cured and odor tests confirm encapsulation.
Cleaning and Surface Preparation Before Sealing

Soot and tar residue must be fully removed before sealing. If you seal over heavy contamination, the oils and acids in the residue can bleed through the primer. Stains and odor reappear within days or weeks. Proper cleaning also ensures the primer can bond to the substrate. Start by HEPA vacuuming all surfaces from top to bottom. Non-HEPA vacuums just blow fine soot particles back into the air. After vacuuming, use a dry soot sponge on walls and ceilings to lift remaining dry particulate without smearing it.
Once dry soot is removed, wash surfaces with a degreaser or alkaline cleaner to break down oily smoke residue. For hard surfaces like tile, painted drywall, and countertops, spray the cleaner and wipe bottom to top on vertical surfaces to prevent streaking. Rinse with clean water and let the surface dry completely. Porous materials like unsealed wood or concrete may need 24 to 48 hours of drying time before sealing. Use moisture meters to confirm dryness, especially on structural lumber and subflooring.
- HEPA vacuuming to capture fine particulate without re-aerosolizing it
- Dry soot sponges for lifting surface soot on walls and ceilings
- Degreaser or alkaline cleaner to dissolve oily smoke residue on non-porous surfaces
- Rinsing with clean water to remove cleaner residue that can interfere with primer adhesion
- Moisture measurement and drying to prevent trapping water under the sealer, which causes peeling and mold
Selecting the Right Odor Blocking Primers and Sealers

Shellac based primers are the top choice for severe smoke odor. They form an extremely tight molecular barrier that blocks both odor and tannin stains from bleeding through. Shellac primers dry fast, often tack free in 15 to 60 minutes. That lets you apply multiple coats in a single day. Speed matters when you’re restoring occupied homes or commercial properties under time pressure. Shellac works especially well on structural wood like studs, joists, and roof decking, and on surfaces exposed to protein fires in kitchens.
Oil based primers offer strong penetration and are effective on moderately contaminated surfaces. They bond well to glossy or previously painted surfaces and provide good odor blocking for wood, drywall, and concrete. But oil based products require longer cure times, typically 8 to 24 hours between coats and up to seven days for full cure. They also release higher VOCs and require mineral spirits for cleanup. More ventilation and stricter disposal procedures.
Water based encapsulants are used on large surface areas when the odor contamination is moderate and the surface has already been thoroughly cleaned. These products are safer to use in occupied spaces, produce fewer fumes, and allow easy cleanup with soap and water. They’re vapor permeable, which prevents moisture from being trapped behind the seal and reduces the risk of mold. Water based sealers are often applied by spray for uniform coverage and serve as both primer and sealer before a finish coat of paint.
| Primer Type | Strengths | Best Uses |
|---|---|---|
| Shellac based | Extreme odor blocking; fast dry; tight molecular barrier | Severe fires; structural framing; protein fires; roof decking |
| Oil based | Deep penetration; bonds to glossy surfaces; good for moderate odor | Concrete; brick; textured drywall; mixed fuel fires |
| Water based encapsulant | Low VOC; vapor permeable; safe for occupied spaces; easy cleanup | Large areas; moderate contamination; post cleaning sealing |
| Specialty odor sealers | Formulated for heavy contamination; flexible application methods | Heavy odor after cleaning; mixed surface types; contents restoration |
Application Techniques for Effective Smoke Odor Sealing

For small areas, trim, and detailed work, brush or roller application gives you control and ensures even coverage in corners and edges. For large surface areas (walls, ceilings, entire rooms), airless spray equipment provides the best results. Spraying creates a uniform film thickness and minimizes lap marks that can occur with roller application. It also forces primer into surface texture and pores more effectively than brushing. Plan for proper ventilation and mask off areas that shouldn’t be coated.
Most projects require two coats of primer, especially on porous substrates like unsealed wood or heavily textured drywall. Each coat must cure fully before the next is applied. Shellac based primers typically allow recoating in 45 to 60 minutes. Oil based primers need 8 to 24 hours between coats. After the final primer coat has cured (usually 24 to 48 hours), you can apply a standard latex or oil based finish coat. Follow the product label for exact recoat windows and cure times. Formulations vary.
- Use airless spray for large areas to achieve uniform coverage and minimize application time
- Apply two or more thin coats rather than one heavy coat to avoid runs and improve encapsulation
- Allow full cure between coats per the product label to maximize cross linking and odor blocking
- Verify coverage with a flashlight at an angle to spot thin areas or skips before the primer dries
Advanced Odor Removal Methods Used Before Sealing

Ozone treatment uses ozone gas to chemically break down odor molecules in the air and on surfaces. Ozone generators are run for 4 to 48 hours or longer depending on contamination severity. The property must be vacated during treatment because ozone is a respiratory irritant. Professionals measure ozone concentration in parts per million and monitor exposure time to ensure effectiveness. Ozone is especially useful for reaching odor molecules deep inside wall cavities, ductwork, and HVAC plenums where cleaning tools can’t reach. It’s typically applied after cleaning but before sealing, so that broken down odor molecules can be ventilated out rather than sealed in.
Thermal fogging replicates the way smoke traveled during the fire. A thermal fogger heats a petroleum based deodorant into a fine mist that penetrates cracks, voids, and porous materials the same way smoke did. The deodorant neutralizes smoke odor molecules on contact. Thermal fogging is especially effective on contents like upholstered furniture, drapes, and stored items in closets and cabinets. Most jobs require one to three applications. The process requires strict respiratory protection and is always performed by trained technicians.
Hydroxyl generators are a safer alternative to ozone and can be used in occupied or semi occupied spaces with proper precautions. Hydroxyl radicals neutralize odor molecules in the air and on soft surfaces without requiring evacuation. These units are often run continuously for several days. Hydroxyl treatment is commonly paired with sealing when the building needs to remain accessible during restoration. All three methods (ozone, thermal fogging, and hydroxyl) support long term odor control by addressing molecules that cleaning alone can’t eliminate. The choice depends on contamination level, occupancy needs, and the materials involved.
HVAC, Airflow, and Hidden Space Considerations

Smoke doesn’t stop at walls and ceilings. During a fire, smoke and soot are pulled into HVAC return vents, forced through ductwork, and deposited on coils, blower wheels, and filter housings. When the system runs after the fire, it circulates odor and particulate back into the living space. Even if every visible surface has been sealed. That’s why HVAC cleaning is a mandatory part of smoke odor restoration. All filters must be replaced with HEPA rated filters if possible. Coils and drain pans should be cleaned, and ducts should be professionally cleaned if they contain visible soot or emit odor when the system runs.
Smoke also infiltrates attics, crawl spaces, wall cavities, and insulation. These hidden areas act as odor reservoirs. Sealing only the interior surfaces traps odor in voids that will continue to bleed through over time. Professionals use thermal imaging cameras to identify areas where smoke has penetrated behind drywall or into structural cavities. In severe cases, wall sections must be opened to remove insulation and seal the framing before closing the wall back up.
- HVAC return vents and ductwork that pulled smoke during the fire and now circulate odor when the system runs
- Attics and crawl spaces where smoke settled on insulation, roof decking, and floor joists
- Wall and ceiling cavities where smoke entered through cracks, penetrations, or gaps around electrical boxes
DIY vs Professional Smoke Odor Sealing

Light smoke exposure in a single room (such as a small kitchen fire that was quickly extinguished) can often be handled with DIY methods. You can HEPA vacuum, wash surfaces with a degreaser, apply a consumer grade odor blocking primer, and finish with paint. The risk is that consumer primers don’t always provide the same molecular barrier as professional grade shellac or encapsulant products. If odor returns after the first coat, a second or third attempt may be needed. The total cost and labor can exceed the price of hiring a professional from the start.
Professional restoration brings commercial grade products, spray equipment for uniform application, and detection tools like thermal imaging cameras, moisture meters, and particle counters. Certified technicians follow IICRC protocols for assessment, cleaning, deodorization, and verification. They can integrate HVAC cleaning, contents treatment, and supplemental odor removal methods like ozone or thermal fogging into a single coordinated workflow. For fires that affected multiple rooms, produced heavy soot, or involved synthetic materials, professional work is almost always necessary to achieve permanent odor elimination.
| DIY | Professional |
|---|---|
| Consumer grade primers; limited odor blocking performance | Commercial shellac, oil, and water based encapsulants tested for fire restoration |
| Brush and roller application; uneven coverage on large areas | Airless spray equipment; uniform film thickness and deep penetration |
| No HVAC or hidden space access; odor may return from ducts or cavities | Duct cleaning, attic access, thermal imaging to locate hidden contamination |
| Trial and error; multiple attempts if odor persists | Verification testing with particle counters and sensory evaluation before closeout |
| Best for single room, light smoke events with quick extinguishment | Required for multi room fires, heavy soot, synthetic materials, or persistent odor after cleaning |
Final Words
Start with cleaning and prep—remove soot, degrease, and dry surfaces so sealers actually stick. No guesswork. Use moisture checks and inspect hidden cavities.
Choose the right primer (shellac, oil, or water-based) and apply thin, even coats. Use sprayers for better penetration and remember to address HVAC, attics, and ducts.
Small jobs can be DIY. For heavy smoke or persistent odor, call pros with the tools and testing.
Following the smoke damage odor sealing process ties the steps together, and with the right prep your home will feel fresh again.
FAQ
Q: How to seal in smoke smell?
A: Sealing in smoke smell is done by cleaning and deodorizing first, then applying an odor-blocking primer or sealer (shellac-based or oil-based) to encapsulate residue, including hidden cavities and ducts.
Q: How long does smoke damage smell last and how do you get rid of smoke damage smell?
A: Smoke damage smell can last weeks to years depending on soot depth and porous materials; remove it with thorough cleaning, professional deodorizing (thermal fogging or hydroxyl), sealing, and HVAC and hidden-space cleaning.
Q: What does Servpro use to remove smoke smell?
A: Servpro uses thermal fogging, hydroxyl generators, ozone when spaces are empty, HEPA vacuuming, specialized cleaners, and odor-blocking primers to break down, remove, and seal smoke odors.