

Think scrubbing will solve bathtub black mold? Think again.
Small patches can be handled safely at home if you act right. Gear up with an N95 respirator (filters tiny particles), gloves, and goggles, ventilate the room, and use vinegar or 3% hydrogen peroxide to kill surface growth before you scrub.
This guide gives clear, step-by-step methods that actually work, what to try first, how to treat different tub surfaces, when to remove caulk or open a wall, and when to call a pro.
Immediate Steps for Effective Bathtub Black Mold Removal
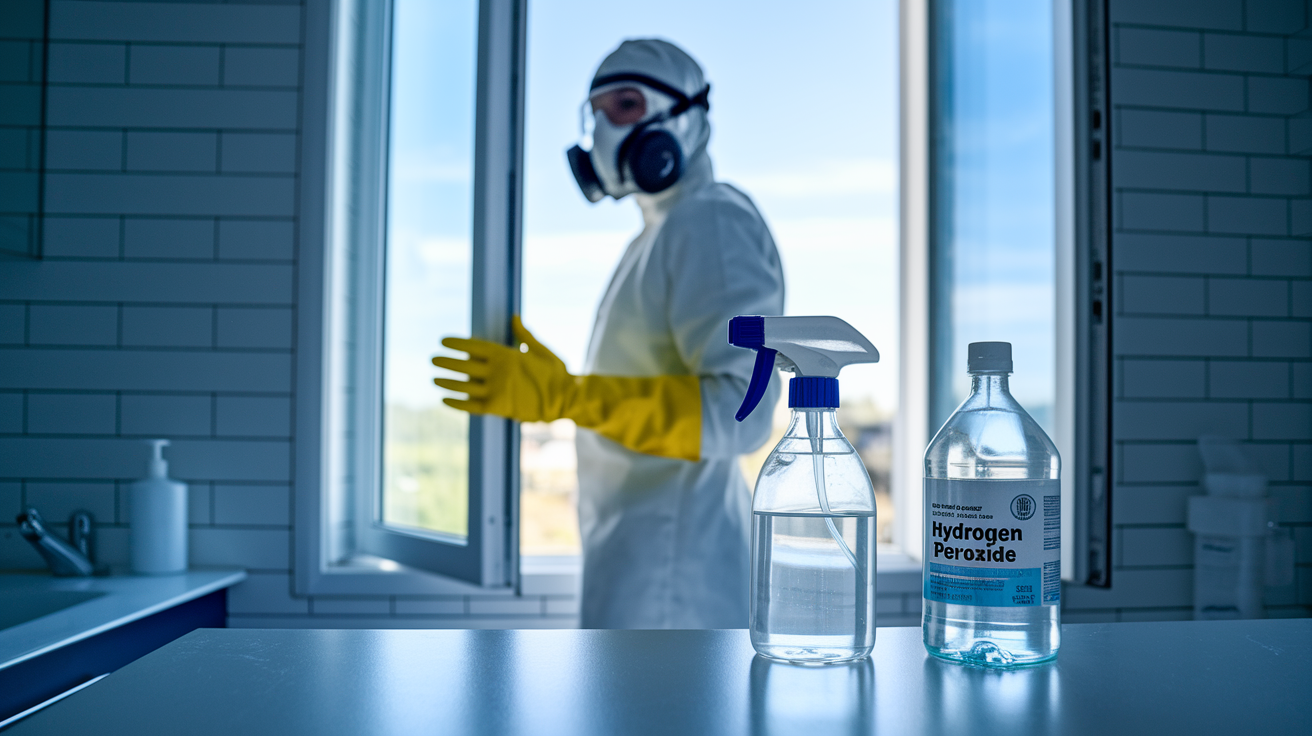
When you spot black mold in your bathtub, the first move is to protect yourself and stop it from spreading while you work. You don’t need an entire remediation plan before you start. You need to gear up, open a window, and get the mold off the surface before it gets worse.
Put on an N95 respirator, rubber gloves, and safety goggles before you touch anything. Open the bathroom window or turn on the exhaust fan and leave it running. If you don’t have a window, point a small fan toward the door to push air out of the room. Grab a spray bottle of undiluted white vinegar or 3% hydrogen peroxide. Both work on light surface mold without harsh fumes.
Here’s the sequence:
- Gear up with N95 mask, gloves, and goggles.
- Ventilate by opening a window or running the exhaust fan.
- Spray the moldy area completely with vinegar or hydrogen peroxide.
- Let it sit for at least a few minutes so the cleaner can penetrate the mold.
- Scrub with a stiff brush, working the cleaner into grout lines and corners.
- Rinse thoroughly with hot water and dry everything with a towel or squeegee.
That’s the core loop for bathtub black mold removal when the contamination is small and surface level. The goal is to kill the mold, lift it off, and dry the surface so it doesn’t grow back overnight.
Identifying Black Mold in the Bathtub and Understanding Its Root Causes

Black mold shows up as irregular dark spots, often black or dark green, with a raised texture that can feel slimy when wet or fuzzy when dry. If you run your hand near it, you’ll usually notice a musty, earthy smell that doesn’t go away after a normal cleaning. That odor is a reliable sign that mold has taken hold.
The most common bathroom molds are Penicillium and Aspergillus, which together account for about 59% of what we find in tested bathrooms. Chaetomium appears in roughly 17% of cases, and Stachybotrys (the species people call “black mold”) shows up in about 16% of bathrooms. All of them love the same conditions. Humidity above 60% and temperatures between 20 and 30°C. When water sits on caulk, grout, or tile for hours after a shower, mold moves in.
Early warning signs include:
- Irregular black, dark green, or gray spots on grout, caulk, or tile
- Slimy or fuzzy texture when you touch the area
- Persistent musty or earthy odor even after cleaning
- Soft, crumbling, or discolored grout lines
- Loose tiles or caulk that peels away easily
Mold doesn’t just sit on top of surfaces. It sends roots into porous materials like grout and caulk, and it can grow behind tiles if water has been leaking through cracks. Soft grout or tiles that move when you press on them are signs that water has been sitting where you can’t see it.
Step-by-Step Bathtub Mold Removal Methods for Different Severity Levels

Light surface mold responds well to one cleaner, one scrub session, and thorough drying. Stubborn or hidden mold requires stronger agents, longer dwell times, and sometimes removal of caulk or tile to reach contamination underneath. The severity of the problem determines which path you take.
For light mold on surfaces like tile or porcelain, spray undiluted white vinegar and let it sit for at least one hour. Then scrub with a stiff brush, rinse with hot water, and dry completely. If vinegar doesn’t lift the stain, switch to 3% hydrogen peroxide. Spray it on, let it bubble for 10 to 15 minutes, scrub, rinse, and dry. For moderate contamination with visible staining in grout, make a paste from baking soda and a small amount of water, apply it to the moldy area, let it sit, scrub with a grout brush, then rinse and dry.
When mold keeps coming back or you see black growth deep in grout lines, use a bleach solution (1 cup of bleach per 1 gallon of water). Apply it only to hard surfaces, let it sit for 15 minutes, scrub, rinse thoroughly, and dry. Never mix bleach with ammonia or other cleaners. Open a window and keep the fan running because bleach fumes are harsh.
Treating Stubborn or Hidden Bathtub Mold
Mold under caulk or behind loose tiles won’t come off with surface cleaning. You have to remove the old caulk with a utility knife or caulk removal tool, scrape out the mold underneath, clean the joint with hydrogen peroxide or diluted bleach, and let it dry completely. Use a fan or dehumidifier if the bathroom stays damp. Once the surface is dry and clean, apply mold resistant caulk and smooth it into place. If tiles are loose or grout is soft and crumbling, water has likely been sitting behind the wall. That contamination often requires opening the wall, which is professional territory.
Cleaner options from natural to commercial:
- Undiluted white vinegar – Safe, effective on light mold; dwell time 1 hour.
- Baking soda paste – Gentle; good for scrubbing and deodorizing.
- 3% hydrogen peroxide – Kills mold without residue; dwell time 10 to 15 minutes.
- Bleach solution (1 cup per gallon) – Strong but harsh; use sparingly on hard surfaces; dwell 15 minutes.
- Commercial mold removers – Pre-mixed sprays designed for bathroom mold; follow label instructions.
- Enzymatic mold cleaners – Break down organic material; good for recurring contamination.
- Mold resistant bathroom cleaners – Prevent regrowth when used weekly after initial removal.
Bathtub Grout and Caulk Black Mold Treatment Strategies

Grout and caulk trap moisture and give mold a foothold that surface cleaning can’t always reach. When black mold is visible in grout lines, scrub it with a grout brush and hydrogen peroxide or a baking soda paste. Let the cleaner sit for at least 10 minutes, scrub hard, rinse, and dry. If the grout feels soft or crumbles when you touch it, water has soaked in and mold may be deeper than you can reach with a brush.
Caulk is different. Mold growing on caulk often means mold is growing under it, too. The only reliable fix is to remove the old caulk completely, clean the joint beneath, dry it thoroughly, and reseal with mold resistant caulk. Leaving moldy caulk in place just hides the problem.
Step by step caulk and grout treatment:
- Remove old caulk with a utility knife or caulk removal tool, scraping carefully to avoid damaging the tub or tile.
- Clean the exposed joint with 3% hydrogen peroxide or diluted bleach; scrub any remaining mold.
- Dry the area completely using a towel, fan, or dehumidifier; wait at least a few hours if the bathroom stays humid.
- Apply mold resistant caulk in a smooth bead, tool it into place, and let it cure fully before using the tub.
Bathtub Surface Types: Mold Removal Techniques for Porcelain, Acrylic, and Fiberglass

Different tub materials handle scrubbing and chemicals differently. Porcelain and ceramic tile are hard, so you can scrub them with stiff brushes and use stronger cleaners like diluted bleach without worrying about scratches. Acrylic and fiberglass tubs scratch easily, so you need soft bristled brushes or sponges and gentler cleaners like vinegar or hydrogen peroxide.
Tile surrounds with grout are porous and absorb moisture, making them more prone to deep mold growth. Grout can also break down if you use too much bleach too often, so stick with peroxide or vinegar for routine cleaning and save bleach for stubborn cases.
Regardless of material, the dwell times stay the same. Vinegar for at least one hour, hydrogen peroxide for 10 to 15 minutes, bleach solution for 15 minutes. The difference is in how hard you scrub and what tools you use.
| Surface Type | Recommended Cleaner | Scrubbing Tools | Cautions |
|---|---|---|---|
| Porcelain or ceramic tile | Vinegar, hydrogen peroxide, or diluted bleach | Stiff bristled brush, grout brush | Avoid excessive bleach on grout; rinse thoroughly |
| Acrylic bathtub | Vinegar, hydrogen peroxide, baking soda paste | Soft bristled brush, sponge, microfiber cloth | No abrasive scrubbers; avoid scratching surface |
| Fiberglass bathtub | Vinegar, hydrogen peroxide, mild commercial cleaner | Soft brush, scratch safe sponge | Do not use bleach or abrasive pads; scratches trap mold |
| Tile surround with grout | Hydrogen peroxide, vinegar, grout safe mold cleaner | Grout brush, old toothbrush for corners | Limit bleach use; seal grout after cleaning to reduce porosity |
Safety Guidelines for Bathroom Mold Removal
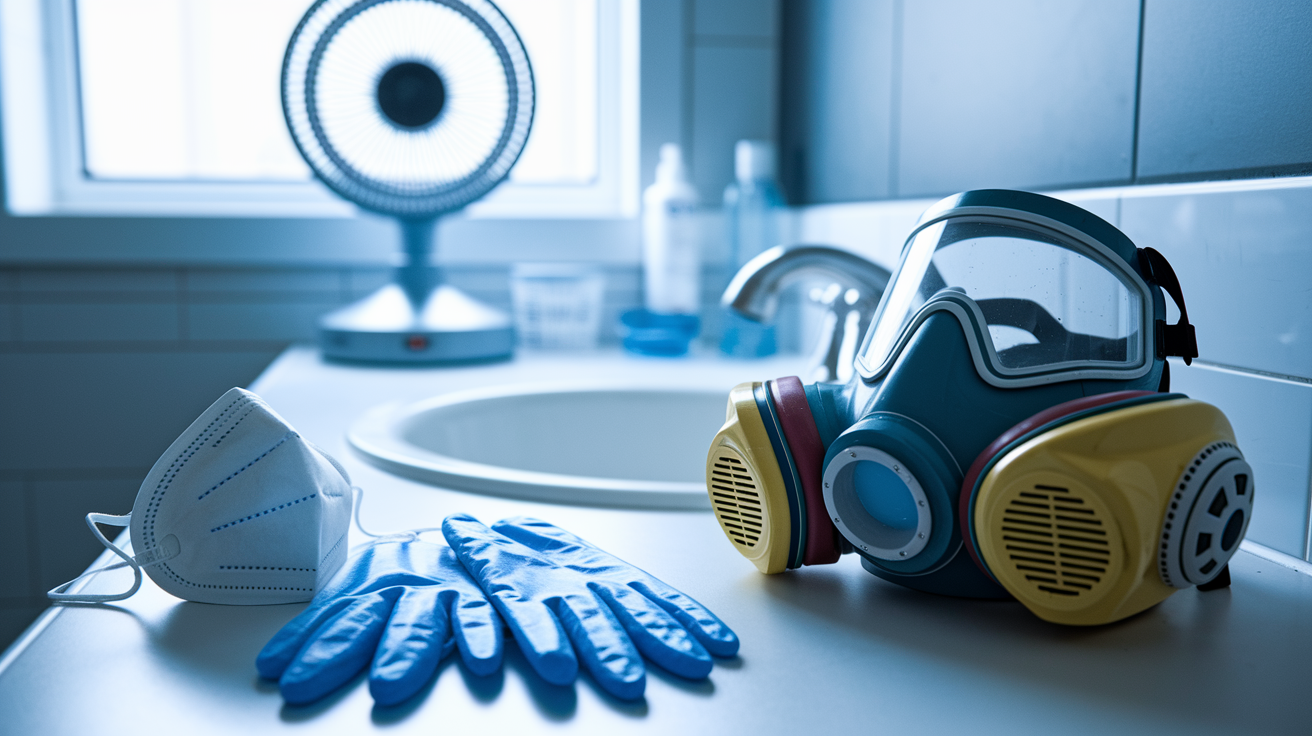
Mold releases spores when you disturb it, and those spores can irritate your lungs, eyes, and skin. The right safety gear keeps you from breathing them in or getting cleaner chemicals on your hands and face. An N95 respirator filters out mold spores. A half face respirator with P100 filters offers even better protection if the contamination is heavy. Wear rubber gloves (nitrile, latex, or vinyl) and safety goggles to protect your eyes from spray and splashes.
Ventilation controls where the spores go. Open a window or run the exhaust fan before you start cleaning, and keep it running the entire time. If you use a portable fan, point it toward an open window so it pushes air out, not into other rooms. Never mix bleach with ammonia or other cleaners. The reaction releases toxic chloramine gas. Use bleach sparingly, rinse surfaces completely after cleaning, and dispose of contaminated rags and sponges in sealed plastic bags immediately after the job.
Key safety practices:
- Wear an N95 or P100 respirator to filter mold spores.
- Use disposable gloves and goggles to protect skin and eyes.
- Ventilate with a window or exhaust fan running continuously.
- Never mix bleach with ammonia or any other cleaning product.
- Direct airflow out of the room, not into hallways or living areas.
- Dispose of used cleaning materials in sealed bags to prevent spore spread.
If you start coughing, wheezing, or feeling short of breath while you’re cleaning, stop immediately, leave the bathroom, and get fresh air. Recurring symptoms or worsening respiratory issues mean it’s time to call a professional and let them handle the removal with containment and air scrubbers.
Preventing Future Bathtub Black Mold Growth

Mold grows when moisture sits on surfaces long enough for spores to take root. The most effective prevention is controlling humidity and drying the tub after every use. Keep bathroom humidity below 50%. Use a dehumidifier if your bathroom stays damp, especially in basements or homes without windows.
Run the exhaust fan during your shower and for 20 to 30 minutes after you finish. If you don’t have a fan, open the bathroom door or window to let humid air escape. After each shower, squeegee the walls and glass, then dry the tub corners and caulk lines with a towel. Those small steps remove the standing water that mold needs.
Clean the bathtub at least once a week with warm water and a mold inhibiting cleaner or a quick vinegar spray. Do a deep clean with hydrogen peroxide or a commercial mold cleaner once a month, scrubbing grout lines and inspecting caulk for cracks or discoloration. Fix leaks as soon as you notice them. Dripping faucets, loose showerheads, and cracked caulk all feed mold growth. Replace cracked or failing caulk immediately, and use mold resistant caulk when you reseal joints.
Daily, weekly, and monthly prevention routine:
- After every shower: Squeegee walls and glass; dry tub corners and caulk with a towel.
- Daily: Run exhaust fan or open a window to reduce humidity.
- Weekly: Light clean with warm water and dish soap or quick vinegar spray.
- Monthly: Deep clean grout and caulk with hydrogen peroxide or commercial mold cleaner.
- As needed: Fix leaks, reseal cracked caulk with mold resistant product, wash or replace shower curtains.
- Ongoing: Keep bathroom humidity below 50% using a dehumidifier or air conditioner.
- Storage: Store bath items (sponges, loofahs, bottles) where they can dry between uses.
- Inspection: Check grout and caulk every few months for soft spots, cracks, or early mold growth.
When Professional Bathtub Mold Remediation Is Necessary
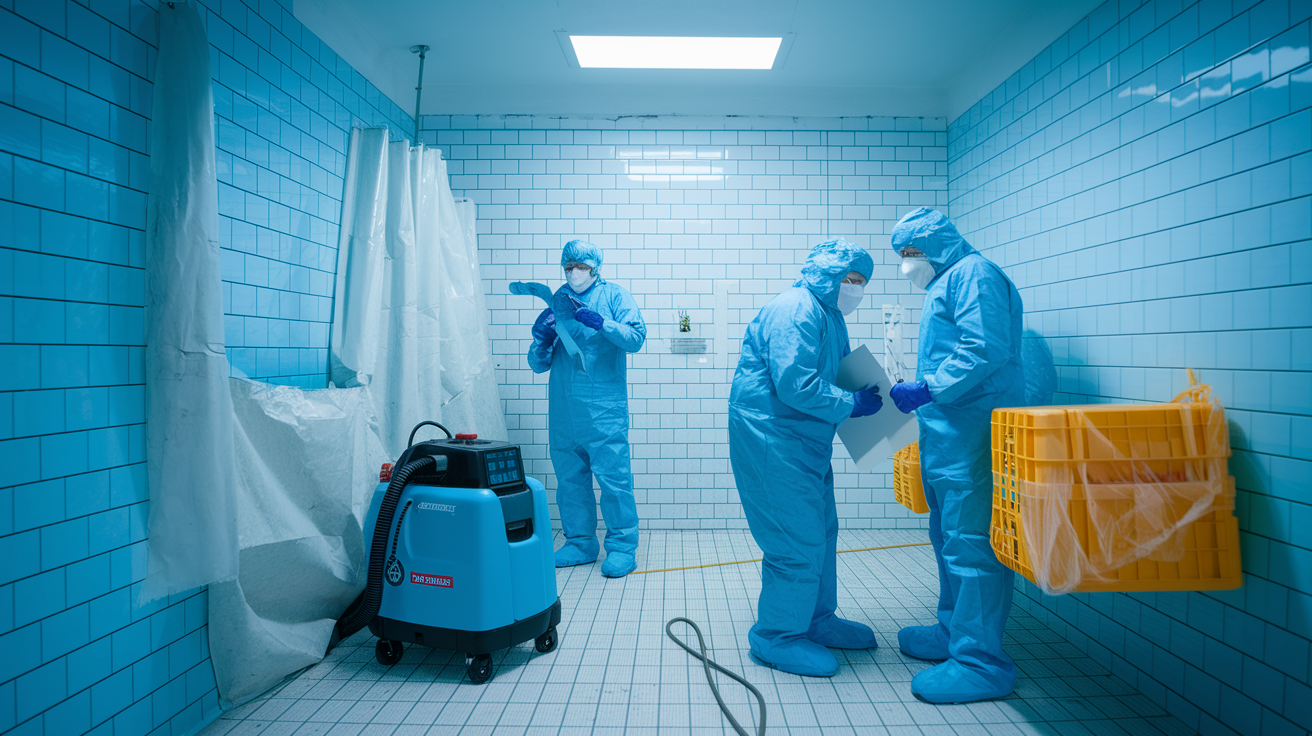
Most surface mold on tubs, tile, and grout is a DIY job. But when contamination covers more than one square foot, keeps coming back after you clean it, or shows up in places you can’t reach without opening walls, it’s time to call a professional. Hidden mold under the tub, behind tiles, or inside walls requires access you don’t have, tools you probably don’t own, and containment procedures that keep spores from spreading through your home.
If you smell a persistent musty odor but can’t find visible mold, that’s another sign of hidden contamination. Professionals use moisture meters, thermal cameras, and inspection scopes to locate water intrusion and mold growth behind surfaces. They also seal off the work area, use HEPA air scrubbers to filter spores, and remove contaminated materials safely.
When to hire certified mold remediation professionals:
- Mold contamination covering more than 1 square foot
- Mold behind tiles, under the tub, or inside walls
- Persistent musty odor with no visible mold source
- Mold that returns within days or weeks after cleaning
- Soft, crumbling, or water damaged walls near the tub
- Health symptoms (coughing, wheezing, headaches) that worsen during or after cleaning
Professional remediation typically involves containment, removal of damaged materials, HEPA filtration, antimicrobial treatment, and verification after the work is done. Costs vary based on the size and location of contamination, but addressing hidden mold early prevents more expensive structural repairs and ongoing health risks.
Final Words
Get your N95 on, open a window, and act fast: ventilate, apply vinegar or 3% hydrogen peroxide, scrub, rinse, and fully dry. No guesswork.
We covered how to spot real black mold, when to remove caulk or repair grout, and how porcelain, acrylic, and fiberglass need different care. We walked through safety—gloves, goggles, and never mixing cleaners—and simple prevention like squeegeeing and running the fan.
For most jobs this plan nails bathtub black mold removal. If it hides behind tiles or keeps coming back, call a pro. You’ll get the bathroom back to normal.
FAQ
Q: How to get rid of black mold in a bathtub?
A: To get rid of black mold in a bathtub, wear N95, gloves, and goggles, open windows or run the fan, apply undiluted vinegar or 3% hydrogen peroxide, let it sit, scrub, rinse, and fully dry the area.
Q: Is bleach or vinegar better to kill mold? What kills black mold permanently?
A: Bleach can clean nonporous surfaces but won’t penetrate porous spots; vinegar or 3% hydrogen peroxide is usually better for tub mold. Nothing guarantees permanent kill—fix moisture, dry, and reseal to stop return.
Q: Is it safe to shower in a bathroom with black mold?
A: Showering in a bathroom with black mold can irritate sensitive people; avoid it if you have asthma, allergies, or open wounds. Better to ventilate and clean visible mold before regular use.