

Painting over smoke damage without proper primer is like putting a lid on a pot of boiling water and expecting it to stay quiet. It won’t. Smoke particles penetrate deep into drywall, wood, and plaster, releasing odor and yellowing through fresh paint for months or years. Shellac based and oil based primers create an impermeable seal that traps nicotine and tar molecules inside the surface. This guide covers which products actually work, how they compare, and the application steps that make smoke odor sealing stick for good.
Top-Performing Primers That Lock Out Smoke Odor

Shellac based and oil based primers work best for blocking smoke odor and sealing nicotine stains before you paint. These formulas create a barrier that traps odor molecules and stops yellowing from bleeding through your topcoats.
Zinsser B-I-N is the top shellac option for smoke odor sealing. It’s affordable, you can find it at most home improvement stores, and it consistently beats alternatives at blocking both nicotine discoloration and embedded smoke smell. The shellac formula dries fast and creates a tight seal that locks odor inside the wall surface. KILZ Original leads the oil based category with over 40 years of professional trust. It provides heavy duty odor blocking and excellent stain coverage, though you’ll need good ventilation during application. Both products deliver reliable results when you apply them over properly prepared surfaces.
Water based alternatives like KILZ Restoration and Ultra Recon Smoke and Odor Sealer offer lower VOC options if you’re sensitive to solvent odors. These newer formulations claim performance comparable to traditional shellac and oil based primers while producing less smell during application and allowing soap and water cleanup. They work well for light to moderate smoke contamination. But shellac or oil based primers remain the better choice for heavy nicotine buildup.
| Primer Product | Base Type | Odor Blocking Rating | Best For |
|---|---|---|---|
| Zinsser B-I-N | Shellac | Excellent | Heavy nicotine and severe smoke odor |
| KILZ Original | Oil-based | Very Good | All-weather odor and stain blocking |
| KILZ Restoration | Water-based | Good | Lower-VOC projects with moderate odor |
| Ultra Recon | Water-based | Good | Low-odor application with nicotine sealing |
Understanding Different Primer Types for Smoke Odor Control
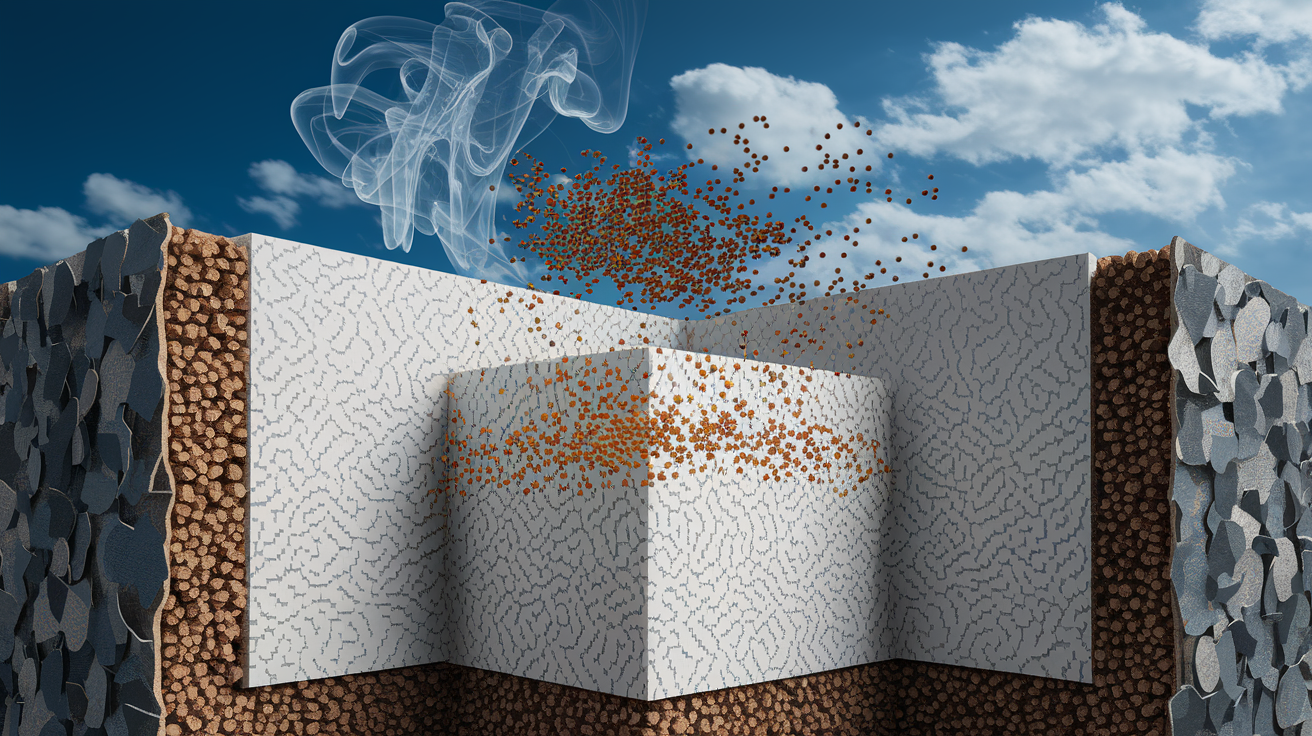
Three main primer categories seal cigarette smoke effectively: shellac based primers, oil based primers, and specialized water based formulas. Smoke particles and nicotine penetrate deep into porous surfaces like drywall, wood, and plaster, creating sticky residues that keep releasing odor for months or years. Standard primers can’t stop this. You need specialized formulations that create an impermeable barrier to trap odor molecules and prevent nicotine from leaching through fresh paint.
Shellac Based Primers: Maximum Odor Blocking Power
Shellac primers represent the gold standard for smoke odor sealing because they create the tightest molecular barrier against nicotine and tar residues. Zinsser B-I-N uses an alcohol based shellac formula that penetrates surface pores and forms a hard, impenetrable seal that locks odor molecules inside the substrate. This primer dries in 45 minutes to 1 hour, significantly faster than oil based alternatives, and covers approximately 400 square feet per gallon on smooth drywall.
You’ll need multiple coats when dealing with heavy nicotine buildup. Walls that show yellow or brown staining usually require two coats of shellac primer to completely block discoloration and odor. The first coat seals most of the contamination, while the second coat catches any spots where nicotine might bleed through. The fast drying property makes it practical to apply both coats in a single day.
Application requires denatured alcohol for cleanup since shellac is alcohol based, not water soluble. The primer releases a strong alcohol odor during application that goes away quickly as it dries. Work with windows open and fans running. A respirator rated for organic vapors protects your lungs during application, especially in rooms with limited airflow.
Oil Based Primers: Reliable Alternative Solutions
Oil based primers block nicotine from leaching through and prevent yellowing on painted surfaces, though they’re slightly less powerful than shellac for pure odor control. KILZ Original has earned its 40+ year professional track record by consistently sealing smoke damage in rental turnovers, fire restoration jobs, and home renovations. Zinsser Cover Stain offers similar performance with excellent adhesion on difficult surfaces. Both products create an effective barrier against smoke odor, just not quite as impermeable as shellac.
These primers contain mineral spirits and naphtha as solvents, which means they release strong fumes during application and drying. You’ll need 2 to 4 hours of drying time before recoating, and the smell lingers in the space for several hours after application. Coverage runs around 350 to 400 square feet per gallon depending on surface porosity. Cleanup requires mineral spirits or paint thinner, and you’ll want to seal used brushes and rollers in plastic bags between coats to avoid cleanup waste.
Proper ventilation isn’t optional with oil based primers. Set up cross ventilation with fans in windows, wear a respirator rated for organic vapors, and plan to keep the space well ventilated for 24 hours after application. The VOC levels make oil based primers a poor choice if you’re working in occupied spaces where residents can’t leave during application.
Water Based Specialty Primers: Low VOC Options
Traditional water based primers fail against smoke because nicotine is water soluble and simply bleeds through the coating as it dries. But newer specialty formulations like KILZ Restoration and Ultra Recon use modified chemistry that claims to match the performance of oil and shellac primers while maintaining the benefits of water based products. These primers work by creating a plastic like barrier that encapsulates nicotine rather than trying to dissolve or absorb it.
The advantages include lower VOC levels, easier cleanup with soap and water, reduced odor during application, and drying times of 1 to 2 hours between coats. These products work better for sensitive occupants who can’t tolerate solvent fumes, and they allow you to stay in the space during application with just basic ventilation. Water based primers also accept latex topcoats immediately after drying without compatibility concerns.
Shellac or oil based options remain superior for severe smoke contamination. Water based specialty primers handle light to moderate cigarette smoke well, but they struggle with heavy tar buildup or fire damage situations. If you can still smell smoke after proper surface cleaning, or if you see dark brown nicotine staining, stick with shellac primer for reliable results.
| Primer Type | Drying Time | Coverage Per Gallon | VOC Level | Cleanup Method | Odor Blocking Power |
|---|---|---|---|---|---|
| Shellac-based | 45 min – 1 hour | 400 sq ft | High | Denatured alcohol | Excellent |
| Oil-based | 2-4 hours | 350-400 sq ft | High | Mineral spirits | Very Good |
| Water-based | 1-2 hours | 300-350 sq ft | Low | Soap and water | Good |
Essential Surface Preparation Before Applying Smoke Sealing Primer

Proper surface preparation is critical for primer effectiveness. No primer can seal smoke odor if you apply it over greasy nicotine residue and loose soot. The contamination prevents adhesion and continues releasing odor through the primer layer.
Start with dry chemical sponges to remove loose soot and surface nicotine buildup. These sponges work like erasers, lifting contamination without water that would smear tar residues across the wall. Work from top to bottom in overlapping strokes, rotating the sponge to clean sections as they load up with soot. Once you’ve removed the loose layer, follow with a TSP (trisodium phosphate) solution wash. Mix TSP according to package directions and wash the entire surface with a sponge, working in sections. TSP cuts through nicotine’s greasy film and deep cleans the surface so primer can bond directly to the substrate. Rinse with clean water and let surfaces dry completely before priming.
Remove outlet covers, light switch plates, and any fixtures mounted to walls or ceilings before cleaning. Protect floors with drop cloths and use painter’s tape on trim if you’re not priming it. Check for water-related home repairs that might need attention before sealing surfaces, since you don’t want moisture trapped behind primer. Allow at least 24 hours of drying time after TSP washing, longer if humidity is high or you used substantial water during cleaning.
- Dry chemical cleaning sponges (also called soot sponges)
- TSP cleaner or heavy duty degreaser
- Protective gloves and eyewear
- Drop cloths and painter’s tape
- Clean water and sponges for rinsing
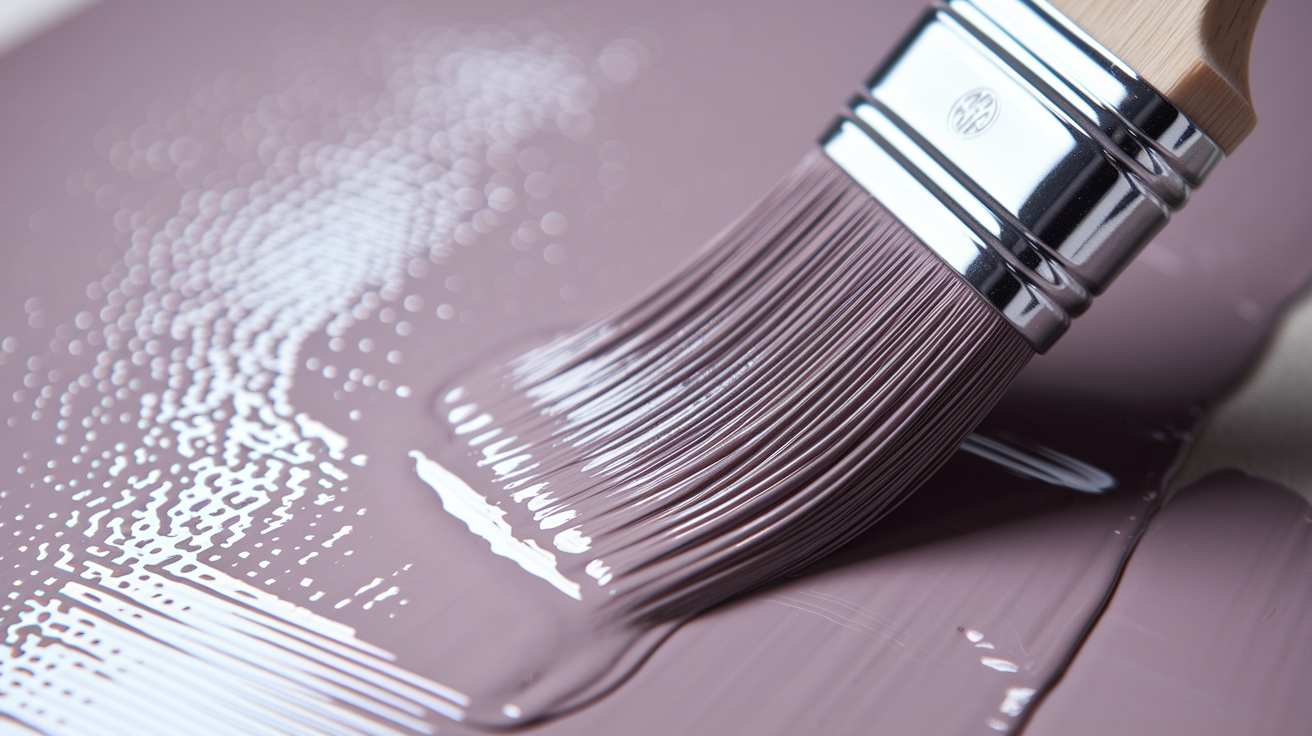
Application Techniques for Smoke Odor Blocking Primer

Select your application method based on project size and primer type. Rollers work best for most wall and ceiling projects, brushes handle detail work, and sprayers speed up large jobs if you have the equipment and experience.
Rolling promotes maximum adhesion to prepared surfaces and gives you good control over coat thickness. Use a 3/8″ to 1/2″ nap roller cover for smooth drywall and plaster. The shorter nap holds enough primer to cover well without leaving heavy texture. Load the roller evenly, roll in overlapping W patterns to spread the primer, then make straight vertical passes to smooth it out. Work in 4 foot by 4 foot sections, maintaining a wet edge to avoid lap marks. Roll ceiling areas before walls to catch drips.
Brush application handles edges, corners, and trim work that rollers can’t reach cleanly. Cut in around outlets, switches, door frames, and ceiling lines with a 2″ to 3″ angled brush. Load the brush about one third of the way up the bristles and use steady pressure to work primer into corners and along edges. Smooth out any heavy brush marks before moving to the next section.
Spray application speeds coverage on large projects and delivers the smoothest finish. HVLP (high volume, low pressure) sprayers work well with all primer types if you thin them according to manufacturer guidelines. Spray in overlapping passes, keeping the gun perpendicular to the surface and maintaining consistent distance and speed. Spraying requires more prep work to mask and protect surfaces, but it cuts application time substantially on whole house projects.
Multiple coats are usually needed depending on contamination extent. Apply the first coat, let it dry completely, then inspect for any yellowing or brown spots bleeding through. Those spots indicate areas where nicotine is still trying to come through. A second coat typically catches these issues. In cases of severe smoke damage where primer alone might not be sufficient, drywall replacement becomes the better solution. Coverage rates run 300 to 400 square feet per gallon depending on surface texture and primer viscosity, so calculate your needs based on total wall and ceiling area.
Safety Precautions When Working With Smoke Sealing Primers
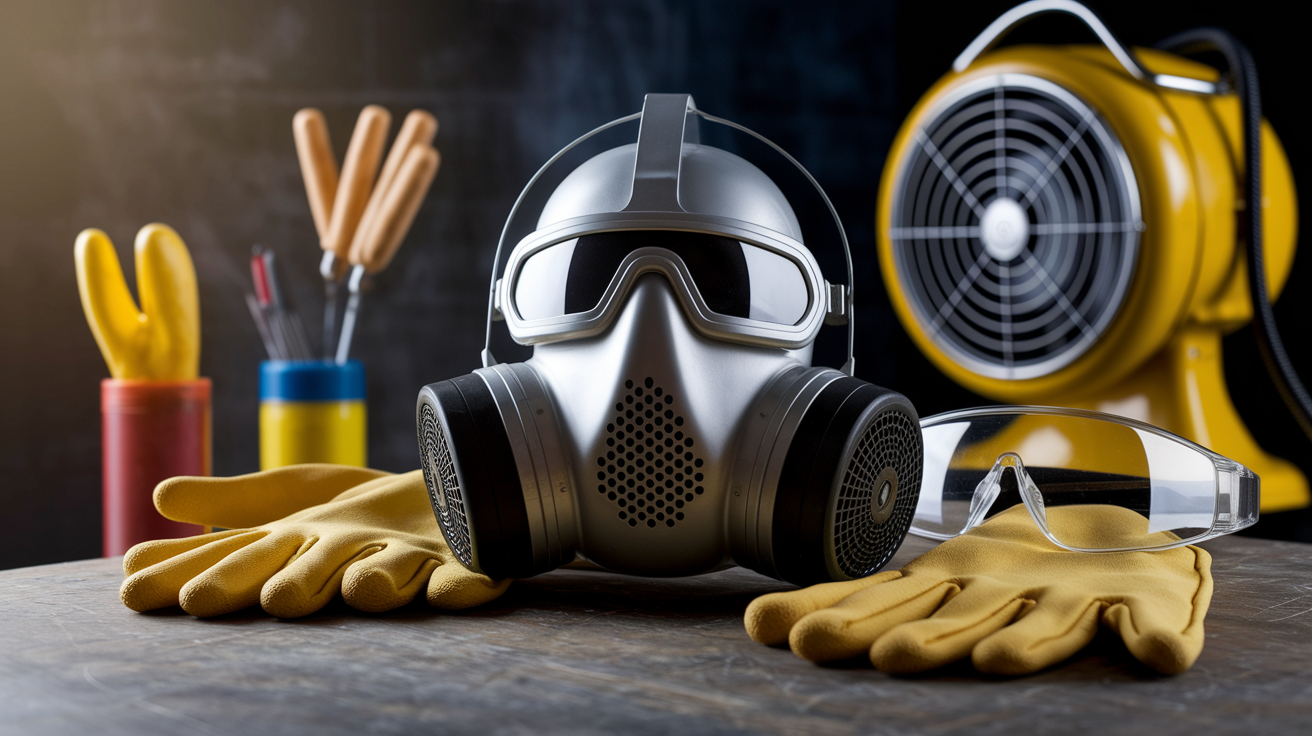
Safety precautions are essential when working with solvent based primers because the fumes can cause headaches, dizziness, and respiratory irritation during application. The high VOC content in shellac and oil based formulas releases concentrated fumes in enclosed spaces.
Respiratory protection requires an organic vapor respirator, not just a dust mask. Dust masks filter particles but don’t remove chemical vapors. Look for a respirator with NIOSH rating for organic vapors (typically marked with a black or gray cartridge). Fit the respirator properly with a tight seal around your nose and mouth before you open the primer can. If you smell strong fumes through the respirator, the cartridge is saturated and needs replacement.
Ventilation setup should create cross flow that pulls fresh air in from one side of the room and exhausts contaminated air out the other. Place a box fan in a window on one side blowing outward, then open windows or doors on the opposite side to draw fresh air through. Run exhaust fans continuously during application and for at least 24 hours after you finish. Plan to vacate the space during application if possible, especially if you’re using shellac or oil based primer. These products make indoor air temporarily unsafe for anyone without respiratory protection.
Wear nitrile gloves to protect skin from solvent contact, and safety glasses to prevent splashes from reaching your eyes. Store primers in their original containers with lids tightly sealed, away from heat sources and out of reach of children and pets. Water based options exist for households with children, pets, or residents with respiratory sensitivities who can’t tolerate solvent exposure. KILZ Restoration and similar water based specialty primers deliver good smoke sealing with significantly lower fume levels.
Smoke Odor Primer Performance in Fire Damage vs. Cigarette Smoke Situations

Long term cigarette smoke contamination differs from acute fire damage in both the type of residue and the remediation approach required. Cigarette smoke creates sticky nicotine and tar deposits that build up slowly over months or years, penetrating carpet, upholstery, wood, plaster, and drywall. Fire damage produces immediate contamination with soot, charring, and chemical residues from burned materials.
Cigarette smoke leaves a greasy yellow brown film that requires aggressive cleaning before priming. The nicotine penetrates deep into porous surfaces and lodges in carpets, upholstery, and inside wall cavities where air purifiers can’t reach it. You’ll need the two step cleaning process (dry sponge followed by TSP wash) to remove surface buildup before primer application. Fire damage involves black soot that often wipes away more easily but can include char that’s burned into the substrate. Soot cleaning requires similar dry sponge technique, but fire residues often include corrosive compounds that need neutralizing treatments before sealing.
Shellac primers excel with nicotine because they create an alcohol based seal that encapsulates water soluble tar compounds. Fire damage may require specialized sealers designed specifically for soot and char, particularly after structure fires that involve petroleum products, plastics, or chemicals. These situations often need commercial grade sealers beyond standard primers. Application techniques differ too. Cigarette smoke typically requires two coats of primer on all exposed surfaces, while fire damage might need three coats or specialized products on heavily affected areas plus single coats on surfaces with light smoke exposure.
Primer alone becomes insufficient when smoke contamination reaches structural materials. Severe fire damage to framing, subfloors, or ceiling joists may require complete material replacement rather than sealing. If you still smell smoke after proper cleaning and two coats of quality shellac primer, the contamination has penetrated beyond what surface sealing can fix. Consider fire and smoke-related home repairs for severe situations requiring professional restoration, particularly when structural safety is a concern.
Topcoat Paint Compatibility After Sealing Smoke Odor
All smoke sealing primers accept standard latex or oil based topcoats once properly cured. You’re not limited in your finish paint choice after using specialized smoke primers.
Shellac and oil based primers provide excellent adhesion for any topcoat type. You can apply latex paint, oil based paint, or specialty finishes over them without compatibility issues. The cured primer creates a stable surface that accepts whatever you want to put on top. Water based primers bond best with latex topcoats since both are water based systems. You can still use oil based topcoats over water based primer, but latex delivers better flexibility and durability with water based primer underneath.
Timing matters for topcoat application. Shellac primer cures fast and usually accepts topcoats after 1 hour, though overnight drying gives you the most durable bond. Oil based primers need 4 to 6 hours minimum before topcoating, and overnight drying works better for heavy use areas. Water based primers dry to the touch in 1 to 2 hours but benefit from 4 hours of cure time before topcoating. Apply two coats of quality paint over sealed surfaces for best appearance and durability. The first topcoat evens out any slight texture from the primer, while the second coat delivers rich color and a uniform finish.
Sheen selection remains your choice regardless of primer type. Flat, eggshell, satin, semi gloss, or gloss topcoats all work over smoke sealing primers. The primer type doesn’t restrict finish options.
Cost Analysis and Where to Buy Smoke Odor Sealing Primers

Typical price ranges for smoke sealing primers run $30 to $60 per gallon depending on type and brand. Budget for the higher end if you’re buying premium shellac or specialized water based formulas.
Shellac based primers like Zinsser B-I-N typically cost $45 to $60 per gallon, putting them at the premium end of the price range. The higher cost reflects better odor blocking performance and the specialized alcohol based chemistry. Oil based primers including KILZ Original run $35 to $50 per gallon, making them the most affordable option that still delivers reliable smoke sealing. Water based specialty primers like KILZ Restoration and Ultra Recon fall in the $40 to $55 per gallon range, positioned between oil based and shellac pricing. The cost reflects the newer chemistry required to make water based formulas perform like solvent products.
You’ll find these products at big box home improvement stores including Home Depot and Lowe’s, which stock the major brands year round. Paint specialty retailers like Sherwin Williams and Benjamin Moore dealers carry smoke sealing primers and can often order specific products if they’re not on the shelf. Online purchasing through Amazon, paint supplier websites, and big box store websites works well for price comparison and delivery to your door.
Bulk purchasing for larger projects sometimes qualifies for contractor pricing at paint stores if you’re buying five gallons or more. Case discounts typically save 10 to 15 percent over single gallon pricing. Product availability varies by location. KILZ Original and Zinsser B-I-N are widely stocked locally, while water based specialty primers and less common formulations may require special order with a few days lead time.
Common Primer Application Mistakes That Reduce Smoke Odor Blocking Effectiveness

Application mistakes can allow smoke odor to persist through sealed surfaces even when you use quality primer products. Small errors in prep work or application technique compromise the barrier that’s supposed to lock odor inside the walls.
- Skipping the pre cleaning step and priming over greasy nicotine residue
- Using standard water based primer instead of specialized smoke sealing formulas
- Applying only one coat when heavy contamination requires two or three
- Failing to seal hidden surfaces (inside closets, behind switch plates, in attics)
- Not allowing adequate drying time between coats
- Using inadequate ventilation which allows fumes to settle back onto surfaces
- Applying primer too thin to achieve proper mil thickness for odor blocking
You’ll know these mistakes happened if you see bleed through, returning odor, or yellowing after the primer dries. Yellow or brown spots appearing through the primer coat indicate nicotine still migrating to the surface. Lingering smoke smell after primer application and drying means contaminated areas didn’t get sealed or the primer coat was too thin. Yellowing that shows up after topcoat application points to inadequate primer coverage or using the wrong primer type.
Corrective action starts with identifying what went wrong. If you see bleed through spots, lightly sand those areas and apply an additional primer coat just on the affected spots, then check again after drying. If odor persists throughout the space, you likely need a full second coat over all surfaces. When yellowing appears after topcoating, you’ll need to sand the finish paint, apply proper smoke sealing primer, and start the topcoat process over. Severe cases where mistakes included skipping surface prep require sanding everything back to the substrate, completing proper TSP cleaning, and starting fresh with the right primer and technique.
DIY Smoke Odor Sealing vs. Professional Restoration Services
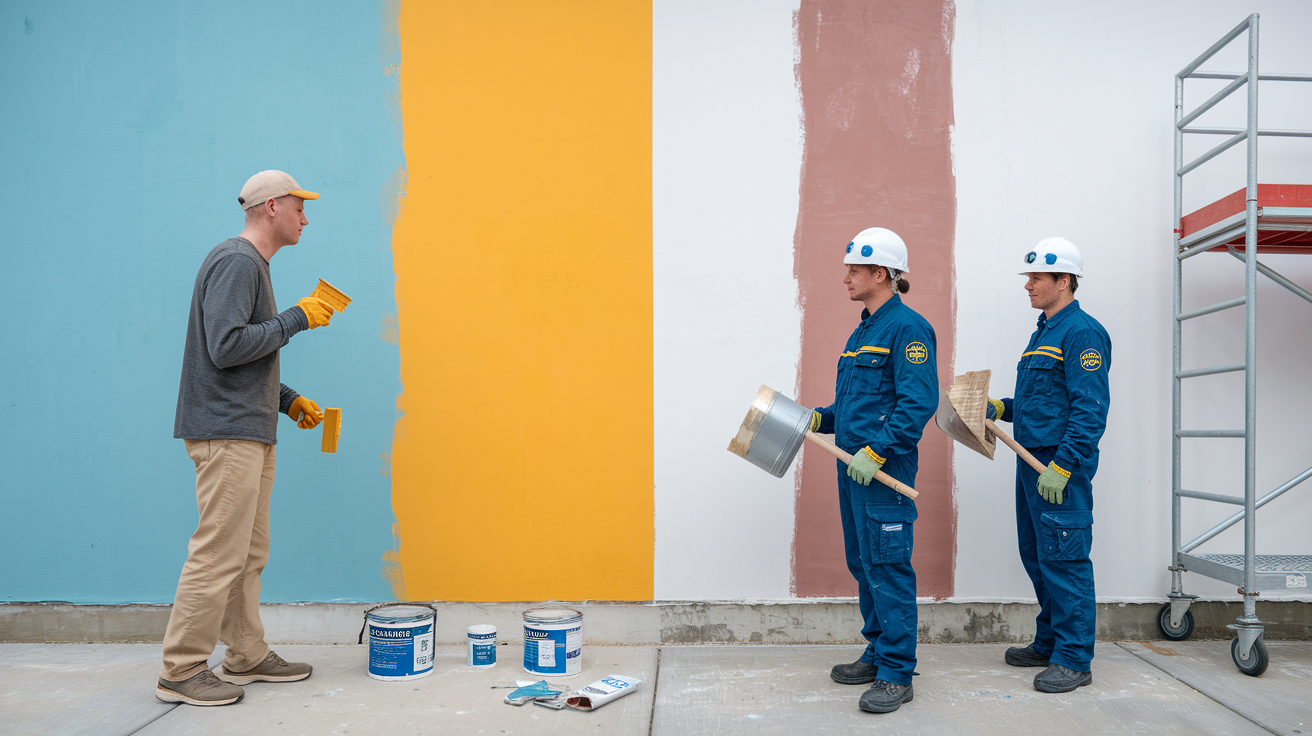
Minor to moderate smoke odor issues are suitable for DIY priming, while extensive contamination often justifies professional help. The difference comes down to project scope, contamination severity, and your comfort level with the materials and safety requirements.
A project fits DIY approach when you’re dealing with limited square footage like a single room or two, surface level smoke exposure without deep penetration into structural materials, and you’re comfortable working with primers that require respirators and ventilation. If you’ve done painting projects before and can commit the time to proper surface prep, primer application, and adequate drying between steps, you can handle smoke sealing successfully. The process takes more care than standard painting but doesn’t require specialized trade skills.
Professional services make sense for whole house contamination where smoke has reached every room, severe fire damage beyond cosmetic staining, inaccessible areas requiring specialized equipment like attic spaces or crawlspaces, tight timelines for rental turnover or sale preparation that need guaranteed completion dates, and situations where occupants have health sensitivities that make DIY work impractical. Professionals bring commercial grade equipment, experience identifying hidden contamination, and insurance coverage if anything goes wrong during the process. Consider interior rebuilding and finishing services when smoke damage extends beyond surfaces you can seal with primer.
Cost benefit considerations compare your material and time investment against professional pricing. DIY materials for an average bedroom run $100 to $200 including primer, cleaning supplies, application tools, and safety equipment. Your time investment runs 8 to 12 hours spread across prep, priming, drying, and topcoating. Professional services for the same room typically cost $400 to $800 but include guaranteed results, faster completion, and no risk to your health from fume exposure. The value proposition shifts based on project size. Single room DIY makes financial sense, while whole house professional work delivers better results per dollar spent.
Many homeowners choose a hybrid approach where they hire professionals for assessment and severe contamination areas while handling lighter smoke damage themselves. A professional inspection identifies problem areas you might miss, particularly in hidden spaces, and gives you a realistic scope of what needs sealing versus what needs replacement.
Final Words
Shellac-based primers like Zinsser B-I-N remain the most effective choice when you need maximum smoke odor blocking power, especially for nicotine and tar deposits.
Oil-based options like KILZ Original offer reliable performance for most smoke situations. Water-based specialty primers work when you need lower VOC levels.
The best primer for sealing smoke odor only works when you prep the surface right and apply it with proper ventilation and safety gear.
Skip the cleaning step or use standard paint, and you’ll smell the problem again in a few weeks. Do it right the first time, and the odor stays locked out for good.
FAQ
What is the best paint primer for smoke smell?
The best paint primer for smoke smell is Zinsser B-I-N shellac-based primer, which creates an impermeable barrier that locks in nicotine and odor molecules better than other primer types. KILZ Original oil-based primer is another trusted professional choice for heavy smoke odor blocking with excellent sealing properties.
Will primer cover cigarette smoke?
Primer will cover cigarette smoke when you use specialized smoke-sealing formulas like shellac-based or oil-based primers designed to encapsulate nicotine and odor molecules. Standard water-based primers are not sufficient because nicotine is water-soluble and bleeds through, causing yellowing and returning odor.
Does Kilz get rid of cigarette smoke smell?
KILZ Original primer gets rid of cigarette smoke smell by blocking heavy odors and stains with excellent sealing properties trusted by professionals for over 40 years. KILZ Restoration is a water-based alternative that seals persistent smoke odors while offering lower VOC levels and easier cleanup than oil-based formulas.
Which Kilz is best for smoke damage?
KILZ Original oil-based primer is best for smoke damage when you need maximum odor blocking power and reliable nicotine stain prevention. KILZ Restoration works well for moderate smoke damage when you prefer a water-based, low-VOC option with easier cleanup and reduced application odor.
How many coats of primer do I need for smoke odor?
You need multiple coats of primer for smoke odor depending on contamination severity, typically two coats for moderate nicotine buildup and three for heavy exposure. Apply the second coat after the first dries completely, watching for bleed-through or yellowing that signals additional coats are necessary.
Can I use water-based primer over cigarette smoke?
You can use water-based primer over cigarette smoke only with specialty formulas like KILZ Restoration or Ultra Recon designed specifically for smoke odor sealing. Traditional water-based primers fail against smoke because nicotine is water-soluble and bleeds through the coating, causing yellowing and persistent odor.
Do I need to clean walls before applying smoke-sealing primer?
You need to clean walls before applying smoke-sealing primer using a two-step process: dry chemical sponge to remove loose soot, followed by TSP solution wash to degrease surfaces. Proper cleaning ensures maximum primer adhesion and prevents greasy nicotine residue from interfering with the primer’s odor-blocking performance.
What safety equipment do I need when applying smoke-sealing primer?
You need an organic vapor respirator rated for VOCs when applying smoke-sealing primer, not just a dust mask, especially with shellac or oil-based formulas. Proper ventilation with cross-airflow, protective gloves, and eye protection are essential because these primers contain strong solvents that off-gas during application.
How long does smoke-sealing primer take to dry?
Smoke-sealing primer takes different drying times depending on type: shellac-based dries in 45 minutes to 1 hour, oil-based requires 2-4 hours, and water-based specialty primers dry in 1-2 hours. Allow full cure time before applying topcoat paint to ensure maximum odor blocking and proper adhesion.
Should I hire a professional for smoke odor sealing?
You should hire a professional for smoke odor sealing when dealing with whole-house contamination, severe fire damage, inaccessible areas, or tight timelines requiring guaranteed results. DIY priming works well for limited square footage with surface-level smoke exposure when you’re comfortable with proper safety equipment and application techniques.