
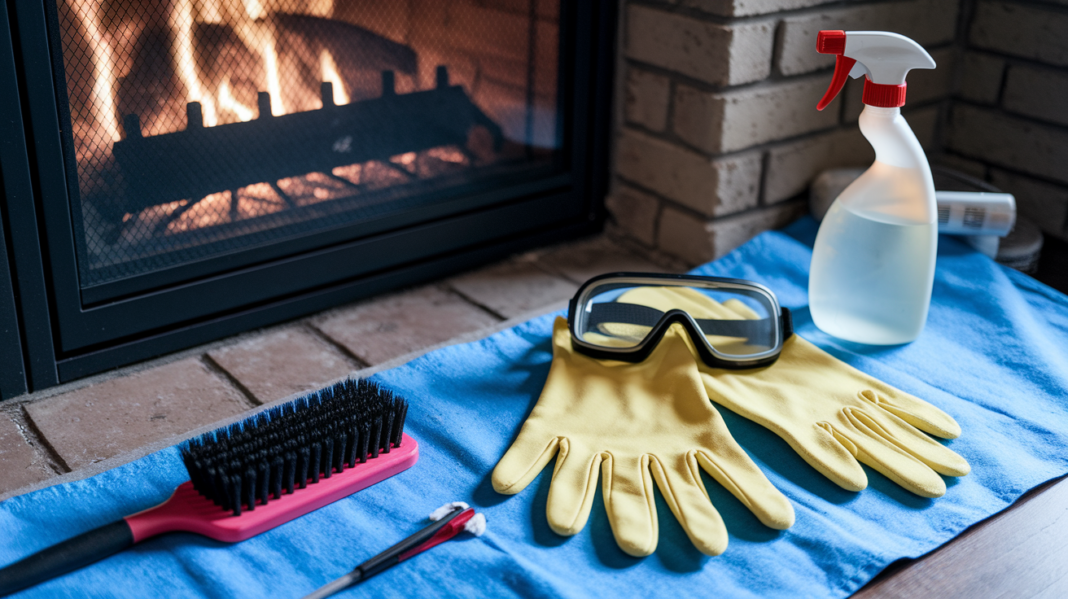

That fireplace you’re staring at right now? The one with black film on the brick, cloudy glass doors, and soot dust settling on your mantel? You can clean it yourself in one afternoon without harsh chemicals or calling someone. Most homeowners think they need a pro, but soot removal is straightforward if you match the right cleaning method to your fireplace surfaces and follow a clear sequence. Here’s how to get your fireplace clean and safe without spreading soot through the rest of your house.
Preparation: Tools, Supplies, and Safety Essentials

Get everything ready before you start. If you don’t, you’ll end up walking through your house with soot on your hands, spreading the mess to rooms that were perfectly clean five minutes ago.
The fireplace needs to be completely cool. We’re talking 12 to 24 hours after your last fire. Touch a warm surface and you’ll release more soot into the air, making everything harder.
Here’s what soot actually is: acidic carbon residue that shows up as either an oily film or dry powder. When you breathe it in, those particles get into your bloodstream. That’s not being dramatic. The health risks include respiratory problems, heart disease, and cancer. Safety gear isn’t optional.
What You Actually Need:
Safety Stuff
- Heavy duty rubber gloves (soot is acidic, cleaning chemicals are harsh)
- Safety glasses or goggles (debris falls, chemicals splash)
- Face mask or respirator rated for fine particles, not one of those flimsy dust masks
- Old long sleeved clothing you’re okay throwing away after
- Open the damper fully before you start so fumes can escape
- Open windows in the room for cross ventilation
Cleaning Tools
- HEPA filter vacuum with brush attachment (regular vacuums just blow fine soot back into the air)
- Scrub brushes in different sizes
- Wire brush for heavy soot on masonry
- Stiff bristle brush for general scrubbing
- Several sponges
- Spray bottles
- Multiple buckets (one for solution, one for rinse water)
- Heavy drop cloths
- Kneeling pad or folded towel (your knees will thank you)
- Optional: power drill brush attachments if you want to save your arms some work
Before You Touch Anything
- Hold your hand near surfaces without actually touching to verify they’re cool
- Don’t touch anything during your first look around. You’ll transfer soot to your clothes or skin.
- Test any cleaning solution on a hidden spot first
- Keep trisodium phosphate (TSP) away from your skin and eyes
- Cover mantels and decorative stuff with plastic sheeting
One trip through your hallway with contaminated hands creates cleaning problems in rooms that have nothing to do with your fireplace.
Quick Overview: Matching Cleaning Methods to Your Fireplace Surfaces
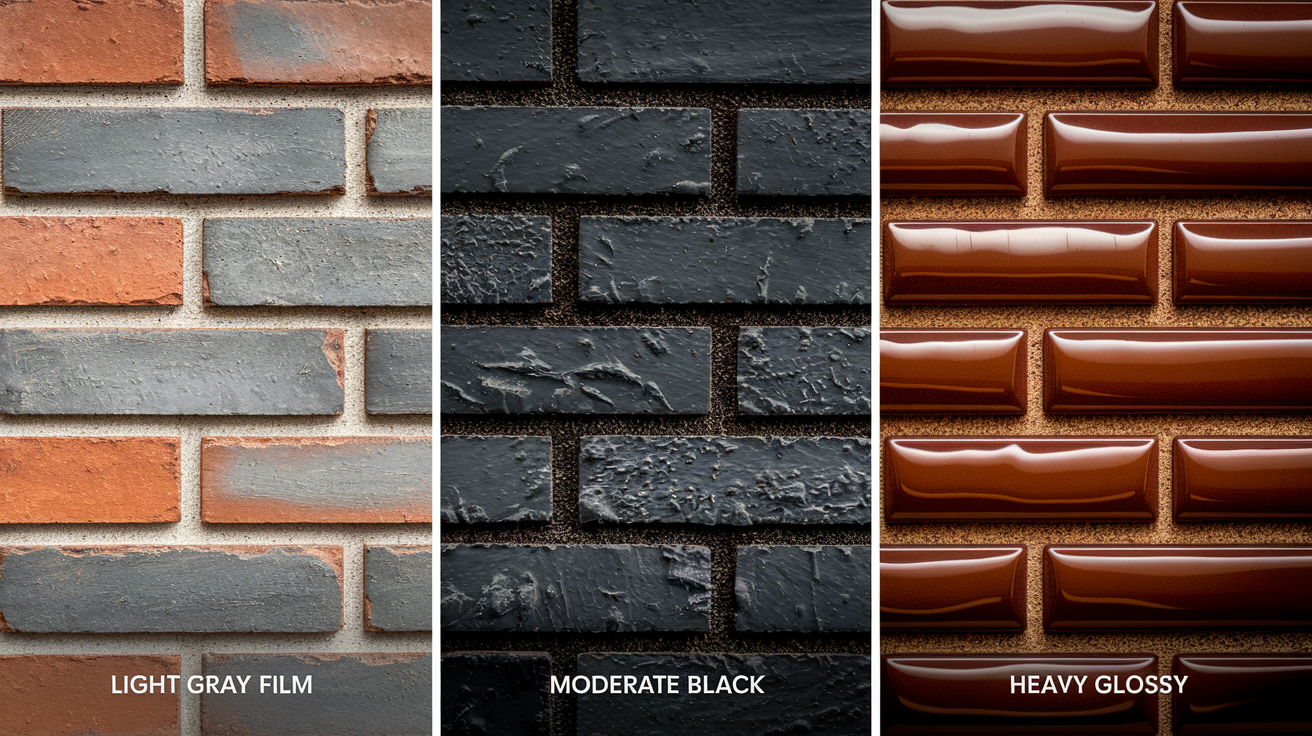
The right method depends on what you’re cleaning and how bad the buildup is. Most complete fireplace cleaning takes 2 to 4 hours, depending on severity and which surfaces need attention.
| Surface Type | Light Soot (thin gray film) | Moderate Soot (visible black coating) | Heavy Soot/Creosote (thick, glossy deposits) |
|---|---|---|---|
| Brick/Stone Masonry | Vinegar solution + soft brush | Salt soap cream or pumice ammonia mixture + stiff brush | TSP solution + wire brush, or commercial brick cleaner |
| Glass Doors | Vinegar water spray + microfiber cloth | Baking soda paste + soft cloth | Commercial glass cleaner + multiple applications |
| Metal Components | Mild soap solution + soft cloth, dry immediately | Dish soap + gentle scrubbing, thorough drying | Degreaser + careful application, inspect for finish damage |
| Painted Surfaces | Damp cloth with mild soap only | Gentle soap solution, test first for paint damage | Professional assessment recommended to avoid stripping paint |
Detailed instructions for each surface type are in the sections below. Figure out how bad your soot is and what materials you’re working with, then jump to whichever sections apply.
Step by Step: Cleaning Soot from Brick and Stone Masonry
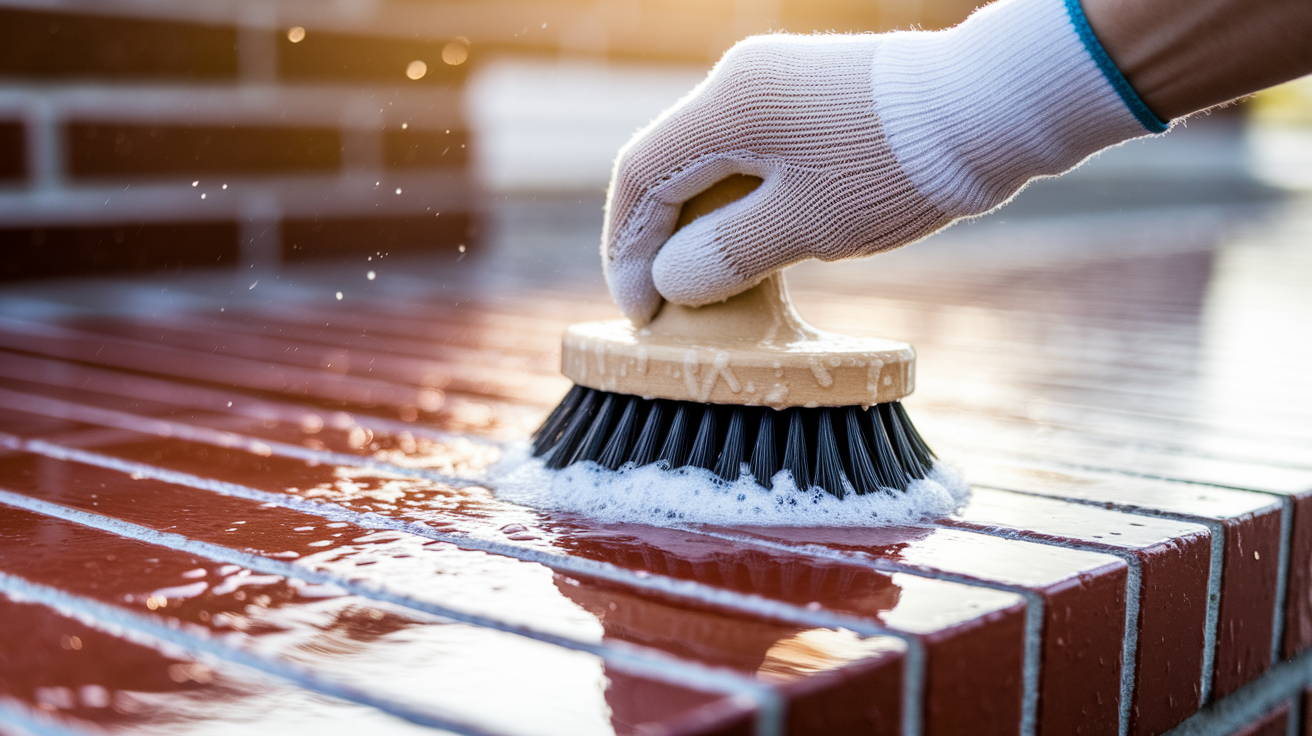
Porous masonry absorbs soot differently than glass or metal. Those tiny holes in brick and stone pull soot particles deep into the material. That’s why you need solution strength and waiting time that matches how far the soot penetrated. Start gentle, go stronger if you need to.
How to Clean Brick and Stone:
- Remove all cooled ash with a HEPA filter vacuum (fine particles will float back onto surfaces you just cleaned otherwise)
- Sweep the firebox to clear loose debris that’ll turn into mud when it meets cleaning solution
- Pick your cleaning solution based on how bad the buildup is (see options below)
- Apply solution generously from top to bottom so gravity works with you
- Let it sit. 5 minutes for light solutions, 15 to 20 minutes for TSP. The chemical needs time to break down the soot before you start scrubbing.
- Scrub in circles with a stiff brush, working top to bottom so you don’t re soil areas you already cleaned
- Pay attention to mortar joints with a smaller brush or toothbrush (soot collects in those recessed spots)
- Rinse thoroughly with clean water and a fresh sponge, changing the rinse water when it turns black
- Do at least two complete rinse cycles to get all the cleaning solution residue out
- Let the masonry air dry completely (this can take several hours for porous surfaces)
- Check for stubborn spots and repeat treatment on those specific areas if needed
Light Soot Solutions
For thin gray film or recent light buildup, try dish soap and warm water at a 1:10 ratio first. This handles surface level soot that hasn’t gone deep yet.
White vinegar solution using equal parts vinegar and water cuts through the oily part of soot. A spray bottle gives you even coverage.
Baking soda paste (three parts baking soda to one part water) works for spot treatment on tough areas that don’t respond to the general solution.
Moderate Buildup Solutions
Salt soap cream combines 1 ounce table salt with 1 ounce soap and just enough water to make it creamy. Rub it onto stains with a cloth, wait at least 10 minutes, then scrub with a stiff brush. The salt is a mild abrasive while the soap breaks down the oily film.
The pumice ammonia combination mixes detergent or soap with pumice powder, hot water, and a small amount of ammonia into a thick mixture. Apply it and let it dry completely. The drying process pulls soot out of the pores. Once it’s dry, scrub it off with a stiff brush. This takes more waiting but less scrubbing effort.
Heavy Deposits Solutions
TSP (trisodium phosphate) uses 1/4 to 1/2 cup per 2 gallons of water. Wear gloves and goggles. TSP burns skin and eyes on contact. The alkaline nature breaks down acidic soot effectively, so you need less scrubbing force because the chemical does most of the work.
Commercial alternatives include Krud Kutter, Brick Anew, and specialized brick and stone cleaners at hardware stores. You’ll pay more but you don’t have to handle TSP powder. Follow the manufacturer’s directions exactly for dilution and timing.
Stubborn stains that won’t budge after your first try often need a pumice stone for spot treatment. Rub gently in circles on specific discolored areas. Deep soot penetration into porous surfaces may need two or three applications of your chosen solution, letting each treatment penetrate before you scrub. Use a toothbrush for grout lines and mortar joints where bigger brushes can’t reach.
Step by Step: Cleaning Soot from Glass Fireplace Doors

Clean glass doors after you finish the brick interior, not before. Dripping solution from overhead brickwork will re soil glass you already cleaned, making you do it twice.
How to Clean Glass Doors:
- Remove loose ash from the glass with a dry cloth, wiping gently so you don’t smear the ash into a film
- Spray generously with vinegar solution (equal parts white vinegar and water) or commercial glass cleaner made for fireplaces
- Let it sit 2 to 3 minutes to break down the oily soot film that makes glass cloudy
- Wipe with a damp cloth in circles, starting at the top and working down
- For stubborn spots, make baking soda paste (3 parts baking soda to 1 part water) and gently rub with a soft cloth
- Buff dry with crumpled newspaper or a dry microfiber cloth for no streaks (newspaper works better than paper towels here)
- Check for missed spots by looking at the glass from different angles in good light, then repeat on any problem areas
Really heavy buildup may need three or four treatments before the glass becomes completely clear. The key is letting each application break down the soot before you wipe.
Don’t use abrasive scrubbers, steel wool, or razor blades on fireplace glass. These cause permanent scratching that ruins the glass and creates rough surfaces where future soot sticks faster.
Step by Step: Cleaning Soot from Metal Fireplace Components

Figure out what kind of metal finish you’re dealing with. Painted metal, polished brass or chrome, and raw iron or steel each need different treatment to avoid damage.
How to Clean Metal Surfaces:
- Identify the finish type and whether components come off or are permanently attached
- For removable non electrical metal parts (andirons, grates, tool sets), take them outside and spray with a garden hose to remove loose soot before detailed cleaning
- For attached metal surfaces, wipe with a barely damp cloth to remove loose particles without spreading soot around
- Apply mild dish soap solution (a few drops in warm water) with a soft sponge in gentle circles
- Skip abrasive scrubbers that scratch decorative finishes and create dull spots on polished surfaces
- Dry immediately and thoroughly with a soft cloth to prevent rust, especially critical on raw iron or steel that oxidizes fast when moisture sits on the surface
Painted metal needs extra care to avoid chipping or stripping the finish. Test your cleaning solution on a hidden spot first, and use the minimum scrubbing pressure needed.
Polished metals like brass, chrome, or nickel plated components may need specific metal polish after cleaning to restore shine. Soot creates a tarnish like effect that dulls reflective surfaces even after the black residue is gone.
Any metal showing rust spots after cleaning needs immediate attention with appropriate rust treatment before the next fire. Rust spreads quickly once it starts, and heat from fires speeds up the corrosion process.
Addressing Heavy Creosote and Stubborn Soot Stains
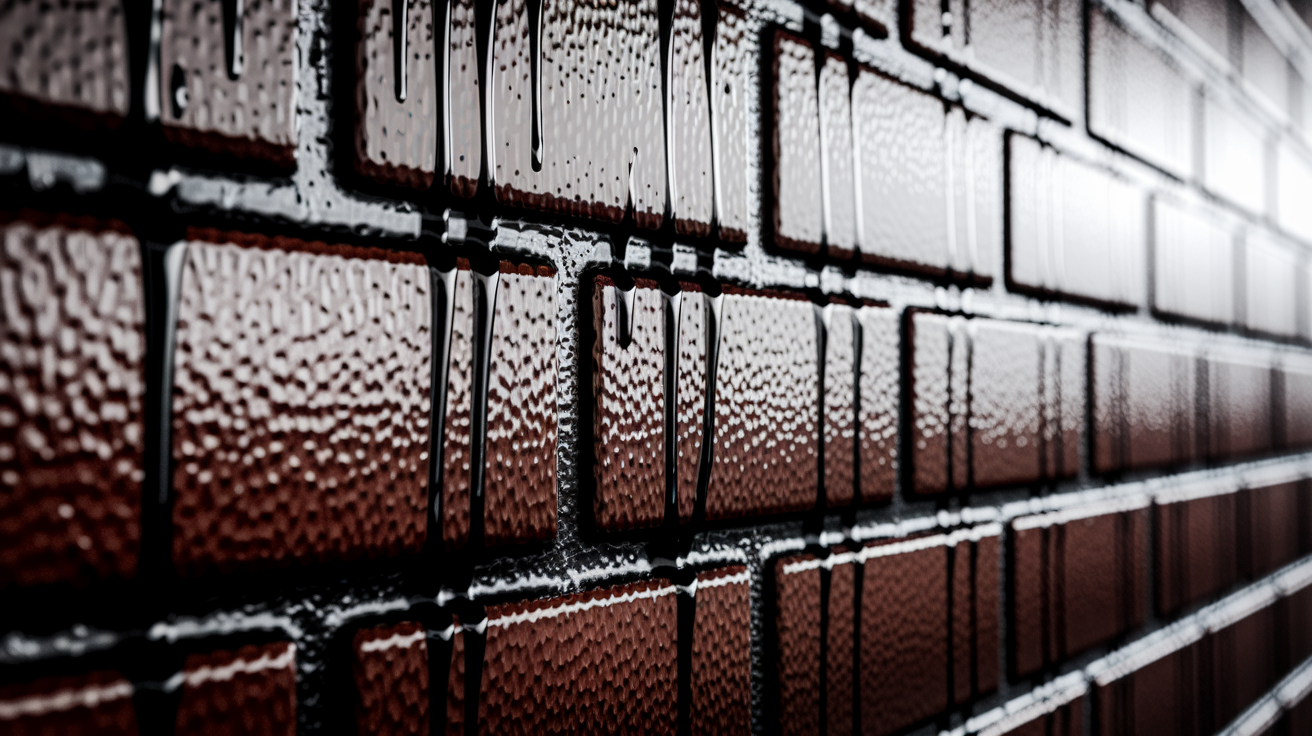
Surface soot appears as dry, powdery gray or black film that wipes away with moderate effort. Deep creosote staining shows up as shiny, glazed, tar like texture that feels sticky or hard when you touch it. These are fundamentally different problems.
Creosote buildup over 1/8 inch thick or Stage 3 creosote (glossy black coating that looks almost like thick paint) requires a professional chimney sweep. This stuff is extremely flammable. It can ignite from a single spark and cause a chimney fire that spreads to your home’s structure. Don’t try DIY removal when you see thick, shiny deposits. Call a professional, since the fire hazards from excessive creosote and what happens if you neglect cleaning create serious risks.
For heavy buildup that’s still in DIY range, TSP with extended waiting time works well. Mix your solution and apply it, then wait 15 to 20 minutes before scrubbing. Let the chemical do most of the work. Use a wire brush with firm pressure and work in small sections. Heavy soot often needs two or three treatment cycles on the same area, with fresh solution each time. Soot eraser products at hardware stores give you an option between soap and water alone and full TSP treatment.
The extreme case naptha soap formula is your final DIY option before calling pros. Shave a bar of naptha soap into a pot with 3 quarts of water and boil until the soap melts completely. Let it cool to room temperature, then add 1 pound of pumice powder and 1 cup of ammonia. Apply this thick mixture to stains and leave it for at least 1 hour (some people leave it 2 to 3 hours for severe staining). Scrub with a stiff bristle brush afterward. This formula is intensive but effective on soot that penetrated deeply into unsealed masonry over multiple burning seasons.
Sometimes staining becomes permanent despite aggressive cleaning when soot penetrated so deeply that no surface treatment can reach it. At that point, your options include painting with heat resistant masonry paint formulated for fireplace interiors or professional sandblasting that removes the top layer of brick surface. Neither is ideal, but both beat living with heavy black staining.
Cleaning the Hearth and Protecting Surrounding Areas
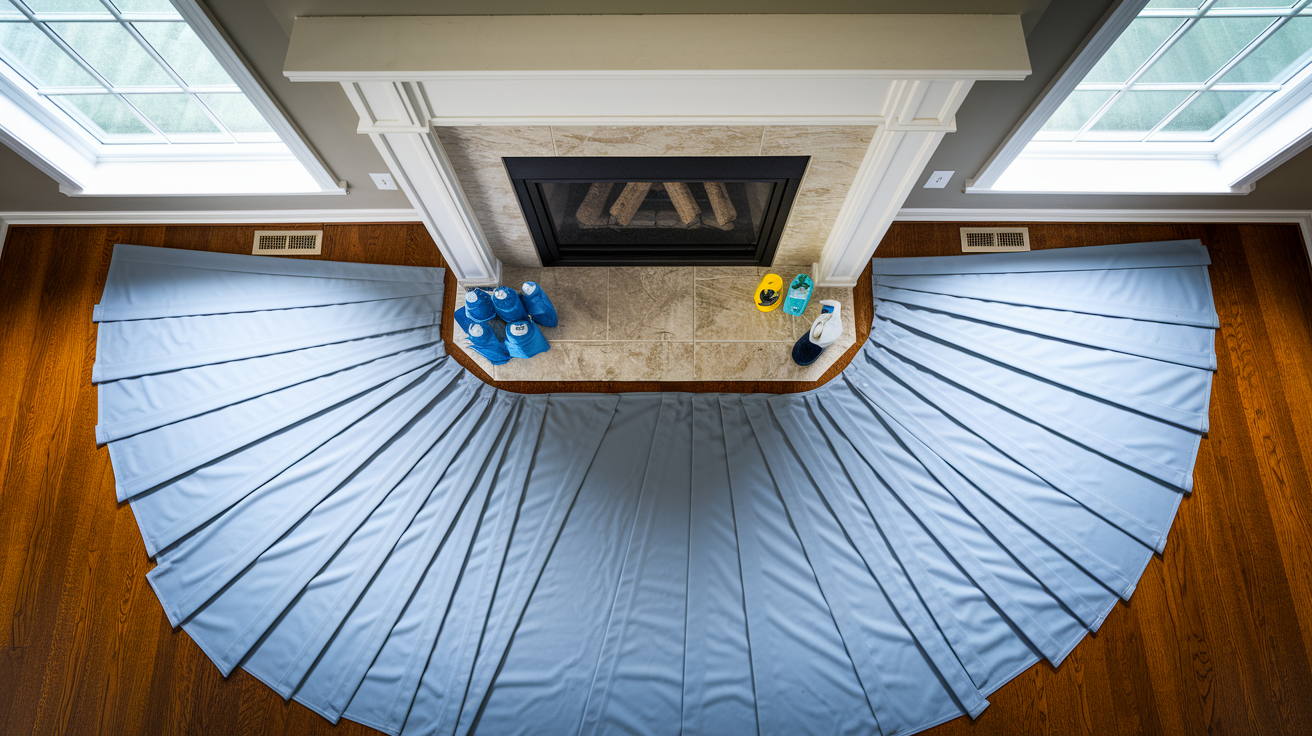
Preventing soot transfer to surrounding surfaces starts before you touch the fireplace. Drop cloth placement matters because cleaning solution and loosened soot will drip downward throughout the process. One missed spot means black stains on flooring or carpet.
Hearth cleaning depends on the material. Tile or stone hearths can use the same solutions as the fireplace interior brick, so you’re just extending your work area. Sealed wood hearths need wood safe cleaners only. Never vinegar, which stains and damages wood by breaking down the finish and darkening the grain. Painted surfaces need a gentler approach with mild soap solution to avoid stripping or damaging the finish. All hearth cleaning should be done barely damp rather than soaking wet, since excess moisture seeps into seams and creates water damage to underlying structures that you won’t notice until problems show up weeks later.
Protecting and cleaning adjacent areas prevents soot from settling onto surfaces you use daily. Vacuum upholstery and curtains near the fireplace with a HEPA filter attachment before you start scrubbing. The agitation releases soot particles into the air that settle on fabric. Wipe down mantels and decorative trim with a barely damp cloth to remove settled soot dust. Address any cleaning solution overspray on walls or floors immediately before it dries. Dried solution leaves white residue that’s harder to remove than the original soot. Use multiple drop cloths in overlapping layers extending at least 4 feet out from the fireplace opening to catch drips during your top down scrubbing.
Check surrounding areas after you finish the main work. Look for soot footprints on floors, solution drips on walls, or dust on nearby furniture. These problems are easy to fix right away but become permanent stains if you ignore them.
Maintenance Schedule to Minimize Future Soot Buildup

Prevention and regular light cleaning take way less time and effort than intensive deep cleaning of heavy buildup. A quick 15 minute session after every 5 to 6 fires prevents hours of heavy scrubbing later.
Prevention by Category:
Proper Burning
- Burn only seasoned hardwood with moisture content below 20% (wet wood creates excessive smoke and soot)
- Make sure the damper is fully open before lighting fires so smoke exits through the chimney instead of depositing in the firebox
- Avoid smoldering fires that produce excess smoke. Maintain active flames with adequate air supply.
- Crack a window if fires consistently smoke
- Use glass doors to contain smoke when the fire is dying down and producing more soot than flames
Regular Cleaning
- Remove ash when it reaches 1 inch depth to prevent it from absorbing moisture and creating paste that’s harder to clean
- Light cleaning after every 5 to 6 fires prevents soot from penetrating into porous surfaces before it sets deeply
- Wipe glass doors weekly during burning season with vinegar solution to prevent buildup you can’t see through
Professional Maintenance
- Schedule annual professional chimney inspections even if you do your own firebox cleaning
- Get the chimney swept when creosote reaches 1/8 inch thickness anywhere in the system
A seasonal routine creates a predictable schedule. Light cleaning in spring after burning season ends removes accumulated residue before summer humidity causes it to set into brick pores. Assessment and any needed deep cleaning in early fall before burning season begins means you’re starting with a clean system. Monthly ash removal and glass cleaning during active winter burning months prevents excessive buildup between seasonal deep cleaning sessions.
Consistent light maintenance prevents soot from penetrating deeply into brick and masonry pores. When soot sits only on the surface, each cleaning session takes 20 to 30 minutes instead of 3 to 4 hours, and you need only mild soap instead of aggressive chemicals.
When Professional Chimney Cleaning Becomes Necessary
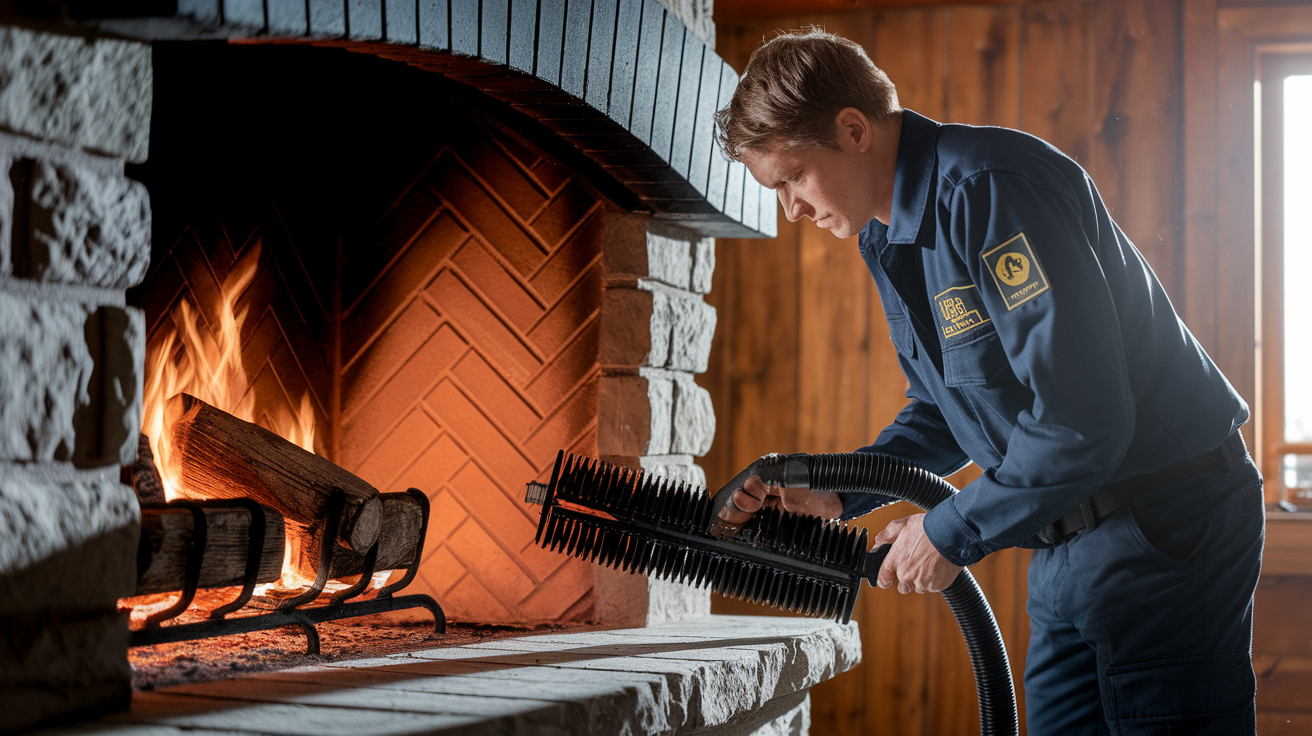
DIY cleaning addresses visible firebox surfaces but can’t reach critical chimney areas including the flue, smoke chamber, and chimney cap. These areas accumulate dangerous creosote you can’t see or access from inside your home, even with the best tools and effort.
Signs You Need a Professional Chimney Sweep:
- Creosote buildup exceeding 1/8 inch thickness anywhere in the system (check by looking up into the flue with a flashlight)
- Glazed shiny or tar like creosote deposits indicating Stage 3 buildup that’s highly flammable and can’t be safely removed with household methods
- Chimney hasn’t been professionally inspected in over a year, regardless of how much you use the fireplace
- Visible damage to chimney liner or masonry structure (cracks, missing mortar, loose bricks)
- Persistent smoke entering the room during fires despite having the damper fully open (indicates blockage or draft problems)
- Strong creosote or smoke odor even when the fireplace isn’t in use (suggests heavy buildup in the flue)
- You’re uncertain about chimney structural condition or safety after buying a home or before resuming use after years of inactivity
- You’re planning to use a fireplace that’s been inactive for multiple years (animals may have nested in the flue)
Professionals have specialized equipment homeowners don’t: rotary brushes on flexible rods that clean the entire flue length, industrial vacuums that capture all debris without releasing it into your home, and inspection cameras that identify structural issues like cracked liners or damaged mortar during the cleaning process. They can remove dangerous creosote levels that pose immediate fire risk, and they’re trained to spot problems that aren’t obvious when you’re looking at a brick firebox.
Typical professional service costs range $150 to $300 for standard cleaning and inspection, though prices increase for severe creosote problems or needed repairs. Best timing is late summer or early fall before burning season starts, when chimney sweeps aren’t yet overwhelmed with emergency calls from people who waited until the first cold day. Professional cleaning doesn’t eliminate the need for you to maintain visible firebox areas between annual services. You still need to remove ash regularly and wipe down surfaces after heavy use.
Final Words
Keeping your fireplace clean protects your home and makes the space safer for your family.
Start with the right safety gear and cleaning solution for your specific surface type. Work top to bottom. Scrub stubborn areas with the appropriate brush strength. Rinse thoroughly.
Light maintenance after every few fires prevents heavy buildup that requires hours of intensive scrubbing. When you learn how to clean soot from fireplace surfaces correctly, each cleaning session gets faster and easier.
If you see thick glazed creosote or damage beyond surface soot, call a professional chimney sweep. Some situations need specialized equipment and safety knowledge.
Clean firebox. Clear glass. Protected home.
FAQ
How do you get rid of black soot in a fireplace?
You get rid of black soot in a fireplace by first vacuuming loose ash with a HEPA filter, then scrubbing surfaces with appropriate cleaning solutions matched to the material and buildup severity, working from top to bottom with stiff brushes, and rinsing thoroughly.
Does Dawn dish soap remove soot?
Dawn dish soap does remove light soot when mixed with warm water at a 1:10 ratio and applied with scrubbing action using a stiff brush, though heavier buildup requires stronger solutions like TSP or vinegar-based cleaners for complete removal.
Does soot stain permanently?
Soot can stain permanently when it penetrates deeply into unsealed porous masonry before cleaning, especially if left untreated for extended periods, though most surface soot removes successfully with appropriate cleaning solutions and sufficient scrubbing effort before deep penetration occurs.
Is vinegar good for cleaning soot?
Vinegar is good for cleaning light to moderate soot when mixed with equal parts water and applied to brick, stone, or glass surfaces, though it should never be used on wood floors or hearths as it causes staining and finish damage.
What safety equipment do you need to clean fireplace soot?
You need safety equipment including gloves, safety glasses, a face mask or respirator, and long-sleeved clothing to protect skin and lungs from soot’s acidic particles that can cause respiratory problems when inhaled during the cleaning process.
How long should you wait before cleaning a fireplace after use?
You should wait a minimum of 12 to 24 hours after the last fire before cleaning a fireplace to ensure all surfaces have cooled completely, preventing burns and allowing ash to settle for safer removal.
When does creosote buildup require professional cleaning?
Creosote buildup requires professional cleaning when it exceeds 1/8 inch thickness anywhere in the system or appears as shiny black tar-like Stage 3 deposits that are highly flammable and cannot be safely removed with household cleaning methods.
How often should you clean soot from your fireplace?
You should perform light soot cleaning after every 5 to 6 fires to prevent penetration into porous surfaces, remove ash when it reaches 1-inch depth, and schedule professional chimney inspections and deep cleaning annually before burning season begins.