

Most homeowners don’t realize a wet crawl space is drying from the top down while rotting from the bottom up. If you’re staring at standing water under your house right now, the clock’s already running on mold growth, structural damage, and trapped moisture that’ll keep working against you for months. The good news is you can stop the damage and dry it out completely if you follow the right sequence. We’ll show you exactly what to do first, which equipment actually works, when DIY makes sense, and when you need to call professionals before the problem spreads upward into your floors.
Critical Safety Precautions Before Entering a Flooded Crawl Space
Water and electricity don’t mix. Ever. Electric shock from water contacting outlets, appliances, or wiring causes severe burns, cardiac arrest, and death. You don’t enter a flooded crawl space until a qualified electrician confirms the power’s completely off. Not something you skip. Not something you handle yourself. The main breaker might be off, but individual circuits could still be energized through backfeed situations or generator connections. Standing water conducts electricity across distances. You don’t have to directly touch a wire or outlet to get shocked.
Before you go down there, complete these safety checks in order:
Electrical system verification. Have a licensed electrician confirm power is off to the entire crawl space. That includes outlets, HVAC equipment, water heaters, and any other electrical components.
Air quality testing. Test for carbon monoxide, sewer gases, or low oxygen levels. Especially important in enclosed crawl spaces with limited ventilation.
Structural stability assessment. Check for sagging floors above, cracked foundation walls, or compromised support posts that could collapse.
Contamination type identification. Determine if you’re dealing with clean water (supply line), gray water (appliance discharge), or black water (sewage backup).
Pest and wildlife presence. Look for snakes, rodents, or insects that may have entered through flood openings or been displaced by rising water.
Proper protective equipment isn’t optional. Wear waterproof boots rated for the depth you’ll encounter, chemical resistant gloves that cover your forearms, and head protection in low clearance areas. If you’re dealing with sewage contamination or visible mold, you need an N95 respirator at minimum. For extended work, use a half-face respirator. Use battery powered flashlights or LED work lights. Never candles or any open flame. Even small amounts of natural gas or propane create explosive conditions in enclosed spaces.
Stop and call professionals instead of proceeding if you find sewage or chemical contamination, structural damage like cracked foundation walls or sagging floor joists, mold covering more than 10 square feet, or electrical equipment that was submerged. Some situations are beyond DIY scope. They require specialized training, equipment, and safety protocols. Pushing forward when you shouldn’t can turn a property problem into a personal injury or death.
DIY Drying Versus Hiring Professional Restoration Services
DIY drying works for minor situations. You’re dealing with clean water from a supply line, the water depth stayed under a few inches, there’s no electrical system damage, and you’re comfortable working in tight spaces with the right equipment.
These situations require professional restoration help, not DIY attempts:
Sewage or contaminated water. Black water contains bacteria, viruses, and pathogens requiring specialized cleaning protocols and disposal methods.
Water deeper than 6 inches. Volume exceeds what homeowner equipment can handle efficiently. Structural damage risk increases significantly.
Electrical system damage. Any situation where outlets, wiring, or equipment was submerged needs professional electrical assessment and repair.
Extensive mold growth. Visible growth covering more than 10 square feet, especially on structural wood, requires containment and proper remediation.
Structural concerns. Soft or spongy floor joists, cracked foundation walls, or compromised support systems need engineering evaluation.
Insurance claim filing needs. Professional documentation, moisture mapping, and detailed scopes help maximize coverage and prevent disputes.
Professional restoration services bring advantages that go beyond just faster drying. They deploy industrial grade dehumidifiers that remove 10 to 20 times more moisture per day than rental units. They understand psychrometry. They know how to balance airflow with moisture removal so you’re actually drying the structure instead of just moving wet air around. Their thermal imaging cameras find hidden moisture pockets in walls and subflooring that you’d miss with a basic meter. They coordinate with insurance companies, provide detailed documentation, and handle mold remediation if growth has started. The typical crawl space restoration runs $2,000 to $8,000 depending on water source, depth, affected area size, and contamination level. Insurance often covers this when the damage stems from sudden events like pipe bursts.
DIY equipment rental costs run $100 to $300 for basic drying with a crawl space dehumidifier and a couple air movers for a week. You’ll need a moisture meter ($30 to $150), wet/dry vacuum if you don’t own one ($80 to $200 to buy), and possibly a submersible pump for deeper water ($60 to $100 rental). That’s assuming you can do the work yourself and nothing goes wrong. Insurance typically won’t reimburse DIY equipment costs.
When selecting restoration contractors, look for IICRC (Institute of Inspection, Cleaning and Restoration Certification) credentials, specific crawl space and water damage restoration experience, local references from recent jobs, 24 hour emergency availability, and upfront pricing that breaks down labor, equipment, and materials separately.
Complete Step-by-Step Drying Process for Water-Damaged Crawl Spaces
The complete drying sequence typically takes 3 to 7 days for minor flooding where water depth stayed under 2 inches, 1 to 2 weeks for moderate saturation affecting insulation and structural wood, and 2 to 4 weeks for severe cases with deep standing water and prolonged exposure. Temperature makes a difference. Warmer crawl spaces dry faster. So does air exchange, but you’ll control that with equipment rather than just opening vents.
Step 1: Stop the Water Source and Extract Standing Water
Find and fix what’s causing the water before you start removing it. A burst supply line needs shutoff and repair. Poor grading needs exterior correction. A failed sump pump needs replacement. If water’s still coming in, you’re fighting a losing battle.
For surface moisture under 1 inch deep, use mops and towels to absorb what you can. Work from the outside edges toward a central low point where you can extract the concentrated water. For 1 to 4 inches of standing water, a wet/dry vacuum handles extraction well. Empty the tank frequently and have a discharge plan. Either dumping into a floor drain, sump pit, or carrying buckets outside. For water deeper than 4 to 6 inches, use a submersible pump. These move hundreds of gallons per hour and can handle debris without clogging. Professional help makes sense beyond 6 inches because the volume, weight, and structural concerns get serious.
Don’t try to get every last drop during extraction. You’ll finish surface water with equipment in later steps. The goal here is removing bulk standing water so your dehumidifier and air movers can work on structural drying instead of fighting puddles.
Step 2: Remove Wet Materials and Damaged Insulation
Wet fiberglass insulation is done. It loses R-value, holds moisture against floor joists and subflooring, and becomes a mold breeding ground. Pull it all down and bag it for disposal. Check the insulation type first. If you’ve got vermiculite or older materials, stop and get an asbestos test before disturbing anything.
Inspect structural elements while you’re removing insulation. Look at floor joists and subflooring from underneath. Check for dark staining, soft spots when you press with a screwdriver, or visible mold growth. Foundation walls need inspection too, especially where they meet wood sill plates.
Remove any stored items, cardboard boxes, wood pallets, or debris that got wet. Cardboard and organic materials hold moisture and feed mold growth. If you had a vapor barrier down before flooding, inspect it carefully. Small tears can be repaired with waterproof tape, but if it’s shredded or poorly installed, pull it out completely. You’ll install a new barrier after everything dries.
Step 3: Position Dehumidifiers and Drainage Setup
Crawl space dehumidifiers are different from the portable unit you’d use in a basement. You need an LGR (low grain refrigerant) or desiccant dehumidifier designed for high moisture loads and continuous operation. These units remove 90 to 150+ pints per day versus 30 to 50 pints for standard residential models.
Place the dehumidifier in a central location away from vents or access openings. It needs to sit on a stable, elevated surface, not directly on dirt or a compromised vapor barrier. Set it up so the intake pulls air from the wettest areas and the dry exhaust disperses throughout the space.
Connect a continuous drainage hose from the dehumidifier to a floor drain, sump pump pit, or discharge line that goes outside. Empty buckets every few hours isn’t a drying strategy. The unit should run unattended for days or weeks. Make sure the hose has a downward slope with no kinks or low spots where water can pool.
Close all crawl space vents before running the dehumidifier. Open vents let outdoor humidity in. You’ll be trying to dehumidify the entire neighborhood instead of your crawl space. Seal access doors and any other openings. You’re creating a controlled drying environment where the dehumidifier can actually lower humidity instead of fighting constant moisture infiltration.
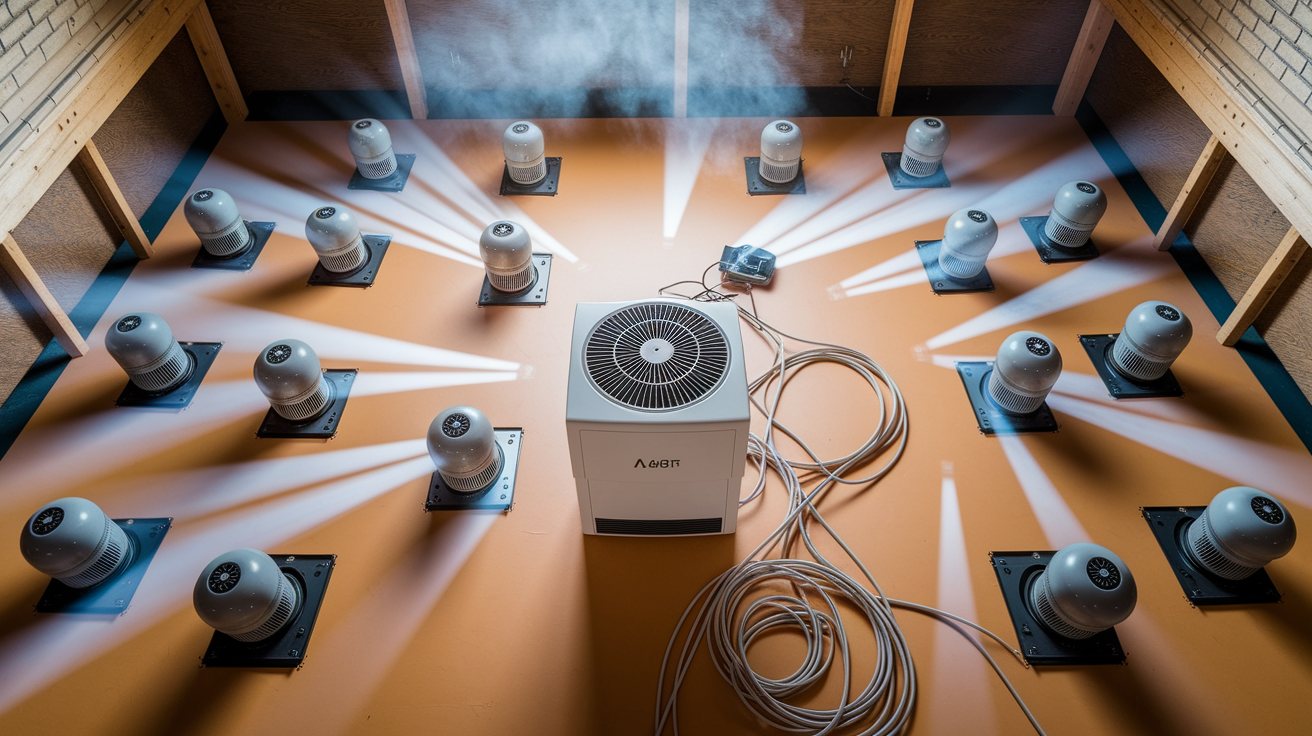
Step 4: Deploy Air Movers for Strategic Circulation
Air movers increase evaporation by directing warm, dry air across wet structural materials. Position them along floor joists and subflooring, not pointed at the soil. You’re drying the wood structure, not the dirt underneath.
For a typical crawl space, start with 3 to 4 air movers creating airflow paths that reach all affected areas. Place one near the dehumidifier intake to help pull moisture toward it. Position others to direct airflow along wet floor joists, across subflooring, and into any corners or dead zones. Angle fans slightly upward so air hits wood surfaces directly.
Never let airflow outpace your dehumidifier’s moisture removal capacity. Too much airflow without enough dehumidification just moves wet air around. It can actually drive moisture deeper into wood instead of pulling it out. The dehumidifier should run continuously while air movers create circulation, not wind.
Use a power distribution box to run multiple fans and the dehumidifier from a single power source safely. Extension cords shouldn’t exceed 25 feet to prevent voltage drop and fire risks. Use 12 gauge cords rated for the amperage you’re drawing. Plug the distribution box into a GFCI protected outlet.
Step 5: Monitor and Document Progress Daily
Use a moisture meter to check floor joists, sill plates, and subflooring every 24 hours. Pin type meters give you accurate readings in wood. Floor joists should drop below 16% moisture content, subflooring below 14%. Those are the targets that indicate the structure is dry enough to prevent mold and rot.
Check humidity with a hygrometer daily. You’re targeting 30% to 50% relative humidity in the crawl space. Early in the drying process, humidity might stay high (70% to 90%) for several days while equipment works to remove airborne moisture. That’s normal. Steady downward progress matters more than hitting target numbers immediately.
Document everything. Daily moisture meter readings at consistent test points, humidity and temperature measurements, equipment runtime hours, and progress photos. Take pictures of the same areas each day so you can see visible drying progress. If you’re filing an insurance claim, this documentation is critical. Even without insurance involvement, records help you know when you’re actually done instead of guessing.
Adjust equipment based on what the readings tell you. If moisture levels aren’t dropping after 48 hours, you might need another air mover, better airflow positioning, or a second dehumidifier. If humidity is dropping too fast while wood moisture stays high, your airflow might be outpacing moisture removal.
These five steps work together as a system. Skipping equipment placement strategies, monitoring, or documentation leads to incomplete drying and problems six months later when mold starts growing behind closed vapor barriers.
| Equipment Type | Purpose | Rental Cost |
|---|---|---|
| Submersible Pump | Removes standing water deeper than 4-6 inches | $60-$100 per day |
| Wet/Dry Vacuum | Extracts shallow standing water and surface moisture | $80-$200 to purchase |
| Crawl Space Dehumidifier | Removes airborne moisture and prevents condensation | $75-$150 per week |
| Air Movers | Increases evaporation rate on structural wood surfaces | $25-$40 per week each |
| Moisture Meter | Measures wood moisture content to verify drying progress | $30-$150 to purchase |
Drying speed depends on initial moisture levels, outdoor temperature and humidity, equipment capacity, and how well you’ve sealed the crawl space from outside air. Warmer temperatures speed evaporation. Lower outdoor humidity helps dehumidifiers work more efficiently. You’ll know the space is fully dry when moisture readings stay in target range for 48 consecutive hours, musty odors are gone, and humidity remains stable between 40% to 50% without climbing.
Fixing the Root Cause: Common Water Sources and Drainage Solutions
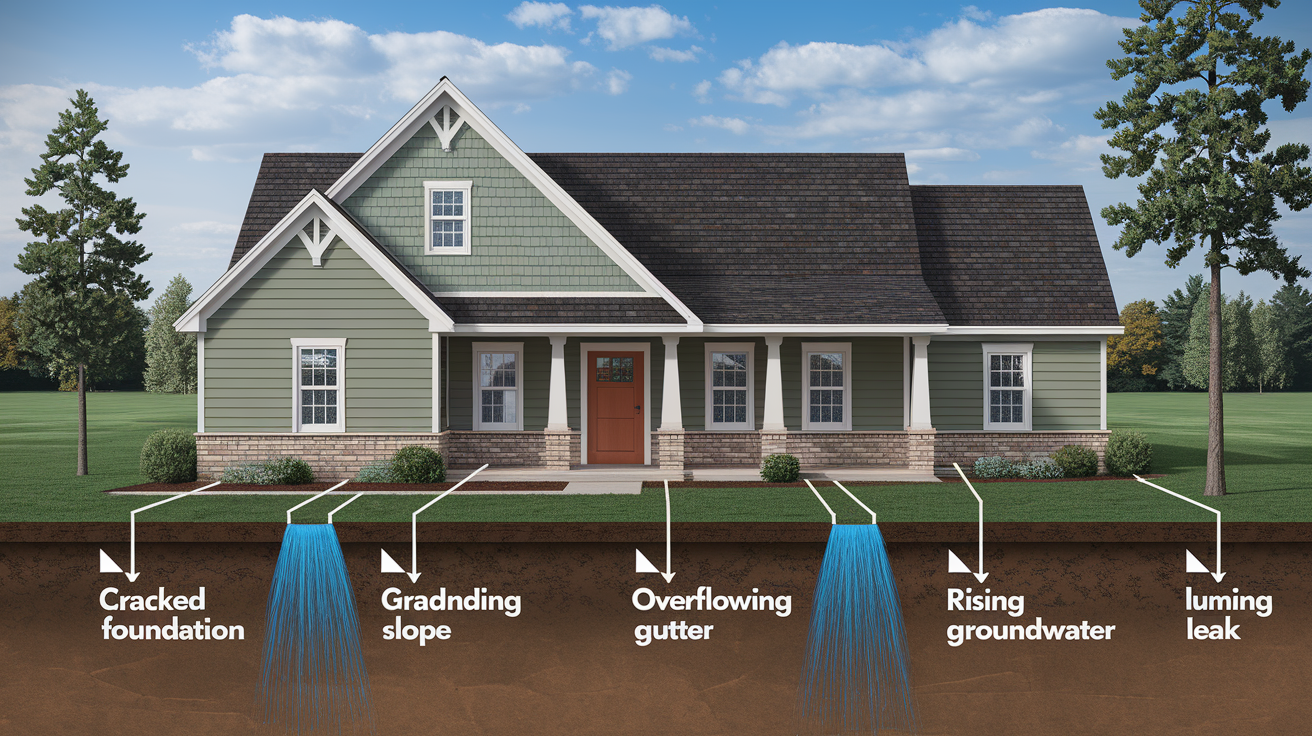
Drying the crawl space handles the immediate damage. Fixing what caused the water prevents it from happening again next month or next spring. Most crawl space flooding comes from predictable, fixable sources.
| Water Source | Symptoms | Solution |
|---|---|---|
| Plumbing Leaks | Water appears near supply lines, water heater, or HVAC condensate drains; may be intermittent | Repair leaking pipes, replace failing water heater, fix condensate drainage |
| Poor Grading | Water pools next to foundation after rain; soil slopes toward house instead of away | Regrade soil to slope 6 inches per 10 feet away from foundation |
| Inadequate Gutters/Downspouts | Water overflows gutters or discharges within 3 feet of foundation; crawl space floods during heavy rain | Clean gutters, extend downspouts 6-10 feet from house, add splash blocks |
| Foundation Cracks | Water enters at specific points along foundation walls; visible cracks or gaps in concrete | Seal with hydraulic cement or polyurethane sealant; larger cracks need professional assessment |
| High Water Table/Groundwater | Water seeps through floor after extended rain; seasonal flooding pattern; water rises from below | Install interior perimeter drain and sump pump; consider exterior French drain |
| Condensation Issues | Moisture appears in summer humidity; dripping pipes; no external water source; worse in hot weather | Insulate cold water pipes, install dehumidifier, improve ventilation |
Exterior drainage improvements make the biggest difference for most flooding situations. Start with proper grading. Soil around your foundation should slope away at 6 inches of drop per 10 feet of horizontal distance. That grade directs surface water away from the house before it can soak into the ground near your foundation. If your yard slopes toward the house, you’ll need to bring in fill dirt and regrade.
Gutters and downspouts are the second line of defense. Clean gutters twice a year, more if you have trees overhead. Add gutter guards if debris clogs them frequently. Extend downspouts at least 6 to 10 feet from the foundation using rigid extensions, not flexible corrugated tubes that create low spots. For chronic groundwater problems where the water table rises seasonally, install a French drain (perforated pipe in a gravel filled trench) around the foundation perimeter to intercept groundwater before it reaches the crawl space.
Foundation waterproofing addresses water that’s getting through the walls themselves. Small cracks under 1/4 inch can be sealed with hydraulic cement or polyurethane sealant from the inside. Mix hydraulic cement per package directions and trowel it into cleaned, slightly dampened cracks. Polyurethane sealant works better for cracks that show slight movement or where hydrostatic pressure is present. For cracks wider than 1/4 inch, vertical cracks longer than 2 feet, or horizontal cracks, get a structural engineer’s assessment before sealing. These might indicate foundation settlement or failure.
Plumbing related sources need different fixes. Inspect all supply lines in the crawl space for corrosion, pinhole leaks, or failed fittings. Look at washing machine hoses, water heater connections, and any accessible plumbing. HVAC systems create condensate that should drain to a pump or exterior discharge. Check that condensate lines aren’t clogged and pumps are working. Even a small drip from a leaking pipe can dump hundreds of gallons into your crawl space over months.
Identifying and Preventing Mold Growth in Water-Damaged Crawl Spaces
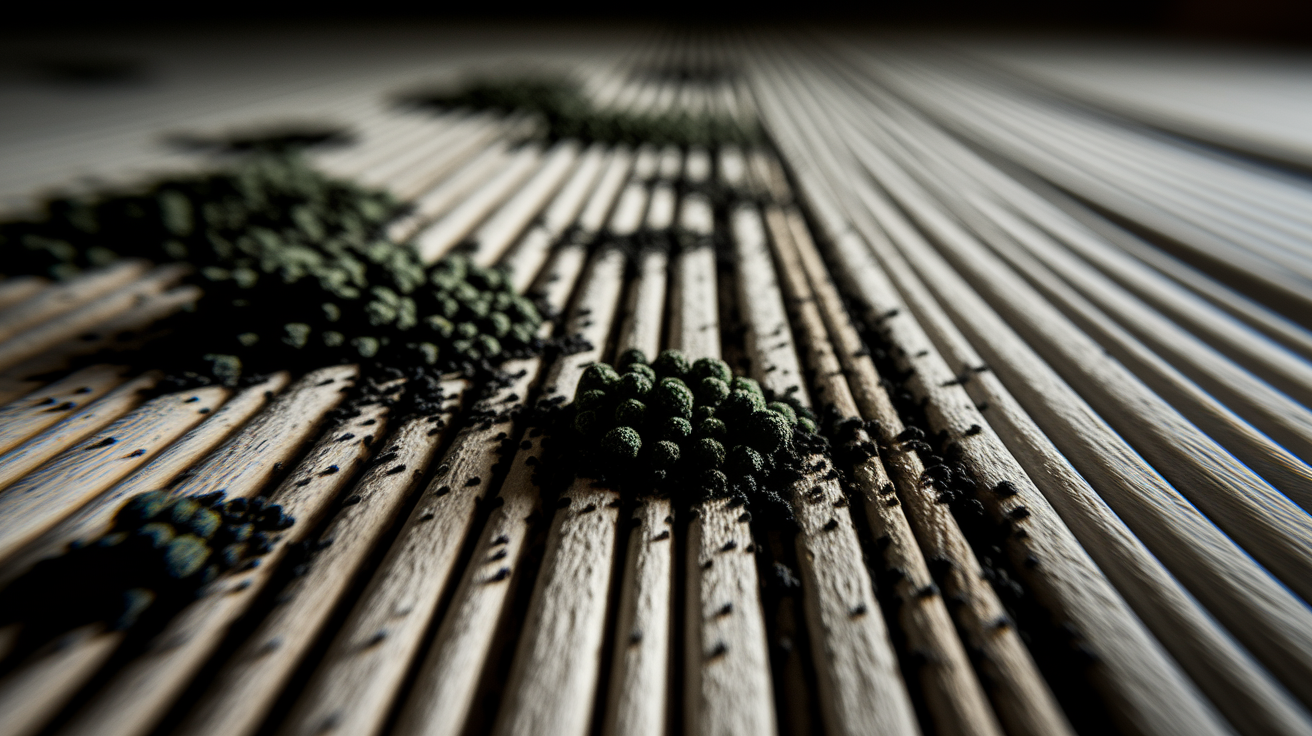
Mold can start growing within 24 to 48 hours after water exposure, especially on organic materials like wood floor joists, paper backing on insulation, and cardboard. Early drying is your best prevention. If you waited a week before starting the drying process, you’re likely dealing with active growth.
Visual inspection after drying focuses on floor joists, subflooring, sill plates, and any remaining wood surfaces. Look for black, green, or white patches on wood. Mold doesn’t always appear as obvious fuzzy growth. It can look like dark staining or discoloration. Smell matters too. A persistent musty, earthy odor after drying indicates hidden mold growth, possibly behind insulation or between subflooring layers.
Check hidden areas that stay damp longer. Pull back any remaining insulation at random spots to inspect the back side and the wood it was touching. Look at the subflooring from underneath where it meets exterior walls. These dead zones where air doesn’t circulate well become mold hot spots.
Surface mold covering less than 10 square feet on non-porous materials or wood framing can often be cleaned with antimicrobial solution. Mix the solution per label directions, spray affected areas, let it sit for 10 to 15 minutes, then scrub with a stiff brush and wipe clean. Wear an N95 respirator, gloves, and eye protection during cleaning. Bag moldy insulation or debris in heavy plastic before carrying it through the house.
Extensive growth requires professional mold remediation, especially when you’re dealing with more than 10 square feet of visible mold, growth on structural wood members that need assessment for damage, or suspected toxic species like Stachybotrys (black mold). Professionals set up containment barriers, use HEPA filtration to prevent spore spread, and apply proper antimicrobial treatments. They also identify moisture sources you might have missed.
Prevent future mold with these measures:
Maintain humidity below 60%. Keep a dehumidifier running year-round in crawl spaces prone to dampness.
Ensure proper drainage. Fix grading, gutters, and foundation issues so water doesn’t re-enter.
Install vapor barriers. Properly sealed barriers prevent ground moisture from reaching structural wood.
Remove wet materials quickly. Don’t let wet insulation, cardboard, or debris sit for days hoping it’ll dry.
Regular inspections. Check crawl space quarterly for new leaks, condensation, or musty odors.
If anyone in your household has respiratory issues, asthma, allergies, or compromised immune systems, call mold remediation specialists for any visible growth instead of attempting DIY cleaning. What looks like a small patch on the surface can indicate extensive hidden colonization behind materials. Testing and professional assessment protect health and prevent incomplete remediation that allows regrowth.
Addressing Structural Damage and Wood Rot in Crawl Spaces
Prolonged moisture exposure does more than just create mold. It causes wood rot, compromises load bearing capacity, and leads to dimensional changes as wood swells when wet and shrinks when drying. Floor joists, subflooring, and sill plates are most vulnerable because they stay in contact with moisture longer.
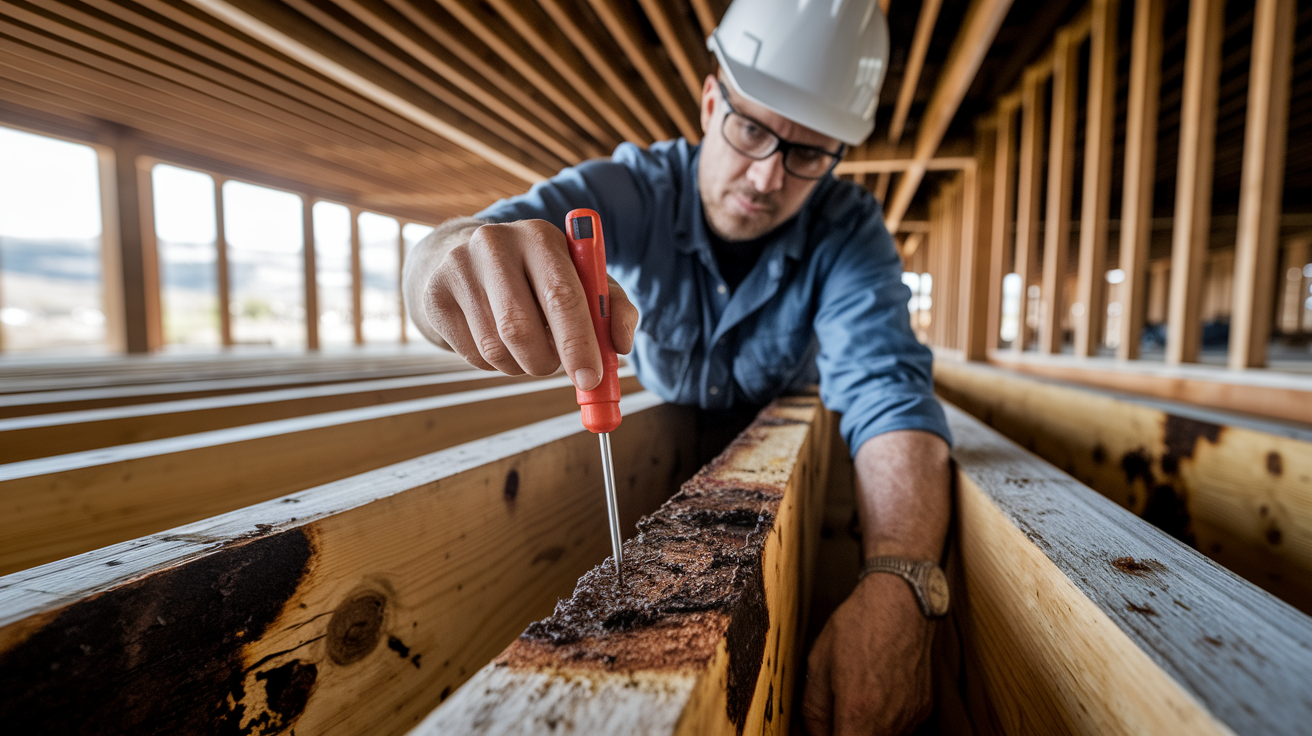
Start your structural inspection at floor joists. Press a flat head screwdriver into the wood at several points along each joist, especially where you saw heavy water contact. Healthy wood resists penetration. Rotted wood feels soft, punky, and the screwdriver sinks in easily. Check for dark brown or black discoloration that goes deeper than surface staining. Look for dimensional changes like warping, twisting, or cupping where joists used to be straight.
Subflooring sits directly above floor joists and often shows damage first. Walk the floor above the crawl space and feel for soft, spongy areas that deflect under weight. From underneath, press up on subflooring between joists. It should feel solid. Compromised subflooring gives or flexes easily. Check edges where subflooring sheets meet joists, prime spots for water accumulation and rot.
Sill plates deserve extra attention because they sit on the foundation and connect masonry to wood framing. Water wicks up from concrete into wood here. Look for separation between the sill plate and foundation, crumbling wood, or insect damage (water damaged wood attracts termites and carpenter ants).
Use a moisture meter on structural wood even if it looks okay visually. Pin type meters give accurate readings. Check joists at multiple points. Near ends where they rest on foundation, mid-span where deflection is greatest, and anywhere you see staining. Readings above 20% indicate saturation and serious rot risk. Consistent readings above 16% after you’ve completed drying suggest ongoing moisture problems from sources you haven’t fixed, or existing damage that’s holding moisture.
Surface staining and light discoloration might be cosmetic. Test the wood’s structural integrity with a screwdriver and moisture meter. If the wood is firm, dry, and hasn’t lost strength, you might just have permanent staining. Soft wood, spongy areas, or visible decay requires replacement. You can’t fix rotted wood by drying it or treating it with hardener.
Extensive structural damage needs professional evaluation. If multiple floor joists show rot, subflooring is compromised across large areas, or you’ve got sagging and deflection, hire a structural engineer or qualified contractor experienced with foundation and floor framing repairs. They’ll determine if you need joist sistering (attaching new lumber alongside damaged joists), complete joist replacement, subfloor section replacement, or more extensive foundation work.
Time structural repairs after complete drying. Don’t install new wood or start repairs until moisture readings confirm the environment is dry. Installing new materials in a still-wet crawl space just gives you new rot problems in six months. Coordinate with carpenters or contractors who understand moisture dynamics and will verify conditions before starting work.
Long-Term Waterproofing Solutions: Vapor Barriers and Encapsulation
Soil beneath crawl spaces constantly releases moisture through evaporation. Even after you’ve dried structural elements and fixed immediate water sources, ground moisture will re-wet your crawl space over time without permanent barriers.
Basic vapor barrier installation starts only after structural moisture drops below 16%. Installing a barrier too early traps moisture in floor joists and subflooring, creating worse rot and mold problems than you started with. Verify with moisture meter readings at multiple points before proceeding.
Use 6-mil thick polyethylene as minimum, but 10-mil or heavier is better for long-term protection. Thicker material resists tearing during installation and holds up to crawl space traffic better. Unroll the barrier across the entire crawl space floor, running it up foundation walls 6 to 8 inches. Overlap seams by at least 12 inches and seal them with waterproof tape designed for polyethylene (not regular duct tape, which fails in moisture). Press tape firmly along the entire seam length.
Secure the barrier to foundation walls using construction adhesive, mechanical fasteners, or batten strips. The goal is preventing the barrier from pulling away from walls and creating gaps where ground moisture can escape. Seal around support posts, plumbing penetrations, and any obstacles by cutting slits only as large as necessary and taping carefully around each penetration.
A damaged or improperly installed vapor barrier is worse than no barrier at all. If moisture gets between the barrier and the structure above, it’s trapped against wood with nowhere to go. That’s how you get accelerated rot on floor joists that were perfectly fine before barrier installation. If your existing barrier has more than a few small tears, or if it was installed without proper sealing and overlap, remove it completely and start fresh.
Full crawl space encapsulation is the comprehensive solution for chronic moisture problems or homes where you’ve already dealt with repeated flooding. Encapsulation creates a sealed system using heavy-duty vapor barrier on both floor and walls, seals all crawl space vents permanently, insulates foundation walls instead of floor joists, and adds a dedicated dehumidifier with continuous drainage and year-round operation. It converts the crawl space from an outdoor-like environment to a semi-conditioned space.
Consider full encapsulation if you’ve had repeated flooding from groundwater or poor drainage, existing vapor barriers keep failing, you’re dealing with persistent humidity and condensation problems, or you want to use crawl space for storage. One-time flooding from a burst pipe might only need a replaced vapor barrier and source repair.
Complementary drainage systems address water before it becomes a crawl space problem. Interior perimeter drains (drain tile installed around the inside foundation perimeter) collect water and direct it to a sump pump. This setup handles high water tables and groundwater seepage that exterior grading can’t prevent. Install a sump pump with battery backup so it keeps working during power outages that often accompany major storms. Run the discharge line at least 10 feet from the foundation so pumped water doesn’t recirculate back to the crawl space.
Negative pressure systems using radon fans create a different approach for severe cases. A radon style exhaust fan installed beneath the vapor barrier pulls air (and moisture) from the soil and vents it outside. This sub-slab depressurization prevents moisture from being pushed up into the crawl space by soil gas pressure. It’s the same concept used for radon mitigation but applied to moisture control.
Ongoing maintenance keeps these systems working long-term. Run the dehumidifier year-round, not just in summer. Set it between 40% and 50% relative humidity and let it maintain that automatically. Check humidity levels quarterly with a hygrometer. Inspect the vapor barrier annually for tears, pulled seams, or areas where it’s separated from walls. Test sump pumps monthly by pouring water into the pit until the float activates. Clean gutters twice a year because they’re still your first defense against water intrusion.
Cost for basic vapor barrier installation by professionals runs $1,500 to $3,000 for typical crawl spaces, depending on access difficulty and size. Full encapsulation with sealed vents, wall barriers, insulation, and dedicated dehumidification typically costs $5,000 to $15,000 based on crawl space size, complexity, and your geographic area. DIY partial solutions are possible if you’re comfortable working in tight spaces and have construction experience, but full encapsulation systems benefit from professional design and installation to ensure they actually work together.
Navigating Insurance Claims for Crawl Space Water Damage
Homeowners insurance typically covers sudden and accidental water damage events like burst pipes, failed water heaters, or appliance malfunctions. Gradual seepage from poor grading, maintenance related issues like ignored plumbing leaks, or groundwater intrusion usually aren’t covered. Flood damage from rising water, rivers overflowing, or storm surge requires separate flood insurance policies through the National Flood Insurance Program or private carriers.
Contact your insurance company within 24 to 48 hours after discovering crawl space flooding. Most policies allow you to begin emergency stabilization work (stopping active leaks, removing standing water) before waiting for adjuster approval, but call first to confirm. Document everything before you start major cleanup. Insurance companies want to see the damage extent before restoration begins.
Essential documentation includes:
Photos and video of damage extent. Capture standing water depth, wet insulation, affected structural areas, equipment that got wet, and overall crawl space condition from multiple angles.
List of damaged belongings. Inventory items stored in the crawl space that are unsalvageable, with approximate age and replacement cost.
Moisture meter readings. Document moisture levels in structural wood, showing saturation extent.
Repair estimates. Get written quotes from contractors detailing scope, timeline, and cost.
Receipts for emergency services. Keep records of immediate mitigation work, equipment rental, and supplies purchased.
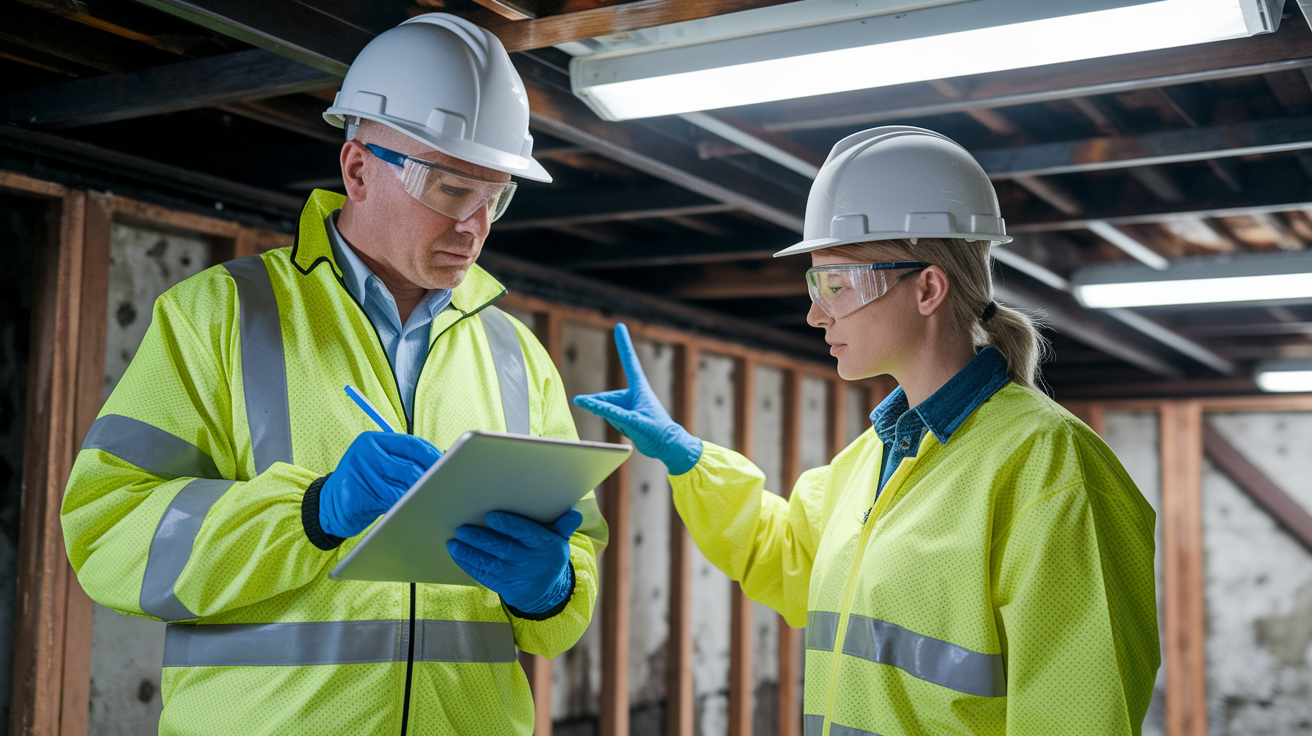
When the adjuster arrives for inspection, provide full access to the crawl space and all affected areas. Be present during the inspection to answer questions and point out damage that might not be immediately obvious. Bring your documentation and photos. Be prepared to explain what happened, when you discovered it, and what immediate steps you’ve taken.
Understand the difference between actual cash value (ACV) and replacement cost coverage. ACV pays for damaged items minus depreciation based on age. Replacement cost covers new materials regardless of age. Your policy might have different coverage types for the structure versus contents. Ask your adjuster specifically which applies to floor joists, subflooring, insulation, and stored items.
Don’t discard damaged materials until the adjuster has inspected and approved their removal. Insurance companies need to verify damage before authorizing replacement. Take detailed photos before disposal, but keep wet insulation, rotted wood samples, and failed equipment accessible until you get approval.
Professional restoration companies bring significant benefits for insurance claims. They create detailed documentation showing moisture readings, affected square footage, and equipment used. They communicate directly with insurance adjusters and speak their language about categories of water damage, psychrometric readings, and restoration standards. Their itemized scopes of work break down labor, equipment rental, and material costs in categories insurance companies recognize. This documentation often results in fuller claim payments compared to homeowner estimates.
Long-Term Maintenance to Prevent Future Crawl Space Water Problems
Preventive maintenance costs less and creates less disruption than emergency water damage repairs. A routine inspection schedule catches small problems before they become flooding events.
Seasonal inspection schedule addresses moisture risks that change throughout the year. In spring, check for winter freeze damage to plumbing, verify grading hasn’t settled around the foundation over winter, and prepare drainage systems for heavy rainfall season. Summer inspections focus on monitoring humidity and condensation as outdoor temperatures rise and relative humidity increases. Fall means cleaning gutters before leaves clog them, checking exterior grading before winter, and verifying vapor barriers are intact. Winter inspections verify heating system condensate drainage is working and pipes aren’t sweating or freezing.
Quarterly maintenance tasks keep systems working and catch developing issues:
Test sump pump operation. Pour 5 gallons of water into the pit and verify the float activates and pump discharges properly.
Inspect vapor barrier for tears. Walk the crawl space looking for pulled seams, punctures, or areas separating from walls.
Check foundation for new cracks. Look for fresh cracking in concrete or widening of existing cracks.
Verify dehumidifier function. Confirm it’s running, draining properly, and maintaining target humidity.
Clean gutters and downspouts. Remove debris and flush downspouts to ensure proper flow.
Examine grading around foundation. Look for settling or erosion that’s created low spots near the house.
Monitor indoor humidity. Use a hygrometer to check crawl space levels stay between 40% and 60%.
Early warning signs require immediate attention before they become full flooding events. Musty odors signal active mold growth or new moisture infiltration. Visible moisture on surfaces, especially condensation on foundation walls or metal components, means humidity is too high. Humidity readings consistently above 60% create mold friendly conditions. Standing water after rainfall indicates drainage system failures. Increased pest activity (termites, carpenter ants, rodents) often follows water intrusion. Floor squeaking or soft spots suggest subflooring moisture or structural damage developing.
Keep maintenance records showing inspection dates, photos documenting conditions over time, equipment service logs for sump pumps and dehumidifiers, and notes about repairs completed. Records create accountability and help identify developing patterns. If you notice humidity creeping up each spring, that pattern tells you to focus on drainage improvements. If the sump pump runs constantly after installing it, you’ve confirmed a high water table issue requiring additional solutions.
Final Words
Getting your crawl space dry is just the first step.
The real work is stopping the water at its source and keeping your structure protected long-term. Whether you handle the drying yourself or bring in professionals depends on the severity, your comfort level, and what you find during inspection.
Focus on how to dry out a crawl space after water damage with the right sequence: stop the water, extract what’s standing, run dehumidifiers and air movers strategically, and monitor progress until your moisture readings stay in the safe zone for 48 hours straight.
Then address the cause. Fix the drainage, seal the cracks, and consider a proper vapor barrier or full encapsulation if moisture keeps coming back.
Your home’s structural integrity depends on keeping that space dry and functional.
FAQ
Will a crawl space dry out on its own?
A crawl space will not dry out completely on its own after significant water damage. Without active moisture removal using dehumidifiers and air movers, trapped humidity remains in structural wood, insulation, and soil, creating conditions for mold growth and wood rot within 24 to 48 hours.
How do you dry out a crawl space quickly using DIY methods?
You can dry out a crawl space quickly using DIY methods by first extracting standing water with a wet vacuum or pump, then positioning a crawl space dehumidifier centrally with air movers directed at floor joists and subflooring. Close vents during drying, monitor moisture levels daily with a meter, and expect 3 to 7 days for minor flooding or 1 to 2 weeks for moderate saturation.
Will homeowners insurance cover water in a crawl space?
Homeowners insurance will typically cover water in a crawl space if caused by sudden accidental events like pipe bursts or appliance failures, but excludes gradual seepage, maintenance-related issues, or flood damage requiring separate flood insurance. Contact your insurer within 24 to 48 hours and document everything with photos, moisture readings, and receipts before starting cleanup.
How much does it cost to fix moisture in a crawl space?
Fixing moisture in a crawl space costs between $100 to $300 for DIY equipment rental for basic drying, $2,000 to $8,000 for professional restoration depending on severity, $1,500 to $3,000 for basic vapor barrier installation, or $5,000 to $15,000 for full encapsulation systems with permanent dehumidification.
When should I call professional restoration instead of attempting DIY crawl space drying?
You should call professional restoration instead of attempting DIY when dealing with sewage or contaminated water, water deeper than 6 inches, electrical system damage, extensive mold growth, structural concerns, or when filing insurance claims requiring detailed documentation and scope coordination.
How long does it take for a crawl space to dry completely after water damage?
A crawl space takes 3 to 7 days to dry after minor flooding, 1 to 2 weeks for moderate saturation, or 2 to 4 weeks for severe cases, depending on temperature, ventilation, equipment type, and how quickly drying began. The space is fully dry when moisture readings stay in target range for 48 hours with no musty odors.
What moisture level is safe for crawl space floor joists and subflooring?
Safe moisture levels for crawl space structures are floor joists below 16% moisture content and subflooring below 14% moisture content. Readings above 20% indicate saturation and rot risk, while consistent readings above 16% after drying suggest ongoing moisture problems or structural damage requiring professional assessment.
Can I install a vapor barrier immediately after water damage in my crawl space?
You cannot install a vapor barrier immediately after water damage because the structure must first reach target moisture levels below 16% verified with a moisture meter. Installing too early traps moisture between the barrier and home structure, creating worse mold and rot conditions than leaving it exposed.
What causes water to enter a crawl space repeatedly?
Water enters a crawl space repeatedly due to poor soil grading directing water toward the foundation, inadequate gutters or downspouts draining near the house, foundation cracks allowing groundwater seepage, high water tables, plumbing leaks, or HVAC condensate drainage problems. Permanent solutions require fixing these root causes, not just drying.
Should crawl space vents be open or closed when running a dehumidifier?
Crawl space vents should be closed when running a dehumidifier to avoid dehumidifying the entire outdoors and wasting energy. Closing vents allows the equipment to effectively reduce humidity in the enclosed space, speeding drying and preventing the system from fighting outdoor moisture constantly entering.
What equipment do I need to dry a flooded crawl space?
Equipment needed to dry a flooded crawl space includes a submersible pump or wet vacuum for water extraction, a crawl space-rated dehumidifier with continuous drainage, 3 to 4 air movers positioned at structural wood, a moisture meter for monitoring progress, and battery-powered lighting for safety during operation.
How do I know if my crawl space has mold after water damage?
You know your crawl space has mold after water damage by looking for black, green, or white patches on wood surfaces, noticing musty odors, seeing discoloration on insulation or subflooring, or finding growth in hidden areas behind insulation. Surface mold under 10 square feet can often be cleaned, but extensive growth requires professional assessment.
What are the signs of structural damage in a water-damaged crawl space?
Signs of structural damage in a water-damaged crawl space include soft spots or discoloration on floor joists, spongy areas in subflooring, sagging or deflection in structural beams, moisture meter readings above 20% indicating saturation, visible wood decay, or floors above squeaking and developing soft spots.