
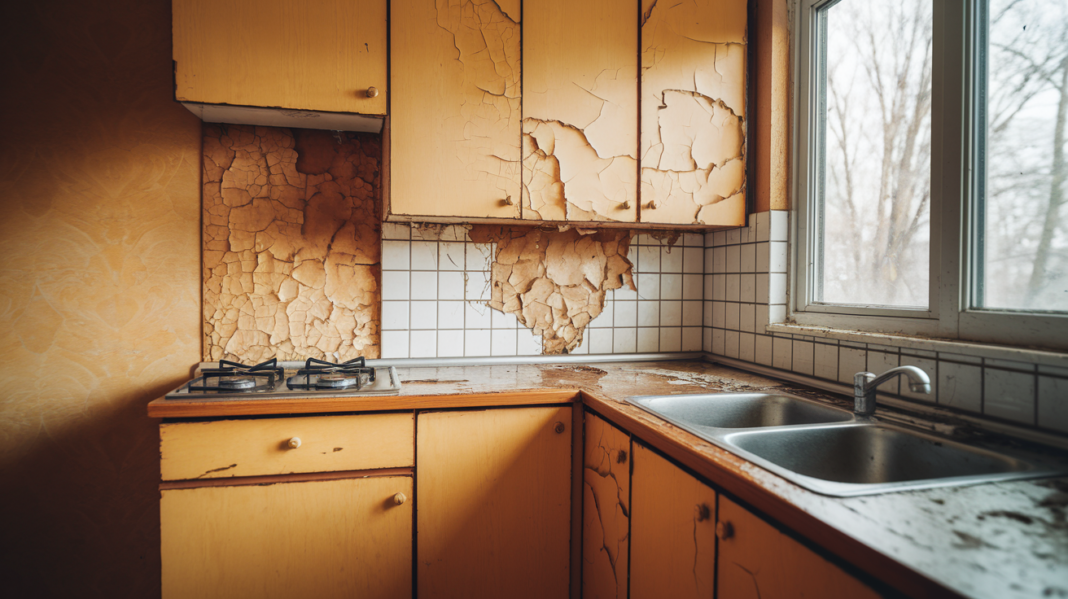

Think water-damaged cabinets are ruined beyond help?
Not always. What you do in the first hours decides if you save them or replace them, and helps stop mold.
Stop the leak, pull everything out, and start drying right away with fans and a dehumidifier.
This guide walks you step by step through quick assessment, moisture checks, drying, fixes for warped doors and peeled veneer, and when to swap out particleboard that has broken down.
Immediate Steps to Begin Restoring Water‑Damaged Cabinets
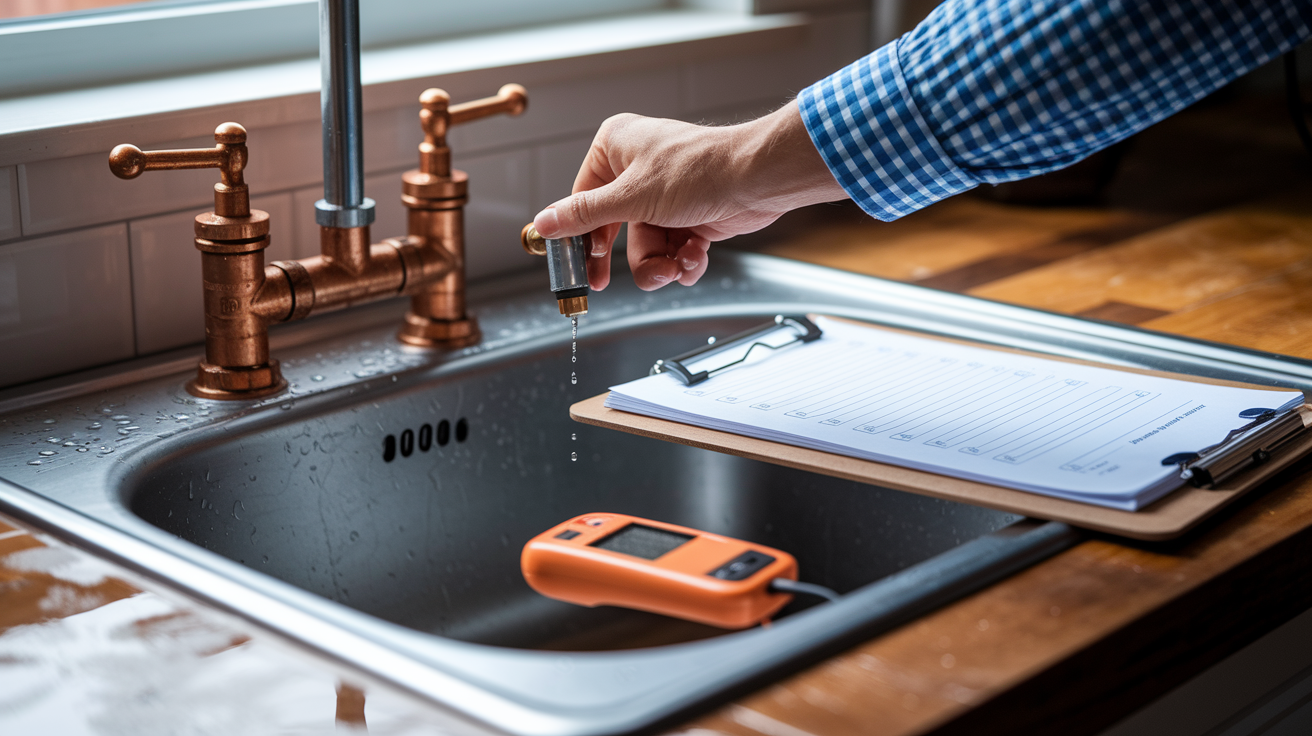
First, stop the water source. Turn off the shut-off valve under the sink, disconnect the dishwasher line, or fix the leaking pipe before you do anything else. Water still running into cabinetry means more damage while you’re trying to dry. Next, look closely at the cabinets for urgent damage indicators. Bubbling or blistering on door faces shows water trapped under the finish. Doors that won’t close or feel sticky mean the wood’s swollen. Press on the cabinet bottom and sides. If the material feels soft or crumbly, that’s particleboard breaking down. Dark stains on the inside walls or a damp, musty smell mean water’s been sitting for a while and mold may already be growing.
Speed matters because mold can start forming within 24 hours of water exposure. Remove everything from inside the cabinets, take the doors and drawers off, and start drying immediately. Set up fans to push air across wet surfaces and run a dehumidifier to pull moisture from the air. Open cabinet backs if you can reach them, and remove toe kick trim so air can flow underneath.
Follow these five immediate steps to start the restoration:
- Remove all contents, including shelf liners, cleaners, and cookware.
- Take off cabinet doors and drawer fronts so air can reach all surfaces.
- Place 1–2 high capacity fans to blow directly into open cabinets and run a 30–70 pint dehumidifier in the room.
- Use a moisture meter to check cabinet box sides and bottoms. Write down the readings.
- Take photos of stains, warping, and soft spots for documentation and insurance.
Assessing Cabinet Damage Levels Before Repair
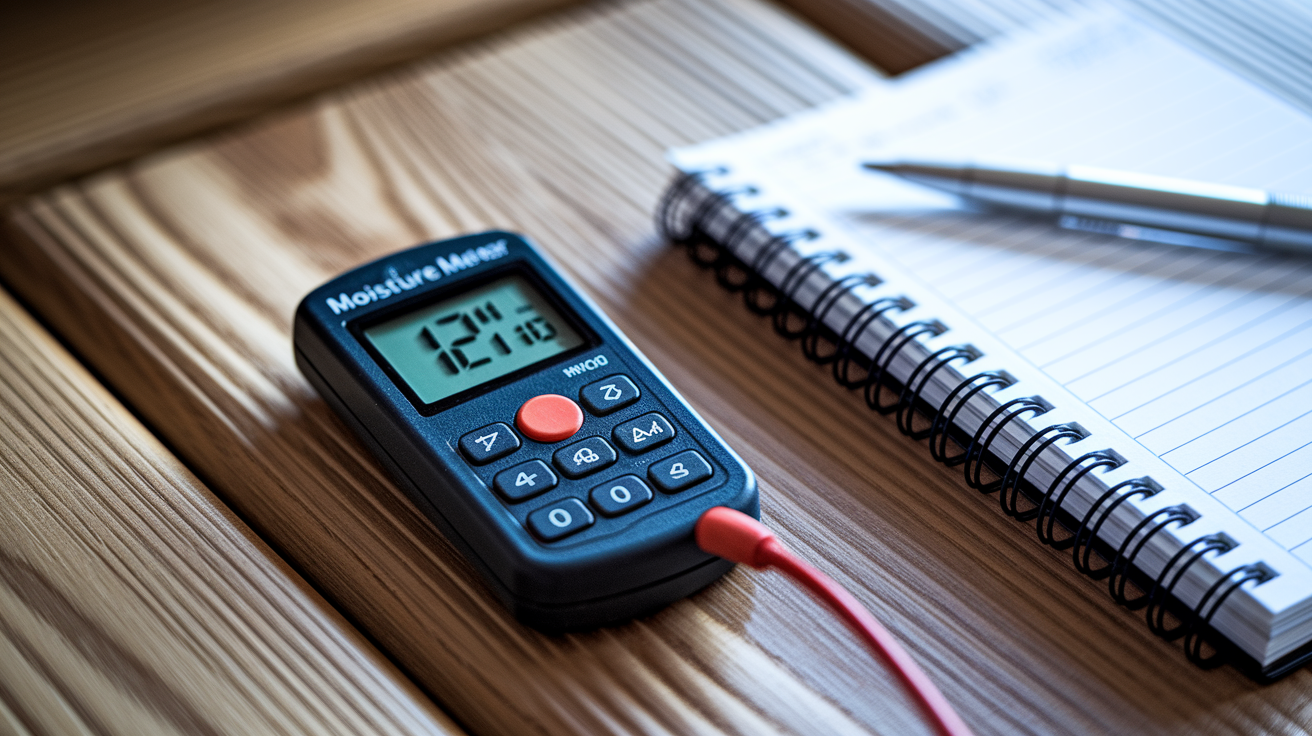
Use a moisture meter to measure the cabinet box, shelves, and door panels. Wood should read below 12% moisture before you sand or refinish. Readings above 20% mean the material’s still too wet to repair and may need more drying time or replacement. Look for three main damage types: surface stains with no structural change, warped or lifting veneer with some softness, and deep saturation where the cabinet box feels spongy or crumbly.
Check for mold by looking inside cabinet corners, under the sink area, and along the back panel. Small spots of surface mold on non-porous finishes can be cleaned. Mold covering more than 10 square feet, or mold that’s grown into porous particleboard, usually requires a professional with containment and HEPA equipment.
| Damage Level | Key Signs | Repair or Replace Recommendation |
|---|---|---|
| Minor | Surface water stains, slight bubbling on finish, no softening of wood, moisture reading <15% | Repairable with drying, sanding, stain removal, and refinishing |
| Moderate | Warped doors, delaminated veneer, localized mold spots, some edge swelling, moisture 15–20% | Repairable with panel replacement, veneer regluing, mold cleaning, and refinishing |
| Severe | Soft or crumbly cabinet box, widespread mold, structural collapse, moisture >20% | Replace affected cabinets; repair may cost as much or more than new units |
Drying Techniques for Moisture‑Damaged Cabinets
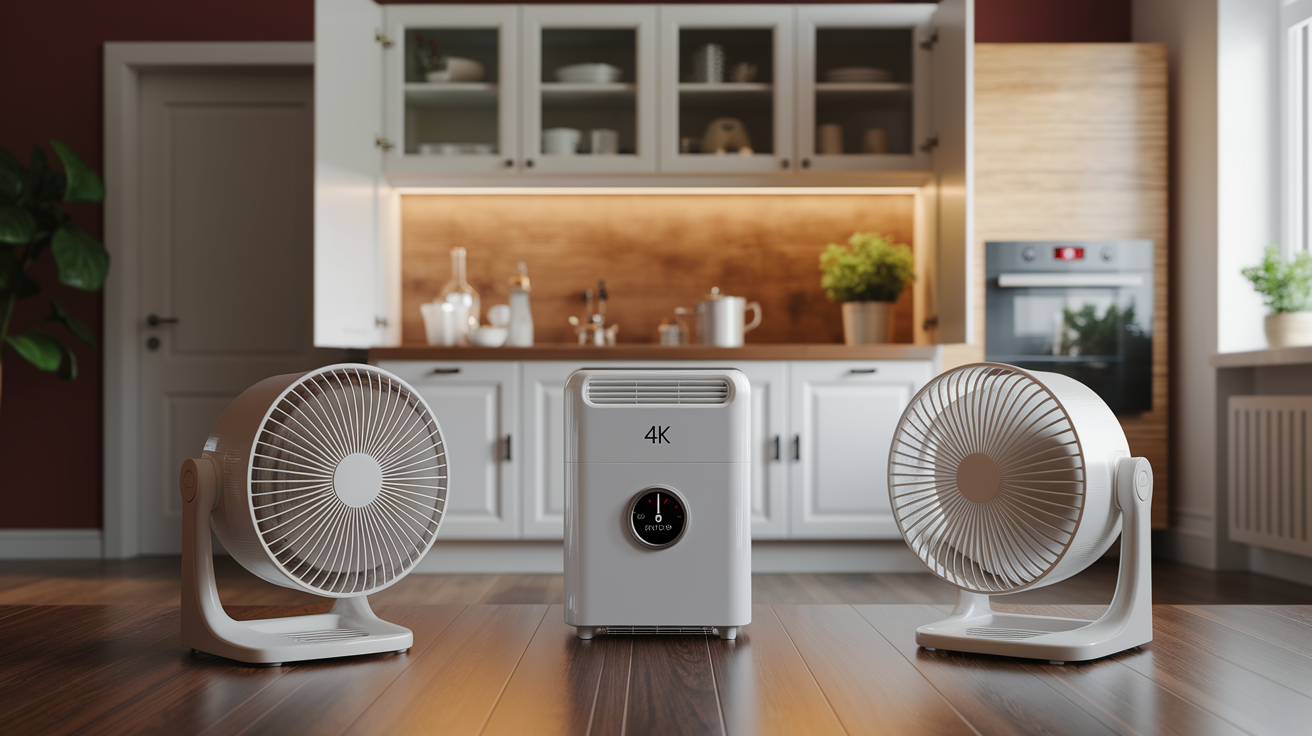
Run fans and a dehumidifier continuously for at least 24 to 72 hours for surface moisture. If the cabinet’s made of thick plywood or particleboard, expect 7 to 14 days of controlled drying to get moisture levels below 12%. Position one fan to blow directly into the open cabinet box and a second fan to push air across the floor and toe kick area. Angle airflow so it moves through the cabinet, not just around it.
Pull out drawers and remove shelves if they lift out easily. Open all doors and drawers fully so air reaches every surface. If the cabinet back’s accessible, remove it or drill small access holes near the bottom to let wet air escape. Humidity in the room should drop below 50% and stay there. If the room feels damp or smells musty after three days, the dehumidifier may be undersized or the water damage extends into the wall cavity behind the cabinets.
Check moisture readings daily with a pin-type or pinless moisture meter. Write down the number for each spot you test so you can track drying progress. If readings stay above 15% after a week, you may need to remove panels or increase airflow with additional equipment.
Target moisture content: below 12% before sanding or refinishing, below 15% acceptable for structural assessment. Equipment: 1–2 axial or box fans, 1 portable dehumidifier rated 30–70 pints per day, moisture meter. Airflow tips: direct fans into the cabinet interior, not just at the door. Create cross-ventilation if possible. Remove base trim or drill weep holes for airflow under cabinets. Signs drying’s incomplete: condensation on cabinet walls in the morning, wood still feels cool or damp to touch, musty smell persists, moisture readings above 15%.
Repairing Swollen Wood, Warping, and Structural Cabinet Damage
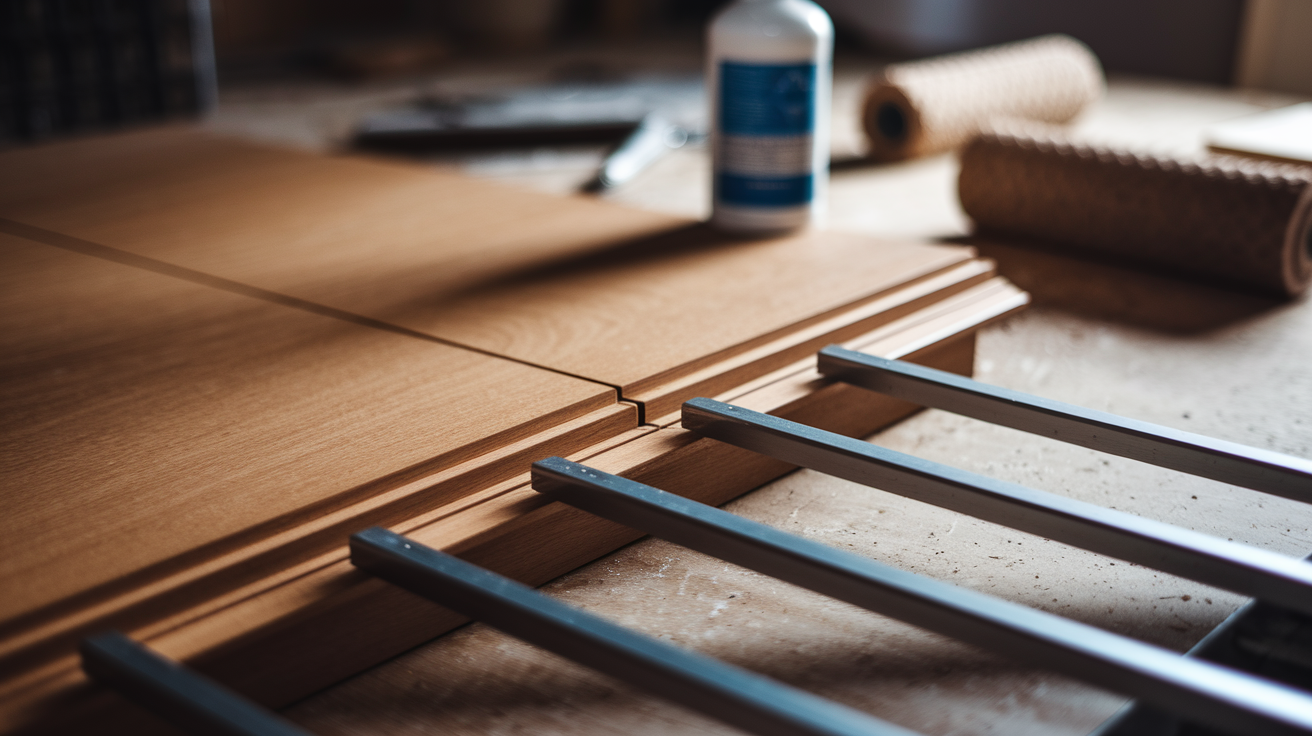
Minor swelling on door edges or face frames can often be reversed with controlled drying and light sanding. After the wood’s fully dry, sand swollen areas starting with 80-grit sandpaper to remove high spots, then move to 120-grit to smooth transitions, and finish with 220-grit before priming. If a door remains warped after drying, you can try clamping it flat between two straight boards with even pressure and leaving it clamped for 24 to 48 hours.
For cabinet bottoms or shelves made of particleboard that have swollen or softened, drying won’t restore the original strength. Remove the damaged panel by unscrewing or prying it out carefully. Measure the opening precisely and cut a replacement from 3/4-inch plywood or moisture resistant furniture board. Secure the new panel with screws or construction adhesive, then seal all edges with a water resistant primer or polyurethane.
Cracks, gaps, or small holes left after drying can be filled with interior grade wood filler or two-part epoxy wood filler. Apply filler slightly proud of the surface, let it cure fully (usually 2 to 4 hours), then sand it flush with 120-grit and finish with 220-grit. For larger gaps or separated joints, inject wood glue into the crack, clamp the pieces together, and wipe off any squeeze-out with a damp cloth.
When cabinet sides or face frames feel soft or crumbly, the structural integrity’s gone. Particleboard that’s absorbed water and broken down can’t be rebuilt. In this case, the only reliable repair is replacing the entire cabinet box or cutting out the damaged section and sistering in a new piece of plywood with screws and construction adhesive.
Techniques for Fixing Warped Doors
Slightly warped doors (less than 3 millimeters of bow) can sometimes be flattened by placing them face-down on a flat surface, weighing the high spots with books or weights, and allowing them to dry slowly over several days. Check daily and adjust weight if needed. Once flat and dry, seal both sides of the door with primer or finish to prevent future warping. Doors that remain twisted or bowed after this process should be replaced. Trying to force a warped door closed will damage hinges and the face frame over time.
Fixing Delaminated Veneer and Peeling Laminate on Water‑Damaged Cabinets
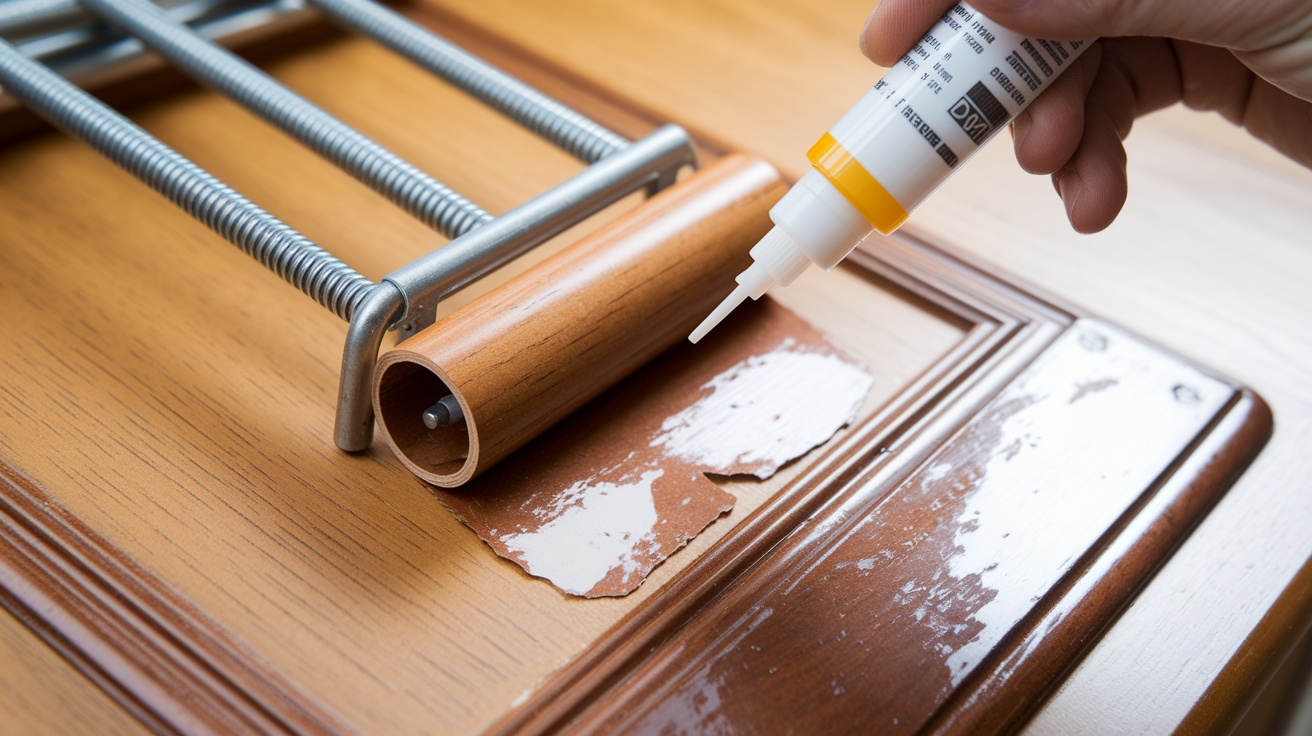
When veneer lifts or bubbles, the bond between the thin wood face and the substrate has failed. Gently lift the loose veneer edge to see how far the separation extends. For small areas (less than a few inches), inject PVA wood glue under the veneer using a glue syringe or a small brush. Press the veneer down with a roller or your hand to spread the glue evenly, then clamp it flat using bar clamps and wooden cauls to distribute pressure. Leave it clamped for 24 hours, then remove the clamps and trim any glue squeeze-out with a sharp chisel or scraper.
Peeling laminate can be repaired the same way if the substrate underneath’s still solid. Remove any loose or damaged laminate sections, clean the substrate with a damp cloth, and let it dry. Apply contact cement to both the substrate and the back of the laminate, following the product instructions for open time (usually 10 to 20 minutes). Press the laminate firmly into place, starting from one edge and rolling out air bubbles with a J-roller or small hand roller. If the substrate’s swollen or softened, laminate won’t bond properly. Replace the entire door or drawer front instead.
When veneer delamination covers more than 30% of a door face, replacement’s usually faster and cleaner than repair. Small edge repairs are straightforward, but large areas are difficult to re-glue without visible lines or bubbles.
Use PVA wood glue for veneer on solid wood or plywood. Use contact cement or two-part epoxy for laminate on particleboard. Place clamps every 6 to 8 inches along the repair for even pressure. Protect the veneer surface with wax paper and a flat caul. Don’t force laminate down if the substrate feels soft. It’ll delaminate again within weeks. Trim veneer edges flush with a sharp utility knife or veneer edge trimmer after the glue’s fully cured.
Removing Water Stains, Discoloration, and Odors from Cabinets
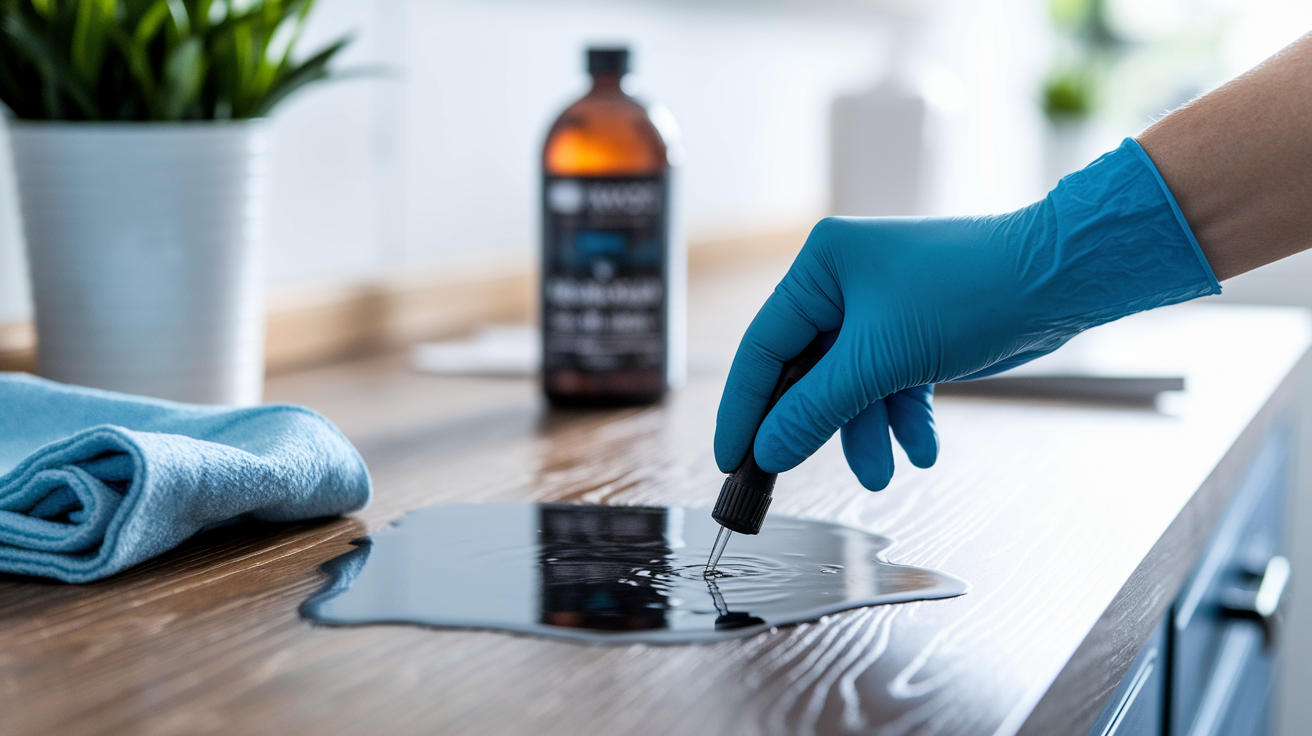
Dark water stains on wood are caused by tannins reacting with moisture. After the wood’s fully dry, try sanding the stain lightly with 220-grit sandpaper. If the stain remains, apply an oxalic acid based wood bleach following the product directions. Usually you mix powder with water, brush it on, let it sit for 20 minutes to an hour, then rinse thoroughly and let the wood dry before sanding. For lighter stains on finished surfaces, test a small amount of 3% hydrogen peroxide on an inconspicuous area. Apply it with a cloth, let it sit for a few minutes, then wipe clean.
Musty odors usually mean mold’s present, even if you can’t see it. Use a HEPA filter vacuum to remove loose dust and spores from the cabinet interior, then scrub all surfaces with a detergent and water solution. Rinse with clean water and dry thoroughly. If the smell persists after cleaning and drying, the mold may be inside porous particleboard or behind the back panel, and that material will need to be replaced.
Safe Use of Bleaching Agents
Always test bleaching solutions on a hidden spot first to check for color change or damage to the finish. Wear nitrile gloves, eye protection, and a respirator or N95 mask when working with oxalic acid or chlorine bleach. Work in a well-ventilated area and never mix bleach with ammonia or other cleaners. Toxic fumes can form instantly. After applying oxalic acid, neutralize the surface by wiping it with a solution of baking soda and water (1 tablespoon per cup), then rinse with clean water and dry completely.
Tannin stains (dark brown or black): use oxalic acid wood bleach, rinse and neutralize, sand lightly after drying. Surface discoloration (yellowish or grayish): try hydrogen peroxide or a mild bleach solution (1 part bleach to 10 parts water), test first, rinse thoroughly. Persistent odor with no visible stain: indicates mold inside porous material. Remove and replace affected panels.
Sanding, Priming, and Refinishing Restored Cabinets
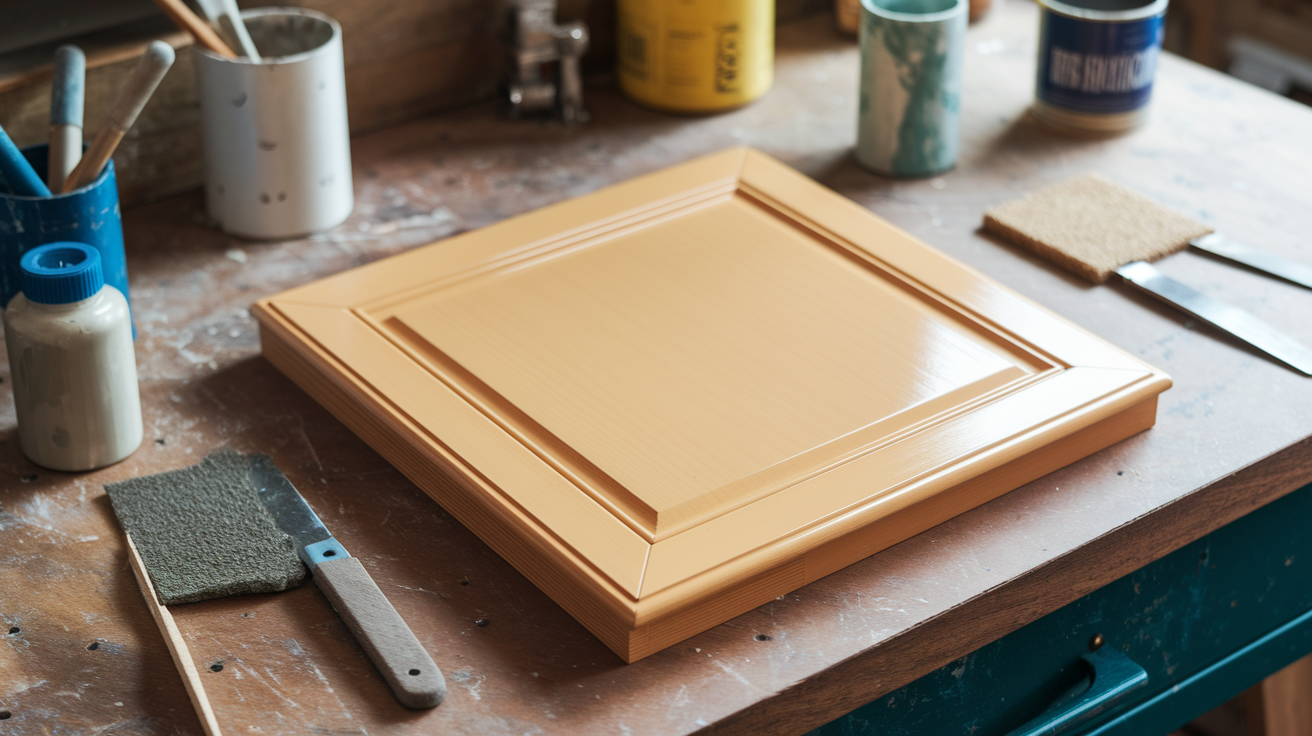
Start sanding with 80-grit or 120-grit sandpaper to remove old finish, smooth repairs, and level filled areas. Move to 120-grit if you started coarser, then finish with 220-grit to prepare the surface for primer. Sand in the direction of the wood grain and use light, even pressure. After sanding, wipe all surfaces with a tack cloth or a damp microfiber cloth to remove dust.
Apply a stain blocking primer to any areas that had water stains, even if you bleached them. Primer prevents the stain from bleeding through the topcoat. Most primers dry in 2 to 4 hours, but check the label. Some oil based primers need up to 24 hours. Once the primer’s dry, lightly sand with 220-grit, wipe clean, and apply your finish coat.
For a painted finish, use cabinet grade paint (acrylic or alkyd enamel) and apply 1 to 3 thin coats, sanding lightly between coats. For a clear or stained finish, apply wood stain if desired, let it dry, then topcoat with 2 to 3 coats of polyurethane (oil based or water based) or conversion varnish. Allow each coat to dry fully and sand lightly with 220-grit before applying the next.
| Step | Materials Needed | Typical Time | Notes |
|---|---|---|---|
| Sanding | 80, 120, 220-grit sandpaper; sanding block or orbital sander; tack cloth | 1–3 hours per cabinet set | Sand with the grain; remove all dust before priming |
| Priming | Stain-blocking primer (1 quart covers ~100–150 sq ft); brush or foam roller | 2–24 hours dry time | Apply thin, even coat; sand lightly after dry |
| Painting or Staining | Cabinet paint or stain + clear coat (1 quart–1 gallon); brush, roller, or sprayer | 2–6 hours dry time per coat | Apply 1–3 coats; sand lightly between coats |
| Sealing | Polyurethane or conversion varnish (pint–quart); brush or foam applicator | 4–24 hours cure time per coat | Seal all surfaces including edges and insides for moisture protection |
Hardware, Cabinet Doors, and Drawer Repairs After Water Damage
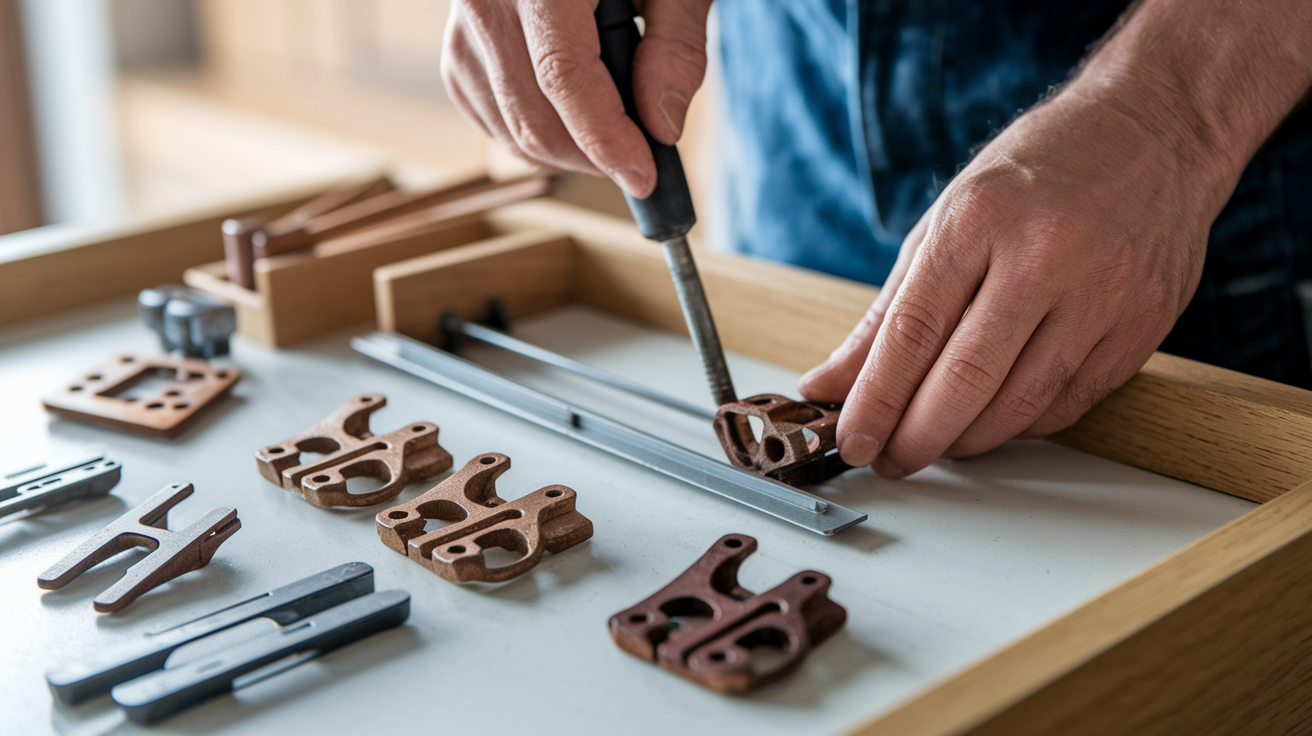
Remove hinges, pulls, and knobs before sanding and refinishing doors. Hinges that were submerged may have rust or corrosion. Replace them if screws are loose or the hinge no longer holds tight. If hinge screw holes have stripped out, fill them with wood glue and toothpicks or small dowels, let the glue dry, then drill new pilot holes and reinstall the hinge.
Drawer boxes made of particleboard often fail when water soaks the bottom or sides. If the drawer bottom’s soft or sagging, remove it and replace it with a 1/4-inch plywood panel cut to size. If drawer sides have swollen and the drawer no longer slides smoothly, sand the sides lightly or replace the drawer box entirely. Drawer slides that were underwater should be cleaned, dried, and tested. If they bind or feel gritty, replace them.
Remove all hardware before sanding. Label hinge locations and screw holes for easy reinstallation. Replace any hardware that shows rust, corrosion, or functional failure after cleaning. Repair stripped screw holes with glue and dowels, drill new pilot holes to prevent splitting. Test drawer operation after reinstalling slides. Adjust or shim if drawers bind or sit crooked. Refinish doors and drawer fronts separately from the cabinet box for cleaner results. Install doors after all finish coats have fully cured (usually 24 to 72 hours) to avoid sticking or smudging.
Cost, Timeline, and When to Replace vs Repair Water‑Damaged Cabinets

Minor repairs like sanding, staining, and touch-up painting typically cost $20 to $300 in materials and take 1 to 3 days. Moderate repairs (replacing a few panels, regluing veneer, and full refinishing) usually run $300 to $1,200 and take 3 to 7 days. Major restoration or cabinet replacement can cost $1,500 to $15,000 depending on the extent of damage and the quality of new cabinets, with timelines stretching from a few days to several weeks.
Compare the cost of repairing damaged cabinets to the cost of replacement. If repairs approach 50% or more of what new cabinets would cost, replacement’s usually the better choice. For example, if refinishing and replacing panels on moderately damaged cabinets costs $2,500 but new stock cabinets for the same kitchen run $4,500, repair makes sense. If the repair estimate climbs to $3,000 or more due to extensive mold remediation, structural damage, or multiple failed components, replacement becomes more practical.
Professional help’s needed when moisture readings stay above 20% after a week of drying, when mold covers more than 10 square feet, when cabinet boxes have structural softness or collapse, or when water intrusion extends into the wall cavity. Licensed mold remediation, structural repairs, and coordination with insurance adjusters are outside the scope of most DIY projects.
DIY’s enough when damage is limited to surface stains, minor swelling, and isolated veneer lifting. Materials under $500, timeline under one week. Professional assessment’s needed when moisture readings remain high, mold’s widespread, or cabinet boxes feel soft. Costs range $500 to $6,000 depending on scope. Replacement’s most cost effective when repair costs exceed 50% of replacement cost, when cabinets are more than 20 years old and showing other wear, or when mold’s penetrated deep into porous materials.
Preventing Future Water Damage to Cabinets
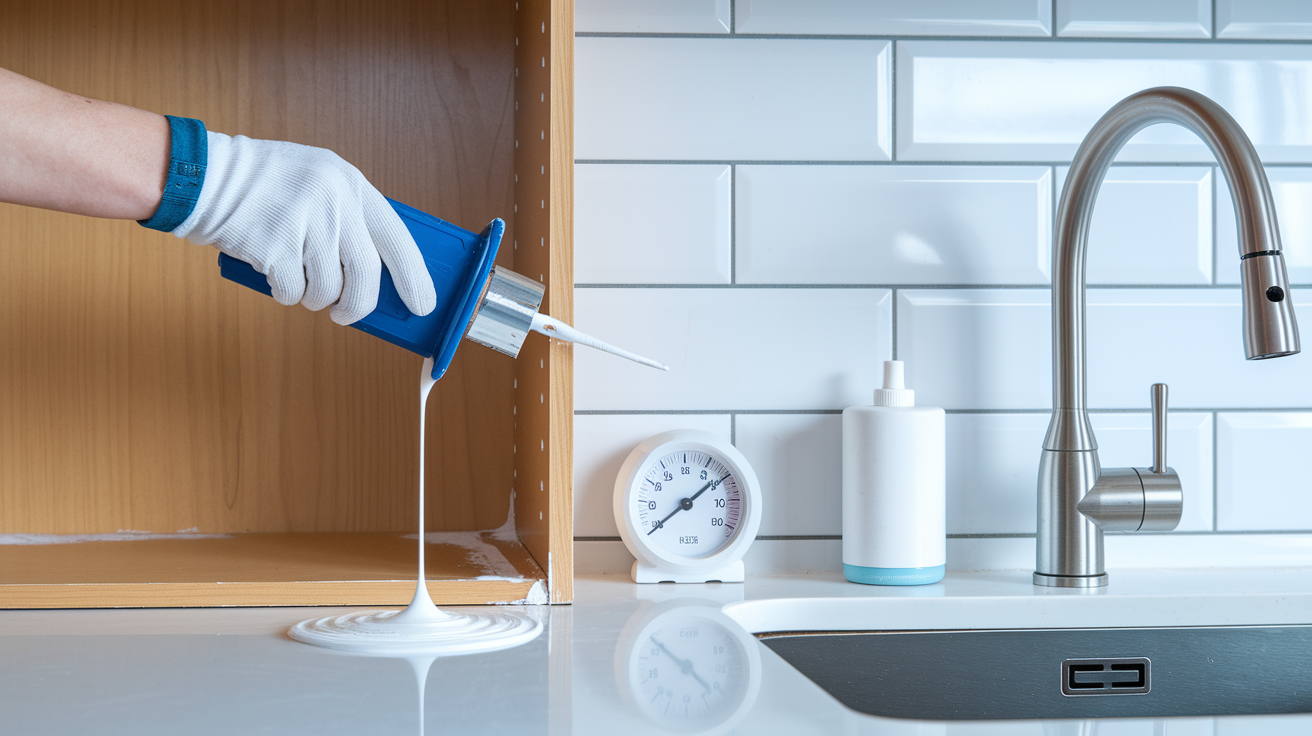
Seal cabinet interiors, especially under sinks and near dishwashers, with a water resistant polyurethane or clear acrylic sealer. This adds a barrier that slows water absorption if a leak happens again. Apply two coats to all exposed wood surfaces, including the underside of shelves and the inside of doors. Maintain indoor humidity below 50% year-round. Use exhaust fans when cooking or running the dishwasher, and vent the range hood to the outside rather than recirculating air.
Fix plumbing leaks the same day you notice them. A slow drip under the sink can saturate a cabinet bottom in a matter of weeks. Install water sensors or leak detectors under sinks, behind dishwashers, and near ice maker lines. These battery powered alarms sound when they detect moisture, giving you time to stop the leak before damage spreads.
Seal all cabinet interiors with water resistant finish or polyurethane, reapply every 3–5 years. Keep indoor humidity below 50%. Use dehumidifiers in basements or kitchens with poor ventilation. Install drip pans or trays under sinks and appliances. Check quarterly for standing water or rust. Replace old or corroded supply lines with braided stainless steel hoses. Inspect connections annually and tighten if loose.
Final Words
Stop the leak, remove wet items, and start drying and documenting right away. Fast action limits mold, warping, and costly replacement.
Inspect with a moisture meter, sort repairs by severity, and follow the drying, repair, and refinishing steps we outlined: veneer fixes, structural repairs, stain and odor removal, then sanding and sealing.
If you need a simple plan for how to restore water damaged cabinets, follow these steps or call a pro. You’ll have your cabinets back functional and looking good.
FAQ
Q: Can water damaged cabinets be repaired?
A: Water-damaged cabinets can often be repaired if damage is minor to moderate; swollen doors, surface stains, or lifted veneer are usually fixable, but soft particleboard or widespread mold often means replacement.
Q: How to fix swollen wood from water?
A: To fix swollen wood from water, dry it slowly with fans and a dehumidifier, clamp flattened pieces, sand and fill as needed, and replace panels if swelling is severe or structural.
Q: How to dry cabinets after a water leak?
A: To dry cabinets after a water leak, stop the source, remove contents, open doors and drawers, run high-capacity fans and a dehumidifier, and monitor moisture until readings fall near 12% and humidity is under 50%.
Q: Can you sand back water damaged MDF?
A: You can sand back water-damaged MDF only for light surface stains; sanding won’t fix swollen or delaminated MDF—replace panels when edges are soft, swollen, or the board has lost integrity.