
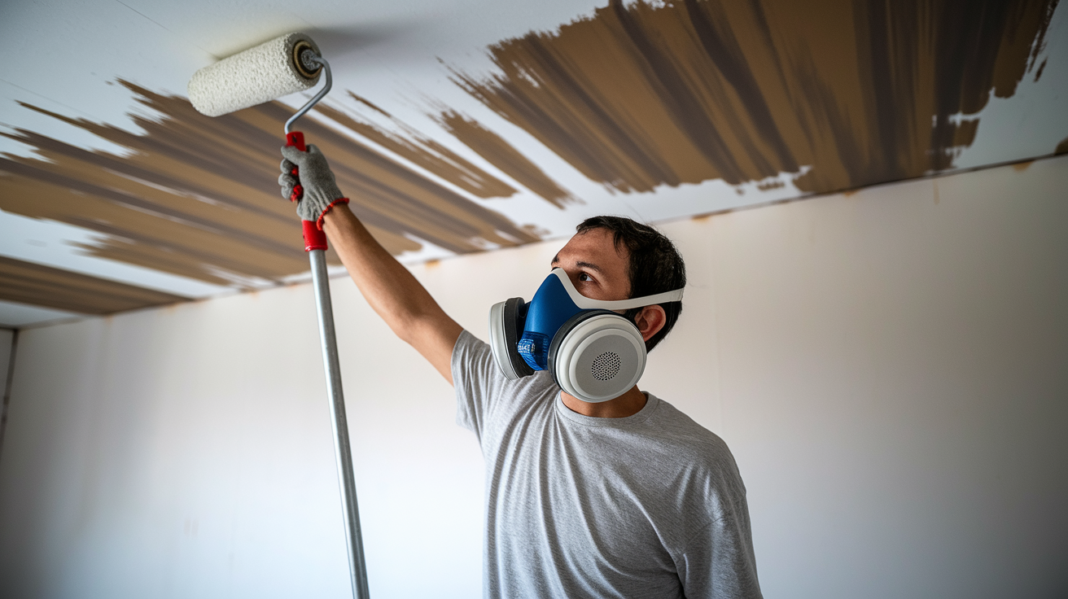

You can’t paint over smoke smell and hope it disappears. The odor molecules are embedded deep in your drywall, and regular paint lets them bleed right back through within weeks. Real elimination requires specialized odor blocking primers that trap those compounds at the surface, stopping them from escaping into your home. We’ll walk you through the complete sealing process: deep cleaning to remove surface residue, applying the right primer for your contamination level, and finishing with durable topcoat protection that actually lasts.
Essential Steps and Products for Sealing Smoke Odor
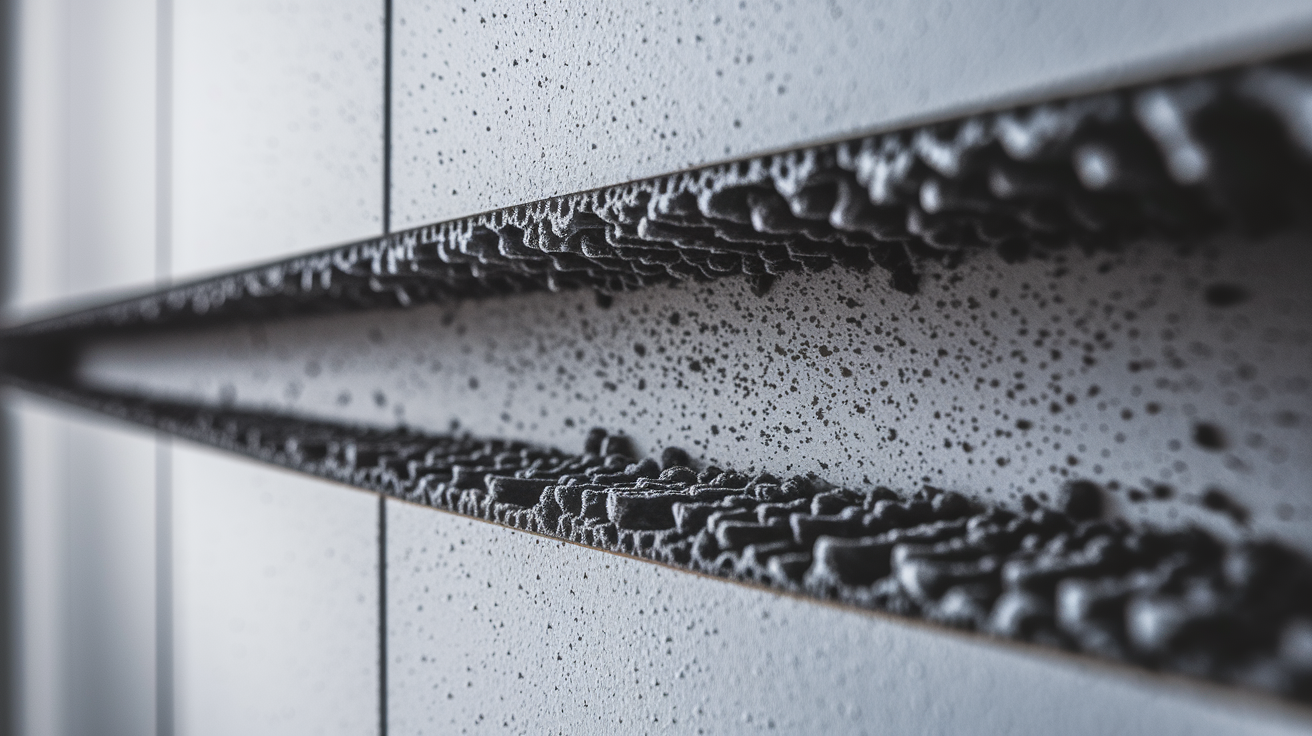
Smoke particles don’t just sit on surfaces. They burrow deep into porous drywall, embedding over 4,000 chemical compounds into the material itself. Regular paint won’t stop the smell from bleeding back through, and air fresheners are basically Band-Aids. Real odor elimination requires specialized encapsulation primers that trap smoke molecules at the surface, keeping them from escaping back into your home.
The complete sealing process has three distinct phases: deep cleaning to remove surface soot and oils, application of odor blocking primer to encapsulate embedded particles, and protective topcoat finishing for durability and appearance. Light to moderate contamination from occasional smoke exposure or a single fire incident works well as a DIY project. Heavy fire damage or homes with decade long smoking history need professional assessment before you start, as the contamination may have penetrated insulation and wall cavities beyond what surface primers can reach.
| Contamination Level | Recommended Primer | Specific Products | Cost Per Gallon | Timeline |
|---|---|---|---|---|
| Light: occasional smoke exposure | Shellac or water-based | BIN Shellac-Based Primer, Zinsser Odor Killing Primer | $45-80 | 3-5 days |
| Moderate: years of smoking or recent fire | Shellac or oil-based | BIN Shellac-Based Primer, Kilz Original Oil-Based | $40-80 | 5-7 days |
| Heavy: structural fire or decade+ smoking | Shellac-based only | BIN Shellac-Based Primer | $50-80 | Professional service recommended |
Here’s the complete five step process for sealing smoke odor in walls:
-
Assess damage severity, establish ventilation, and remove furniture. Open all windows and position box fans to create cross ventilation throughout the space. Move furniture to another room or center of the space under protective covering. Inspect walls under bright light to identify heavy staining, especially near ceiling lines where smoke accumulates most. Determine contamination level to select appropriate primer type.
-
Deep clean all surfaces with TSP solution using bottom up technique and allow 24 to 48 hours drying. Mix TSP cleaner at 1/4 to 1/2 cup per gallon of warm water. Start at the bottom of each wall and work upward to prevent permanent streaking on contaminated surfaces. Use a sponge or soft cloth, rinsing frequently in clean water. For heavy soot, use dry chemical sponges first to lift surface particles before wet cleaning. Set up fans and dehumidifiers to accelerate drying.
-
Apply 2 to 3 coats of odor blocking primer (shellac for heavy, oil based for moderate). Cut in all edges, corners, and trim using a 2 inch angled brush. Roll primer in overlapping W pattern using 3/8″ to 1/2″ nap roller. Allow proper drying time between coats: 45 minutes for shellac based, 2 to 4 hours for oil based, 1 to 2 hours for water based products. Each gallon covers 300 to 400 square feet.
-
Inspect coverage and apply additional coats to problem areas. After second coat dries, seal the room for 4 hours then check for lingering odor. Inspect under bright light for thin spots, especially in corners and along ceiling lines where coverage often misses. Yellow nicotine stains bleeding through indicate need for additional coats in those areas.
-
Finish with quality latex topcoat in 2 coats. Once primer fully blocks odor and stains, apply two coats of 100% acrylic latex paint in your chosen color. Use satin or semi-gloss sheen for better cleanability. Allow each coat to dry per manufacturer specifications.
Light damage in a single 12×12 room typically takes 3 to 5 days DIY with $200 to $400 in materials including primer, cleaner, paint, and supplies. Moderate contamination across multiple rooms extends to 5 to 7 days with $400 to $800 invested. Heavy contamination from structural fires or extensive long term smoking usually requires professional service at $1,500 to $5,000+ because it demands specialized equipment like thermal foggers and ozone generators, plus potential drywall and insulation replacement in severely affected areas.
Wall Cleaning Before Sealing Smoke Odor

Sealing over uncleaned smoke residue traps odors beneath the primer, which then break down the paint bond and cause failure within months. The soot, tar, and nicotine create an oily barrier that prevents primer from adhering properly to the drywall surface. What looks like a sealed wall becomes a ticking clock, with yellowing bleed through appearing first, followed by bubbling paint and the full return of smoke smell.
Test your cleaning approach on a small 2×2 foot section first, preferably in a closet or behind where furniture will sit. This lets you verify the cleaning solution removes soot without damaging the underlying paint or drywall paper. If the test area shows good results after drying 24 hours, proceed with the full room.
| Contamination Level | Cleaning Method | Solution Type |
|---|---|---|
| Light | Dry chemical sponge followed by mild TSP | 1/4 cup TSP per gallon warm water |
| Moderate | Dry sponge then concentrated TSP scrub | 1/2 cup TSP per gallon warm water |
| Heavy | Multiple passes with concentrated TSP | 1/2 cup TSP per gallon, multiple bucket changes |
TSP application requires the bottom up washing technique to prevent permanent streaking. Start at the baseboard and work your way up in 3 to 4 foot horizontal sections. Dip your sponge in the TSP solution, wring it until just damp, then scrub in circular motions with moderate pressure. Rinse the same section immediately with a clean water sponge, then dry with cloth rags. The bottom up approach prevents dirty water from running down over uncleaned areas, which creates streaks that become permanent once primer seals them in. Change your rinse water frequently as it turns gray from soot.
Walls must dry completely before primer application, which takes 24 to 48 hours depending on humidity levels and ventilation. Position box fans 6 to 8 feet from walls to keep air moving across surfaces. Run a dehumidifier if indoor humidity exceeds 60%, as moisture trapped under primer creates adhesion problems and potential mold growth. Touch the wall surface in several spots, checking that it feels dry and cool to the touch, not damp or clammy. Wet drywall feels cooler than dry drywall. Skip this drying time and your primer won’t bond properly, leading to peeling within weeks.
Ventilation and Safety Equipment for Smoke Odor Sealing
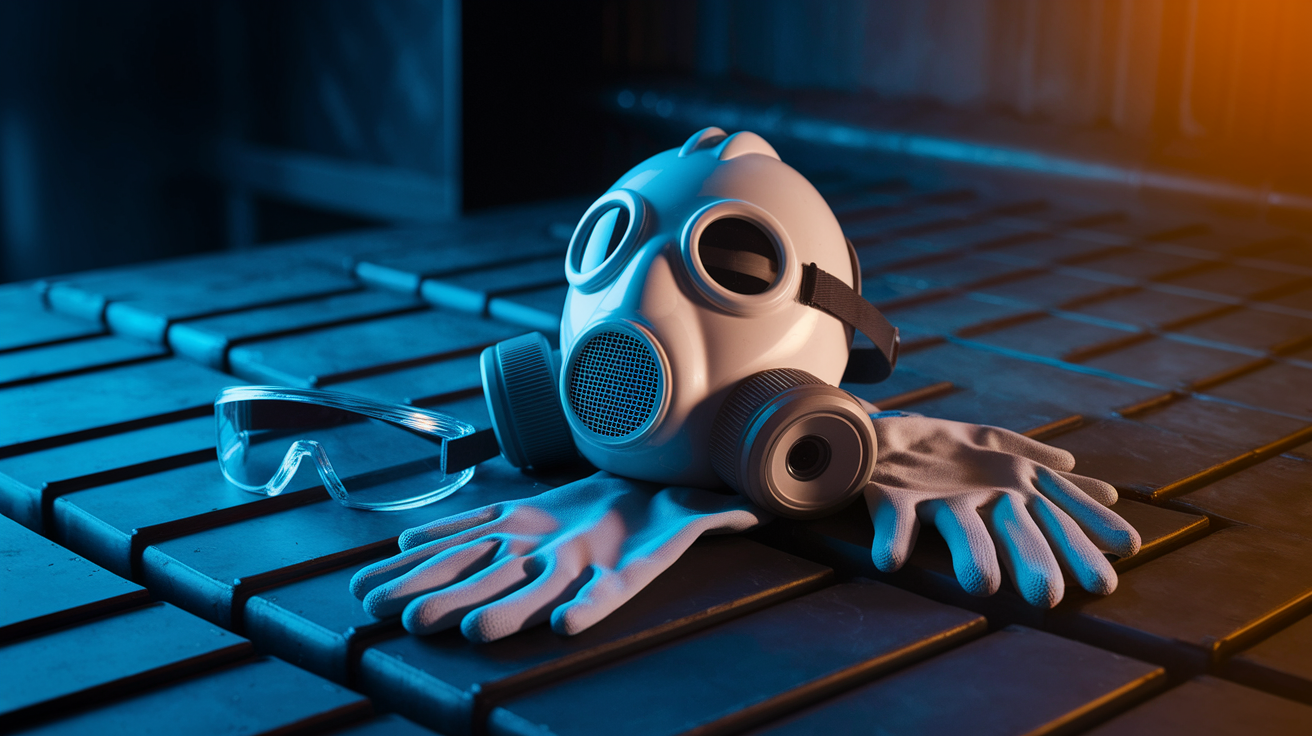
Smoke residue contains formaldehyde, benzene, and carbon monoxide alongside thousands of other compounds, some linked to cancer and respiratory illness. These toxins remain active even in dried soot that’s been sitting on walls for months or years. Cleaning and sealing stirs up microscopic particles that become airborne, putting them directly into your breathing zone at concentrated levels far higher than the original smoke exposure.
Proper protective equipment starts with respiratory protection. Use an N95 respirator as minimum protection for light cleaning work, but upgrade to a P100 half mask respirator for primer application and heavy contamination cleaning. The P100 filters capture 99.97% of particles and provide better face seal than disposable masks. Wear nitrile gloves instead of latex or vinyl types, as nitrile resists chemical breakdown from TSP cleaners and primer solvents. Add safety goggles or a full face shield to protect against TSP splashes and primer drips, especially when working overhead on ceilings.
Cross ventilation setup requires planning before work begins. Open windows on opposite sides of the room or home to create air flow paths. Position one box fan in a window blowing outward to exhaust contaminated air, then place another fan in a doorway or opposite window pulling fresh air inward. This creates positive air movement that carries particles out instead of letting them settle back onto surfaces. Keep this ventilation running continuously during cleaning, all primer application stages, and for 24 hours after final coat. Shellac based primers release strong solvent vapors that cause headaches and dizziness in poorly ventilated spaces, making this ventilation setup non-negotiable for safe work conditions.
Complete Application Guide: Primer Selection, Technique, and Coverage
Odor blocking primers work through encapsulation technology, which means they trap smoke molecules at the surface rather than allowing them to penetrate through to the finished paint layer. The primer creates a chemical and physical barrier that binds with the contaminated surface, sealing odor compounds in place so they can’t evaporate back into your living space. This differs completely from regular paint, which has large enough pores to allow smoke odors to pass through within weeks.
Shellac Based Primers for Maximum Odor Blocking
BIN and similar shellac based products deliver the most effective odor blocking for heavy contamination, including severe nicotine staining and fire damage. Shellac’s unique chemistry creates an impermeable seal that blocks persistent odors regular primers can’t handle. These primers dry in just 45 minutes between coats, letting you complete multiple applications in a single day. The tradeoff comes in a strong solvent odor during application that requires excellent cross ventilation with windows open and fans running. Shellac primers work on all contamination levels, making them the safe choice when you’re uncertain about damage severity. They clean up with denatured alcohol or ammonia based cleaners.
Oil Based Primers for Stain Prevention
Kilz Original and similar oil based alternatives provide a solid middle ground option for moderate contamination levels, particularly years of smoking without heavy tar buildup or recent fires with limited soot. These primers excel at blocking the yellow nicotine stains that bleed through water based products. Expect longer dry times of 2 to 4 hours between coats, which extends project timelines. Oil based primers require mineral spirits for brush and roller cleanup, and they maintain a noticeable odor for several days after application. They work best for moderate nicotine staining where water based products fail but shellac’s intensity isn’t required.
Water Based Specialty Primers
Zinsser Odor Killing and similar water based alternatives suit only light smoke exposure, such as a single small fire quickly extinguished or a property where smoking occurred occasionally but not extensively. The main advantages come from lower VOC formulations that meet strict air quality regulations, easier cleanup with just soap and water, and faster 1 to 2 hour dry times. However, these primers show significant limitations compared to shellac and oil based options when facing heavy contamination. Smoke odors typically bleed through water based primers within months when contamination exceeds light exposure levels.
Proper application technique matters as much as primer selection. Thin, multiple coats outperform single thick applications because they allow better adhesion, faster drying, and more complete coverage without runs or sags.
Here’s the detailed six step application process:
-
Protect floors with drop cloths and tape off trim, baseboards, and ceiling edges. Lay canvas drop cloths across the entire floor, overlapping edges by 6 inches. Canvas absorbs drips better than plastic, which becomes slippery and dangerous. Apply 2 inch painter’s tape along all baseboards, door frames, window trim, and the ceiling line. Press tape edges firmly to prevent primer from bleeding underneath.
-
Cut in all edges, corners, and trim using 2 inch angled brush with steady hand. Load the brush with primer about halfway up the bristles. Start in corners and work outward, creating a 3 to 4 inch band along all edges where the roller can’t reach. Use long, smooth strokes rather than stabbing motions. Cutting in properly prevents roller marks at transition points and ensures complete edge coverage where smoke concentrates.
-
Apply first coat using roller with 3/8″ to 1/2″ nap for smooth drywall in overlapping W pattern to avoid roller marks. Pour primer into roller tray, filling the deep end about halfway. Load the roller by rolling back and forth in the primer, then rolling excess off on the tray’s ribbed slope. Start in a corner and roll a W pattern about 3 feet wide, then fill in the W without lifting the roller. This technique distributes primer evenly without creating lines or thin spots.
-
Inspect coverage under bright light checking for thin spots especially in corners. After completing a wall, shine a work light at an angle across the surface. Thin areas appear as lighter patches or show the original wall color bleeding through. Corners and edges near the ceiling often receive inadequate coverage due to roller angle limitations. Mark any thin spots with light pencil marks to address in the next coat.
-
Allow proper drying time (45 min shellac, 2 to 4 hours oil based, 1 to 2 hours water based). Set a timer based on the primer type. Don’t touch or inspect surfaces during drying as this leaves fingerprints in partially cured primer. Keep ventilation fans running throughout the drying period. Temperature affects drying time, with cool rooms under 60°F extending the wait by an hour or more.
-
Apply second coat using same technique ensuring complete coverage. Repeat the cutting in and rolling process in the same order as the first coat. The second coat typically requires less primer since you’re covering sealed surface rather than raw drywall. Pay special attention to areas that showed thin coverage after the first coat.
Coating requirements scale with damage severity. Light exposure from occasional smoke requires 1 to 2 coats in most cases. Moderate staining from several years of regular smoking needs 2 to 3 coats, particularly on ceilings where nicotine accumulates most heavily. Heavy nicotine from decade plus smoking demands 3 to 4 coats since the yellow tar creates persistent bleed through that penetrates even shellac based primers if applied too thinly. Fire damage requires 3 or more coats plus spot treatment of the worst areas where soot saturated the drywall. Heavy nicotine creates yellow bleed through that emerges during the first coat’s drying phase. Each gallon of primer covers 300 to 400 square feet depending on surface texture and application method, with rougher surfaces consuming more product. Between coats, conduct a smell test by sealing the room for 4 hours with windows and doors closed, then entering with fresh perspective to check for lingering odor before proceeding.
Common mistakes undermine even the best primers. Applying primer too thin to save money causes odor bleed through within months, wasting all the labor invested. Inadequate coverage in corners and edges leaves gaps where smoke concentrates most heavily. Not allowing proper dry time between coats causes poor adhesion as wet primer bonds to tacky primer instead of fully cured surface. Using wrong roller nap creates problems: nap too thick causes unwanted texture, while nap too thin gives poor coverage and requires extra coats. Skipping the edge cutting step leaves unsealed gaps along trim and corners where roller can’t reach, creating odor escape routes that contaminate the sealed areas.
Sealing Ceilings and Trim from Smoke Odor
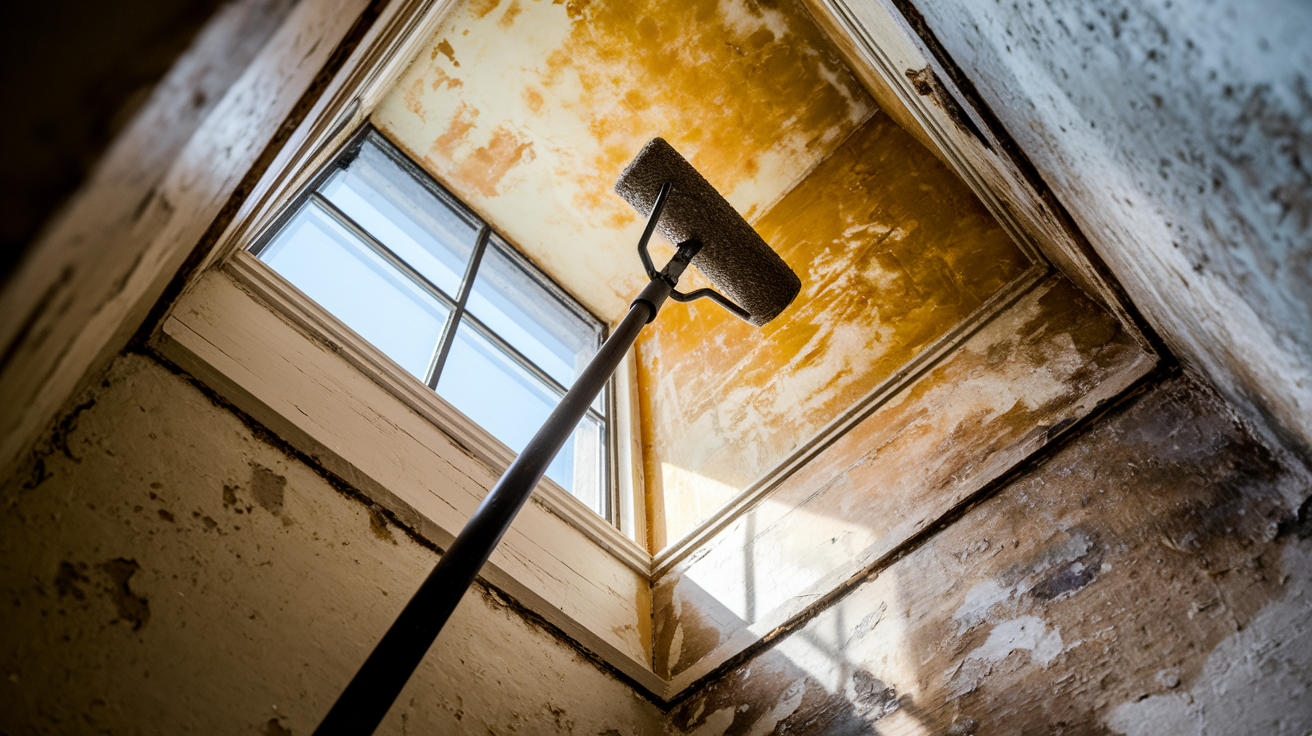
Ceilings require special attention because they show the worst nicotine staining as smoke rises and accumulates on overhead surfaces. The yellow brown tar buildup concentrates more heavily on ceilings than walls, sometimes requiring an extra coat of primer compared to vertical surfaces in the same room. Overhead application creates its own challenges. Use a proper roller extension pole 4 to 8 feet long to reach the ceiling without a ladder, which prevents fatigue and ensures even coverage. Standing on a ladder and reaching forces awkward angles that create thin spots and uneven application. The extension pole lets you maintain consistent pressure and technique while keeping both feet safely on the floor.
Remove or carefully tape off baseboards and trim before sealing adjacent walls. Small gaps between the wall and trim create spaces where smoke residue hides, and sloppy taping leaves primer on wood surfaces. If the trim itself shows nicotine staining or absorbed smoke odor, it needs primer too. Remove the trim completely for separate priming, or tape off walls and prime the trim in place. Quarter round and shoe molding at floor level often show heavy staining on the top edge where it meets the wall, requiring careful brush work to seal properly.
Bare wood surfaces or wood paneling may need light sanding with 220 grit sandpaper before primer application for proper adhesion. Glossy factory finishes or old varnish create slick surfaces that prevent primer from bonding correctly, leading to peeling within weeks. Sanding removes the glossy finish and creates microscopic grooves that give primer something to grip. Sand just enough to dull the shine, then wipe surfaces with a tack cloth to remove dust before priming.
Remove all outlet covers and switch plates before sealing walls, then prime inside the electrical boxes to prevent odor from escaping through wall cavities into sealed rooms. Smoke particles penetrate through small gaps around outlets and fill the wall cavity behind the drywall. If you seal the wall surface but leave boxes exposed, odor will bleed out through these openings and make the room smell like sealing failed. With power shut off at the breaker, remove cover plates and apply primer to the visible drywall inside the box using a small brush. Reinstall covers after topcoat paint dries.
Topcoat Paint Selection After Sealing Smoke Odor

Topcoat paint provides appearance, color, and cleanability while the primer underneath provides the actual odor blocking. Never skip primer thinking topcoat alone will work. Regular paint has relatively large pores that allow smoke odors to pass through within weeks, regardless of how many coats you apply or how expensive the paint. The primer does the heavy lifting for odor control, while topcoat protects the primer and gives you the finished look you want.
One hundred percent acrylic latex paints deliver best durability and easier application with lower VOCs than oil based topcoats. Modern acrylic formulations provide solid adhesion over shellac and oil based primers after proper drying time. They clean up with soap and water, dry in 1 to 2 hours for recoating, and produce minimal odor during application compared to solvent based alternatives. Most importantly, acrylic latex paints resist yellowing over time, which matters after investing significant effort in removing nicotine stains.
Satin or semi-gloss finishes work better than flat paint for previously smoke affected areas. Flat paint absorbs dirt and can’t be scrubbed without damaging the finish, which creates problems if any smoke residue remains on furniture or fabrics and transfers back to walls. Satin provides light sheen that allows gentle cleaning with damp cloth without removing paint. Semi-gloss offers even better washability for areas like kitchens or heavily used rooms, though it shows surface imperfections more readily than satin. Skip flat paint entirely in rooms that had smoke damage.
Quality topcoat requires two coats for uniform appearance over primer, especially when covering stain blocking primers that may have slight tint or amber color from shellac base. The first topcoat often looks blotchy as it adjusts to the primer underneath. The second coat evens out color and provides full hide, giving you the true finished shade you selected. Allow first topcoat to dry fully, usually 2 to 4 hours depending on humidity, before applying the second coat.
Advanced Techniques: Encapsulation Method for Heavy Smoke Odor

Encapsulation means molecular level neutralization versus surface covering. Standard primers seal smoke odor by creating a physical barrier, but encapsulation technologies penetrate to the same depth as the original smoke infiltration and chemically bond with odor molecules. This approach becomes necessary when contamination has soaked deep into drywall, reaching the paper backing and potentially the studs behind, making surface only treatments ineffective.
Thermal fogging uses heated deodorizing solution dispersed as fine mist to penetrate the same depth as original smoke. The process involves heating a specialized deodorizing compound to 130 to 140°F, then forcing it through a fogging machine that creates microscopic droplets smaller than smoke particles themselves. These tiny droplets follow the same paths smoke took during the original fire or exposure, reaching deep into porous materials where they bond with odor molecules and neutralize them chemically. The treatment takes 2 to 4 hours depending on square footage, and the property must remain vacant during application and for 4 to 6 hours afterward while fog settles.
Ozone treatment breaks down odor molecules through chemical oxidation, but requires completely vacant property for 24 to 48 hours due to health hazards. Ozone generators produce O3 gas that reacts with organic compounds including smoke molecules, breaking their chemical bonds and eliminating odor at the source. The gas penetrates everywhere air can reach, including wall cavities, ductwork, and porous materials. However, ozone at treatment concentrations damages lungs and irritates respiratory systems, making occupancy during treatment dangerous. All people, pets, and plants must vacate. After treatment, the space needs thorough ventilation for several hours before reoccupancy. Ozone also degrades rubber, plastics, and some fabrics with prolonged exposure.
Hydroxyl generators provide safer occupied space alternative to ozone that can run while residents remain, though the process works slower and with less power than ozone. Hydroxyl radicals occur naturally in the atmosphere when sunlight breaks down water vapor, and they safely break down odors and other organic compounds without health risks to occupants. The generators can run continuously for several days or weeks while people live in the space normally. The tradeoff comes in longer treatment time, typically 5 to 10 days for moderate contamination compared to ozone’s 1 to 2 day treatment. Hydroxyl works well for maintenance odor control after initial heavy remediation, preventing residual smells from reasserting.
Professional equipment becomes necessary in specific scenarios: structural fires with soot distributed throughout the house, years of heavy smoking in multiple rooms creating deep drywall penetration, or failed DIY sealing attempts that show odor return within weeks. When surface primers can’t reach the contamination depth, or when contamination has spread to insulation and wall cavities, these advanced methods provide solutions standard products can’t match. For severe fire damage or decade plus smoking exposure, consider professional Fire Damage Restoration Services that include thermal fogging and ozone treatment as part of comprehensive remediation.
When Insulation and Drywall Replacement Beat Sealing Smoke Odor
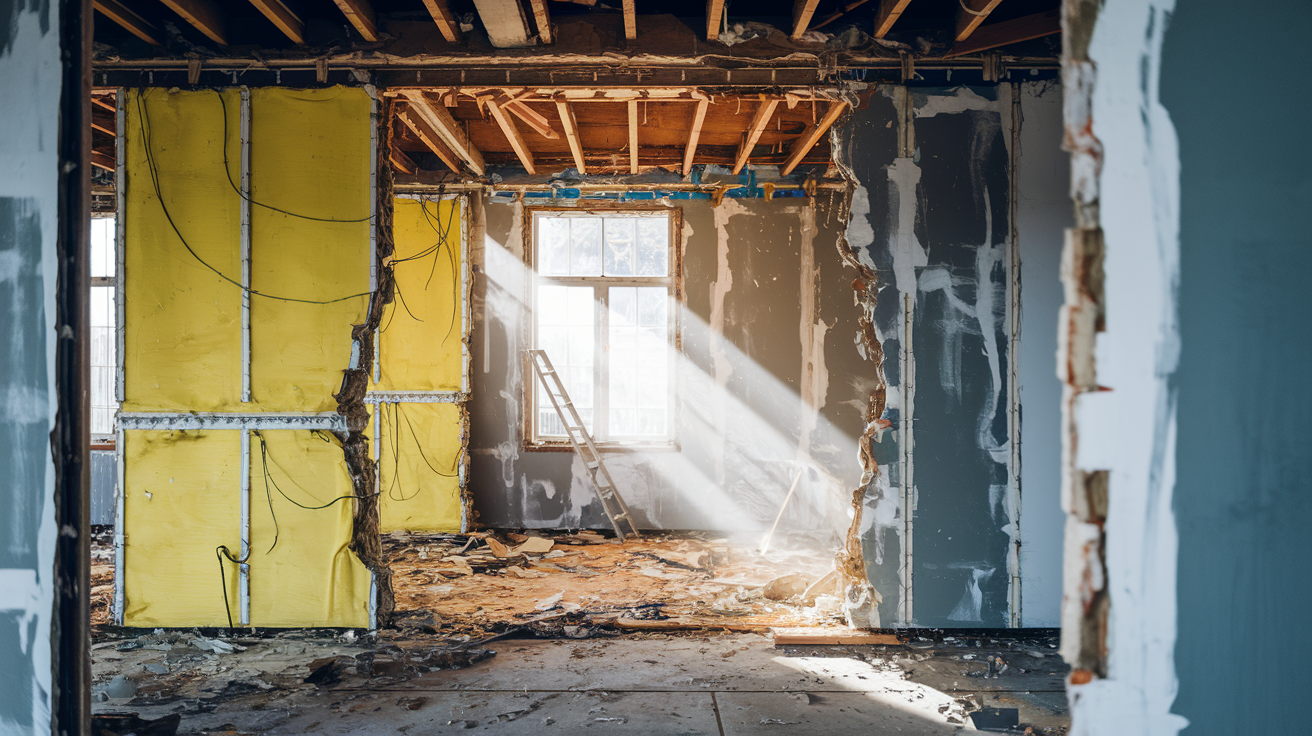
Some contamination levels exceed what even shellac based primers can effectively encapsulate, making removal more practical than repeated sealing attempts. When smoke has saturated drywall to the point that tar has penetrated the paper backing and reached the gypsum core, or when insulation behind the drywall has absorbed years of accumulation, surface treatments can’t solve the problem no matter how many coats you apply.
Five indicators signal when replacement makes more sense than sealing:
Visible tar saturation bleeding through multiple primer coats and cleaning attempts, showing as persistent yellow brown staining that reappears within days of each application. Structural fire damage with charred drywall or exposed paper backing, indicating the material itself is compromised beyond surface contamination. Decade plus heavy smoking exposure throughout the home, particularly in homes where smoking occurred indoors daily for 15 to 20+ years. Persistent odor after proper two coat shellac primer application following thorough TSP cleaning, suggesting contamination has penetrated beyond primer’s reach. Visible mold growth combined with smoke damage, indicating moisture problems that require drywall removal anyway for proper remediation.
Insulation behind drywall absorbs and permanently holds smoke odor that surface applied primer cannot reach. Fiberglass batting and cellulose insulation act like sponges for smoke particles, trapping them deep in the material where they continue releasing odor for years. When you seal the drywall surface but leave contaminated insulation in the wall cavity, the room continues smelling because odor bleeds out through tiny gaps around outlets, baseboards, and penetrations. Opening a wall in a heavily smoke damaged home often reveals insulation stained brown from tar accumulation, making it an invisible odor source that undermines all surface sealing efforts.
Compare cumulative costs when making replacement decisions. Three failed sealing attempts at $600 each in materials and labor total $1,800 with no successful outcome, while one time drywall and insulation replacement in the worst affected rooms like the master bedroom or living room costs $1,200 to $2,000 and solves the problem permanently. Replacement also provides opportunity to upgrade insulation R value and inspect for other hidden issues like old wiring or plumbing problems. For comprehensive restoration that addresses underlying structural issues, consider Water and Fire Damage Repair services that coordinate removal, disposal, and reconstruction in one project.
Addressing HVAC Systems to Prevent Smoke Odor Return
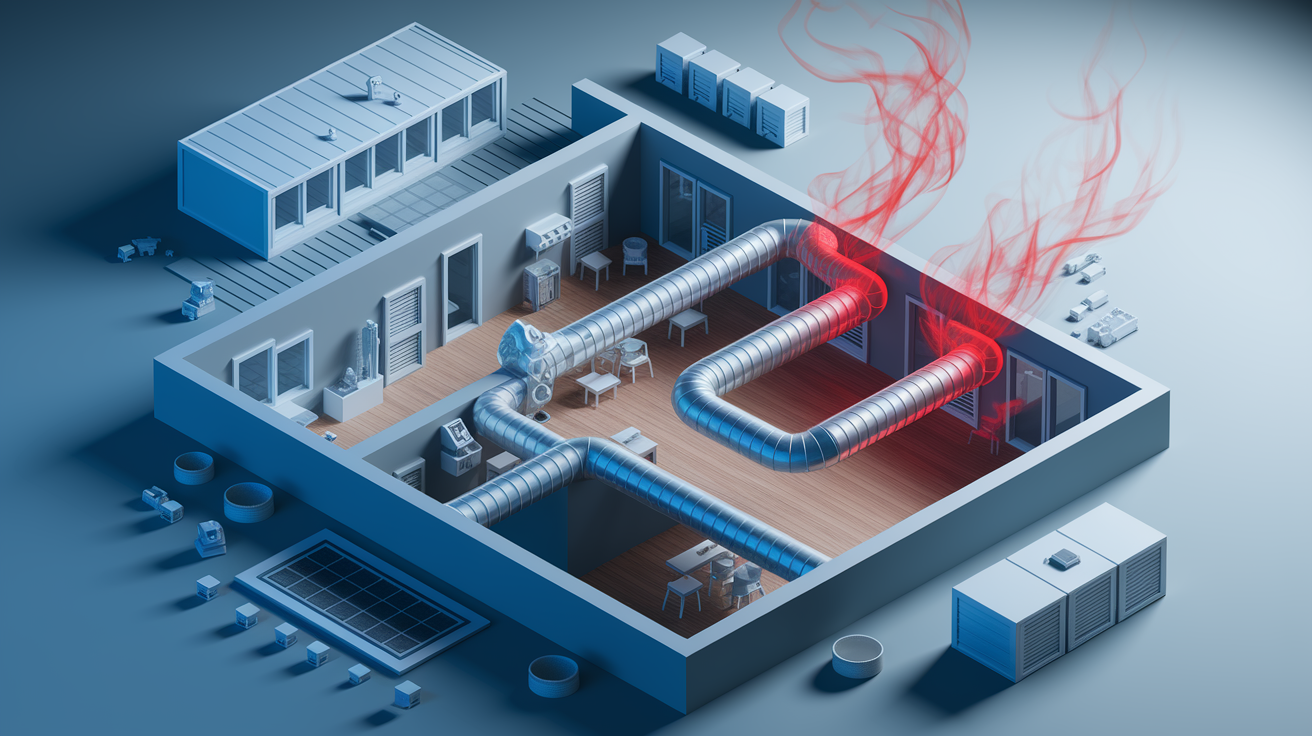
HVAC systems perpetuate smoke odor problems by cycling contaminated air through sealed rooms. Smoke particles lodge in ductwork, stick to the air handler coil, and accumulate in the evaporator unit, then get blown back into freshly sealed rooms every time the system runs. This undermines sealing efforts by reintroducing odor sources faster than primers can trap them. You might seal walls perfectly, but the HVAC system becomes an odor distribution network that makes the whole project seem like it failed.
Professional duct cleaning with rotary brush and HEPA vacuum should occur before final topcoat application or immediately after project completion. The process involves accessing ductwork through registers and return vents, then running specialized rotating brushes through the ducts while HEPA filtered vacuum extracts loosened particles. Technicians also clean the air handler coil, blower compartment, and return plenum where smoke residue concentrates. This service costs $300 to $500 for typical residential systems but proves essential for lasting results. Without it, contaminated dust redistributes through sealed rooms within days.
Upgrade standard fiberglass filters to MERV 11 to 13 pleated filters or add standalone HEPA air purifiers with activated carbon for continued odor molecule capture. Standard 1 inch fiberglass filters catch only large particles like dust and pet hair, allowing microscopic smoke particles to pass through and recirculate. MERV 11 to 13 filters trap particles down to 1 micron including most smoke components, though they cost $20 to $30 each versus $3 to $5 for fiberglass. Make sure your HVAC system can handle the increased airflow restriction before upgrading, as some older systems can’t pull air through dense filters without straining the blower motor. Standalone HEPA purifiers work in rooms where HVAC upgrades aren’t possible, continuously filtering air and reducing particle counts.
Replace HVAC filters monthly instead of the standard 3 month interval during the three months following smoke remediation to capture loosened particles. Cleaning and sealing work stirs up contamination that settles throughout the house, including into ductwork and on filter surfaces. More frequent replacement during this period prevents particle buildup that would otherwise recirculate. After three months, return to manufacturer recommended replacement intervals unless odor returns, which signals incomplete remediation requiring additional steps.
Verification and Problem Solving After Sealing
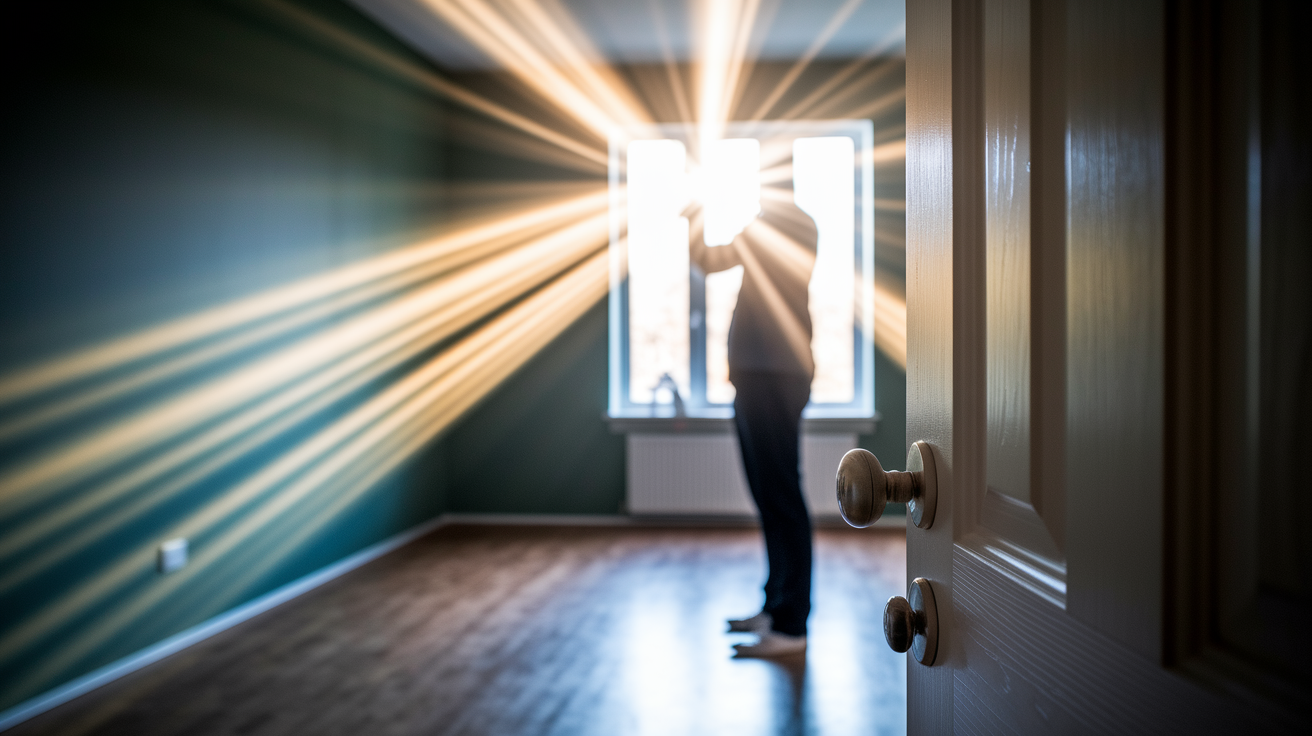
Wait at least 72 hours after final topcoat application before accurate smell testing. Paint continues curing and releasing VOCs during this period, creating chemical odors that mask or confuse smoke odor detection. Fresh paint smell from acrylic latex usually fades within 48 to 72 hours in well ventilated spaces, leaving clean air that reveals whether smoke odor remains. Testing too early gives false results because you’re smelling paint, not evaluating odor elimination.
The closed room test provides reliable verification. Seal the room for 24 hours with windows and doors closed and HVAC register closed or blocked. This prevents fresh air from masking lingering odor and allows any remaining smoke smell to concentrate in the space. After 24 hours, leave the house for 30 minutes to clear your nose, then return and immediately enter the sealed room. Fresh perspective catches odors your nose would miss if you’d been working in the space. A properly sealed room smells like new paint or completely neutral, not smoky or stale.
Heat and humidity stress testing raises the stakes by increasing thermostat to 78 to 80°F for several hours. Warmth activates smoke compounds that remain dormant in cool conditions, so heating the space reveals weak spots in sealing coverage. If odor emerges during heating, it indicates missed areas or insufficient primer coats in certain spots. Run this test on a warm day or use heating system to raise temperature, then perform the smell test after heat has held for 4 to 6 hours.
Persistent odor after proper sealing points to specific missed areas or contamination sources beyond wall surfaces. It means the work wasn’t complete, not that sealing doesn’t work.
Systematic troubleshooting identifies the remaining problems:
-
Verify all primer coats dried fully (shellac 45 min, oil 4 hours) before topcoat application. Rushing between coats causes poor bonding and allows odor to bleed through weak spots in the seal. Check your project timeline against manufacturer specifications to confirm proper drying occurred.
-
Inspect corners, ceiling line, and baseboard edges under bright light for thin coverage spots. Use a work light or bright LED flashlight held at an angle to the wall surface. Thin areas appear lighter or show underlying staining. Mark them with light pencil for spot treatment.
-
Remove outlet covers and smell inside wall cavities for odor escaping from unsealed areas. If the wall cavity smells worse than the room, contamination behind the drywall needs addressing through insulation replacement or in cavity treatment with thermal fogging.
-
Confirm HVAC ducts received professional cleaning if system was running during smoke exposure. Schedule duct cleaning if you haven’t already completed it, as contaminated ducts undermine all surface sealing work.
-
Check adjacent rooms, closets, and attic spaces that may be feeding odor through shared wall cavities. Smoke travels through wall cavities between rooms. Sealing one room while leaving adjacent spaces untreated allows odor to migrate through shared stud bays.
-
Apply heat test to walls with hairdryer to identify weak spots where odor emerges. Hold a hairdryer 6 inches from the wall on high heat for 30 to 60 seconds, then smell that spot immediately. Odor emergence pinpoints exact locations needing additional primer coats.
Commonly missed locations include wall areas behind radiators or large furniture that were inaccessible during application and received no primer at all. Closets often get treated as low priority and receive only one coat when the main room got three. Upper wall sections near the ceiling frequently receive thin roller coverage because of awkward overhead angles. Window and door frames that were taped off but not sealed themselves continue releasing odor into sealed rooms.
Accept that smoke contamination has penetrated beyond what surface primers can encapsulate when specific signs appear. Odor persisting after proper 3 coat shellac application following thorough cleaning indicates deep penetration into insulation or wall cavities. Odor stronger inside wall cavities than on the surface confirms contamination behind the drywall that primers can’t reach. Failed second sealing attempt using a different primer type and technique suggests the problem exists beyond the surface level. At this point, drywall and insulation removal and replacement becomes the necessary solution rather than continuing to add primer coats to surfaces that can’t solve the underlying problem.
DIY Versus Professional Smoke Odor Sealing Services
The decision between DIY and professional service depends on contamination severity, affected square footage, homeowner skill level with painting and surface preparation, and available time for a multi day project requiring proper drying periods between steps.
| Factor | DIY Approach | Professional Service |
|---|---|---|
| Best for | Single rooms with light to moderate damage, homeowners comfortable with painting | Whole-house contamination, heavy fire damage, failed DIY attempts |
| Timeline | 3-7 days with proper drying between coats, working evenings and weekends | 2-4 days with full crew working continuously |
| Cost | $200-800 in materials depending on room size and damage severity | $1,500-5,000+ including labor, materials, equipment, disposal |
| Equipment | Rental fans, standard painting supplies, respirator, adequate for surface work | Commercial air scrubbers, thermal foggers, ozone generators, airless sprayers included |
| Results | Good results with proper technique, material selection, and sufficient coats | Guaranteed results with warranty, IICRC-certified techniques, molecular-level treatment |
IICRC certification stands for Institute of Inspection, Cleaning and Restoration Certification, the industry standard showing technician training in proper fire and smoke restoration protocols. Certified technicians have completed coursework in smoke behavior, contamination assessment, appropriate cleaning methods, primer selection, and verification testing. This training matters for quality outcomes because smoke damage involves chemistry and building science beyond standard painting knowledge. IICRC certification also carries weight with insurance companies during claims processing, as adjusters recognize certified work as meeting industry standards for proper remediation.
DIY materials cost $200 to $400 for light damage in a single 12×12 bedroom, including TSP cleaner, dry sponges, 2 gallons of shellac or oil primer, 2 gallons of topcoat paint, roller supplies, brushes, tape, and drop cloths. Moderate damage across
Final Words
Sealing smoke odor in walls takes the right sequence: deep TSP cleaning, shellac or oil-based primer in multiple coats, and quality topcoat to finish.
Light damage in one room runs $200-400 and takes 3-5 days. Moderate contamination across multiple rooms costs $400-800 and needs 5-7 days. Heavy fire damage or decade-long smoking usually requires professional service with specialized equipment.
Skip steps and the smell comes back. Follow the process and you get lasting results that make rooms livable again.
FAQ
What gets rid of smoke smell on walls?
Getting rid of smoke smell on walls requires deep cleaning with TSP (trisodium phosphate) solution followed by application of shellac-based or oil-based odor-blocking primer. Surface cleaning alone won’t work because smoke particles embed deep into porous drywall and require encapsulation, not just masking.
Will Kilz cover cigarette smoke?
Kilz Original oil-based primer will cover cigarette smoke effectively for moderate contamination levels when applied in 2-3 coats over properly cleaned surfaces. For heavy nicotine staining or decade-long smoking exposure, shellac-based primers like BIN provide superior odor blocking and stain coverage compared to Kilz.
How long does smoke smell stay in walls?
Smoke smell stays in walls permanently until properly removed because smoke particles embed deep into porous drywall and insulation. Without professional cleaning and odor-blocking primer application, the smell will persist indefinitely and bleed through regular paint within weeks or months of application.
Will painting walls cover smoke smell?
Painting walls will not cover smoke smell because regular paint cannot encapsulate the smoke particles embedded in porous drywall. You must first deep clean with TSP solution, then apply 2-3 coats of shellac-based or oil-based odor-blocking primer before any topcoat paint application.
How many coats of primer do I need for smoke odor?
The number of primer coats needed for smoke odor depends on contamination severity: light exposure requires 1-2 coats, moderate nicotine staining needs 2-3 coats, and heavy fire damage or decade-long smoking demands 3-4 coats. Test between coats by sealing the room for 4 hours and checking for lingering smell.
Can I use water-based primer for smoke odor?
Water-based primer works only for very light smoke exposure and offers significant limitations compared to shellac or oil-based products for moderate to heavy contamination. Shellac-based primers provide maximum odor blocking for serious smoke damage, while oil-based primers offer excellent middle-ground performance for moderate staining.
Do I need to seal ceilings for smoke odor?
Yes, you need to seal ceilings for smoke odor because smoke rises and accumulates on ceiling surfaces, creating the worst nicotine staining in most rooms. Ceilings require the same cleaning and primer treatment as walls, using a 4-8 foot extension pole for proper overhead application.
Should I remove insulation after smoke damage?
You should remove insulation after smoke damage when contamination has penetrated beyond what surface primers can encapsulate, typically after structural fires or decade-plus heavy smoking throughout the home. Insulation behind drywall permanently holds smoke odor that surface-applied primer cannot reach, creating an invisible odor source.
How long does primer need to dry before topcoat?
Primer drying time before topcoat depends on product type: shellac-based primers need 45 minutes between coats, oil-based primers require 2-4 hours, and water-based primers need 1-2 hours. Allow proper drying between all coats to prevent poor adhesion and paint failure.
Do HVAC ducts need cleaning after smoke damage?
HVAC ducts need professional cleaning after smoke damage because smoke particles lodge in ductwork and get blown into freshly sealed rooms every time the system runs. Duct cleaning with rotary brush and HEPA vacuum should occur before final topcoat application to prevent re-contamination.
When should I hire professionals for smoke odor?
You should hire professionals for smoke odor when dealing with structural fires affecting multiple rooms, decade-long heavy smoking throughout the home, or failed DIY sealing attempts showing odor return. Professional services include IICRC-certified techniques, commercial equipment, and guaranteed results with warranty coverage.
How much does professional smoke odor sealing cost?
Professional smoke odor sealing costs range from $1,500-3,000 for whole-home light to moderate damage and $3,000-7,000+ for heavy fire damage with contents cleaning. This pricing includes labor, materials, commercial equipment, and disposal, compared to DIY material costs of $200-800 for single rooms.