

Here’s your intro paragraph:
Did you know most insurance claim denials happen because of incomplete documentation, not because the damage isn’t covered? When disaster hits your home, gathering the right paperwork can mean the difference between a fair settlement and fighting for months over what you’re owed. The truth is, your insurance company will ask for specific forms, photos, receipts, and reports before they’ll pay a dime. This guide walks you through exactly what you need to collect, how to organize it, and when to submit it so your claim moves forward fast and you get the settlement your policy actually covers.
Master Checklist: All Documents Required for Your Property Damage Claim

You need solid documentation to keep your insurance company honest. Having too much evidence beats having too little, especially when your settlement’s on the line.
What You’ll Need to Gather:
-
Insurance Policy Documents – Grab your complete policy with the declarations page showing coverage limits, deductibles, and your policy number (check the Essential Policy Coverage section below)
-
Photographic Evidence – Take tons of photos of each damaged item and area. Get closeups and wide shots from different angles, and turn on timestamp features if you’ve got them (see Visual Documentation section below)
-
Video Recordings – Walk through with your phone recording, talking about what you’re seeing. Include security camera footage if you’ve got it (see Visual Documentation section below)
-
Written Inventory Lists – Go room by room and write down every damaged item. Brand, model, age, what it looked like before, what it looks like now (see Visual Documentation section below)
-
Purchase Receipts – Proof you owned it and what you paid. Credit card statements work if you can’t find the original receipt (see Essential Policy Coverage section below)
-
Repair Estimates – Get licensed contractors to write up what needs fixing and what it’ll cost (see Working With Your Insurance Adjuster section below)
-
Contractor Quotes – Pull multiple estimates so you know current market pricing. This matters even more after big disasters when prices jump (see Working With Your Insurance Adjuster section below)
-
Incident Reports – Write down when it happened, where, and how. Timeline matters here (see Incident Reports section below)
-
Police or Fire Department Reports – Official paperwork when you’ve got criminal damage, fire, or emergency services showed up (see Incident Reports section below)
-
Weather Service Records – Official proof of storm conditions, rain amounts, wind speeds (see Incident Reports section below)
-
Communication Records – Every email, text, and phone call with your insurance company. Dates, times, who you talked to (see Communication Log section below)
-
Professional Assessments – Written estimates from repair pros on what things cost to fix or replace, especially after hurricanes or major events (see Working With Your Insurance Adjuster section below)
-
Emergency Repair Receipts – Bills for temporary fixes. Tarps, boarding, water extraction, whatever you had to do fast (see Emergency Repairs section below)
-
Building Permits – Copies of required permits and code compliance stuff (see Incident Reports section below)
-
Proof of Loss Forms – The sworn statement documenting your claimed amount. Most insurers want this before they’ll settle (see Master Checklist section above)
-
Maintenance Records – Documentation showing you took care of your property. This can affect how they value things (see Essential Policy Coverage section below)
-
Tax Returns with Depreciation Schedules – For business property claims or expensive items where depreciation changes the settlement math (see Essential Policy Coverage section below)
-
Property Lease Documents – Copy of your lease if it’s a rental, showing who’s responsible for what (see Incident Reports section below)
Before You Submit Everything:
• Make sure your claim number’s on each document
• Check that supporting docs are attached and sorted by category
• Look up your policy’s submission requirements. Online portal, mail, email to claims department
• Copy everything and note when you submitted it in your communication log
• Get confirmation they received it. Email confirmation or certified mail receipt
• Know that they might pay you in installments. Initial payment to start repairs, final payment when you’re done
Put copies everywhere. Digital files on your hard drive and in cloud folders with clear labels showing dates, locations, what’s what. Physical copies in accordion folders or binders, stored in a safe or somewhere secure away from the damaged property if possible. Keep this stuff for tax purposes and potential future problems. The IRS might want records of casualty losses and insurance reimbursements, and policy disputes can pop up months or years after you thought things were settled.
Documentation Process: Step-by-Step Evidence Collection
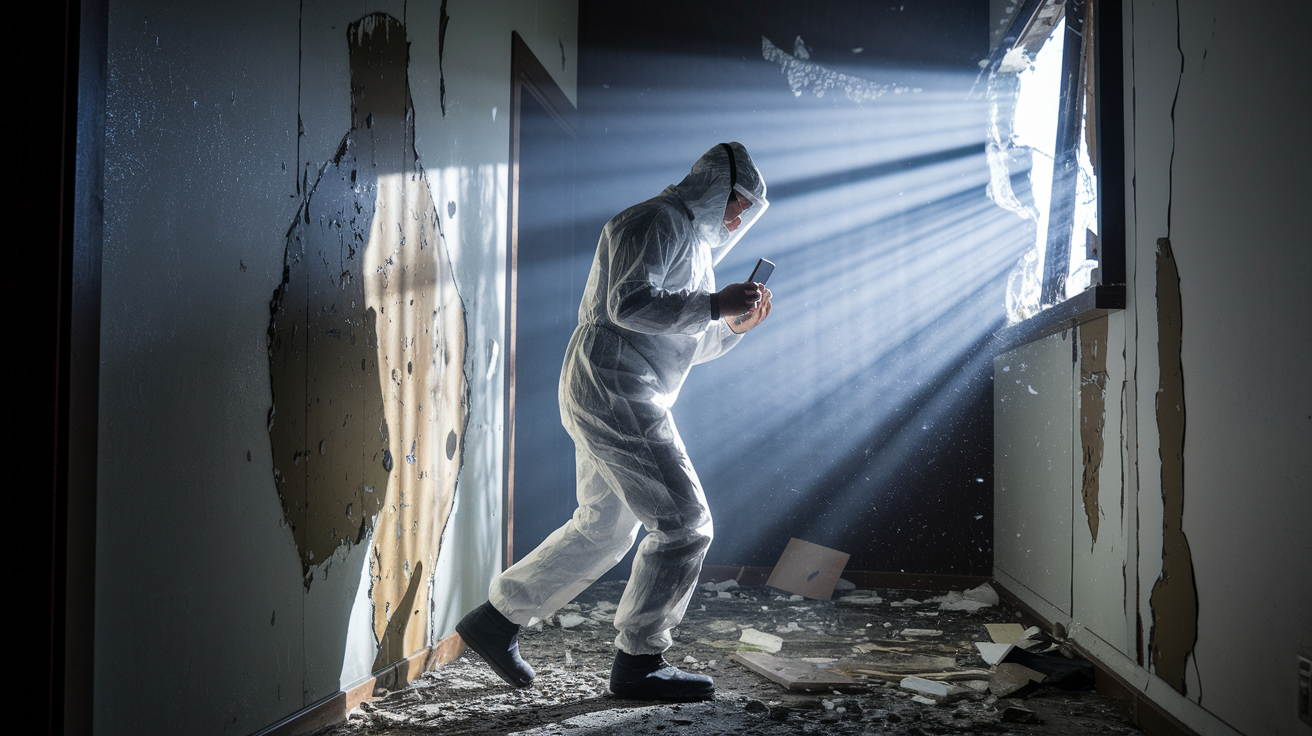
Move fast after damage happens. It strengthens your claim and stops things from getting worse. But don’t do anything until you know it’s safe.
Here’s Your Sequence:
-
Initial Safety Assessment – Check for hazards before you walk into damaged areas. Turn off main power if there’s water or electrical damage. Block off dangerous spots with caution tape. If the building looks unstable, get out
-
Immediate Damage Documentation – Once it’s safe, photograph and video everything while it still looks exactly how the damage left it
-
Emergency Stabilization Recording – Document any emergency repairs before you make them. Photograph tarps going up over leaks, record yourself boarding up broken windows, capture images of furniture you’re moving or covering
-
Detailed Inventory Creation – Within the first day or two, create room by room written lists of everything damaged with descriptions and estimated values while it’s fresh in your mind
-
Professional Assessment Scheduling – Contact licensed contractors within the first week to get repair estimates and expert opinions on how bad things are
-
Ongoing Damage Monitoring – Photograph anything new that shows up over time. Mold growth, structural settling, secondary water damage. Date stamp everything
-
Correspondence Documentation – Keep detailed notes of all insurance company conversations. Dates, times, who you talked to, from the moment you report the claim
-
Final Submission Preparation – Organize everything you collected, check it against the master checklist, and submit according to what your policy requires
Most policies give you a window for reporting claims you can’t miss unless you want to pay out of pocket. Delays slow things down and might mess up your coverage, so call your insurance company within 24 to 48 hours even if you haven’t finished gathering everything yet.
Visual and Written Documentation: Photos, Videos, and Inventory Lists

Photograph everything. Closeups and distance shots from multiple angles. Turn on timestamp features if your camera or phone’s got them. Take wide shots showing the entire room or area, then move in for detailed closeups of cracks, water stains, broken components, destroyed finishes. Get context shots too. Include doorways, windows, or undamaged areas in the frame so the adjuster understands where the damage is and how much there is.
Record video with commentary. Walk through each affected area while recording, talking out loud about what you’re showing, when it happened, what you’re seeing. Video with audio creates a story that photos can’t. If you’ve got surveillance footage showing wind tearing off roof sections, water pouring through ceilings, or the moment a tree hit your building, include every second.
Document both damaged and undamaged areas. You might not know what proves useful later. Insurance companies sometimes question whether stuff existed before the damage, and photos of intact rooms show what your property looked like before the loss.
For Each Damaged Item, Note:
• Brand name and manufacturer
• Model number and serial number when you can see it
• Purchase date or approximate age
• Original purchase cost with receipts or credit card statements if available
• Detailed description. Size, color, features, anything special about it
• Condition before damage (new, excellent, good, fair)
• Condition after damage with specific description of what’s wrong
• Estimated replacement value based on current market pricing
• Reference to supporting docs like receipt number, photo file name, warranty paperwork
• Room location and whether it was attached or unattached property
Create written inventories describing every damaged item. Brand, model, features, age, before and after condition, value. Insurance companies love claiming losses are less than they actually are, and the gap between their valuation and reality can be huge. An insurance company might value office equipment at $50 based on depreciation schedules, while actual replacement cost of similar used equipment runs closer to $1,000. Detailed documentation with market research backs you up during settlement negotiations. Store photo and video files in multiple places. Computer hard drives and cloud storage with complete metadata, organizing files by room, damage type, or date with clear file names like “2024-01-15KitchenWaterDamageWide_Angle” instead of whatever your camera automatically names things.
Essential Policy Coverage and Financial Documentation

Understanding your policy coverage, limits, and deductibles tells you what documentation you need and what you can actually claim. Look at your declarations page to find your coverage limits for dwelling, personal property, and additional living expenses, plus your deductible amount that you pay before insurance kicks in. Check for special limits on stuff like jewelry, electronics, or business equipment, and review exclusions that might affect your claim. Flood damage requires separate National Flood Insurance Program coverage, for instance.
Financial documentation includes purchase receipts showing original cost and purchase date, bank statements or credit card records proving transactions when you can’t find the original receipt, maintenance records showing you kept things up, and tax returns with depreciation schedules for business property or expensive items where depreciation affects what you get. These records prove you owned it and what it was worth.
Settlement offers might not cover repair costs completely, especially after catastrophic events when contractor and material prices shoot up past normal rates. Understanding the difference between replacement cost and actual cash value helps you know what to expect and when to push back.
| Valuation Type | Calculation Method | Example Amount |
|---|---|---|
| Replacement Cost | Current cost to replace item with similar new item at today’s prices | $1,200 for new laptop computer |
| Actual Cash Value | Replacement cost minus depreciation based on age and condition | $400 for same laptop after depreciation deduction |
Incident Reports and Official Documentation Requirements

You need police or fire department reports when damage involves criminal activity like vandalism or burglary, when fire damage happens and emergency services respond, or when your insurance company specifically asks for official documentation. Contact the responding agency to request copies of incident reports. Note report numbers and officer or investigator names in your communication log. These official reports provide third party verification of when and how damage occurred, which stops disputes about whether you’re covered.
Weather service records for storm damage claims prove that the damaging weather actually happened at your location on the date you reported. The National Weather Service provides historical weather data showing rainfall amounts, wind speeds, hail reports, and tornado confirmations that back up your claim. Building permits and code compliance documentation become necessary when repairs require permitted work. Your insurance company may request copies to verify that restoration meets local building codes and safety standards.
Flood damage may require a separate claim under the National Flood Insurance Program, not standard homeowner policies. Standard property insurance typically excludes flood coverage, which the insurance industry defines as water entering from ground level or rising water sources rather than roof leaks or burst pipes. If flooding contributed to your damage, contact the National Flood Insurance Program separately at 1-800-621-3362 or through FloodSmart.gov. This requires different claim forms, adjusters, and documentation procedures. Don’t assume your regular policy covers all water damage, and report flood damage to the appropriate program within the required timeframe to avoid denial.
Communication Log and Correspondence Documentation

Logging all interactions with your insurance company and contractors creates a clear record of what was promised, what info got exchanged, and how your claim’s progressing.
Communication Details to Record:
• Date of contact in month, day, year format
• Time of contact. Use 24 hour format or clearly note AM/PM
• Name of person contacted. First and last name when provided
• Method of communication. Phone call, email, text message, in person meeting, certified mail
• Topics discussed with brief summary of what you talked about
• Commitments made by either party. Promised actions, follow up dates, documentation requests
• Claim number, reference number, or file number mentioned during the conversation
Document phone calls with insurance reps or contractors noting date, time, and what you discussed. A simple note might read: “January 15, 2024, 2:30 PM, spoke with Sarah Johnson, claims adjuster, claim #12345. Discussed water damage extent in basement. She requested contractor estimates by January 22. I asked about coverage for contents damage. She confirmed personal property coverage applies minus $1,000 deductible.”
Save all correspondence including emails and text messages. Don’t delete digital communications thinking they don’t matter. Forward claim related emails to a dedicated folder, screenshot text message conversations, and save voicemail messages when they contain claim info or instructions. Insurance companies sometimes dispute what was said or promised, and your records protect you during settlement negotiations or disputes. Keep all documentation including correspondence, photographs, and receipts for tax purposes and future disputes, organizing these records chronologically or by topic in clearly labeled physical and digital files that you can access fast when questions come up months or years later.
Emergency Repairs and Mitigation Efforts Documentation

Contact your insurance company before making emergency repairs. Some policies have rules about unauthorized repairs that could mess with coverage or reimbursement. Most policies require you to mitigate further damage, meaning you can’t just leave a hole in your roof or a broken window exposed to weather, but you should notify your insurer first when possible and get authorization for major emergency work.
Emergency repair steps you might document include using tarps or plastic sheeting for leaks, boarding up broken windows or doors with plywood, moving undamaged stuff to dry areas, and calling emergency response contractors for water extraction, structural stabilization, or debris removal. Photograph each temporary repair before, during, and after. Capture images showing the tarp being secured over the damaged roof section, the boarded window from inside and outside, or the water extraction equipment running. This documentation proves you took reasonable steps to prevent additional damage and shows the scope of emergency work you did.
Keep all receipts for emergency repair materials and services. They may be reimbursable under your policy. Tape and tarp purchases from hardware stores, plywood and lumber for boarding, emergency contractor invoices for after hours response, equipment rental fees, and labor costs all qualify as mitigation expenses your policy should cover. Your restoration timeline often depends on how fast you stabilize things, and proper documentation of these urgent first steps ensures you get reimbursed for necessary protective measures. Be ready to provide receipts for temporary repairs during your adjuster meeting, organizing these documents separately from permanent repair estimates so the adjuster can clearly see what you spent on immediate stabilization versus long term restoration.
Common Documentation Mistakes That Delay Claim Processing

Delays in reporting claims can slow processing and potentially mess up your coverage eligibility, particularly as average claims cycle time increased to nearly 24 days in 2024, over 6 days longer than the previous year. Insurance companies love claiming losses are less than actual amounts, making complete initial documentation critical for faster payments and stronger legal cases when disputes happen.
Common Documentation Errors:
• Missing filing deadlines in your policy, which can range from 24 hours to several days depending on policy language and damage type
• Submitting incomplete inventories without detailed descriptions, valuations, or supporting documentation for claimed items
• Providing poor quality photos that are too dark, too far away, out of focus, or taken from limited angles that don’t show how bad the damage is
• Failing to keep receipts for emergency repairs, temporary housing, or other covered expenses that should be reimbursable
• Writing descriptions that lack specifics about damage location, cause, extent, or affected materials and components
• Omitting policy info like policy number, insured name spelling, or property address from submitted documentation
• Not maintaining communication logs that record dates, times, names, and content of conversations with adjusters or contractors
• Forgetting to document emergency repairs before making them, which makes it hard to prove necessity or cost of mitigation work
• Submitting only damaged area photos without context shots showing room layout, building location, or undamaged comparison areas
• Assuming verbal communications are enough without following up in writing through email or certified mail to create paper trails
Claim review happens faster when your initial submission is complete and organized. Insurance companies request additional documentation when initial submissions lack necessary info, and each request and response cycle adds days or weeks to processing time. Submit everything on the master checklist the first time, and your adjuster can move directly to assessment and settlement rather than sending follow up requests. After initial settlement, you can file supplemental claims for additional damages discovered during repairs, but these require their own documentation showing the newly discovered damage and explaining why it wasn’t included in the original claim.
Special Documentation for Different Property Damage Types
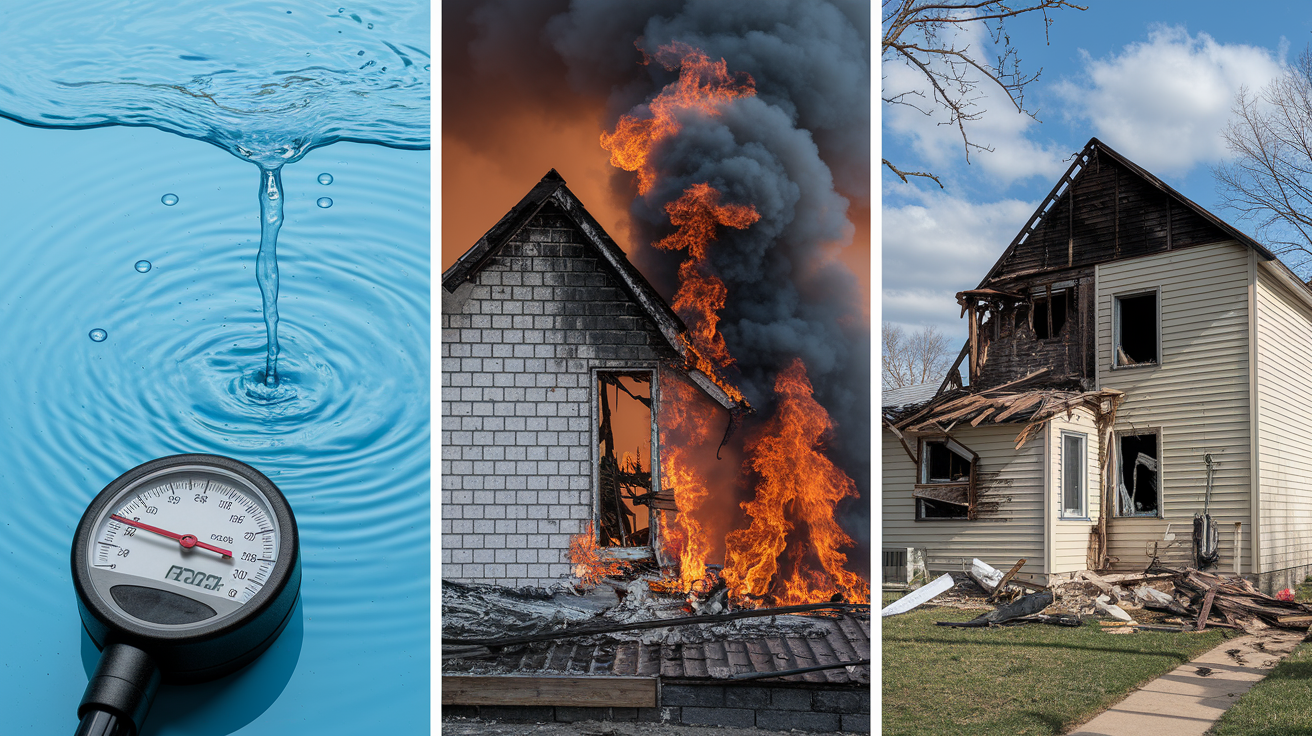
Catastrophic claims made up 46 percent of personal lines property claims in 2023, the highest percentage in 7 years. In 2024, 28 catastrophic weather events caused over 92 billion dollars in property damage nationwide. Different damage types require specialized documentation beyond standard photos and inventories.
Water and Flood Damage Documentation
Water source identification determines coverage eligibility, so document whether water entered from a burst pipe, roof leak, sewage backup, or ground level flooding. Take photos showing the water entry point, water level marks on walls, standing water depth, and moisture spread to surrounding areas. Professional moisture readings using specialized meters establish hidden water presence in walls, floors, and ceilings that cameras can’t capture. If mold growth appears or develops during the claim process, photograph it right away and request professional mold testing and documentation. Remember that flood damage may require a separate claim under the National Flood Insurance Program rather than your standard policy, so identify the water source clearly in your initial documentation.
Fire and Smoke Damage Documentation
Fire department reports provide official documentation of the fire incident, response time, fire cause determination, and damage assessment from trained firefighters. Request copies from the responding fire department and include the incident report number in your claim submission. Smoke residue documentation requires photos showing soot patterns on walls, ceilings, and contents, with closeups of affected surfaces before any cleaning attempts. Note smoke odor concerns in writing. Odor often sticks around even after visible soot removal and may require specialized cleaning or sealing. Structural integrity assessments from engineers or licensed contractors become necessary when fire damaged load bearing walls, floor joists, roof trusses, or other structural components. Your fire and smoke damage restoration process documentation should include air quality testing results, specialized cleaning requirements, and structural engineer reports when fire extended beyond cosmetic damage.
Storm and Structural Damage Documentation
Weather service records from the National Weather Service establish that documented severe weather occurred at your location on the claimed date. Download and save official weather reports showing wind speeds, hail size, rainfall amounts, or tornado confirmations for the date and time of your loss. Engineering reports and structural assessments become necessary when storm damage affects foundations, load bearing walls, roof structures, or overall building stability. Licensed structural engineers can evaluate damage extent and specify required repairs to restore structural integrity and safety. Roof and exterior damage documentation should include ground level photos showing overall roof condition, closeup photos of damaged shingles or materials, attic interior photos showing roof deck damage or water intrusion, and photos of damaged siding, windows, or other exterior building components from multiple angles and distances.
Working With Your Insurance Adjuster: Documentation and Assessment Process
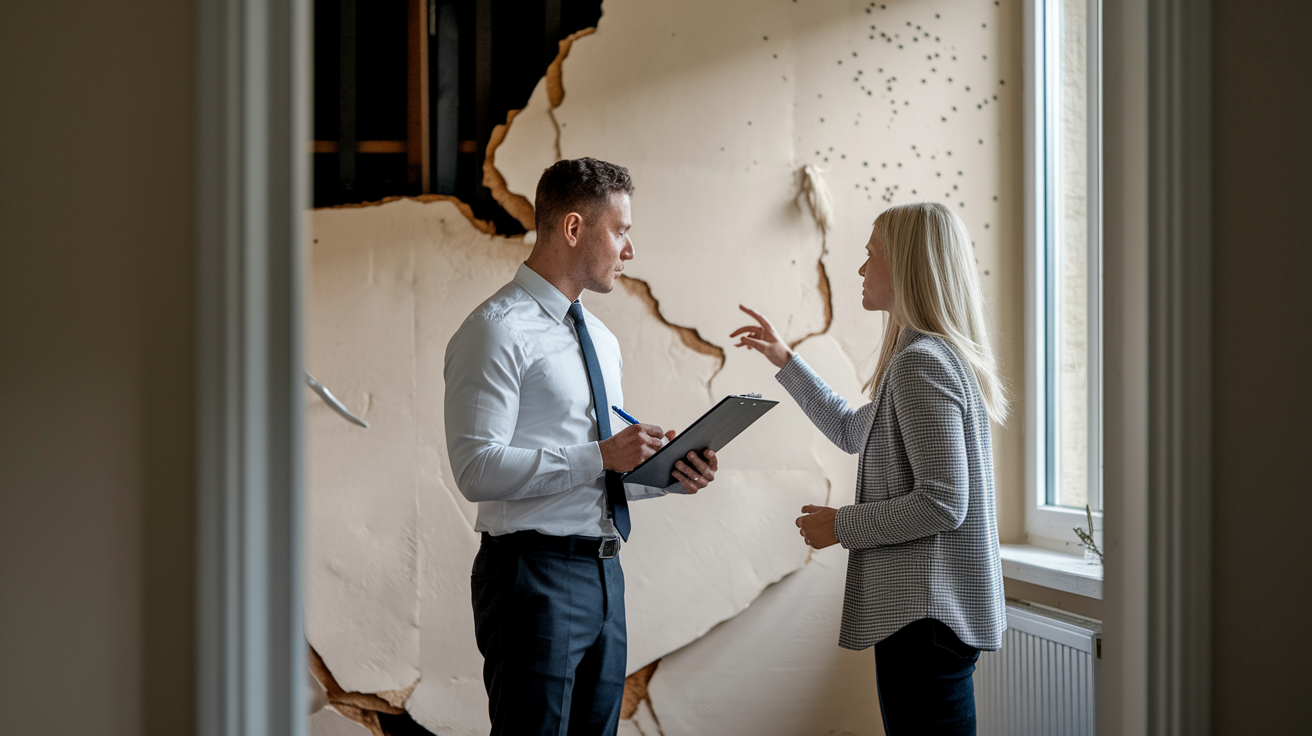
Your insurance company typically assigns an adjuster within a couple days of filing to evaluate damage, review your documentation, and determine coverage extent and payout estimates. This adjuster becomes your primary contact for claim processing, so note their name, phone number, email address, and claim number in your communication log right away.
Before meeting the adjuster, review your policy for deductibles, coverage limits, and exclusions, and get professional repair estimates from licensed contractors. Understanding what your policy covers and what current repairs cost puts you in a stronger negotiating position. Scheduling contractor assessments before your adjuster meeting provides comparative estimates that support your position if the adjuster’s initial valuation seems low. Professional assessments from repair and valuation pros become particularly important after major events like hurricanes when contractor availability tightens and material costs increase.
Professional estimates should include detailed scope of work breaking down each repair task, specific material costs listing products, quantities, and unit prices, and labor expenses showing hourly rates, estimated hours, and total labor cost. A complete estimate might specify “Remove and replace 450 square feet water damaged drywall, $2.50 per square foot materials, $3.75 per square foot labor, total $2,812.50” rather than just “drywall repair $3,000.” This level of detail prevents disputes about what work is necessary and what it should cost.
Insurance adjusters evaluate damage, review documentation, and determine coverage extent and payout estimates during their site visit. Be ready to provide organized evidence including photos, repair estimates, and receipts for temporary repairs. Walk the adjuster through damaged areas, pointing out specific damage that might not be immediately visible like moisture in walls, structural concerns, or hidden damage behind finished surfaces. Answer questions directly, stick to facts about what happened and what was damaged, and don’t speculate about repair costs or coverage decisions during the initial assessment.
If settlement offers seem unsatisfactory, negotiation may require additional documentation like professional estimates, new photos and videos showing damage the adjuster might have missed, or consultation with a lawyer or insurance professional who specializes in property claims. You can request a second opinion or hire an independent adjuster if you disagree with the initial assessment. Settlement offers may not fully cover repair costs, especially after catastrophic events when contractor and material prices increase beyond normal market rates. Getting multiple comparative estimates from different licensed contractors demonstrates current market pricing and strengthens your negotiating position when your adjuster’s initial offer falls short of actual repair costs.
Final Words
Property damage claim documentation is your strongest defense against disputes and undervaluation.
Start documenting immediately after damage occurs, keep everything organized in multiple locations, and submit complete evidence the first time.
Save all correspondence, receipts, and professional estimates. Store copies digitally and physically.
The time you spend on thorough property damage claim documentation now prevents frustration and financial shortfalls later. When your claim is backed by clear photos, detailed inventories, and organized records, the process moves faster and you’re more likely to get a fair settlement.
We’ll help you protect what you’ve built.
FAQ
What should I avoid saying to an insurance adjuster?
You should avoid saying anything to an insurance adjuster that could be interpreted as accepting full responsibility for the damage, speculating about causes you’re uncertain about, minimizing damage extent before full assessment, or agreeing to settlement amounts without reviewing all repair costs and policy coverage details.
How do I write a property damage report?
A property damage report is written by documenting the time, place, and specific details of the incident, creating an itemized list of all damaged items with descriptions and estimated values, including photos from multiple angles with timestamps, and noting any responsible parties with their insurance information if applicable.
What documentation is needed for a documented loss claim?
A documented loss claim needs your insurance policy with coverage details, photographic and video evidence of all damage, room-by-room inventory lists with item values, purchase receipts and proof of ownership, repair estimates from licensed contractors, incident reports, correspondence records, and receipts for any emergency repairs already completed.
What are common examples of property damage?
Common examples of property damage include water damage from pipe leaks or roof failures, fire and smoke damage from household fires, storm damage including wind and hail impacts to roofs and siding, structural damage from tree falls or vehicle impacts, and flooding from natural disasters requiring separate flood insurance coverage.