

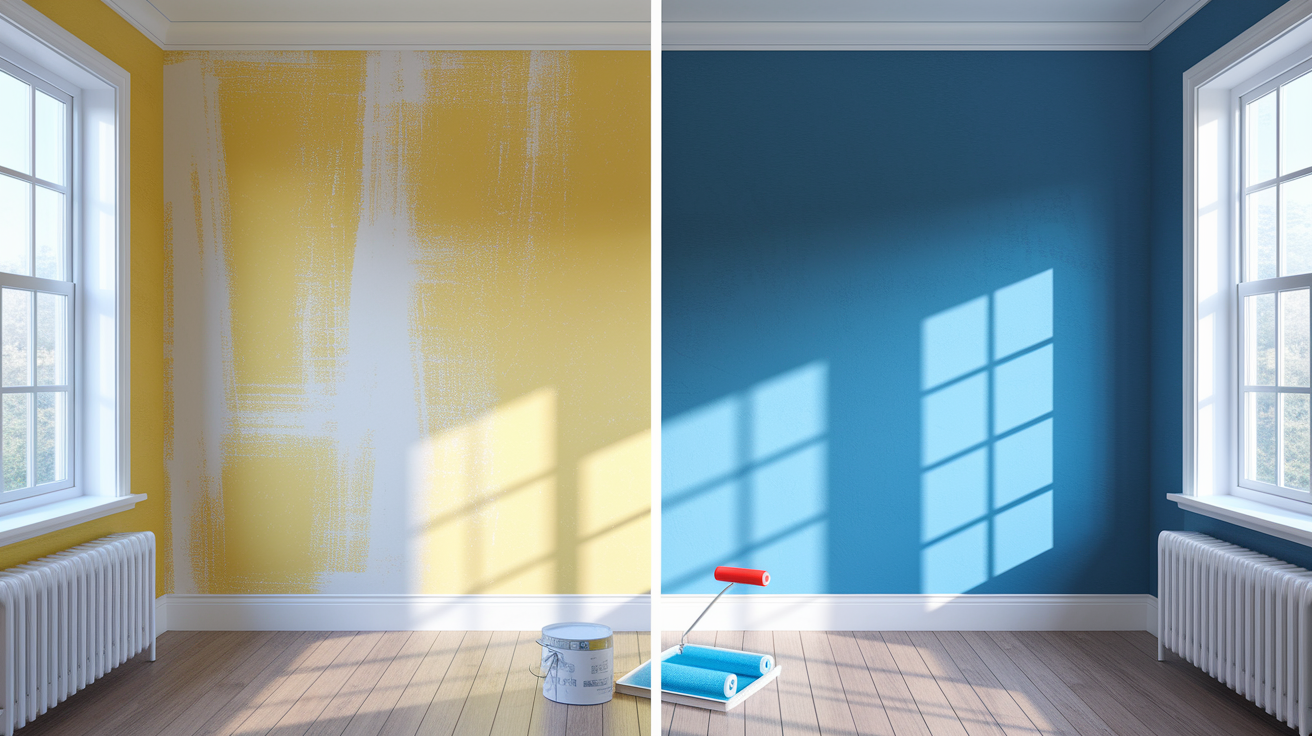
You can paint over smoke damage all you want, but the smell will always come back if you don’t seal it first. Most people waste money repainting every few months because they skip the crucial odor-blocking step between cleaning and topcoat. This guide walks you through the exact primers that stop smoke odor permanently and the five-step process that prevents yellowing stains and lingering smells from pushing through your fresh paint. Get it right once, or keep repainting forever.
Essential Products and Quick-Start Process for Smoke Odor Sealing
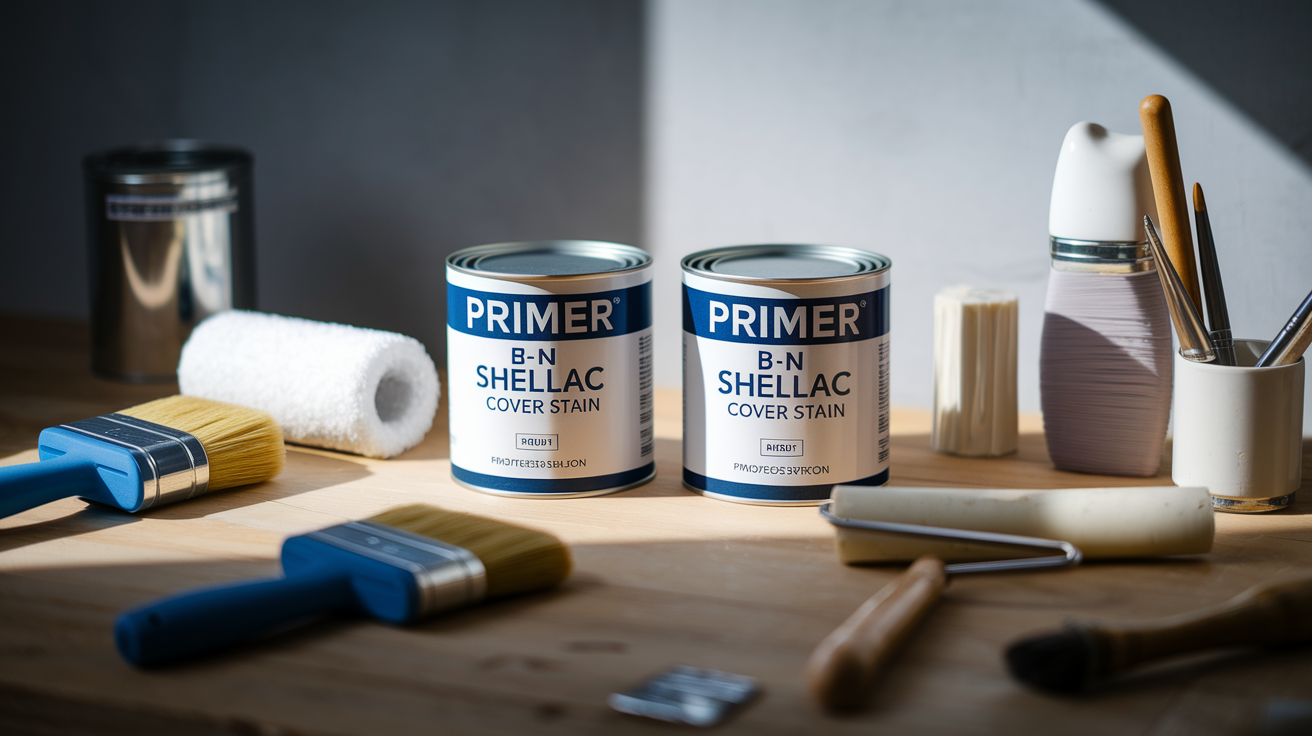
Smoke odor sealing needs specialized primers, not regular paint. The top two picks are B-I-N Shellac Primer by Zinsser for maximum strength and Zinsser Cover Stain Oil-Based Primer as a solid backup. You can grab both at most hardware stores, though the shellac-based B-I-N handles heavy nicotine and cigarette smoke better. These primers create a barrier between contaminated surfaces and fresh paint, stopping the endless cycle of repainting every few months when smells come back.
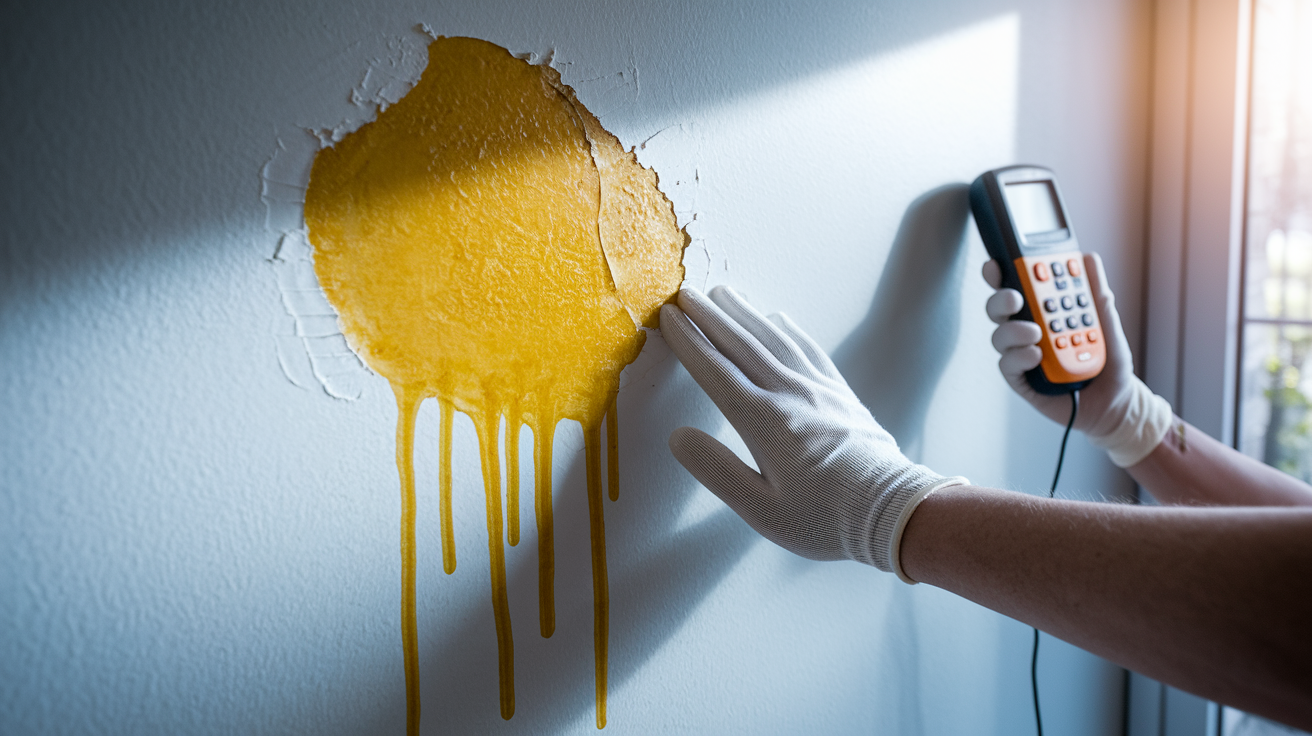
Smoke particles work their way into drywall over time, embedding deep and creating stains that push through standard paint. Without proper sealing, odors show up again within weeks and yellow nicotine stains reappear on your walls and ceilings. Total waste of paint and effort. Cigarette smoke creates progressive yellow discoloration that gets darker with exposure. Fire smoke leaves soot particles that keep releasing odor long after you can’t see the damage anymore.
Top Three Odor-Blocking Primers:
- B-I-N Shellac Primer by Zinsser: best overall for heavy nicotine and smoke damage, ready for second coat in 45 minutes
- Zinsser Cover Stain Oil-Based Primer: works well for moderate smoke stains and blocks multiple stain types
- Kilz Original Oil-Based Primer: budget pick for lighter contamination
Five-Step Condensed Process:
- Deep clean walls with TSP solution and dry cleaning sponges to remove soot buildup
- Apply first coat of odor-blocking primer to all walls and ceilings
- Wait minimum drying time (45 minutes for shellac, longer for oil-based)
- Apply second primer coat for complete sealing
- After 3-day cure period, apply two topcoat layers
Comprehensive Primer Selection Guide: Comparing All Sealing Options
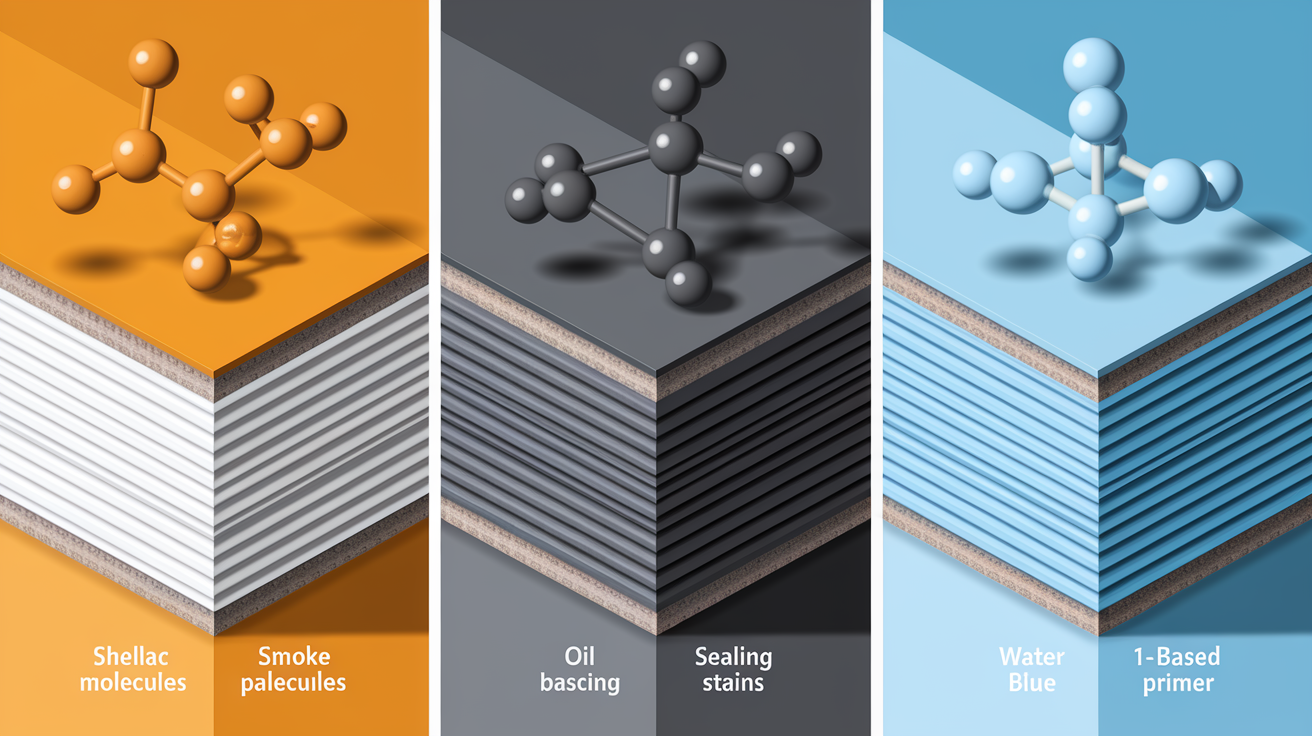
Picking the right primer depends on three things: how bad the contamination is (light cooking smoke versus years of indoor cigarette use), your timeline when rental prep demands fast turnaround, and health concerns about VOC exposure during application in occupied homes. Light smoke from occasional cooking needs less aggressive treatment than decades of cigarette smoke that’s turned walls brown and created sticky buildup. Timeline matters because shellac products dry faster but smell stronger during application. Water-based options take longer but produce milder fumes.
Three primer categories handle smoke damage. Shellac-based primers work as maximum-strength sealers blocking the heaviest contamination. Oil-based primers serve as effective alternatives for moderate damage while also addressing water stains and wood tannin bleeding. Specialty water-based options provide lower VOC solutions for lighter contamination when indoor air quality concerns outweigh maximum sealing power needs. Shellac-based B-I-N by Zinsser uses shellac resin specifically designed to block soot stains and smoke odors, delivering the highest effectiveness. Oil-based primers like Zinsser Cover Stain lock in surface discoloration but require good ventilation and respirator use. Standard water-based primers usually can’t handle nicotine, though Ultra Recon Smoke and Odor Sealer is a newer water-based product designed specifically for nicotine sealing.
| Primer Type | Best For | Drying Time Between Coats | Full Cure Time | Odor During Application | Ventilation Required | Effectiveness Rating | Top Product |
|---|---|---|---|---|---|---|---|
| Shellac-Based | Heavy nicotine/smoke damage | 45 minutes | 3 days | Very Strong | Respirator + cross-ventilation | Highest | B-I-N by Zinsser |
| Oil-Based | Moderate smoke + multi-stain blocking | 2-4 hours | 24 hours | Strong | Respirator recommended | High | Zinsser Cover Stain |
| Water-Based Specialty | Light smoke + low-VOC priority | 1-2 hours | 24 hours | Mild | Standard ventilation | Moderate | Ultra Recon Smoke Sealer |
Go with shellac-based for rental prep with heavy cigarette smoke damage where previous tenants smoked indoors for years, creating sticky yellow residue everywhere. Choose oil-based when you’re combining smoke sealing with water stain or tannin blocking on wood surfaces, like paneling affected by both smoke and roof leaks. Pick water-based specialty when indoor air quality matters more than maximum sealing power, like working in occupied homes with kids or pets around. Severe contamination always needs shellac regardless of VOC concerns. Failed sealing wastes more time and money than dealing with stronger fumes upfront.
Surface Preparation and Deep Cleaning Before Applying Odor-Blocking Primer

You can’t skip surface prep and deep cleaning before primer application. Primers won’t properly stick to smoke residue, oils, and soot buildup coating your walls and ceilings. Contaminated surfaces reduce primer effectiveness by creating a barrier between primer and substrate, preventing the bond that locks odors inside walls. Smoke particles embed into surfaces creating stains and odors that stick around for months without proper treatment. Skip the cleaning and your primer fails within weeks when odors return and yellow stains bleed through new paint.
Pre-primer wall cleaning involves two steps: dry cleaning sponge followed by TSP wash. Dry cleaning sponges remove soot and heavy nicotine buildup without spreading contamination or adding moisture that can damage drywall. TSP cleaner removes surface buildup after dry sponge treatment, getting embedded nicotine oils that dry sponges can’t lift. Trisodium phosphate breaks down greasy smoke residues, creating a clean surface for maximum primer adhesion.
Step-by-Step Cleaning Process:
- Use dry cleaning sponges first for heavy soot removal with downward wiping motions, don’t scrub in circles because that spreads contamination sideways
- Prepare TSP solution at 1/2 cup powder per gallon warm water in bucket, mix until completely dissolved
- Apply TSP solution with sponge scrubbing walls and ceilings, work in 4×4 foot sections so solution doesn’t dry before you rinse
- Rinse with clean water using separate sponge to remove TSP residue, which messes with primer adhesion if you leave it on
- Allow 24 hours minimum drying time before primer application, use fans to speed drying in humid conditions
- Sand loose or flaking material with 120-grit sandpaper after drying, remove any raised texture or peeling paint that creates uneven primer coverage
Protective gear during cleaning protects you from chemical irritation and contamination exposure. Wear nitrile gloves and safety goggles for TSP handling because the alkaline solution irritates skin. Open windows and position fans for ventilation, creating air movement that removes airborne particles disturbed during cleaning. Dispose of contaminated cleaning water outside rather than down household drains. Bag contaminated materials like disposable sponges and rags in sealed plastic before tossing. Protect your workspace with drop cloths covering floors and furniture, because TSP solution and dislodged soot create a mess.
Application Techniques, Safety Protocols, and Coverage Methods
How you apply the primer affects sealing effectiveness by determining how completely it penetrates porous surfaces and covers contaminated areas. Primer thickness and surface type determine tool selection, with thicker shellac-based products needing more aggressive application than thinner water-based alternatives. Proper technique gives you complete coverage without thin spots that allow odor to migrate through gaps in dried primer film. Rolling primer onto walls promotes maximum adhesion by forcing material into surface texture and pores.
Prep for application by stirring primer thoroughly for 2 to 3 minutes to get consistent color and texture throughout the can. Especially important with shellac-based products that settle during storage. Cut in edges and corners first with a 2-inch angled brush before rolling large areas, creating clean lines along trim and ceiling junctions. Work in manageable sections maintaining wet edge, preventing lap marks where dried primer meets fresh application and creates visible lines on finished walls.
Five Application Methods:
- Brush application for trim work, baseboards, door frames needing precision with 2-inch angled brush for edges and tight spaces around electrical outlets
- Roller coverage for large wall and ceiling areas using 3/8-inch nap for smooth surfaces, 1/2-inch nap for textured walls with orange peel or knockdown texture
- Spray application for cabinet surfaces, textured surfaces needing fast coverage in rental prep scenarios with multiple rooms
- Back-rolling technique after spraying for maximum primer penetration into porous drywall, working material deeper than spray alone achieves
- Edging technique around electrical outlets, light switches, and ceiling fixtures using painter’s tape and careful brush work to keep primer off hardware
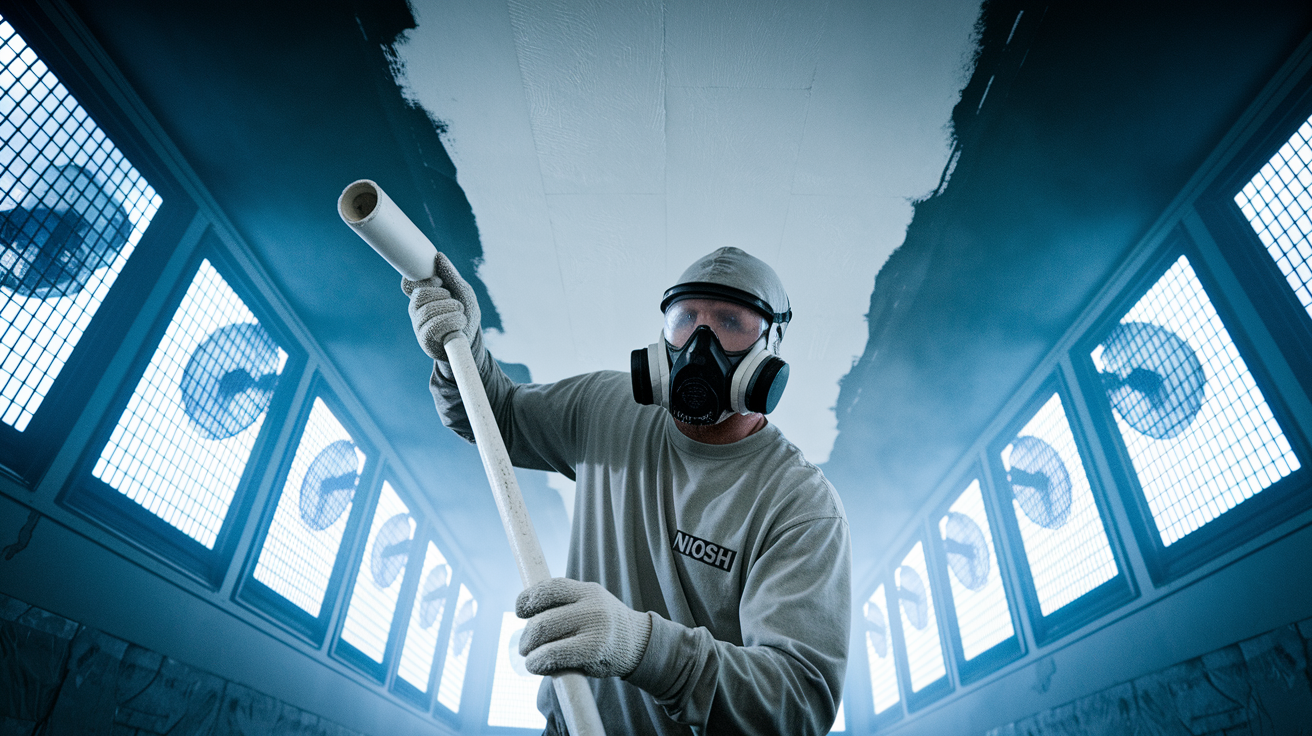
Safety equipment isn’t optional when working with shellac and oil-based primers. Use a NIOSH-approved respirator mask with organic vapor cartridges. Paper dust masks provide zero protection against harmful fumes and VOC off-gassing during application. Wear nitrile gloves to prevent skin absorption of solvents and chemical components that penetrate latex gloves. Wear safety goggles for ceiling work and spray application protecting against drips and overspray. Set up cross-ventilation with exhaust fan in one window and intake in another, creating air flow that removes fumes from your workspace. Don’t run your HVAC system during application to avoid contaminating your entire house through ductwork circulation. Maintain minimum 4 hour ventilation period after application before re-entry without a respirator, allowing initial off-gassing to clear the workspace.
Coating strategy requires specific timing for proper curing and odor blocking. Check first coat coverage for missed spots or thin areas showing wall color through primer, mark problem zones for extra attention on second coat. Wait the minimum drying time between coats, 45 minutes for shellac-based B-I-N or 2 to 4 hours for oil-based products before recoating. Apply second coat for complete encapsulation and odor blocking. Single coats rarely provide enough barrier against heavy contamination. Wait the full 3 day cure period for shellac or 24 hours for oil-based before topcoat application, allowing complete hardening and off-gassing. Do a smell test after primer cure to verify effectiveness before proceeding to topcoat. Correcting failed sealing costs less before paint application than after.
Fire Damage Restoration and Heavy Smoke Contamination Sealing
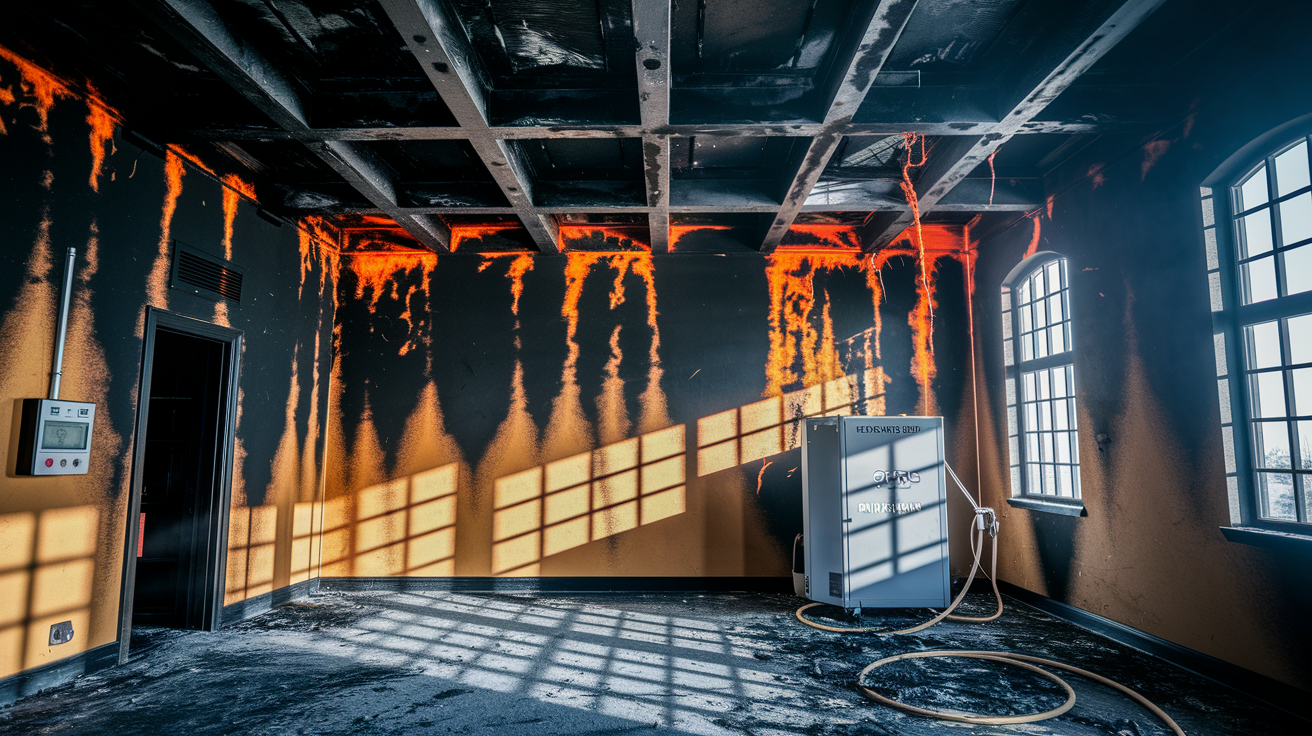
Fire damage restoration differs from routine smoke sealing by requiring structural assessment and moisture testing before any primer application begins. Structural assessment includes beam integrity inspection checking for char depth and load-bearing capacity reduction, especially on exposed wood framing in basements and attics. Test moisture content with a moisture meter at multiple wall locations. Surfaces must have moisture content below 12% before priming can begin. Wet or damp drywall prevents primer adhesion and traps moisture behind sealed surfaces, leading to mold growth and material failure within weeks. Figure out which materials can be sealed versus needing complete replacement. Heavily charred drywall with more than 1/4-inch char depth lacks structural integrity for primer adhesion.
Additional cleaning requirements for fire-affected surfaces go beyond standard TSP washing protocols. Heavy soot removal requires multiple dry sponge passes before TSP wash, working from ceiling downward to prevent contaminating cleaned areas with falling debris. Address char on wood surfaces with wire brush or coarse sandpaper, removing unstable material down to solid wood before applying primer. Deal with melted plastic or synthetic materials by scraping residue with a putty knife and disposing of contaminated material. Primer can’t seal melted substances that keep off-gassing indefinitely.
Extra odor elimination techniques work alongside primer sealing for fire-affected properties. Ozone treatment timing matters. Run the ozone generator for 24 to 48 hours after cleaning but before primer application, allowing ozone molecules to break down odor compounds in air and on surfaces. Vacate the property during ozone treatment because high concentrations irritate lungs and damage houseplants. Use thermal fogging for HVAC cleaning and air duct treatment to prevent recontamination from smoke particles deposited throughout ductwork system during the fire. Apply enzyme cleaners to concrete floors and basement areas where smoke penetrated deeply into porous masonry, breaking down organic compounds that primers can’t seal effectively. Learn more about comprehensive fire and smoke damage restoration approaches when damage exceeds cosmetic surface treatment.
Professional services become necessary when damage severity exceeds DIY capabilities. Extent of structural damage affecting load-bearing elements requires engineering assessment and repair permits before cosmetic work begins. Contamination in inaccessible areas like inside wall cavities requires wall removal and replacement rather than surface sealing. Hidden smoke damage keeps off-gassing behind sealed surfaces. Health hazards from third-hand smoke and toxic residue buildup require specialized equipment beyond consumer respirators, including negative air machines and professional-grade containment barriers. Insurance documentation requirements for property restoration claims typically need professional invoices and certificates of completion, making DIY work unsuitable for insurance-covered projects requiring warranty and liability coverage.
Selecting and Applying Compatible Topcoats After Smoke Sealing
Topcoat compatibility matters because not all paints stick equally to different primer bases. Latex topcoats work on all primer types including shellac, oil-based, and water-based sealers without compatibility issues. Check manufacturer specifications before using specialty coatings or unconventional paint types to prevent adhesion failure. Finish selection affects durability and future cleaning ease, especially important for rental prep scenarios where tenant turnover requires washable surfaces that withstand repeated cleaning without paint damage.
Finish options serve different applications based on traffic levels and cleaning requirements. Flat finish works for low-traffic areas and ceiling coverage where light reflection creates glare, hiding surface imperfections better than glossier alternatives. Eggshell finish balances washability with appearance for living areas, providing subtle sheen that allows spot cleaning without showing scrub marks. Semi-gloss options work for trim, baseboards, and high-contact surfaces like door frames requiring frequent cleaning. Glossier surfaces resist dirt absorption and wipe clean more easily than flat paint.
Four Recommended Topcoat Types:
- Standard acrylic latex paint for typical interior surfaces with good breathability and color options, covering sealed walls without special formulation requirements
- Moisture-resistant formulations like PermaWhite for bathroom and kitchen applications preventing mold growth on sealed surfaces exposed to humidity
- Washable semi-gloss or satin finishes for rental prep and tenant turnover situations enabling easy maintenance between occupancies
- Low-VOC or zero-VOC alternatives for improved indoor air quality post-restoration and sensitive occupant needs, reducing chemical exposure after already dealing with primer fumes
Apply minimum two topcoats for opacity and durability over sealed primer. First coat requires 2 hour minimum drying interval before second coat application, though overnight drying produces better results by allowing complete solvent evaporation. Second coat goes on after first coat reaches complete dryness, showing consistent color without darker wet spots indicating trapped moisture. Coverage rate averages 350 to 400 square feet per gallon for smooth walls, though textured surfaces require 20 to 30% more paint due to increased surface area. Do a final smell test 24 hours after last topcoat application to verify complete odor elimination before calling the project done. Any remaining smoke smell means sealing failure requiring corrective action.
Cost Estimation and DIY Approach Versus Professional Smoke Sealing Services

Cost breaks down into material expenses versus labor costs, with professional services typically charging $2 to $4 per square foot versus $0.50 to $1.00 per square foot for DIY materials alone. Project scope based on square footage affects bulk pricing. Treating an entire house qualifies for contractor discounts on primer and paint unavailable to individual buyers purchasing single gallons. Contamination severity affects material quantities significantly. Light smoke from a kitchen fire may need single primer coat covering 300 to 400 square feet per gallon, while heavy nicotine buildup from decades of indoor smoking requires two primer coats plus extra cleaning supplies including multiple boxes of dry sponges and several pounds of TSP powder.
| Cost Category | DIY Range | Professional Range | Notes |
|---|---|---|---|
| Primer Materials | $40-60/gallon | $35-50/gallon bulk | Covers 300-400 sq ft, heavy contamination needs 2 coats |
| Topcoat Paint | $25-45/gallon | $20-35/gallon bulk | Two coats required, 350-400 sq ft coverage per gallon |
| Tools and Equipment | $80-150 | Included in service | One-time investment: respirator, rollers, brushes, sprayer rental |
| Cleaning Supplies | $20-40 | Included in service | TSP, dry sponges, buckets, drop cloths, disposal bags |
| Labor/Service Fee | Your time | $200-800 per room | Professional timeline 1-2 days versus DIY 2-3 days minimum |
DIY approach requirements include intermediate skill level for application techniques including cutting in edges and maintaining wet edge to prevent visible lap marks on finished walls. Time commitment spans 2 to 3 days minimum for cleaning, two primer coats with mandatory drying intervals, and two topcoats with proper curing between layers. Physical demands include working on 8-foot walls and ceilings requiring ladder work and overhead rolling that strains neck, shoulders, and arms during extended application sessions. Safety management includes respirator use and proper ventilation setup, monitoring air quality and taking breaks when fume exposure causes headache or dizziness despite protective equipment.
Professional services provide better value in specific situations. Rental prep with tight timelines between tenant move-out and move-in requires completion within 3 to 5 days, faster than most DIY schedules allow while maintaining day jobs. House flipping requires quality documentation and warranty for buyer assurance during home inspection and final walkthrough. Property restoration involving fire damage beyond cosmetic repairs often coincides with water damage requiring coordinated professional repair, where insurance claims require professional invoices showing scope of work and materials used. Tenant turnover situations in multi-unit buildings benefit from consistent results across units, maintaining uniform appearance and sealing quality that reflects professional management standards. Complex projects affecting real estate value justify professional fees because sealing failure requiring complete redo costs more than hiring professionals upfront.
Troubleshooting Smoke Odor Return and Stain Bleed-Through After Sealing
Sealing failure symptoms appear weeks after completing paint work, indicating problems with primer application or contamination severity assessment. Persistent odor return 2 to 4 weeks after painting means incomplete encapsulation, where primer coat was too thin or contamination exceeded product capabilities. Yellowing prevention breakdown causes discoloration to reappear on walls and ceilings especially near windows and heat sources, where temperature fluctuations accelerate nicotine migration through failed primer barriers. Stain bleeding through topcoat layers despite primer application shows brown or yellow spots, particularly noticeable on white or light-colored paint where contrast highlights sealing gaps. Smoke particles can work into drywall and wooden surfaces creating hidden damage beyond visible areas, continuing to off-gas long after surface treatment appears complete.
Six Common Causes and Solutions:
- Insufficient surface prep leaving residue buildup preventing primer adhesion. Solution: strip failed areas to bare surface using paint scraper or chemical stripper, re-clean with TSP solution following original protocol, reapply primer at proper coverage rate with two full coats
- Wrong primer type selected for contamination severity (water-based on heavy smoke). Solution: apply shellac-based product over existing primer after light sanding with 120-grit sandpaper to improve adhesion between layers
- Inadequate primer coverage with single coat when contamination required two coats. Solution: lightly sand topcoat with 220-grit sandpaper, apply additional shellac sealer coat covering entire surface, re-topcoat after proper cure time
- Premature topcoat application before primer reached full 3 day cure time. Solution: allow complete off-gassing by waiting additional days, may require stripping and restart if solvent entrapment caused chemical reaction between uncured primer and topcoat
- Hidden contamination in ceiling tiles, behind baseboards, inside wall cavities, or attic spaces. Solution: expand treatment area by removing and replacing porous materials that absorbed deep contamination, seal backside of materials before reinstallation, treat HVAC system and attic spaces
- HVAC system circulating contaminated air from untreated ductwork. Solution: schedule professional air duct cleaning and treatment before resealing walls, replace all air filters with high-MERV rated alternatives, seal register openings during primer application
Testing effectiveness requires systematic odor evaluation over time. Do a smell test by closing the room for 24 hours with windows and doors shut, then entering to detect odor concentration without nose fatigue from continuous exposure. Compare before and after odor levels on a scale of 1 to 10 to quantify improvement, documenting whether sealing reduced smell by 50%, 75%, or 90%. Identify specific problem areas by smelling along baseboards and in corners where contamination hides, noting locations requiring spot treatment or additional primer application. Apply spot primer to test areas before committing to full re-coat, verifying that additional sealer resolves odor in a limited section before treating the entire room. Monitor results during a 2 week period when odors typically return if sealing failed, checking daily for smell intensity changes indicating primer breakdown. Document long-term prevention success at 30 day and 90 day intervals for warranty purposes in rental prep situations, creating records showing sustained odor elimination over time.
Final Words
Smoke odor sealing before painting isn’t optional if you want lasting results. It’s the foundation that keeps nicotine stains buried and odors locked down for good.
Clean the surfaces, use the right shellac or oil-based primer, let it cure completely, and apply quality topcoats.
Skip a step, and the smell comes back.
Follow the process, and you’ll have walls that look clean, smell clean, and stay that way.
FAQ
Q: What is the best primer to seal smoke smell?
A: The best primer to seal smoke smell is B-I-N Shellac Primer by Zinsser, which permanently blocks heavy nicotine and smoke odors better than oil-based alternatives. Shellac-based primers like B-I-N dry in 45 minutes between coats and provide maximum odor-blocking effectiveness for severe contamination.
Q: Can you paint over smoke smell?
A: You cannot paint over smoke smell with regular paint alone because smoke particles penetrate drywall and odors return within weeks without proper sealing. Specialized shellac-based or oil-based odor-blocking primers must be applied to cleaned surfaces before topcoat painting to permanently seal smoke odors.
Q: How to seal in smoke smell?
A: Sealing in smoke smell requires deep cleaning walls with TSP solution and dry sponges, then applying two coats of shellac-based primer like B-I-N to all affected surfaces. After the primer cures for three days, apply two topcoat layers to complete the odor-blocking process.
Q: Will Kilz paint cover cigarette smoke?
A: Kilz Original Oil-Based Primer will cover cigarette smoke in lighter contamination scenarios, though shellac-based primers like B-I-N work more effectively for heavy nicotine buildup. Kilz provides a budget-friendly option for moderate smoke stains when combined with proper surface cleaning and multiple primer coats.
Q: Why does smoke odor return after painting?
A: Smoke odor returns after painting when insufficient primer coverage, wrong primer type, or incomplete surface cleaning prevents proper molecular encapsulation of nicotine particles. Hidden contamination in wall cavities, HVAC ducts, or behind baseboards can also reintroduce odors even after visible surfaces are sealed correctly.
Q: How long should primer dry before topcoating over smoke damage?
A: Shellac-based primer should dry for three full days before topcoating over smoke damage to reach complete cure and maximum odor-blocking effectiveness. Oil-based primers require 24 hours minimum drying time, while rushing topcoat application before full cure causes sealing failure and odor return.
Q: Do I need professional help for fire damage smoke sealing?
A: You need professional help for fire damage smoke sealing when structural damage affects load-bearing elements, contamination reaches inside wall cavities requiring removal, or insurance claims require documented restoration. Heavy soot buildup, toxic residue, or rental preparation timelines also benefit from professional smoke sealing services.
Q: What safety equipment is required when sealing smoke odor?
A: Safety equipment required when sealing smoke odor includes NIOSH-approved respirator masks with organic vapor cartridges, nitrile gloves, safety goggles for ceiling work, and cross-ventilation with exhaust fans. Standard dust masks are insufficient for high-VOC shellac and oil-based primers that release harmful fumes during application.