
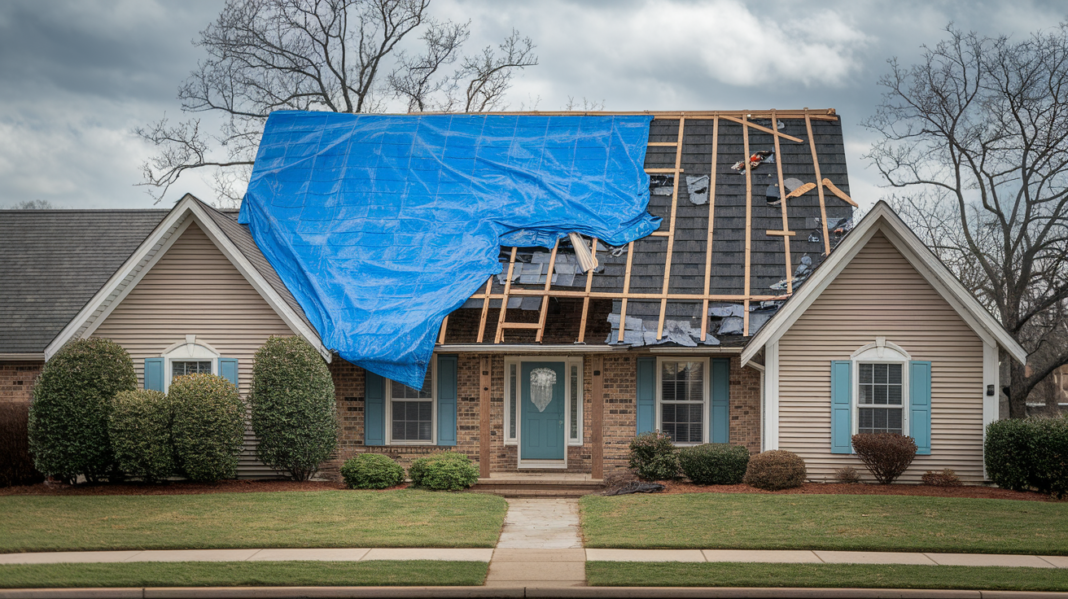

Your roof just got damaged and someone quoted you $1,200 to nail a tarp over it. Seems high for what looks like basic blue plastic and a few boards, right? Here’s what most contractors won’t tell you upfront: materials only account for about 30% of tarping costs. The rest covers skilled labor, liability insurance, emergency response capability, and the expertise to secure tarps properly so they actually protect your home instead of ripping off in the next storm. Most residential tarping runs $650 to $1,500 depending on roof size, damage extent, and when you need crews to show up.
What You’ll Pay for Roof Tarp Installation
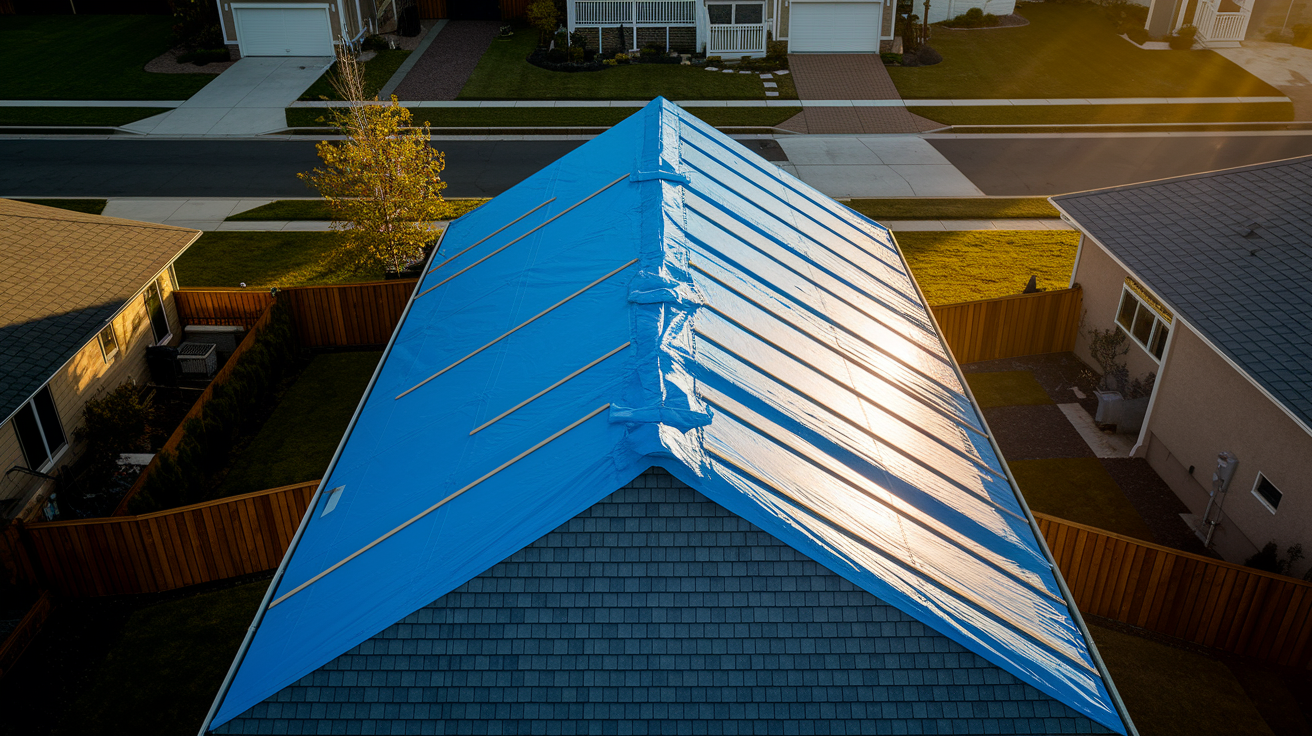
Most homeowners spend between $750 and $1,500 for complete emergency roof tarping in 2025, with many residential jobs coming in at $650 or less. Your specific cost depends on how much roof you need covered, how quickly you need it done, and how easy it is for crews to reach the damaged area. A weekend emergency call after a major storm will cost more than scheduling standard service on a Tuesday afternoon, but both serve the same purpose: stop water from getting inside your home while you arrange permanent repairs.
Pricing breaks down to $0.70 to $2.00 per square foot for standard service during business hours. Emergency tarping runs $1.00 to $2.80 per square foot when you need crews immediately, typically about 30% higher than regular rates. That premium covers the cost of pulling crews from other jobs, working in dangerous conditions, or responding after hours when most contractors have gone home.
Here’s what you’ll actually pay based on roof size:
500 square feet: $350 to $1,000 standard, $500 to $1,400 emergency
1,000 square feet: $700 to $2,000 standard, $1,000 to $2,800 emergency
1,500 square feet: $1,050 to $3,000 standard, $1,500 to $4,200 emergency
2,000 square feet: $1,400 to $4,000 standard, $2,000 to $5,600 emergency
2,500 square feet: $1,750 to $5,000 standard, $2,500 to $7,000 emergency
Total costs include both materials (the tarp, battens, nails, waterproofing) and labor. Labor typically represents 60 to 70% of what you pay. Professional crews charge $60 to $120 per hour, with most tarping jobs taking one to three hours depending on roof size and complexity. A simple single story ranch with straightforward access takes less time than a two story home with steep pitch and limited workspace.
Emergency and After Hours Rate Premiums
Emergency rates exist because responding to urgent calls means disrupting normal schedules, working in active weather, and accepting higher risk. Standard weekday rates apply during normal business hours when conditions are stable. Evening and weekend calls typically run 1.5 times normal hourly rates. Holiday response costs even more. Severe weather emergency rates apply when contractors work during active storms or immediately after widespread damage when demand spikes.
Many companies charge $100 to $200 call out fees just for after hours emergency response before labor begins. These premiums feel expensive in the moment, but emergency tarping prevents exponentially higher repair costs from water damage progression. Interior ceilings, insulation, drywall, flooring, and belongings all stay dry when tarps go up fast.
Primary Cost Factors
Roof size directly impacts both material and labor costs. Larger damaged areas need bigger tarps, more fasteners, and more crew time to secure properly. Pitch steepness matters because steep roofs require additional safety equipment, slower work pace, and often extra crew members compared to flat or low slope roofs.
Accessibility affects pricing significantly. Single story homes with clear yard access cost less than multi story homes surrounded by landscaping, power lines, or tight spaces that limit equipment placement. Damage severity determines scope. Small punctures need targeted coverage while widespread wind damage may require tarping entire roof sections, and debris removal adds time before tarping can even begin. Architectural complexity increases costs when roofs feature multiple levels, valleys, dormers, or other features that complicate tarp positioning and securing.
Professional Installation Versus DIY Tarp Costs
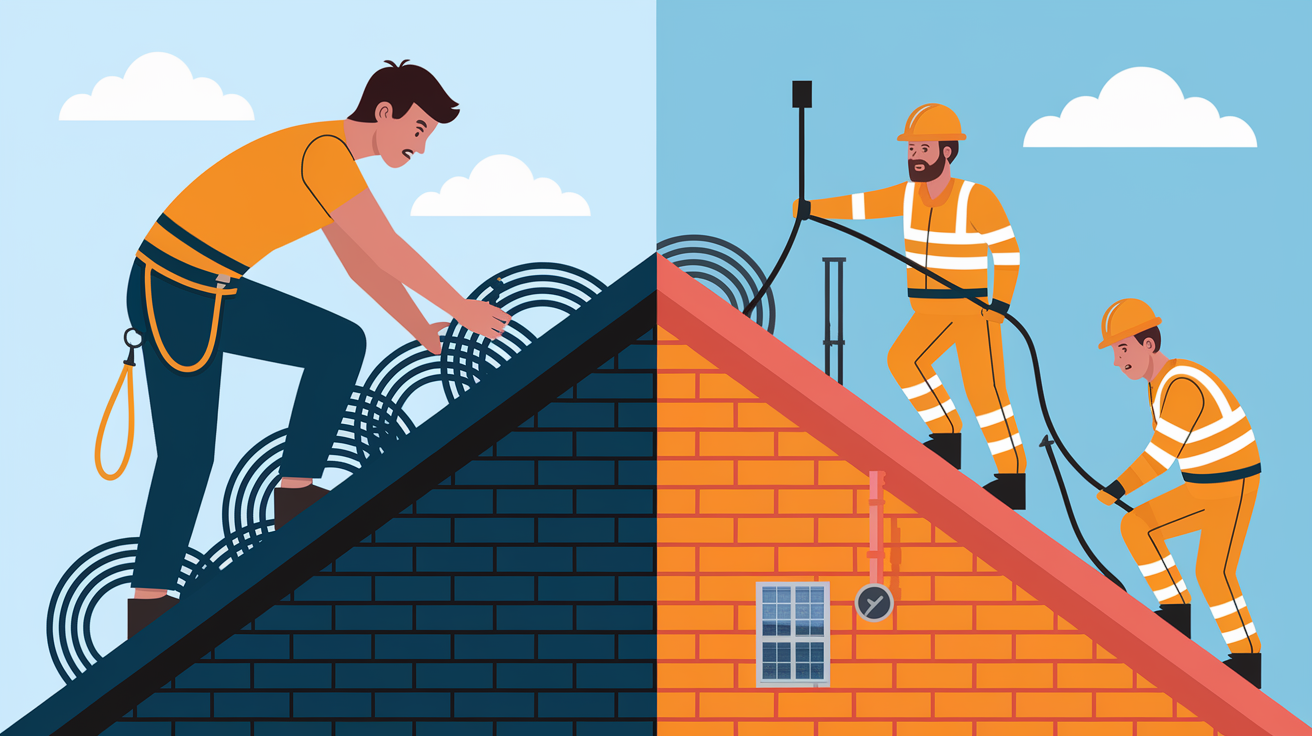
DIY tarping looks appealing when you price materials alone and skip labor costs entirely.
Basic materials for do it yourself installation include:
- Heavy duty tarp: $50 to $250 depending on size and quality
- Lumber for battens: $20 to $60 for 1×4 or 2×4 boards to secure edges
- Roofing nails: $10 to $20 for rust resistant fasteners
- Roofing cement: $15 to $30 for sealing edges
- Safety equipment: $40 to $100 for harness, rope, non slip shoes
- Ladder stabilizers: $25 to $50 for safe roof access
Typical DIY material costs total $150 to $400 for an average residential job. Professional installation for the same project runs $500 to $1,200 including labor and materials. That $350 to $800 difference tempts homeowners to handle it themselves, especially when storm damage hits and money feels tight.
Hidden costs of DIY work add up fast though. Personal injury risk tops the list. Roofing consistently ranks among the most dangerous home maintenance tasks, with falls causing serious injuries even on single story homes. Time investment matters when you factor lost work hours, multiple trips for forgotten materials, and learning curve mistakes.
Improper installation leads to bigger problems: tarps that blow off in the next storm, fasteners that create new leak points, trapped moisture that starts mold growth, or inadequate coverage that lets water intrude at edges. Insurance complications arise when DIY tarping fails and adjusters question whether homeowner negligence contributed to worsening damage.
DIY makes sense for very small accessible areas as temporary protection until professionals arrive within hours. It’s also reasonable when you have genuine roofing experience and proper safety equipment already. Professionals become necessary for damaged or structurally compromised roofs, multi story homes, steep pitch installations, complex roof patterns, large damaged areas, or any situation where working alone on an elevated damaged surface creates serious safety risk.
Tarp Material Types, Pricing, and Protection Duration

Every tarp sold is temporary by design. You’re buying time to arrange permanent repairs, not a long term roofing solution.
| Tarp Type | Thickness (mil) | Typical Cost | Expected Lifespan | Best For |
|---|---|---|---|---|
| Economy poly tarp | 5-6 mil | $25-$75 | 30-60 days | Very short term emergency coverage |
| Standard blue poly tarp | 10-12 mil | $75-$150 | 60-90 days | Typical residential tarping needs |
| Heavy duty reinforced tarp | 16-20 mil | $150-$250 | 3-6 months | Extended protection, high wind areas |
| Professional grade vinyl tarp | 18-24 mil | $200-$400 | 6-12 months | Long term coverage, severe weather exposure |
Features that increase upfront cost deliver longer protection periods and better performance. UV resistance prevents sun degradation that makes cheaper tarps brittle and prone to tearing. Reinforced edges with heat sealed hems resist tearing at stress points where wind tries to rip tarps loose. Metal grommets every 18 to 24 inches provide secure anchor points without ripping through material. Higher tear strength withstands flapping in wind and impact from debris.
Standard blue poly tarps typically last 60 to 90 days under normal conditions. Heavy duty reinforced tarps extend protection to three to six months with proper installation. Professional grade vinyl tarps can protect for six to twelve months when secured correctly.
High winds shorten lifespan by creating constant stress on fasteners and material. Hail punctures even heavy duty tarps. Extreme heat accelerates UV degradation. Prolonged sun exposure weakens all tarp materials over time.
Cost per day calculations favor better tarps for extended coverage needs. A $75 economy tarp lasting 45 days costs $1.67 per day, while a $250 heavy duty tarp lasting 150 days costs $1.67 per day with better weather resistance and less chance of mid term failure.
Extended tarp periods create real risks though. Insurance companies expect reasonable timelines from emergency protection to permanent repairs. Leaving tarps for six months or longer can complicate claims if damage worsens from tarp degradation. Water intrusion increases as tarps age and develop small tears or loose fasteners. Structural deterioration continues underneath tarps when underlying damage isn’t addressed. Mold growth begins within 24 to 48 hours after water intrusion in humid climates, meaning tarps that fail mid coverage create new problems.
Transitioning from temporary tarping to permanent roof repair should begin immediately after tarps go up. Tarps buy you the necessary window to file insurance claims, wait for adjusters, select contractors, and schedule repair work. Typically 60 to 90 days for standard timelines. Permanent repairs for leaky roofs range from a few hundred dollars for minor shingle replacement to several thousand for extensive structural damage. Tarps extending four feet beyond damaged areas on all sides provide adequate coverage that prevents edge infiltration while permanent work gets arranged.
Regional Price Variations for Roof Tarping Services

Where you live affects what you’ll pay for the same tarping service.
| Region Type | Typical Cost Range | Factors |
|---|---|---|
| Major metro areas | $800-$1,500 | Higher labor rates, more competition, faster response |
| Suburban areas | $600-$1,200 | Moderate rates, good contractor availability |
| Rural locations | $500-$1,000 | Lower labor costs, longer travel time, fewer contractors |
| Disaster affected zones | $900-$2,000+ | Surge pricing, high demand, limited crew availability |
Local labor rates vary significantly between markets. Contractors in high cost of living areas charge more per hour than those in lower cost regions. Contractor availability determines pricing when supply meets demand: areas with many roofing companies stay competitive, while regions with few contractors allow higher rates.
Material supply chains affect costs in remote areas where distributors add freight charges that get passed to homeowners. Competition levels keep prices reasonable in suburban markets with multiple service providers bidding for work. Regional weather patterns drive demand spikes. Hurricane prone coastal areas see price surges during storm season, while regions with occasional severe weather maintain more stable pricing year round.
Get two to three quotes from local contractors rather than relying on national averages. Your specific market, current demand levels, and individual roof factors determine actual pricing more accurately than generalized estimates. Most reputable contractors provide free estimates for emergency tarping, giving you real numbers before committing to service.
Insurance Coverage for Emergency Roof Tarping

Emergency tarping qualifies as immediate damage mitigation under most homeowner insurance policies. Coverage often extends up to 1% of your home’s total insured value specifically for emergency protective measures, frequently without requiring you to pay your deductible first. That means the insurance company recognizes that spending money now to prevent additional damage costs far less than covering expanded claims from water intrusion.
Filing a tarping insurance claim follows these steps:
- Document damage immediately: Take photos and video of roof damage before anyone touches it, showing the full extent from multiple angles.
- Contact your insurance company: Call your carrier’s claims line as soon as you discover damage, before tarping if possible.
- Save all receipts and invoices: Keep every piece of paper related to tarping costs, including materials, labor, and emergency service fees.
- Photograph the tarped roof: Document the protective coverage once installed, showing how it secures the damaged area.
- Submit claim documentation promptly: Send all paperwork to your adjuster within the timeframe specified in your policy.
Most policies reimburse reasonable tarping expenses based on actual costs incurred. For a home insured at $300,000, your policy may cover up to $3,000 for emergency protective measures like tarping. That ceiling typically exceeds what most homeowners actually spend, providing adequate coverage for standard residential tarping jobs. Larger or more complex homes with higher insured values receive proportionally higher emergency mitigation allowances.
Homeowners usually pay contractors upfront and submit receipts for reimbursement later. Some insurance companies send emergency service providers directly and handle payment behind the scenes, but most residential claims require homeowners to arrange service and front costs initially.
Failure to tarp promptly creates claim complications. Adjusters may reduce coverage or deny additional damage if they determine homeowner negligence allowed water intrusion to worsen preventable damage. Delayed response demonstrates lack of reasonable mitigation effort, weakening your claim position. Leaving tarps beyond reasonable timeframes raises similar red flags. Insurance expects you to pursue permanent repairs within typical timelines, not leave temporary protection indefinitely while underlying damage progresses.
Typical progression from tarping to permanent repair follows this timeline:
- Immediate tarping: Day 0 to 1 after damage occurs
- Insurance claim filing: Day 1 to 3 to notify carrier and initiate claim
- Adjuster inspection: Day 3 to 14 for insurance representative to assess damage
- Approval and contractor selection: Week 2 to 4 to receive approval and choose repair contractor
- Permanent repair scheduling: Week 4 to 8 to get on contractor’s schedule
- Repair completion: Week 8 to 12, varying significantly by scope and complexity
Several factors extend these timelines: widespread storm damage that overwhelms local contractors, complex claims requiring multiple inspections, material availability for specialty roofing, seasonal weather that prevents safe roofing work, and scope changes when hidden damage appears during permanent repairs. For more information on how water damage progresses without proper mitigation, see our guide on Water Damage Restoration Process and Costs.
Begin permanent repair planning immediately after emergency tarping. Contact multiple roofing contractors for estimates while waiting for insurance approval. Research material options and upgrade possibilities. Schedule work as soon as approval comes through rather than waiting until the tarp shows wear.
Reducing Your Roof Tarp Installation Expenses

Emergency tarping shouldn’t be avoided to save money. The cost of delayed protection far exceeds tarping expenses. But strategic decisions reduce what you ultimately pay.
Identify contractors before emergencies strike. Research and vet local tarping services during calm weather, getting contact information and approximate pricing so you’re not scrambling during crisis. Act quickly when damage occurs. Immediate response often allows standard service rates rather than emergency premiums, and early protection prevents escalating repair costs from continued water intrusion.
Consider standard service timing when safe to wait. If damage occurs Thursday evening and no rain threatens until Saturday, scheduling Friday morning standard service costs less than Thursday night emergency rates. Provide clear roof access. Move vehicles, outdoor furniture, and obstacles before crews arrive to reduce setup time and labor hours. Have accurate roof measurements ready. Knowing square footage helps contractors provide precise quotes rather than padding estimates for uncertainty.
Ask about package pricing with future permanent repairs. Some contractors discount tarping costs if you commit to using them for permanent roof replacement or repairs. Verify insurance coverage limits before selecting service tier. Understanding what your policy covers helps you choose appropriate tarp quality without overspending or underprotecting.
Quality matters more than bargain hunting when roof damage threatens your home. Don’t compromise on certified installers who carry proper licensing and insurance. Unlicensed operators may charge less but leave you liable for accidents and defective work. Don’t skimp on appropriate tarp grade for your climate. Saving $100 on materials means nothing when a cheap tarp fails in two weeks and requires reinstallation.
Don’t accept improper installation that saves time but doesn’t extend coverage adequately beyond damage or secure fasteners properly. Don’t delay response to avoid after hours fees if weather threatens. Water damage from waiting costs far more than emergency service premiums.
Long term cost perspective shows that quality tarping plus prompt permanent repairs costs far less than addressing mold remediation, structural repairs, ceiling replacement, insulation damage, electrical issues, and destroyed belongings that result from delayed or inadequate protection. Spending $800 on proper tarping prevents $8,000 in additional damage. That’s not an expense. It’s damage control that saves money.
Understanding What’s Included in Tarp Service Quotes
Detailed written estimates help you understand exactly what you’re paying for and identify contractors padding prices or hiding costs.
| Service Component | Typically Included | Potential Extra Charge |
|---|---|---|
| Tarp materials | Standard blue poly tarp, appropriate size | Heavy duty or specialty tarps, oversized coverage |
| Fastening materials | Wooden battens, roofing nails, basic straps | Premium anchoring systems, sandbag weighting |
| Labor for installation | Standard crew during business hours | After hours premium, holiday rates, multi story surcharge |
| Damage assessment | Visual inspection to determine coverage needs | Detailed structural assessment if requested separately |
| Debris clearing | Minor debris moved from work area | Tree removal, major debris hauling ($400-$1,200) |
| Emergency service premium | Not applicable for scheduled service | 1.5x rate for after hours, weekends, immediate response |
Ask contractors these questions before accepting quotes: Is this a flat rate or hourly pricing? What specific tarp grade is included in this estimate? Are all fastening materials (battens, nails, straps, roofing cement) included or extra? Is debris removal included or charged separately? What happens if additional damage is discovered during installation, do costs increase?
Is there a warranty or guarantee on the installation workmanship, and what does it cover? These questions reveal whether quotes provide complete service or baseline pricing that grows with inevitable add ons.
Red flags include quotes significantly below market rates without clear explanation. Legitimate contractors can’t provide professional service at prices far below competitors without cutting corners somewhere. Lack of itemization prevents you from comparing quotes accurately or understanding what drives costs. Reluctance to provide written estimates suggests contractors want flexibility to increase charges after work begins. Pressure to decide immediately without reviewing insurance implications or getting other bids indicates more concern with closing sales than serving clients properly.
Temporary Tarp Protection for Different Damage Types
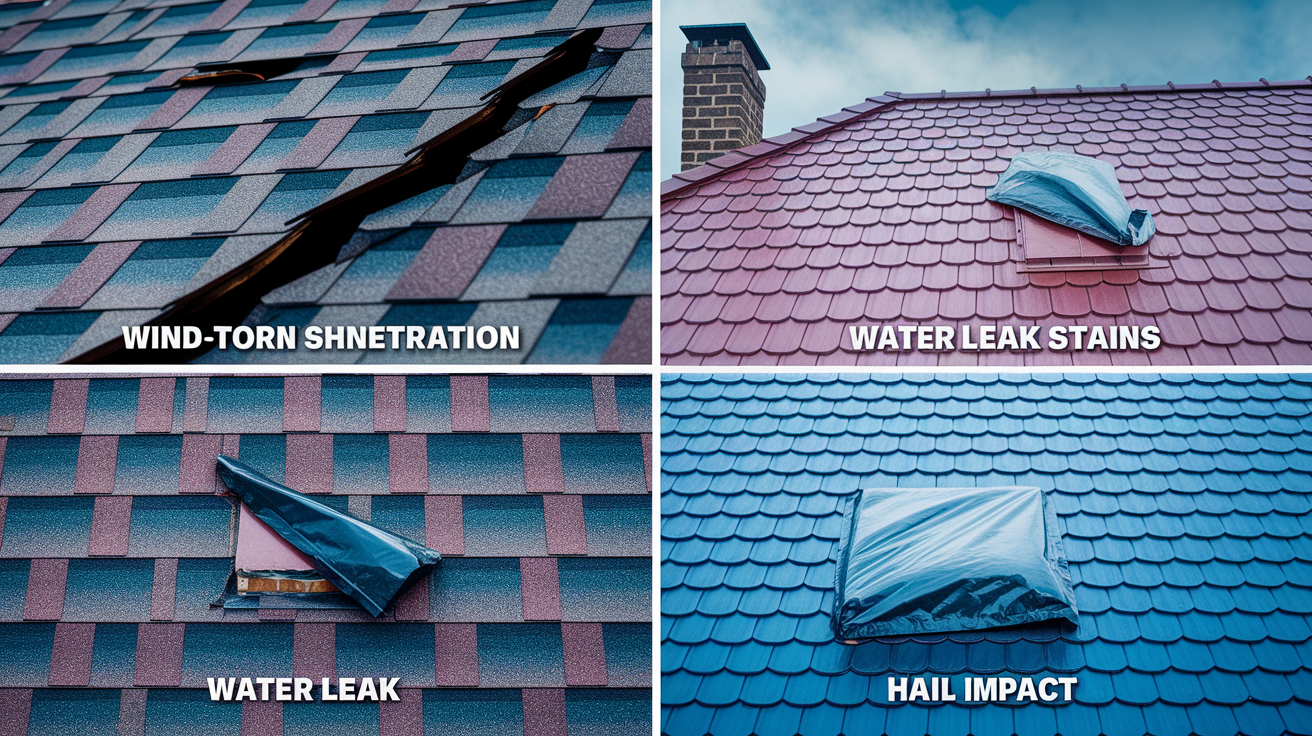
Damage type affects how much roof you need covered, what installation approach works best, and what you’ll ultimately pay.
Wind and Storm Damage
Wind typically creates scattered damage patterns: sections of missing shingles, lifted flashing, punctures from airborne debris. Standard tarping approach covers affected sections plus surrounding area, extending four feet beyond visible damage in all directions. Typical cost range for storm damage tarping runs $500 to $1,200 depending on how many separate areas need coverage. Multiple small damaged sections sometimes cost more than one large area because positioning and securing multiple tarps takes extra time.
Tree Impact and Debris Damage
Trees or large branches that penetrate roofs create obvious damage with hidden structural concerns underneath. Debris removal adds $400 to $1,200 before tarping can begin. Crews must clear broken branches, remove unstable material, and ensure safe working surface. Structural assessment becomes necessary when impact compromises roof framing, potentially requiring temporary interior supports before tarping.
Larger tarp coverage becomes essential because impact damage often extends beyond the visible hole, with surrounding shingles loosened and decking cracked in wider patterns than surface damage shows.
Leak Related Damage
Identified leak sources from deteriorated flashing, damaged valleys, or failed seals often need only targeted coverage rather than whole section tarping. Smaller tarp sizes keep costs lower, $300 to $600 for focused protection over specific problem areas. The challenge involves identifying leak source accurately before tarping, because water infiltrates at one spot and travels along roof structure before appearing inside. Professional assessment helps pinpoint actual damage location rather than just covering where water drips indoors.
Hail Damage
Widespread hail creates thousands of small impact points across entire roof sections rather than concentrated damage. Comprehensive coverage becomes necessary when damage is extensive, sometimes requiring tarping entire roof sections or even full roofs. Costs increase proportionally, $1,000 to $2,500 for major hail damage protection.
The good news: hail damage that requires full tarping typically also requires full roof replacement, meaning tarp costs represent small fraction of total insurance claim and temporary protection period runs shorter before permanent replacement begins. For roof damage caused by fire, similar comprehensive tarping needs arise. See our guide on Fire and Smoke Damage Repair Process for how emergency protection works after fire incidents.
Permits, Safety Standards, and Liability Considerations

Emergency tarping rarely requires building permits, but contractor credentials and safety compliance significantly affect quality and legal protection.
Verify these credentials before hiring anyone:
Contractor licensing: Valid license in your state, appropriate classification for roofing or emergency services. Liability insurance: Coverage protecting you if installation causes additional damage or fails to prevent water intrusion. Workers’ compensation insurance: Protection ensuring you’re not liable if crew members get injured on your property. OSHA safety compliance: Following federal safety standards for elevated work, fall protection, and equipment use. Warranty or guarantee: Written commitment covering installation workmanship for specified period, typically 30 to 90 days.
These credentials increase costs slightly compared to unlicensed operators, but provide essential protections worth every dollar. You’re not personally liable if crew members fall or get injured during work. Workers’ comp insurance covers medical costs and lost wages. Work meets code requirements and follows industry standards, preventing installation failures that cause additional damage.
Insurance companies accept documentation from licensed contractors without question, smoothing claims processing. Recourse exists through licensing boards and insurance carriers if installation fails or contractors disappear before completing work properly.
Reputable contractors include these protections in standard pricing automatically. Their insurance, licensing fees, safety equipment costs, and ongoing training get built into hourly rates and project quotes. Quotes that seem unusually low, 30% or more below market rates, may reflect lack of proper insurance, expired licensing, or corner cutting on safety requirements. You’re not saving money. You’re accepting risk that costs far more when something goes wrong.
Final Words
Temporary roof tarp cost ranges from $750 to $1,500 for most jobs, with emergency service adding 30% to 50% to baseline rates.
But the real cost calculation includes what you prevent. Every hour of delay risks exponentially higher repair bills from water damage, structural deterioration, and mold growth.
Professional installation covers materials, labor, safety compliance, and documentation your insurance company needs. That upfront expense protects your home and simplifies your claim process.
Get your roof tarped fast, document everything, and start planning permanent repairs while the tarp holds the line.
FAQ
How much do roofers charge to tarp a roof?
Roofers typically charge $750 to $1,500 total to tarp a roof in 2025, with most homeowners spending $650 or less. Per-square-foot pricing ranges from $0.70 to $2.00 for standard service and $1.00 to $2.80 for emergency response. Labor represents 60-70% of total cost at $60 to $120 per hour.
Where can I get a free tarp for my roof?
Free roof tarps are generally not available from professional sources, but some local governments and disaster relief organizations provide free tarps after major storms. Most homeowner insurance policies cover tarping costs up to 1% of your home’s insured value as damage mitigation, effectively making professional tarping free after reimbursement.
What can I use instead of tarping my roof?
Instead of tarping your roof, you can apply roofing cement to small leaks, use plywood for localized coverage, or install emergency roof patches. However, these alternatives work only for minor damage on accessible areas and don’t provide the comprehensive weather protection tarps offer for significant damage. Permanent repair remains the only true alternative to temporary tarping.
How much do roof tarps cost?
Roof tarps cost $4 to $25 for small DIY tarps and $50 to $250 for full-size residential covers, depending on thickness and quality. Professional-grade vinyl tarps run higher but last 6-12 months versus 60-90 days for standard poly tarps. Material cost represents only 30-40% of total professional installation expense.