

You’re staring at a hole in your roof, and here’s the question nobody wants to answer wrong: do you cover it right now, or can it wait? Delayed tarping turns small damage into serious restoration projects fast. Water migrates through insulation, ceilings sag, and mold starts growing within 48 to 96 hours. We’ll walk you through exactly when tarping becomes urgent, what safety factors determine DIY versus professional help, and how weather conditions affect your timing window.
Assessing Your Situation: DIY or Professional Help
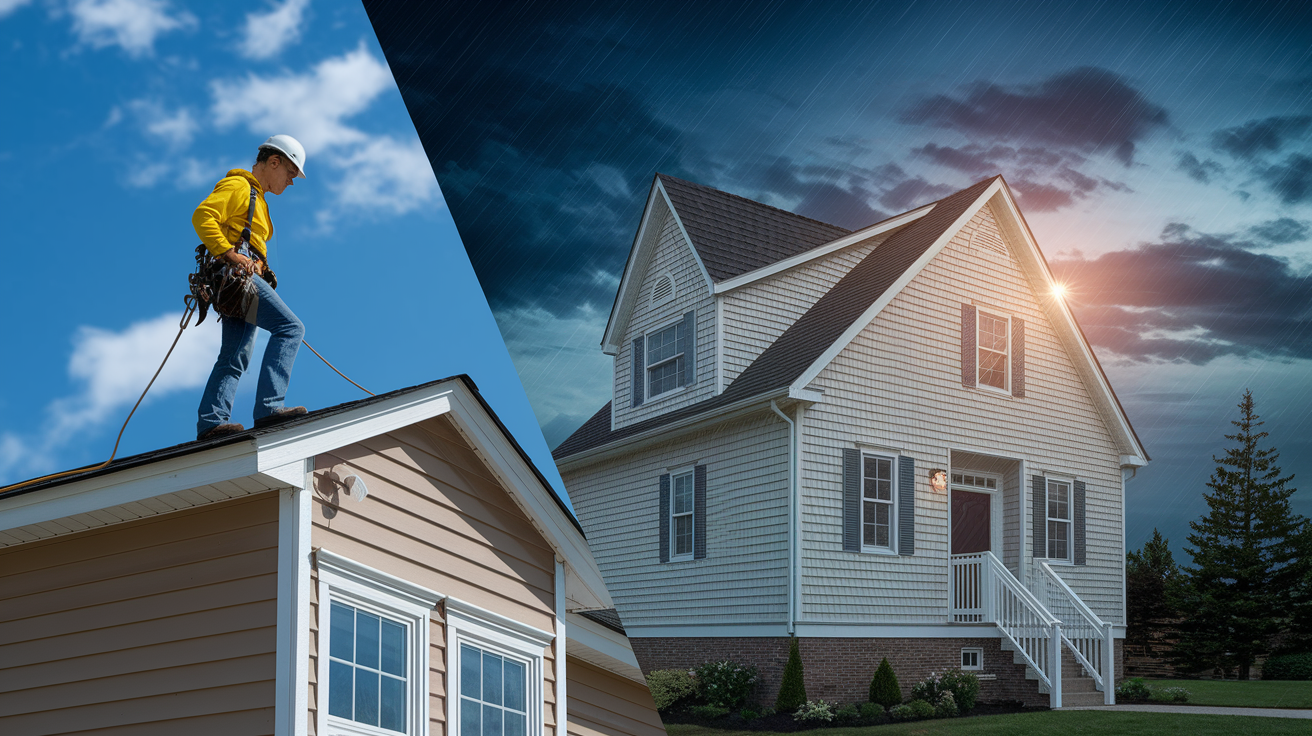
The first big decision is figuring out whether you can handle this yourself or if you need to call in the pros. This choice affects your safety and how well you actually protect your home.
Safety Decision Factors
Some situations just aren’t DIY territory. If you’ve got a steep roof or you’re dealing with a two-story home (or higher), the fall risk shoots up fast. Extensive damage that needs multiple tarps across a huge area? That’s beyond what most homeowners can handle. Weather conditions matter too. Wind, rain, or ice make roof work dangerous no matter how experienced you are. If your roof structure looks compromised, like you can see sagging or the decking looks deflected, that’s a serious stability problem only professionals should touch. Power lines nearby create electrocution hazards you don’t want to mess with. Large fallen trees or heavy debris need equipment and know-how to remove before you can even think about tarping. When fire damage combines with roof damage, the structural integrity becomes unpredictable. Check out our Fire, Smoke, and Soot Damage services if you need assessment help after fire impacts. Nighttime emergencies with limited visibility make every other risk worse. And if you’re elderly or physically limited, professional services just make sense from a safety standpoint.
But some scenarios are DIY appropriate. Single-story homes with minor damage in a small, accessible spot can work for homeowners. Good weather conditions help. No rain, wind, or ice in the forecast gives you a safe work window. You need the right equipment though: an extension ladder rated for your weight plus materials, a heavy-duty waterproof tarp, wooden boards, and proper fastening materials. You absolutely need a helper. Roof tarping is never a one-person job. And there shouldn’t be any structural concerns like sagging or soft spots visible from the ground.
Damage Assessment Considerations
Professional inspection becomes critical when you can’t tell how bad things really are. A structural engineer or experienced roofer can evaluate load-bearing capacity, identify hidden damage in attic spaces and underlayment layers, and figure out safe access points. This assessment matters most when damage spans multiple roof areas, creating complexity in how you’ll cover and fasten everything. Chimney or wall damage next to roof openings might indicate bigger structural impacts. Signs of previous repairs failing suggest underlying issues that emergency tarping won’t fix. When you can’t determine damage extent from ground level, climbing up without professional evaluation risks both your safety and causing more damage by stepping in the wrong spot on compromised areas.
Professionals can handle emergency stabilization and tarping as a single service right after they assess things. This eliminates the gap between understanding what’s wrong and actually protecting against further damage.
Cost and Timeline Comparison
DIY material costs typically run $100 to $300 for tarps, boards, and fasteners. That assumes you already own a suitable ladder and basic tools. Professional services cost more upfront but you get expertise, safety equipment, proper materials, and liability coverage. Emergency response availability varies. During widespread storm events, professional services might be scheduled days out, while DIY happens immediately if conditions allow. Long-term cost implications matter though. Improper DIY installation that allows continued water intrusion can turn a $1,500 repair into a $10,000 problem within weeks.
| Approach | Typical Cost Range | Timeline | Safety Level | Best For |
|---|---|---|---|---|
| DIY materials only | $100-300 | Same day if materials available | Moderate to high risk | Single-story, minor damage, experienced homeowner with helper |
| Standard professional service | $500-1,500 | 24-48 hours in normal conditions | Low risk | Most situations, multi-story homes, uncertain damage extent |
| Emergency after-hours professional service | $800-2,500 | 2-6 hours response | Low risk | Active leaks, severe weather approaching, nighttime emergencies |
| Professional assessment then DIY | $150-400 assessment + $100-300 materials | Assessment within 24-48 hours, DIY follows | Moderate risk with informed approach | Homeowners wanting expert damage evaluation before attempting DIY work |
Most homeowner policies cover emergency tarping as “reasonable mitigation” within the claim settlement. The deductible applies to your total claim amount including tarping costs, not as a separate charge. Some policies include specific emergency repair allowances ranging from $500 to $2,500 before full claim approval is needed. Keep detailed receipts and documentation for reimbursement regardless of whether you go DIY or professional. Professional assessment typically costs $150 to $400 but it might prevent claim denial that results from improper DIY attempts that cause additional damage or fail to adequately protect the property.
Critical Situations That Require Immediate Roof Tarping
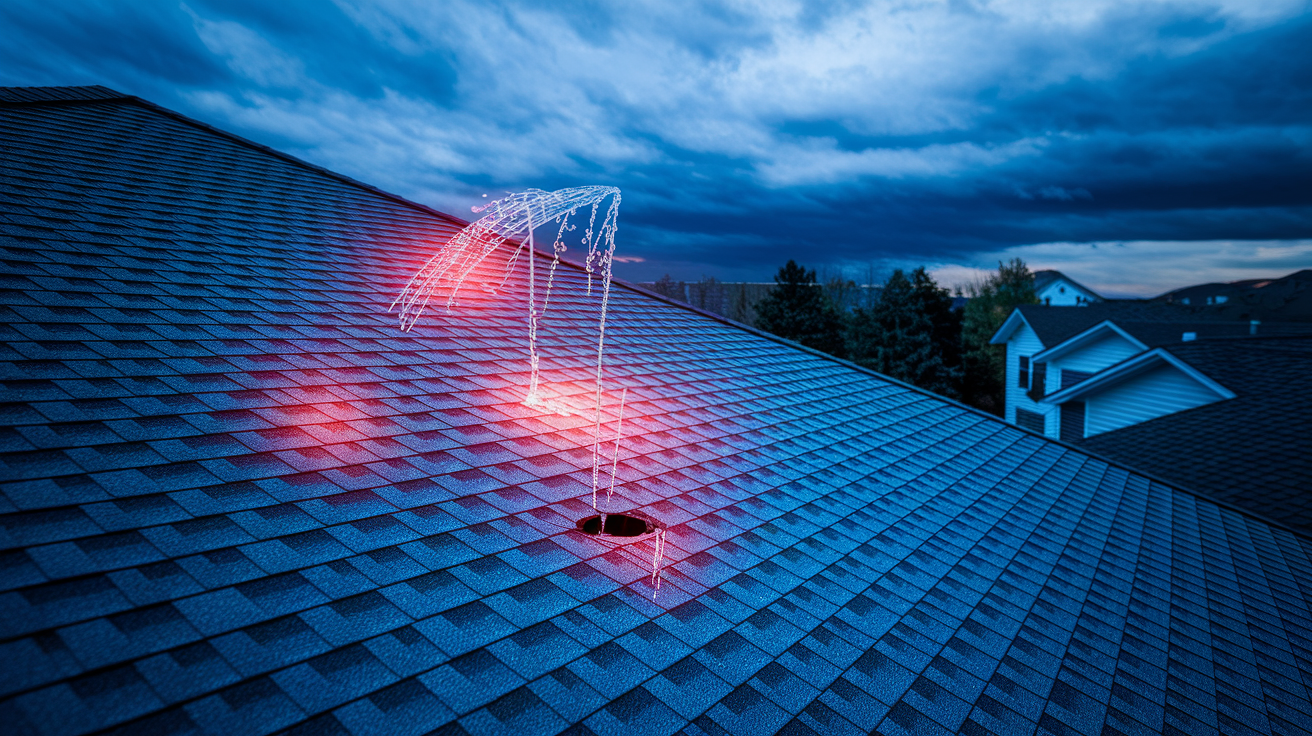
Tarping becomes urgent based on specific damage indicators you can spot from the ground or attic. Not every roof issue requires immediate tarping, but certain conditions create rapidly escalating damage if left exposed.
Active water intrusion or exposed roof structure demands immediate action. The difference between tarping today versus waiting until tomorrow can mean the difference between drying out some insulation versus replacing entire ceiling sections.
Critical damage scenarios requiring immediate tarping:
Active leaks with visible water entering the home, dripping from ceilings, or running down walls. Missing or lifted shingles exposing underlayment or roof decking to direct weather contact. Holes or punctures from fallen tree limbs, branches, or wind-blown debris. Hail damage creating cracks or penetrations in roofing material that compromise waterproofing. Wind damage that’s torn away sections of roofing, leaving large exposed areas. Ice dam damage causing water backup under shingles and into attic spaces. Exposed roof decking or structural framing visible from ground level after material failure. Storm damage occurring with more severe weather forecasted within 24 to 72 hours, even if current damage seems minor.
Timing urgency matters. Tarp within 24 to 72 hours maximum to prevent damage escalation. This window accounts for obtaining materials, arranging help, and waiting for safe weather conditions if storms are still active. Delays beyond 72 hours lead to interior water damage affecting ceilings, walls, and floors. Insulation becomes saturated and loses effectiveness. Wood framing begins absorbing moisture, creating conditions for mold growth within 48 to 96 hours of continuous exposure.
Quick action matters for insurance claim documentation too. Adjusters evaluate whether homeowners took reasonable steps to prevent further damage. Delayed tarping can complicate claims if the insurance company determines that additional damage occurred because you didn’t mitigate promptly.
Understanding the Risks of Delayed Roof Tarping

Roof damage compounds rapidly once water penetrates interior spaces. A small opening that seems manageable today becomes a major restoration project within days.
The 24 to 48 hour progression starts subtle but accelerates fast. Ceiling stains appear first, often as small discolored spots that expand with each rain event. Drywall absorbs water, becoming soft and starting to sag under its own weight. Insulation in attic spaces becomes saturated, losing its effectiveness and adding weight that roof framing wasn’t designed to support long term. Paint begins bubbling on interior ceilings and walls. Light fixtures and ceiling fans in affected areas can become electrical hazards as moisture reaches wiring.
The 48 to 96 hour progression creates structural concerns. Wood rot begins in roof decking and framing members as moisture content rises above 20 percent. This deterioration weakens the roof’s load-bearing capacity. Mold spores, which exist naturally in most environments, begin active growth in damp materials. Once established, mold spreads through porous materials like drywall, insulation, and wood. Structural weakening from prolonged moisture exposure can affect not just the damaged area but adjacent roof sections as water migrates through underlayment and sheathing.
Cost escalation follows this damage progression. A minor shingle repair addressing storm damage might cost $500 to $1,500 if tarped promptly and repaired within a reasonable timeline. The same initial damage, left untarped, can escalate to major interior restoration requiring mold remediation, ceiling replacement, insulation replacement, structural wood repair, and repainting. Total costs easily reach $5,000 to $20,000 or more depending on how long water intrusion continues and how far moisture spreads through building materials.
Insurance adjusters document whether homeowners took reasonable steps to prevent further damage. Policies typically require that you protect the property from additional harm after initial damage occurs. Failure to tarp a known roof opening can result in denial of claims for subsequent water damage that could have been prevented.
Weather Conditions and Tarping Timing

Weather conditions are the primary factor determining tarping urgency beyond the damage itself.
Pre-storm tarping becomes critical if you discover damage with severe weather approaching within 24 to 72 hours. Tarp immediately even if current conditions are mild and the damage isn’t actively leaking yet. In coastal regions, this includes preventive tarping for existing minor damage before hurricane season intensifies. A small issue that’s been “fine” for weeks won’t stay fine through a hurricane’s wind-driven rain. Similarly, areas with severe thunderstorm patterns during spring and summer should address even minor roof concerns before storm season peaks.
Post-storm timing requires tarping as soon as conditions allow safe roof access. This typically means within 6 to 12 hours after a storm passes if there’s no active precipitation or high winds remaining. Wait for sustained winds to drop below 20 mph. Avoid roof work when surfaces are wet and slippery unless you’re dealing with an active interior leak that’s causing immediate damage. Tornado outbreaks and hurricane aftermath create special challenges. These events may overwhelm emergency services, with professional companies booked for days or weeks. This reality makes DIY capability valuable, but only if you can work safely. Widespread power outages, debris fields, and damaged infrastructure complicate both DIY and professional responses.
Seasonal and regional considerations change tarping priorities and methods. Winter tarping in northern snow belt regions requires ice dam damage response despite cold temperatures. Remove accumulated snow load from the damaged area before tarping, as additional weight stresses compromised structure. Prevent ice buildup on tarp edges by ensuring proper slope for drainage. Frozen materials make fastening more difficult. Spring and fall freeze-thaw cycles in transitional climates worsen damage rapidly. Water enters cracks during the day, freezes at night, expands, and enlarges the opening. This cycle turns small damage into major failures within days, requiring prompt action despite uncomfortable working temperatures. Summer allows longer work windows with extended daylight and generally stable conditions, but watch out for afternoon thunderstorms in many regions. Hail-prone areas including Colorado’s Front Range, Texas, and Oklahoma require careful assessment. Sometimes shingles are compromised but intact versus actual penetrations. If there’s no active leak, you may have time for professional assessment before tarping. For more guidance on storm damage assessment, check out our Storm, Wind, and Hail Damage services.
Extreme weather timing involves tough decisions. Nighttime emergency tarping should only be attempted by professionals with proper lighting equipment except in extreme active leak situations where interior damage is occurring rapidly. Even then, temporary interior containment with buckets and plastic sheeting may be safer than roof access in darkness. Hurricane and tornado damage may require immediate response despite debris field hazards and widespread contractor shortages. These situations test the limits of both DIY capability and professional availability.
Essential Materials for Proper Roof Tarp Installation
Choosing the correct materials determines tarping effectiveness and longevity under weather exposure.
| Tarp Material | Thickness Recommendation | Weather Resistance | Best For |
|---|---|---|---|
| Polyethylene | 6-12 mil minimum (heavy-duty) | Effective against mildew, UV rays, tears, and rot; lightweight and easy to handle | Most residential applications, temporary coverage up to 90 days, budget-conscious homeowners |
| Vinyl | 10-18 mil (commercial-grade) | Superior protection against mold, mildew, tears, abrasions, and severe weather; heavier and more durable | Extended tarping periods, harsh weather climates, commercial buildings, areas with high wind exposure |
| Canvas | Not recommended | Water-resistant only, NOT waterproof; allows seepage if standing water collects | Canvas tarps should not be used for roof damage—they will fail under sustained rain exposure |
Some polyethylene and vinyl tarps include fire-retardant treatments, which matter if the roof damage involves fire or if building codes in your area require fire-rated materials for certain applications.
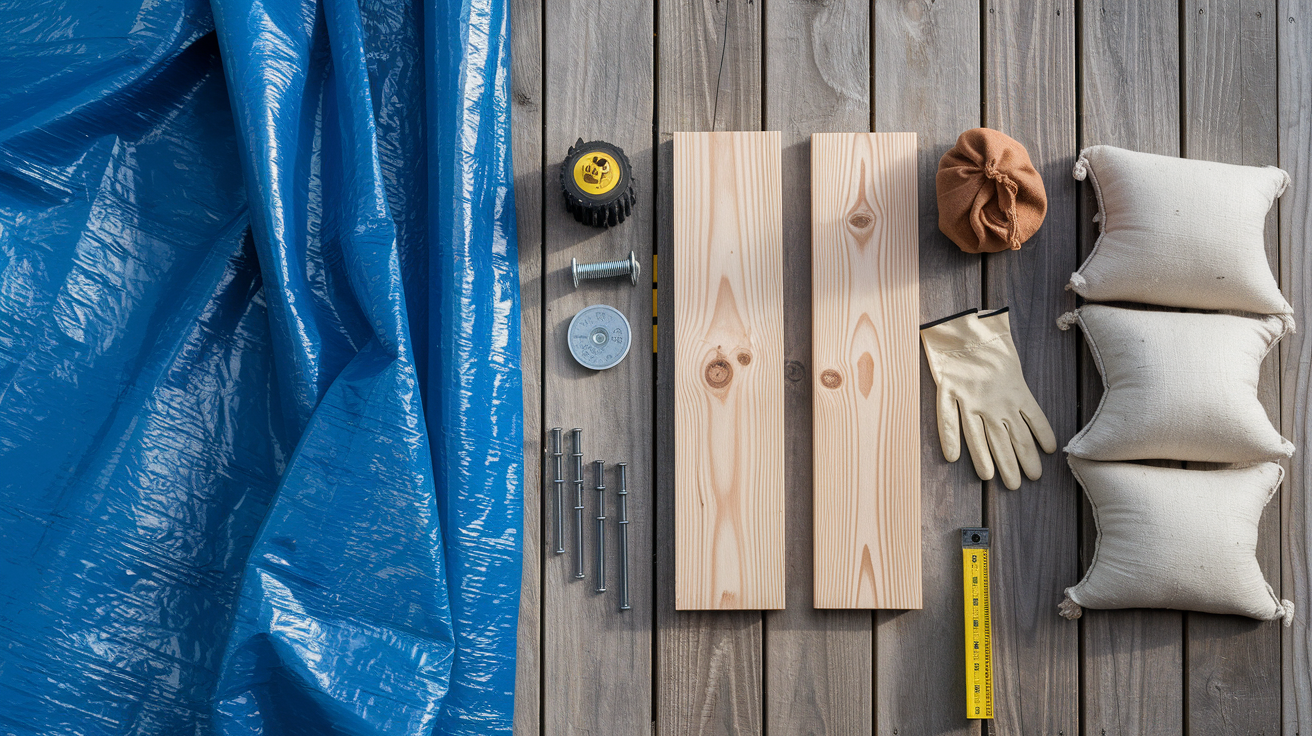
Additional supplies create proper installation. You’ll need 2×4 wooden boards in 8 to 12 foot lengths, cut to appropriate sizes for creating anchor points along tarp edges. Galvanized nails or screws, minimum 3-inch length, secure boards without pulling through during wind stress. Sandbags or heavy objects provide additional weight along lower edges where nailing isn’t practical. A measuring tape ensures accurate sizing. A utility knife cuts tarps and trim boards. Work gloves protect hands from sharp edges, splinters, and fasteners. A safety harness should be used if available, particularly on steep or high roofs.
Boards serve two critical functions. First, they create solid anchor points by distributing stress across larger areas rather than concentrating force on tarp grommets, which can tear out under wind load. Second, they prevent the tarp material itself from tearing when fasteners are driven through it. Without boards, wind flapping will enlarge fastener holes and cause progressive failure.
Sizing requires measuring the damaged area and adding 4 feet of overlap on all sides. This overlap ensures water running off undamaged roof sections doesn’t channel under the tarp edges. It also provides material for proper fastening without leaving gaps. Standard residential tarps come in common sizes: 10×12 feet for small damage areas, 12×16 feet for moderate damage, and 20×30 feet or larger for extensive damage. Buy larger than you think you need. Excess tarp can be folded and secured. Insufficient tarp leaves gaps that defeat the entire purpose.
Step-by-Step Safe Roof Tarp Installation Process
Work only in safe conditions with a helper present. Never attempt roof access during active storms, high winds above 20 mph, or when surfaces are wet and slippery. Watch for electrical hazards including downed power lines, damaged service entry points, and proximity of metal ladders or tools to any electrical equipment. Wet surfaces multiply fall risks even on shallow-pitch roofs.
Conduct safety inspection. Walk the property perimeter checking for downed power lines, damaged electrical service connections, and compromised chimney or wall structure adjacent to the roof. From ground level, assess whether roof structure shows sagging, deflection, or soft spots indicating framing damage. Check weather conditions and forecast. Don’t proceed if storms are approaching or if wind speeds exceed safe working limits.
Remove loose debris. Clear branches, damaged shingles, nails, and storm debris from the damaged area without disturbing materials that are still providing some protection. Work carefully around compromised areas. Avoid walking directly on damaged sections where roof decking may be weakened. Use a roof rake from ground level if possible for initial debris clearing.
Measure the damaged area. Calculate the needed tarp size with a 4-foot minimum overhang on all sides. For irregular damage, measure the longest length and widest width, then add 8 feet to each dimension. Account for roof features like chimneys or vents that you’ll need to work around. Confirm your tarp is large enough before carrying it onto the roof.
Position the tarp. Unfold the tarp on the ground and inspect it for defects, holes, or tears. Fold it loosely for easier handling on the roof. With your helper, carry the tarp to the roof using a stable, properly positioned ladder. Center the tarp over the damaged area with equal overhang on all sides. The tarp should extend from above the damage (upslope) to well below the damage (downslope) so water flows onto the tarp and off the roof rather than running under it.
Secure the peak side first. Attach wooden boards along the highest edge, starting from the peak or ridge. Position boards across the tarp edge, perpendicular to the roof slope. Drive nails or screws through the board and tarp into solid roof structure every 12 to 18 inches. This creates a weather-tight seal at the top and establishes the starting point for proper tarp tension. Make sure fasteners penetrate into roof decking or rafters, not just shingles.
Pull tarp taut and secure sides. Work downward from the peak toward the eaves. Pull the tarp tight to eliminate wrinkles and areas where water could pool. Loose tarps collect water, creating weight that stresses fastening points and may cause roof damage. Attach boards every 12 to 18 inches along both side edges. Drive fasteners into solid structure. Overlap multiple tarps by a minimum of 2 feet if the damaged area requires more than one tarp, and secure the overlap with boards at close intervals.
Weight the lower edge. Along the bottom edge (eave side), use sandbags or additional secured boards rather than fastening directly if the edge extends beyond solid roof structure. Ensure water will drain off the tarp, not pool in low spots. The tarp should create a smooth plane from peak to eave with no valleys or depressions where water accumulates.
Seal overlapping areas. If multiple tarps are needed, overlap by a minimum of 2 feet with the upslope tarp layered over the downslope tarp like shingles. Secure overlap points with boards running perpendicular to the slope. Check all edges for gaps or loose sections. Walk the perimeter from ground level after descending to verify complete coverage.
Typical tarp lifespan runs 90 days maximum under normal conditions, with 30 to 60 days being realistic in harsh weather exposure including high winds, intense sun, or temperature extremes. Degradation happens through several mechanisms. UV damage causes the material to become brittle, creating cracks that allow water penetration. Fastening failure occurs from wind stress repeatedly pulling against boards and grommets. Water pooling in low spots stretches material and stresses seams. Tears or punctures develop from wind-blown debris, falling branches, or animals walking across the tarp surface.
Establish an inspection schedule. Check the tarp weekly at minimum, and inspect within 24 to 48 hours after significant weather events including high winds, heavy rain, or snow. Look for loose boards or shifted positioning. Check that fasteners remain secure and haven’t pulled through materials. Verify no water is pooling on the tarp surface. Watch for tears, punctures, or areas where material shows brittleness from UV exposure. Extended tarping beyond 60 to 90 days increases risk of code violations in some jurisdictions, which may require permits for temporary structures or set time limits on emergency repairs. Plan for permanent repairs within this window to avoid both material failure and regulatory issues.
Documenting Roof Damage for Insurance Claims

Thorough documentation protects your insurance coverage and claim value.
Photograph all damage from multiple angles before touching anything. Take photos from ground level showing the overall roof and house, then closer images of specific damage if safe to access those areas. Capture context showing how damage relates to the rest of the structure.
Take wide shots showing damage location and close-ups of specific damage points. Wide angles establish scope and location. Close-ups show detail like cracked shingles, exposed nails, tears in materials, or punctures from debris.
Document interior damage including ceiling stains, water marks on walls, wet or compressed insulation visible in attic spaces, and any belongings affected by leaks.
Save all receipts for emergency tarping materials and services. Keep itemized receipts showing purchase date, materials, quantities, and costs. If hiring professional services, obtain detailed invoices.
Create a written timeline documenting when damage occurred, when you discovered it, and when you tarped it. Include weather events, discovery circumstances, and actions taken.
Photograph the tarping process and final installation. Show the tarp coverage, fastening methods, and complete installed appearance from multiple angles. This proves you took reasonable mitigation steps.
Keep copies of contractor estimates and emergency service invoices. Collect multiple estimates if possible, showing the range of repair costs and approaches different contractors recommend.
Contact your insurance company within 24 to 48 hours of discovering damage, before or immediately after emergency tarping. Most insurers have 24-hour claim reporting lines. Tarping is a reasonable mitigation step that insurers expect responsible homeowners to take. It demonstrates you’re protecting the property from additional damage, which is typically a policy requirement. Ask specifically about coverage for emergency tarping costs, which are typically covered as part of the total claim but may have specific documentation requirements.
Request an adjuster inspection timeline. Ask whether temporary tarping affects coverage in any way and what documentation the company needs from you. Some insurers want photos before and after tarping. Others send adjusters to inspect before any work is done. Clarify these expectations early to avoid claim complications.
Special Tarping Considerations for Different Roof Types
Roof pitch, material, and features significantly affect tarping methods and difficulty.
Pitched and Steep Roofs
Gable, hip, and pyramid roofs require careful anchor point selection on steep slopes. Work from top down, establishing secure fastening at the ridge or peak first, then progressing downslope. This approach maintains tension and prevents tarp slippage. On pitches exceeding 6/12 (6 inches of vertical rise per 12 inches of horizontal run), fall protection equipment becomes essential. Steep roofs amplify every risk. Footing is less secure. Materials slide more easily. A slip that would be recoverable on a shallow pitch results in a fall on steep slopes.
Securing methods must prevent tarp slippage, which happens when wind gets underneath and lifts the material. Use board anchors every 12 inches on steep sections rather than standard 18-inch spacing. Consider running boards diagonally as well as perpendicular to the slope, creating a grid pattern that prevents shifting. On metal roofs, which are particularly slippery, exercise extreme caution or defer to professional installation.
Flat and Low-Slope Roofs
Flat commercial roofs present different challenges, primarily water pooling prevention. Even “flat” roofs have slight pitch for drainage, but damaged areas may create depressions where water collects. Position tarps to maintain or restore drainage flow toward existing drains or scuppers. Weight becomes the primary securing method rather than nails or screws, which can penetrate and damage membrane roofs made from EPDM, TPO, or PVC materials.
Use sandbags, concrete blocks, or other heavy objects around tarp perimeters. Avoid sharp-edged weights that can puncture the tarp or underlying roof membrane. Coverage of larger surface areas often requires multiple overlapping tarps. Each overlap should run a minimum of 3 feet on flat roofs (more than the 2-foot minimum for pitched roofs) because water movement is less predictable. Secure overlap areas with weighted boards or sandbag rows.
Complex Features and Penetrations
Tarping around chimneys requires creating sealed transitions without blocking the chimney’s existing flashing, which channels water around the penetration. Wrap tarp material up the sides of the chimney, securing with boards or weights. Don’t nail into chimney masonry or chase the metal flashing. If the chimney itself is damaged, that’s a separate concern requiring professional masonry or flashing repair.
Damaged skylights need broken glass removed safely before tarping over the opening. Work from below if possible, using a broom or tool to push glass outward and away from the building. Cover the interior opening with plastic sheeting to contain any remaining fragments, then tarp over the exterior opening with extra padding between the tarp and skylight frame to prevent sharp edges from tearing through.
Compromised ventilation areas present a dilemma. Attics need airflow to prevent moisture buildup and regulate temperature. However, damaged roof vents or ridge vents can’t perform this function while allowing weather intrusion. Tarp over severely damaged vents while maintaining airflow through undamaged vents elsewhere on the roof system. If all ventilation is compromised, temporary tarping takes priority over airflow. Address permanent repairs quickly to restore proper ventilation before moisture and heat buildup create secondary problems.
Valley areas where two roof planes meet require careful overlap and water channeling consideration. Water naturally concentrates in valleys, creating high flow volume. Extend tarps well up both roof planes from the valley center. Overlap tarps with the primary water flow direction, similar to how shingles are layered. Secure valley tarps with extra fastening points because wind tends to funnel through these areas with greater force.
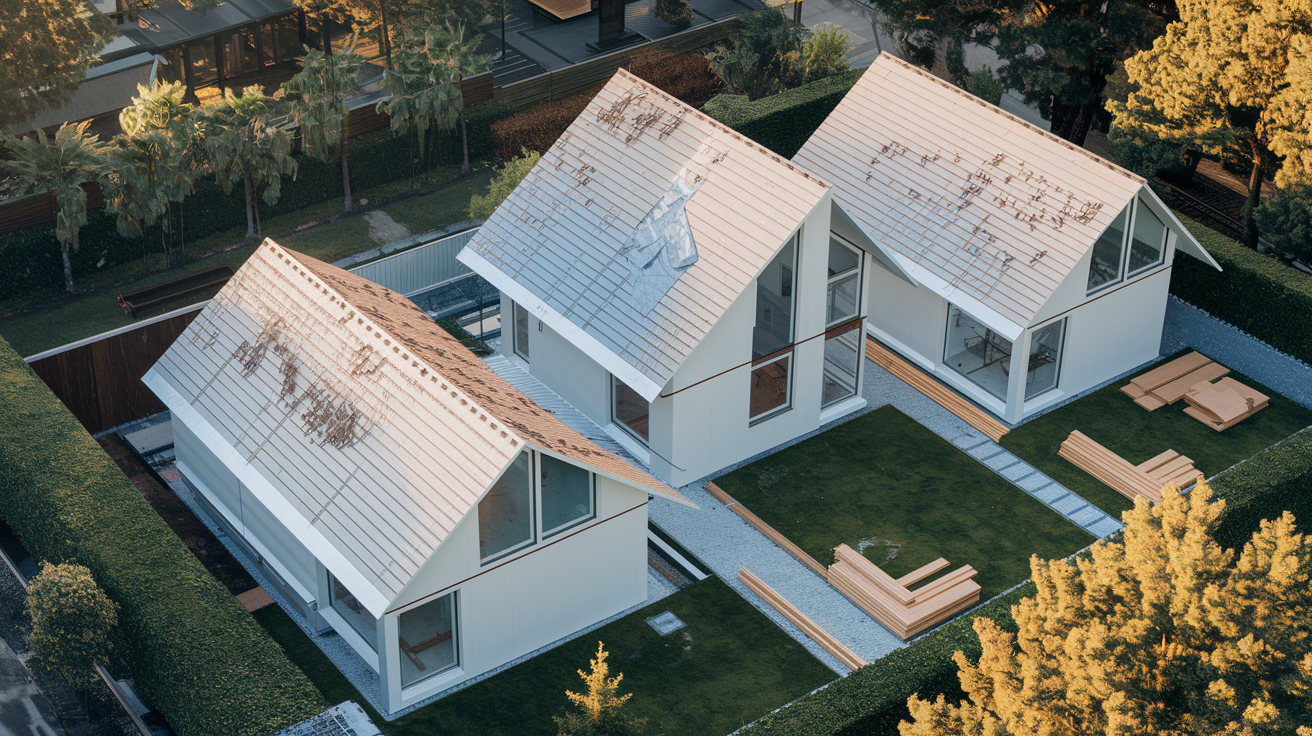
Planning the Transition to Permanent Repairs
Tarping is explicitly temporary, and permanent repairs must be planned immediately after emergency stabilization.
Contractor scheduling starts during the tarp period, not after it expires. Obtain multiple estimates from licensed, insured roofing contractors. Three quotes provide a good comparison of scope, approach, and cost. Expect 2 to 6 week lead times for reputable contractors under normal conditions. This timeline accounts for their existing project schedules, material ordering, and crew availability. Understand that post-disaster timelines extend significantly. After hurricanes, tornadoes, or widespread hail events, contractors may be booked months out. Some will travel from other regions to meet demand, but verifying credentials and references becomes even more important during these periods.
Repair scope decisions require working with contractors to assess whether targeted repairs suffice or if damage reveals a need for broader roof replacement. A 5-year-old roof with isolated storm damage usually warrants repairs. A 20-year-old roof showing general wear in addition to storm damage may make economic sense to replace entirely rather than patch. Consider roof age, existing condition of undamaged sections, whether repairs will blend visually with surrounding materials, and how much longer you expect the existing roof to last. Insurance settlements often account for depreciation, but replacing a nearly end-of-life roof may cost less out-of-pocket than you expect when factoring in future repair needs you’d face soon anyway.
Permit and code requirements vary by jurisdiction. Verify whether permanent repairs require building permits in your area. Most municipalities require permits for roof replacement and for repairs exceeding certain square footage or cost thresholds. Some allow minor emergency repairs without permits but require them for permanent work. Understand that some jurisdictions have time limits on temporary tarping before requiring permanent solutions or additional permits. Ninety days is a common limit. Exceeding this timeframe can result in code violations and fines, regardless of contractor availability or insurance processing delays.
Final Words
Get the tarp up fast when you spot damage. Whether you handle it yourself or call a crew, knowing when to tarp a damaged roof keeps small problems from turning into expensive disasters.
Check that tarp weekly. Keep your receipts. Line up a contractor while the temporary fix holds.
The clock starts the moment you see exposed decking or water coming through the ceiling. Tarp it, document it, and get permanent repairs scheduled within 60 to 90 days. That’s how you protect your home and your investment.
FAQ
Q: What is the 25% rule in roofing?
A: The 25% rule in roofing is a building code guideline stating that if roof repairs or replacement exceed 25% of the total roof area, the entire roof may need to meet current code standards rather than just matching existing materials.
Q: Does tarping a roof damage it?
A: Tarping a roof does not damage it when installed correctly using wooden boards as anchor points rather than penetrating fasteners, pulling the tarp taut to prevent pooling, and avoiding over-nailing into already compromised decking or shingles.
Q: How much do roofers charge to tarp a roof?
A: Roofers charge between $200 and $1,000 to tarp a roof depending on damage extent, roof size and pitch, materials needed, and whether emergency after-hours service is required, with most homeowner insurance policies covering tarping as reasonable mitigation.
Q: Why don’t roofers use tar anymore?
A: Roofers don’t use tar anymore because modern roofing systems rely on layered shingle, membrane, and flashing systems that provide better waterproofing, longer lifespan, and easier repairs than traditional hot tar application, though tar is still used for specific flat roof applications.