

You’re staring at soaked hardwood floors right now and wondering if they’re ruined. Here’s the truth: you’ve got about 24 hours before permanent damage sets in, and what you do in that window decides whether you’re looking at repairs or full replacement. Water doesn’t just sit on top of hardwood. It soaks deep into boards and subfloors, causing swelling, buckling, and mold growth that spreads fast. This guide walks you through emergency response, damage assessment, and repair decisions that save floors instead of tearing them out.
Immediate Emergency Response for Water-Damaged Hardwood Floors

The first 24 to 48 hours after you find flood damage determine whether your hardwood floors can be saved or need complete replacement. Permanent damage and mold growth happen fast during this window. Act immediately, and you might save the floor. Wait too long, and you’re looking at full removal.
Start by getting all standing water off the floor using whatever works fastest. Mop, towels, sponges, wet vacs if you’ve got them. Speed matters way more than technique right now. Every minute that water sits there, it’s soaking deeper into the wood and subfloor. Even small puddles sitting in board joints cause swelling that turns into buckling and separation.
Position dehumidifiers in the center of affected rooms to pull moisture from the air and wood at the same time. Place fans along walls and doorways to create cross ventilation that moves damp air out and dry air in. Open windows only if outdoor humidity is lower than what’s inside. Bringing in muggy summer air slows drying instead of helping. Run this equipment continuously, not just when you’re home during the day.
Here’s what to do first:
- Get all standing water off floor surfaces using mops, towels, or wet vacs
- Extract absorbed moisture using extraction equipment or absorbent materials pressed against wood
- Position dehumidifiers centrally with doors closed to concentrate drying power
- Set up air circulation using fans angled across floor surfaces and toward windows
- Document all damage with photos showing water extent, floor conditions, and affected areas
Plan on running drying equipment for 3 to 7 days minimum before starting any repairs. Wood and subfloor materials hold moisture deep inside long after surfaces feel dry. Moisture meters confirm when readings drop to safe levels, typically 6 to 12 percent depending on your climate. Rush this step and repairs fail when trapped moisture resurfaces weeks later, buckling new boards and ruining refinishing work you just completed. Keep equipment running until readings confirm the floor is actually dry.
Diagnosing Water Damage Severity and Salvageability

Visual inspection tells you what happened and how deep the damage goes. Surface finish damage like cloudiness, white rings, or dull spots affects only the top coating, and refinishing fixes it. Structural wood damage including warping, splitting, or soft spots means water got into the board itself. Whether you can salvage it depends on how much swelling happened.
Cupping happens when board edges absorb water and swell higher than the center, creating a concave surface you can feel with your hand. Crowning is the opposite. Center sections rise higher than edges after uneven drying. Buckling means boards lifted completely away from the subfloor, usually near walls where water pooled longest. Discoloration patterns show where water traveled and which areas stayed wet longest. Musty odors mean mold is actively growing somewhere in the wood or subfloor, even if you can’t see it yet. Soft spots when you walk suggest rot has started breaking down wood fibers, and those sections won’t regain strength even after drying.
Use a moisture meter by pressing pins into the wood at multiple locations throughout damaged areas. Normal moisture content ranges from 6 to 12 percent depending on whether you live in dry or humid climates and what wood species your floor uses. Readings above 20 percent indicate active moisture still moving through wood fibers. Readings between 12 and 20 percent mean drying is happening but not finished. Only readings in the normal range indicate you’re ready for repairs. These numbers prevent you from starting repairs too early when hidden moisture causes new boards to swell or freshly applied finish to bubble and peel weeks after you finish.
What you find tells you whether drying and refinishing will work or whether sections need replacement. Light cupping that flattens after drying can be sanded and refinished. Severe buckling, permanent crowning, or soft spots require board replacement and possibly subfloor work.
Subfloor Inspection and Hidden Structural Damage
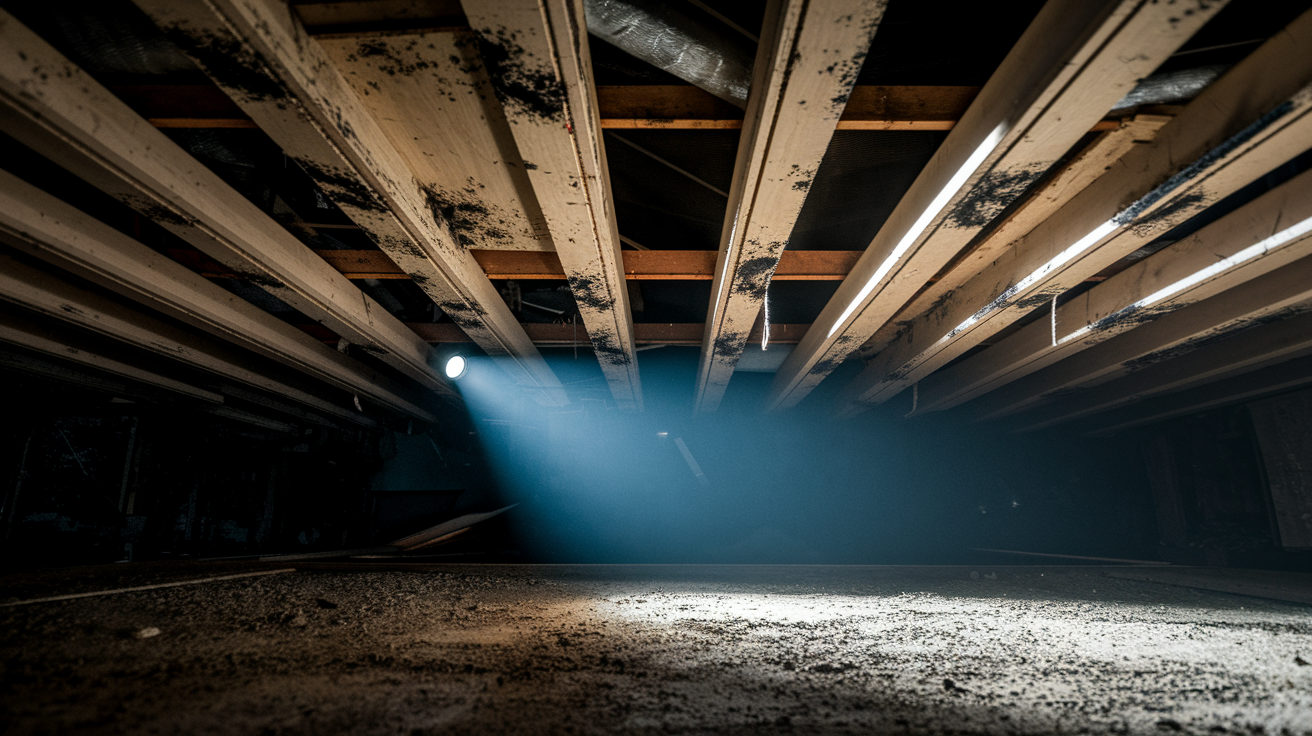
Subfloor condition determines whether floor repair makes sense or whether you’re installing new boards over compromised structure that fails within months. Hidden damage beneath visible flooring often exceeds what you see on the surface, especially when water sat for hours before you discovered it.
Remove damaged or buckled planks carefully using a pry bar, working from the center of damaged sections outward. Slide the flat end under board edges and lift gently to avoid splintering surrounding boards that might be salvageable. Once planks come up, inspect the subfloor for dark staining indicating rot, fuzzy white or black patches showing mold growth, moisture that hasn’t dried, delamination where plywood layers separate, and soft spots that compress when you press them. Plywood or OSB subflooring breaks down rapidly when wet, losing structural integrity even after drying.
Check floor joists beneath subfloor sections if you can access them from below through a basement or crawlspace. Joists showing rot, sagging, or water staining need repair before you install anything above them. Structural damage here means the floor system can’t support weight properly, and new hardwood boards won’t fix that.
Document everything you find with photos showing extent of hidden damage, subfloor conditions, and structural issues before you cover them up again. Insurance adjusters need this evidence to approve claims covering subfloor replacement and structural repairs. These findings also affect how long repairs take, what materials you need to order, and total project costs that might exceed initial estimates based only on surface damage inspection.
Complete Cleaning, Sanitization, and Mold Safety Protocols
Water contamination level determines what cleaning protocols keep your home safe during repairs. Category 1 damage comes from clean water sources like supply line breaks and requires standard cleaning. Category 2 gray water from appliances like washing machines or dishwashers contains contaminants including detergents, food particles, and bacteria requiring more thorough sanitization. Category 3 black water from sewage backups or river flooding contains dangerous pathogens requiring professional remediation with protective equipment and aggressive disinfection that homeowners shouldn’t attempt alone.
Remove all loose debris, dirt, and sediment from exposed wood and subfloor surfaces using a shop vacuum or broom. Pay attention to crevices where floorboards meet, joints in subfloor panels, and gaps along walls where contaminated water deposits particles that feed mold growth. Clean surfaces thoroughly before applying disinfectants so solutions contact wood directly instead of sitting on top of dirt layers.
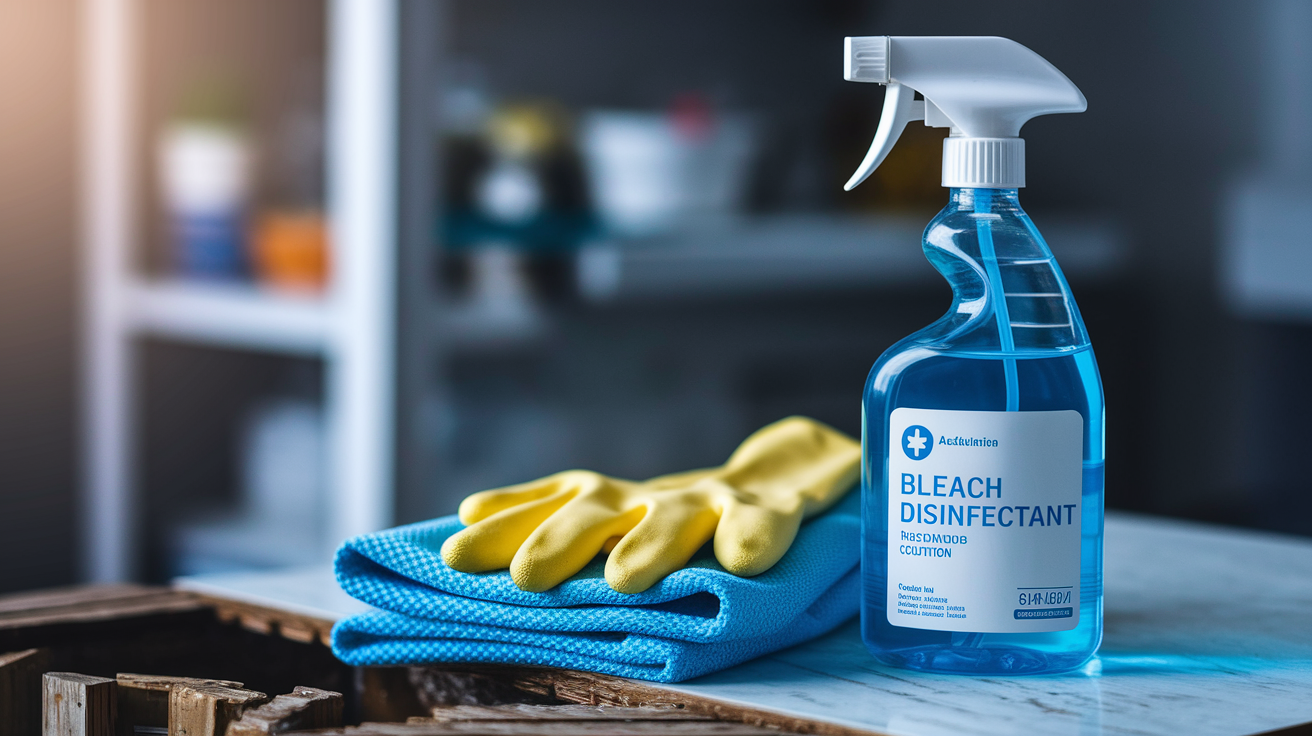
Mix disinfecting solution using one part household bleach to nine parts water in a spray bottle or bucket. Test this solution on a hidden section first, maybe inside a closet or under where furniture sits, because bleach can lighten some wood species. Spray or wipe solution onto all exposed wood and subfloor surfaces, letting it sit for 10 to 15 minutes to kill mold spores and bacteria. You don’t need to rinse after bleach treatment if you’re leaving the area open to dry, but wipe excess solution off if it’s pooling. Allow treated areas to dry completely before moving forward with repairs, running fans to speed drying.
Professional anti-microbial treatments become necessary when you’re dealing with Category 2 or 3 contamination, when visible mold growth has already started spreading, or in situations where household members are immunocompromised.
Address persistent musty odors with ventilation first, opening windows and running fans to exhaust damp air. Place activated charcoal bags in affected rooms to absorb odor molecules. Apply enzyme cleaners designed for organic odor elimination if smells continue after drying completes. Odors that won’t go away indicate hidden moisture pockets or active mold still growing somewhere you haven’t found yet.
Hardwood Floor Board Replacement Techniques
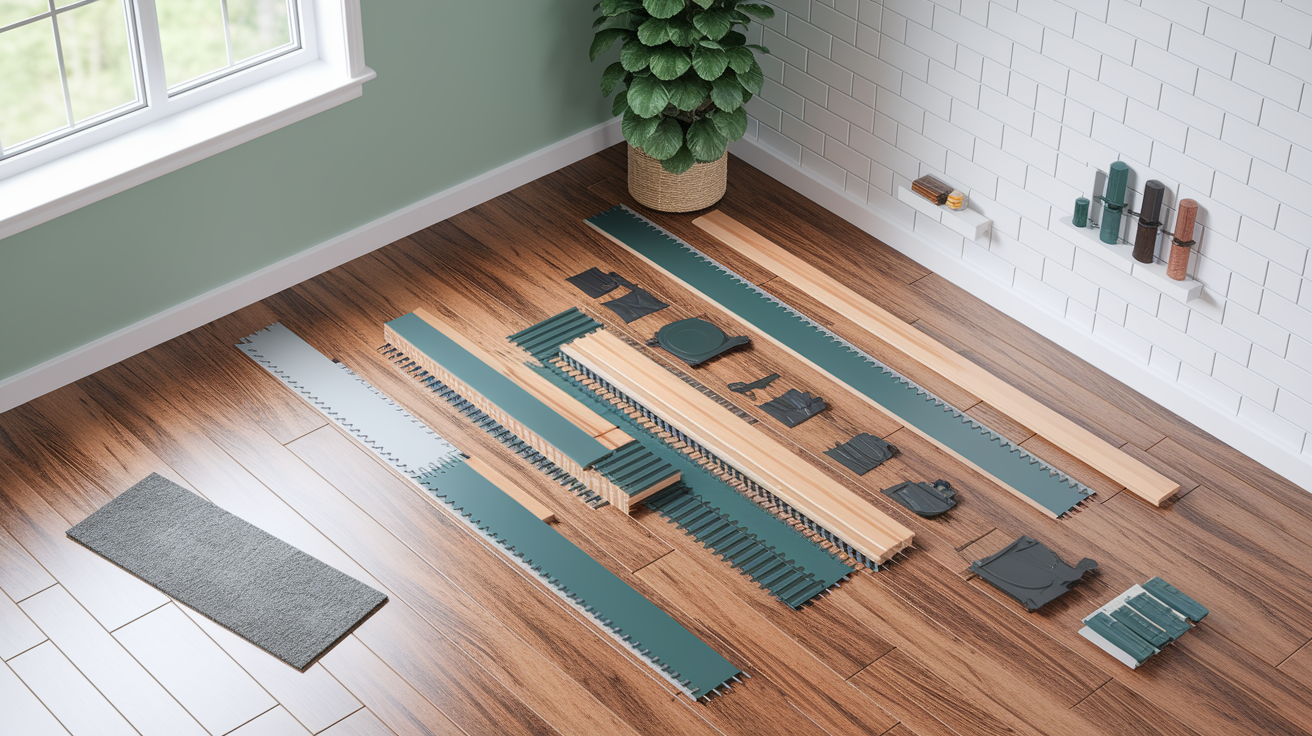
Replace boards when drying doesn’t flatten cupping, when buckling caused permanent distortion, or when water damage created splits and soft spots that won’t regain strength. Engineered hardwood poses different replacement challenges than solid wood floors because thin wear layers limit sanding options and floating installation methods need different repair approaches than nail down installations.
Finding boards that match existing flooring presents the hardest part of replacement. You need identical wood species, matching dimensions in width and thickness, and color and grain patterns that blend invisibly after installation. New boards look obviously new next to aged flooring that developed patina over years. Some manufacturers discontinue products, making exact matches impossible. Consider ordering extra boxes if your floor is newer and still in production.
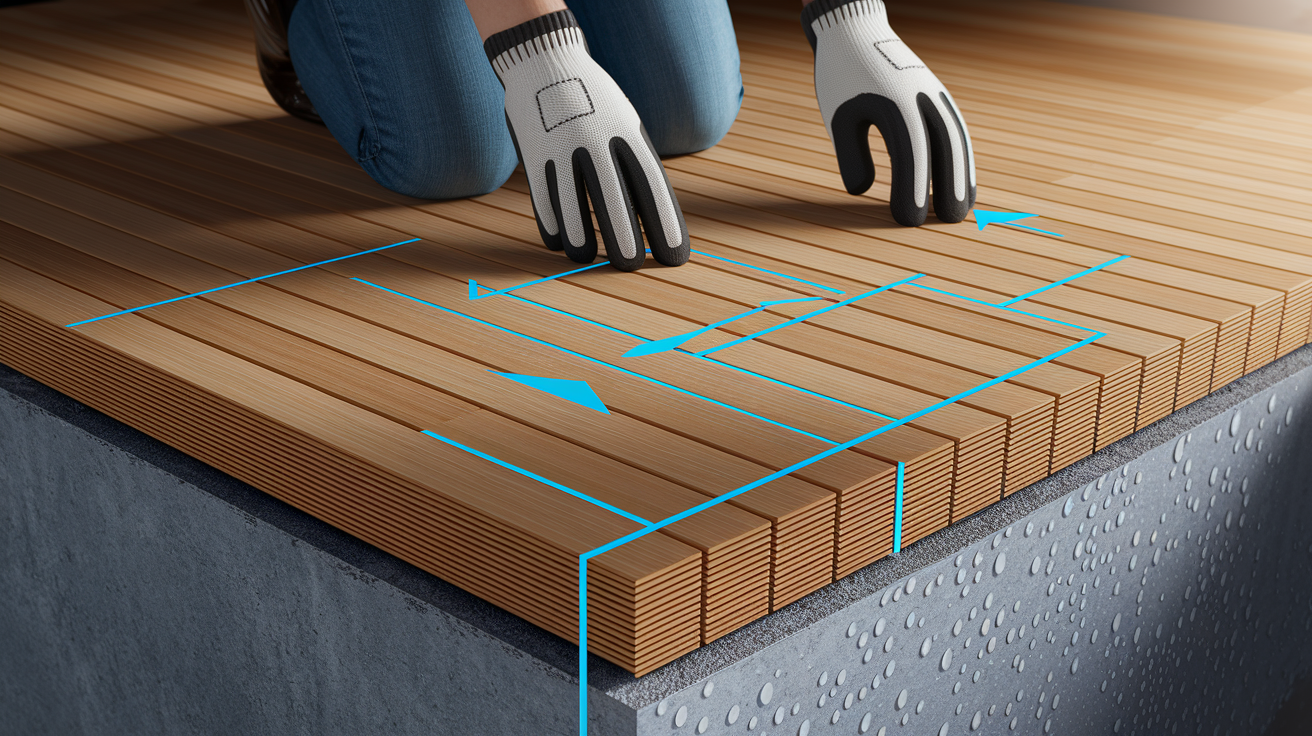
Remove damaged sections by cutting them out with a circular saw set to flooring thickness depth, stopping short of adjacent boards you’re keeping. For tongue and groove systems, use a chisel to split remaining pieces and extract them from interlocking joints without damaging neighboring board edges. Clean exposed subfloor, removing old adhesive, nails, or staples that prevent new boards from sitting flat.
| Adhesive Type | Best Application | Container Size |
|---|---|---|
| Junckers Parquet Adhesive | Professional grade installations requiring maximum bond strength and long term durability | 17kg containers |
| WFUK Floorbond | Cost effective repairs offering reliable bonding for standard hardwood installations | Various sizes |
| PVA Glue | Small repairs, loose planks, or tight spots where spreading larger adhesives is difficult | Standard bottles |
Install replacement boards by applying adhesive to subfloor or board backs depending on manufacturer specifications, fitting them snugly into place without gaps. Secure with flooring nails or staples at the tongue angle if using nail down methods. Make sure new boards sit level with surrounding floor height, sanding high spots if needed before finish coats.
Sanding and Refinishing Water Damaged Floors
Full floor sanding becomes necessary when water damage affected finish coats across large areas, when you’ve replaced multiple boards in visible locations, or when color matching requires blending new and old wood together. Spot refinishing works only when damage is isolated and you can feather edges to hide transition lines.
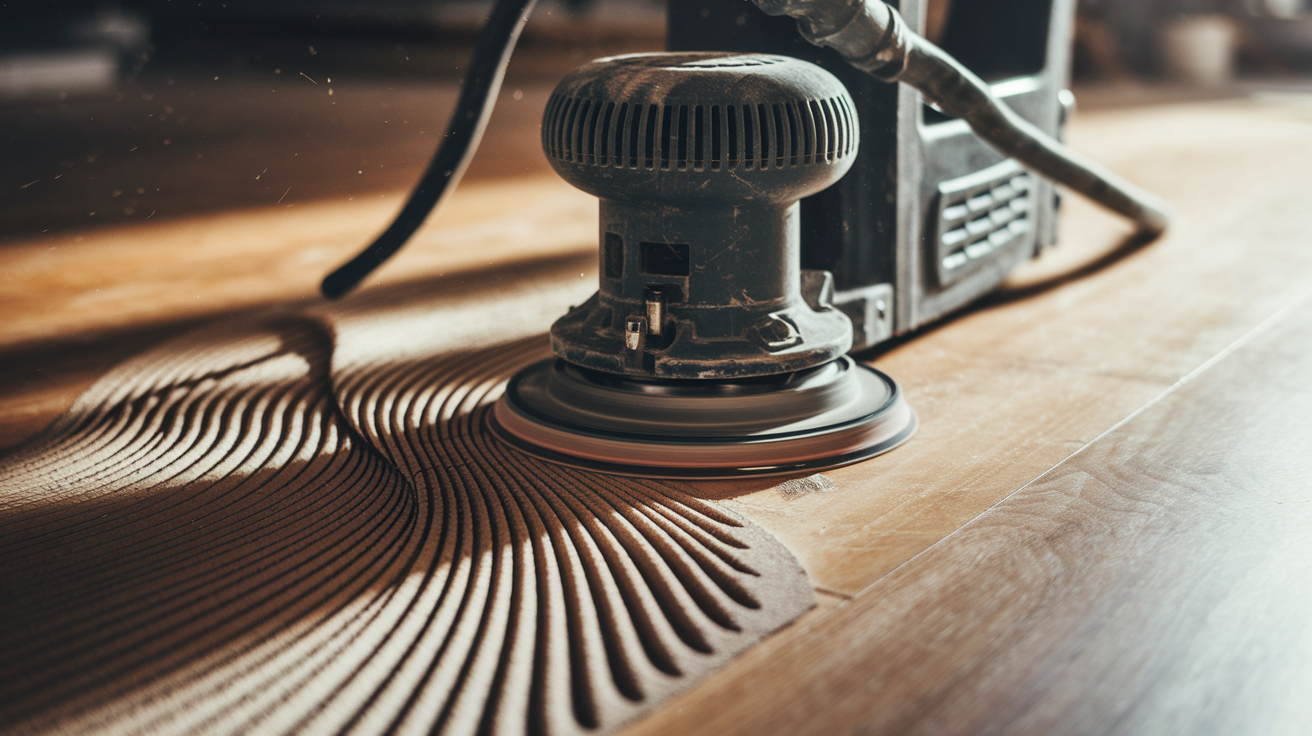
Start sanding with coarse grit paper, 36 or 60 grit, to remove damaged finish layers, water stains penetrating into wood, and surface irregularities from swelling. Move through medium grits like 80 or 100 to smooth scratches left by coarse paper, then fine grits around 120 or 150 for final smoothing before staining. When blending new boards with existing floors, focus sanding on replacement areas first, then feather outward to gradually transition into original flooring.
Vacuum thoroughly after each grit change and especially before staining. Dust particles trapped under finish coats create rough, gritty surfaces that feel wrong and look cloudy. Wipe floors with a tack cloth for final dust removal, making sure you’ve cleared every grain of sawdust from crevices.
Test stain colors on scrap pieces of your replacement boards or in closets where mistakes don’t show. Matching aged floor color precisely is difficult because wood darkens over years of light exposure and finish oxidation. You might need custom stain mixing or multiple coats to get close to original tones.
Apply protective polyurethane finish in 2 to 3 coats depending on product specs and desired durability. Water based polyurethane dries faster but oil based versions provide richer color depth and harder surface protection. Allow each coat to cure completely per manufacturer timing instructions, usually 4 to 6 hours between coats and 24 to 48 hours before allowing foot traffic. Proper sealing prevents moisture from getting into wood surfaces during future spills, protecting your restoration investment.
Professional Restoration Services vs DIY Repair Methods

DIY approaches work for minor water damage affecting small areas where you caught flooding quickly and limited it to surface level issues. Once damage extends beyond a single room, requires subfloor replacement, involves Category 2 or 3 water contamination, or includes mold growth penetrating into wood, professional help prevents mistakes that cost more to fix than hiring experts initially.
Professional restoration companies bring industrial dehumidifiers that extract moisture ten times faster than consumer models, thermal imaging cameras that detect hidden water in walls and subfloors, and moisture mapping technology that tracks drying progress scientifically. They document everything for insurance companies, understanding exactly what adjusters need to approve claims. Their supplier relationships give them access to discontinued flooring products and matching materials homeowners can’t locate. Experienced crews complete in days what takes homeowners weeks working evenings and weekends, reducing how long you can’t use affected rooms.
Situations requiring professional help include:
- Sewage contamination or Category 3 black water requiring hazmat protocols and specialized disinfection
- Structural damage to floor joists, support beams, or foundation elements needing engineering assessment
- Mold growth spreading beyond surface levels into wall cavities or subfloor materials
- Engineered hardwood repairs requiring precise thickness matching and specialized installation methods
- Insurance claim situations where documentation quality affects coverage and reimbursement amounts
When selecting contractors, verify certifications from the Institute of Inspection, Cleaning and Restoration Certification, ask for local references from recent flood damage projects, confirm their experience documenting claims and working directly with insurance adjusters, and check licensing requirements in your state for peace of mind during urgent repair situations when you don’t have much time for vetting. For water damage restoration professionals handling severe flooding or extensive hardwood damage, certifications and experience determine restoration success.
Insurance Claims and Damage Documentation Process
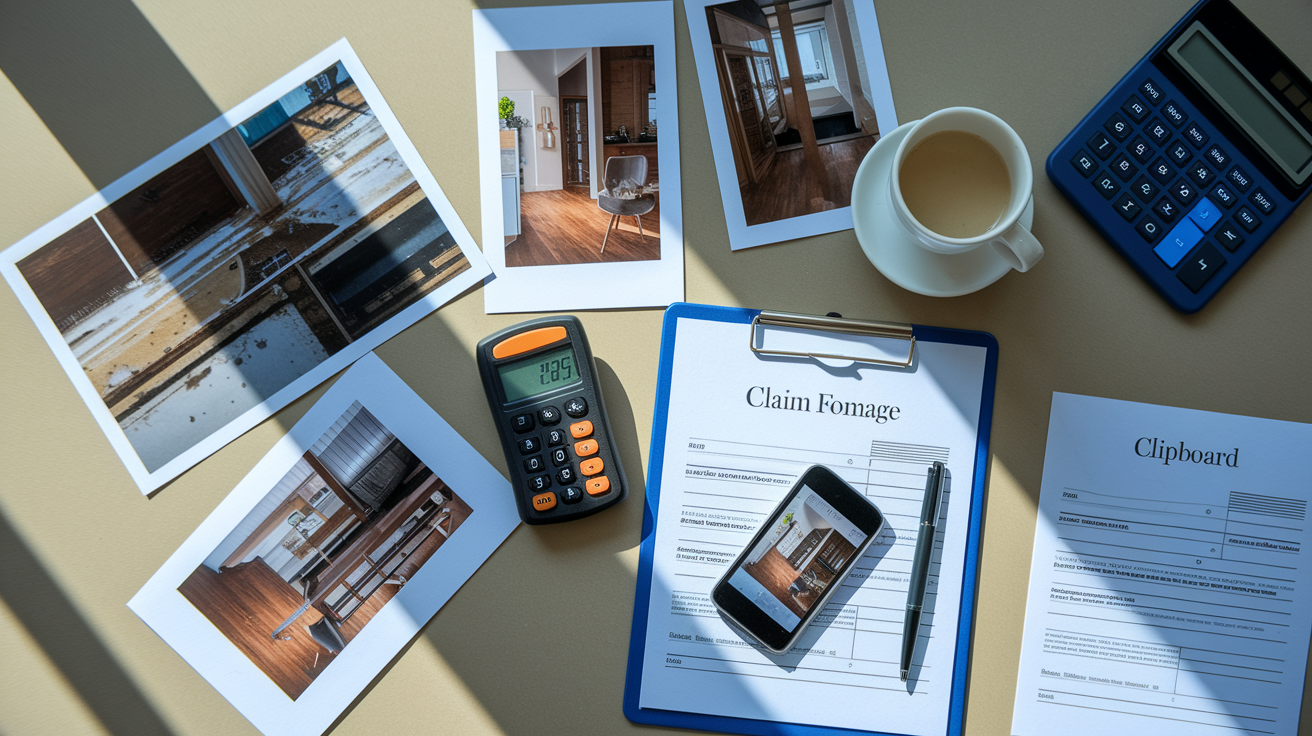
Start documenting immediately after discovering damage, before removing water or moving belongings. Photograph standing water showing depth and extent, damaged floor sections from multiple angles, affected furniture and belongings, and water source if you can identify it. These images prove damage timing and severity that adjusters need to approve claims.
Insurance companies require specific information including water source identification like burst pipe, appliance failure, or flooding, timeline showing when damage occurred and when you discovered it, square footage calculations measuring total affected areas, and detailed descriptions explaining what happened to floors, subfloors, walls, and contents. The more thorough your documentation, the faster claims process and the less likely disputes arise over coverage scope.
Water damage category classification matters significantly for insurance purposes. Clean water, Category 1, from supply lines typically receives full coverage under standard homeowner policies. Gray water, Category 2, from appliances may require additional remediation that increases claim amounts. Black water, Category 3, from sewage or flooding often needs separate flood insurance or specific policy endorsements, and coverage limitations differ dramatically from standard water damage claims.
Work with your insurance company by responding promptly to adjuster inspection requests, reviewing scope agreements carefully before signing to make sure all damage is included, keeping all documentation including receipts, moisture readings, photos, and contractor estimates, and filing supplemental claims when repairs reveal hidden damage like subfloor rot or structural issues not visible during initial assessment. Professional restoration companies assist with claim paperwork and insurance company communication that many homeowners find overwhelming when dealing with home damage stress at the same time. Document everything, communicate clearly, and don’t start permanent repairs until adjusters inspect and approve your scope of work.
Cost Breakdown and Project Timeline Expectations

Repair costs vary based on damage severity, wood species, square footage affected, and labor rates in your region. Exotic hardwoods cost significantly more than oak or maple. Structural subfloor work doubles or triples project budgets. Geographic location affects contractor availability and hourly rates.
| Repair Type | Cost Range Per Sq Ft | Timeline |
|---|---|---|
| Minor refinishing (surface finish damage only) | $3-8 | 3-5 days |
| Board replacement with refinishing (partial floor) | $8-15 | 5-10 days |
| Subfloor and floor replacement (extensive damage) | $15-25 | 10-20 days |
| Full restoration with structural repairs (severe flooding) | $25+ | 3-6 weeks |
Timeline variables include initial drying requirements that absolutely must complete before repairs begin. Rush this step and you guarantee failure. Material sourcing delays happen when matching discontinued products or special ordering wood species and finishes. Water contamination level extends sanitization time, especially Category 2 or 3 situations requiring multiple treatment applications and verification testing. Hidden damage discovered during demolition adds time for structural repairs, additional material orders, and permit inspections if required.
Refinishing costs 40 to 60 percent less than full replacement when floors are salvageable, but consider expected longevity after repair. Floors damaged repeatedly from basement moisture issues or plumbing problems might need replacement for long term reliability. Think about home value considerations. High end homes benefit from matching original hardwood character, while rental properties might choose cost effective replacement with engineered products. Replacement becomes more cost effective when damage is severe, boards are extensively buckled, or subfloor work already requires complete floor removal regardless.
Vapor Barriers and Long Term Moisture Protection
Vapor barriers prevent ground moisture from moving up through concrete slabs and crawl spaces, causing the hardwood damage cycles that repeat every few years when ignored. This plastic or foil sheeting installs between subfloor and hardwood, blocking moisture vapor before it reaches wood.
Test concrete subfloors for moisture before installing hardwood by taping plastic sheets to several locations and checking after 24 hours. Condensation on plastic undersides indicates moisture problems requiring vapor barriers or moisture mitigation products. Use hygrometers to measure relative humidity in installation areas, targeting 30 to 50 percent for optimal wood stability. Readings above 60 percent cause wood expansion and cupping even without flooding events.
Water resistant sealants and protective coatings applied to finished floors provide temporary protection during minor spills when you wipe them up promptly. These products won’t prevent flood damage from standing water but extend the grace period before moisture penetrates wood surfaces, giving you a few extra minutes to respond.
Whole house prevention addresses root causes instead of repeatedly repairing symptom damage. Grade soil away from foundations so water flows away from the house rather than pooling against basement walls. Maintain gutters and downspouts to control roof runoff effectively, extending downspouts at least 6 feet from foundations. Install appliance leak detection systems that shut off water supply automatically when sensors detect moisture. Schedule annual plumbing inspections to identify deteriorating pipes, failing water heater tanks, and supply line problems before they burst.
Maintenance Tips and Future Flood Protection Strategies
Daily spill cleanup prevents moisture penetration that leads to finish damage and board swelling. Wipe water immediately using towels, avoiding standing moisture that seeps into seams and edges. Monitor humidity weekly using hygrometers, adjusting dehumidifiers or ventilation to maintain 30 to 50 percent relative humidity. Inspect high risk areas monthly including under sinks, behind appliances, around water heaters, and near exterior doors where weather intrusion occurs.
Prevention strategies that protect your restoration investment include:
- Clean gutters twice yearly, spring and fall, to prevent overflow and foundation water intrusion
- Replace washing machine supply hoses every 5 years before deterioration causes burst failures
- Inspect water heaters annually for tank corrosion, sediment buildup, and pressure relief valve function
- Grade foundation perimeters to slope away from house, directing surface water away from basement walls
- Test sump pumps quarterly by pouring water into pit, verifying pump activation and discharge function
- Know emergency water shut off valve locations for quick response when leaks begin
Upgrade appliance supply lines from rubber to braided stainless steel that resists bursting. Install drain pans under water heaters and washing machines to contain leaks before they spread across floors. Add automatic shut off devices that close water supply valves when flow sensors detect unusual usage patterns indicating leaks. Install leak detection sensors in high risk locations that alert you via smartphone apps before minor leaks become flooding events requiring emergency water damage prevention measures.
Building codes establish minimum installation standards, but exceeding requirements provides long term durability and flood resistance. Specify 6 mil polyethylene vapor barriers instead of minimum 4 mil thickness. Choose marine grade plywood for subfloors in moisture prone areas instead of standard OSB that delaminates faster when wet. Follow manufacturer installation specifications exactly regarding acclimation time, fastener spacing, expansion gaps, and adhesive coverage rates that determine whether floors withstand minor water exposure or fail immediately.
Final Words
Flood damaged hardwood floor repair starts the moment you discover water and doesn’t end until you’ve protected against the next risk.
Speed matters in the first 48 hours. Thorough drying sets up everything that follows. Proper assessment tells you what’s salvageable and what needs replacement.
The difference between a floor that lasts and one that fails again comes down to subfloor integrity, complete sanitization, and moisture protection you can’t see.
Whether you tackle minor repairs yourself or bring in restoration professionals for severe damage, the goal stays the same: dry, safe, structurally sound floors that look finished and stay that way.
FAQ
Can hardwood floors be repaired after water damage?
Hardwood floors can be repaired after water damage if you act within 24-48 hours, completely dry the wood and subfloor, and the boards show only cupping or minor warping rather than severe buckling or rot.
How much does it cost to repair a water-damaged wood floor?
Water-damaged wood floor repair costs range from $3-8 per square foot for minor refinishing to $15-25 per square foot for subfloor and floor replacement, depending on damage severity and wood species.
Will insurance pay for water damage to a wood floor?
Insurance typically pays for water damage to wood floors caused by sudden events like pipe bursts or appliance leaks, but excludes gradual damage from neglected maintenance or flooding without separate flood insurance.
Can you reverse water damage on wood?
You can reverse minor water damage on wood through complete drying, sanding away surface discoloration, and refinishing, but severe structural damage like buckling, rot, or mold growth requires board replacement instead of reversal.
How long does it take to dry water-damaged hardwood floors?
Drying water-damaged hardwood floors takes 3-7 days minimum with dehumidifiers and fans running continuously until moisture meter readings reach 6-12 percent, the acceptable range before starting repairs.
What is the difference between cupping and buckling in hardwood floors?
Cupping in hardwood floors means board edges are higher than the center from moisture absorption, while buckling means boards lift completely from the subfloor, indicating more severe damage requiring replacement.
When should you replace hardwood flooring instead of repairing it?
You should replace hardwood flooring instead of repairing when boards show severe buckling, the subfloor has rot or structural damage, mold growth penetrates beyond surface level, or repair costs exceed 60% of replacement costs.
What type of water damage requires professional restoration services?
Water damage from sewage contamination, extensive square footage over 100 square feet, structural subfloor damage, visible mold growth, or insurance claims typically requires professional restoration services rather than DIY repair.
How do you match replacement hardwood boards to existing flooring?
Matching replacement hardwood boards to existing flooring requires finding the same wood species, grain pattern, and board dimensions, then staining to blend with the aged patina of surrounding boards.
What moisture level is safe for hardwood floor installation?
Safe moisture levels for hardwood floor installation range from 6-12 percent depending on climate and wood type, measured with a moisture meter on both new boards and existing subfloor before beginning work.
Should you use a vapor barrier under hardwood flooring?
You should use a vapor barrier under hardwood flooring installed over concrete slabs or crawl spaces to prevent ground moisture migration that causes repeated damage cycles and premature floor failure.
How often should you inspect hardwood floors for water damage?
You should inspect hardwood floors for water damage monthly around high-risk areas near appliances, plumbing fixtures, windows, and exterior doors, plus immediately after any water event or humidity increase.