
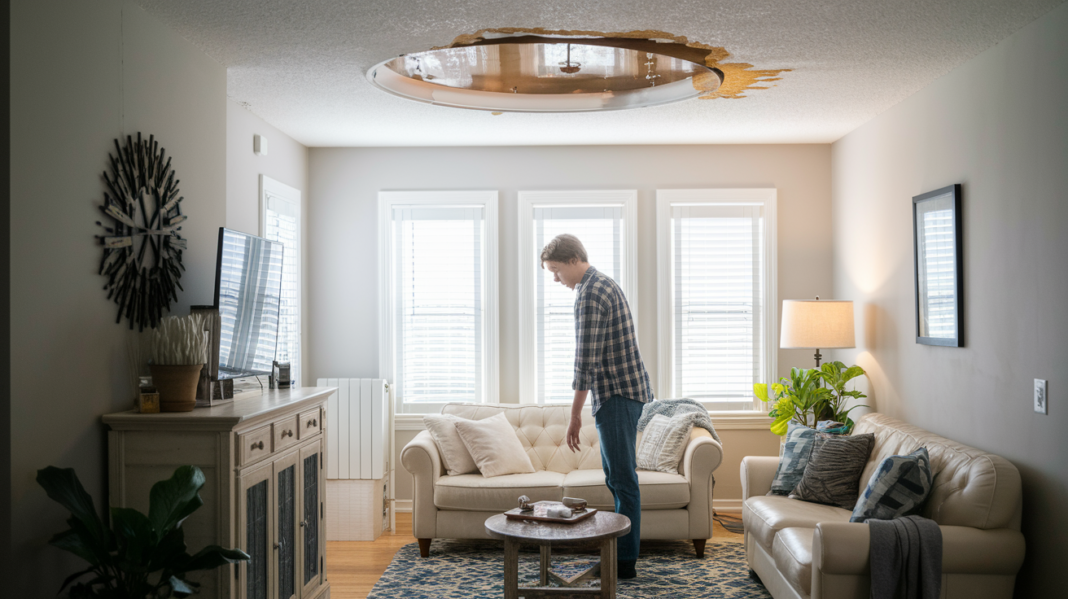

Think painting over a water stain will fix the problem?
It won’t. Cosmetic paint hides the mark, not the moisture that caused it.
First, stop the leak. Then dry the ceiling, clean the stain, prime with a stain blocking primer, and repaint so the stain doesn’t come back.
This guide walks you through each step, safety checks, the tools you need, and when to call a pro.
Fix it fast, prevent mold, and restore your ceiling the right way.
Step-by-Step Ceiling Stain Repair After a Water Leak

Before you touch primer or paint, confirm that the leak is fixed. If water’s still coming in, cosmetic repair will fail. Check the source. Inspect pipes, look at the roof deck from the attic, confirm drip pans are draining. Can’t find it or can’t reach it? Call someone who can.
Once the leak stops, the ceiling must dry completely. This isn’t optional. Wet drywall feels damp to the touch, and moisture meters will confirm it. Most ceilings need 24 to 48 hours of dry air to stabilize. If the stain’s large or the drywall stayed wet for days, you may need longer. You can speed this with fans or a dehumidifier, but don’t skip the wait.
After drying, wipe down the stained area with a damp rag and mild detergent or a bleach solution (1 part bleach to 10 parts water). This removes surface grime, dust, and any mildew starting to form. Rinse lightly with a spray bottle of clean water and a clean rag, then let it dry again.
Paint peeling or the drywall surface soft and bubbled? Scrape off the loose material with a putty knife. Fill any gouges or small holes with spackle or joint compound. Let it dry, then sand smooth. The goal is a stable, even surface before you prime.
Now follow these repair steps:
- Lay a drop cloth under the work area and set up your ladder on stable, dry flooring.
- Put on safety glasses and a dust mask if you’re sanding or scraping.
- Wipe the stain one more time to remove sanding dust or residue.
- Apply a coat of stain blocking primer with a brush or roller, covering the stain and extending a few inches beyond its edges.
- Let the primer dry for the time listed on the can, typically 1 to 2 hours for oil based products.
- Paint over the primed area with ceiling paint, blending into the surrounding finish. Apply a second coat if the repair’s still visible.
Stain blocking primers exist for one reason: they seal tannins, smoke residue, and mineral deposits so they don’t bleed back through your topcoat. Without primer, brown and yellow stains reappear as the paint dries. Use an oil based or shellac based stain blocker for the best seal. If the stain was minor and the ceiling dried fast, a quality latex stain blocking primer may be enough. Either way, don’t skip the primer.
Materials and Tools Needed for Repair

You don’t need a truck full of specialty equipment, but you do need the right primer and clean tools. Most repairs use items you already own or can pick up at a hardware store in one trip.
Primer type matters more than brand. Oil based and shellac based stain blockers lock in discoloration better than standard latex primers. Oil based products take longer to dry and require mineral spirits for cleanup, but they handle severe stains and nicotine bleed through. Shellac based primers dry faster and seal just as well, though the fumes are strong and you’ll need denatured alcohol for brushes. Latex stain blocking primers work for light water marks and are easier to clean up, but they don’t seal as aggressively.
Gather these materials and tools before you start:
- Drop cloth or plastic sheeting
- Putty knife or scraper
- Spackle or joint compound
- Sandpaper or sanding block (120 grit or finer)
- Cleaning rags and spray bottle
- Stain blocking primer (oil based, shellac based, or high quality latex)
- Ceiling paint (flat finish, latex)
- Paint roller with extension pole and appropriate nap (3/8 inch for smooth ceilings, 3/4 inch for textured)
- Paintbrush for edges
- Safety glasses, dust mask, and work gloves
- Painter’s tape (optional, for protecting trim)
Cost Overview for Ceiling Stain Repair

If you already own a ladder and basic painting tools, a small DIY ceiling stain repair typically costs between $20 and $100. That includes a quart of stain blocking primer, a gallon of ceiling paint, spackle, sandpaper, a roller cover, and cleaning supplies. Need to buy a roller frame, extension pole, drop cloth, and safety glasses? Add another $30 to $50.
Professional ceiling repairs for water stains generally run $150 to $500, depending on stain size, ceiling height, and whether drywall needs replacement. A single small stain on an 8 foot ceiling with no material damage sits at the lower end. A large stain on a vaulted ceiling, or one that required cutting out and replacing a drywall section, moves toward the upper range. If the ceiling sagged or mold spread behind the surface, expect higher pricing because more labor and materials are involved.
Cost also shifts with primer choice and finish quality. Oil based stain blockers cost more per quart than latex versions, but you use less because coverage is better. Ceiling specific paints with better hiding power reduce the need for multiple topcoats, saving time and material. Textured ceilings may require spray application or thicker nap rollers, which adds to supply cost but improves the final appearance.
Safety Considerations Before Repair

Water stains are often the visible part of a bigger moisture problem. Mold can start growing within 24 to 48 hours after drywall gets wet, especially in warm or humid conditions. Before you scrape, sand, or prime, look closely at the stained area. See dark spots, fuzzy patches, or smell a musty odor? You may have mold. Small surface mold can be wiped with a diluted bleach solution, but if it’s widespread or the drywall feels soft, stop and call someone trained in mold remediation.
Ladder safety is straightforward but critical. Set the ladder on dry, level ground. Don’t stand on the top two rungs. If the ceiling is vaulted or you’re working near a stairwell, rent or borrow a taller ladder or scaffolding rather than stretching. Falling while holding a paint roller or putty knife is how people end up in the emergency room.
Protect yourself during the work:
- Wear safety glasses when scraping or sanding overhead to keep debris out of your eyes.
- Use a dust mask or N95 respirator when sanding joint compound or working around possible mold.
- Put on work gloves when handling bleach solutions or oil based primers to avoid skin irritation.
- Ventilate the room with open windows and a fan, especially when using oil based or shellac based primers that release strong fumes.
Identifying and Preventing Recurring Ceiling Leaks

Stains come back when the source isn’t truly fixed. Roof leaks are common culprits. Missing or cracked shingles, failed flashing around chimneys or vents, and clogged gutters that push water under the roofline all send moisture into the attic. Water travels along rafters and insulation before it drips through the ceiling, so the stain may appear several feet away from the actual entry point.
Plumbing problems create stains too. A slow drip from a supply line, a leaking toilet wax ring, or a cracked drain pipe in the wall can saturate drywall for weeks before you notice. Bathroom and laundry areas are high risk zones. Check caulking around tubs and showers, inspect under sinks, and listen for dripping when fixtures are off.
HVAC systems cause straight line stains along duct runs when condensation forms on cold metal and drips onto the ceiling. Cracked drip pans under air handlers, clogged condensate drain lines, and poorly insulated ducts in hot attics are frequent issues. If the stain follows a duct path or appears near the air handler closet, start there.
Prevent future leaks by inspecting high risk areas twice a year, ideally in spring and fall. Clear gutters and downspouts so water flows away from the house. Check roof shingles and flashing after storms. Replace worn caulking in bathrooms before it fails. Flush HVAC drain lines annually and confirm drip pans aren’t rusted through. Improve attic ventilation if condensation’s forming on roof decking. Small maintenance steps catch problems before they become ceiling stains.
When to Call a Professional

If the ceiling’s sagging, soft to the touch, or bowing downward, do not attempt cosmetic repair. That means the drywall is saturated or the framing above is damaged. Walking under a sagging ceiling is risky, and patching the surface won’t fix the structural problem. A contractor needs to assess the framing, replace damaged drywall, and confirm the leak is fully resolved.
Call a professional when you can’t locate the leak source. Water sometimes travels long distances inside walls or along roof decking before it shows up as a stain. Thermal imaging, moisture meters, and experience help pinpoint hidden leaks that aren’t obvious from a visual inspection. Guessing and repainting won’t stop the cycle.
Widespread mold, black staining, or a strong musty smell signals contamination beyond surface cleaning. Mold remediation requires containment, HEPA filtration, safe removal of affected materials, and verification that spores aren’t spreading. Trying to sand or scrape moldy drywall without containment releases spores into the air throughout your home. If the affected area’s larger than a few square feet or mold has grown behind the drywall, hire a certified restoration company to handle it safely.
Final Words
Start by stopping the leak, then dry the ceiling fully and check for mold. Clean, scrape or patch damaged drywall, apply a stain-blocking primer, then repaint—measure moisture, don’t guess.
Gather the right supplies, mind ladder and mask safety, and weigh DIY cost versus hiring a pro for big or moldy jobs. Regular checks help keep this from coming back.
For straightforward ceiling stain repair from water leak, follow the steps and let drying and primer do the heavy lifting. You’ll be back to normal soon.
FAQ
Q: How to fix a water leak stain on a ceiling?
A: Fixing a water leak stain on a ceiling (and painting over discoloration) starts by confirming the leak is stopped, drying 24–48 hours, cleaning, patching, using a stain-blocking primer, then repainting.
Q: How much does it cost to fix water stains on a ceiling?
A: Fixing water stains on a ceiling costs about $20–$100 DIY for materials, or $150–$500 for a pro, depending on stain size, drywall damage, primer choice, and ceiling height.