

Think a little leak won’t wreck your bathroom? Think again.
Water soaks drywall, subfloor, and framing fast, and mold can start in 24 to 48 hours.
This post gives clear, step-by-step actions you need right now: stop the leak, make the area safe, document the damage, remove wet materials, dry with the right equipment, and rebuild with inspection-ready repairs.
No guesswork.
We explain how to confirm dryness with a moisture meter, prevent hidden mold, and work with your insurer so the repair is complete and permanent.
Immediate Actions After Discovering Bathroom Water Damage

Water spreads fast. A cracked supply line or leaking toilet flange can push hundreds of gallons through drywall, into subfloors, and down to joists in less than a day. Within 24 to 48 hours, that moisture creates conditions where mold starts colonizing and wood begins warping. The first hours determine whether you’re dealing with a controlled repair or a full gut.
Safety comes first. Standing water near outlets or light fixtures creates shock hazards, and weakened floors can fail under weight. Before you wade in, shut down power to the bathroom circuit at the breaker panel and stop the water source.
Here’s the sequence:
- Stop the water flow. Close the bathroom shutoff valve or the main water supply if the leak source isn’t clear.
- Shut off power. Flip the breaker for the bathroom to eliminate shock risk, especially if water’s near outlets or fixtures.
- Document everything. Take photos and videos with timestamps showing water location, depth, and affected surfaces before you move anything.
- Remove standing water. Use a wet vac, mop, or towels. Every gallon you extract now is moisture that won’t soak deeper.
- Increase ventilation. Open windows, run exhaust fans (if safe), and set up box fans to push humid air out.
- Call your insurance company. Report the claim immediately so an adjuster can schedule a visit and you can start the documentation trail.
Assessing the Extent of Damage

What you see on the floor or wall is rarely the full story. Water migrates through grout lines, under baseboards, into wall cavities, and between subfloor layers. A wet spot on the ceiling below the bathroom means the floor structure is soaked. Bubbling paint or soft drywall two feet from the visible stain means saturation spread farther than it looks.
Use your hands and your eyes. Press on drywall near the damage. If it feels spongy or your finger dents the surface, the gypsum core is compromised. Step on the floor near the toilet or tub. If it feels soft or flexes more than usual, the subfloor has absorbed water and may be delaminating. Pull up a corner of vinyl or check under the edge of the vanity to see if the underlayment is swollen or dark.
Look for these signs of deeper structural issues:
- Drywall that crumbles when you press it or has visible mold spots beyond the wet zone
- Subfloor that feels spongy, shows dark staining, or has a musty smell when you lift flooring
- Baseboards or trim that have pulled away from the wall or show waterlines above the floor level
- Ceiling stains, sagging, or cracking in the room below the bathroom
- Grout that has loosened, tiles that rock when stepped on, or caulk that has separated and allowed water behind the tub surround
A moisture meter takes the guesswork out. Readings above 15 to 20 percent in wood framing or subfloor mean those materials need to come out or be dried aggressively before you close anything back up.
Safe Removal of Damaged Materials

Once you know what’s wet, you have to pull it out. Leaving damp drywall or soggy insulation in place just delays mold growth. It doesn’t stop it. The goal is to expose structural framing and subfloor so air can reach every surface and drying equipment can do its job.
Start with the finishes. Cut drywall at least 12 inches above any visible stain or moisture line. Water wicks upward inside the paper facing even when the surface looks dry. If the baseboard is wet or warped, pull it off so you can check the bottom plate of the wall and the edge of the subfloor. Peel up vinyl, tile, or laminate flooring in the affected area. If the flooring is glued down and the subfloor underneath is compromised, you’ll often take both up together to avoid breaking through weakened plywood.
Pull any insulation that got wet. Fiberglass and cellulose insulation lose R-value and hold moisture against framing, which accelerates rot. Bag it and get it out of the house.
The demolition sequence usually goes like this:
- Remove baseboards, trim, and transition strips to expose wall bases and floor edges.
- Cut and pull damaged drywall, extending cuts into dry zones to confirm the moisture boundary.
- Pull out wet insulation from walls and floors (if accessible from below or through openings).
- Lift flooring and underlayment. If the subfloor is swollen or soft, cut out damaged sections and expose the joists underneath.
Contain the dust. Seal doorways with plastic sheeting and tape, and run a box fan in a window to create negative pressure so dust and airborne spores don’t spread to the rest of the house.
Drying and Dehumidification Requirements
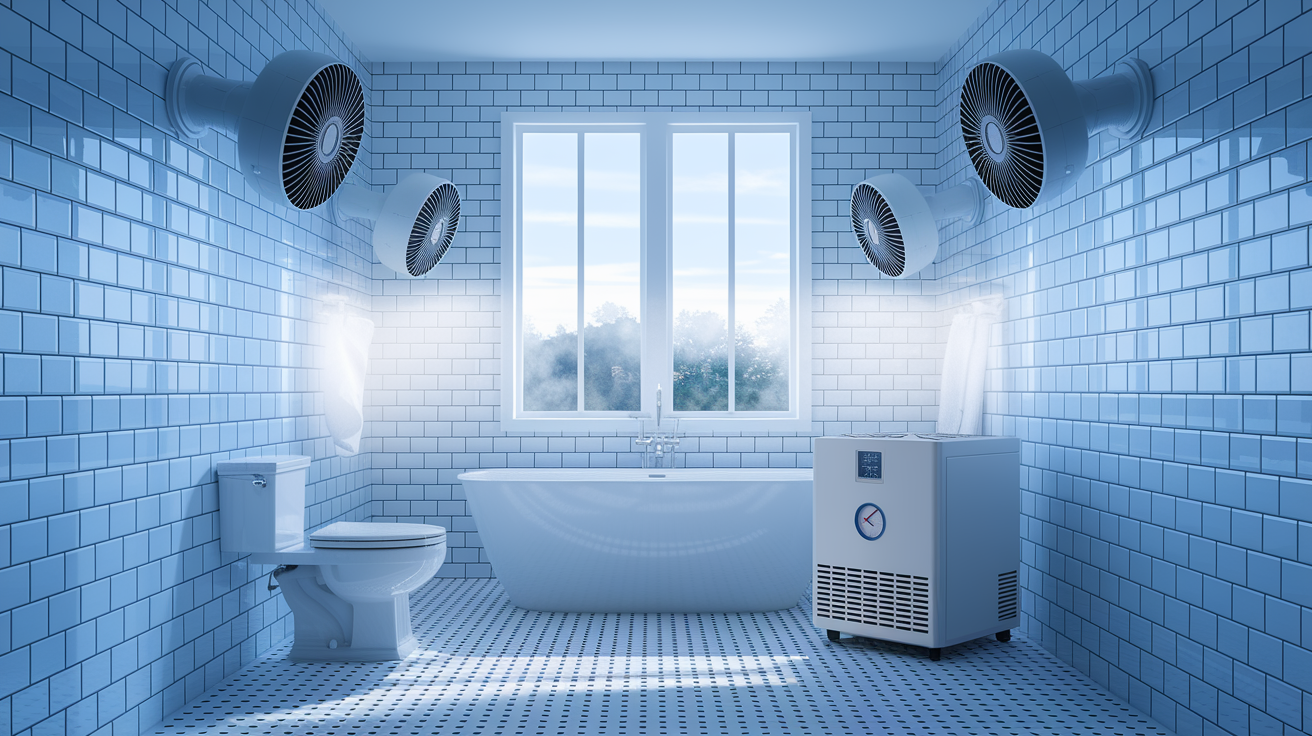
Drying is not passive. Leaving a bathroom open with a household fan running will take weeks and often won’t reach the moisture levels you need before framing starts to rot or mold takes hold. You need forced air movement across all wet surfaces and a way to pull moisture out of the air continuously.
Set up axial air movers. Two to four units depending on room size, aimed at walls, subfloor, and any exposed framing. These fans push large volumes of air across damp materials, which pulls moisture to the surface where it evaporates into the room air. At the same time, run a commercial dehumidifier rated for at least 30 to 50 pints per day. The dehumidifier captures that moisture from the air and keeps relative humidity below 50 percent so evaporation can continue.
Leave the equipment running 24 hours a day. Most bathrooms dry in three to seven days if the demo was thorough and the equipment is sized correctly. Check progress daily with a moisture meter. Wood framing should drop below 12 to 15 percent moisture content, and concrete or masonry surfaces should read dry to the touch and show no cool spots when you press your hand against them.
Don’t rush it. Closing up walls or laying new flooring over materials that still read wet just traps that moisture inside, where it will cause the exact problems you’re trying to avoid. If readings aren’t dropping after 48 hours, you may have missed a wet zone or need more airflow in a concealed cavity.
Preventing and Treating Mold Growth
Mold needs moisture, organic material, and time. In a wet bathroom, it has all three. Drywall, wood framing, and insulation are food sources, and if those materials stay damp for more than 24 to 48 hours, spores that are already present in every home will start to colonize.
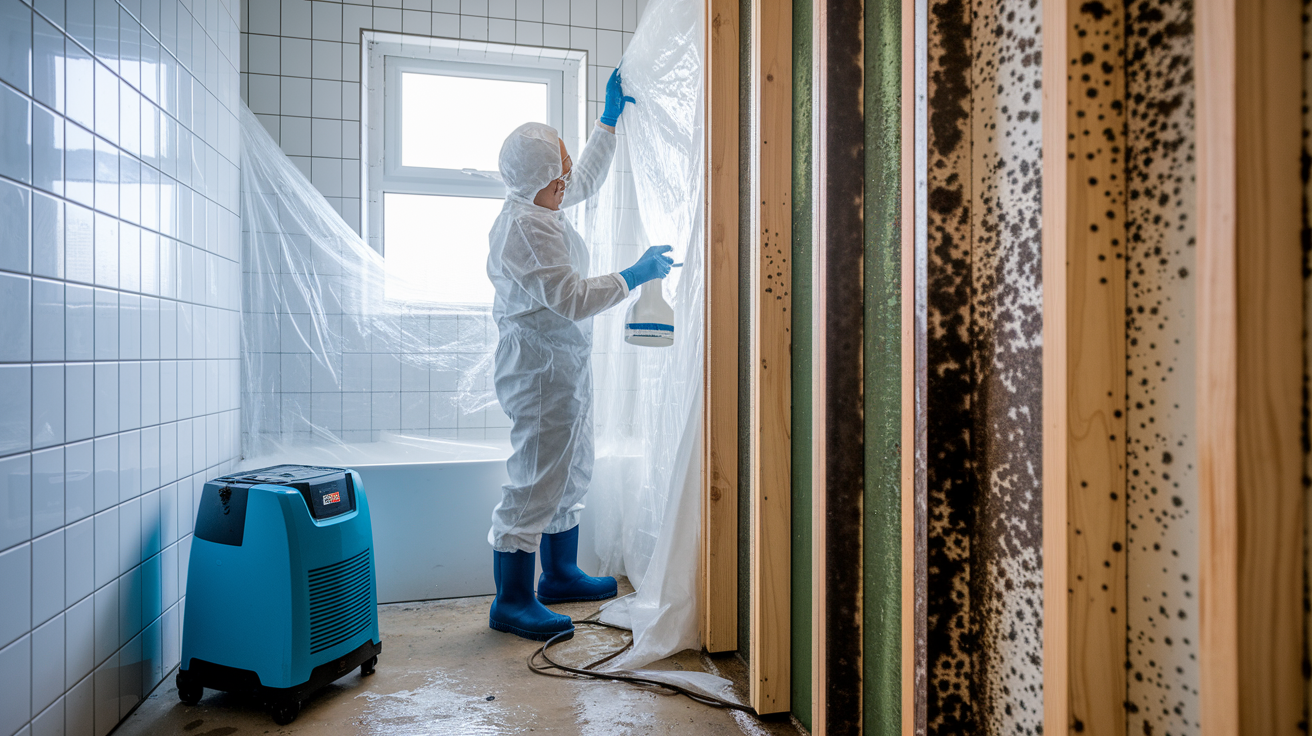
If you see mold growth (black, green, or white patches on framing, drywall, or subfloor), don’t just wipe it off. Surface cleaning leaves roots in porous materials, and growth resumes as soon as conditions allow. Pull out and bag any material with visible mold. Studs and joists that show surface mold but are structurally sound can be scrubbed with a HEPA vacuum and treated with an antimicrobial cleaner, but if the growth is deep or widespread, those members may need replacing.
Run a HEPA air scrubber during demo and drying if mold is present. The scrubber filters airborne spores and reduces cross-contamination to other rooms. Keep the bathroom sealed with plastic sheeting and negative air pressure so spores don’t migrate through doorways or HVAC returns.
Prevention is straightforward. Get the space dry within 48 hours, remove all porous materials that got soaked, and confirm with a moisture meter that framing and subfloor are below 15 percent before you rebuild. If you’re uncertain about the extent of mold or if anyone in the house has respiratory sensitivities, bring in a mold inspector to take samples and give you a clear scope before you start cutting.
Planning the Bathroom Rebuild

Before you buy a single sheet of drywall or schedule a plumber, confirm the space is bone dry and the systems that caused the damage are fixed. Running new tile over a subfloor that still reads 18 percent moisture or closing walls before you’ve verified the leaking valve is replaced just sets up a second round of the same problem.
Walk the framing with a moisture meter one more time. Check studs, joists, and subfloor in multiple spots, especially in corners and near old leak points. If readings are good, inspect the plumbing. Look for corrosion on supply lines, cracks in drain fittings, and any flex or movement in connections when you wiggle pipes. If the original failure was a slow leak behind the wall, you may find other weak points that need attention now while everything is open.
Rebuild plans should include any code-required upgrades. If your bathroom was built decades ago, current code may require GFCI outlets, an exhaust fan vented to the exterior, and waterproof backer board in wet zones. Permitting requirements vary, but structural repairs, plumbing changes, and electrical work typically need permits and inspections. Your contractor should handle that, or if you’re doing the work yourself, check with your local building department before you start closing walls.
Rebuilding Structural Components
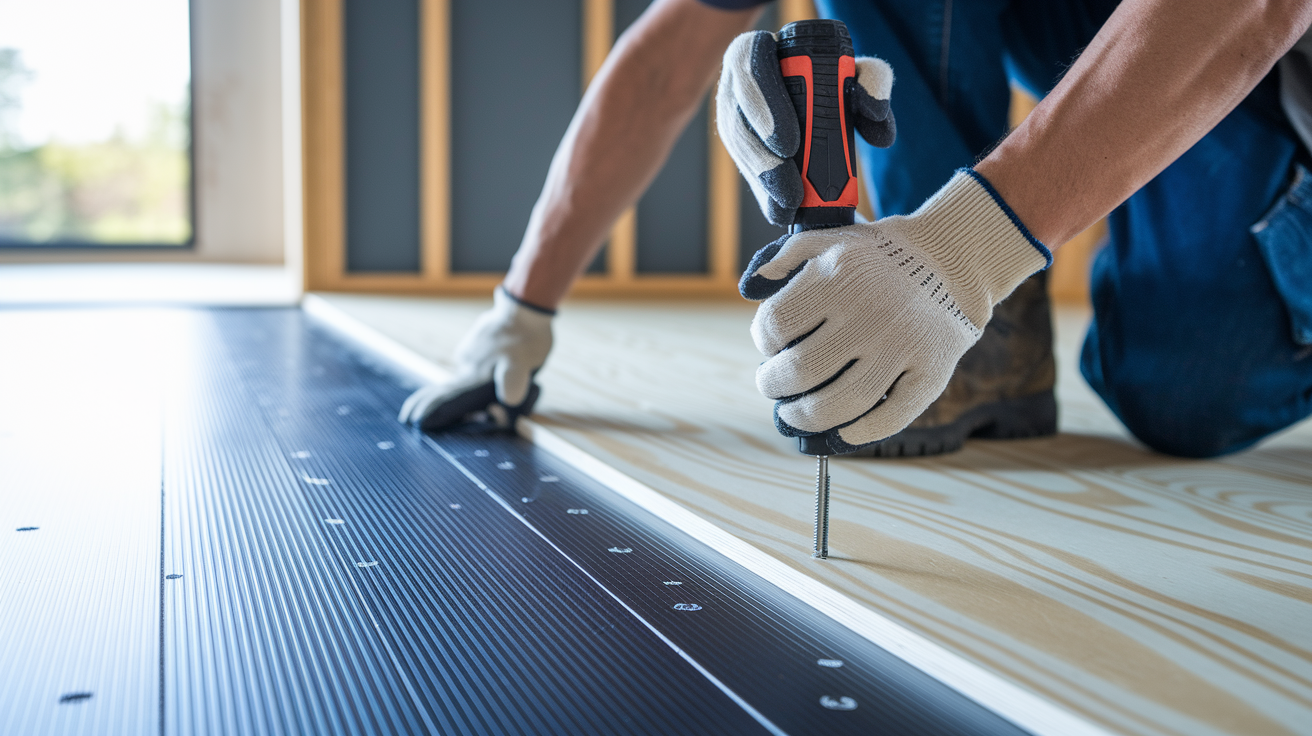
The subfloor goes in first. Use 3/4 inch tongue and groove exterior grade plywood or oriented strand board (where allowed by local code). Fasten it to joists with screws every 6 inches along edges and every 8 inches in the field. If you’re replacing only a section, make sure your cuts land on joist centers so you have solid bearing and the seam doesn’t telegraph through the finish floor.
Walls in wet zones (around tubs, showers, and behind sinks) get cement backer board, not drywall. Backer board won’t dissolve or support mold growth if it gets wet again. Standard thickness is 1/2 inch for walls. Fasten it to studs with backer board screws every 8 inches and leave a 1/8 inch gap at all panel edges and a 1/4 inch gap where panels meet the tub or shower base. Those gaps get filled with thin set, not caulk.
In areas outside the direct splash zone, you can use mold resistant drywall (often called green board or purple board). It’s not waterproof, but it resists moisture better than standard paper faced drywall and costs only slightly more.
Key structural materials and their roles:
- 3/4 inch plywood subfloor provides a stable, flat base for tile, vinyl, or other finish flooring. Must be fully dry before installation.
- 1/2 inch cement backer board required behind tile in showers and tub surrounds. Will not degrade when exposed to water.
- Waterproof membrane (liquid or sheet) applied over backer board seams and screw heads before tile. Creates a continuous barrier against water penetration.
- Mold resistant drywall used on walls and ceilings outside wet zones. Paper facing is treated to resist mold growth during occasional moisture exposure.
Restoring Plumbing, Electrical, and Ventilation Systems

With walls open, this is the time to replace any plumbing that looks marginal. Corroded galvanized pipes, old gate valves that won’t close fully, and plastic drain fittings with hairline cracks should all be swapped out. If the original leak was at a shutoff valve or a supply line, replace both. Run a pressure test on the supply system and a fill test on drains before you close anything up.
Electrical circuits exposed to water need a full inspection. Look for corrosion on wire connections, discolored insulation, or any sign of arcing. Bathrooms require GFCI protection on all receptacles and any circuits near water sources. If your existing outlets aren’t GFCI, upgrade them now. Test GFCI function with the test button after installation. If it doesn’t trip immediately, replace the device.
Ventilation prevents the next moisture problem. Install or upgrade the exhaust fan to move at least 50 CFM for bathrooms under 100 square feet, or follow the manufacturer’s spec for larger spaces. The fan must vent to the exterior through rigid or flex duct, not into the attic or a soffit. Seal all duct joints with foil tape (not cloth duct tape) and insulate the duct run if it passes through unconditioned space to prevent condensation inside the duct.
Installing New Finishes and Fixtures

Once rough in inspections are complete and walls are closed, you can start finish work. Tile installation begins with a waterproof membrane over the backer board. Liquid membranes go on with a roller or trowel and cure in 24 to 48 hours. Sheet membranes are adhered with thin set and provide immediate coverage. Either system works. Just follow the manufacturer’s instructions on coverage and overlap.
Set tile in thin set mortar, keeping grout joints consistent. After the mortar cures (typically 24 hours), grout the joints and let that cure for another 24 to 48 hours before sealing. Seal grout in wet areas to reduce water absorption, and caulk (don’t grout) any joint where tile meets a tub, shower pan, or change of plane.
Flooring options after water damage often shift toward waterproof or water resistant products:
- Ceramic or porcelain tile is fully waterproof when installed over proper substrate and waterproof membrane. Grout joints should be sealed.
- Luxury vinyl plank with waterproof core is popular after water events. No grout, easy to clean, and handles occasional standing water without damage.
- Sheet vinyl is budget friendly and water resistant. Seams are the weak point, so fewer seams are better.
- Natural stone tile is durable and water resistant, but requires sealing and more maintenance than porcelain.
- Engineered wood or laminate generally not recommended in full bathrooms due to moisture sensitivity, even with water resistant coatings.
Install the vanity, toilet, and fixtures last. Set the toilet on a new wax ring or modern foam gasket, and torque the bolts evenly to avoid cracking the base. Connect supply lines with braided stainless flex hoses, and check for leaks under pressure before you walk away.
Costs, Timelines, and Insurance Considerations

A bathroom rebuild after water damage typically costs between $8,000 and $25,000, depending on the size of the room, the extent of structural repairs, and the quality of finishes you choose. If joists or subfloor need replacing, or if mold remediation is required, expect costs toward the higher end. A simple drywall patch, new flooring, and fixture reset might land closer to $3,000 to $6,000.
Timelines run two to six weeks for most projects. The first week is mitigation and drying. Week two covers demo, rough in, and inspections. Weeks three through five handle drywall, tile, and finish work. Delays happen when parts are back ordered, permits take longer than expected, or hidden damage appears once walls are open.
Insurance coverage depends on the cause. Sudden failures (burst pipes, supply line breaks, overflows) are usually covered under standard homeowner policies. Slow leaks from deferred maintenance, worn out wax rings, or neglected caulking are often excluded. File your claim as soon as you discover damage, and keep every receipt, photo, and contractor estimate. Adjusters may take days to weeks to schedule a visit, and claim payouts can be delayed further if the event affected a large area.
| Cost Category | Typical Price Range | Notes |
|---|---|---|
| Emergency water extraction and drying | $300–$2,500 | Depends on volume of water and equipment run time (3–7 days typical) |
| Mold remediation (limited area) | $500–$3,000 | Small patches on framing; extensive remediation can exceed $5,000 |
| Demolition, subfloor replacement, and rough in repairs | $2,000–$8,000 | Includes labor, materials, and waste removal; structural work adds cost |
| Finish work (drywall, tile, fixtures, painting) | $5,000–$15,000 | Mid range materials; luxury finishes or layout changes increase total |
Final Words
Shut off the water and power, then take photos and moisture readings so you have a clear record. Do this first to stop more damage.
This post walked you through quick steps, how to check behind surfaces, safe removal, drying and mold control, and then planning the rebuild—plumbing, electrical, and finishes—plus what insurers expect.
We’ll get the house stable and then rebuild right. A careful bathroom rebuild after water damage brings your space back safe, dry, and ready to use.
FAQ
Q: How much does it cost to remodel a bathroom with water damage?
A: The cost to remodel a bathroom with water damage typically ranges $6,000-$25,000 depending on severity, hidden repairs, and plumbing or subfloor replacement; insurance may cover sudden events if well documented with photos and moisture readings.
Q: How to tell if water damage is permanent?
A: To tell if water damage is permanent, look for crumbling drywall, swollen subfloors, persistent musty odors or visible mold, and confirm with moisture meter readings or a professional inspection before planning repairs.
Q: Can you renovate a bathroom for $10,000 or $5,000?
A: Renovating a bathroom for $5,000 or $10,000 is possible; $5,000 usually covers basic cosmetic updates, while $10,000 can fund a modest rebuild if no major hidden water or structural repairs are required.