
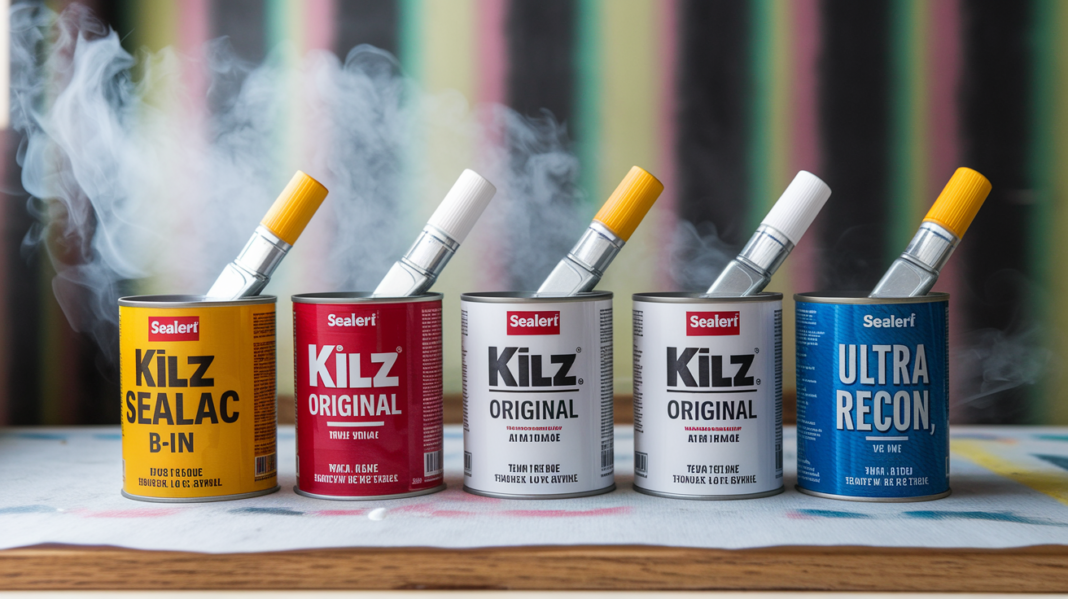

Think a fresh coat of paint will hide smoke smell?
It won’t.
Smoke soaks into drywall, trim, and ceilings and keeps smelling no matter how many topcoats you slap on.
You need a primer that locks in both stains and odor.
For heavy cigarette or fire smoke, shellac primers like Zinsser B I N are the go-to.
Oil and specialty water-based primers have their place when fumes or sensitivity matter.
This post cuts through the options and tells you which sealer actually works and how to use it.
Top Odor Blocking Sealers That Truly Work on Smoke Smell in a House
When smoke embeds itself into walls, ceilings, and trim, it doesn’t just stain the surface. It soaks into the material and holds the smell. Most paint can’t hide it. You need a primer that locks in both the yellowing and the odor before you repaint.
Shellac based primers like Zinsser B I N are considered the strongest option for sealing cigarette smoke and fire damage. They dry fast, seal heavy nicotine stains, and block odor more reliably than other formulas. Oil based primers such as Zinsser Cover Stain can hide discoloration, but they produce strong fumes and don’t trap odors as well as shellac. They still work for moderate staining, especially if ventilation and a respirator are available. Specialty water based primers like Ultra Recon Smoke and Odor Sealer are newer products designed to block smoke odor without the harsh solvent smell of shellac or oil. Most standard water based primers fail on cigarette smoke. These are the exceptions.
For most situations involving heavy nicotine buildup or fire smoke, shellac is the go to. Oil based primers are a fallback when shellac isn’t available or the damage is lighter. Water based options work best when low VOCs matter and the odor isn’t extreme.
Here are the top products for sealing smoke smell in a house:
Zinsser B I N Shellac Primer – Best overall for cigarette and fire smoke. Blocks odor and stains. Dries in 20 to 45 minutes.
KILZ Original Primer – Trusted by pros for over 40 years. Seals smoke, pet, and food odors. Works on interior walls and trim.
Zinsser Cover Stain (oil based) – Effective at locking in discoloration. Heavier fumes. Better for stains than odor.
Ultra Recon Smoke and Odor Sealer (water based) – Low odor alternative for nicotine and smoke. Newer niche product with less ventilation demand.
Magnolia Home Interior Paint – Not a sealer, but pairs well with KILZ or B I N as a low VOC finish coat after priming.
Comparing Smoke Odor Sealers: Shellac vs. Oil Based vs. Water Based
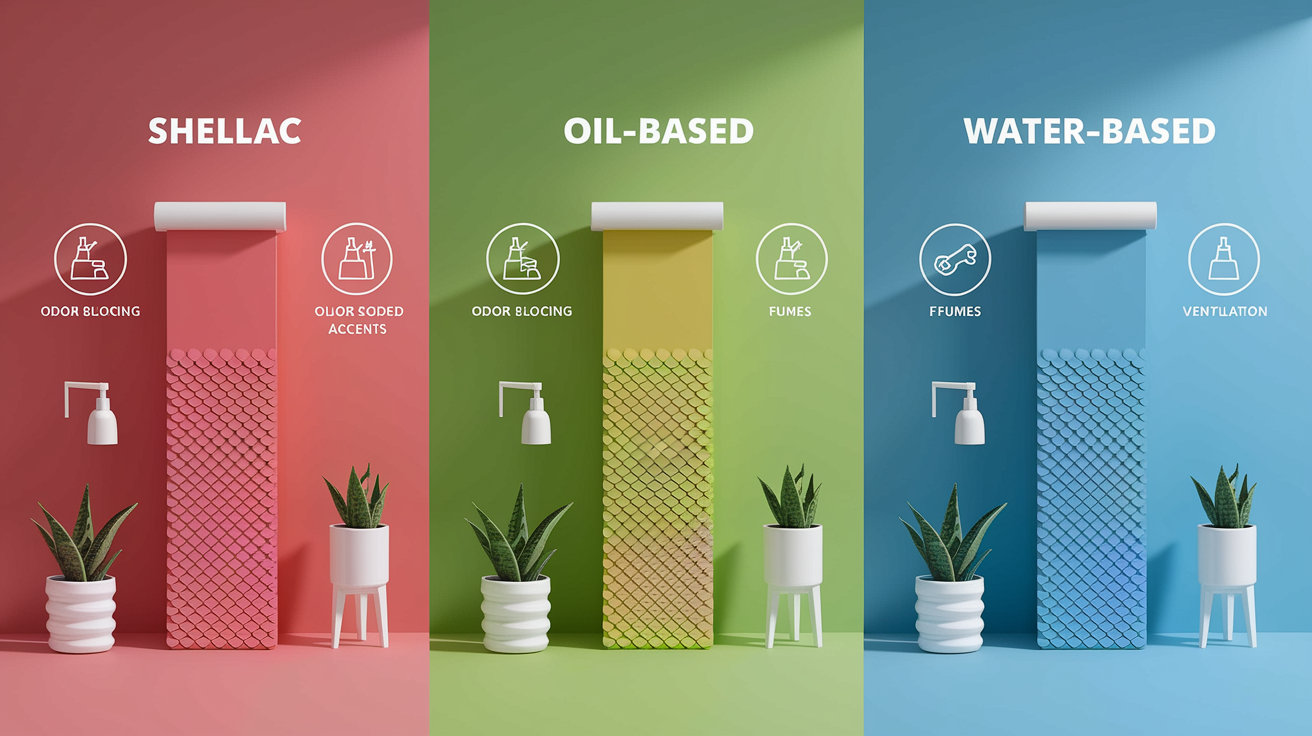
Shellac primers like B I N work by forming a hard, resin based barrier that traps both stains and odors inside the surface. They dry fast, usually within 20 to 45 minutes, and you can recoat quickly. The downside is strong solvent fumes. You’ll need a respirator and open windows. But for heavy nicotine buildup or fire smoke, shellac outperforms everything else. It’s the formula restoration pros reach for when smoke odor is embedded deep.
Oil based primers can seal nicotine stains and prevent yellowing from bleeding through your topcoat, but they don’t block odor as well. The fumes are heavy, cleanup requires solvents like mineral spirits, and drying takes longer. They work for moderate smoke damage. If the smell is bad, oil based alone may not be enough. Water based primers are easier to work with. Lower fumes, soap and water cleanup, faster ventilation. But most standard latex primers let smoke odor bleed through. The only exceptions are newer specialty products like Ultra Recon, which are formulated specifically to encapsulate smoke and nicotine. If you’re working in a space where ventilation is limited or occupants are sensitive, a water based smoke sealer is worth testing.
| Sealer Type | Best Use Case |
|---|---|
| Shellac (e.g., Zinsser B I N) | Heavy cigarette smoke, fire damage, deep nicotine stains and embedded odor |
| Oil Based (e.g., Zinsser Cover Stain) | Moderate staining where odor is less severe; requires strong ventilation |
| Water Based (e.g., Ultra Recon) | Lower VOC environments with lighter smoke exposure; occupants sensitive to fumes |
| Standard Latex | Not recommended for smoke odor; use only for non stained surfaces |
Heavy nicotine may require two coats of any sealer, especially if tar buildup is visible. Shellac goes on thin, so real coverage is closer to 400 square feet per gallon, not the 500 listed on some cans. Oil based primers cover well but take hours to dry between coats. Water based specialty sealers may need more material to achieve the same blocking power as shellac.
Preparing Interior Surfaces Before Applying a Smoke Odor Sealer
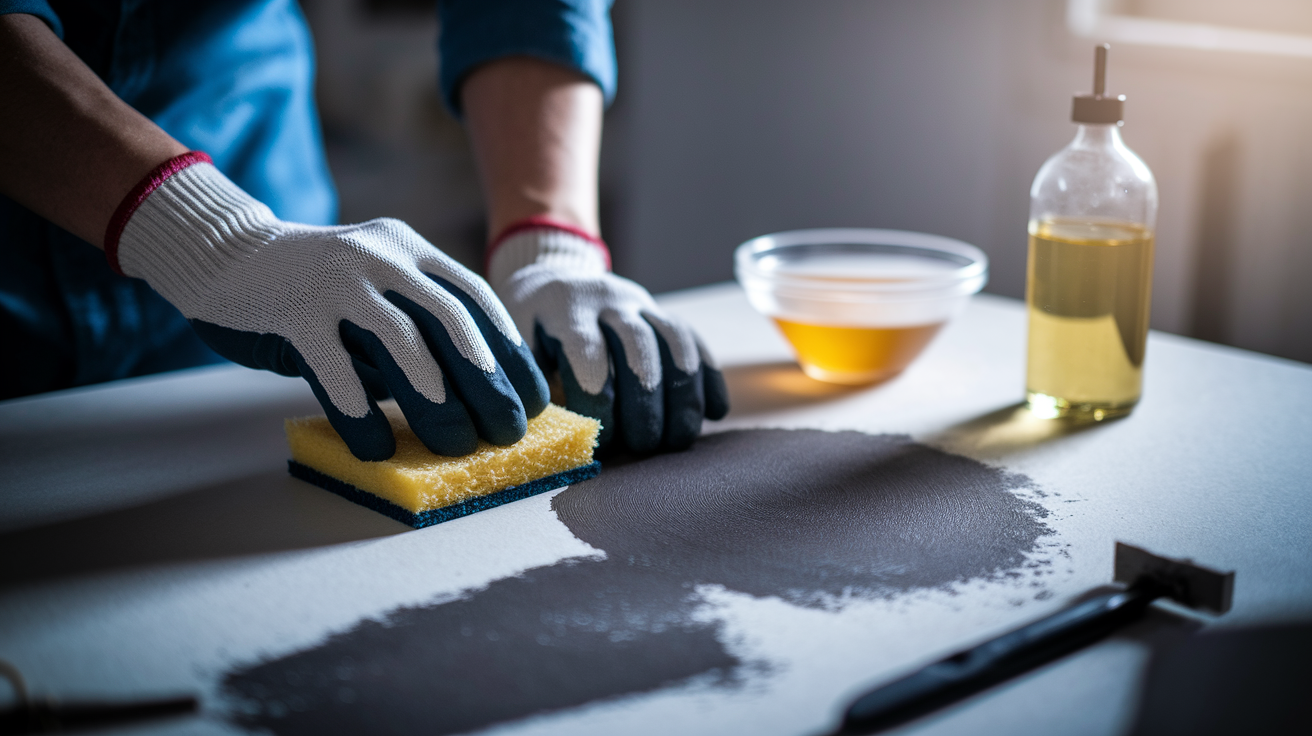
Sealer won’t stick to soot, tar, or oily residue. If you skip cleaning, the primer can peel or let odor bleed through later. The prep matters as much as the product you choose.
Start by removing loose soot and nicotine buildup with a dry cleaning sponge. These are designed to lift smoke residue without smearing it. Work in small sections, wiping gently so you don’t grind particles into the drywall. After dry cleaning, wash the surface with a cleaner that cuts grease and tar. Some guides recommend TSP (trisodium phosphate), which is strong and effective. Others suggest vinegar mixed with water, which is gentler and doesn’t require rinsing as carefully. Either way, let the surface dry completely before moving forward. If the drywall is still damp, the primer won’t seal correctly.
Next, fill any holes or cracks with spackle, then sand the patched areas smooth. Use 120 grit sandpaper for walls. It’s enough to knock down rough spots without creating deep scratches. For trim or doors, you can go up to 220 grit if you want a smoother finish. After sanding, wipe everything down with a damp cloth to remove dust. Let it dry again. Moisture in the substrate can prevent the sealer from bonding, so don’t rush this step.
Here’s the prep sequence in order:
Dry wipe with a dry cleaning sponge to lift soot and heavy nicotine without spreading it.
Wash with TSP or a vinegar solution to remove remaining tar and grease. Rinse if using TSP.
Sand rough spots and patched areas with 120 grit sandpaper (220 grit for trim if desired).
Fill holes and cracks with spackle. Let dry, then sand smooth.
Remove all dust with a damp cloth or tack cloth.
Allow the surface to dry completely before applying primer. Check that moisture levels are below 12% if you have a meter.
Application Techniques That Improve Odor Blocking Performance
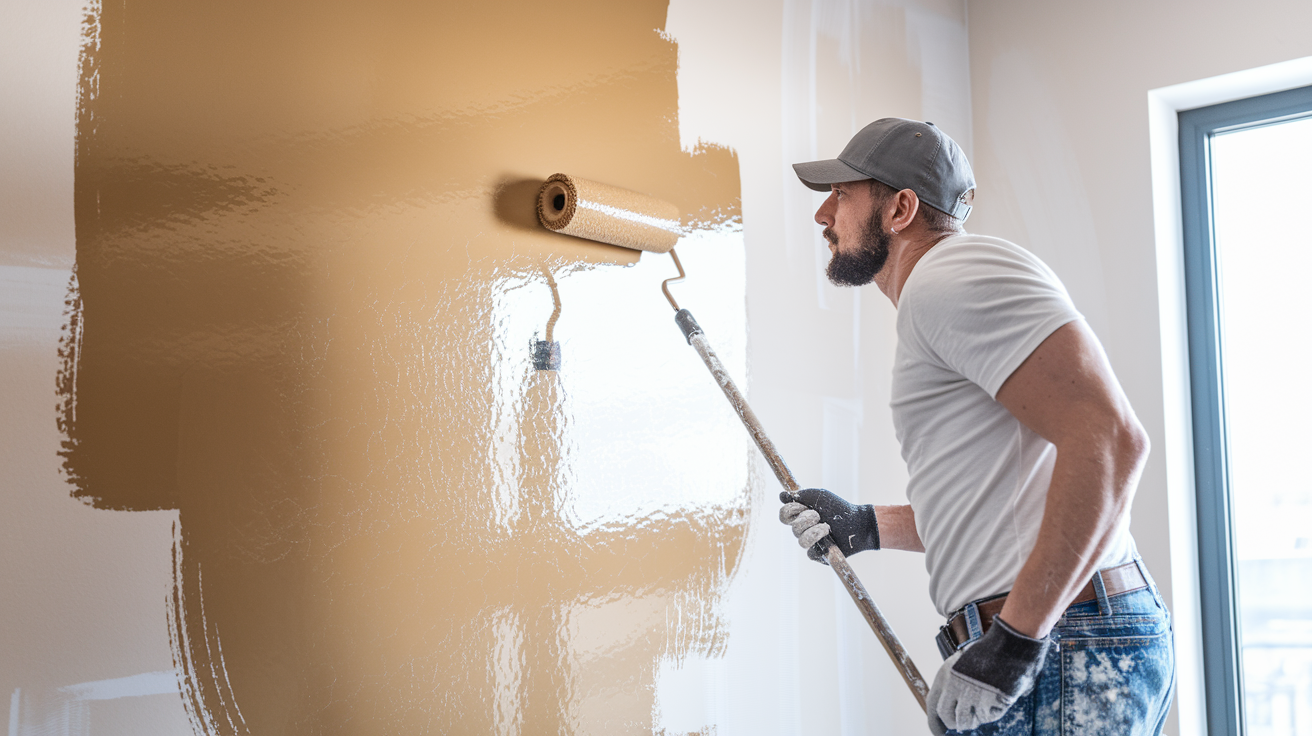
How you apply the sealer affects how well it blocks odor. Rolling the primer onto the wall increases adhesion and helps the material soak into the surface, which improves the seal. Brushing alone can leave thin spots, especially on textured drywall.
Start by stirring the primer thoroughly. Shellac and oil based products can separate or develop a skin, so mix well and stir occasionally while working. Pour only what you’ll use in the next 10 minutes into a roller tray or cut bucket. Shellac dries fast and will thicken if left open. Use a brush to cut in around edges, corners, and trim, working in sections about 4 to 6 feet long. Then immediately roll the same area to blend the cut in line and fill the field. This method keeps a wet edge and prevents lap marks.
Recoat timing matters. B I N shellac primer can usually be recoated in 20 to 45 minutes, depending on temperature and humidity. If you wait too long, the next coat may not bond as well. If you recoat too soon, the solvents can re wet the first layer and cause problems. Follow the window on the label. For heavy nicotine stains, plan on at least two coats of primer. The first coat may still show some yellowing. Don’t panic. The second coat locks it in.
Use a 3/8″ to 1/2″ nap roller for drywall. Longer naps help the primer reach into texture.
Stir the primer before use and occasionally during application to keep solids from settling.
Cut in 4 to 6 feet at a time, then roll immediately to maintain a wet edge.
Respect recoat windows. For B I N, that’s typically 20 to 45 minutes. Check the label.
Safety and Ventilation Considerations When Using Smoke Odor Sealers
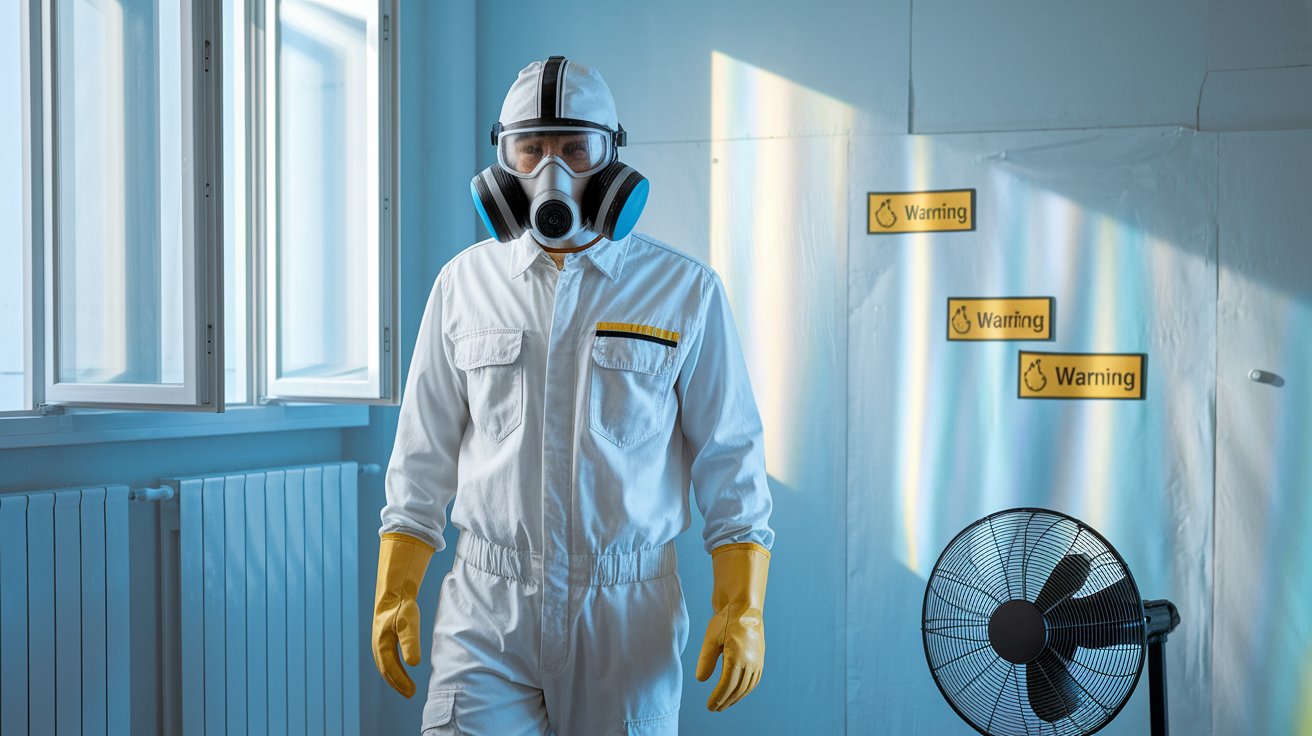
Shellac and oil based primers produce strong fumes. The solvents are effective at sealing odors, but they’re also harsh to breathe. If you’re working indoors, open windows, use fans to push air out, and wear a respirator rated for organic vapors. A dust mask won’t protect you.
Shellac primers like B I N contain denatured alcohol and other solvents that evaporate quickly and can cause headaches or dizziness in poorly ventilated spaces. Oil based primers release heavier fumes that linger longer. Both require gloves. Shellac can dry on your skin and is difficult to remove without rubbing alcohol or acetone. If you’re sensitive to chemicals, consider testing a water based specialty sealer like Ultra Recon in a small area first. These products have lower VOCs and are easier to tolerate, though they may still require ventilation during application. After sealing, you can use a low VOC topcoat like Magnolia Home Interior Paint to reduce lingering odor from the finish coats.
Cost, Coverage, and Number of Coats Needed for Smoke Odor Sealers
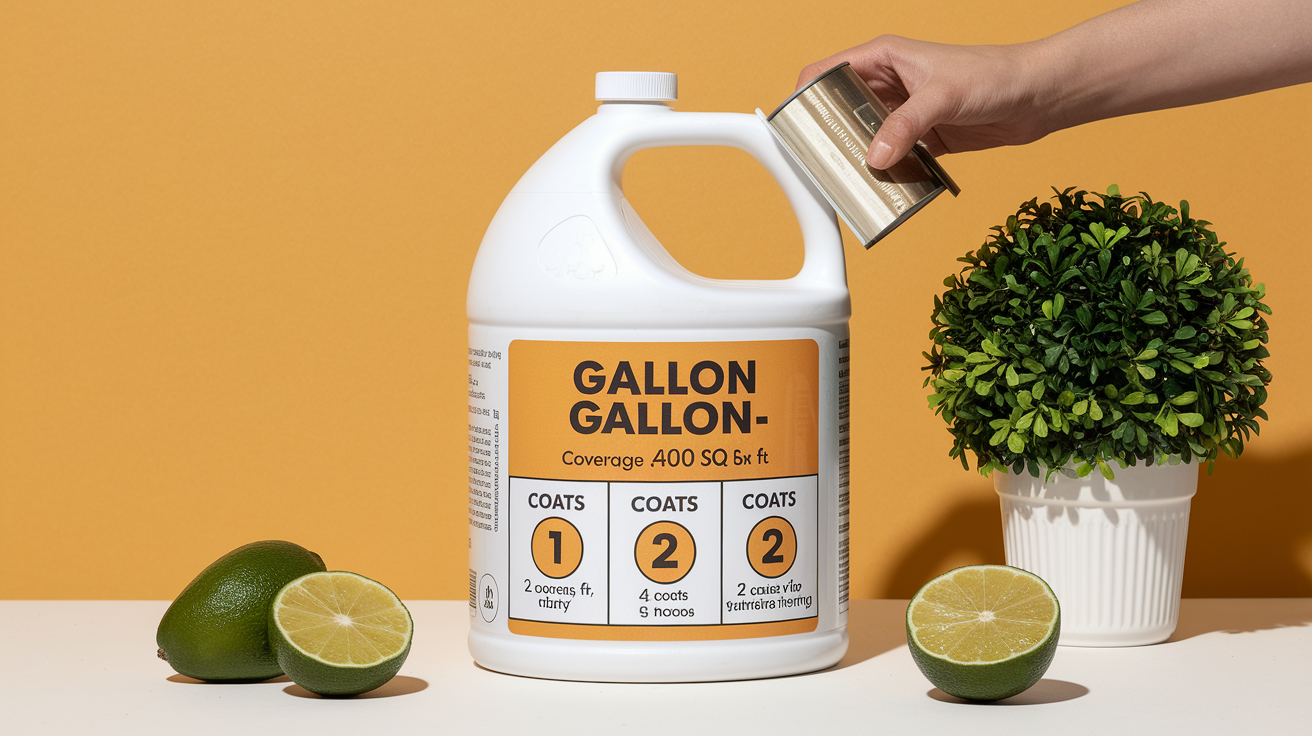
Shellac primers like Zinsser B I N are often labeled at 500 square feet per gallon, but real world coverage is closer to 400 square feet because the material goes on thin and solids can settle. If you’re sealing a room with moderate nicotine staining, plan on one gallon per 400 square feet for the first coat. Heavy staining may require a second coat, so double your material estimate. Oil based primers like Cover Stain cover similarly, but they’re thicker and may stretch a bit further on smooth surfaces. Water based specialty sealers can vary. Some require more product per square foot to achieve the same blocking power as shellac.
For most smoke odor projects, expect to apply at least two coats total: one coat of sealer, then one or two finish coats of paint. If the nicotine is heavy or the smell is strong, you may need two coats of primer before painting. That brings the total to three coats. Budget accordingly, both for materials and time.
| Product | Coverage per Gallon | Coats Needed |
|---|---|---|
| Zinsser B I N Shellac Primer | ~400 sq ft (real use) | 1–2 coats (2 for heavy nicotine) |
| KILZ Original Primer | ~400 sq ft | 1 coat typical |
| Zinsser Cover Stain (oil based) | ~400–450 sq ft | 1–2 coats |
| Ultra Recon Smoke & Odor Sealer | Varies (check label) | 1–2 coats |
When to Choose Professional Grade Smoke Odor Encapsulants

Sometimes a retail primer isn’t enough. If the smoke damage is structural (from a fire rather than cigarettes) or if the smell persists after two coats of shellac, you may need a professional grade encapsulant. These products are thicker, block more aggressively, and are often applied by restoration contractors who specialize in fire and smoke remediation.
Restoration pros typically use shellac based encapsulants like Zinsser B I N for structural smoke, but they also have access to industrial coatings designed for heavy soot, tar, and char. In extreme cases, sealing alone won’t work. Popcorn ceilings that absorbed years of cigarette smoke, for example, may need to be scraped and removed entirely before the substrate can be sealed. If you’ve already tried a retail sealer and the odor is still present after drying, or if the staining keeps bleeding through, it’s time to call someone who can assess whether the drywall, insulation, or framing needs to be treated or replaced.
Pairing Sealers with Odor Removal Methods for Best Results

Sealing traps odors inside surfaces, but it doesn’t clean the air or remove smell from furniture, ducts, or fabric. For the best results, combine sealing with other odor removal methods. This is especially important in homes with heavy cigarette smoke or fire damage.
Air scrubbing with HEPA filters can pull smoke particles out of the air while you work. Ozone generators are sometimes used after sealing to oxidize remaining odor molecules, though they must be used carefully in unoccupied spaces. Activated charcoal placed around the room can absorb airborne odors after the sealer has dried. These methods don’t replace sealing. They support it. Sealing stops the smell from coming out of the walls. Air treatment clears what’s already floating around.
Here are complementary methods to use alongside sealing:
HEPA air scrubbers to filter smoke particles from the air during and after sealing.
Ozone treatment in unoccupied spaces to oxidize lingering odor molecules (use with caution).
Activated charcoal or odor absorbers placed in the room after sealing to capture airborne smell.
HVAC filter replacement to prevent recirculation of smoke residue through ductwork.
Sealing Wood Trim, Doors, and Other Porous Surfaces Against Smoke Odor
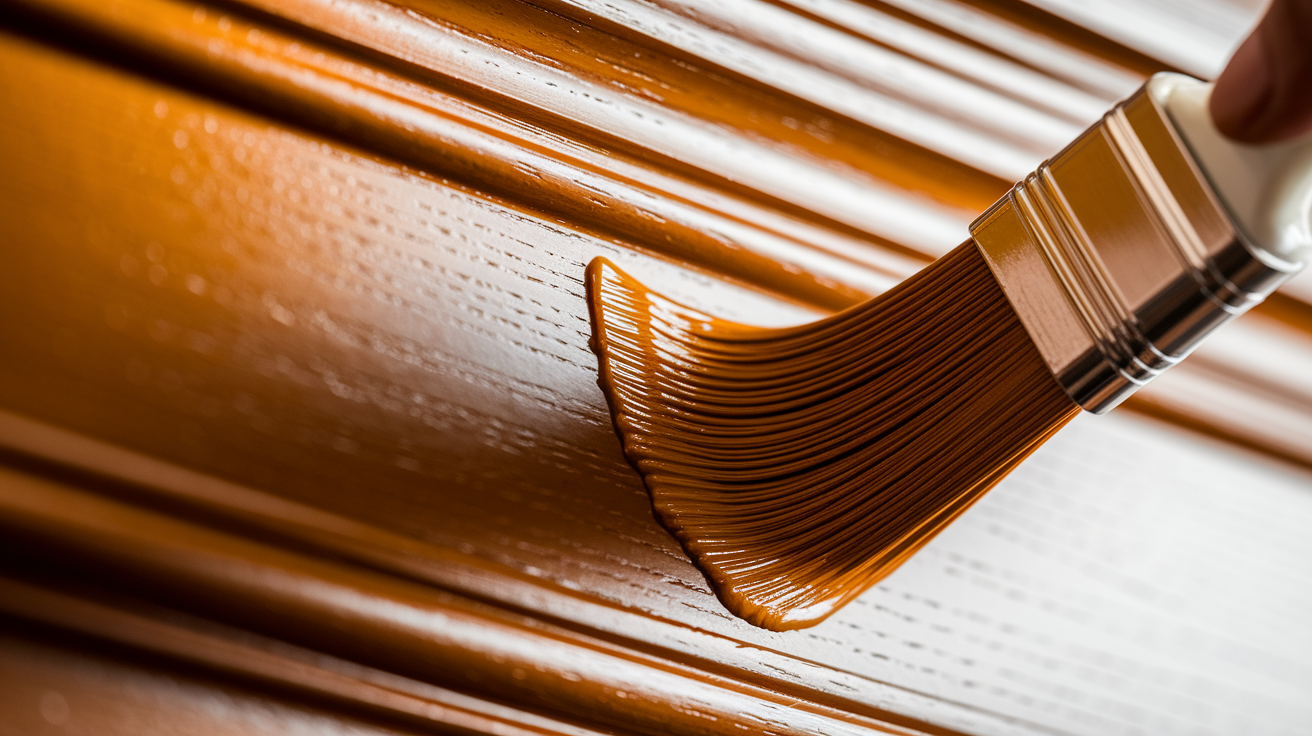
Wood absorbs smoke more deeply than drywall. Trim, doors, window frames, and built in shelving can hold odor for years, even after walls are sealed and repainted. You can’t skip these surfaces if you want the smell gone.
Shellac primers are particularly effective on wood because they soak into the grain and form a hard, odor blocking shell. Oil based primers can work on wood trim, but they’re more likely to allow some odor bleed through, especially if the nicotine buildup is heavy. Water based primers generally don’t seal wood well enough for smoke remediation. Before priming, sand the wood with 120 grit sandpaper to remove any finish or buildup that might prevent adhesion. For a smoother final look on trim, you can go up to 220 grit after the first sanding. Wipe the dust off with a damp cloth, let it dry, then prime.
If the wood is stained or varnished, you may need to strip the finish first. Smoke odor can soak through old varnish and resurface later. In some cases, it’s easier to replace heavily stained trim than to try sealing it. But if the wood is in good shape, sealing works. Just plan on at least two coats of shellac primer.
Here’s the process for sealing wood trim against smoke odor:
Sand the surface with 120 grit sandpaper to remove old finish and smooth rough spots. Use 220 grit for a finer finish if desired.
Wipe down with a damp cloth to remove dust. Let dry completely.
Apply the first coat of shellac primer with a brush, working in the direction of the grain.
Let dry for 20 to 45 minutes (follow the recoat window on the label).
Apply a second coat if the wood is heavily stained or if odor is still detectable after the first coat dries.
Sealing HVAC, Ceilings, and High Risk Areas to Prevent Odor Recirculation
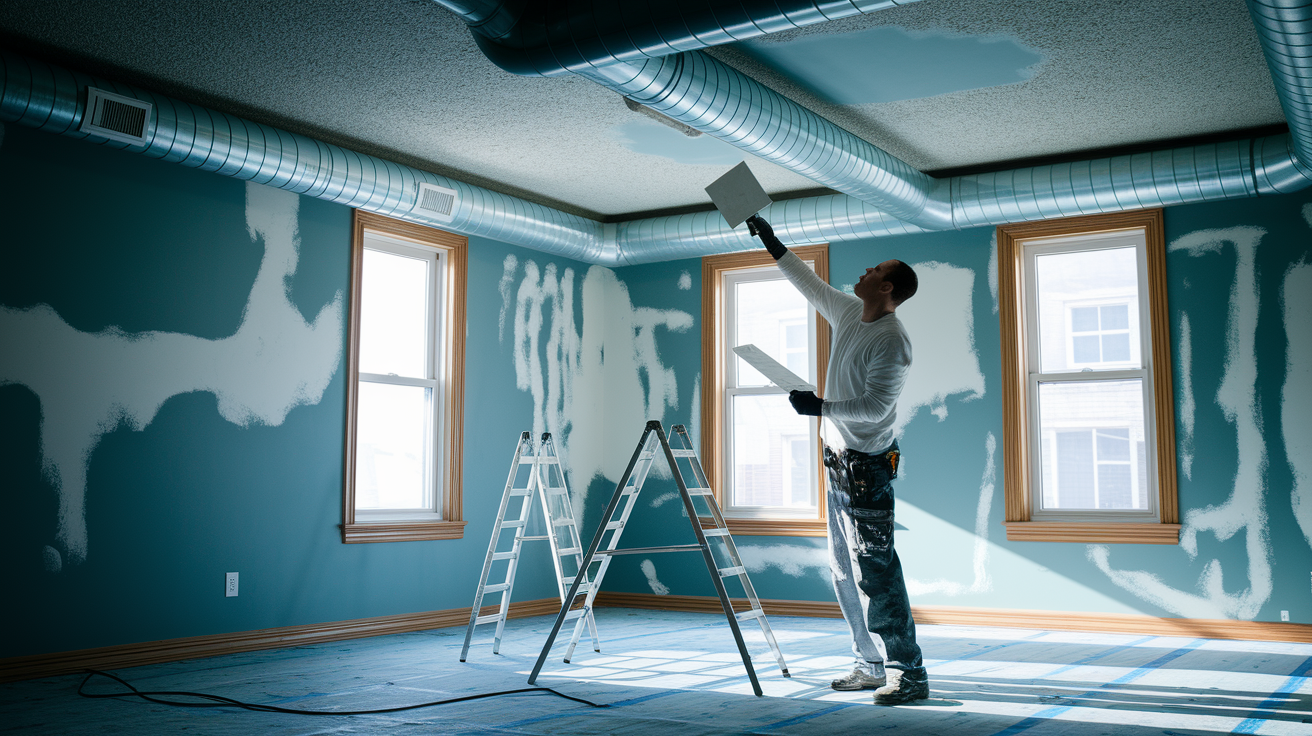
Smoke doesn’t just settle on walls. It rises into ceilings, collects in HVAC ducts, and clings to anything porous or horizontal. If you seal the walls but ignore the ceiling, the smell will come back as soon as the house heats up or the air moves.
Ceilings often need a full coat of shellac primer, especially if they’re textured or popcorn. The texture holds more residue, and the surface area is larger than it looks. Roll the primer on in sections, working across the ceiling in a consistent direction to avoid lap marks. If the staining is severe or the smell doesn’t go away after one coat, apply a second. For HVAC systems, sealing the registers and vents isn’t enough. Smoke residue can coat the inside of ductwork. That usually requires a professional duct cleaning or, in some cases, sealing the ducts from the inside with a coating designed for metal surfaces.
If the home had a fire, check attic spaces, crawl spaces, and any area where smoke could have traveled. Sealing visible surfaces won’t fix the problem if smoke is still trapped in hidden cavities.
Prime ceilings with at least one full coat of shellac based sealer. Two coats for heavy smoke staining.
Clean or seal HVAC ducts to prevent odor recirculation. Consider professional duct sealing if DIY efforts don’t resolve the smell.
Inspect and seal hidden areas like attics, crawl spaces, and wall cavities if fire smoke was present.
Final Words
Start by cleaning and tackling the worst smelling surfaces, like ceilings, trim, and HVAC, then pick the right primer: shellac for heavy nicotine and fire smoke, oil-based for tough stains, or specialty water-based products for lighter odors.
We walked through prep, application tips, safety, coverage, and when to call a pro. Take photos and note readings so insurance and repairs go smoothly.
Choosing the best sealer for smoke smell in house depends on damage level, but with the right sealer and steps you’ll stop the odor and get your home back.
FAQ
Q: What neutralizes smoke smell in a house?
A: To neutralize smoke smell in a house, clean soot and vacuum with HEPA, wash surfaces with TSP or vinegar, use air treatments (HEPA scrubbers, ozone, or charcoal), then seal contaminated surfaces with a strong primer.
Q: How to seal in smoke smell, and does KILZ block smoke smell?
A: To seal in smoke smell, clean and dry surfaces, then apply a smoke‑blocking primer. KILZ Original can block many smoke odors, but shellac primers like Zinsser B‑I‑N are usually stronger for heavy nicotine or fire smoke.
Q: How do professionals get rid of cigarette smell?
A: Professionals get rid of cigarette smell by deep cleaning (soot sponges, TSP), using HEPA air scrubbers and odor treatments, sealing with shellac encapsulants, and replacing or rebuilding heavily soaked materials when needed.