

If you’ve got wet drywall right now, here’s what most homeowners get wrong: they wait to see if it’ll dry on its own. It won’t. Water-damaged drywall doesn’t bounce back. The gypsum core turns soft, paper facing separates, and mold starts growing inside the wall where you can’t see it yet. We’re walking you through the actual restoration sequence: stopping active damage first, drying everything the right way, then rebuilding sections so they blend back into your wall. This isn’t about patching. It’s about making it safe, dry, and finished correctly.
Immediate Assessment and Action Plan for Water-Damaged Drywall

The first thirty minutes after you discover water damage pretty much decide whether you’re fixing one wall or gutting the whole room.
What to do first (and in this order):
- Stop the water – shut off the main supply if you can’t find the exact leak, throw tarps over roof holes
- Kill the power – flip breakers for any room with standing water or soaked walls
- Figure out what kind of water this is – clean water from a pipe, gray water from an appliance, or black water from sewage or flooding
- See how bad it really is – one small spot or half the house
- Check if anything’s about to collapse – push gently on wet ceiling sections, watch for sagging or bulging
- Decide if you’re doing this yourself – depends on what kind of water it is, how much damage there is, whether you’re comfortable with electrical work, and if insurance is involved
Before you cut anything or haul equipment in there, use a non-contact voltage tester on outlets and switches near the damage to make sure power’s actually off. Wet ceiling drywall can drop without warning, so don’t stand directly under sagging sections. If this water came from a toilet, sewage line, or flooding, stop right now and call someone. Contaminated water needs hazmat protocols and gear you probably don’t own.
Grab a basic moisture meter from the hardware store for thirty or forty bucks and check walls that look dry but sit next to obvious damage. Water travels 12 to 24 inches past what you can see. You’ve got maybe 24 to 48 hours before mold becomes a real problem, which means if you found this Friday night and can’t start work until Monday, you’re already looking at professional help. You need to call pros immediately when you’ve got more than one wall damaged, any contaminated water, visible mold, soft framing or sagging areas, or when insurance documentation matters.
Assessing Water Damage Severity and Planning Drywall Replacement

Start by running your hand flat against the wall, feeling for soft spots, temperature changes, or spongy areas compared to the rest of the surface. Hold a four-foot level vertically and horizontally against suspect sections. Anything off plumb has lost its structure and can’t be saved. Press gently with your thumb on questionable spots. If it leaves a dent or feels soft instead of solid, that section needs replacing. Look for paint blisters, bubbling paper, or places where the drywall separated from the studs behind it.
You’re replacing drywall when you see:
- Soft, crumbly gypsum when you press the surface
- Sagging that’s no longer flush with surrounding wall
- Gaps between drywall and framing
- Screws that pulled through the paper
- Water stains extending more than 12 to 24 inches from where the damage started
- Any exposure to gray water (appliances, washing machines) or black water (sewage, flooding)
Water doesn’t just sit where it lands. It travels up and out through the paper facing, then soaks into the gypsum core. That visible water line isn’t where damage stops, it’s where it began. Mark your cut line 12 to 24 inches above the highest moisture reading on your meter. This flood cut approach opens the wall cavity for drying and inspection while saving upper portions that stayed dry.
Ceiling damage needs extra caution. Water-soaked ceiling drywall gets heavy fast and can collapse suddenly. Before you work under any wet ceiling section, get up in the attic or crawl space above to inspect the backside, find the water source, and check if insulation’s holding extra moisture. Load-bearing walls showing structural damage need professional engineering review before you proceed. Removing compromised drywall might expose framing problems affecting the whole building’s stability.
Complete Drying and Mold Prevention Protocol
The drying phase is where most DIY repairs fail. Waiting feels like wasted time when you’re staring at torn up walls, but installing new drywall over moisture guarantees you’ll rip it out again in six months to deal with mold.
| Drying Method | Timeline | Moisture Target | Equipment Needed |
|---|---|---|---|
| Professional equipment | 3 to 5 days | Under 1% gypsum moisture | Industrial dehumidifiers, air movers, wall cavity ventilation systems, commercial moisture meters |
| DIY with rental equipment | 7 to 10 days | Under 1% gypsum moisture | Rental dehumidifier, box fans, moisture meter, space heaters (winter only) |
| Natural air drying | 2 to 4 weeks (high mold risk) | Under 1% gypsum moisture | Open windows, fans, moisture meter, extended timeline with humidity-dependent results |
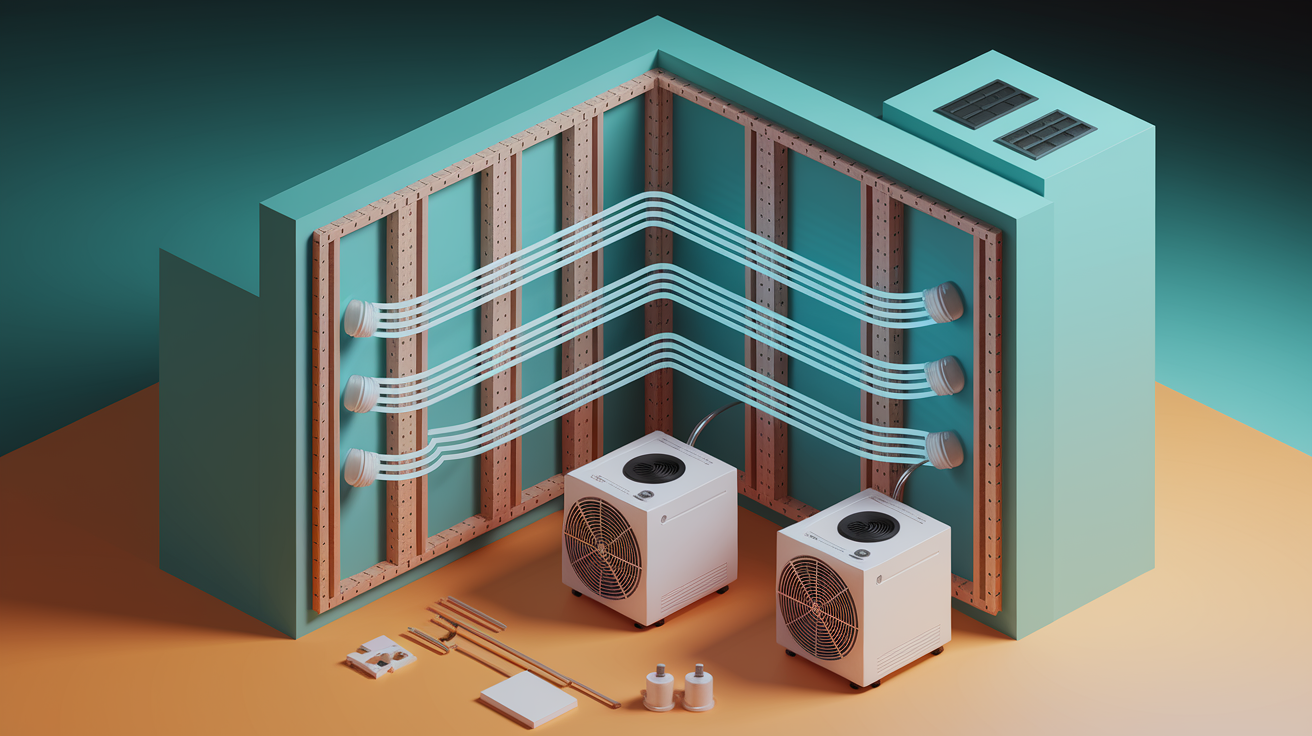
Professional drying equipment moves way more air and pulls moisture from wall cavities through specialized ventilation systems you can’t replicate with box fans. Industrial dehumidifiers remove gallons of water per day from the air. Air movers create constant circulation that speeds evaporation from exposed surfaces. Wall cavity drying involves cutting small access holes to direct airflow behind intact drywall, pulling moisture from insulation and framing. Your moisture meter should read under 1% when pressed against gypsum core and under 12% on wood framing before you move forward.
Water contamination categories determine how aggressive your drying needs to be. Clean water from supply lines needs thorough drying but no special treatment. Gray water from appliances, washing machine overflow, or dishwasher leaks needs antimicrobial treatment on all exposed surfaces. Black water from sewage, toilet overflow, or flooding requires complete removal of affected materials. You don’t dry and save drywall that’s been contaminated with sewage. Fix the leak source before you start drying, or you’re just running dehumidifiers while water keeps coming in. Common sources include burst supply lines, roof leaks, failed appliance connections, and plumbing issues behind walls.
Antimicrobial treatment goes on all exposed wood framing, subflooring, and back sides of salvageable drywall sections after the space is completely dry. Use EPA-registered antimicrobial solutions designed for post-water-damage application, following label directions for mixing and dwell time. This step is required whenever moisture sat for more than 24 to 48 hours, regardless of water source. If you’re seeing visible mold growth on framing, stop and bring in a mold inspector to test what species you’re dealing with. Some types require professional remediation beyond DIY scope.
Essential Tools and Materials for Drywall Reconstruction
Having everything on site before you start means you can move through phases without stopping mid-project for hardware store runs, which stretches your timeline and leaves wall cavities exposed to humidity longer than necessary.
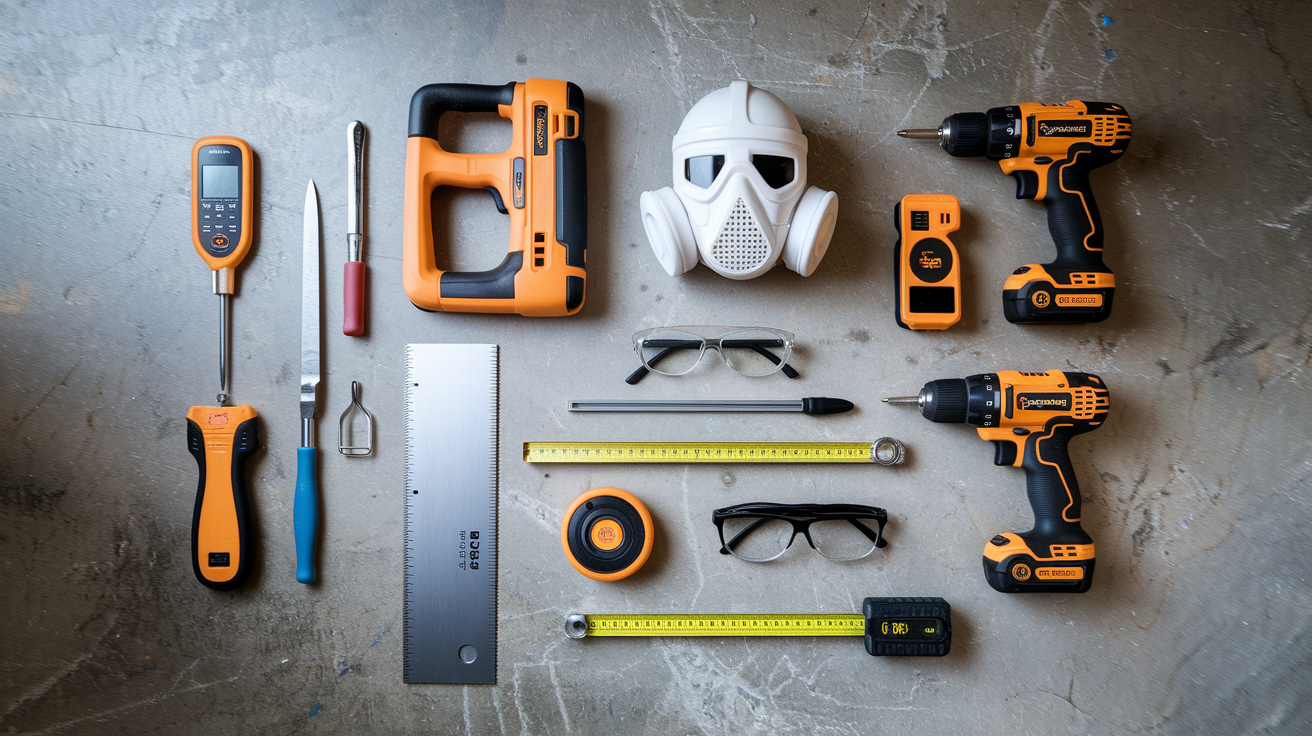
Required Tools:
- Utility knife with fresh blades and blade storage
- Drywall saw or reciprocating saw for rough cuts
- Cordless drill/driver with drywall bit and Phillips bits
- 4-foot level for checking plumb and layout
- Tape measure (25 foot minimum)
- Moisture meter for verifying drywall and framing dryness
- Drywall square or T-square for marking straight cut lines
- Safety equipment: N95 or N100 respirator for mold exposure, safety glasses, heavy-duty work gloves, non-contact voltage tester for electrical verification
Materials Needed:
- Drywall panels in appropriate thickness (1/2 inch for walls, 5/8 inch for ceilings), use moisture-resistant green board for bathrooms or purple board for high-humidity areas
- Drywall screws (1-1/4 inch for walls, 1-5/8 inch for ceilings)
- Joint compound (all-purpose or lightweight formula)
- Paper or fiberglass mesh drywall tape
- Stain-blocking primer for water-damaged areas
- Interior paint matching existing finish
- Antimicrobial solution for treating exposed framing
Upgrade your respiratory protection based on what the water contained. Mold exposure requires minimum N95 filtration, but if you’re dealing with sewage-contaminated areas, move to N100 or P100 respirators with replaceable cartridges. Test every electrical box location with your voltage tester before cutting near it, even after you’ve flipped the breakers. Wiring from other circuits sometimes runs through boxes you’re about to expose. Black water scenarios require disposable protective clothing, rubber boots, and heavy-duty gloves rated for biohazard work.
Removing Damaged Drywall Sections and Treating Framing

Verify electrical shutoff with a circuit tester at every outlet and switch in the affected area, then test again with a non-contact voltage detector before making any cuts. Wiring doesn’t always follow logical paths and you might have circuits from other rooms running through the wall you’re opening. For water-saturated ceiling sections, push gently from below with a braced board to test structural integrity before you position yourself underneath with cutting tools.
The flood cut technique involves removing drywall from the floor up to 12 to 24 inches above the highest point where your moisture meter shows elevated readings. This exposes wall cavities for inspection and drying while preserving upper sections that stayed dry, cutting material costs significantly compared to full wall replacement. Use a utility knife to score horizontal cut lines, then finish with a drywall saw. Cut lines should land on stud centers when possible, giving you solid backing for attaching new panels. Contaminated water scenarios require more extensive removal. If sewage or flood water touched the drywall, remove it completely from floor to ceiling regardless of how high the water actually reached.
Start removal by pulling off baseboards carefully if you plan to reuse them. Cut horizontal lines at your marked height, staying level across the entire span. Score vertical lines at stud locations, then use the drywall saw to complete cuts while avoiding electrical boxes. Remove fasteners from sections you’re keeping, then pull damaged sections away carefully to avoid damaging the intact drywall above your cut line. Work methodically rather than rushing. Damaged drywall that’s been wet often crumbles during removal, creating way more mess than dry demo work.
Pull out any wet insulation and set it aside for disposal. It won’t dry properly and creates mold risk if you leave it in place. Spray all exposed studs, plates, and subflooring with antimicrobial solution, following label directions for application and dwell time. Verify complete drying of framing members with your moisture meter before proceeding. Wood framing should read under 12% moisture content. Check the wall cavity for any hidden plumbing damage, electrical issues, or structural problems that need addressing before you close things back up.
Measuring, Cutting, and Hanging Replacement Drywall Panels

Accurate measurements prevent gaps, reduce the number of seams you’ll need to finish, and ensure new panels sit flush with existing sections, which matters a lot when you’re blending repairs into surrounding walls.
Step-by-Step Installation Sequence:
- Measure the opening – width, height, and any irregular cuts around outlets or obstacles
- Mark measurements on new panel – use a drywall square to ensure straight, perpendicular lines
- Score the face paper – one firm pass with a sharp utility knife along marked lines
- Snap the gypsum core – bend the panel away from the scored line to break the core cleanly
- Cut the back paper – fold the panel and slice through the paper on the backside
- Test fit the panel – verify it fits the opening with minimal gaps (1/8 to 1/4 inch is ideal)
- Attach with screws – drive screws through panel into studs at proper spacing and depth
Place screws 8 to 12 inches apart along all studs, starting from the center of the panel and working outward to prevent bowing. Drive screws until the head sits just below the paper surface, creating a slight dimple without breaking through the facing. This is called “dimpling” and it lets joint compound cover the screw head smoothly. Screws driven too deep tear the paper and lose holding power. Screws not driven deep enough create bumps that show through your finish coats.
Install metal corner bead on any outside corners using drywall screws or crimping tool, ensuring it sits perfectly straight before fastening. Cut outlet and switch openings by measuring from a reference point (adjacent stud or existing drywall edge), transferring those measurements to your panel, and using a drywall saw to rough-cut the opening slightly smaller than the box. You can expand it for final fit. New panels must sit flush with existing drywall, not proud or recessed, or you’ll never hide the transition with joint compound. Use shims behind panels if needed to bring them flush with surrounding surfaces.
Taping, Mudding, and Sanding Drywall Seams

The three-coat system exists because you can’t build a smooth, flat surface in one pass. Each coat serves a specific purpose and requires complete drying before the next application.
Start with the tape coat, which embeds paper or mesh tape in a thin layer of joint compound directly over seams. Load a 6-inch taping knife with compound, spread a layer along the seam, press tape into the wet mud, then smooth it with firm pressure to squeeze out excess compound and eliminate bubbles. Inside corners get folded paper tape creased along the center line. Let this coat dry completely, typically 24 hours depending on humidity.
The fill coat goes on next, using an 8 or 10-inch knife to spread compound wider than the tape coat, feathering edges outward to start blending the repair into surrounding wall. This coat fills the depression created by the tape and begins building the flat plane you’re after. Apply compound to screw dimples during this phase, filling them flush. Drying time depends on how thick you applied it. Another 24 hours is typical.
The finish coat uses a 12-inch knife with very thin compound, feathered 12 to 16 inches beyond the previous coat to create an imperceptible transition. Experienced finishers apply this coat almost translucent at the edges. Let it dry 24 hours before sanding.
Sand with 120-grit paper on a sanding block or pole sander, using light pressure to remove ridges and blend transitions without gouging into the compound. Progress to 150-grit for final smoothing. Wear your respirator and control dust with plastic sheeting and ventilation. Set up a work light at a low angle (raking light) to cast shadows across the surface. Imperfections that are invisible under overhead lighting show up clearly under raking light.
Texture Matching, Priming, and Painting Repaired Drywall

Stain-blocking primer is non-negotiable on any drywall that got wet, even if it doesn’t look stained. Water-soluble compounds in the gypsum core will migrate through standard primer and bleed yellow-brown marks through your finish paint months after you thought the job was done.
Apply two coats of stain-blocking primer (Zinsser BIN or Kilz are common brands) to all repaired areas, allowing proper drying time between coats per label directions. This seals the surface and creates uniform absorption so your paint doesn’t flash differently over repaired versus original sections. Don’t skip this step because you’re in a hurry. Bleed-through happens slowly and you won’t see it until after you’ve moved furniture back.
Texture matching requires identifying what type of finish exists on your walls, then replicating it. Common textures include:
- Orange peel – apply with a hopper gun sprayer loaded with thinned drywall compound
- Knockdown – spray orange peel texture, then lightly flatten high spots with a drywall knife before it dries
- Smooth/level 5 – no texture, requires impeccable finishing work and careful sanding
- Skip trowel – hand-applied with a trowel in random arching patterns
- Popcorn (ceilings) – spray-applied acoustic texture, often contains asbestos in homes built before 1980
Practice your texture technique on scrap drywall before applying it to the repair. Texture hides minor finishing imperfections but must match the surrounding pattern or it draws more attention than a smooth patch would.
Paint selection matters for blending. Use the same sheen (flat, eggshell, satin) as existing walls. Apply primer first, then two finish coats, feathering paint 12 to 18 inches beyond the repair area to blend transitions. Roll the entire wall from corner to corner if possible rather than just painting the patch. Repaired areas often show subtle color or sheen differences that disappear when you paint the full surface.
Cost Planning and Professional vs DIY Decision Making

DIY repairs keep costs in the $200 to $500 range for small single-wall projects when you own basic tools, with expenses covering drywall panels ($15 to $30 each), joint compound ($15 to $25 per bucket), primer and paint ($60 to $80), and rental equipment like dehumidifiers ($40 to $60 per day). Professional restoration runs $1,500 to $4,000 for comparable work, but that includes industrial drying equipment, guaranteed moisture removal, proper antimicrobial treatment, code-compliant installation, and warranty protection if problems develop later.
Cost factors extend beyond materials and labor. Damage extent is the biggest variable. A small patch repair costs dramatically less than multiple walls requiring flood cuts. Accessibility affects pricing, with ceiling work and tight spaces requiring more time. Contamination level determines scope, since gray water adds antimicrobial treatment and black water requires complete material removal rather than selective drying. Drying timeline differences are significant: professional equipment achieves safe moisture levels in 3 to 5 days versus weeks with DIY methods, and every extra day of elevated humidity increases mold risk. Insurance coverage typically pays for sudden water events like burst pipes when documented properly with photos, moisture readings, and professional invoices.
| Repair Scope | DIY Cost Range | Professional Cost Range | Timeline |
|---|---|---|---|
| Small patch repair (under 4 square feet) | $50 to $150 | $300 to $600 | 3 to 5 days DIY, 1 to 2 days professional |
| Single wall flood cut (8×4 feet) | $200 to $400 | $800 to $1,500 | 7 to 10 days DIY, 3 to 5 days professional |
| Multiple walls (2 to 3 walls) | $500 to $1,000 | $2,000 to $4,000 | 2 to 3 weeks DIY, 5 to 7 days professional |
| Full room with ceiling | $800 to $1,500 | $3,500 to $7,000 | 3 to 4 weeks DIY, 7 to 10 days professional |
Professional services become necessary rather than optional when you’re facing extensive damage across multiple rooms, any contaminated water from sewage or flooding, visible mold growth requiring testing and remediation, structural concerns like compromised framing or sagging sections, or insurance claims requiring detailed documentation with photos, moisture readings, and itemized scopes. Code compliance and permit requirements for major rebuilds often require licensed contractor involvement with inspections at rough-in and final stages.
DIY makes sense for small isolated damage under 4 square feet, clean water sources only like supply line leaks, confirmed absence of mold after professional moisture verification, and purely cosmetic repairs after someone else handled the drying phase. Get professional moisture testing even if you plan to do cosmetic work yourself. Spending $150 on verification beats redoing failed repairs six months later. Professional advantages include proper insurance documentation that protects your claim, warranties on workmanship, guaranteed moisture removal with certified equipment, and code-compliant installation that passes inspection.
Preventing Future Water Damage and Maintenance

Fixing damaged drywall without addressing why it got wet guarantees you’ll be back here again. Identify the water source before you close up walls. Common culprits include burst supply lines, roof leaks, HVAC condensation drain failures, washing machine supply hoses, water heater leaks, and slow plumbing failures behind walls that went unnoticed until major damage developed.
Leak detection starts with visual inspection every few months: look for water stains on ceilings, check under sinks for moisture, inspect supply line connections at toilets and fixtures for corrosion or mineral deposits, examine washing machine hoses for cracks or bulges, and monitor the water heater relief valve for dripping. Moisture meters let you check wall areas near plumbing even when no visible damage shows. Catching elevated readings early means fixing a small leak before it becomes major damage. Early warning signs include musty odors in closed spaces, water bill increases without explanation, sounds of running water when fixtures are off, and warm spots on floors near supply lines suggesting hidden leaks.
Install moisture-resistant drywall in vulnerable areas: green board in bathrooms and laundry rooms, purple board in high-humidity basements or areas with previous water problems. These products cost $2 to $4 more per panel than standard drywall but resist moisture absorption significantly better, buying you time to catch leaks before damage becomes severe. Proper waterproofing behind tile in showers and tubs prevents moisture from reaching drywall, and vapor barriers in exterior walls control condensation in cold climates. These preventative measures cost less than repairs.
Schedule regular maintenance inspections annually: check supply lines and replace washing machine hoses every 5 years before they fail, inspect roof flashing and penetrations each spring, verify HVAC drain pans aren’t clogged and condensate drains flow freely, test water heater relief valves, and address small plumbing drips immediately rather than waiting until they become problems. Early intervention on a $50 supply line replacement beats $3,000 in water damage repairs.
Common Mistakes and Best Practices in Water Damage Drywall Repair
The mistakes that cause failed repairs share a common theme: rushing through steps that require patience because you want to see finished walls instead of torn up rooms. But shortcuts in the drying and preparation phases guarantee you’ll redo this entire project.
| Common Mistake | Why It Fails | Best Practice Alternative |
|---|---|---|
| Installing before complete drying | Traps moisture behind new drywall, creates mold growth within weeks, causes repeat repairs | Use moisture meter to verify under 1% gypsum, under 12% wood framing before installation |
| Skipping stain-blocking primer | Water-soluble compounds in wet gypsum bleed through regular primer, creating yellow-brown stains months later | Apply two coats of stain-blocking primer on all previously wet surfaces |
| Inadequate damage removal | Leaving wet sections because they don’t look bad leads to hidden mold growth and structural failure | Remove to 12 to 24 inches above highest moisture reading, inspect wall cavities thoroughly |
| Poor moisture testing | Assuming surfaces are dry without verification results in mold growth and failed repairs | Test multiple locations with calibrated moisture meter, document readings before proceeding |
| Rushing finish coats | Applying next coat before previous layer fully dries causes cracking, poor adhesion, extended sanding time | Wait full 24 hours between coats, verify dryness by touch before proceeding |
Additional best practices include maintaining proper ventilation during all repair phases with fans and dehumidifiers running continuously, exercising patience with drying times even when it feels excessive, addressing root causes like failed supply lines or roof leaks before rebuilding, and seeking professional guidance when you encounter unexpected conditions like extensive mold, structural damage, or contaminated water. Don’t use compression fittings or push-connect plumbing fittings behind walls where you can’t access them later. Spend the extra time on permanent connections approved for concealed installation.
Project Timeline Expectations for Drywall Rebuilding After Water Damage
Total project duration varies significantly based on damage extent, chosen drying method, and whether you’re working DIY or bringing in professionals. But the drying phase always takes longer than homeowners expect because moisture doesn’t evaporate on your preferred schedule.
| Project Phase | Professional Timeline | DIY Timeline |
|---|---|---|
| Water source repair | Same day emergency response | 1 to 2 days for parts and plumbing work |
| Drying and mold prevention | 3 to 5 days with industrial equipment | 7 to 14 days with rental equipment, 2 to 4 weeks natural drying |
| Removal and framing prep | 1 day for typical single-wall project | 1 to 2 days working evenings and weekends |
| Drywall installation | 1 day including hanging and first tape coat | 1 to 2 days for hanging, learning curve on first project |
| Finishing (tape/mud/sand) | 2 to 3 days for three coats with drying time | 4 to 6 days allowing full drying between coats |
| Texture and painting | 1 to 2 days for primer, texture, and finish coats | 2 to 3 days including practice and touch-ups |
Factors that extend timelines beyond these estimates include high humidity conditions slowing drying regardless of equipment used, hidden damage discovery requiring expanded scope, permit requirements adding inspection scheduling delays, and material availability issues when matching existing textures or discontinued products. Winter projects take longer due to reduced ventilation options and slower drying times in cold conditions.
Final Words
Rebuilding drywall after water damage takes patience, the right approach, and honest judgment about what you can handle.
If your damage is small, the water was clean, and everything tests dry with no mold, a careful DIY repair can work. But if you’re dealing with contaminated water, structural concerns, or damage that keeps spreading, call in a team that can stabilize it fast and rebuild it right.
Either way, don’t skip the drying phase. That’s where most failures happen.
Fix the source. Dry it completely. Rebuild it solid. Your home will be back to normal.
FAQ
Can water damaged drywall be repaired?
Water damaged drywall can be repaired if the damage is minor, cosmetic, and the drywall is completely dry with no mold present. Small patches with surface staining are repairable, but structurally compromised, saturated, or contaminated drywall requires complete replacement for safety and long-term durability.
How long does it take for drywall to dry from water damage?
Drywall drying from water damage takes 3-5 days with professional equipment (dehumidifiers and air movers) versus several weeks with natural air drying alone. Complete drying before reconstruction is critical because moisture remaining longer than 24-48 hours creates mold growth and structural integrity problems requiring re-work.
Is it cheaper to repair or replace drywall?
Repairing drywall is cheaper for small isolated areas under 2 square feet with surface damage only, while replacing sections becomes more cost-effective for extensive damage, water-saturated areas, or contaminated water exposure. Flood cuts (removing lower sections to 12-24 inches above waterlines) save material costs versus full wall replacement.
How do you dry a wall after water damage?
You dry a wall after water damage by first stopping the water source, then removing baseboards and cutting inspection holes to allow air circulation behind drywall. Use industrial dehumidifiers, air movers, and wall cavity ventilation to reduce moisture content below 1% within 3-5 days, preventing mold growth beyond the critical 24-48 hour window.
What are signs that water damaged drywall must be replaced?
Water damaged drywall must be replaced when it shows soft crumbly texture, sagging or blistering surfaces, separation from studs, or exposure to contaminated gray or black water. Visual indicators include texture loss, failure to return to original shape when pressed, fastener pull-through, or drywall sections that are off-plumb when checked with a level.
Why is the 24-48 hour window critical for water damaged drywall?
The 24-48 hour window is critical for water damaged drywall because mold growth becomes likely when moisture remains longer than this timeframe in porous materials. Acting within this window allows proper drying to prevent microbial growth, structural deterioration, and the need for more extensive contaminated material removal requiring professional protocols.
Should you use moisture-resistant drywall after water damage repairs?
You should use moisture-resistant drywall (green board or purple board) after water damage repairs in areas prone to future moisture exposure like bathrooms, basements, and laundry rooms. Moisture-resistant options provide added protection in vulnerable locations while standard drywall works fine for typical living areas with addressed leak sources.
When does water damaged drywall require professional restoration?
Water damaged drywall requires professional restoration when damage is extensive (multiple walls), involves contaminated gray or black water, shows mold growth, affects structural elements, or involves insurance claims requiring proper documentation. Professional equipment achieves safe drying in 3-5 days versus weeks with DIY methods, preventing secondary damage.
How far does water travel beyond visible damage in drywall?
Water travels 12-24 inches beyond visible damage in drywall through capillary action, first affecting the paper facing then wicking into the gypsum core. This invisible moisture spread means removal cuts (flood cuts) must extend well above visible waterlines to ensure all compromised material is removed and hidden moisture doesn’t cause future problems.
What primer prevents water stains from bleeding through paint?
Stain-blocking primer prevents water stains from bleeding through paint on repaired drywall by sealing discoloration and tannins that would otherwise show through standard primer and topcoats. Skipping stain-blocking primer on water-damaged areas causes bleed-through requiring re-work, making this step non-negotiable for invisible repairs.