
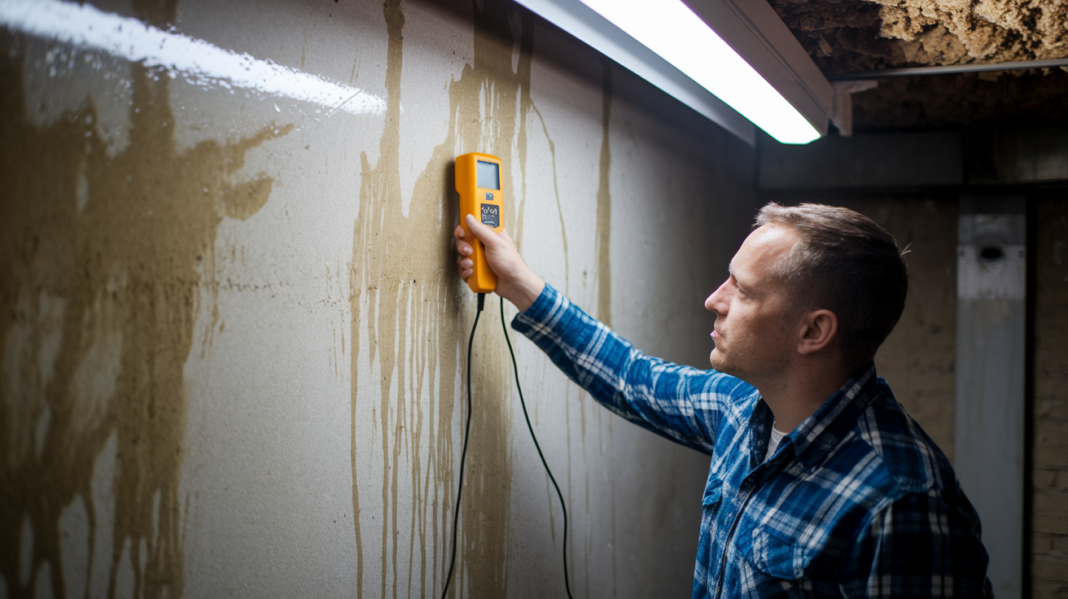

Most basement moisture problems start because someone tried one fix when they actually needed three. You patch a crack, but condensation keeps forming. You buy a dehumidifier, but water still seeps through the floor after heavy rain. Basement moisture control works when you stop water at every stage: before it reaches your foundation, when it tries to push through walls and floors, and after it turns into humidity inside. This guide walks you through diagnosing what’s actually causing dampness in your basement, then matching the right combination of drainage, waterproofing, and humidity control to fix it for good.
Diagnosing Your Basement Moisture Problem
Before you start patching walls or buying equipment, you need to know what you’re dealing with. Guessing wastes time and money. Accurate diagnosis tells you which solutions will actually work.
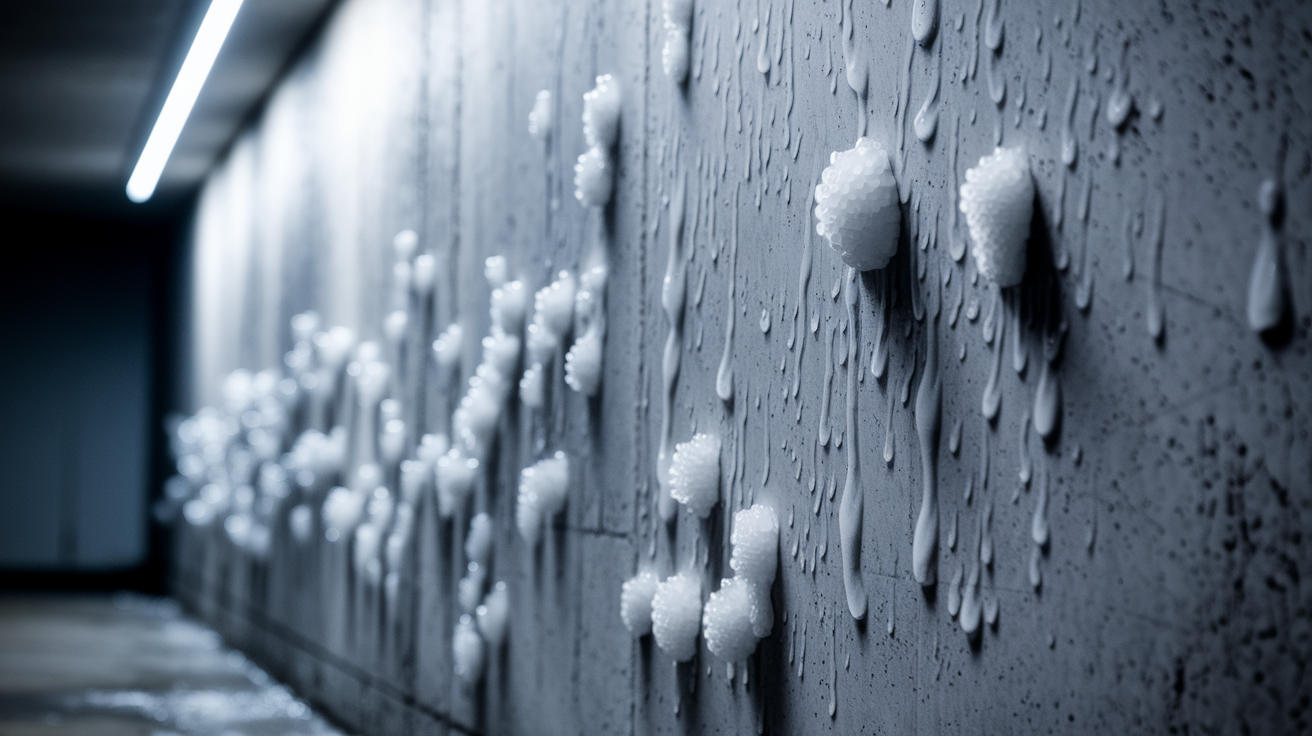
Start by walking your basement slowly during different weather conditions. Look for water stains on walls or floors, especially near the foundation perimeter. Check for efflorescence, those white powdery deposits that appear when water evaporates from concrete and leaves mineral salts behind. Inspect paint and wall coatings for peeling or bubbling, which signals moisture trapped behind the surface. Run your hand along walls near the floor, feeling for damp spots or temperature changes. A musty smell means moisture is present even if you can’t see it yet.
Next, measure what you’re seeing. A hygrometer shows the percentage of water vapor in the air as relative humidity. Place one in your basement and check readings over several days. Ideal basement humidity should stay between 30 to 50 percent to prevent mold growth and protect your belongings. Readings above 50 percent mean you need active moisture control. A moisture meter pressed against walls and floors detects dampness inside concrete and drywall that isn’t visible on the surface. For stubborn problems, thermal imaging cameras reveal hidden moisture patterns, temperature differences, and wet insulation behind finished walls, though these typically require professional equipment.
Call a professional when you see persistent mold growth that returns after cleaning, structural damage like bowing walls or large cracks, or regular pooling after minor rains. DIY assessment works fine for simple humidity issues, minor dampness, or small cracks you can see and reach.
Core Methods to Control Basement Moisture
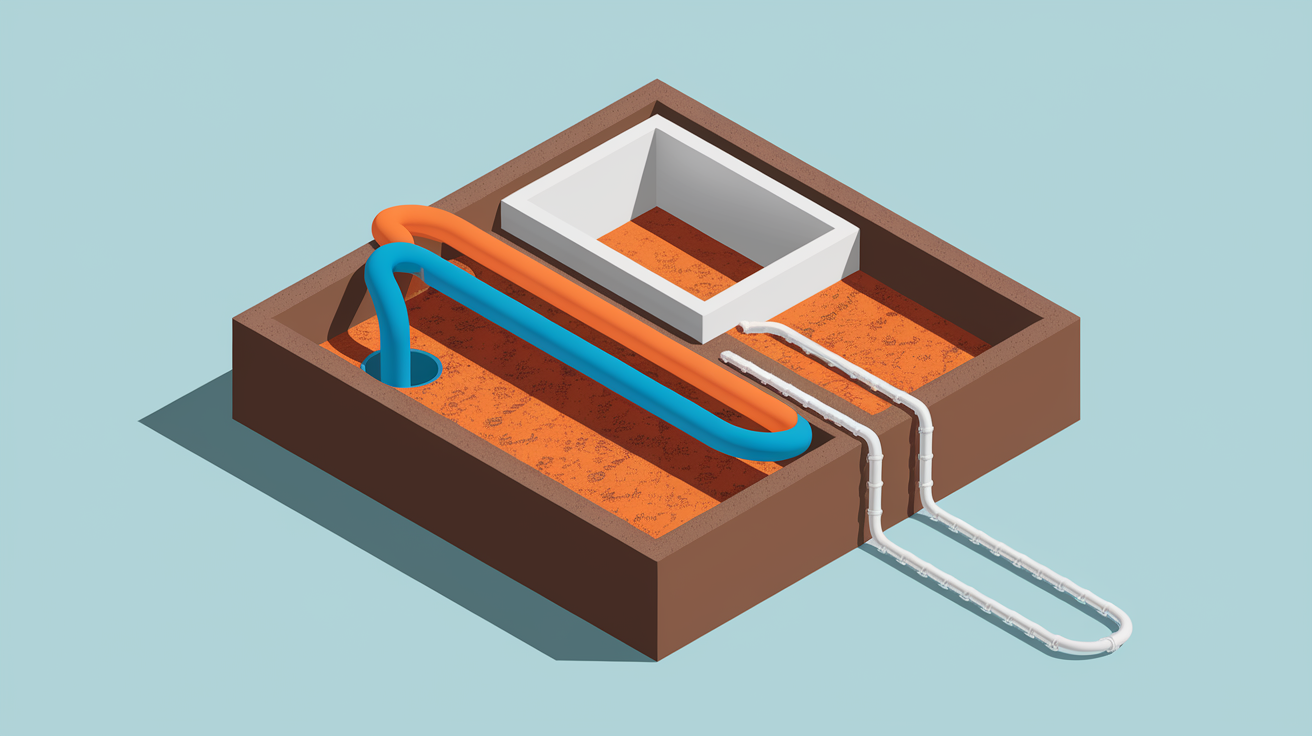
Basement moisture control isn’t a single fix. It’s a coordinated plan that addresses water at every stage, from keeping it away from your foundation to removing it from the air.
The most effective approach uses three layers working together. First, exterior water diversion prevents rainwater and groundwater from reaching your foundation walls in the first place. Proper grading, functional gutters, and drainage systems move water away before it becomes your problem. Second, interior waterproofing barriers block water that does reach your walls and floor. Sealants, vapor barriers, drainage channels, and sump pumps manage what gets through. Third, humidity regulation tackles condensation and indoor moisture through dehumidifiers, ventilation improvements, and insulation that prevents warm moist air from condensing on cold basement surfaces.
Multiple factors contribute to damp basements. Improper grading. Poor gutter and downspout systems. Groundwater seepage from saturated soil. Condensation from high humidity levels. Trying to solve all of these with just a dehumidifier or just crack sealer rarely works long term. A multi step plan combining exterior and interior moisture control measures produces the longest lasting results, with specific solutions matched to your basement’s particular combination of problems.
Exterior Drainage Systems for Moisture Prevention

Exterior drainage is your first line of defense. Stop water before it reaches your foundation, and you’ve eliminated most of your moisture problem at the source.
Start with your gutters and downspouts because they handle thousands of gallons during heavy rain. Clean gutters twice yearly, removing leaves and debris that cause overflow near your foundation. Extend downspouts at least five to six feet away from the foundation to direct roof water away from the home. Use rigid extensions or flexible drainage pipe, not just splash blocks that let water pool after a few seasons. Gutter guards or seamless gutter systems block leaves and prevent clogs. Most homeowners can handle gutter cleaning and downspout extension themselves. Professional installation makes sense for seamless gutters or complex rooflines with multiple valleys.
Ground around your home should slope away from the foundation to prevent water from pooling near basement walls. Proper grading means the soil drops at least six inches over the first ten feet moving away from the house. Walk your foundation perimeter after heavy rain and watch where water flows. If it’s moving toward the house or pooling against walls, you need regrading. For minor low spots, you can add soil and regrade yourself using a rake and wheelbarrow. Significant grade corrections across large areas usually require professional landscaping with equipment to move soil efficiently and ensure proper compaction.
French drains are underground drainage systems that redirect water away from the foundation. They work by placing perforated pipe in a gravel filled trench around your basement perimeter, typically three to four feet deep at the footing level. Water seeps into the pipe and flows to a lower discharge point away from the house. French drain installation requires excavation equipment, proper slope calculation, and connection to a safe drainage outlet, making this a professional job in most cases. They’re especially effective in areas with high water tables or clay soil that doesn’t drain naturally.
Additional surface water management options include dry wells that collect runoff in underground gravel chambers where it gradually absorbs into soil, and swales, which are shallow planted ditches that channel water around your property following natural contours.
Interior Waterproofing Systems and Drainage Solutions
When exterior drainage isn’t enough, interior systems collect and remove water that reaches your basement. They’re your second line of defense, especially in areas with high water tables or ongoing seepage despite exterior improvements.
Interior drainage becomes necessary when groundwater pressure pushes moisture through foundation walls, when the water table rises above your basement floor level during wet seasons, or when exterior waterproofing isn’t possible because of landscaping, adjacent structures, or property lines. These systems typically require professional installation because they involve breaking concrete, installing drainage components at precise slopes, and connecting to pumping equipment.
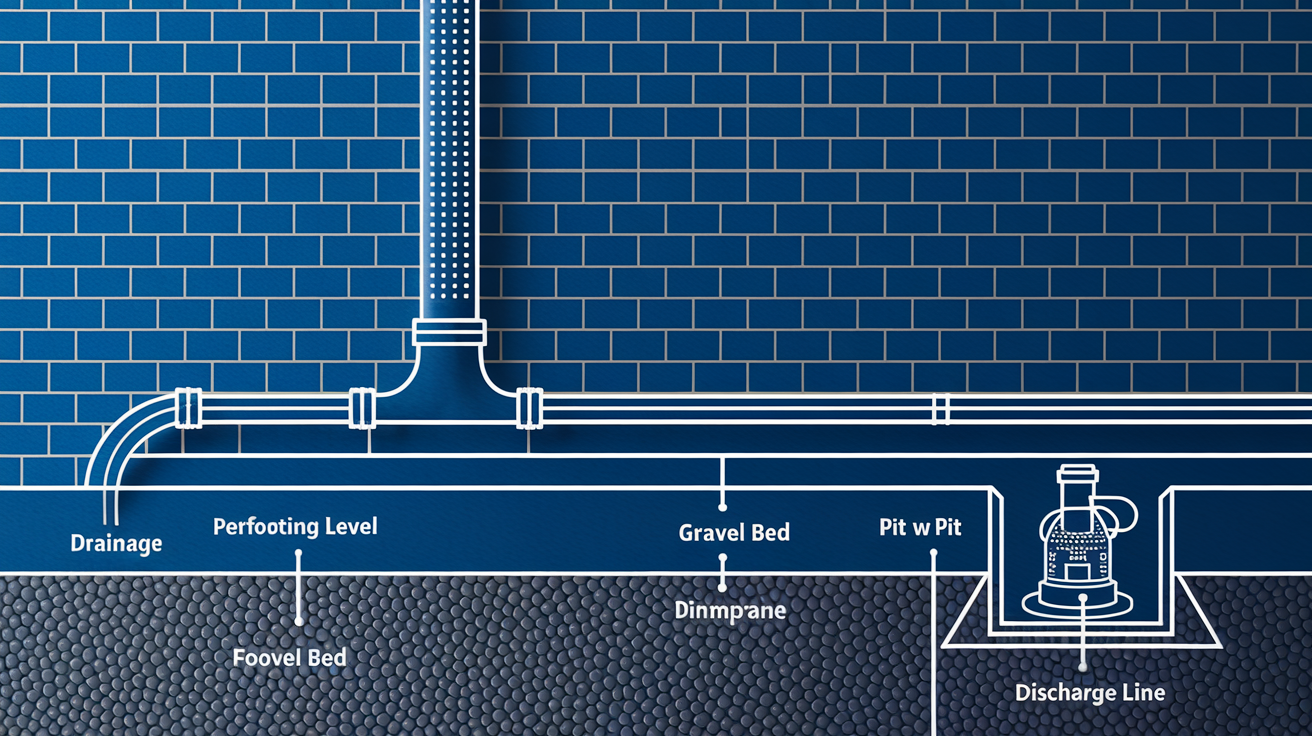
Interior drainage tile systems are installed at the footing level along the basement perimeter. Contractors break out a section of floor along the walls, dig down to expose the footing, install perforated drainage pipe in gravel, and cover it with new concrete. Water that seeps through the wall floor joint or through porous concrete flows into the drainage tile and channels to a collection point. The system captures water before it surfaces on your floor. Some installations include dimpled plastic membrane on walls that directs moisture down into the drain channel.
Sump pump systems collect water from interior drains and discharge it outside and away from the house. Choose between pedestal pumps with motors mounted above the pit, which are easier to service but louder, and submersible pumps that sit in the pit, which are quieter and more expensive. Size the pump to handle your basement’s water volume, typically measured in gallons per hour at a specific lift height. Essential features include battery backup systems that run during power outages when you need them most, automatic float switches that activate the pump without manual intervention, and check valves that prevent backflow. Most homeowners can replace an existing sump pump themselves. New installations in basements without existing pits require cutting concrete and professional setup. Test your sump pump every few months by pouring water into the sump pit until the float activates and the pump cycles water out.
Installation at cove joints where the floor meets the wall and at floor joints where concrete sections connect targets the exact locations where hydrostatic pressure pushes water into basements. Sealing these joints from inside creates a pathway for water to reach interior drains rather than surfacing randomly across your floor.
Regular maintenance keeps interior systems working when you need them. Test the pump quarterly, clean debris from the pit twice yearly, and verify the discharge line hasn’t frozen or become blocked.
Wall and Floor Waterproofing Methods
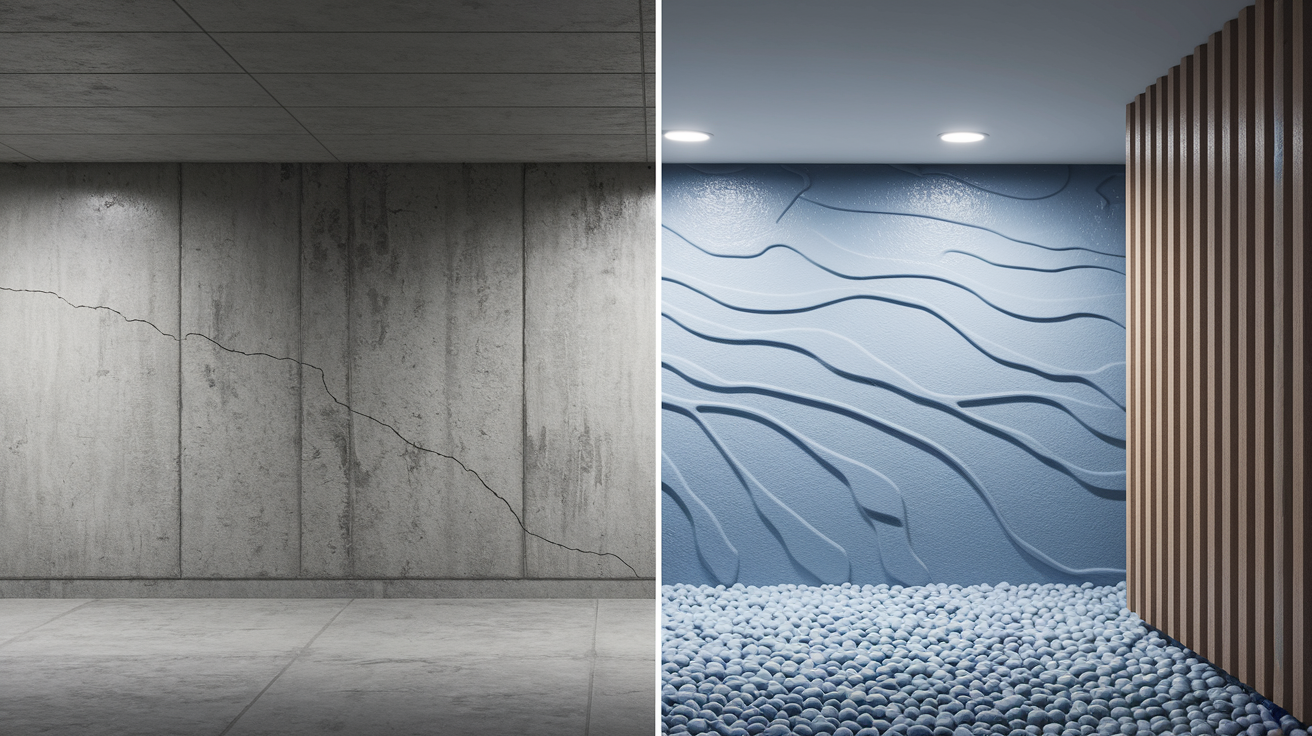
Sealing and waterproofing create barriers against moisture moving through concrete, whether it’s liquid water or water vapor.
First, understand the difference between three approaches. Crack repair fixes openings where water actively enters. Vapor barriers block moisture vapor that passes through porous concrete but don’t stop liquid water under pressure. Waterproof coatings create a film that stops both vapor and water. Minor crack sealing and vapor barrier installation are typically DIY friendly. Structural crack repair and professional grade coating systems usually require contractor expertise.
For crack repair, start by cleaning cracks with a wire brush to remove loose concrete, dirt, and old coating. Hydraulic cement is a quick setting material that plugs active leaks in concrete or masonry walls. Mix it to a putty consistency, pack it tightly into the crack, and hold it in place for several minutes while it sets. It works even when water is flowing. Epoxy injection repairs structural cracks by filling the entire crack depth with resin pumped under pressure, bonding the concrete back together. This requires professional equipment and is necessary when cracks indicate foundation settlement or movement. Concrete sealers penetrate porous walls and reduce moisture transmission for small hairline cracks and general dampness. Clean the surface first, apply sealer with a brush or roller, and allow proper cure time before testing.
Vapor barrier installation uses polyethylene sheeting or dimpled membrane systems to block ground moisture from moving through floors and walls. For floors, roll out 6 mil plastic sheeting across the entire surface, overlapping seams by at least 12 inches, and tape seams with waterproof tape. Run the edges up the wall several inches. This works under new flooring installations or subfloor systems. For walls, dimpled plastic membranes create an air gap between the foundation and the barrier, allowing any moisture that penetrates the wall to drain downward to interior drainage systems instead of entering the basement. Attach membranes to walls with mechanical fasteners, ensuring the dimples face the wall to create the air space.
Coating types serve different purposes depending on water pressure and application location. Cementitious coatings are cement based mixtures applied like thick paint to interior walls, creating a hard waterproof surface. They work well for blocking moisture vapor and minor dampness. Crystalline waterproofing penetrates into concrete and forms crystals that fill pores and micro cracks throughout the concrete depth, self sealing future cracks as they develop. It’s applied as a slurry coating but works within the concrete, not just on the surface. Waterproof paints are the simplest option for controlling minor moisture and improving appearance, but they don’t hold up under hydrostatic pressure or active water infiltration.
| Method | Application | DIY or Professional |
|---|---|---|
| Hydraulic cement | Active leaks and wet cracks | DIY |
| Epoxy injection | Structural cracks requiring bonding | Professional |
| Concrete sealer | Porous walls and minor dampness | DIY |
| Polyethylene barriers | Floor vapor control under flooring | DIY |
| Dimpled membranes | Wall drainage and vapor control | DIY to Professional |
| Crystalline coatings | Deep penetration waterproofing | Professional |
Positive side waterproofing is applied on the side where water pressure occurs, typically on exterior foundation walls. It’s more effective because it stops water before it enters concrete. Negative side waterproofing is applied on the interior, the opposite side from where water pressure occurs. It’s less effective under high pressure and can eventually fail if water is trapped in the concrete, but it’s the only option when exterior access is impossible. Coatings alone have limitations. They can’t fix drainage problems. They won’t handle significant hydrostatic pressure indefinitely. And they must be reapplied over time as they wear.
Dehumidification Strategies to Reduce Basement Humidity
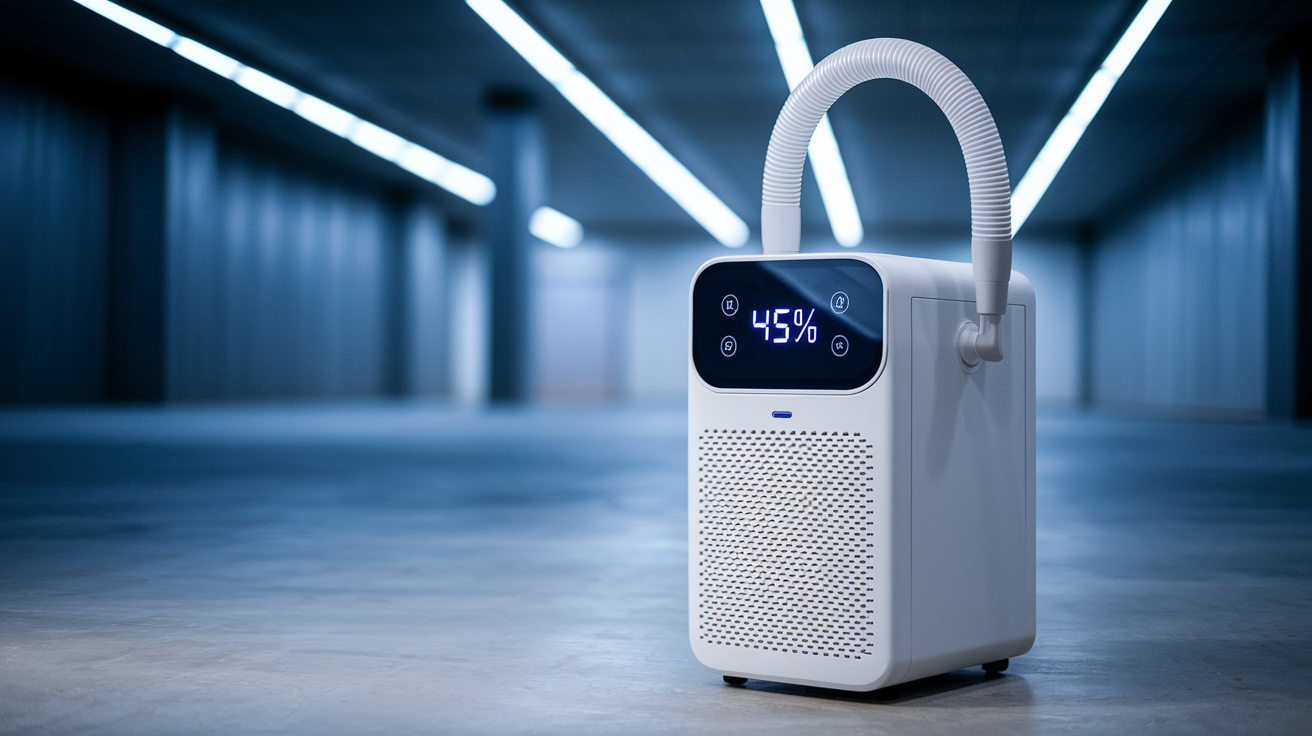
Even after you’ve stopped water from entering your basement, you still need to manage humidity. Dehumidifiers control condensation problems and keep relative humidity in the range where mold can’t grow.
Dehumidifiers work by pulling moisture out of the air, which is especially important in basements that stay cooler than upper floors. When warm humid air from outside or from upper levels enters a cool basement, moisture condenses on cold surfaces like foundation walls, concrete floors, and uninsulated pipes. Running a dehumidifier removes that moisture before it condenses.
Size your dehumidifier based on both square footage and existing humidity level. For moderately damp basements with 50 to 60 percent humidity, calculate about 10 pints of capacity per 500 square feet. For very damp basements at 60 to 70 percent humidity, increase to 12 pints per 500 square feet. For wet basements with visible moisture and 70 percent plus, use 14 pints per 500 square feet. Residential dehumidifiers can remove up to 50 pints of moisture daily, while built in whole house systems can handle 100 pints or more. Basement square footage matters. A 1,000 square foot basement that’s very damp needs at least a 50 pint unit.
Two main dehumidifier types work differently. Refrigerant models, which are more common and affordable, cool air to condense moisture onto cold coils, then reheat the air before releasing it back into the room. They work efficiently in temperatures above 65 degrees. Desiccant models absorb moisture chemically using silica gel or similar materials, then heat the desiccant to release collected water. They work better in cold basements below 60 degrees and extremely humid environments, but cost more to operate.
Essential features to look for when purchasing include an adjustable humidistat that lets you set target humidity (aim for 30 to 50 percent) and automatically cycles the unit to maintain it, continuous drain option that connects a hose to drain collected water without emptying a bucket, built in pump that can push water upward into elevated disposal points up to 16 feet away like a utility sink or exterior drain, automatic shut off that stops the unit when the water collection tank fills preventing overflow, and accessible filter that you can remove, clean, and replace easily during maintenance.
Place your dehumidifier in a central location with at least 12 inches of space around all sides for proper airflow. Avoid corners or tight spaces against walls. Position it near the most humid area if your basement has zones with different moisture levels. For continuous drainage, run a hose from the unit’s drain port to a floor drain or sump pit. Elevate the dehumidifier slightly if draining by gravity to maintain downward slope.
Maintenance keeps units running efficiently. Empty collection tanks when full if you’re not using continuous drainage. Clean or replace filters monthly during heavy use. Wipe down coils every few months to remove dust and maintain efficiency. Check drain hoses periodically to ensure they’re not kinked or clogged.
Ventilation and Air Circulation Improvements
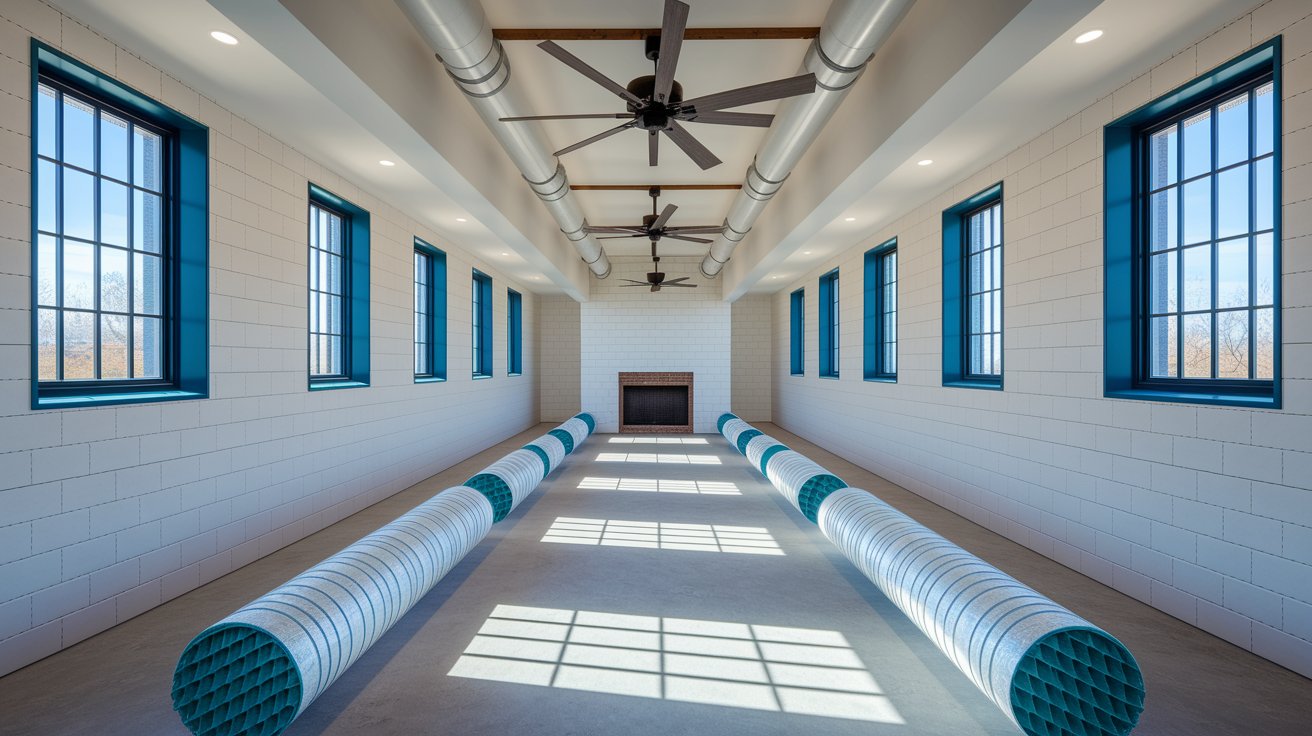
Basements become humid because they are underground, surrounded by dirt that holds moisture, cooler than upper floors causing condensation when warm moist air enters, and typically have poor ventilation with few windows or doors. Improving air circulation prevents stagnant humid air from settling and creating ideal conditions for mold.
Mechanical ventilation moves air actively using fans and powered equipment. Install exhaust fans in basement bathrooms and laundry rooms to remove humidity at the source when showers run or clothes dry. Simple bathroom exhaust fans are DIY installations that mount in the ceiling and vent through ductwork to the exterior. For laundry areas, vent your dryer properly to the outside using rigid metal duct, not flexible plastic that traps lint and restricts airflow. Air exchangers and heat recovery ventilator systems bring fresh outdoor air in while exhausting stale basement air out, exchanging heat between the two streams to maintain efficiency. These are beneficial in tightly sealed basements where natural air exchange is minimal. Professional installation handles ductwork, electrical connections, and balancing airflow for HRV systems.
Natural ventilation uses windows and passive airflow when conditions are right. Opening windows when outside air is drier than inside helps reduce trapped moisture in the basement. Check outdoor humidity with a hygrometer or weather app before opening windows. Open windows on opposite sides of the basement to create cross ventilation that moves air through the space rather than just in and out of one opening. During summer, outdoor humidity is often higher than basement humidity, so keep windows closed and rely on dehumidifiers. Spring and fall offer the best natural ventilation opportunities when outdoor air is cool and dry.
Condensation forms on cold surfaces when humid air contacts them. Insulate cold water pipes to prevent sweating and condensation, especially pipes running across ceilings or along exterior walls. Use foam pipe insulation sleeves sized to fit your pipe diameter. Slide them over pipes and seal seams with tape. This is a simple DIY project that prevents dripping condensation from adding moisture to your basement air. Address thermal bridging at rim joists where your foundation meets the wooden floor framing above. This area stays cold, conducts heat poorly, and becomes a condensation zone. Spray foam insulation seals and insulates rim joists effectively but typically requires professional application. Rigid foam board cut to fit between joists is a DIY alternative, though not as airtight.
Proper ventilation connects directly to mold prevention by eliminating the stagnant moist air where mold spores settle and grow. It improves overall air quality, reduces musty odors, and makes basements more comfortable for storage or living space use.
Identifying and Fixing Plumbing Related Moisture Sources
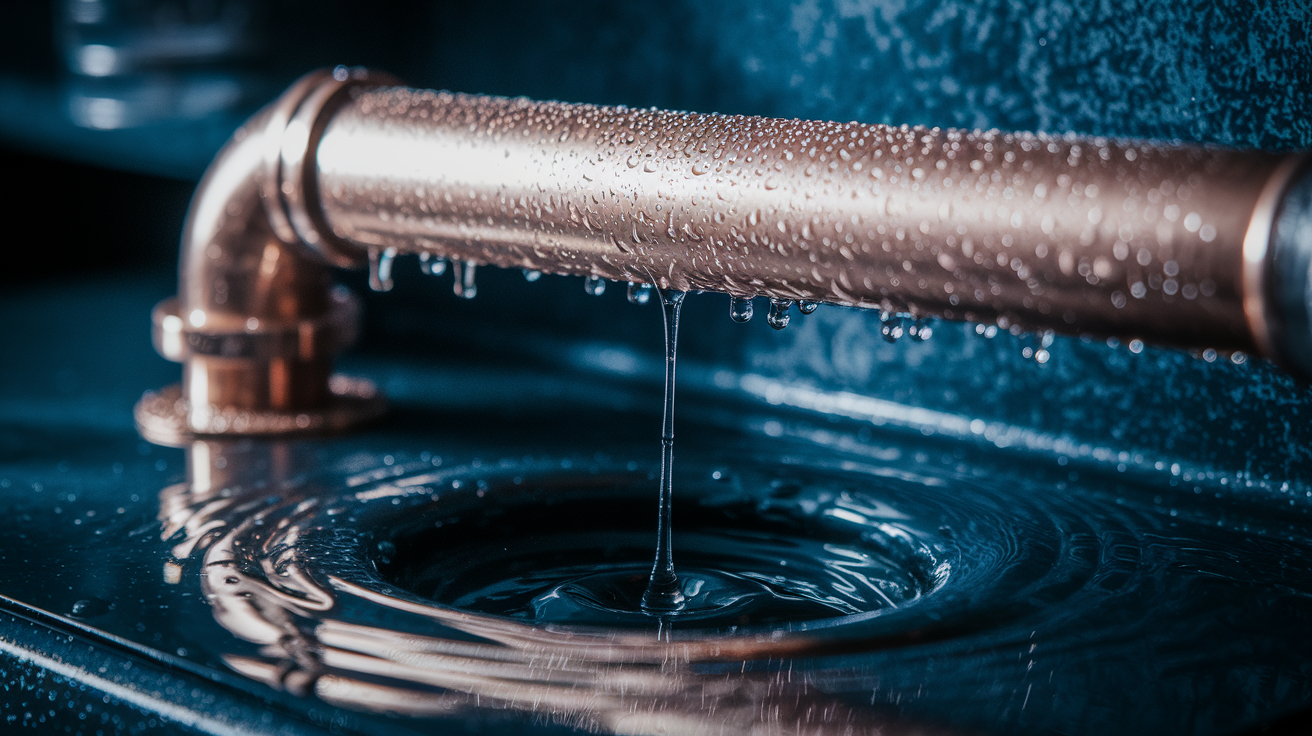
Not all basement moisture comes from groundwater. Sometimes the problem is your pipes, appliances, or plumbing connections adding water exactly where you don’t want it.
Plumbing moisture shows up differently than groundwater seepage. It’s often localized near specific fixtures, appears suddenly after water use, or creates drips and wet spots that don’t match rain patterns. Groundwater moisture tends to spread along foundation perimeters, worsen during wet weather, and show up as general dampness across larger areas.
Common plumbing problems that cause basement moisture include supply line leaks from aging pipes, loose connections, or failed fittings. Check under sinks, behind washing machines, near water heaters, and along exposed pipes for drips, corrosion, or water stains. Drain pipe condensation happens when cold water runs through pipes in humid air, creating dripping condensation similar to a cold glass sweating. Water heater issues include leaking tanks, failed pressure relief valves, and dripping drain valves. Washing machine connections, especially older rubber supply hoses, can fail suddenly and flood significant water before you catch it. Replace rubber hoses with braided stainless steel supply lines for more reliable long term performance. Simple connection tightening and supply line replacement are DIY projects. Leaking pipes inside walls, main supply line repairs, or water heater replacement require professional plumbers.
Cold water lines sweat in humid conditions, creating constant dripping that adds moisture to basement air and can damage surrounding materials. Pipe insulation prevents this condensation through simple foam sleeves that slip over pipes. Measure your pipe diameter, usually half inch, three quarter inch, or one inch for residential water lines. Buy foam insulation tubes sized to match, slice them lengthwise if they’re not pre slit, slide them over pipes, and seal seams with tape or adhesive. Cover all cold water pipes you can reach, especially in humid areas. This DIY project costs little and eliminates a steady moisture source.
Washing machines, dryers, and utility sinks in basements add humidity through steam and evaporation during use. Vent dryers to the outside using the shortest possible duct run with smooth rigid metal duct. Avoid long flexible ducts that trap moisture and lint. If your dryer currently vents into the basement, rerouting it outside is essential. Simple vent installations through rim joists or basement windows are DIY friendly with a vent kit. Complex runs through multiple floors or exterior walls need professional installation. Run exhaust fans during laundry use to remove humid air, and keep basement doors open to upper floors so moist air doesn’t get trapped.
Regular plumbing inspections catch small leaks before they become moisture problems. Check visible pipes quarterly for corrosion, drips, and loose connections. Replace washing machine hoses every five years even if they look fine. Test your water heater pressure relief valve annually. Call professionals for repairs when you find active leaks, see unexplained water damage, or notice water pressure changes that suggest hidden pipe problems.
Understanding Hydrostatic Pressure and Water Table Issues

Hydrostatic pressure is the force of water in saturated soil pushing against your foundation walls and floor. Understanding it helps you see why certain moisture problems need specific solutions, not just surface fixes.
When soil around your basement fills with water from rain, snowmelt, or a high water table, that water exerts pressure against every surface it contacts. The deeper the basement, the more pressure at the bottom. Imagine water stacked eight feet high against your foundation. That column of water pushes hard, finding any weakness in concrete, any crack or porous section, and forcing moisture through. Hydrostatic pressure doesn’t stop until the water level drops or finds a release path.
Seasonal water table fluctuations mean your basement faces different moisture challenges throughout the year. Spring thaw and heavy rain periods raise the water table, sometimes to levels above your basement floor. Water seeks to equalize, pushing upward through floor cracks and inward through walls. Summer typically lowers the water table as plants draw moisture from soil and evaporation increases. Fall rains raise it again. Winter freezing can trap water in soil, increasing pressure as ice expands. These cycles explain why basements stay dry for months then suddenly develop moisture problems during wet seasons.
Water travels through porous concrete even without visible cracks through a process called capillary action. Concrete contains microscopic pores and channels. Water molecules are attracted to concrete, and they pull neighboring water molecules along, moving moisture from the wet soil side to the dry basement side. You don’t see water flowing, but dampness appears on interior walls as moisture migrates through. Older concrete is more porous. Concrete mixed without modern waterproofing additives allows more capillary movement. This is why vapor barriers and penetrating sealers help even when you can’t find cracks to patch.
Over time, continuous hydrostatic pressure causes structural damage beyond just dampness. Foundation walls can bow inward as soil pressure exceeds the wall’s resistance. Floor slabs can heave upward when water pressure builds beneath them, cracking concrete and pushing sections out of level. Progressive cracking starts small but widens with repeated pressure cycles, eventually allowing significant water entry. Once structural damage starts, it accelerates because compromised concrete offers less resistance to pressure.
In high water table areas or locations with poor soil drainage, comprehensive solutions combining exterior drainage and interior systems are necessary because you’re fighting constant pressure that single method fixes can’t handle alone. Exterior drainage reduces the water reaching your foundation, lowering the pressure source. Interior systems provide a release path for water that does penetrate, preventing pressure buildup that causes structural damage.
Professional Waterproofing Methods and When to Use Them

Some moisture problems exceed DIY capability, either because of the severity, the required equipment, or the structural expertise needed to fix them right.
Call a professional when persistent mold growth returns after you’ve cleaned it and tried humidity control, when you see structural damage including bowing walls, large foundation cracks wider than a quarter inch, or beams showing rot or deflection, or when regular pooling or flooding happens after minor rains despite your drainage improvements. These situations signal problems that need expert diagnosis and solutions beyond typical homeowner scope.
Exterior excavation waterproofing involves digging down to your foundation footing level, cleaning and preparing the foundation wall, then applying waterproofing systems that stop water before it contacts the concrete. Contractors excavate around your foundation perimeter, exposing walls from grade level down to the footing, typically six to eight feet deep. They pressure wash walls, repair cracks, then apply rubberized waterproofing membrane or spray on coatings that create a barrier without seams. Bentonite clay panels are sometimes installed against the wall. When water contacts bentonite, it swells to form a tight waterproof seal. Drainage board systems attach over the waterproofing, creating an air gap and drainage path for any water that reaches the wall, directing it down to footing drains rather than sitting against the waterproofing. This is the most thorough exterior approach but requires heavy equipment, proper backfill, and landscape restoration after completion.
Crawl space encapsulation seals dirt floor crawl spaces under homes with partial basements or homes built partially on crawl space and partially on basement. The process covers the ground with heavy vapor barrier plastic, seals it to walls and posts, and often includes insulation on walls and a dehumidification system. Encapsulation transforms a damp crawl space into a controlled dry environment that stops moisture from rising into the home above. It’s comprehensive, addressing ground moisture, humidity, and air quality in one project, typically requiring professional installation for proper sealing and system integration.
Professional assessment starts with inspection of the foundation, drainage, soil conditions, and existing moisture patterns. Contractors scope the work needed, explaining which methods apply to your specific situation and why. Timeline estimates depend on project size. Exterior excavation waterproofing can take one to two weeks depending on foundation perimeter length and site conditions. Interior drainage and sump systems often complete in two to five days. Crawl space encapsulation varies by size and complexity. Warranty coverage typically includes materials and workmanship. Membrane and coating products often carry manufacturer warranties of 10 to 20 years. Drainage systems and sump pumps include shorter warranties on mechanical components, often one to five years with options to extend.
Professional waterproofing costs thousands to tens of thousands depending on scope, but view it as a long term investment. It protects your foundation from progressive structural damage that becomes exponentially more expensive to repair. It prevents mold and air quality issues that affect your family’s health. It maintains and often increases property value by eliminating a major defect that scares away buyers or reduces sale prices.
Preventive Maintenance to Keep Basements Dry Long Term
Once you’ve implemented moisture control solutions, ongoing maintenance protects that investment and catches new problems early when they’re still simple fixes.
Maintenance isn’t optional if you want solutions to keep working. Systems that aren’t monitored fail when you need them most. Gutters clog, sump pumps seize, humidity creeps up unnoticed until you’ve got mold again.
Spring tasks include testing your sump pump by pouring several gallons of water into the pit until the float activates and the pump discharges water outside. Check that the discharge line hasn’t frozen or become blocked over winter. Walk your foundation perimeter and inspect grading. Freeze thaw cycles and spring thaw can create new low spots or settling near the foundation. Add soil and regrade as needed before heavy spring rains.
Summer tasks include monitoring basement humidity with a hygrometer. Readings should stay between 30 and 50 percent. If humidity rises above 50 percent during humid weather, verify your dehumidifier is running efficiently and consider adding ventilation. Inspect visible plumbing, water heaters, and washing machine connections for any signs of leaks, corrosion, or drips.
Fall tasks include cleaning gutters thoroughly before fall rains and winter, removing all leaves and debris. Flush downspouts with a hose to verify they’re clear. Check that downspout extensions are still in place and directing water at least five feet from the foundation. Verify that ground slopes still direct water away from the house and hasn’t settled.
Winter tasks include watching for ice dams on the roof that can cause water to back up and seep into walls. Monitor basement humidity, which can rise if you’re running humidifiers upstairs for comfort. Cold basements sometimes develop condensation on pipes and walls when humidity levels increase, so balance whole house humidity carefully.
Monthly tasks include checking hygrometer readings to verify humidity stays in the 30 to 50 percent range, walking your basement to visually inspect for new moisture signs like stains, efflorescence, dampness, or musty odors, and maintaining your dehumidifier by emptying collection tanks if not using continuous drainage, cleaning filters, and ensuring the unit is running when humidity rises.
Annual professional checkups provide expert eyes on critical systems. Have sump pumps inspected, tested under load, and cleaned by a professional annually. Pumps work in harsh conditions and wear over time. Battery backup systems need testing to verify they’ll run during power outages. Foundation inspections by a professional every few years catch developing cracks, settlement, or drainage issues before they become serious. For homes with drainage systems, verify that footing drains, French drains, and discharge points are flowing properly and haven’t become clogged with silt or root intrusion.
Maintenance connects directly to preventing health hazards from mold growth and structural damage, and to protecting property value by keeping your basement dry and functional rather than becoming a problem that reduces buyer interest.
Cost Considerations for Basement Moisture Control Projects
Moisture control costs vary widely based on problem severity, basement size, and which solutions you need. Understanding cost ranges helps you budget and prioritize spending.
Simple problems with minor moisture and DIY solutions cost hundreds. Comprehensive professional waterproofing with excavation and interior systems costs thousands to tens of thousands. Most homeowners spend somewhere in between, combining DIY improvements with targeted professional work.
| Solution Type | Typical Cost Range | DIY or Professional |
|---|---|---|
| Dehumidifier (residential unit) | $200 to $500 | DIY |
| Crack sealing (materials and minor repair) | $50 to $300 | DIY |
| Interior drainage system (per linear foot) | $50 to $100 per foot | Professional |
| Sump pump installation (new system) | $800 to $2,500 | Professional |
| Exterior excavation waterproofing (per linear foot) | $80 to $150 per foot | Professional |
| French drain installation (exterior perimeter) | $3,000 to $10,000 | Professional |
| Vapor barrier installation (floor and walls) | $300 to $1,500 | DIY to Professional |
| Crawl space encapsulation (complete system) | $5,000 to $15,000 | Professional |
Prioritize spending by addressing the most critical problems first. If you have active water entry, fix that before worrying about humidity. Stop water flowing through foundation cracks or coming up through the floor before investing in dehumidifiers. Once water entry is controlled, add humidity management through dehumidification and ventilation. Finally, make preventive improvements like enhanced drainage, better grading, and long term waterproofing that reduce future risk. This staged approach spreads costs over time and ensures you’re solving problems in order of urgency.
When evaluating contractor quotes, get at least three estimates for major work. Verify that each quote includes the same scope so you’re comparing equivalent solutions. Ask what’s included like materials, labor, site cleanup, restoration of landscaping or concrete. Understand warranty coverage on both materials and workmanship, and get it in writing. Verify proper licensing for your state and that contractors carry liability insurance and workers’ compensation coverage. Ask for references from recent similar projects and actually call them.
Frame moisture control as an investment that protects against much larger costs. Uncontrolled moisture causes structural damage to foundations, beams, and flooring that can cost tens of thousands to repair once it progresses. It creates health hazards from mold exposure that affect your family. It reduces home resale value significantly. Buyers fear damp basements and either walk away or demand major price reductions and repair credits. The cost of proper moisture control, even comprehensive professional solutions, is less than the cost of structural repairs, health issues, and lost property value over time.
Health and Safety Considerations in Damp Basements
Basement moisture isn’t just a property maintenance issue. It’s a health priority that affects everyone living in your home.
Excess moisture creates ideal conditions for mold growth, and mold releases spores that circulate through your home’s air. Those spores trigger respiratory problems, allergic reactions, and worsen asthma. Mold grows when humidity stays above 50 percent for extended periods. Keep humidity between 30 and 50 percent to prevent mold from establishing colonies.
Health hazards from damp basements include direct mold spore exposure, which causes coughing, wheezing, throat irritation, and nasal congestion, especially in children and people with existing respiratory conditions. Dust mites thrive in humid environments, and humidity at 50 percent or higher allows indoor allergens to survive and thrive, multiplying allergen levels throughout your home. Poor indoor air quality affects the entire house because basement air rises into upper floors, carrying musty odors, mold spores, and elevated humidity. Even if you don’t use your basement as living space, the air down there impacts what you breathe upstairs.
Safety concerns beyond health include electrical hazards in wet basements where water near outlets, electrical panels, or appliances creates shock and fire risks. Never touch electrical equipment or outlets if you’re standing in water or touching wet surfaces. Shut off power to basement circuits at the main panel if you have significant water intrusion. Structural integrity risks develop when long term moisture weakens wood beams, rots sill plates, and compromises floor joists that support your home above. What looks like a minor moisture problem can be quietly destroying structural components you can’t see.
Conditions sometimes require temporary relocation during remediation if mold contamination is extensive, if water damage has compromised structural safety, or if professional remediation involves chemicals or containment procedures that make the home temporarily unsafe. Take moisture problems seriously before they reach this point.
Building code requirements for habitable basement spaces specify maximum humidity levels, ventilation standards, and waterproofing requirements. Codes vary by jurisdiction, but most require that basement living spaces maintain humidity below 60 percent, have mechanical ventilation providing adequate air changes per hour, include proper emergency egress windows for bedrooms, and show no evidence of active water intrusion or structural damage. Finished basements must meet these requirements to pass inspection and be legally considered living space. If you’re finishing your basement or using it as living area, proper moisture control isn’t optional. It’s required for safety and code compliance.
Moisture control protects your family’s health and safety, not just your property. Address moisture issues promptly, maintain proper humidity levels, and don’t ignore warning signs like mold growth, structural damage, or persistent dampness.
Final Words
Effective basement moisture control solutions require addressing both water entry and humidity management together.
Start with exterior drainage to keep water away from your foundation. Add interior systems and dehumidification where needed. Seal cracks and barriers properly. Keep up with maintenance.
Most successful moisture control combines several methods rather than relying on one fix. When you’re dealing with repeated flooding, visible structural damage, or solutions that haven’t worked, bring in professionals for assessment.
A dry basement protects your home’s structure, keeps your family healthier, and maintains your property value over time.
FAQ
What is the best way to get rid of moisture in a basement?
The best way to get rid of moisture in a basement combines exterior drainage improvements with interior humidity control. Start by extending downspouts at least five feet from your foundation, fixing gutter problems, and checking that ground slopes away from your house. Inside, run a properly sized dehumidifier and seal any foundation cracks or gaps. Most successful moisture control uses multiple methods together rather than relying on one fix alone.
How much does it cost to waterproof a 1200 sq ft basement?
Waterproofing a 1200 sq ft basement typically costs between $3,000 and $15,000 depending on the severity of moisture problems and solutions required. Basic interior crack sealing and dehumidification runs on the lower end, while comprehensive systems including interior drainage, sump pump installation, and exterior waterproofing membrane application cost more. Professional assessment helps determine what your specific situation requires and provides accurate pricing for needed work.
How am I getting water in my basement when my cement walks aren’t cracked?
Water enters basements through several paths beyond visible cracks in concrete walks. Groundwater seeps through porous concrete itself through capillary action, hydrostatic pressure forces water through foundation walls from saturated soil, and water can travel along the footing where walls meet floors at cove joints. Poor grading, clogged gutters directing water toward your foundation, and high water table levels also push moisture into basements without requiring visible surface cracks.
Does DampRid work in a basement?
DampRid works for very small, enclosed spaces but is not effective for whole basement moisture control. These passive moisture absorbers collect limited water and require frequent replacement, making them impractical and expensive for basement-sized areas. A properly sized electric dehumidifier removes 30 to 100 pints of moisture daily and provides adjustable humidity control, making it the right choice for managing basement humidity levels effectively.
When should I call a professional for basement moisture problems?
Call a professional when you see persistent mold growth after DIY attempts, structural damage to foundation walls or beams, or regular pooling and flooding after minor rains. Professional inspection also makes sense when you’re unsure what’s causing moisture, when multiple DIY solutions haven’t worked, or when you need interior drainage systems and sump pump installation that require excavation and specialized equipment.
How do I know if my basement moisture is from groundwater or plumbing leaks?
Basement moisture from groundwater typically appears after heavy rain or spring thaw, shows up along walls near the floor, and affects larger areas with dampness or efflorescence. Plumbing-related moisture stays consistent regardless of weather, appears near supply lines or drains, and creates localized wet spots on walls or floors. A moisture meter and visual inspection of pipe connections help identify the source before selecting the right fix.
What humidity level should I maintain in my basement?
Maintain basement humidity between 30 to 50 percent relative humidity to prevent mold growth and protect belongings from moisture damage. Use a hygrometer to monitor humidity levels regularly, adjusting your dehumidifier settings as needed. Humidity above 50 percent allows mold spores, dust mites, and allergens to thrive, while levels below 30 percent can feel uncomfortable and may affect wood furnishings.
Can I finish my basement if I have moisture problems?
Never finish a basement until you’ve fully resolved moisture problems and maintained dry conditions for at least one full seasonal cycle. Finishing over existing moisture traps water behind walls, accelerates mold growth, ruins materials, and creates health hazards. Fix exterior drainage, install necessary waterproofing systems, control humidity, and verify everything stays dry through spring thaw and heavy rain periods before investing in finish work.