
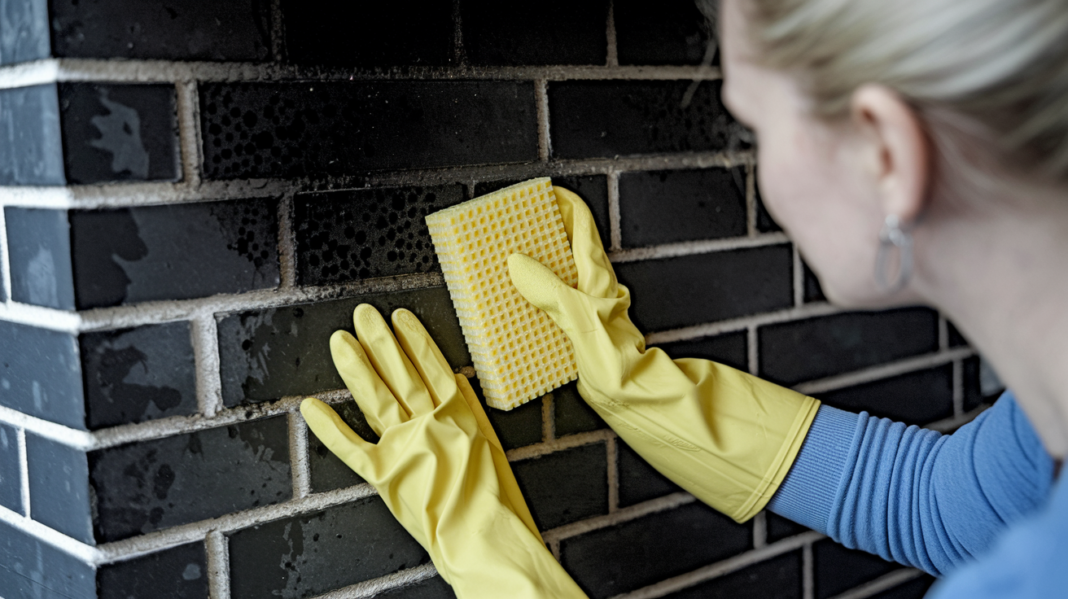

Grab the wrong cleaner for soot and you’ll just smear that greasy black film into a bigger mess. Soot isn’t regular dirt. It’s oily carbon particles that stick hard to walls, ceilings, and fabric, and most household cleaners can’t break that bond. Some products lift it clean in one pass. Others push it deeper or leave streaks that won’t budge. We tested commercial degreasers, dry sponges, TSP, enzyme cleaners, and DIY mixes to see what actually works on brick, drywall, upholstery, and glass. Here’s what cuts through soot fast, what wastes your time, and how to match the right product to your surface.
Top-Rated Soot Cleaners: Commercial and DIY Product Comparison
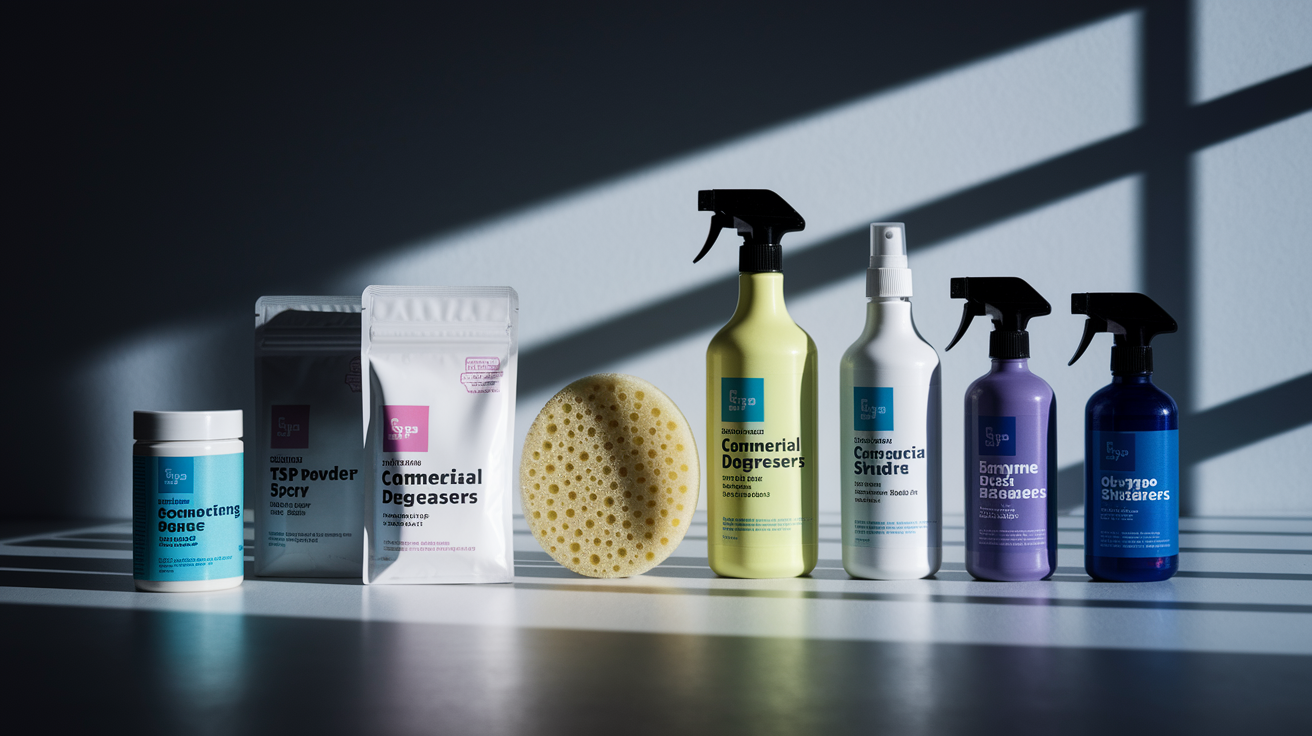
| Cleaner Type | Effectiveness Rating | Best For | Approx. Price Range | Key Features |
|---|---|---|---|---|
| TSP (Trisodium Phosphate) | 9/10 | Hard surfaces, walls, masonry | $8-$15 per box | High alkaline pH, cuts oily residue, requires dilution (1 tbsp per gallon) |
| Dry Chemical Sponge | 8/10 | Initial surface cleaning, painted walls | $4-$12 per sponge | Absorbs particles without water, prevents spreading, reusable until saturated |
| Commercial Degreasers | 9/10 | Heavy carbon deposits, brick, stone | $12-$35 per bottle | Surfactant-based, breaks down oily soot, fast-acting formula |
| Enzyme Cleaners | 7/10 | Organic soot components, odor removal | $10-$25 per bottle | Breaks down carbon compounds biologically, eco-friendly, ammonia-free |
| Oxygen Bleach Solution | 8/10 | Fabric, carpet, light surface deposits | $8-$18 per container | Color-safe, gentler than chlorine bleach, requires warm water activation |
| Alkaline Cleaners | 8/10 | Non-porous surfaces, glass doors | $9-$22 per bottle | High pH neutralizes acidic soot, leaves minimal residue |
| Magic Erasers (Melamine Foam) | 6/10 | Light candle soot, spot treatment | $3-$8 per pack | Micro-abrasive action, water-activated, single-use |
| Baking Soda Paste | 6/10 | Carpet, upholstery, light deposits | $2-$5 per box | Absorbs oily residue, odor neutralizer, pH neutral, safe for most surfaces |
| Vinegar and Dish Soap Solution | 5/10 | Light soot on non-porous surfaces | $3-$7 total | Mild acidity cuts grease, readily available, biodegradable |
| Cornstarch Treatment | 5/10 | Fresh soot on fabric, carpet | $2-$4 per container | Absorbs oil before it sets, safe for delicate materials |
| Warm Water and Detergent | 4/10 | Pre-soaking fabric, initial rinse | $5-$12 per bottle | Basic surfactant action, works overnight for fabric soaking |
| Specialized Wall Cleaners | 7/10 | Painted drywall, ceiling surfaces | $8-$20 per spray bottle | pH-balanced for paint, no-rinse formulas available, streak-free finish |
What makes soot cleaners work comes down to chemistry. TSP and commercial degreasers hit hard with pH levels between 11 and 13, breaking apart the oily carbon compounds that glue soot to your walls. The surfactants in these products act like tiny bridges connecting water and oil, grabbing greasy residue and pulling it loose.
Dry chemical sponges work differently. They’re made from porous rubber that absorbs particles instead of pushing them deeper or spreading them around. Enzyme cleaners take their time but go after the organic stuff in soot, breaking down carbon molecules while killing the smell that regular cleaners leave behind. Oxygen bleach releases hydrogen peroxide when you mix it with warm water, creating lifting action that’s strong enough for carbon stains but won’t wreck colored fabrics like chlorine bleach does.
DIY options like baking soda, vinegar, and cornstarch run under $10 per session, but they only handle fresh, light deposits. Commercial products cost more upfront, anywhere from $10 to $35 per container, but they tackle stubborn buildup and oily residue that household items can’t touch. Got light candle soot on painted walls? A $4 dry sponge plus vinegar and dish soap usually does it. Fireplace brick covered in months of buildup? You’ll need TSP or a commercial degreaser mixed right.
The cost benefit flips when you’re dealing with more than 50 square feet or soot that’s been sitting for weeks. DIY methods take three times longer and might not get the stain out completely. Commercial products finish the job in one, maybe two applications.
You can find most commercial cleaners at home improvement stores or online, though specialized enzyme cleaners and pro-grade degreasers might need ordering ahead. TSP used to be everywhere, but some states restrict it now because of phosphate concerns. Check local availability or grab TSP-alternative products that use different alkaline compounds. Store liquid cleaners somewhere cool and dry, away from kids and pets. Keep TSP powder sealed tight since it pulls moisture from the air. Dry chemical sponges last forever if you leave them in their packaging, but once you start using them, they fill up with soot and need replacing after 100 to 150 square feet.
Surface-Specific Cleaning Methods with Step-By-Step Instructions
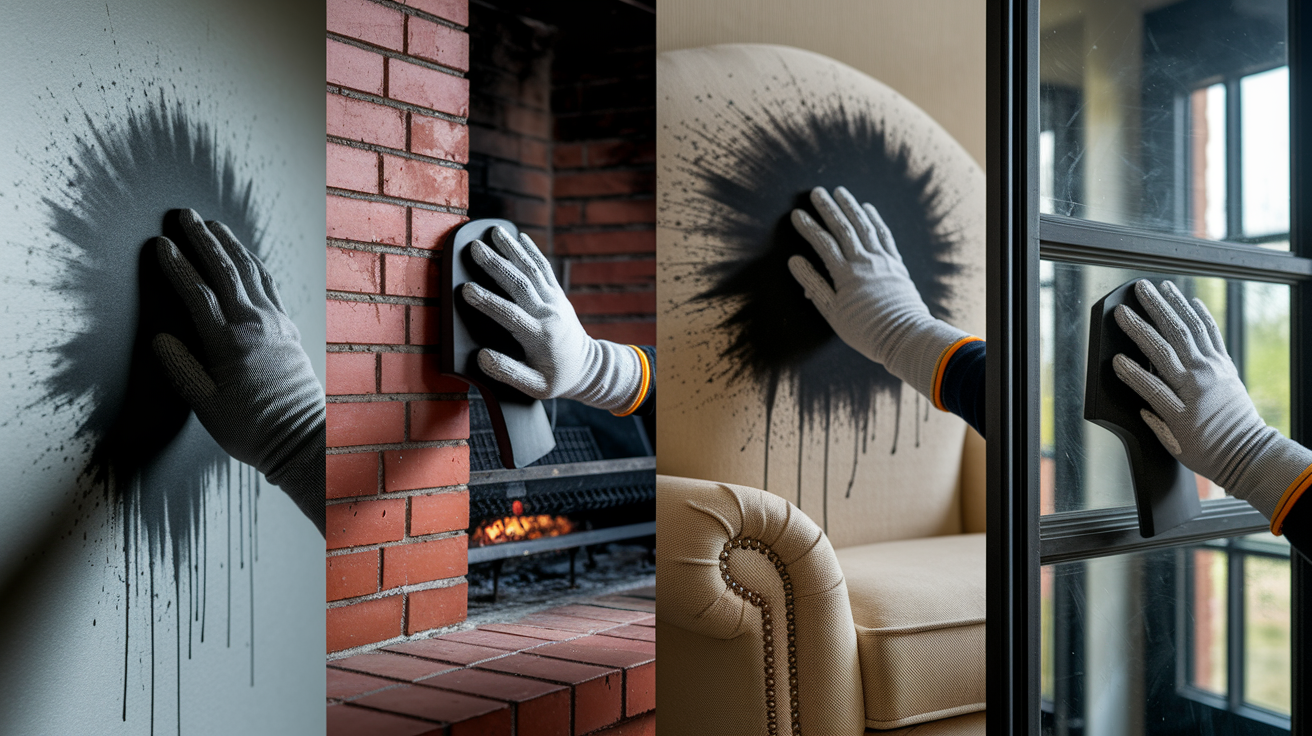
Different surfaces need different approaches because soot doesn’t interact the same way with everything. Porous stuff like brick and drywall traps carbon particles deep in the texture. Non-porous materials like glass keep soot on top but show streaks. Painted walls handle mild cleaners fine but get damaged by harsh alkaline solutions that strip the finish. Match your cleaner to the material or you’ll end up with permanent discoloration, surface damage, or a repair project instead of a cleaning project.
Walls and Painted Surfaces
-
Vacuum loose soot with a brush attachment. Go gentle to avoid grinding particles into the paint.
-
Test your cleaner somewhere nobody looks, like behind furniture or inside a closet. Wait 10 minutes to see if the paint softens or changes color.
-
Mix 1 tablespoon TSP or specialized wall cleaner per gallon of warm water, or make a milder mix with 1 tablespoon dish soap per quart of warm water for lighter deposits.
-
Start at the bottom and work up. This prevents drip marks that are harder to clean on soot-covered surfaces.
-
Scrub one 3-foot-by-3-foot section at a time using circular motions with a microfiber cloth or soft sponge. Apply decent pressure without grinding.
-
Rinse right away with a separate cloth dampened in clean water. Wring out excess to avoid soaking the drywall.
-
Let each section air dry completely before moving to the next. Check for missed spots once it’s dry, since soot shows up better on dry walls.
Brick, Stone, and Masonry
-
Dry brush the surface with stiff bristles to knock off loose particles without adding moisture that drives residue deeper.
-
Apply TSP at 1 tablespoon per gallon or use commercial masonry degreaser at the strength listed on the bottle. Spray or sponge onto a small test area first.
-
Let the cleaner sit 5 to 10 minutes so it can penetrate and break down oily carbon.
-
Scrub with a stiff-bristle brush using firm, circular motions. Reapply cleaner to sections that dry before you finish.
-
Rinse thoroughly with clean water. Use a hose for outdoor surfaces or multiple rinse buckets for indoor fireplace brick.
-
For stubborn deposits on outdoor brick, consider renting a low-pressure sandblaster. Use the lowest setting to avoid spreading soot or damaging mortar.
-
Let masonry dry completely, which takes 24 to 48 hours for porous stone. Apply penetrating sealer if the surface was sealed before, since cleaning strips old sealant.
Upholstery and Carpet
-
Vacuum the entire area thoroughly with a HEPA-filter vacuum and upholstery attachment. Make multiple slow passes to grab surface particles.
-
Sprinkle baking soda or cornstarch all over remaining stains, covering the whole area with a light coating.
-
Wait 15 minutes, or up to 30 for heavy deposits, while the powder soaks up oily residue.
-
Vacuum again, making slow overlapping passes to remove all the powder and absorbed oils.
-
Mix a mild solution, either 1 tablespoon dish soap per 2 cups cool water or use upholstery cleaner at labeled dilution.
-
Blot stained areas with a clean microfiber cloth dampened in the solution. Press down and lift instead of rubbing.
-
Rinse your cloth frequently in cool water, wringing it almost dry before continuing.
-
Repeat blotting with clean water only to remove soap residue that attracts dirt later.
-
Let upholstery and carpet air dry completely. Use fans to speed drying and prevent mildew.
Fabric and Textiles
-
Take items outside and shake them gently to release loose particles without grinding them deeper.
-
Rinse under cool running water, letting it flow through from the back side of the stain to push particles out.
-
Soak overnight in a large container or washing machine filled with warm water and detergent. Use 1.5 times your normal detergent amount for soot-stained loads.
-
Wash on the hottest water setting safe for the fabric. Add chlorine bleach for whites or oxygen bleach for colors.
-
Inspect the fabric carefully after washing while it’s still damp. Soot staining should be completely gone before drying.
-
Never put it in a dryer until the stain’s completely gone. Heat permanently sets carbon staining, making removal impossible.
Glass, Ceilings, and Non-Porous Surfaces
For glass fireplace doors, use commercial glass cleaner or equal parts white vinegar and warm water in a spray bottle. Wipe with vertical then horizontal strokes to kill streaking. Ceiling cleaning takes extra care since working overhead with liquids creates drip risks. Use a dry chemical sponge first to remove as much as possible, then lightly mist small sections with cleaner instead of soaking them. For glossy surfaces like tile or sealed wood, simple dish soap and warm water works well since these materials don’t absorb staining. Always wipe in straight lines on glass and glossy surfaces to prevent visible swirl marks. Dry immediately with a clean microfiber cloth to avoid water spots.
Preventing permanent damage boils down to three things: always vacuum or dry sponge before introducing liquid, test every cleaner on a hidden spot first, and never apply heat through dryers or direct sunlight until staining’s completely gone. Skip the test patch and you’ll discover your cleaner strips paint, discolors fabric, or etches stone after you’ve already covered the entire surface. Soot that looks gone when wet often reappears as things dry, so inspect after complete drying and repeat if needed.
Common Soot Removal Mistakes to Avoid
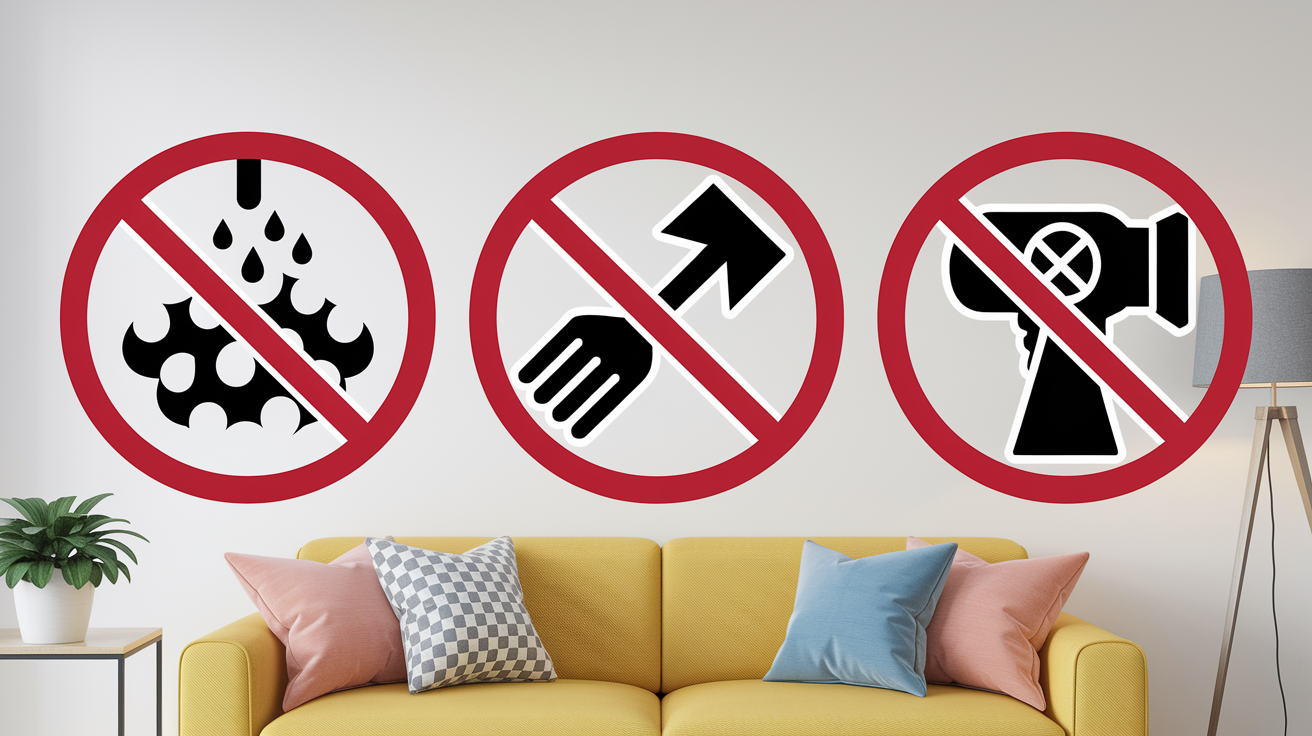
Soot needs special handling compared to regular dirt because it’s fine carbon particles mixed with oily residue. That combination spreads easily and sets permanently if you use the wrong approach. What works for everyday spills often makes soot worse.
Common mistakes that worsen the damage:
- Using water first without vacuuming or dry-sponging turns dry soot into muddy paste that drives deeper into surfaces
- Rubbing or scrubbing hard instead of blotting spreads the stain outward and grinds particles into the material
- Applying heat through hair dryers, direct sunlight, or clothes dryers before complete removal permanently bonds carbon to surfaces
- Using the wrong cleaner for the surface, like harsh TSP on painted drywall or acidic vinegar on natural stone
- Skipping patch tests and discovering too late that your cleaner discolors or damages the finish across large visible areas
- Working in poorly ventilated spaces without respiratory protection, inhaling fine carbon particles
- Mixing incompatible cleaners like ammonia-based and bleach products, creating toxic fumes
- Rushing the drying process or assuming surfaces are clean while damp, since soot reappears as moisture evaporates
These mistakes cause permanent staining when heat or aggressive rubbing bonds carbon molecules to surface fibers, turning removable soot into discoloration that penetrates material structure. Harsh cleaners strip paint, etch stone, or bleach fabric dyes. Spreading soot during cleaning turns a contained problem into wall-to-wall contamination that requires treating the entire room. Poor ventilation lets fine particles resettle on surfaces you already cleaned. Mixing certain chemicals creates health hazards worse than the soot itself.
If you’ve already made these mistakes, the fix depends on what went wrong. For soot paste from early water use, let it dry completely, then vacuum gently before starting over with proper dry-then-wet sequencing. For heat-set stains in fabric, enzyme cleaners or oxygen bleach with extended soaking offers the only shot at removal, though success isn’t guaranteed. For surface damage from harsh cleaners, you’re usually looking at repainting walls, refinishing wood, or replacing damaged materials since chemical etching and finish stripping rarely reverse. Damage becomes unfixable when carbon molecules bond at a molecular level with surface materials (happens with heat), when cleaner reactions permanently alter surface chemistry (acid on stone), or when aggressive scrubbing physically damages material texture (crushed carpet fibers, scratched paint). At that point, replacement or professional restoration becomes necessary.
Soot Prevention and Regular Maintenance

Prevention saves hours of scrubbing and hundreds in supplies or professional services. A basic maintenance routine catches buildup when it’s still light and easy to remove, rather than waiting until carbon deposits turn into stubborn staining projects.
Prevention strategies that minimize future buildup:
- Schedule annual chimney inspections and professional cleanings before heavy winter use, removing creosote buildup before it becomes a fire hazard
- Keep fireplace dampers fully open during fires and slightly open between uses to maintain proper draft and prevent smoke backdraft
- Burn only seasoned hardwood with moisture content below 20%. Wet or softwood creates excessive smoke and soot.
- Trim candle wicks to 1/4 inch before each use, preventing tall flames that produce black smoke
- Maintain proper ventilation with windows cracked or exhaust fans running when burning candles or using fireplaces
- Replace HVAC air filters every 30 to 60 days during heavy fireplace season to capture airborne particles before they settle
- Address soot spots immediately when you first notice them, since fresh deposits wipe away easily but set stains require aggressive treatment
Your maintenance schedule depends on how often you use soot-producing items. Burn fires daily and you’ll need monthly quick-wipes of surrounding surfaces plus professional chimney service twice yearly. Use candles occasionally and a quarterly check of walls and ceilings near candle locations catches problems early. The rhythm that works: vacuum or dry-sponge surfaces weekly during active fireplace season, thoroughly clean fireplace surrounds monthly, and inspect less visible areas like ceilings and upper walls every six weeks since soot rises and accumulates where you don’t naturally look.
You can perform basic inspections yourself by running a clean white cloth along walls near fireplaces, across ceiling areas above candles, and inside fireplace openings to check for black residue transfer. Look for gray or brown discoloration on painted surfaces, especially in corners where soot piles up. Check behind and around wood stoves for heat-driven carbon deposits. When you spot heavy black buildup inside chimneys visible from below, flaky creosote deposits, soot falling from chimney openings when you tap walls nearby, or smoke backing into rooms during fires, those signs mean you need professional inspection and cleaning rather than DIY maintenance.
Safety Precautions for Soot Cleanup

Soot cleanup poses real health risks. You’re handling fine carbon particles, oily residue that irritates skin, and often harsh chemical cleaners that damage tissue on contact. Soot particles lodge in lung tissue and cause respiratory irritation. Prolonged exposure links to more serious breathing problems.
Personal protective equipment you need for soot removal:
- N95 or P100 respirator mask, not a basic dust mask, to filter particles small enough to reach deep lung tissue
- Rubber dishwashing gloves or chemical-resistant work gloves to protect hands from cleaner burns and prevent skin absorption of soot oils
- Safety glasses or goggles to keep particles and cleaning solution splashes out of eyes
- Long-sleeved shirt and long pants in materials you can wash immediately after, covering skin that would otherwise absorb oily residue
- Closed-toe shoes or work boots, since soot on floors transfers to bare feet and tracks through the house
- Old clothing you don’t mind discarding if heavily contaminated, since soot staining rarely comes completely out
Ventilation matters as much as protective gear. Open all windows and doors in the cleaning area, creating cross-breeze that pushes contaminated air outside. Run box fans facing outward in windows to actively exhaust particle-filled air. For large jobs, rent or buy a HEPA air purifier running continuously during and for several hours after cleaning. Never clean soot in enclosed spaces with poor airflow, especially basements or rooms with closed doors, since particle concentration builds quickly. Take items outdoors for cleaning whenever possible.
Dispose of soot-contaminated materials by sealing them in plastic bags before tossing in regular trash, preventing particles from escaping. When handling TSP or other harsh cleaners, never pour concentrated product down drains without diluting heavily with running water. Check local regulations since some areas restrict phosphate disposal. Wear gloves during the entire mixing and application process. If cleaner contacts bare skin, rinse immediately under running water for several minutes. Store chemical cleaners in original containers with intact labels, in locked cabinets away from children, pets, and heat sources.
Removing Soot from Fireplaces and Wood Stoves
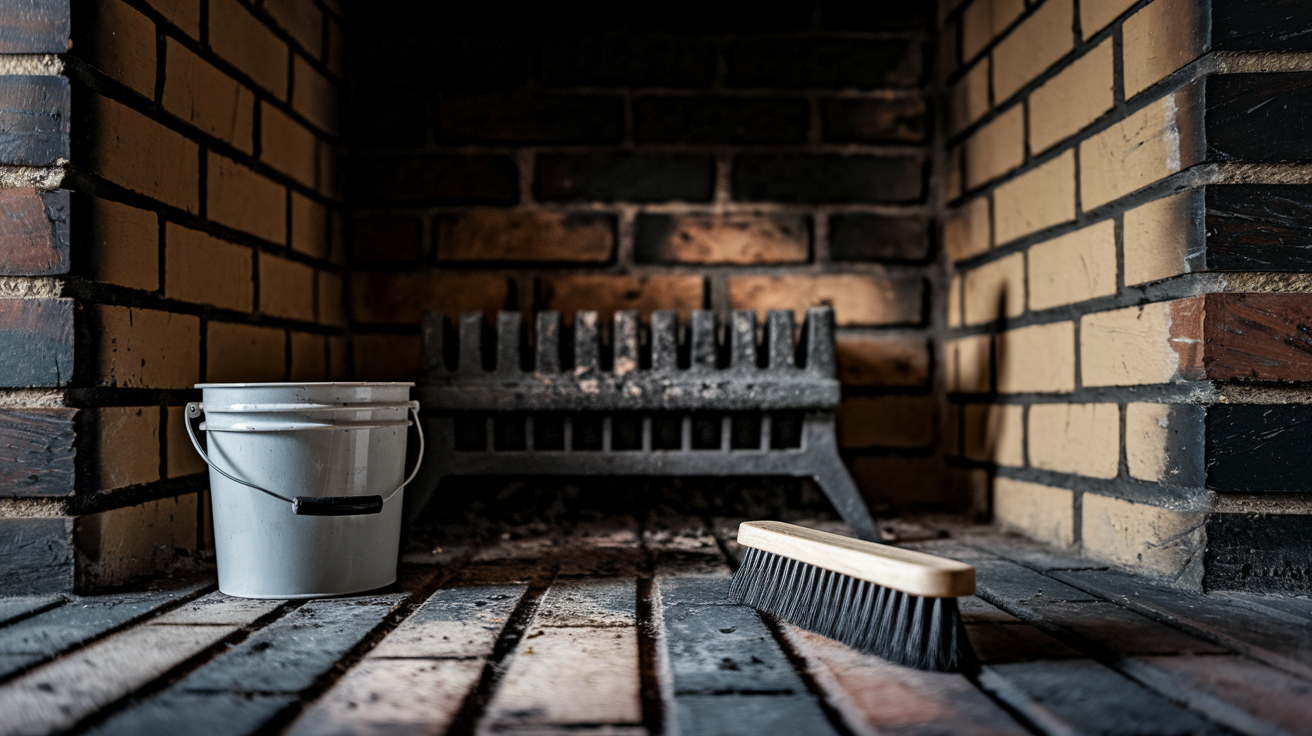
Fireplace and wood stove soot differs from candle deposits or light smoke residue because it combines heavy carbon with creosote, a tar-like substance that forms when wood smoke condenses on cooler chimney surfaces. Regular soot wipes away with proper cleaners, but creosote requires more aggressive treatment.
Specialized techniques for fireplace soot removal:
- Start with dry chemical sponges to remove loose surface soot from brick and stone without adding moisture that turns ash into paste
- Mix TSP at 1 tablespoon per gallon of warm water for brick fireplace fronts, applying with stiff-bristle brushes that reach into mortar joints
- Use commercial degreasers specifically labeled for fireplace cleaning, which contain surfactants designed to break down oily wood smoke residue
- Apply enzyme-based cleaners to areas with odor problems, letting them sit 15 to 20 minutes to break down organic compounds before scrubbing
- For exterior brick with heavy carbon deposits, rent low-pressure sandblasting equipment, starting with the lowest velocity setting
- Test sandblasting on an inconspicuous area first since even low pressure can damage soft brick or aging mortar
- Work in small sections when sandblasting, keeping the nozzle moving to prevent concentrated spray from etching brick
Heavy carbon deposits that resist TSP and degreasers often mean creosote mixed with soot, which requires different handling. Creosote appears as shiny, tar-like coating in black or brown, sometimes with a puffy or flaky texture. Stage 1 looks like black soot but feels slightly sticky. Stage 2 forms shiny, hardened patches. Stage 3 creates thick, dripping deposits that concentrate near the top of chimneys. Surface soot on fireplace fronts responds to standard cleaning, but once you see creosote buildup inside the firebox or visible in the chimney, you’re beyond DIY territory. Professional chimney sweeps use specialized rotary brushes, chemical treatments rated for creosote, and proper disposal methods. They’ll also inspect for chimney damage, blockages, and fire risk that homeowners miss.
Regular maintenance prevents excessive buildup that requires professional help. Burn hot fires rather than smoldering ones, since incomplete combustion at low temperatures creates more creosote. Have chimneys inspected annually and cleaned when deposits reach 1/8 inch thickness. Clean fireplace fronts monthly during active burning season using dry sponges followed by appropriate cleaner for your specific brick or stone.
Smoke Damage Cleanup and Odor Elimination After Fire Incidents

Smoke damage goes way beyond visible soot on surfaces. Even small fires spread microscopic particles through ventilation systems, into wall cavities, and deep into porous materials where they keep releasing odor long after you’ve wiped down walls.
| Damage Level | DIY Appropriate | Professional Recommended | Typical Timeline |
|---|---|---|---|
| Light surface soot from candles or small contained fire | Yes – surface cleaning with TSP or specialty cleaners | Optional for odor concerns | 1-3 days DIY |
| Moderate smoke damage with soot on multiple room surfaces | Maybe – depends on affected area size and material types | Yes for thorough treatment and odor elimination | 3-7 days DIY / 2-4 days professional |
| Heavy smoke penetration with structural material contamination | No – requires specialized equipment and techniques | Strongly recommended | 1-3 weeks professional |
| Fire damage with burned materials, water damage from suppression | No – safety hazards and specialized restoration needed | Required for safe remediation | 2-6 weeks professional |
Once smoke damage extends beyond cleanable surfaces into ductwork, insulation, wall cavities, or structural materials, coordination becomes critical. Professionals assess what can be cleaned versus what needs removal and replacement. They document damage for insurance claims with detailed photos, moisture readings, and material testing. They sequence the work properly: damaged material removal first, then structural cleaning and odor sealing, followed by reconstruction once all contamination’s addressed. Attempting DIY on heavy damage risks missing hidden contamination that continues causing odor problems and health concerns long after visible surfaces look clean. When considering Fire Damage Restoration Services, contact professional restoration teams once smoke damage affects multiple rooms, penetrates HVAC systems, or includes water damage from fire suppression.
Professional restoration provides equipment and expertise DIY can’t match: thermal foggers that penetrate porous materials with odor-counteractant chemicals, hydroxyl generators that break down odor molecules at a molecular level, negative air machines that prevent cross-contamination during cleaning, and commercial-grade sealers that lock residual odors inside materials. They know which materials clean successfully and which need replacement, preventing wasted effort on items too contaminated to salvage. They handle hazardous material disposal following regulations most homeowners don’t know exist. They understand how smoke travels through structures, checking areas you wouldn’t think to inspect.
Smoke smell persists after visible residue removal because microscopic particles lodge deep in porous materials where surface cleaning can’t reach. Drywall, carpet padding, insulation, upholstery foam, and wood all absorb smoke particles that slowly release odor molecules over time. Surface cleaning removes the top layer but leaves deeper deposits untouched. The difference between surface cleaning and true odor elimination is sealing or replacing affected porous materials rather than just wiping them down.
Proven odor elimination techniques for smoke-affected homes:
- Apply enzyme cleaners to all porous surfaces, allowing 20 to 30 minutes dwell time for biological breakdown of odor-causing compounds
- Place activated charcoal bags throughout affected rooms, replacing every two weeks as charcoal saturates with absorbed odor molecules
- Sprinkle baking soda on carpets and upholstery, leaving overnight before vacuuming to absorb odors from surface fibers
- Mix white vinegar solution, 1 cup per gallon of water, for hard surface cleaning since vinegar’s acidity neutralizes alkaline smoke residue
- Run HEPA air purifiers continuously for 2 to 4 weeks, placing units in central locations with good airflow
- Consider ozone treatment only in unoccupied spaces with professional guidance, since ozone irritates lungs but effectively breaks down persistent odor molecules
- Maintain constant ventilation with windows open and fans running, exchanging indoor air completely several times daily
Treating porous materials requires more aggressive methods than hard surfaces. Carpets need deep extraction cleaning that pulls contaminated water from backing and padding, not just surface shampooing. Upholstery often needs professional cleaning with specialized equipment that injects solution deep into cushion foam then extracts it. Drywall that absorbed heavy smoke may need primer-sealer before repainting, or removal and replacement if contamination’s severe. Bare wood requires sanding to remove surface layer before sealing and refinishing.
Timeline expectations for complete odor removal range from two weeks for light smoke exposure to three months for heavy contamination in porous materials. Insurance documentation should include photos of all damage before cleaning, itemized lists of cleaning supplies and equipment rentals, and dated records of professional services. Signs that professional odor sealing may be necessary include smell that returns after thorough cleaning and ventilation, odor that intensifies in humidity or heat, and persistent smell concentrated in specific areas like closets or ductwork despite surface treatment.
Cleaning Candle Soot from Walls and Ceilings
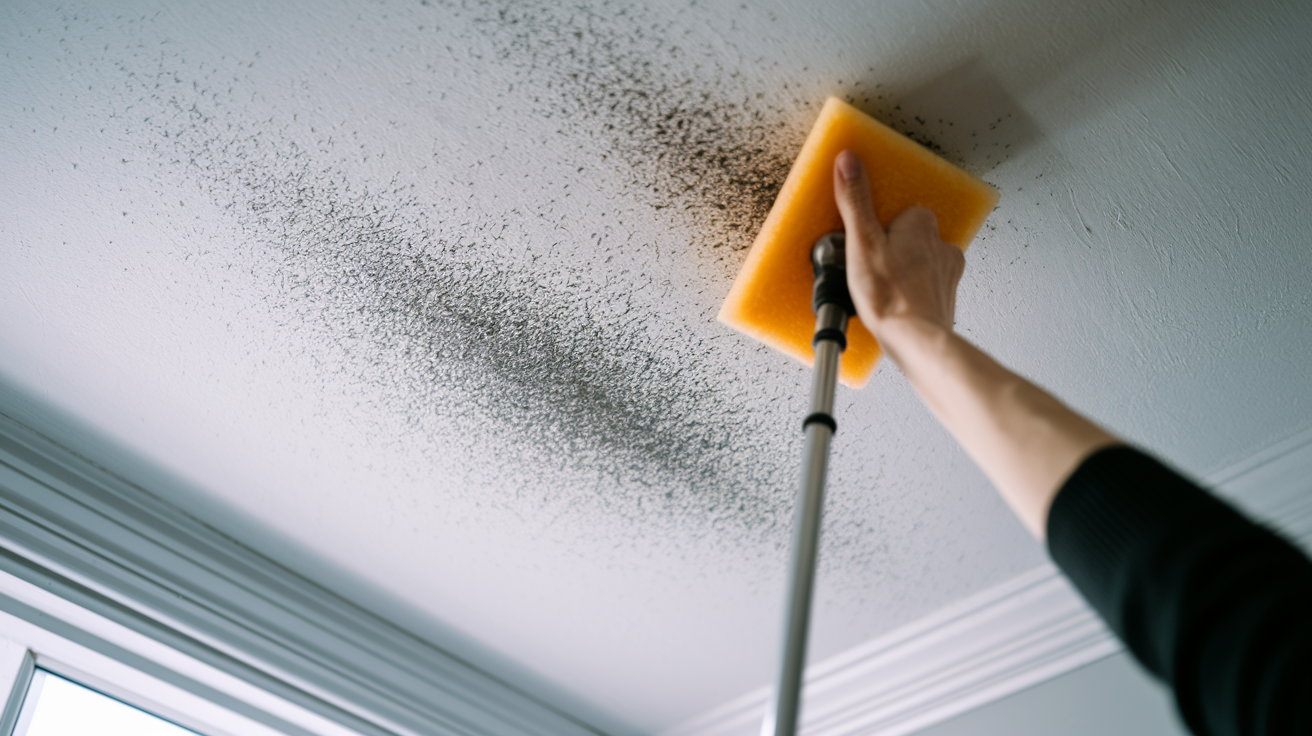
Candle soot creates different challenges than fireplace residue because it typically shows up as light gray or black shadowing rather than heavy deposits, but it covers larger areas since air currents carry the fine particles across rooms. The oily carbon floats on warm air from candle flames and settles on cooler surfaces like upper walls and ceilings.
Start by understanding that candle soot bonds less aggressively than fire damage soot, making it easier to remove if you catch it early and use proper technique. The carbon particles haven’t been heated to the extreme temperatures of house fires, so they sit on surfaces rather than embedding deeply.
For walls, proper technique prevents the streaking that makes the problem look worse. Begin at the bottom of the affected area even though that seems backward, because drips from cleaning solution running down over soot create permanent streak marks that resist removal. Work in 3-foot-wide sections, using a dry chemical sponge first to lift as much soot as possible without adding liquid. The sponge absorbs particles through its porous rubber texture. Wipe in straight horizontal lines with light pressure, rotating to a clean area of the sponge as it darkens. Once the dry sponge stops picking up visible residue, mix a mild solution of 1 tablespoon dish soap per quart of warm water. Dampen, don’t soak, a microfiber cloth in the solution, wring it nearly dry, then wipe the wall using overlapping horizontal strokes. Rinse your cloth frequently in clean water, wringing thoroughly before continuing. Immediately wipe each cleaned section with a separate cloth dampened only in clean water to remove soap residue. Let the section air dry before moving up.
Ceiling cleaning requires modified technique since working overhead with liquid creates drip risks and physical strain. Use a dry chemical sponge attached to an extension pole for initial removal, working in 2-foot-by-2-foot sections with gentle pressure to avoid damaging textured finishes. For remaining residue, lightly mist small sections with cleaning solution in a spray bottle rather than soaking, immediately wiping with a barely damp microfiber cloth. Work quickly so solution doesn’t drip, and wear safety glasses since particles and liquid tend to fall on your face. For flat ceilings, use straight back-and-forth strokes following the direction of any visible texture. For popcorn or heavily textured ceilings, dab rather than wipe to avoid crushing or removing texture material.
Best cleaners specifically for candle soot on painted surfaces:
- Mild dish soap solution, 1 tablespoon per quart warm water, for light deposits on latex paint
- Magic erasers dampened with plain water for spot treatment of small areas, using very light pressure to prevent paint damage
- Dry chemical sponges as first treatment on any painted surface
- Specialized wall cleaners in spray bottles formulated for painted surfaces, following label instructions
- White vinegar solution, 1/4 cup per quart warm water, for walls with semi-gloss or high-gloss paint that resists soap streaking
- TSP-alternative cleaners at reduced strength, 1 teaspoon per quart, for stubborn deposits on durable paint
Prevention tips keep candle soot from reappearing on freshly cleaned walls. Trim candle wicks to exactly 1/4 inch before every lighting, since longer wicks create taller flames that produce more carbon particles. Place candles away from air vents, fans, and drafts that make flames flicker and smoke. Burn candles in properly sized holders that protect flames from air movement. Avoid burning candles for more than three hours continuously, since extended burning creates larger, sootier flames. Choose high-quality candles made from natural waxes rather than petroleum-based paraffin, which tends to produce more black smoke. Keep wicks centered in the wax and extinguish candles by dipping the wick into melted wax rather than blowing them out, since blowing creates a final puff of smoke that deposits fresh soot.
Final Words
Picking the best cleaner for soot removal comes down to matching the product to your surface and the damage level you’re facing.
TSP works fast on hard surfaces. Dry sponges handle walls without spreading residue. Baking soda and enzyme cleaners tackle fabrics and upholstery safely.
Test first. Work from the bottom up. Don’t rush the drying.
If you’re staring at heavy buildup, stubborn smoke smell, or damage beyond surface cleaning, professional help saves time and prevents mistakes that lock stains in permanently.
Clean it right the first time, and your home comes back.
FAQ
What’s the best cleaner to remove soot?
The best cleaner to remove soot depends on the surface you’re treating. For hard surfaces like walls and brick, TSP (trisodium phosphate) cleaner mixed at 1 tablespoon per gallon of warm water works effectively. For upholstery and carpet, baking soda or cornstarch absorbs soot when sprinkled on, left for 15 minutes, then vacuumed. Dry chemical sponges work well on painted walls through absorption rather than scrubbing.
What chemical breaks down soot?
The chemical that breaks down soot is trisodium phosphate (TSP), which tackles both the dusty and oily components of soot effectively. Alkaline cleaners and degreasers also break down carbon deposits by cutting through the greasy residue. Enzyme cleaners work on organic soot components and help eliminate odors. Oxygen-based cleaners provide a gentler alternative while still breaking down soot particles.
How do professionals remove soot?
Professionals remove soot by first vacuuming loose particles to prevent spreading, then applying appropriate cleaners matched to each surface type. They use dry chemical sponges on walls, TSP solutions on hard surfaces, and specialized equipment like low-pressure sandblasters for brick and masonry. Professionals also coordinate proper ventilation, seal odor sources, and replace damaged materials when cleaning alone isn’t enough.
What cleaner cleans soot effectively?
The cleaner that cleans soot effectively includes TSP for hard surfaces, dry chemical sponges for painted walls, and baking soda paste for upholstery and carpet. Commercial degreasers and alkaline cleaners work on heavy carbon deposits. For fabric, warm water with laundry detergent and oxygen bleach removes soot stains. Always test cleaners in an inconspicuous area first to prevent damage or discoloration.
Can I use household items to clean soot?
You can use household items to clean soot, including baking soda, white vinegar, dish soap, and cornstarch for lighter deposits. Mix dish soap with warm water for painted surfaces, or create a baking soda paste for stubborn spots. These cost-effective options work well for small areas, though commercial cleaners handle heavy buildup more efficiently.
Should I vacuum soot before cleaning?
You should vacuum soot before cleaning to prevent particles from settling on other surfaces and spreading the oily residue. Use a HEPA vacuum to capture fine soot particles without releasing them back into the air. Vacuuming first makes the cleaning solution more effective by removing loose deposits before applying liquid cleaners.
How do I remove soot from painted walls without damage?
To remove soot from painted walls without damage, start from the bottom and work upward, scrubbing one section at a time with a mild TSP solution. Test a small patch in an inconspicuous area first to ensure the cleaner won’t discolor or damage the paint. Use a microfiber cloth and gentle circular motions, rinsing the cloth frequently.
When should I call professionals for soot removal?
You should call professionals for soot removal when dealing with heavy smoke damage from fire incidents, extensive ceiling and wall coverage, or when DIY cleaning doesn’t eliminate odors. Professional restoration teams coordinate material removal, odor sealing, and reconstruction phases that go beyond surface cleaning, ensuring complete smoke damage resolution and proper insurance documentation.