

You’ve probably seen those dark patches spreading across your bathroom tiles and wondered if you really need to call someone, or if it’s something you can fix yourself. Here’s the reality: you can handle black mold safely on your own when it’s covering less than 10 square feet. That’s roughly a 3 by 3 foot area. Bigger than that, or if it’s growing behind walls, you’re looking at a professional job. This guide walks you through safe DIY removal steps, the right protective equipment to use, and when to stop and call for help.
Complete Guide to Safe Black Mold Removal in Your Bathroom
You can tackle bathroom black mold yourself when it’s covering less than 10 square feet. That’s roughly a 3 by 3 foot area. Bigger than that? You’re looking at a job for professionals.
Call an expert if the mold exceeds that size, if it’s growing behind walls or inside your HVAC system, or if you’ve got asthma, allergies, or other respiratory conditions. DIY removal works fine for surface mold on tiles and tubs. But mold that’s spread into structural materials needs different tools and training.
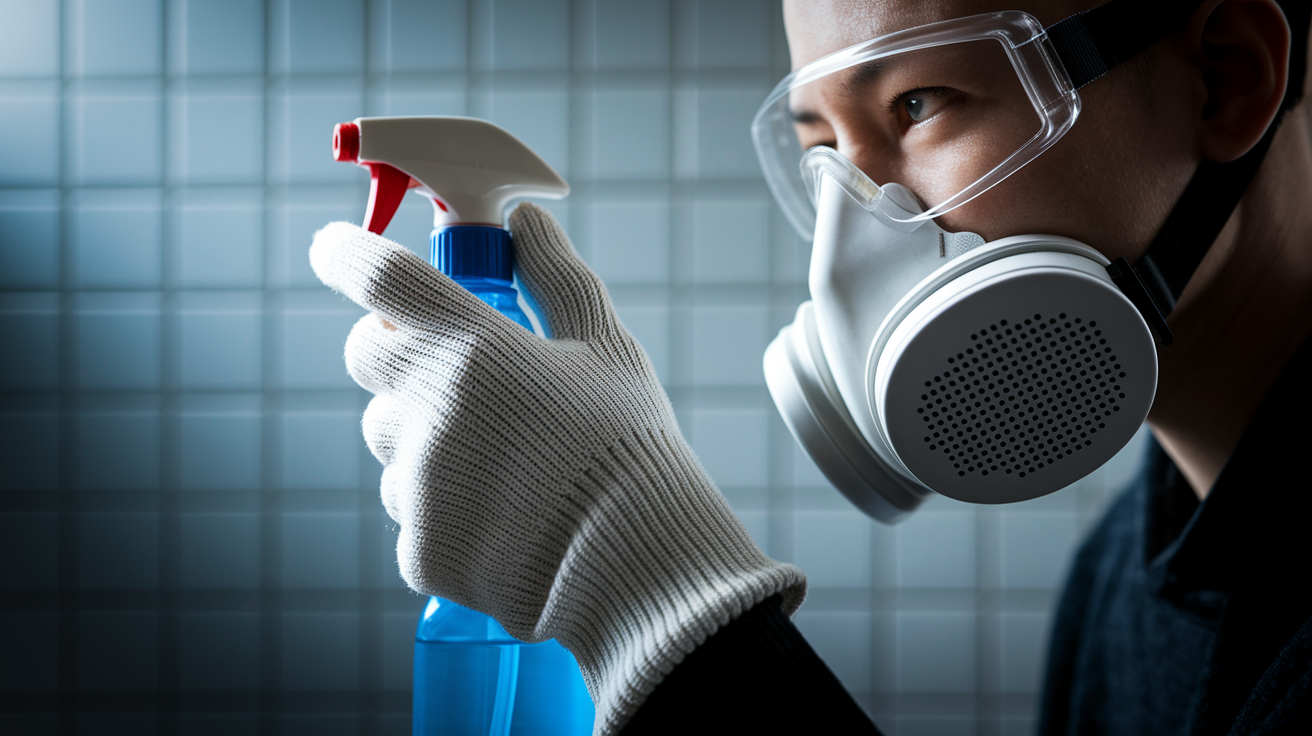
Before you touch anything moldy, gear up properly. You need an N95 or N100 respirator mask. Not just a basic dust mask. Regular masks don’t filter out the tiny mold spores that go airborne when you start scrubbing. Add rubber or chemical resistant gloves, safety goggles to protect your eyes, and long sleeves with long pants to keep spores off your skin. Set up ventilation before you start: open the bathroom window, turn on the exhaust fan, and let it run for at least 30 minutes before you begin. If your bathroom doesn’t have a window, open the door and crack a window in an adjacent room. Good airflow pushes spores outside instead of letting them settle elsewhere in your home. This step matters because disturbing mold sends thousands of spores into the air, and breathing them causes the respiratory issues, headaches, and fatigue that make black mold dangerous.
Your cleaning solution determines how well the mold comes off and whether it grows back. Distilled white vinegar works well undiluted. It’s non-toxic and safe for most surfaces. Pour it straight into a spray bottle. Hydrogen peroxide at 3 percent concentration (the standard drugstore bottle) has stronger antimicrobial properties than vinegar and also goes in the bottle undiluted. For stubborn mold on hard surfaces, mix 10 percent ammonia to 90 percent water. That’s roughly 1 cup of ammonia to 9 cups of water. Commercial antifungal cleaners work too, just follow the directions on the label. Here’s the critical part: never use bleach on porous surfaces like grout or drywall. The water in bleach soaks into the material and adds moisture, which can make the mold problem worse instead of better. Bleach might lighten the dark color temporarily, but it doesn’t kill mold that’s penetrated into porous materials. Test your chosen cleaner on a small hidden spot first to make sure it doesn’t damage the finish.
Removing Mold From Non-Porous Surfaces
Non-porous surfaces include ceramic tiles, porcelain bathtubs and sinks, glass shower doors, and sealed countertops. Water can’t penetrate these materials, which makes them easier to clean.
Put on all protective equipment and turn on ventilation before you start working. Fill a spray bottle with your chosen cleaning solution. Spray the affected area generously until the surface is completely covered. Let the solution sit for 10 to 15 minutes so it can penetrate the mold. Wipe the surface with a clean cloth or sponge. Scrub any stubborn spots with a stiff brush using circular motions. Dry the area thoroughly with a clean towel, making sure no moisture remains.
If mold shows up again after the first treatment, switch to the ammonia solution and repeat the process. Sometimes it takes two rounds to get rid of established growth.
Removing Mold From Porous Surfaces
Porous surfaces absorb water and let mold roots dig in deeper. This includes grout lines, drywall, ceiling tiles, unsealed wood, and caulking. You need a lighter touch here.
Put on protective equipment and make sure ventilation is running strong. Fill a spray bottle with white vinegar or commercial mold cleaner. Spray the affected area lightly. Avoid oversaturating the surface. Let the solution sit for 10 to 15 minutes. For grout lines, dip an old toothbrush in cleaning solution and scrub lightly using circular motions. For walls and ceilings, wipe with a wrung out cloth or sponge that’s damp but not dripping. Wipe again with a barely damp cloth to remove residue. Let the surface air dry completely for 24 hours before you check the results.
Never soak porous surfaces with water. The material absorbs moisture, and that moisture creates the exact environment mold needs to come back stronger. If you see extensive mold that’s darkened large wall sections, soaked into ceiling tiles, or penetrated deep into drywall, you need to replace those materials rather than try to clean them. Cleaning won’t reach mold that’s grown into the material itself. This type of deep penetration often indicates water damage that needs professional repair.
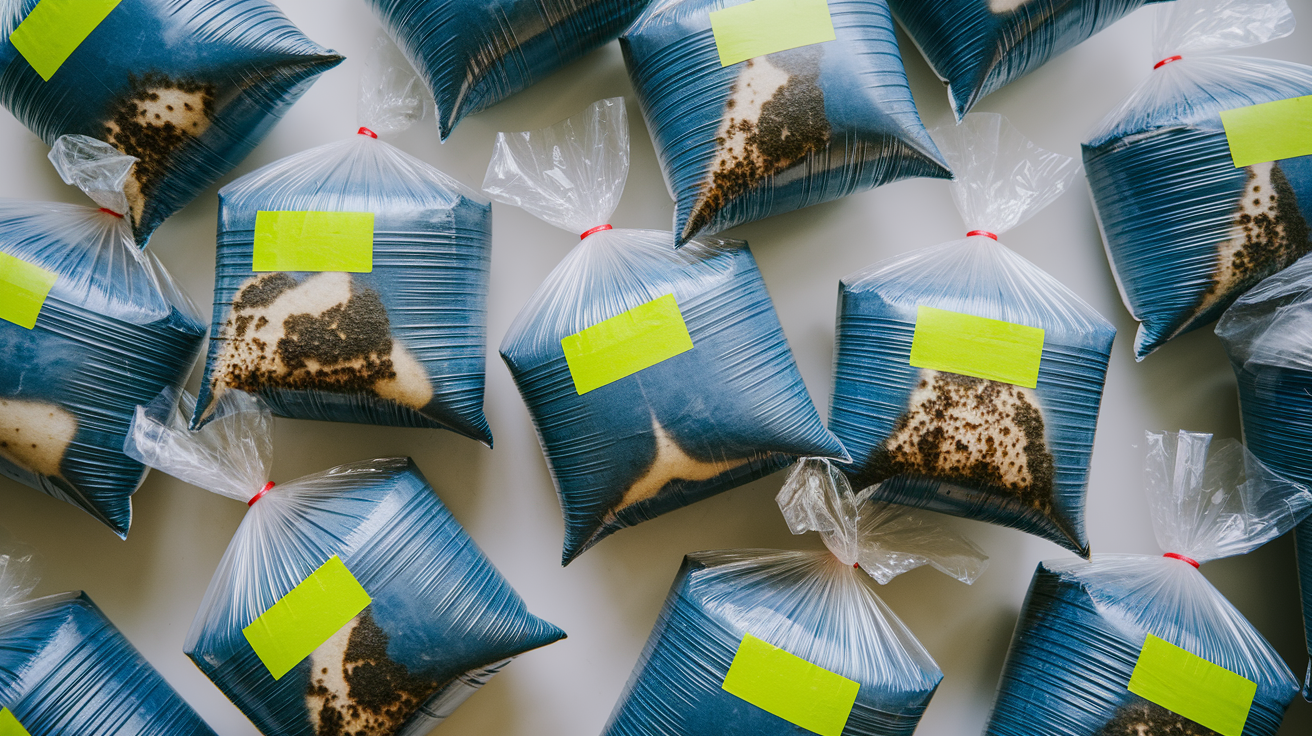
Put contaminated materials in sealed plastic bags immediately. That includes any caulking you’ve removed, ceiling tiles you’ve pulled down, and heavily soiled rags. Dispose of them with your regular trash unless your local regulations say otherwise. Single use cleaning tools like sponges and brushes go in sealed bags too. Wash reusable PPE like goggles and gloves thoroughly, or throw away disposable masks and gloves properly.
Understanding Bathroom Moisture Problems That Cause Black Mold

Black mold needs three things to grow: spores, a surface to attach to, and moisture. Spores are always floating in the air. You can’t eliminate them completely. Most surfaces in a bathroom work fine for mold to grab onto. That leaves moisture as the one factor you can actually control. When humidity stays above 55 percent for extended periods, mold starts growing. Most bathrooms hit that threshold easily.
Bathrooms make perfect mold habitats because they combine warm temperatures with frequent moisture and plenty of organic materials like grout, wood trim, and drywall. Every shower or bath adds gallons of water vapor to the air. That moisture has to go somewhere, and if your ventilation can’t move it outside fast enough, it settles on cool surfaces and soaks into porous materials.
Visible moisture sources are the ones you can see: steam from hot showers, condensation on mirrors and walls, wet towels hanging on hooks, water splashing outside the tub or shower onto the floor. These create surface moisture that feeds mold growth on tiles, grout, and ceiling corners. Regular wiping helps, but it doesn’t address the humidity that’s already in the air.
Hidden moisture problems cause more damage because you don’t notice them until mold appears. Leaking pipes behind walls let water pool where you can’t see it. A slow drain leak under the sink drips onto wood cabinets and subfloors. Cracked grout or deteriorated caulk allows shower water to seep through gaps into the wall cavity behind the tile. An improperly sloped shower pan creates standing water that doesn’t drain completely, leaving constant dampness. These problems keep feeding mold even after you’ve cleaned visible growth.
Condensation issues happen when conditions inside the bathroom clash with conditions in the walls or pipes. Cold water pipes “sweat” in humid bathrooms, dripping moisture onto nearby surfaces. Inadequate insulation on exterior walls creates cold spots where humid air condenses. Poor ventilation allows humidity to accumulate instead of exhausting it outside. And if your exhaust fan vents into the attic instead of outdoors, you’re just moving the moisture problem to a different location. Watch for signs of hidden leaks: water stains on ceilings or walls, soft or discolored drywall, a musty smell that won’t go away after cleaning, or warped flooring near the tub or toilet. Addressing the moisture source matters more than just cleaning the visible mold. If water keeps entering the same spot, mold will keep coming back.
Identifying Black Mold in Your Bathroom

Black mold (scientifically called Stachybotrys chartarum) shows up as dark greenish-black patches that usually form in circular or irregular clusters. The patches look wet or slimy even when they’re not actively getting moisture. You’ll smell it before you see it sometimes: a distinct musty, earthy odor that doesn’t go away after normal cleaning. That smell means mold is actively growing somewhere, even if you haven’t spotted the visible growth yet.
Look in the usual spots: grout lines between shower tiles, ceiling corners where steam collects, the wall behind the toilet where air doesn’t circulate well, window sills that get condensation, and the area around the sink. Black mold prefers darker, damper locations with less airflow. It’s different from the light pink or orange mildew that shows up on shower curtains. That’s a different organism entirely and much less concerning. Black mold also differs from the grayish-green fuzzy mold that might appear on a wet bath mat. Stachybotrys has that characteristic dark greenish-black color and slimy texture.
If you’re experiencing respiratory issues, headaches, persistent fatigue, nausea, or allergic reactions that get worse when you’re in the bathroom, black mold might be the cause. It produces mycotoxins that affect your respiratory system and overall health. People with asthma or existing allergies notice symptoms faster and more severely. When you’re not sure whether the dark growth is actually Stachybotrys or another mold type, you can buy a home testing kit or hire a professional for lab analysis. Testing makes sense if you’re planning extensive remediation work or if someone in the house has serious health reactions. Most of the time, though, you can identify black mold by its appearance, location, and smell.
When to Call Professionals for Bathroom Mold Remediation
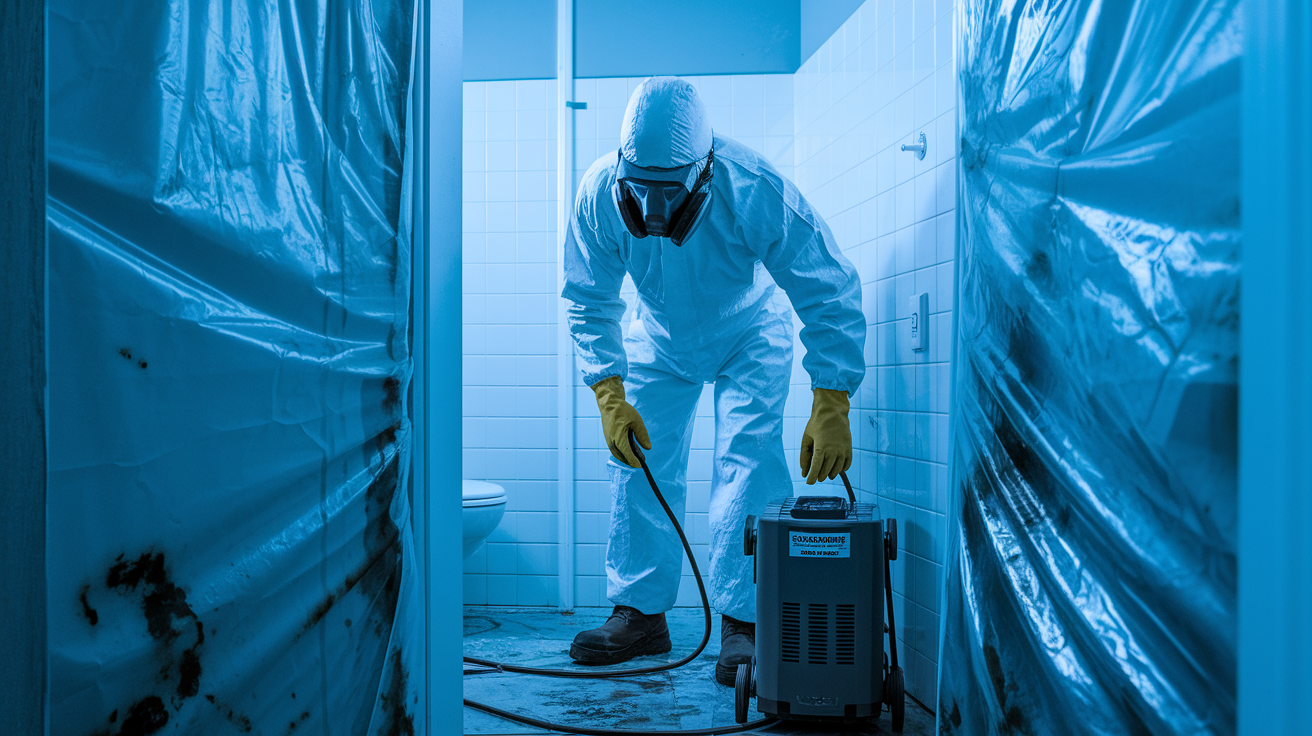
The 10 square foot threshold is your decision point. Roughly a 3 by 3 foot area. Smaller than that, and you can handle it with the DIY methods above. Larger than that, and you need professional equipment, containment procedures, and expertise.
Some situations always require professionals, regardless of the mold’s size. Mold coverage exceeds 10 square feet. Mold appears behind walls or under flooring. Mold is growing in the HVAC system or ductwork. Mold has affected structural elements like studs or joists. You have asthma, allergies, or respiratory conditions. Mold returns repeatedly after you’ve cleaned it. The water damage involves sewage or contaminated water.
Mold inspection typically costs around $656, though some companies waive the inspection fee if you hire them for the remediation work. They’ll test the mold type, measure the extent of growth including hidden areas, identify moisture sources, and give you a detailed scope of what needs to happen. Black mold removal costs start at $1,223 and average $2,300, though the price varies significantly based on how much material needs removal, whether structural damage exists behind the mold growth, and how accessible the affected areas are. A small patch on an exterior wall might cost less. Mold throughout a bathroom with damaged drywall, compromised framing, and a leaking shower pan will cost more.
Preventing Black Mold Growth in Your Bathroom
Preventing mold takes less time and costs less money than removing it. The difference between a bathroom that grows mold and one that doesn’t usually comes down to consistent habits, not expensive equipment.
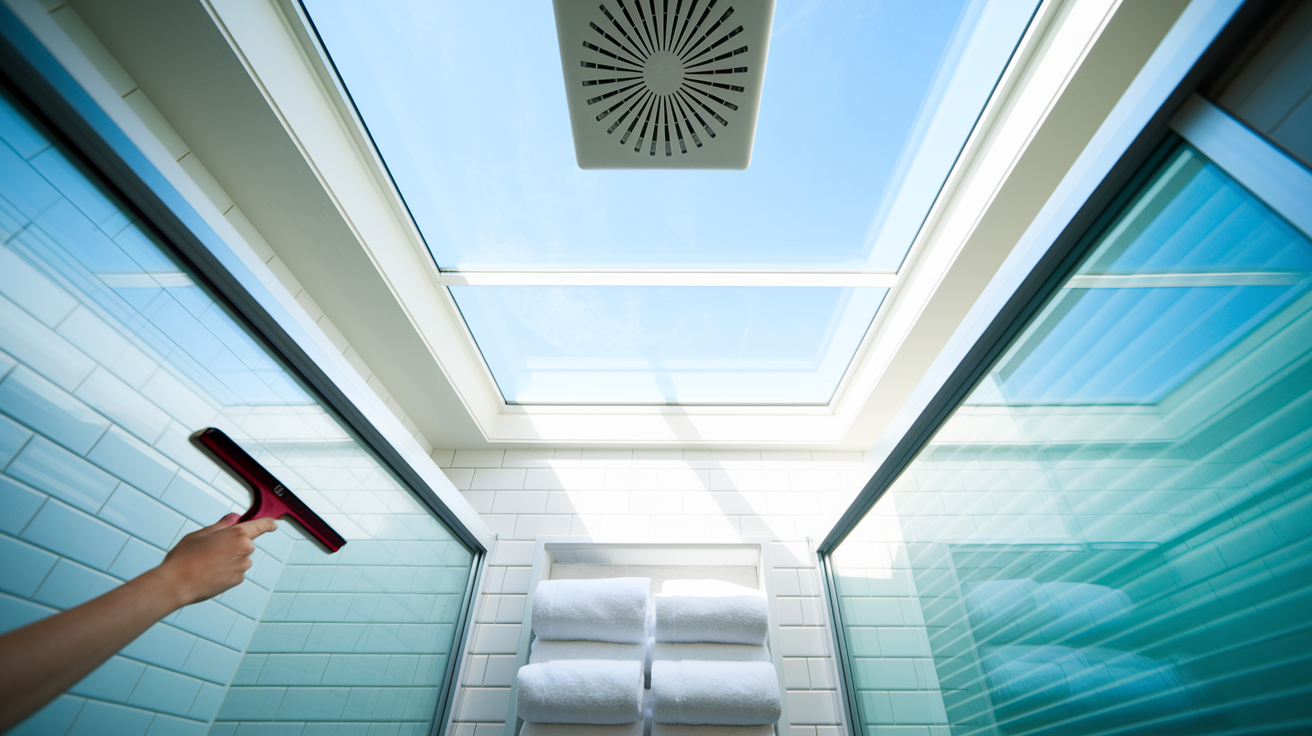
Daily and weekly prevention steps work better than any product you can buy. Run the exhaust fan during your shower and for at least 30 minutes after. Make sure it vents outside the house, not into the attic. Use a squeegee on shower walls and glass doors after every use to remove standing water. Keep a spray bottle of vinegar in the bathroom, spray surfaces after bathing, and let it air dry. Wipe down wet surfaces with a towel after showers, especially around the tub and sink. Clean the bathroom weekly with regular cleaner and rotate in antifungal cleaner at least once monthly.
Fix leaking pipes the same day you notice them. Water pooling or seeping into walls creates hidden mold. Keep bathroom humidity below 50 percent using a dehumidifier if your exhaust fan isn’t enough. Leave the bathroom door open or crack a window for airflow between uses so moisture doesn’t sit in the air. Inspect caulking around the tub, shower, and sink regularly and replace it when you see cracks or gaps. Check grout lines for deterioration and reseal them when they start looking worn or absorbing water.
Early detection during your regular cleaning routine lets you address small spots before they spread. The key is stopping moisture at the source: if water doesn’t sit on surfaces or stay in the air, mold can’t establish itself even though spores are always present.
Mold-Resistant Materials and Bathroom Upgrades
The materials you choose affect how easily mold can take hold. Some surfaces resist moisture penetration and don’t provide the organic food source mold needs. When you’re repairing mold damage or renovating a bathroom, upgrading to mold-resistant materials adds a layer of protection that makes future problems less likely.
Paperless drywall uses fiberglass facing or cement board instead of paper. Mold feeds on paper, so removing it removes the food source. Mold-resistant paint contains antimicrobial additives that discourage growth on painted surfaces. Silicone-based caulking resists water penetration better than acrylic caulk and lasts longer in wet environments. Epoxy grout is non-porous, unlike cement grout, so water and mold can’t penetrate into the grout lines. Vapor barriers installed behind shower walls block moisture from reaching the wall cavity. Waterproof membrane systems create a completely sealed shower enclosure that prevents any water from reaching the framing.
These materials cost more upfront than standard options. Paperless drywall runs about 20 percent more than regular drywall. Epoxy grout costs roughly double what cement grout costs. Waterproof membrane systems add several hundred dollars to a shower installation. The tradeoff is reduced maintenance, fewer mold problems, and less chance you’ll need to tear out and replace materials later. Proper installation matters as much as the materials themselves. Even the best mold-resistant drywall will fail if it’s installed without adequate ventilation or if leaks soak it repeatedly.
Proper Disposal and Cleanup After Bathroom Mold Removal
Mold spores scatter into the air when you disturb them during cleaning, and your goal during disposal is to keep them contained so they don’t settle elsewhere in your home and start new colonies.
Seal contaminated materials immediately in heavy-duty plastic bags. Double-bag if the materials are wet or if you’ve removed a lot of moldy material. Twist the bag closed and secure it with duct tape before you carry it through the house. Dispose of sealed bags with your regular household trash unless your local waste management department specifies different procedures for mold contaminated materials. Some areas require special handling, so check local regulations if you’re unsure. Disposable cleaning tools like sponges, scrub brushes, and cheap spray bottles should go in sealed bags too. Trying to clean and reuse them just spreads spores.
After you’ve removed the mold and bagged the contaminated materials, clean the entire work area. Wipe down all surfaces in and around the bathroom with a damp cloth to capture any spores that settled during the work. If you have a vacuum with a HEPA filter, vacuum the floor and nearby areas. Regular vacuums blow small particles back into the air, but HEPA filters trap them. Wash reusable PPE like rubber gloves and safety goggles thoroughly with soap and water, then let them air dry completely. Throw away disposable masks, gloves, and protective clothing in a sealed bag.
Let treated areas dry completely before you evaluate whether the mold is gone. Porous surfaces need 24 hours of drying time before you can tell if cleaning worked. Running an air purifier with a HEPA filter in the bathroom for a few days after cleaning helps capture airborne spores and improves air quality. Open windows and run the exhaust fan to keep air moving and speed up drying.
Health Considerations and Testing for Black Mold Exposure
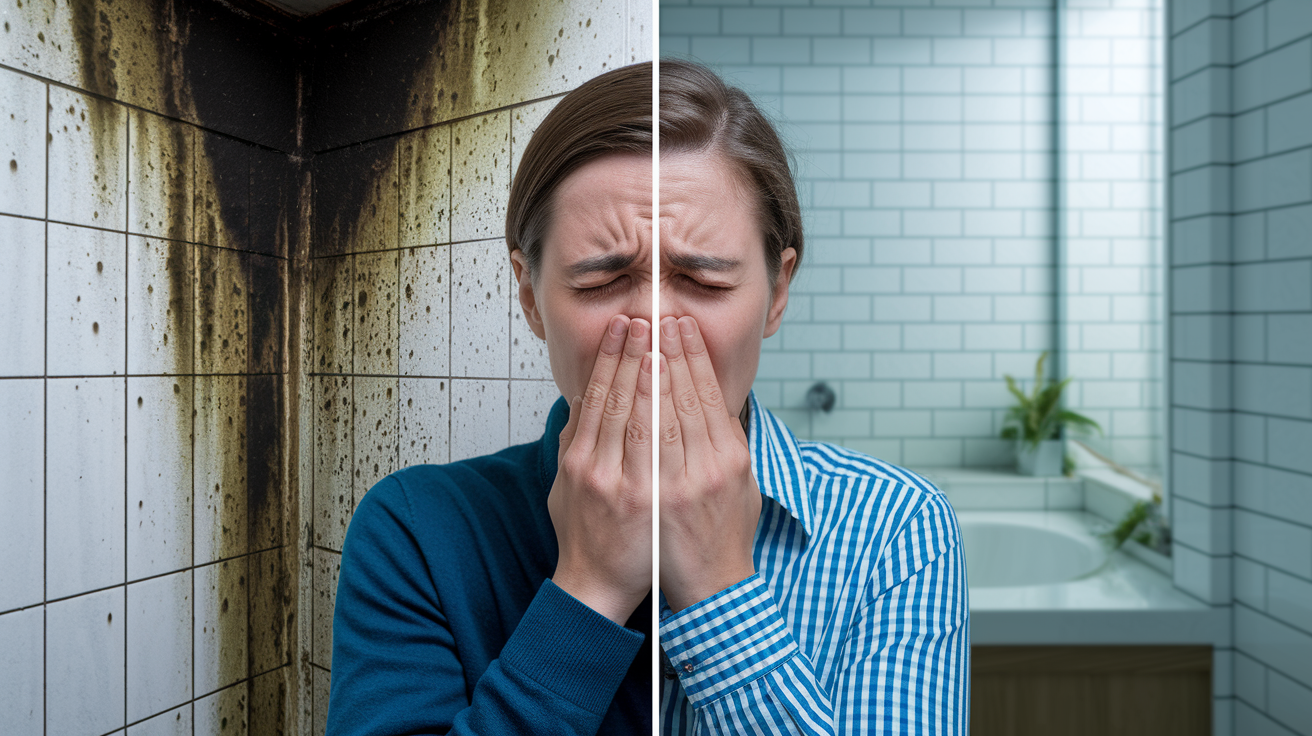
Black mold produces mycotoxins. Toxic compounds that cause health problems when you breathe them or when they contact your skin. The severity depends on how much mold is present, how long you’re exposed, and your individual sensitivity. Respiratory issues are the most common effect: coughing, wheezing, throat irritation, and nasal congestion. Headaches and persistent fatigue follow close behind. Some people experience nausea, skin rashes, or eye irritation.
Children, elderly adults, and people with compromised immune systems react more severely to mold exposure than healthy adults. Anyone with existing asthma or allergies will notice their symptoms get worse around black mold. And those individuals should not attempt DIY removal at all. Even healthy people can develop sensitivities after prolonged exposure, especially if the mold covers a large area or if they’re exposed daily.
Testing makes sense in specific situations: when you’re experiencing persistent health symptoms but can’t locate visible mold, when you’re uncertain about the extent of hidden mold, or before you purchase a home that shows signs of moisture problems. Professional testing involves air samples, surface samples, or bulk samples sent to a lab for analysis. Results identify the mold species and concentration levels. Home test kits cost less but provide less reliable results. They can tell you mold is present but often can’t identify the specific type or give accurate concentration measurements.
Watch for these symptoms that warrant medical attention. Persistent respiratory problems or worsening asthma attacks. Chronic headaches or unexplained fatigue that doesn’t improve. Skin rashes or persistent eye irritation. Neurological symptoms like memory problems or difficulty concentrating. Persistent coughing or wheezing that continues even when you leave the house.
Health symptoms may continue for days or weeks after mold exposure ends, especially if the exposure was prolonged or the concentration was high. Inform your doctor about the mold exposure so they can provide appropriate treatment and monitor for longer-term effects. Most people recover fully once the mold is removed and they’re no longer breathing contaminated air, but documented exposure helps your doctor understand the context if symptoms persist or worsen.
Final Words
Black mold in bathroom removal starts with knowing your limits and protecting yourself properly.
Small patches on shower tiles or grout can be handled safely with the right gear and cleaning solutions. Larger areas, hidden growth, or mold on drywall and structural surfaces need professional help.
Prevention is your best tool. Run the exhaust fan, wipe down wet surfaces, fix leaks fast, and keep humidity in check.
Address the moisture source, not just the visible mold. That’s what stops it from coming back.
If you’re dealing with widespread growth, damaged walls, or persistent problems after cleaning, we’ll assess the scope, stabilize the area, and handle the repairs from start to finish.
FAQ
How do I get rid of black mold in my bathroom permanently?
You get rid of black mold in your bathroom permanently by removing the mold from affected surfaces and fixing the moisture problem causing the growth. Clean patches under 10 square feet using distilled white vinegar or hydrogen peroxide, then address leaks, improve ventilation, and control humidity below 50 percent. Without fixing the moisture source, mold will return even after thorough cleaning.
Is black mold in the bathroom toxic?
Black mold in the bathroom is toxic because it produces mycotoxins that cause respiratory issues, headaches, fatigue, and nausea in exposed individuals. Stachybotrys chartarum, the scientific name for black mold, ranks among the world’s 10 most hazardous fungi. People with asthma, allergies, or respiratory conditions face higher risks and should avoid DIY removal attempts.
What are the 10 warning signs of mold toxicity?
The 10 warning signs of mold toxicity include persistent respiratory problems or worsening asthma, chronic headaches, ongoing fatigue, skin rashes, eye irritation, neurological symptoms like memory issues or difficulty concentrating, persistent coughing, wheezing, nausea, and a musty odor that won’t go away after cleaning. If you experience these symptoms after mold exposure, inform your doctor about the situation.
What kills black mold instantly?
Undiluted distilled white vinegar and 3 percent hydrogen peroxide kill black mold on hard surfaces when sprayed directly and allowed to sit for 10 to 15 minutes before wiping. For stubborn mold on non-porous surfaces, a 10 percent ammonia to 90 percent water solution works after other methods fail. Never use bleach on porous surfaces like grout or drywall, as the water in bleach adds moisture and potentially worsens the problem.
When should I call professionals for bathroom mold removal?
You should call professionals for bathroom mold removal when the affected area exceeds 10 square feet, mold appears behind walls or under flooring, you have asthma or respiratory conditions, or mold returns repeatedly after cleaning. Professional remediation is necessary when mold affects structural elements or involves water damage from sewage or contaminated water.
How do I prevent black mold from coming back in my bathroom?
You prevent black mold from coming back in your bathroom by running the exhaust fan for 30 minutes after showers, using a squeegee on wet surfaces after every use, keeping humidity below 50 percent, and fixing leaking pipes immediately. Store a spray bottle of vinegar in the bathroom and spray surfaces after bathing, letting it air-dry. Check and replace cracked caulking around the tub, shower, and sink regularly.
What surfaces can I clean myself versus needing replacement?
You can clean non-porous surfaces like ceramic tiles, porcelain bathtubs, and glass shower doors yourself using vinegar or hydrogen peroxide. Porous surfaces like grout, drywall, ceiling tiles, and unsealed wood require careful cleaning with minimal moisture, but extensive mold penetration on these materials requires replacement rather than cleaning. If large wall sections or ceiling tiles show deep mold growth, replacement is necessary.
What protective equipment do I need for bathroom mold removal?
You need an N95 or N100 respirator mask, rubber or chemical-resistant gloves, eye protection or safety goggles, and long sleeves with pants for bathroom mold removal. Set up proper ventilation by opening windows and running the exhaust fan for at least 30 minutes before starting. This equipment is critical because mold spores become airborne during cleaning and cause respiratory issues.
How long does it take for treated surfaces to dry after mold removal?
Treated surfaces take 24 hours to dry completely after mold removal, especially porous materials like grout and drywall. During this time, avoid using the bathroom heavily and keep ventilation running. After 24 hours, evaluate whether the treatment worked or if additional cleaning is needed.
What mold-resistant materials should I use during bathroom repairs?
You should use paperless drywall like fiberglass-faced or cement board, mold-resistant paint with antimicrobial additives, silicone-based caulking, epoxy grout, vapor barriers behind shower walls, and waterproof membrane systems during bathroom repairs. These materials resist moisture penetration better than standard options, but proper installation matters as much as material choice for long-term mold prevention.