

When your crawl space floods, most homeowners tear out wet insulation immediately without checking if they actually need to or if they’re about to create a bigger health hazard. That’s the mistake. Wet fiberglass can’t be saved, but rushing the removal without proper safety gear, containment barriers, or a clear plan spreads mold spores straight into your living space. We’ll walk you through the right assessment steps, the safety equipment you actually need, the removal sequence that protects your home, and how to fix the moisture source so this doesn’t happen again six months from now.
Assessing Water Damage Extent in Your Crawl Space

Start with a proper assessment. It tells you if you actually need removal or if you’re about to do unnecessary work. It also shows you if you’re not doing enough to stop the problem from getting worse.
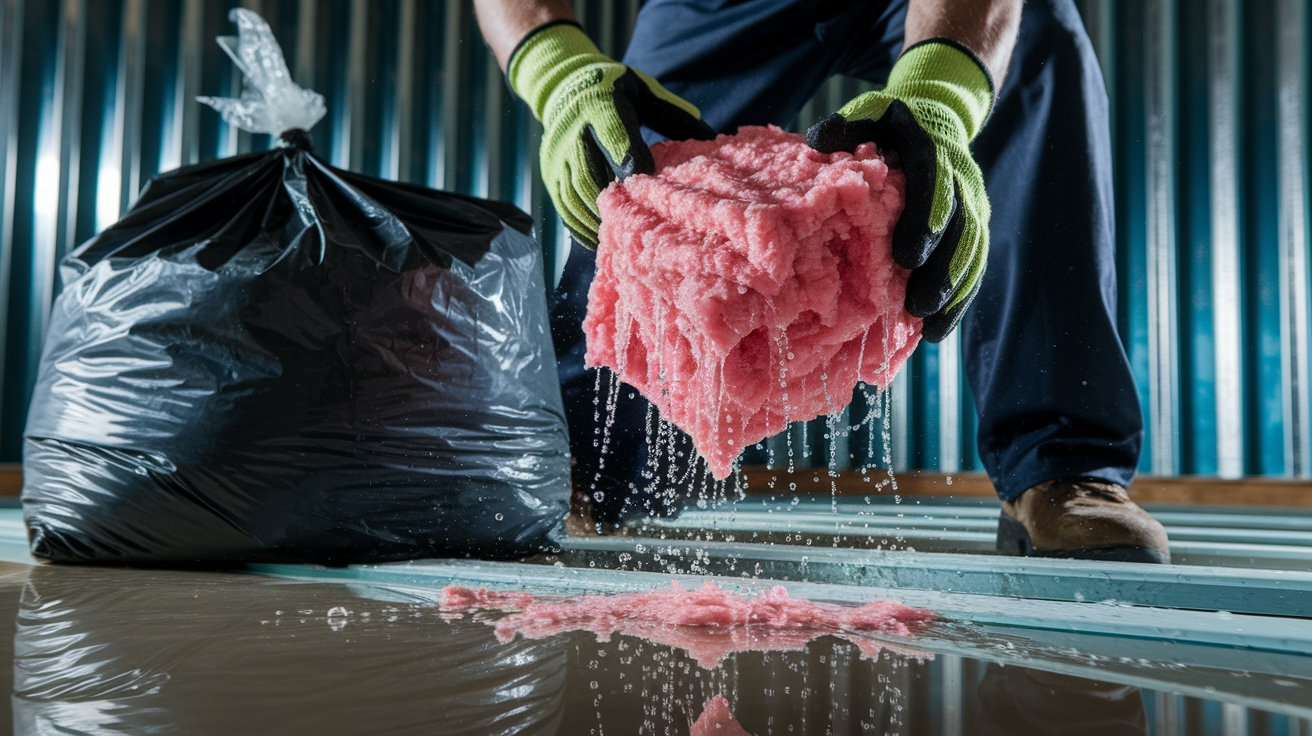
Use a moisture meter to measure the wetness in your floor joists. Readings above 20% mean serious moisture trouble that needs action now. Check the insulation itself by touch and sight. Fresh water damage looks damp and dark. Older damage leaves watermarks, chalky white streaks or yellowish-brown mineral deposits on wood and insulation. Sagging insulation means it’s heavy with water and has lost contact with the subfloor above, creating gaps where cold air touches your floor directly. If you’re within 48 hours of discovering the leak, you’re still in the critical window to stop mold before it takes hold. After that timeframe, spores start growing fast. Wet fiberglass can’t be dried out and reused in a crawl space. It stays compressed and holds moisture even after it feels dry.
Take photos of everything before you touch anything. Your insurance company will want proof of damage extent, moisture readings, and what caused the problem. Document the water source. Plumbing leak, foundation crack, poor grading outside, or humidity from bare soil. Write down moisture meter numbers from several spots. Photograph visible mold, sagging material, standing water, and any structural damage you can see.
Here’s how to conduct a complete assessment inspection:
- Identify active water source (plumbing leaks, foundation cracks, drainage issues)
- Measure moisture levels in floor joists, insulation, and subflooring using moisture meter
- Check insulation for saturation, compression, or complete water absorption
- Document visible mold growth, discoloration, musty odors, and sagging joists
- Check for standing water or groundwater intrusion
- Assess whether 48 hour window has passed since water intrusion
- Photograph all damaged areas, material conditions, and moisture meter readings
Health Hazards, Safety Requirements, and Professional Intervention Thresholds

Here’s something most homeowners don’t realize: up to 50% of the air on your first floor comes from your crawl space. It’s called the stack effect. Warm air rises through your home and pulls replacement air up from below. When your crawl space has mold contamination, you’re breathing it upstairs. That’s not a small problem. It’s a direct health impact on everyone in the house.
Mold spores cause respiratory problems, allergy symptoms, and long term health issues when you breathe them during removal work. That’s why proper protective gear isn’t optional.
Look for visible mold before you start. It appears in black, green, white, or yellow colors. The texture can be fuzzy, slimy, or powdery. Check corners first, then around pipes and anywhere water collected. Mold starts growing on wet insulation within 24 to 48 hours after water gets in. The paper backing on fiberglass and trapped dust give mold the food it needs to spread, even though the glass fibers themselves don’t support growth. Once mold takes hold in insulation, moisture migrates to the structural wood around it, increasing wood decay risk and weakening your floor framing over time.
When professionals handle mold remediation, they apply antimicrobial treatment to structural wood and surfaces after removing contaminated materials. If the mold coverage is extensive or you see black mold, testing identifies the species and confirms what treatment is needed. After treatment, clearance testing verifies the space is safe before new insulation goes in. Professional help becomes necessary when the problem goes beyond basic removal. When structural integrity is compromised, toxic species are present, or electrical hazards exist in standing water.
Some situations require professional intervention, not DIY attempts.
Essential protective gear for DIY removal:
- N95 or P100 respirator mask
- Waterproof gloves
- Safety goggles or face shield
- Full body protective suit or disposable coveralls
- Rubber boots
- Head covering
Indicators requiring professional remediation:
- Mold covering more than 10 square feet of surface area
- Visible sagging joists or structural compromise from moisture damaged wood
- Black mold (Stachybotrys) or other toxic species identification
- Sewage contamination or category 3 water exposure
- Electrical hazards in wet crawl space
- Extensive damage affecting more than 30% of crawl space area
For comprehensive Water Damage Restoration services that coordinate assessment, remediation, and repairs in one sequence, professional contractors provide the expertise and equipment to handle complex moisture problems safely.
Step-by-Step Removal Process for Water-Damaged Insulation
Set up containment barriers first. They prevent mold spores from spreading into your living space during removal. Seal off crawl space vents and access points with plastic sheeting and tape.
Removing fiberglass batts is different from removing blown in cellulose. Batts come out by hand in sections. Cellulose needs vacuum equipment because the loose material has absorbed water throughout and turned into wet pulp that won’t cooperate with manual removal. Both types create breeding grounds for mold, mildew, germs, insects, rats, and termites once they hit the crawl space floor wet. That’s why removal can’t wait.
Follow this removal sequence:
- Set up containment barriers to prevent spore spread
- Establish ventilation system with negative air pressure
- Remove fiberglass batts by hand, placing in heavy duty waste bags
- Use vacuum equipment for blown in cellulose or loose materials
- Remove all damaged vapor barrier materials
- Clean exposed floor joists and subflooring with antimicrobial treatment
- Seal waste bags and label as contaminated materials
- Arrange disposal through approved hazardous waste facility
Proper disposal matters. Contaminated insulation isn’t regular trash. Seal it in heavy duty bags, label it clearly, and take it to a facility approved for hazardous waste. Some waste management companies won’t accept mold contaminated materials in standard pickup. Check your local requirements before you start bagging. You don’t want six bags of wet insulation sitting in your driveway with nowhere to take them.
Identifying and Fixing Moisture Sources with Long-Term Prevention Strategies
Removing wet insulation without fixing what caused it is a waste of time and money. The new material will suffer the same damage. Always.
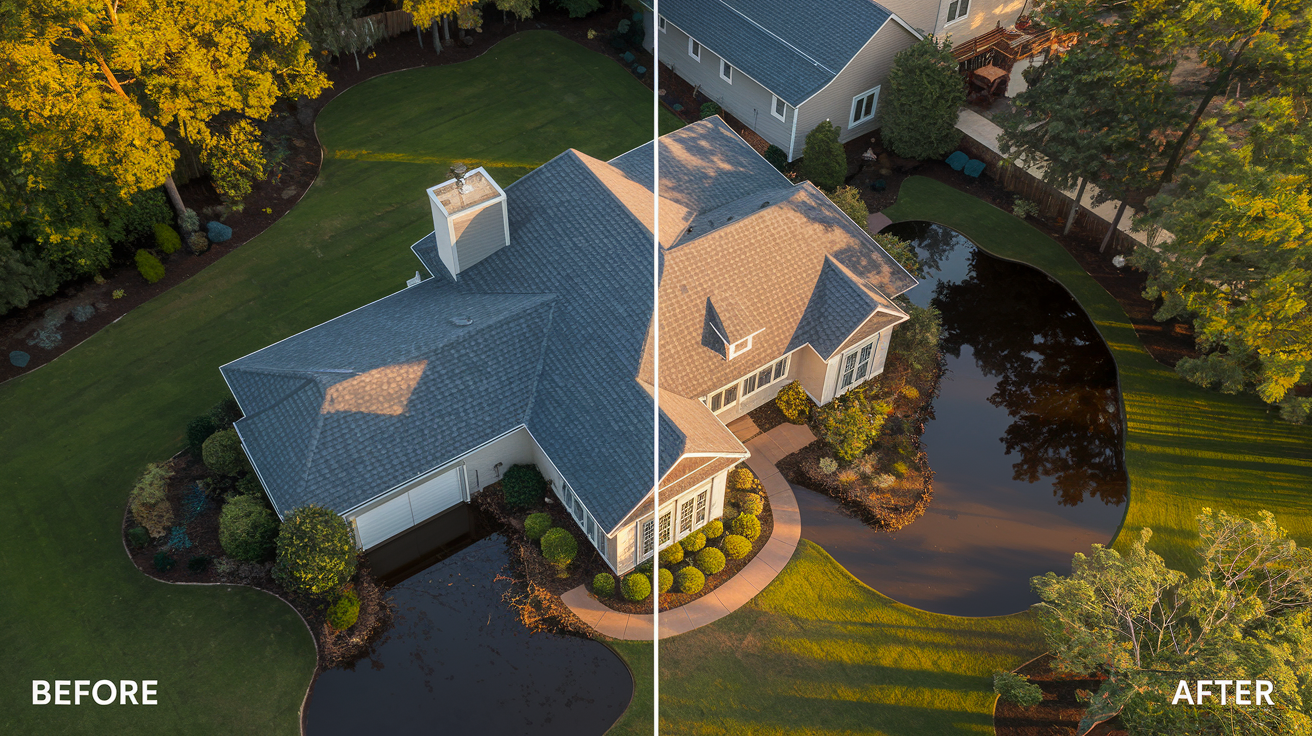
The most common moisture sources in crawl spaces are plumbing leaks from supply lines or drain pipes, foundation cracks that let groundwater seep in, poor exterior grading that directs rain toward your foundation instead of away from it, and sump pump failure when you actually need it during heavy rain. Missing or damaged vapor barrier over bare soil lets ground moisture evaporate up into the crawl space continuously. Gutters that overflow near the foundation pour hundreds of gallons right where you don’t want it. High humidity from poor ventilation traps moisture with nowhere to go. Some of these you can fix yourself. Foundation cracks, serious grading problems, and structural waterproofing need professional work.
Outside your home, make sure the ground slopes away from your foundation. At least 6 inches of drop over 10 feet of distance. Extend downspouts at least 6 feet from the house, farther if your soil drains slowly. Clean gutters twice a year so water doesn’t overflow and saturate the ground next to your foundation. These simple exterior fixes prevent a huge percentage of crawl space moisture problems before they start.
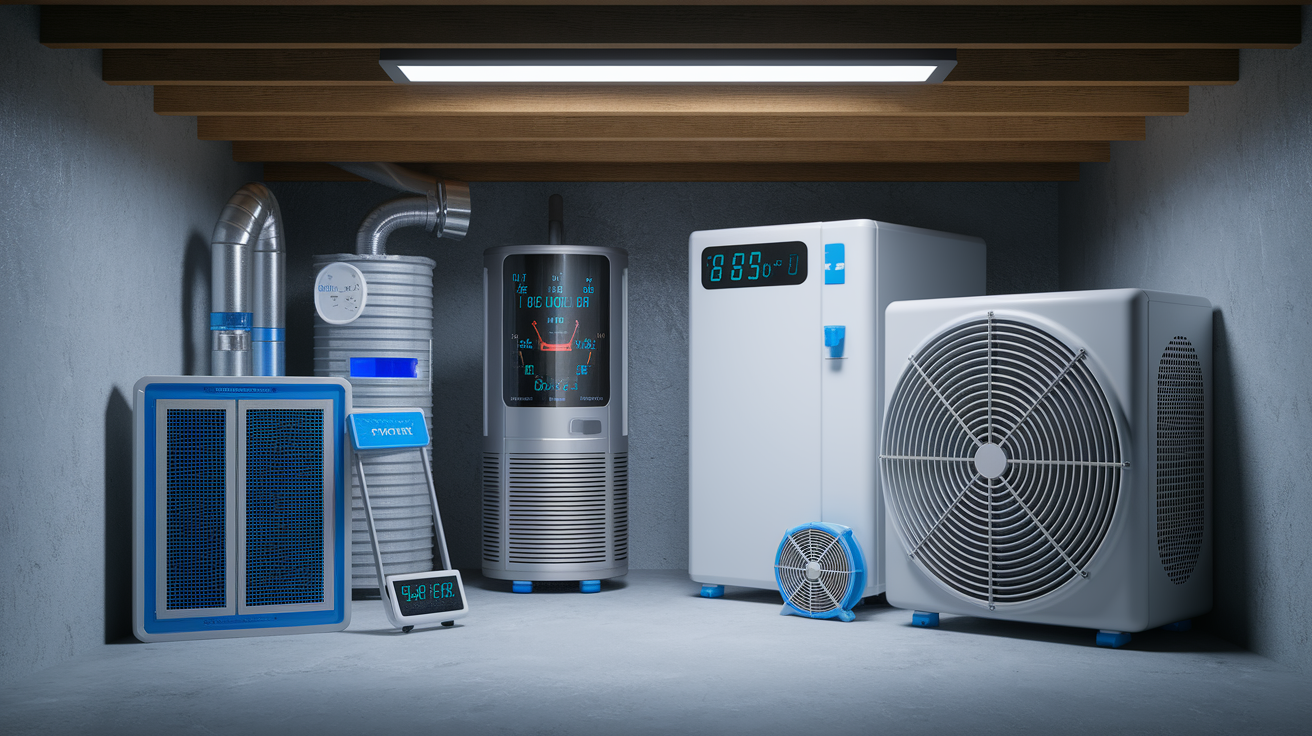
Comprehensive crawl space encapsulation provides long term moisture control by combining a heavy duty vapor barrier across the entire floor and up the foundation walls, sealing all vents, and adding a dehumidifier to maintain stable humidity levels year round. Smart sensors and humidity monitors give you early warnings when moisture starts building again, so you catch problems before damage happens. Monitoring systems track humidity levels and send alerts to your phone when readings go above safe thresholds.
Watch for rising energy bills with no usage changes, cold floors in winter, musty smells coming from vents, or visible condensation on crawl space surfaces. Those are warning signs that moisture is building again and needs immediate attention.
Common moisture sources:
- Plumbing leaks from supply lines or drain pipes
- Foundation cracks allowing groundwater intrusion
- Poor exterior grading directing water toward foundation
- Sump pump failure or inadequate capacity
- Missing or damaged vapor barrier over exposed soil
- Inadequate gutter maintenance causing overflow near foundation
- High humidity levels from poor ventilation system
Preventative maintenance schedule:
- Quarterly crawl space visual inspection for moisture signs
- Annual gutter maintenance and downspout extension checks
- Bi-annual vapor barrier inspection for tears or displacement
- Monthly dehumidifier maintenance and humidity levels monitoring
- Spring grading inspection after freeze thaw cycles
- Fall foundation crack sealing before winter
- Annual plumbing inspection for slow leaks
- Seasonal ventilation system assessment and adjustment
Drying and Dehumidification After Crawl Space Insulation Removal
Target moisture levels below 20% in your floor joists before you install new insulation. Anything above that threshold means the wood is still too wet and will cause mold to grow on new material. Thorough drying prevents recurring problems. Check readings in multiple spots because moisture doesn’t distribute evenly.
You’ll need a commercial grade dehumidifier, not a small household unit. Calculate crawl space square footage and choose a dehumidifier rated for at least 1.5 times that area. Add air scrubbers if mold was present. They filter airborne spores while everything dries. Position fans to create airflow across wet surfaces, not just circulating air in one spot. Ventilation helps, but dehumidification does the heavy lifting in enclosed crawl spaces.
Drying time depends on how saturated everything got and your climate conditions. Light moisture might dry in 3 to 5 days with proper equipment. Extensive saturation can take 2 to 3 weeks. Foundation walls dry slower than wood. If you had standing water, expect the longest timeline. Don’t rush it. Installing new insulation over damp wood guarantees you’ll do this again in six months.
| Material | Target Moisture Level | Typical Drying Time |
|---|---|---|
| Floor joists | Below 20% | 7-14 days |
| Subflooring | Below 16% | 10-18 days |
| Foundation walls | Below 25% | 14-21 days |
| Exposed soil with vapor barrier | Below 80% relative humidity | 5-10 days |
Choosing Replacement Insulation Types for Water-Prone Crawl Spaces
After you’ve dealt with water damage once, insulation type selection matters more. You don’t want to put the same material back in the same conditions and hope for different results.
Closed-Cell Spray Foam
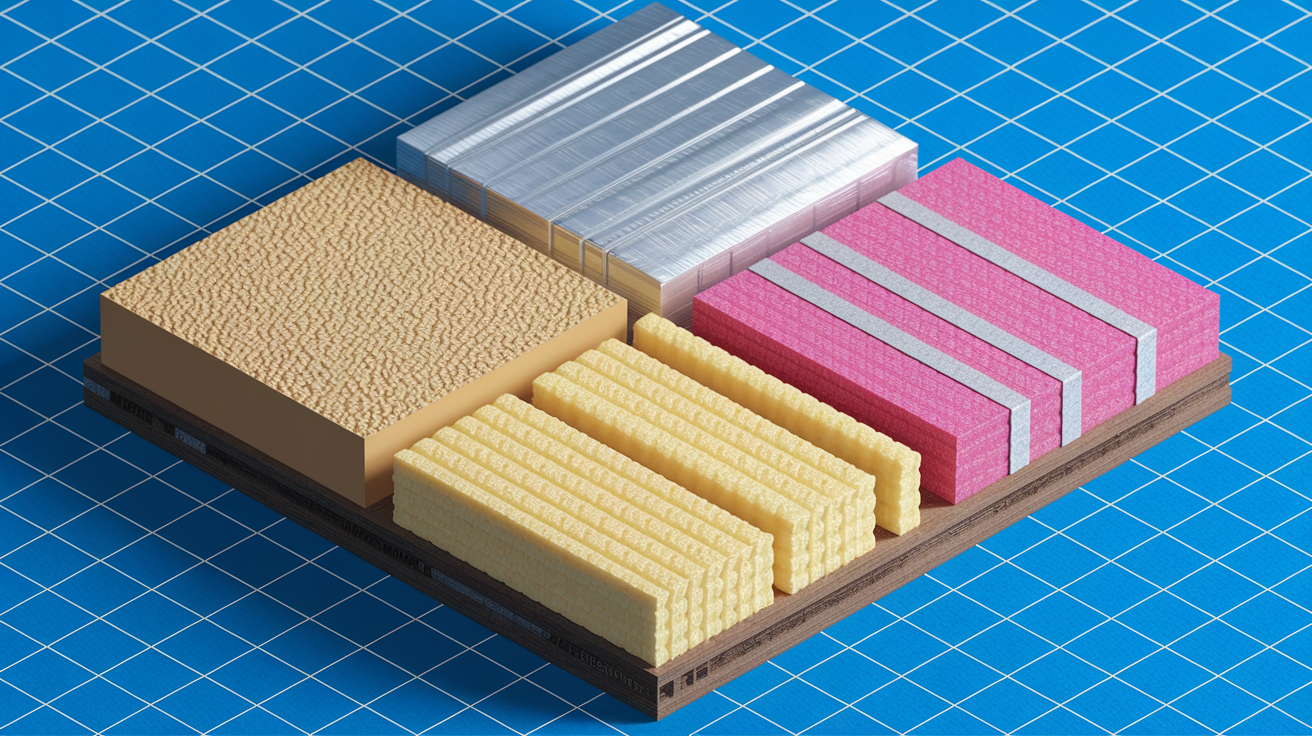
Closed cell spray foam is waterproof. Water can’t penetrate the cells, so it won’t absorb moisture like fiberglass does. It acts as an air barrier and insulation in one application, with higher R value per inch than any other option. Typically R-6 to R-7 per inch. The cost is higher, usually two to three times more than fiberglass batts, but it doesn’t fall down, doesn’t compress when damp, and doesn’t create gaps. One limitation: it can mask ongoing moisture problems. If you still have a leak or humidity issue, closed cell foam hides it until the moisture damages the wood structure behind it. Fix your moisture sources first.
Open-Cell Spray Foam
Open cell spray foam is moisture permeable, which sounds bad but isn’t. It allows water vapor to pass through instead of trapping it, so you can detect moisture problems before they cause hidden damage. It creates an excellent air seal and keeps floors warm by eliminating drafts. The R value is lower than closed cell, around R-3.5 per inch, and it costs less. It’s appropriate when you install a separate vapor barrier on the crawl space floor to manage ground moisture, and you want the insulation itself to let you know if water gets in.
Fiberglass Batts with Proper Vapor Barrier
Traditional fiberglass batts still work in crawl spaces when moisture management is handled correctly. Install a heavy duty vapor barrier across the entire floor and up the foundation walls. Add a dehumidifier to maintain stable humidity below 60%. Use unfaced batts or batts with the facing installed correctly toward the living space. Fiberglass remains the lowest cost option and provides adequate thermal performance in a properly managed environment.
Crawl space encapsulation is the comprehensive moisture management approach that combines an insulation upgrade with complete vapor barrier coverage, sealed vents, and permanent dehumidification. It treats the crawl space as conditioned space instead of a vented, uncontrolled area. Encapsulation works with any insulation type, but it provides the foundation for long term moisture control that prevents future damage regardless of which material you choose.
Insurance Claims and Documentation for Water-Damaged Insulation Removal

Document everything before you start removing damaged material. Take photos first, then proceed. Insurance companies need proof of what happened, how extensive the damage was, and what caused it.
Most homeowners insurance policies cover sudden failures. A burst pipe, a water heater rupture, a washing machine hose that breaks. But they exclude gradual leaks you should have noticed and fixed earlier. Flood damage from outside groundwater requires separate flood insurance. High humidity damage from poor maintenance typically isn’t covered. If the water source is a covered peril, the resulting insulation damage and remediation usually fall under the claim. If the source isn’t covered, neither is the cleanup. Read your policy or call your agent before you assume anything.
Required documentation includes timestamped photos of all damaged areas before you touch anything, moisture meter readings from multiple locations written down with dates, written estimates from licensed restoration contractors showing scope and cost, receipts for any emergency response or temporary solutions you paid for, video walkthrough showing the full extent of damage, and documentation identifying the water source and what you did to repair it. The more detail you provide upfront, the faster the claim processes. Missing documentation leads to delays, disputes, and reduced payouts.
If you’re planning to sell the property later, proper documentation protects you from disclosure issues. Some states require you to disclose past water damage and mold. Having professional remediation records, clearance testing, and repair invoices shows you handled it correctly, which protects property value instead of raising buyer concerns.
Documentation items for insurance claims:
- Timestamped photos of all damaged areas before removal
- Moisture meter readings from multiple locations
- Written estimates from licensed restoration contractors
- Receipts for emergency response and temporary solutions
- Video walkthrough showing damage extent
- Water source identification and repair documentation
Crawl Space Insulation Removal Costs and Timeline Expectations

Cost depends on crawl space size, how much damage you’re dealing with, what type of insulation you’re removing, and whether mold remediation is required. A small, lightly damaged area costs less than extensive contamination across a large crawl space.
Break down the costs by what’s included. Inspection and assessment typically run $150 to $500, giving you moisture readings, mold identification, and a written scope. Removal and disposal of contaminated insulation costs $2 to $4 per square foot depending on material type and access difficulty. Mold remediation adds $500 to $3,000 depending on coverage area and treatment required. Drying and dehumidification runs $300 to $1,500 depending on equipment needs and how long it takes, sometimes 10 days or longer if the damage was significant. Insulation replacement varies widely: fiberglass batts cost $1.50 to $3 per square foot installed, while spray foam costs $3 to $7 per square foot. Vapor barrier installation or full encapsulation adds $3 to $7 per square foot.
Timeline from emergency response through completion typically takes 1 to 3 weeks. The first 48 hours matter most for stopping mold growth. Removal happens fast, usually in one or two days. Drying takes the longest, anywhere from a few days to three weeks depending on saturation levels and climate. Replacement installation takes one to three days once everything is dry and treated.
Hire contractors with proper qualifications: state licensing for the work they’re doing, mold remediation certification if mold is present, general liability and workers comp insurance, knowledge of local building codes and permit requirements, and the specialized tools the job requires. Restoration contractors who coordinate multiple trades, water extraction, mold remediation, structural drying, insulation replacement, and repairs, provide value by managing the entire sequence so you’re not juggling five different companies. One team, one timeline, one point of contact. That’s how you get from water damage to finished without gaps, delays, or confusion. For coordinated planning across assessment, remediation, and repairs, visit FireFloodRescue.com to connect with professionals who handle the complete restoration sequence.
DIY removal seems cheaper until you factor in equipment rental, disposal fees, the learning curve, and the risk of incomplete remediation that leads to recurring problems. Inadequate drying, missed mold growth, or improper source correction often result in higher long term costs and negative property value impact when problems resurface during a future home inspection or sale.
| Service Component | Typical Cost Range | Timeline |
|---|---|---|
| Inspection/Assessment | $150-$500 | 1-2 days |
| Removal/Disposal | $2-$4 per sq ft | 1-2 days |
| Mold Remediation | $500-$3,000 | 2-5 days |
| Drying/Dehumidification | $300-$1,500 | 3-21 days |
| Insulation Replacement | $1.50-$7 per sq ft | 1-3 days |
| Vapor Barrier/Encapsulation | $3-$7 per sq ft | 1-3 days |
Final Words
Crawlspace insulation removal after water damage isn’t optional when saturation has set in. It’s how you stop mold from spreading into your home and protect your floor joists from rot.
The process works when you assess the damage accurately, remove contaminated materials safely, fix the moisture source, dry everything thoroughly, and choose the right replacement materials for your situation.
Most homeowners underestimate the drying time and skip the source repair. That’s how you end up doing this twice.
If you’re past the 48-hour window or dealing with mold coverage, bring in professionals who can stabilize it fast and finish it right. Your home deserves a real fix, not a temporary patch.
FAQ
Is it okay to remove insulation from a crawl space?
Removing insulation from a crawl space is okay and necessary when water damage has saturated the material, since wet insulation loses effectiveness, promotes mold growth, and cannot be dried out successfully in humid crawl space environments.
What does water damaged insulation look like?
Water damaged insulation looks damp or saturated with visible sagging, compression, discoloration, watermarks, chalky white or yellowish-brown mineral streaks, possible mold growth in black, green, white, or yellow colors, and a musty odor indicating moisture absorption.
How much does it cost to remove insulation from a crawl space?
Crawl space insulation removal costs vary based on crawl space size, damage extent, mold presence, and disposal requirements, with typical projects ranging from a few hundred dollars for simple removal to several thousand for comprehensive remediation including mold treatment.
Does insulation need to be replaced if it gets wet?
Wet insulation needs to be replaced immediately because absorbed moisture permanently reduces R-value, causes compression that creates gaps reducing thermal performance, and creates breeding grounds for mold growth that cannot be fully eliminated once established in saturated materials.
How long does it take to dry a crawl space after water damage?
Drying a crawl space after water damage typically takes 3 to 10 days depending on saturation severity, with floor joists requiring moisture levels below 20% before replacement, though extensive damage in humid climates may require longer dehumidification periods.
Can you dry out wet crawl space insulation instead of replacing it?
You cannot effectively dry out wet crawl space insulation in most cases because fiberglass batts permanently compress losing insulating capacity, cellulose retains moisture for extended periods creating mold risk, and the humid crawl space environment prevents thorough drying.
What causes water damage in crawl space insulation?
Water damage in crawl space insulation is caused by plumbing leaks, foundation cracks allowing groundwater intrusion, poor exterior grading directing water toward the foundation, sump pump failure, missing vapor barriers over exposed soil, and inadequate ventilation creating condensation.
When should you call a professional for crawl space water damage?
You should call a professional for crawl space water damage when mold covers more than 10 square feet, structural sagging appears in floor joists, black mold or toxic species are visible, sewage contamination occurred, electrical hazards exist, or damage affects over 30% of the crawl space.