

That pretty candle could be staining your walls.
Soot happens when the flame doesn’t burn cleanly, tiny carbon particles float up and land on paint or ceilings.
Long wicks, drafts, and cheap paraffin or heavy fragrances make it worse.
This post shows safe, step-by-step cleaning for light and set-in soot, when to use a stain-blocking primer, and quick prevention moves so it doesn’t return.
No guesswork, just simple tests, the right cleaners, and repair-first steps to get your walls back to normal.
Why Candle Flames Leave Soot on Walls and Ceilings

Soot on walls after candles means the flame didn’t burn cleanly. When combustion falls short, carbon particles float upward or drift sideways on warm air currents. They land on cool surfaces near the candle: walls, ceilings, lampshades, picture frames. The longer your wick, the more soot you’ll see. Anything over 1/4 inch creates a taller flame that spits out more unburned carbon. A flame that flickers or dances in a draft makes things worse, because unstable burning releases particle bursts every few seconds.
Cheap paraffin candles produce more soot than cleaner waxes, especially when they’re loaded with heavy fragrances or dark dyes. Paraffin comes from petroleum. Mix it with synthetic fragrance oils (vanillin and other dense aromatic compounds) and the wax struggles to vaporize evenly. You end up with visible black residue that starts as fine powder on nearby surfaces and can turn greasy or sticky as it accumulates over multiple burns. Scented candles and soot residue go hand in hand when fragrance load exceeds what the wick can burn cleanly.
Drafts amplify soot production. A candle under a ceiling fan, near an open window, or next to an HVAC vent will flicker constantly and spray carbon particles across the room. The texture of the soot depends on the candle and where you burn it. Dry soot looks like fine black dust and wipes off easily at first. Oily soot (common with heavily fragranced candles or those burned too close to walls) smears when touched and clings harder to paint. Distance matters. A candle burning six inches from a wall deposits far more soot than one placed several feet away in open space. Air movement, candle quality, and placement together determine whether you notice light smudges or heavy black stains.
Understanding the Different Types of Candle Soot on Walls

Not all candle soot behaves the same. Dry soot appears as light black powder you can sometimes blow off or vacuum without much effort. It comes from cleaner burning candles or short burn times, and it sits on the surface without penetrating paint. Oily soot is stickier and darker. It forms when paraffin wax or high fragrance loads produce heavier carbon particles mixed with vaporized oils. This type smears easily when wiped and often requires stronger cleaners like trisodium phosphate to lift fully. If the mark spreads when you touch it, you’re dealing with oily residue.
Candle soot differs from smoke damage caused by fires or heavy incense. Candle soot concentrates near the flame source: above the candle on the ceiling or on the wall directly behind the jar. Fire or cooking smoke spreads more evenly across a room and usually carries a stronger smell. If black marks cover large areas far from any candle, the source may be something other than normal candle burning, like a kitchen grease fire or a malfunctioning furnace.
Key differences between dry and oily candle soot:
- Dry soot brushes off easily and leaves minimal residue on your fingers
- Oily soot feels tacky or greasy and smears when touched
- Oily soot often requires degreasing cleaners or solvent based treatments
- Dry soot responds well to vacuuming and mild soap solutions
Safety Steps Before Cleaning Candle Soot on Walls

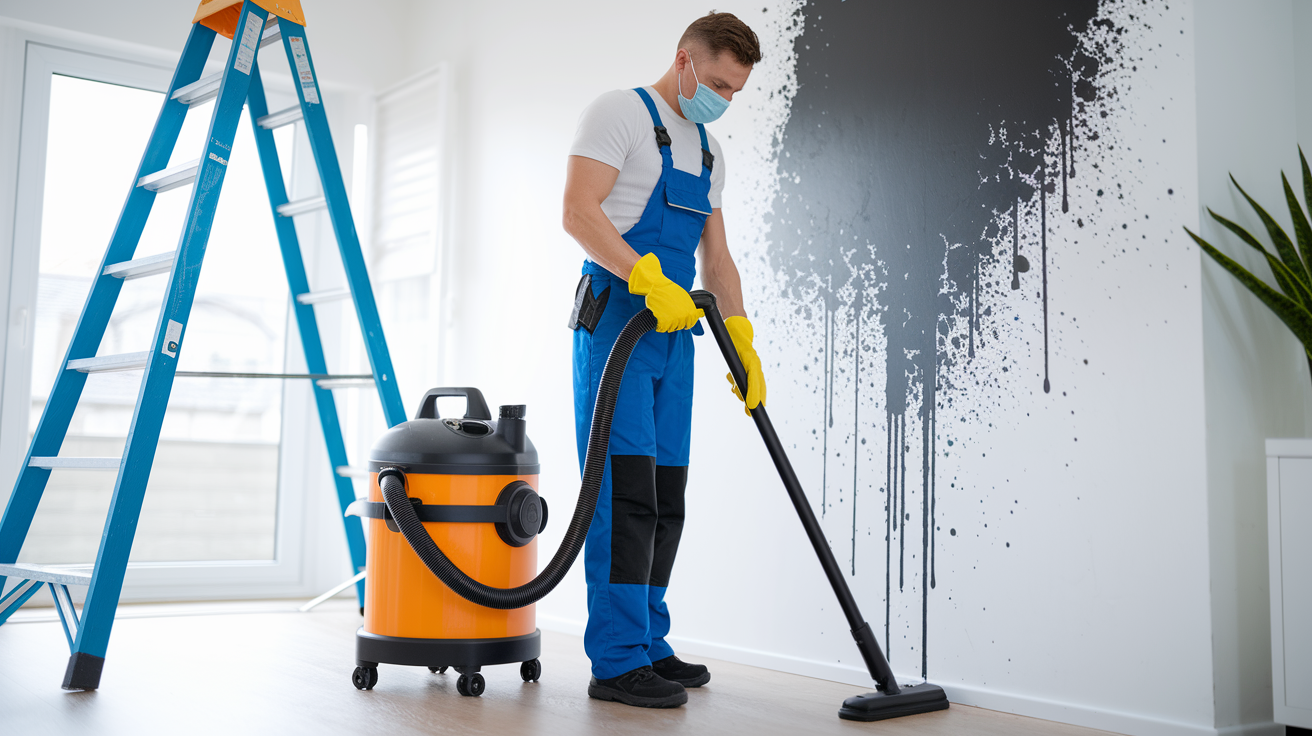
Soot contains fine carbon particles that can irritate your lungs and eyes if you work in a closed space without protection. Before you start cleaning, open windows and turn on a fan to move air through the room. If the soot covers a large area or feels greasy, wear disposable nitrile gloves, safety glasses, and an N95 respirator to avoid inhaling particles.
Pre-cleaning safety checklist:
- Ventilate the room by opening windows and running exhaust fans or portable box fans pointed outward
- Put on disposable gloves, safety glasses, and an N95 mask if cleaning more than a few square feet
- Test any cleaning solution on a hidden patch of wall (behind furniture or inside a closet) and wait 10 minutes to check for paint discoloration or surface damage
- Vacuum soot gently with a brush attachment, holding the nozzle about 0.5 to 1 inch from the wall to avoid smearing particles deeper into the paint
- Never mix cleaners. Don’t combine bleach with vinegar, ammonia, or any acid based product
- Cover floors and furniture near the work area with drop cloths or old sheets to catch falling soot and drips
Step-by-Step Methods to Remove Candle Soot From Painted Walls

Mild Dish Soap Method
This method works for light, recent soot on painted walls. Mix 1 tablespoon of mild dish soap (like Dawn) with 1 cup of warm water in a small bowl.
- Vacuum the soot gently with a soft brush attachment, working top to bottom to avoid pushing particles into already cleaned areas
- Dampen a clean microfiber cloth in the soap solution and wring it out until barely wet
- Blot the soot mark gently without rubbing. Use light pressure and lift the cloth after each contact
- Rinse a second microfiber cloth in plain warm water, wring it out, and wipe the cleaned area to remove soap residue
- Blot dry with a fresh towel
- Allow the wall to air dry for 10 to 15 minutes, then inspect for remaining marks
Time estimate: 10 to 20 minutes for small marks.
Baking Soda or Vinegar Method
For stubborn marks that resist soap, baking soda paste or white vinegar provides gentle abrasion or mild acid action without harsh chemicals.
Baking soda paste:
- Mix 1 part baking soda with 1 part water in a small cup to form a thick paste
- Vacuum the soot first
- Apply a small amount of paste to a damp sponge or soft cloth
- Rub the soot in small circular motions with light pressure. The paste provides gentle abrasion
- Wipe away paste residue with a clean damp cloth
- Dry the area and check for streaks
White vinegar solution:
- Mix 1 cup white vinegar with 1 quart (4 cups) warm water
- Test the solution on an inconspicuous area, because vinegar can dull some paint finishes
- Dampen a cloth in the solution and blot the soot
- Rinse with plain water and dry
Time estimate: 20 to 40 minutes depending on the size and stubbornness of the stain.
Magic Eraser Caution Method
Melamine sponges like Mr. Clean Magic Eraser remove soot effectively but can strip paint sheen or leave dull spots if you press too hard.
- Dampen the Magic Eraser slightly with water. Don’t soak it
- Test on a hidden patch of wall to see how much paint sheen is removed
- Rub the soot gently with light, quick strokes
- Stop immediately if you see paint color transferring onto the sponge
- Wipe the area with a damp cloth and dry
Magic Erasers cost about $3 to $8 per pack depending on count. Use them only when soap and baking soda fail, and always test first.
Heavy or Set-In Candle Soot Removal for Walls and Ceilings

When soot has been on the wall for weeks or months, or when oily residue won’t lift with soap, trisodium phosphate provides stronger cleaning power. TSP is an alkaline powder used for heavy duty degreasing before painting. It strips soot and oils but requires gloves and careful handling.
Old soot can penetrate paint and leave ghost stains even after surface cleaning. If cleaning reveals discoloration or if soot bleeds back through a fresh coat of paint, you’ll need a stain blocking primer before repainting. Shellac based primers like Zinsser BIN seal stains so they don’t reappear. Expect heavy soot cleanup and priming to take several hours spread across one or two days when you include drying time.
TSP cleaning and priming steps:
- Mix 1/4 cup TSP powder into 1 gallon of warm water in a bucket. Wear rubber gloves and eye protection
- Vacuum loose soot first
- Dip a nonabrasive sponge into the TSP solution, wring it out, and wipe the soot in straight lines, not circles
- Rinse the wall thoroughly with plain water using a clean sponge, then blot dry with towels
- Let the wall dry completely for 24 hours. If stains remain visible or bleed through when you test a small area with primer, apply one coat of shellac based stain blocking primer, wait for it to dry (usually 1 to 2 hours), and then apply one or two coats of flat or eggshell latex paint. A gallon of interior latex paint costs $25 to $60, and a quart of shellac primer runs $10 to $30
Never paint directly over soot. The carbon will discolor the new paint or cause it to peel.
Cleaning Candle Soot on Wallpaper, Textured Walls, and Specialty Surfaces
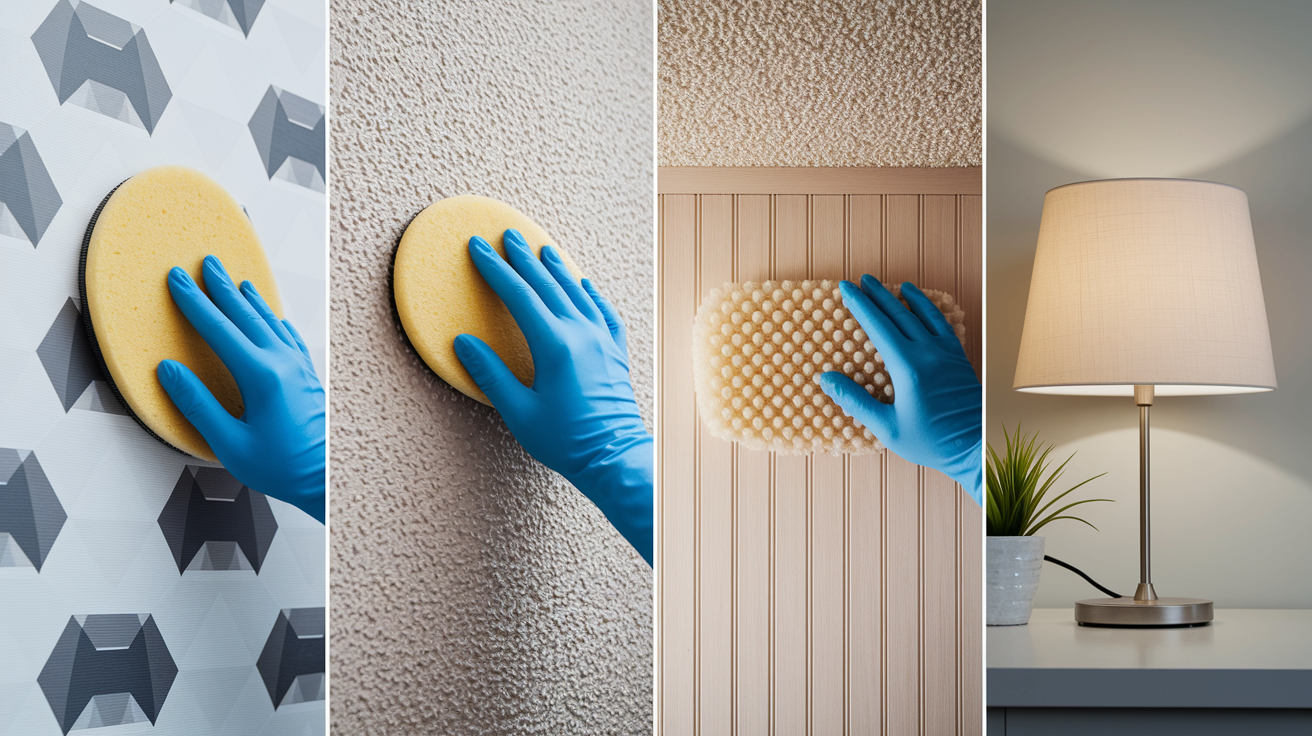
Porous or delicate surfaces hold soot in crevices and patterns, making standard wiping ineffective or risky. Wallpaper can absorb moisture and peel if over wetted. Popcorn or knockdown textured ceilings trap soot deep in the ridges. Dry cleaning sponges (also called chemical sponges or soot sponges) work best for these surfaces. They look like dense foam blocks and feel slightly tacky. Use them dry. Wetting them spreads soot and ruins their effectiveness.
Gently press the dry sponge against the soot and wipe in one direction. As the sponge darkens, rotate to a clean side or slice away the used layer with a utility knife. For textured walls, follow up with a soft bristle brush to dislodge particles from grooves, then vacuum with a brush attachment. If wallpaper is already stained or the texture is heavily sooted, professional cleaning may be necessary to avoid further damage.
| Surface | Recommended Method | Notes |
|---|---|---|
| Vinyl or washable wallpaper | Dry sponge first, then lightly damp cloth if needed | Test in hidden seam; avoid soaking edges |
| Textured drywall or popcorn ceiling | Dry sponge + soft brush + vacuum | Do not scrub; particles lodge in texture |
| Unsealed wood paneling | Dry sponge or wood oil cleaner | Water can raise grain or cause warping |
| Fabric lampshades or curtains | Vacuum gently; spot-clean or dry-clean | Washing may set stains permanently |
Odor Removal After Candle Soot Cleansing
Even after visible soot is gone, a faint smoky or greasy smell can linger in the room. The odor comes from carbon particles and fragrance oils that settled into porous materials like drywall, carpet, and upholstery. Cleaning the walls removes the surface layer, but some smell remains trapped in fibers and paint pores.
Activated charcoal and baking soda absorb odors over 24 to 48 hours. Place open containers of baking soda or activated charcoal bags near the cleaned area and leave them undisturbed. Replace them every few days until the smell fades. For persistent odors in large rooms or after heavy soot events, some restoration companies use ozone generators, but these machines require professional operation and temporary evacuation because ozone is harmful to breathe.
Quick odor removal options:
- Baking soda in shallow bowls, changed every 2 to 3 days
- Activated charcoal bags hung near the affected wall or placed on furniture
- HEPA air purifiers running continuously for several days to capture remaining airborne particles and reduce smell
Preventing Soot on Walls When Burning Candles Indoors
Most candle soot is preventable with careful burning habits and better candle choices. The biggest factor is wick length. A wick trimmed to 1/4 inch produces a stable, clean flame. Anything longer creates a tall, flickering flame that releases excess carbon.
Soot prevention checklist:
- Trim the wick to 1/4 inch before every burn using wick trimmers or small scissors
- Burn candles for 3 to 4 hours maximum per session. Longer burns overheat the wax and enlarge the flame
- Extinguish the candle if the flame flickers constantly, grows taller than 1 inch, or starts producing visible black smoke
- Keep burning candles at least 6 to 12 inches away from walls, curtains, and ceilings. Large pillar candles need a full 12 inches of clearance
- Avoid placing candles under ceiling fans, near open windows, or next to HVAC vents where drafts destabilize the flame
- Choose containers with enough diameter for a full melt pool. Narrow jars trap heat and can cause overheating and smoking
- Let the wax melt to the edge of the container on the first burn to prevent tunneling, but don’t exceed 4 hours of burn time
- Use candle holders that are stable, heat resistant, and rated for candle use. Never repurpose a glass jar not designed for heat
- Open a window slightly or run a low speed fan in the room to provide fresh air without creating a direct draft on the flame
- Inspect wicks for mushrooming (a small carbon ball at the tip) and trim it off before the next burn
Candle Types That Produce More or Less Soot
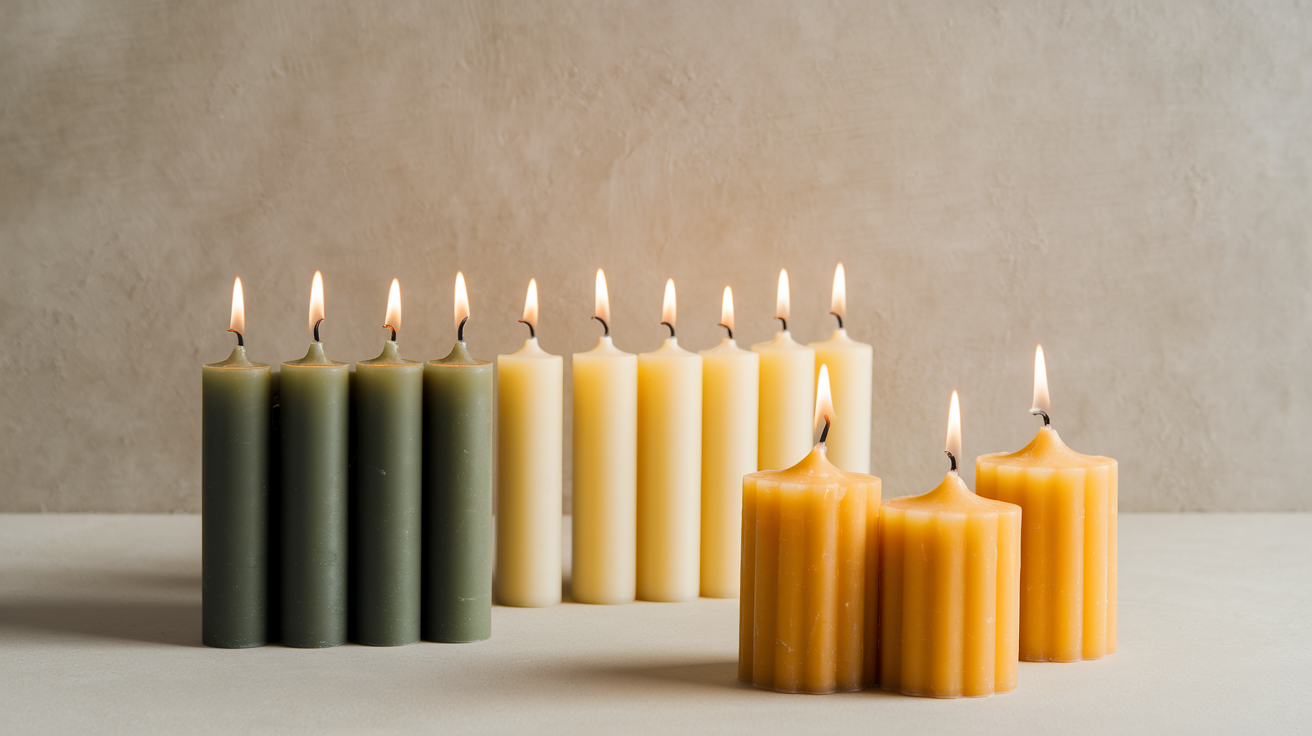
Wax type makes a measurable difference in soot production. Paraffin, a petroleum derived wax, is inexpensive and widely used, but it burns less cleanly than plant based waxes. Cheap paraffin candles mixed with synthetic dyes and heavy fragrance oils are the most common source of black soot on walls. Beeswax and soy wax produce far less visible soot because they burn at lower temperatures and vaporize more completely. Beeswax is especially clean and naturally fragrant, though it costs more, typically $8 to $30 for a pack of tapers or small pillars.
Wick construction also matters. Cotton braided wicks without metal cores burn more evenly than wicks with zinc or lead stabilizers. Wooden wicks create a crackling sound but can produce variable soot depending on the wax blend and fragrance load. Candles with minimal or no added fragrance produce less soot than heavily scented versions, because fragrance oils (especially vanillin and other dense aromatics) interfere with clean combustion. If you want scent without soot risk, choose candles labeled “clean burn” or those made with 100% beeswax or soy and lightly fragranced with essential oils.
Flame free alternatives eliminate soot entirely. Battery powered LED candles with realistic flicker effects provide ambiance without any combustion. Electric wax warmers melt scented wax cubes using a low wattage bulb, releasing fragrance without flame or smoke. These options cost $10 to $40 depending on features and are safe to leave unattended.
When to Hire Professional Soot Cleaning or Restoration Services
Small candle soot marks on a few square feet of wall are manageable with household supplies. When soot covers large areas, penetrates textured ceilings, or appears on unsealed wallpaper or raw wood, professional cleaning becomes the practical choice. Restoration companies use industrial HEPA vacuums, dry chemical sponges, and specialized detergents that lift soot without spreading it. They also carry stain blocking primers and know which surfaces can be cleaned versus which must be sealed and repainted.
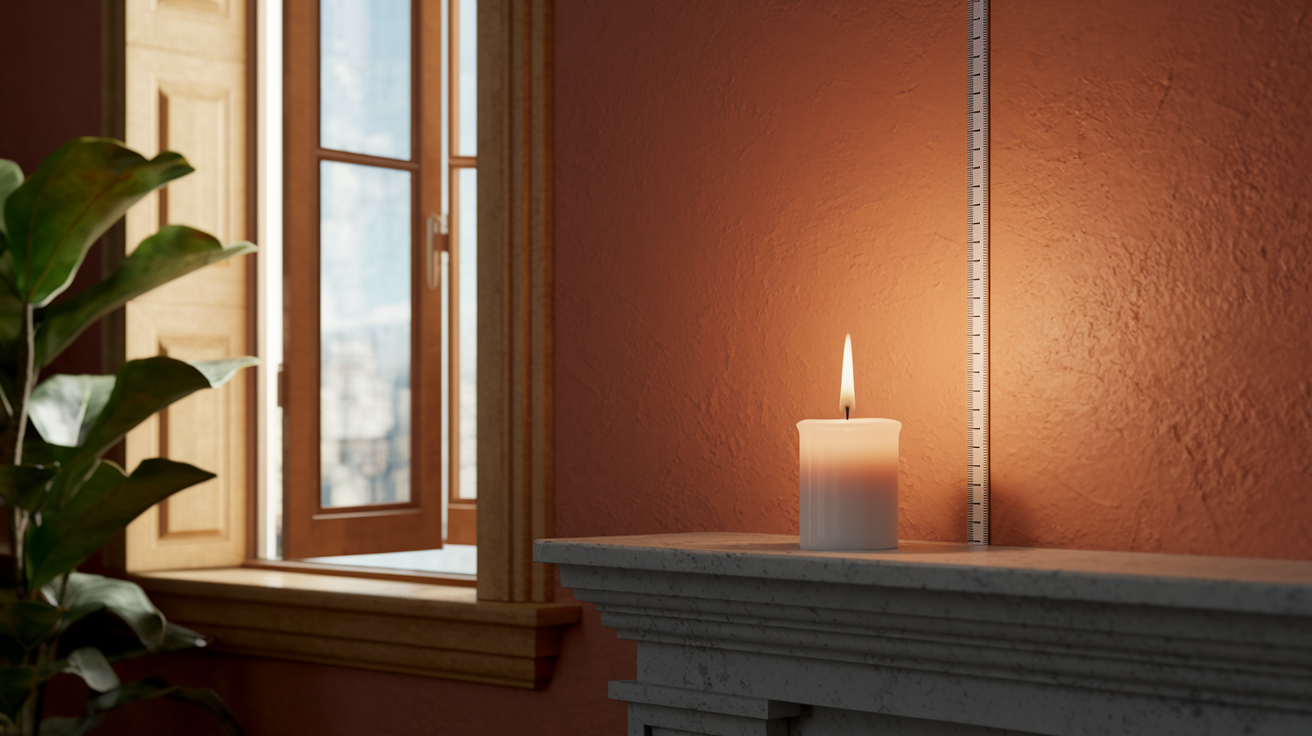
Professional wall cleaning starts around $300 for a single room, based on 2026 pricing data. Costs rise with square footage, surface complexity, and the need for priming or repainting. If soot damage is part of a larger smoke or fire event, full remediation may run into the thousands and often involves insurance claims. Document the damage with close up photos that include a ruler for scale, and note the date and candle brand if you remember it. Clear photos and written records help adjusters understand the scope.
Situations requiring professional help:
- Soot covering more than 50 square feet or multiple rooms
- Damage to popcorn ceilings, unsealed wallpaper, or historic plaster that standard cleaning might worsen
- Oily soot that resists TSP and leaves stains even after scrubbing and priming
- Any scenario where you suspect the soot came from a fire, furnace malfunction, or other non-candle source requiring air quality testing and full remediation
Final Words
Dark streaks run down the wall and the air smells faintly musty. Act now: ventilate, put on gloves and an N95, and check whether the soot is powdery or oily.
Use mild soap or a baking soda paste first; test a Magic Eraser. For set-in soot, use TSP and a stain-blocking primer. For wallpaper or textured walls, dry sponges and soft brushes work better.
Don’t skip documenting damage for insurance or calling pros for heavy jobs. With the right steps and prevention—trim wicks, avoid drafts, keep candles off walls—soot on walls after candles can be cleaned and the room restored.
FAQ
Q: Can candles cause black soot on walls?
A: Candles can cause black soot on walls when burning is incomplete—often from a too-long wick, drafts, or low-quality paraffin and heavy fragrance, leaving carbon particles that cling to cool surfaces.
Q: What removes candle soot from walls?
A: Removing candle soot from walls usually starts with mild dish soap and warm water, then baking soda or vinegar paste for tougher spots, and TSP or a stain-blocking primer for heavy, oily soot.
Q: Can you paint over candle soot on walls?
A: You can’t paint over candle soot on walls without cleaning and priming first; soot will bleed through. Clean, allow to dry, then apply a shellac-based stain-blocking primer before repainting.
Q: What does candle soot look like on walls?
A: Candle soot on walls looks like fine black powder or an oily smearing residue; dry soot dusts off easily, while oily soot smears, leaves a dark film, and can hold a musty smell.